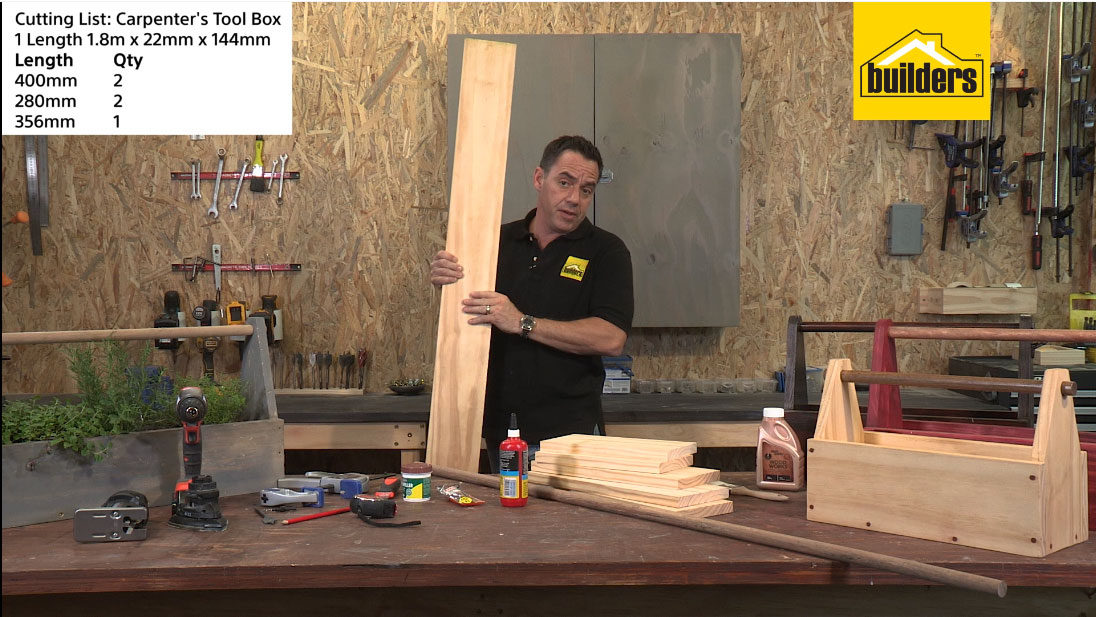
1 x 1.8m x 22mm x 144mm:
- side pieces: 2 x 400mm(length)
- edge pieces: 2 x 280mm(length)
- base piece: 1 x 356mm(length)
You will need:
Materials
- 22mm dowel stick
- Wood glue
- 3.5 x 40mm screws
- Wood filler
- Stain and sealer
- Scraper
- Pencil
- Paintbrush
- Tape Measure
- Clamp
- Screw pilot
- 22mm spade bit
- Cordless drill
- Jigsaw
- Sander
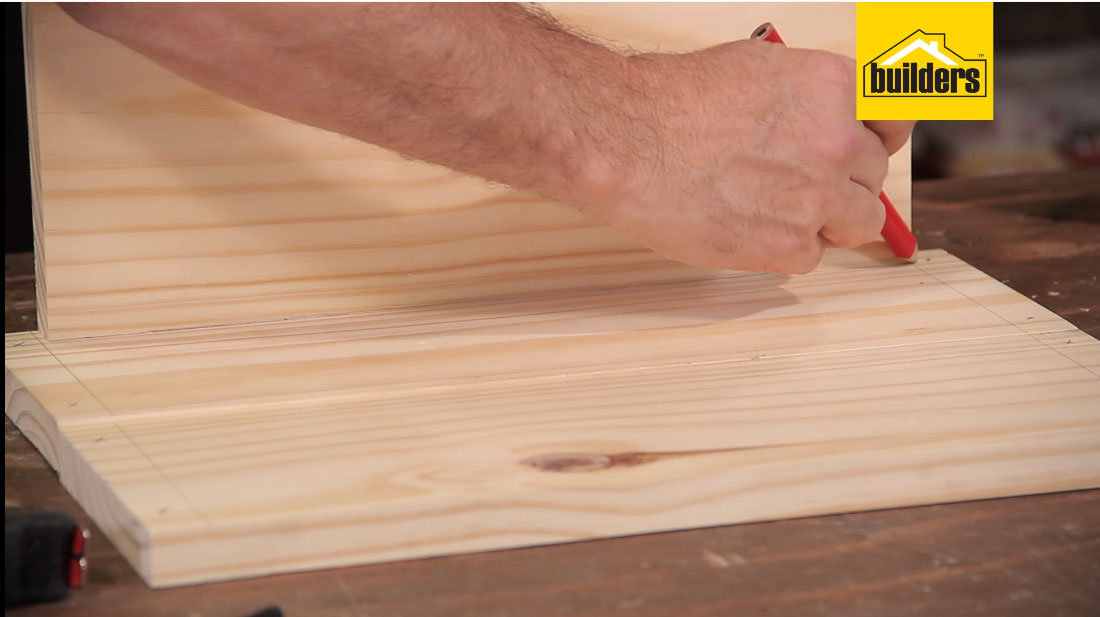
Step 1
On the two side pieces mark a line along both end edges and one side edge, 22mm in from the edge. Use another piece of 22mm wood as a template to do this.
Step 2
On the two side pieces, make two ‘X’ marks along each short edge and three ‘X’ marks along the marked long edges, within the 22mm line.
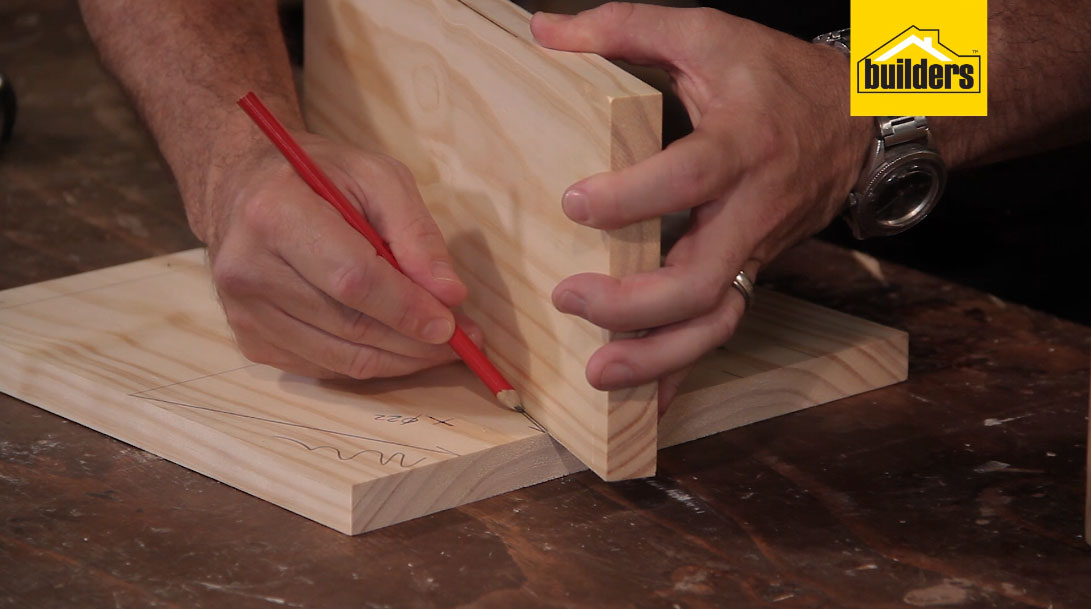
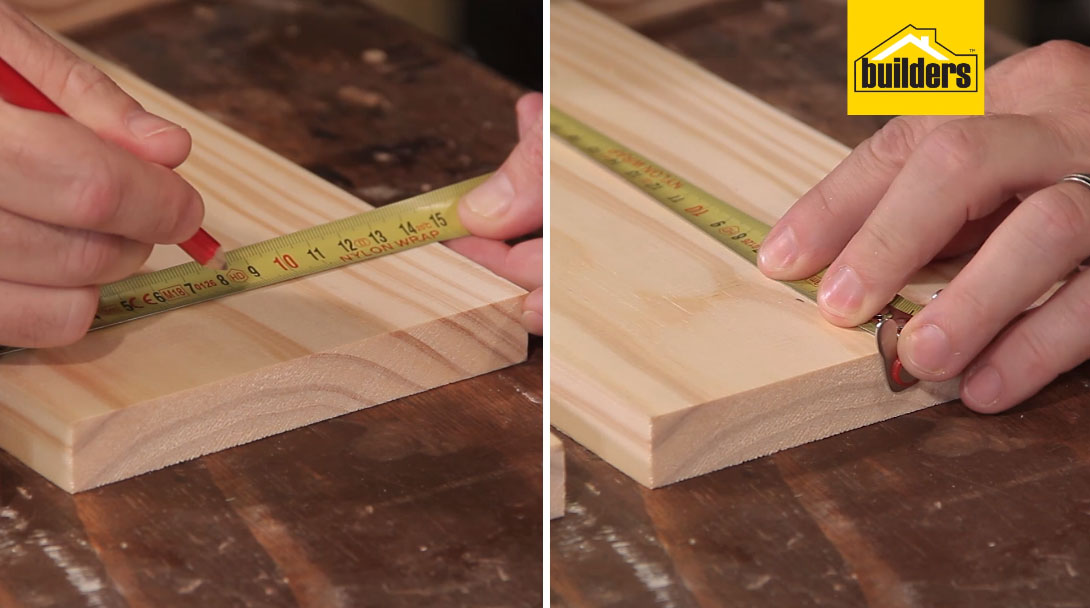
Step 3
- On the two end pieces, mark a line along the bottom 144mm end, 22mm in from the edge. Make two ’X’ marks within these lines.
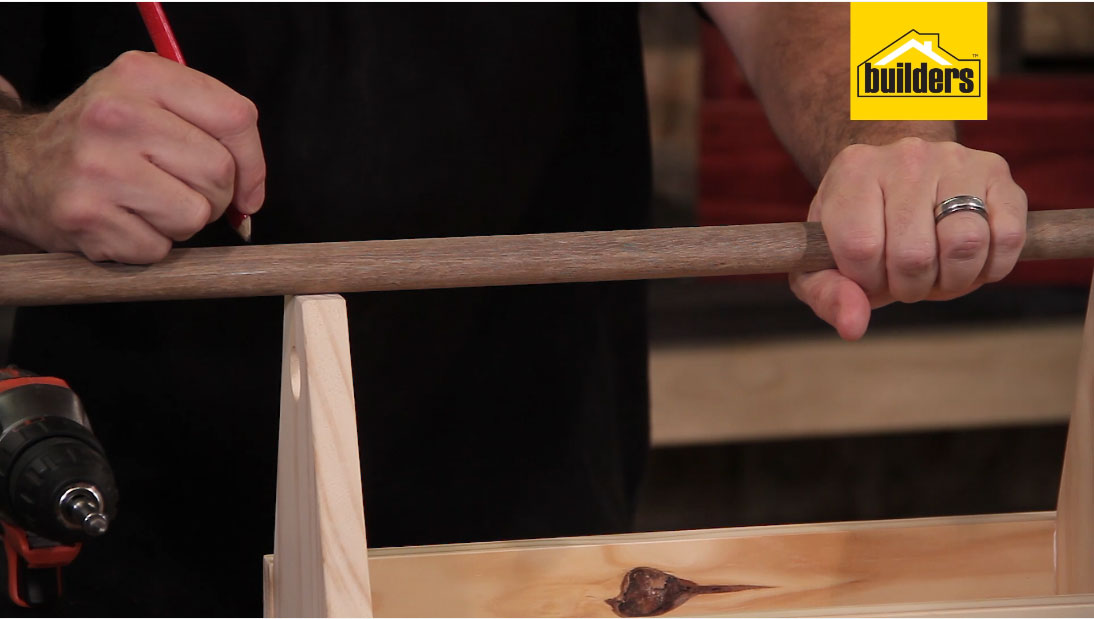
- On the opposite 144mm end, the top, measure in 72mm from the side edge to find the middle and make a mark 35mm from the top. This is where the handle will go, after drilling.
- It’s time to mark the diagnoals for the end pieces. To do this draw a line across the end pieces 144mm from the bottom. This is the width of all the timber, so use another piece as a measure for this.
- Next make marks 50mm from the outside edge on the top end.
- Draw diagonal lines from the marks made in point 3d to the start and end of the lines drawn in 3c.
Step 4
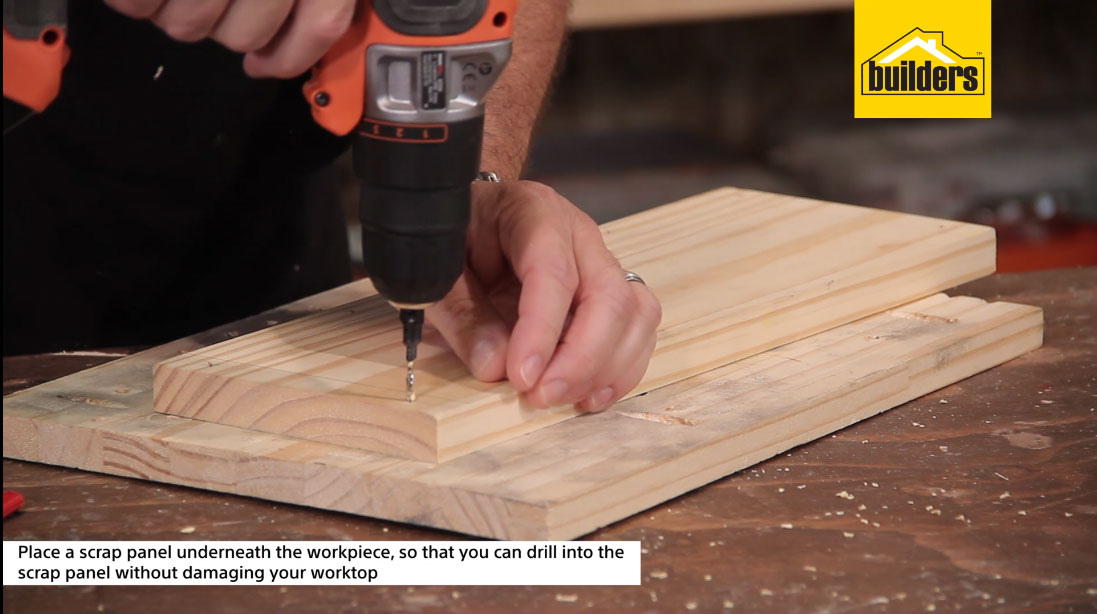
Once all holes (‘X’s) and lines are marked, drill the holes. Use the 22mm spade bit to drill the dowel stick hole on each of the ends and a jigsaw to cut off the diagonal pieces. Use the screw pilot for the remaining holes.
*Remember to use a scrap piece of wood beneath your timber when you drill, to protect your work surface and avoid blow outs.
Assembly
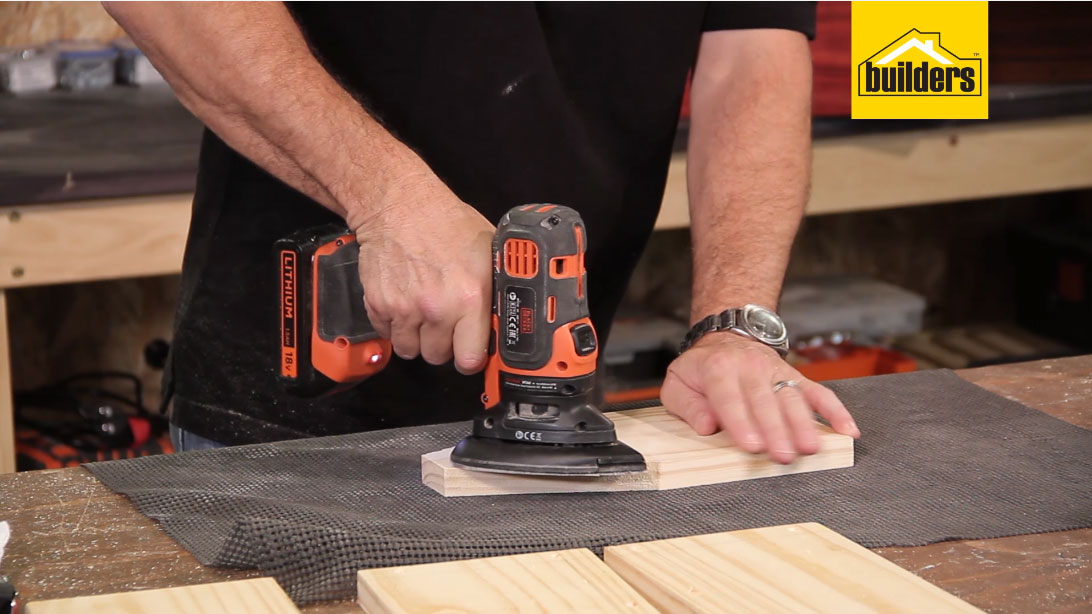
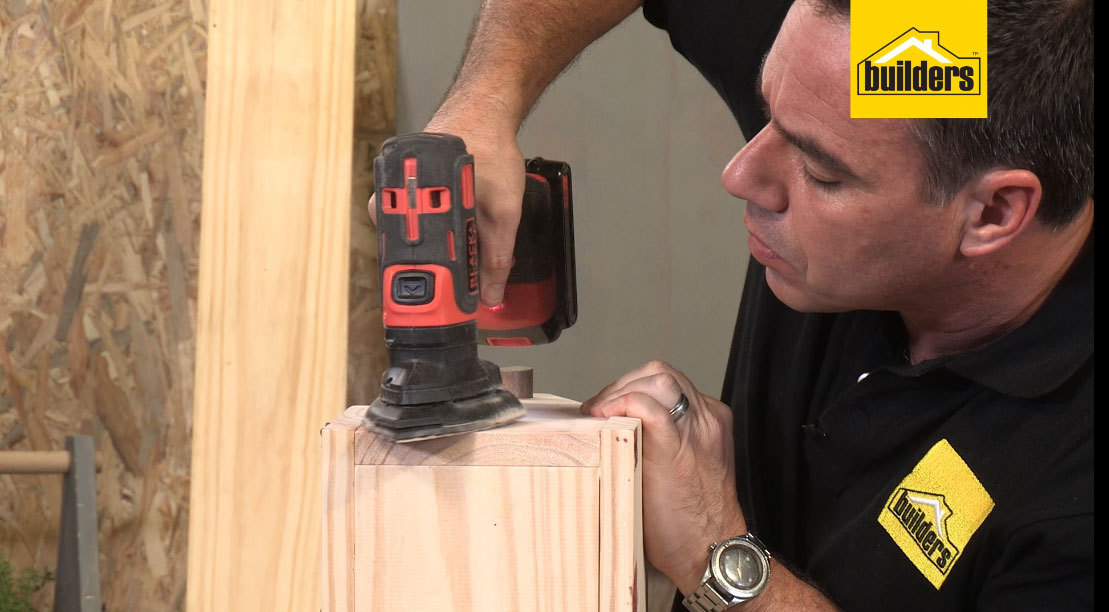
- Sand all your timber.
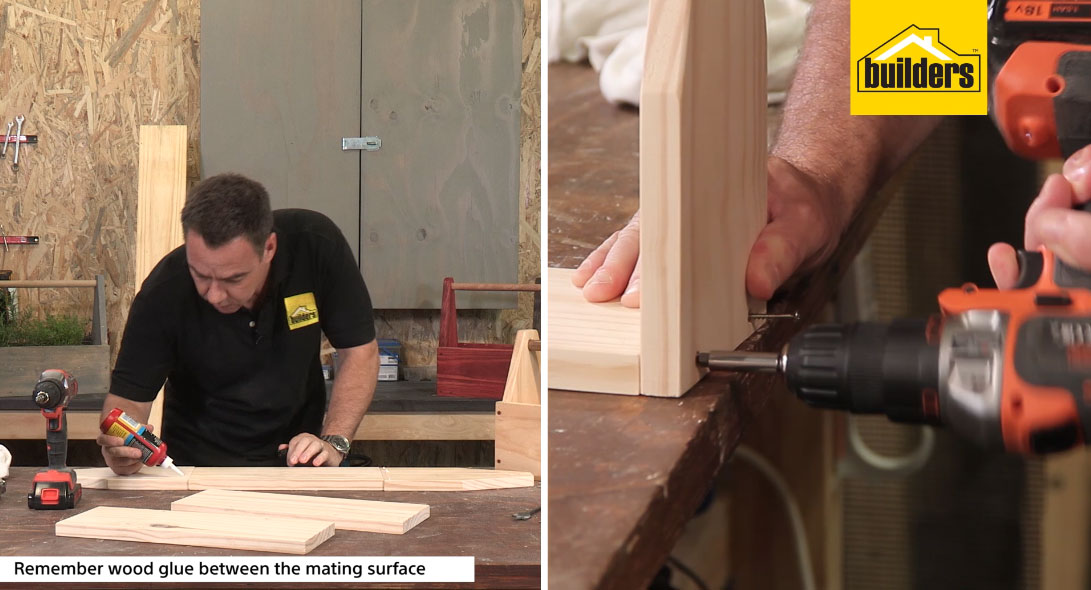
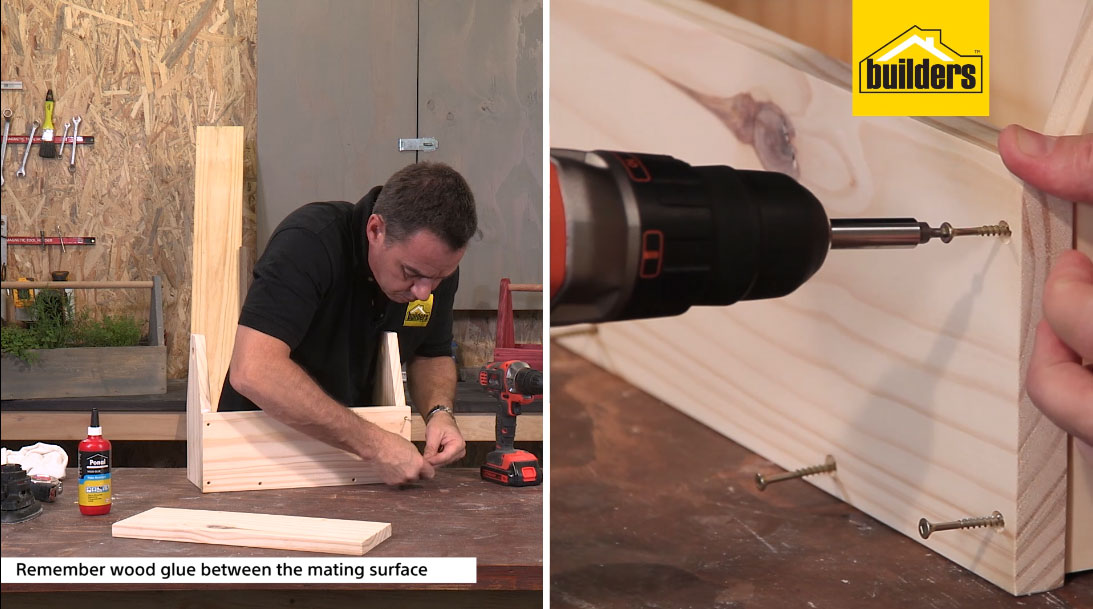
- Begin assembly by fastening the two end pieces to the base by clamping the timber together and using the screws and wood glue between the mating surfaces to ensure a secure bond.
- Repeat this process for the side pieces.
- Next cut the dowel stick to the desired length (about 430mm) and slide it into position.
Finishing touches
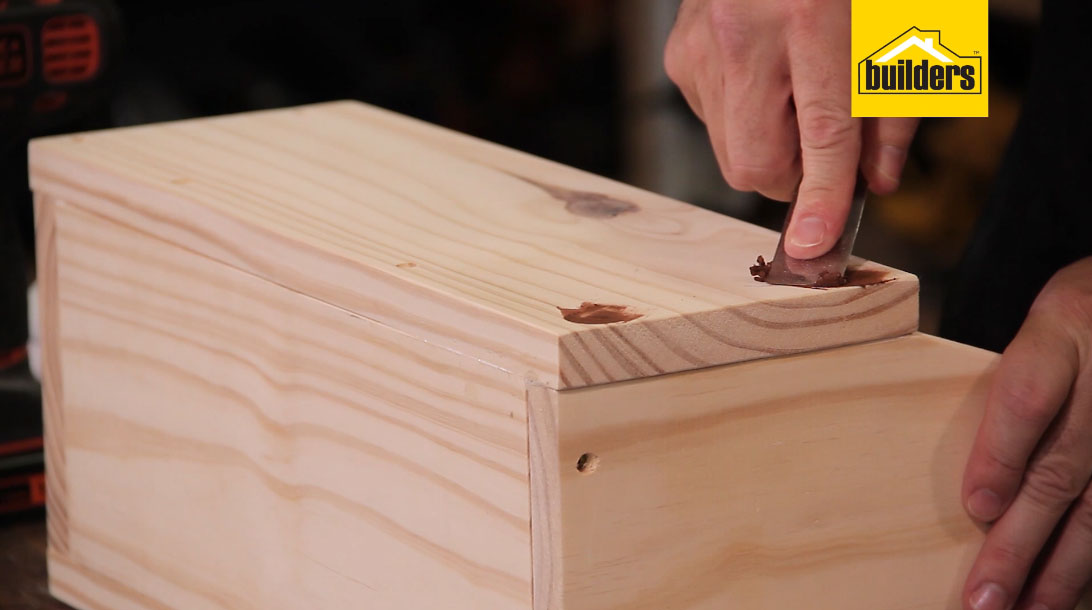
- Fill the screw holes with wood filler.
- Sand the outside of the box to smooth out any rough edges.
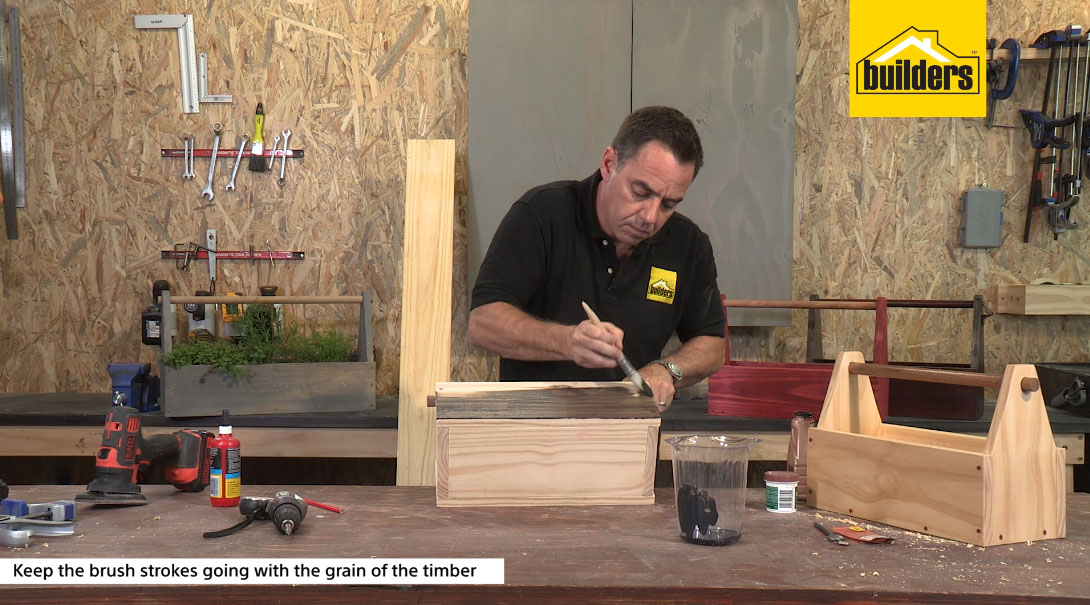
- Stain and seal the timber to the desired colour. Once dry your box is ready to use.
*If you will be using your box as a planter make sure to drill holes into the base for drainage.
Browse 1000’s of products available to you. Select your country to Shop Online.


