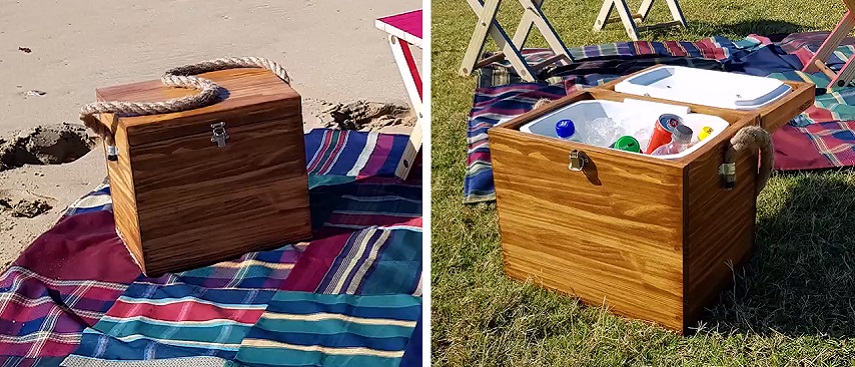
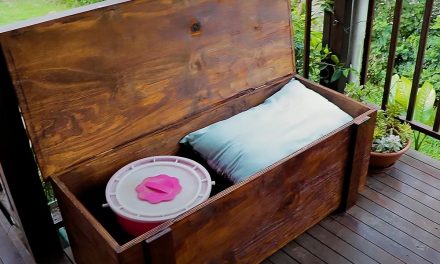
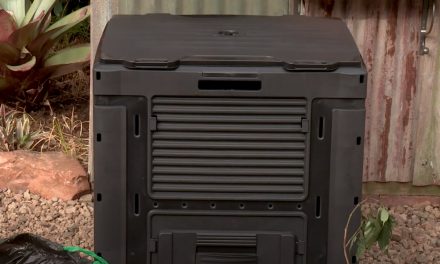
Convert your old cooler box into something more attractive and functional.
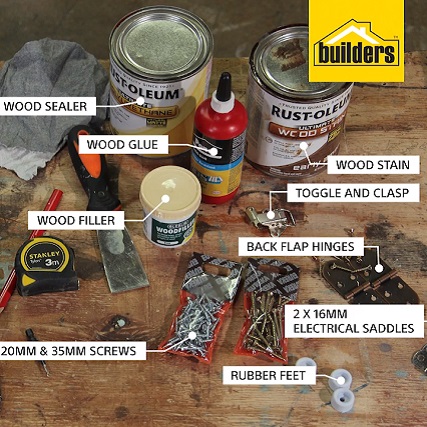
- Rough, coarse rope
- 2 x 16mm electrical saddles
- Toggle and clasp
- Back flap hinges
- Rubber feet
- Wood filler
- Wood glue
- 20mm & 35mm screws
- Wood stain
- Polyurethane wood sealer
- Scraper
- Pencil and tape measure
- Speed pilot
- Cordless drill driver
- Sander
- Clamps
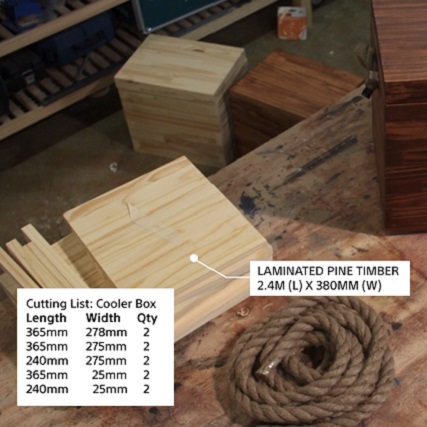
- Laminated pine timber – 2.4m (L) x 380mm (W) x 19mm
- 365mm (L), 278mm (W)
- 365mm (L), 275mm (W)
- 240mm (L), 275mm (W)
- 365mm (L), 25mm (W)
- 240mm (L), 25mm (W)
Quantity is 2 for all.
For your convenience, get Builders to cut your timber to size. For this DIY we used measurements fitted to a 12.5L cooler box, you can adjust the sizing according to your cooler box.
How to make the frame
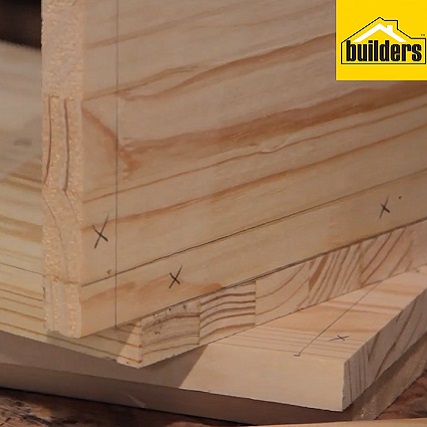
Step 1
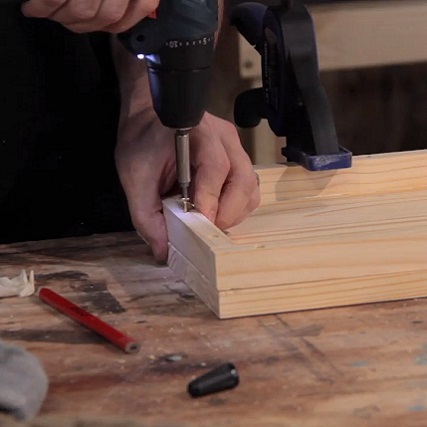
Mark out where the screws should go on the edges of the front and back sections, using the thickness of the timber as a guide for where to create the holes. Repeat the process for the base and sides of the box frame, until all edges of the box frame are marked.
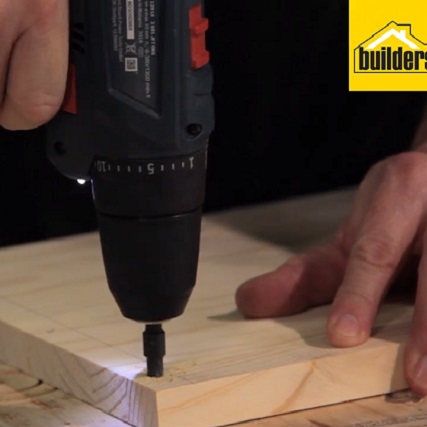
Step 2
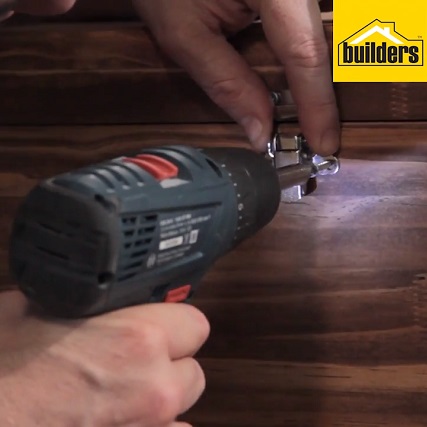
Once marked, drill through the pieces where indicated, making sure to use a scrap piece of timber beneath the pieces to ensure no blow out and that you don’t drill into your work surface.
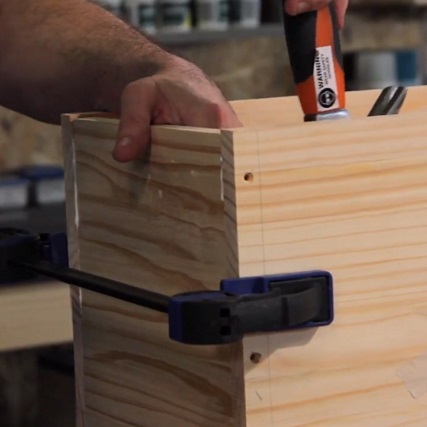
Step 3
Once the holes are drilled, begin assembling your box frame. Use wood glue between all the mating surfaces (i.e. All the connecting sides of your box frame). Place the pieces onto the base of your box, making sure the holes are on the outside of your box frame before clamping it together. Tip: Use a hammer to gently tap the timber into place to ensure all the mating surfaces match up.
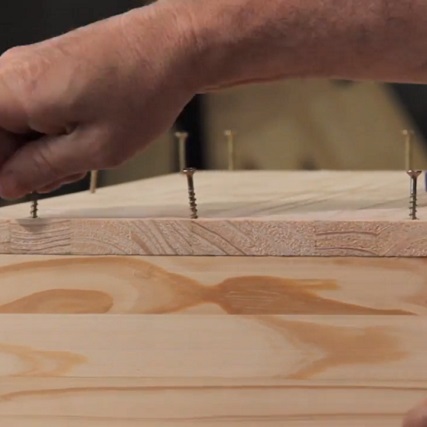
Step 4
Secure the frame by screwing it together with the 35mm screws. Once the frame is in place, flip the box over and screw in the base, using the same process. When the box is complete, fill in any holes or imperfections with wood filler and set aside to dry.
how to make the lid
Step 1
Use a similar process to the frame, however instead of drilling through the top or bottom section, drill through the side pieces – this will ensure there will be no visible screws on the topside of your lid. Tip: Remember not to drill too close to the edge as it could lead to blow outs and crack.
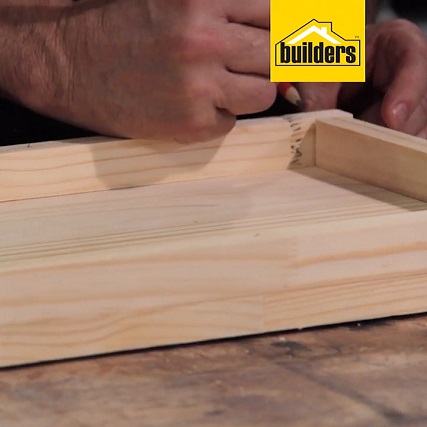
Step 2
Once the holes are drilled, assemble the lid. Place wood glue to the mating surfaces and line them up on the underside of the lid. Screw them into place using the 35mm screws. Use wood filler to cover up any holes or imperfections
How to make the box
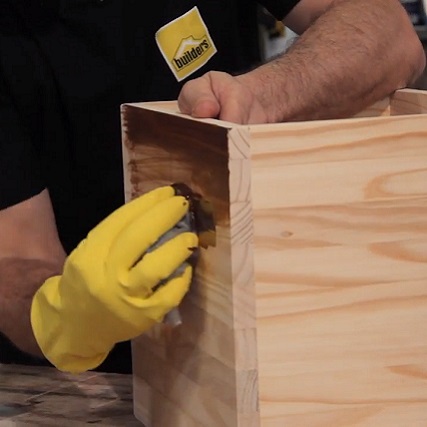
Step 1
down the lid and frame to smooth out any rough edges in the wood. Once sanded, stain your box to your desired colour. Apply a second coat. When the wood stain is dry, apply 2 coats of wood sealer to seal your timber and protect it from damage.
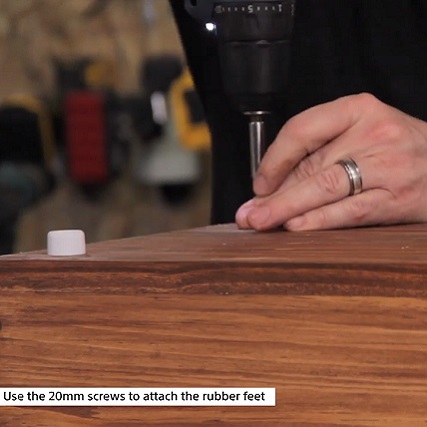
Step 2
When the box is fully dry, place the feet onto the underside of the base. A foot should be placed in each corner, offset by approximately 25-30mm so that the feet are not visible. Attach the feet using the 20mm screws.
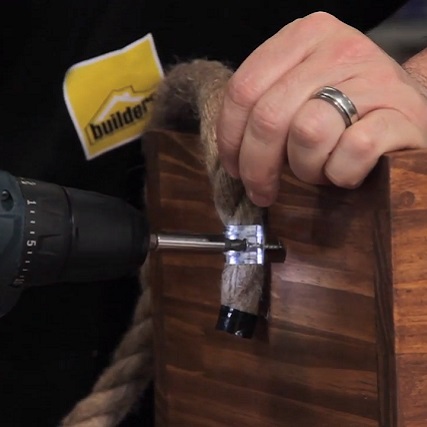
Step 3
Next attached the brackets on either side of the box for the handles. Measure out the centre of the length of one of the sides, then measure about 40mm down from the lip of the box and mark out where to place your handle. Cut the course rope to your desired length – for this DIY we used 1.1m of rope. Tip: when cutting the rope, use tape around the rope and then cut through the tape to keep the end from fraying. Screw in your saddle using the 20mm screws, securing your rope in place. Repeat for the second handle.
Step 4
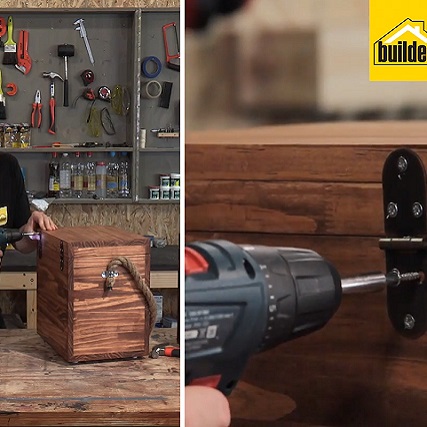
Once handles are completed, attach the hinges at the back to secure the lid. Line up your hinges just a few millimetres below the top of the lid, offset from the side at about 40mm. Make sure the hinge lines up to the edge (where the lid with open and close) and screw into place using the 20mm screws.
Step 5
When the hinges are attached, screw your toggle and clasp into place. Line the toggle up to the middle of the lid and screw into place Repeat the process for the clasp on the box making sure it lines up exactly with the toggle before screwing it into place.
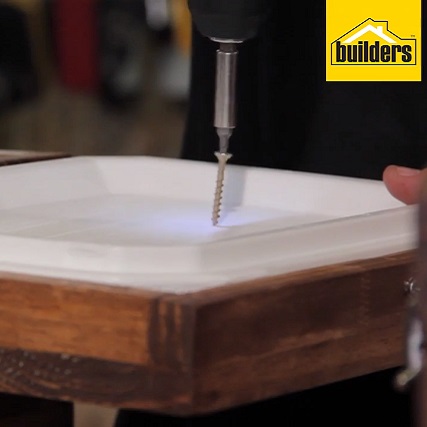
Step 6
When your box is complete, you will need to make a few adjustments to your cooler box. Remove the lid of the cooler box from the hinge mechanism. Trim off the lugs of the cooler box’s hinge. Now that you have a free cooler box, mount the cooler box lid to the box lid using 2 screws. Check your cooler box fits well and your DIY is complete.
Browse 1000’s of products available to you. Select your country to Shop Online.


