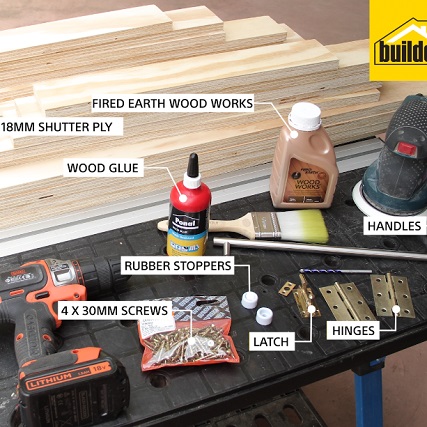
- 18mm shutterply
- 4 x 30mm cut screws
- Wood glue
- 2 x Rubber stoppers
- 2 x Latches
- 2 x Hinges
- 1 x Handle
- Stain and Sealer
- Paintbrush
- Cordless Drill
- Drill bit to go into masonry
- Sander
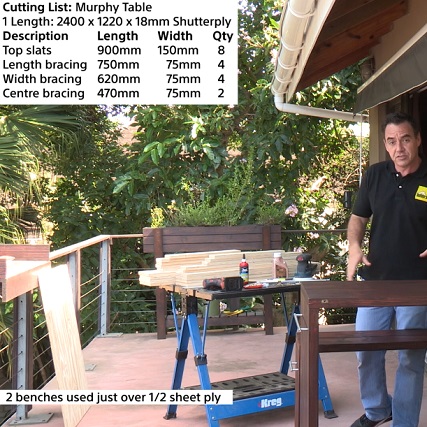
- Top Slats: 900mm x 150mm (8)
- Length Bracing: 750mm x 75mm (4)
- Width Bracing: 620mm x 75mm (4)
- Centre Bracing: 470mm x 75mm (2)
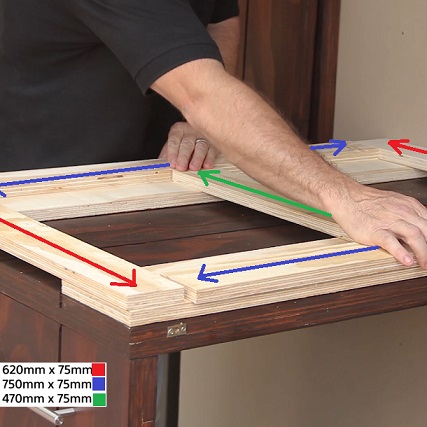
Step 1
We’re going to be making two frameworks, beginning with the table top. Start by laying two top slats on your work surface. Use screws and glue on the mating surfaces to join these two slats together using two width bracing pieces, one at either end. Then attach two length bracing pieces to the top slats, between the width bracing pieces and flush with the outside edges of the top slats. Finally attach the centre bracing, between the two top slats in the middle.
Step 2
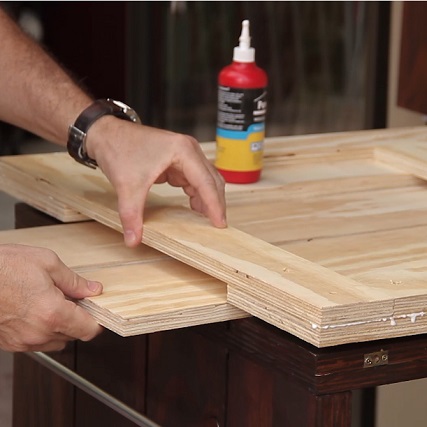
Next attach the two middle top slats to the structure between the two outside top slats, using wood glue and cut screws. You can measure or use spacers between the slats if you desire.
TopTip: Stain and seal the edges of the slats before you join them as it is difficult to get in between them once they are joined.
Step 3
Repeat steps one and two to make the table leg, which is identical to the table top.

Step 4
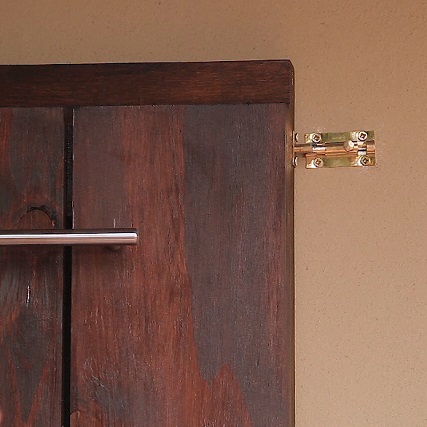
Line the two structures up against a wall to ensure they’re square, the leg at 90° to the table top, then put your hinges in place and screw the two pieces together.
Step 5
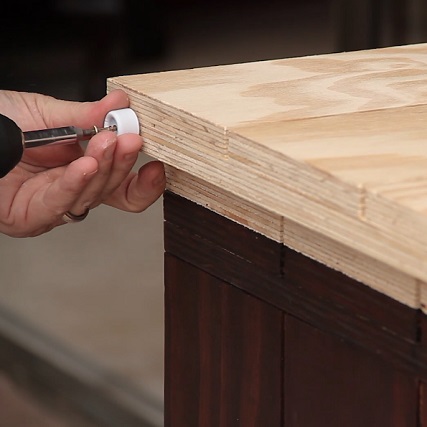
Attach the rubber feet to the bottom of the table leg, to raise it off the ground slightly.
Step 6
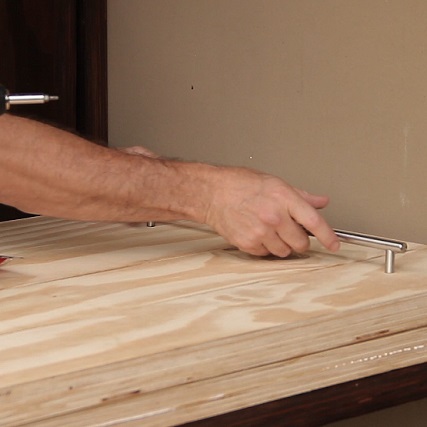
Mark out the location of the handle – about 95mm from the top of the leg – and then drill holes where it will be attached.
Step 7
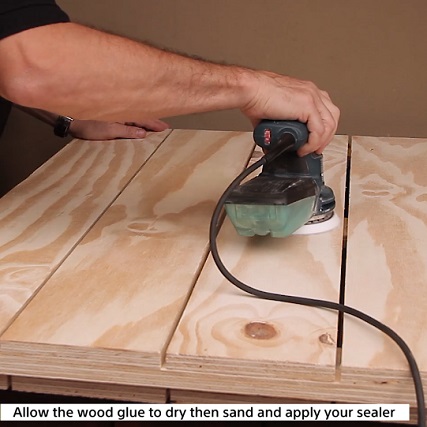
Sand the timber.
Step 8
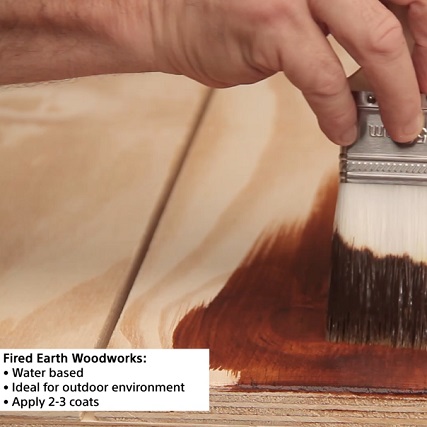
Stain and seal your wood using 2 to 3 coats of your desired colour before screwing the handle in place through the predrilled holes.
Step 9
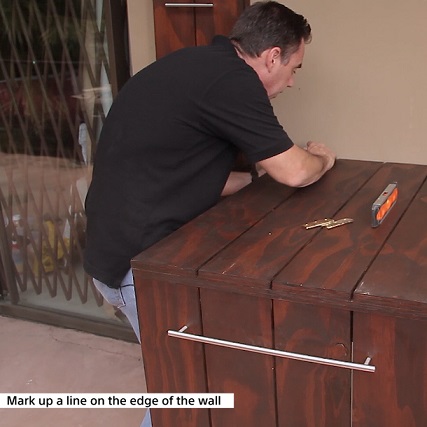
Lay the table in the desired location, using a spirit level to ensure the table top is level, and mark a line along on the wall. This line will mark where the top edge of your hinges should go. Remove the table and drill holes for the hinges using a masonry drill.
Step 10
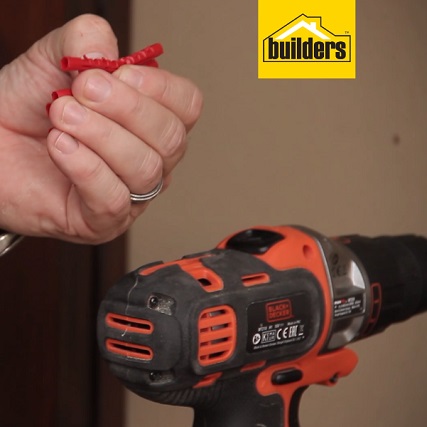
Use wall plugs and screw to fasten the hinges to the wall.
Step 11
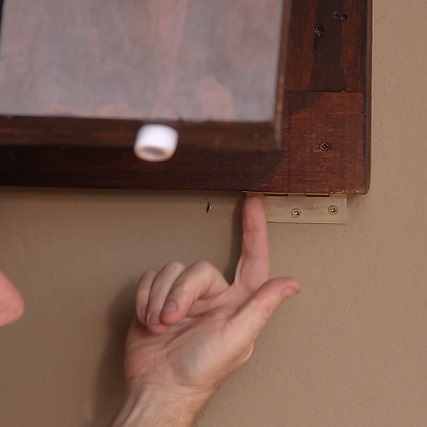
Next get someone to help you hold the table in position while you attach the bottom edge of the hinge to the underside of the table.
Step 12
Use the same procedure for the latches to hold the table up again the wall. (Mark out the location, drill holes, use wall plugs and screw into wall.)
TopTip: If you are making chairs to accompany your table, use exactly the same method, however you will need to adjust the height of the chair leg and only use two slats for the top of the chair.
Browse 1000’s of products available to you. Select your country to Shop Online.


