We show you how to make a couch arm table to suit your style while making your lounging time convenient.
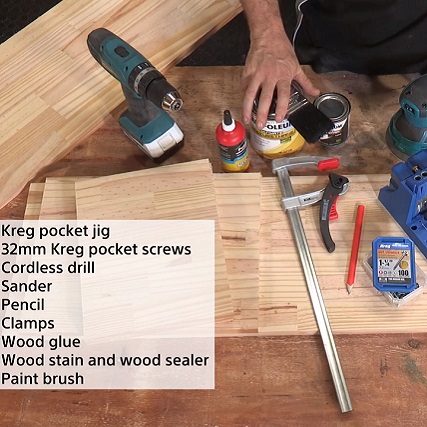
- 1.8m x 305mm x 19mm laminated pine panel
- 32mm Kreg pocket screws
- Wood glue
- Wood stain and sealer
- Kreg pocket jig
- Cordless drill
- Sander
- Pencil
- Clamps
- Paintbrush

Step 1
Begin by measuring the arm of your couch. Measure at the widest point of the couch’s arm, and add 38mm to this measurement to take into account the two 19mm legs. Measure the desired length of the table legs. (Our couch table measured 395mm across the top and 340mm for the legs).
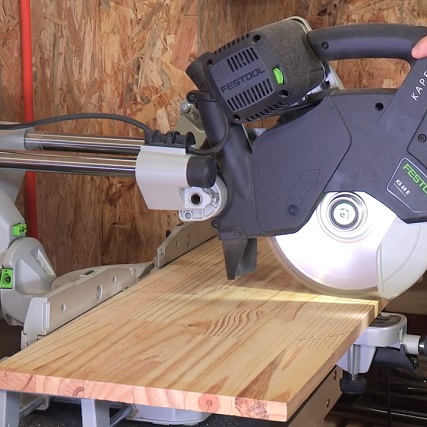
Step 2
Use a mitre saw to cut the timber, or alternatively get Builders to cut the timber for you.
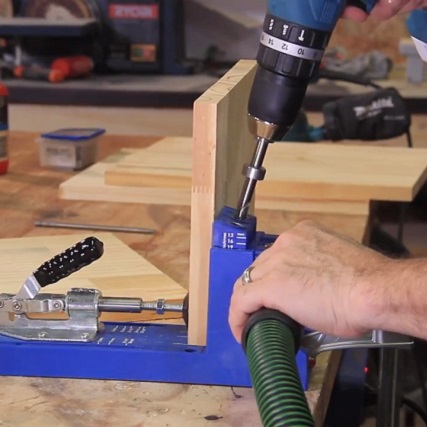
Step 3
Use the Kreg jig and a drill to drill three pocket holes into each of the legs. Do this by securing the legs to the jig and drilling down into the timber.
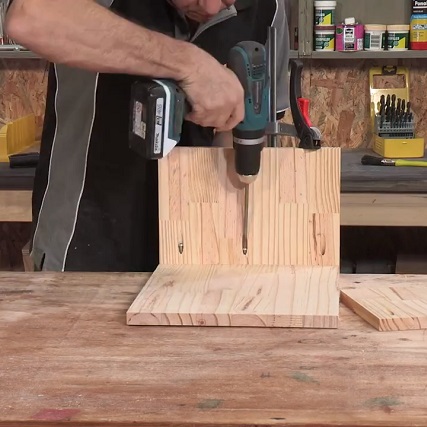
Step 4
Clamp the leg piece to the underside of the table top, using wood glue between the mating surfaces to ensure a tight bond. Screw in the screws and remove the clamp. Repeat the process for the second leg.
Step 5
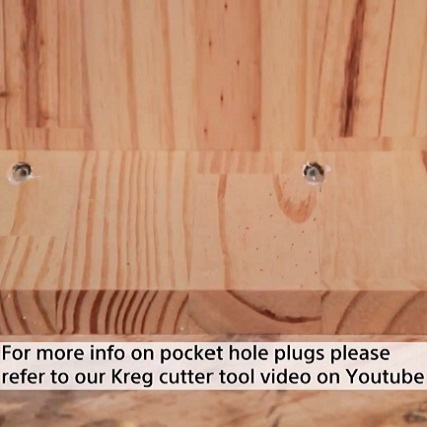
Fill the holes using wood filler or Kreg pocket hole plug inserts, or you can make your own using the Kreg pocket hole cutter. Alternatively, leaves the holes as they won’t be visible beneath the table top.
Step 6
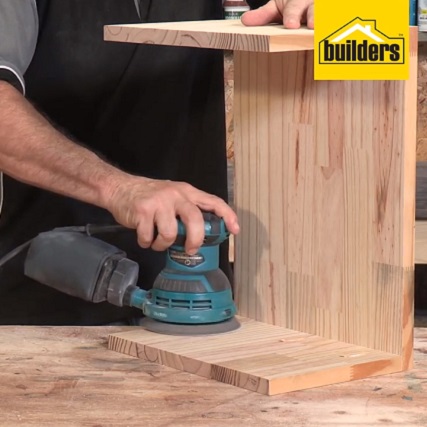
Sand the timber to remove any splinters or sharp edges.
Step 7
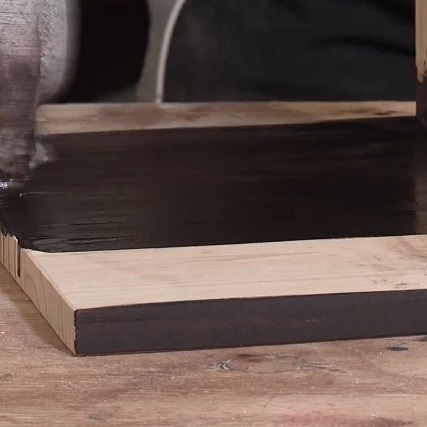
Stain the couch table the use at least 2 – 3 coats of wood sealer to protect the timber, allowing it to dry between coats. Once dry your couch table is ready to use!
Browse 1000’s of products available to you. Select your country to Shop Online.


