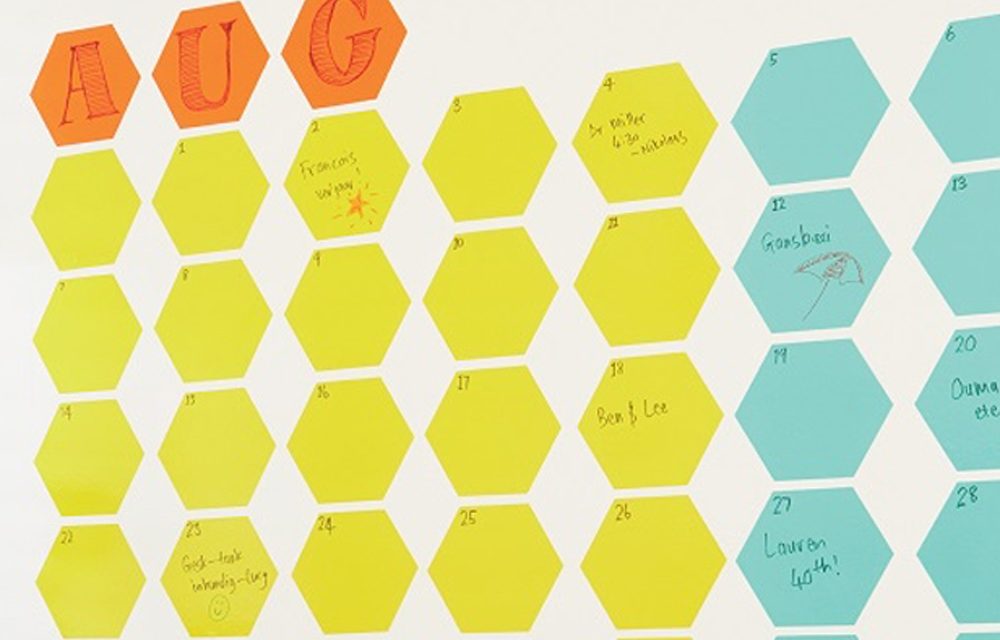
Organise your family’s schedule on this funky home office calendar. Such a simple DIY!
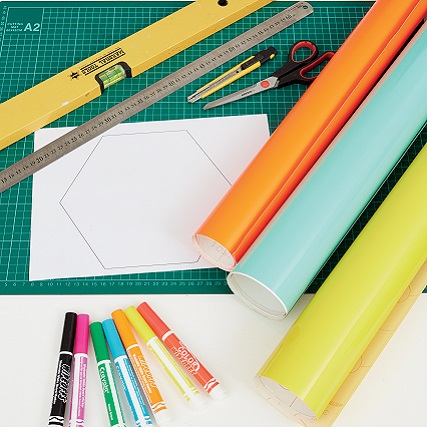
- steel ruler
- craft knife or scissors
- cutting mat
- pencil
- tape measure
- spirit level
- vinyl in three colours of your choice
- whiteboard markers
- hexagon template
Step 1
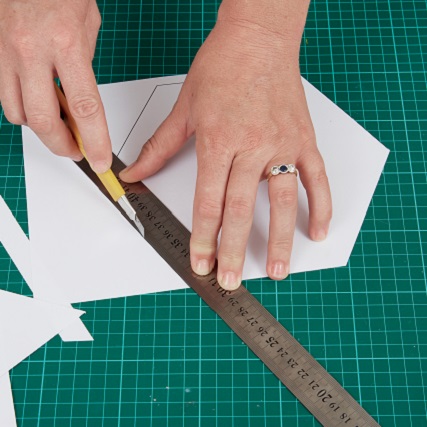
Download, print and cut out a template or create your own.
Step 2
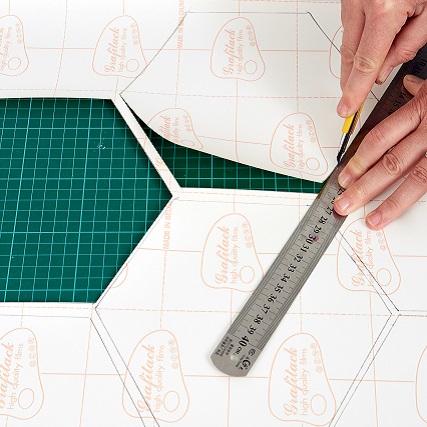
Trace the hexagon onto the back of the self-adhesive vinyl. You’ll need three for the name of the month, 25 for the weekdays and 10 for weekends. Cut out the shapes using the craft knife.
Step 3
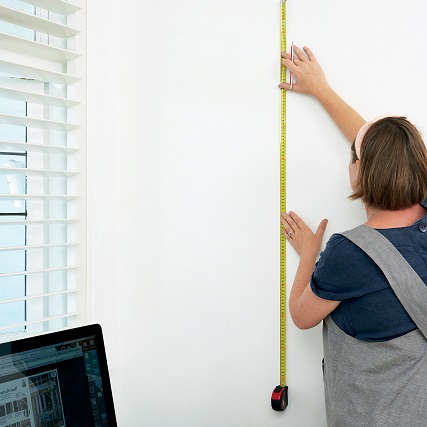
Measure and mark where the calendar will go on the wall; it will take up a space of about 1.2 x 1.6m.
Step 4
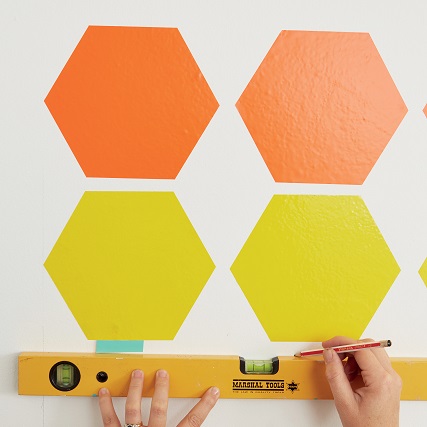
Use the spirit level to help you position the hexagons in straight lines on the wall. We also made a 15mm-wide spacer to help us keep the negative space between the shapes the same.
Step 5
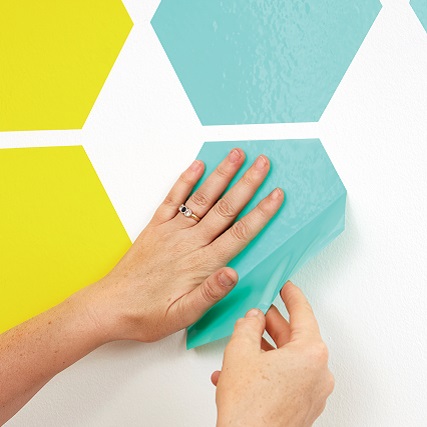
Remove the backing and smooth the vinyl out from one side so it sticks evenly on the wall with no air bubbles.
Step 6
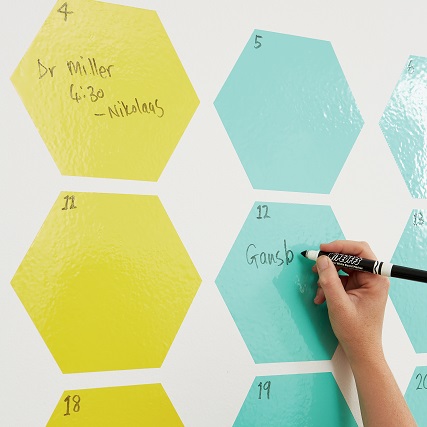
Use whiteboard markers to write the name of the month and the dates in the hexagons, then fill them in with appointments and events.
Project notes
- You can create the same effect with blackboard vinyl or you could even paint the hexagons on the wall with blackboard paint.
- Alternatively, you can use acrylic wall paint in the colour of your choice and cover it with a clear blackboard coating.
Credits
Referenced from Gallo images / Home Magazine
Browse 1000’s of products available to you. Select your country to Shop Online.


