
Here at Builders we will bring you updates on trends, colour forecasts, product innovations, painting tips and a good few ideas on how to use the vast range of products in our store to transform your home.
“We clean to paint, not paint to clean.” – Darrin Mail, Paint Merchandise Manager
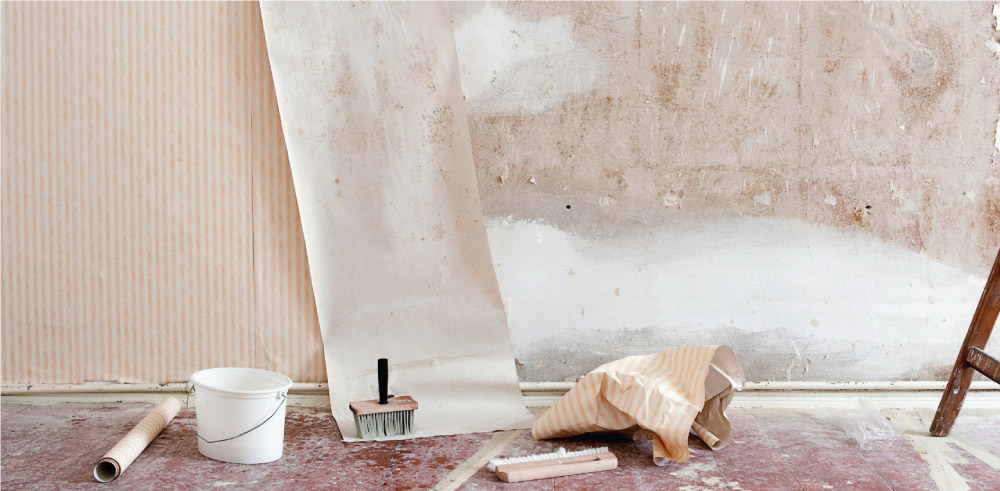
Those walls are staring at you day after day. You’re itching to get stuck in and bathe them with paint completely and smoothly. But you can’t, not yet, because incompatible surfaces may cause your walls to go to war.
Before you even think about picking up a roller or a brush it is vital to prepare all of your surfaces (ceilings, walls, floors, cornices, skirtings and doors included). Paint is fussy; if a wall is dirty, greasy, glossy, crumbly, damp or scuffed, even the best paint will eventually peel off.
In this post, The Power of Paint, we’re going to arm you with the knowledge to take on any surface. Remember too, that you can ask any of our professionals in-store for assistance.

Interior Surfaces
It is important to prepare your surfaces before you start to do any work on your walls.
- Clean the room thoroughly, vacuum and dust all surfaces.
- Remove pictures from your walls, door knobs and handles from your doors. Remove light switch covers.
- Protect your furniture and floors by covering them with drop sheets or clear room as far as possible.
- Place masking tape around all of your rooms’ built-in features, as well as skirting boards and windows.
- Make sure the room is well-ventilated and well-lit. This will help with the painting and drying process.
- Don’t forget to wear old clothes, paint gloves and a mask/respirator. This is especially important when sanding, spray-painting or using solvent-based coatings in a confined space.
- Before painting, the surface needs to be washed down with sugar soap.
- Wait a few hours then wipe your wall with plain water to neutralise the sugar soap.
- Allow your walls enough time to dry. This process saves you at least 20% of paint – a huge amount!
- Stir paint thoroughly during the paint process with a flat paddle/stirrer. Do not use a round broom stick, as this does not disperse the pigments & paint ingredients correctly, that may have settled over a period of time.
“Preparation is the mainstay of a good painting job. Paint doesn’t peel on its own. It’s what is underneath that generally causes the problem.”
– Darrin Mail, Paint Merchandise Manager

Exterior Surfaces
It is equally important to prepare your exterior surfaces as your interior surfaces. However, be aware that the process does differ slightly.
- Before painting, wash down your walls with water. This process saves you 20% on coverage.
- Start by painting the roof, barge boards, walls and gutters and then painting down the pipes, followed by the windows and doors.
- When painting your roof you must always work opposite to the sun. Because of the intensity of heat between midday and 2pm, it is best not to paint at this time. You will end up using double the quantity of paint.
- If you paint in direct sunlight, the paint will dry too quickly, causing you to use at least double to what you budgeted for.
- After the first coat dries, which will take a few hours, always apply a second coat using the applicable roller or brush. Paint failures on roof are normally due to over spreading the paint. The paint film requires a minimum of 2 layers or coats to ensure it performs as originally designed.
How’s the weather?
The weather at the time you choose to paint plays a large role in the outcome.
- It is preferable to paint in the dry season, when no rain is expected.
- It is best to paint when the weather is warm but never above 32°C. Painting in damp conditions when the weather is below 10°C is also not recommended.
- If you find yourself having to paint in these conditions, ensure the room is heated and that there is good ventilation to speed up the drying process.
- Make sure that there is no moisture on the surface you are painting, unless otherwise indicated on the manufacturer’s printed instructions.


Step 1
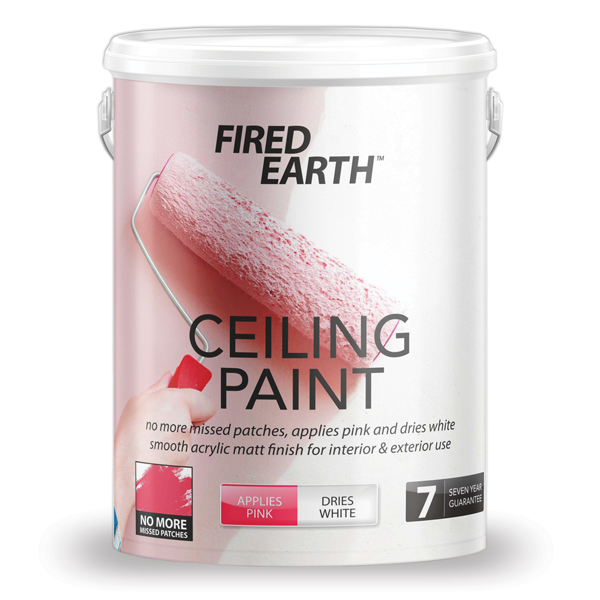
Ceilings and Cornices
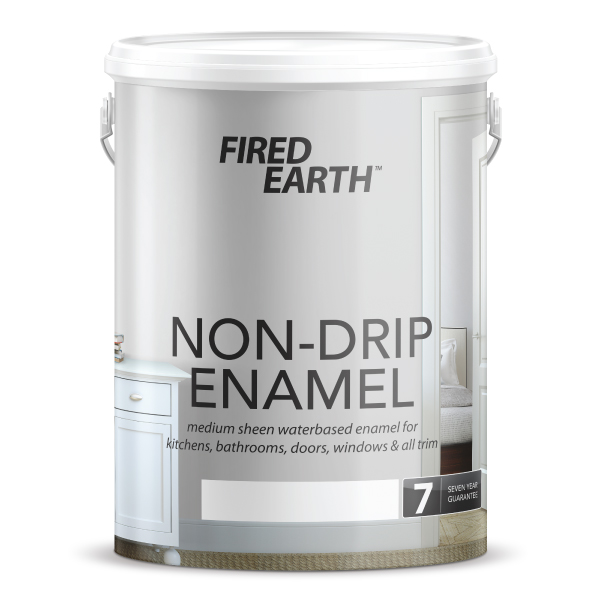
Start with the window end of the room. Using a brush, paint carefully around masked edges. When done, apply paint with a roller to the remaining surface areas. Using Fired Earth Pink to White Ceiling Paint helps to ensure total coverage, without missing a spot. There is nothing worse than having to get back up the ladder.

Step 2
Walls
First coat: Using a brush, paint carefully around masked edges. Apply paint with a roller to the remaining surfaces. Don’t stop in the middle of the wall – you will leave a line.
Second coat: Repeat the same process as the first coat. From the ceiling downwards, work in horizontal bands. Always keep a wet edge by working in small sections.


Step 3
Woodwork, Windows &Skirting Doors
Use a brush for the undercoat. After which apply the finishing coat with a brush or roller.

Step 4
Doors
Follow the ‘inside-out’ rule. For panel areas, apply paint in one direction and feather it out in the other direction.
“Boxing your paint: if using multiple cans of the same paint colour, mix together
to obtain uniform colour.”
– Darrin Mail, Paint Merchandise Manager.
Step 5
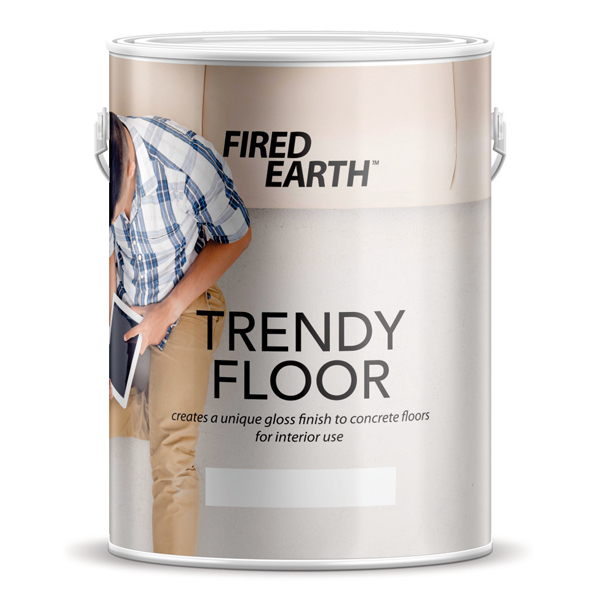
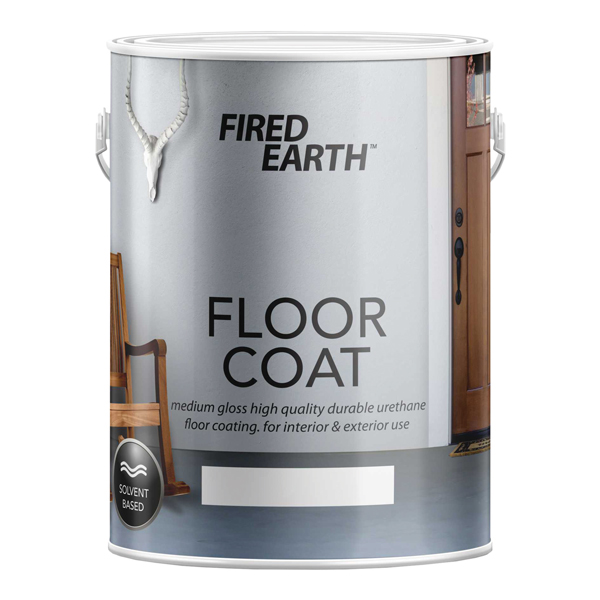
Floors
Paint your floors by hand, beginning with a 50 mm brush in the corners and finishing with a 100-150 mm-wide brush or roller, depending on your product specification.
“Painting is easy when you don’t know how, but very difficult when you do.”
– Edgar Degas

The tips and tricks you probably don’t know!
Memorise these to help you save money and time.
- Vacuum or dust surfaces – preferably wash with sugar soap.
- Scrub splatters, scuffs and crayon marks from your walls and ceilings.
- Use the appropriate sealers to cover grease and water stains.
- Sand glossy surfaces to a dull texture, this creates a key to allow the required bonding. Alternatively you can use an abrasive cleaner or primer.
- Flatten peeling paint, bubbles and loose plaster.
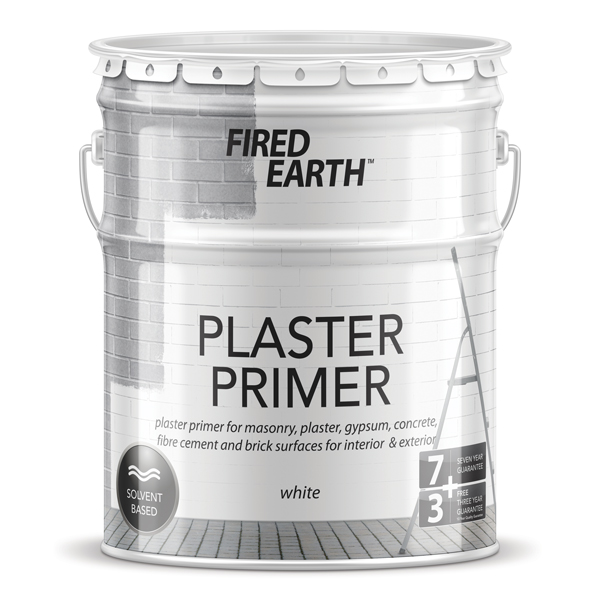
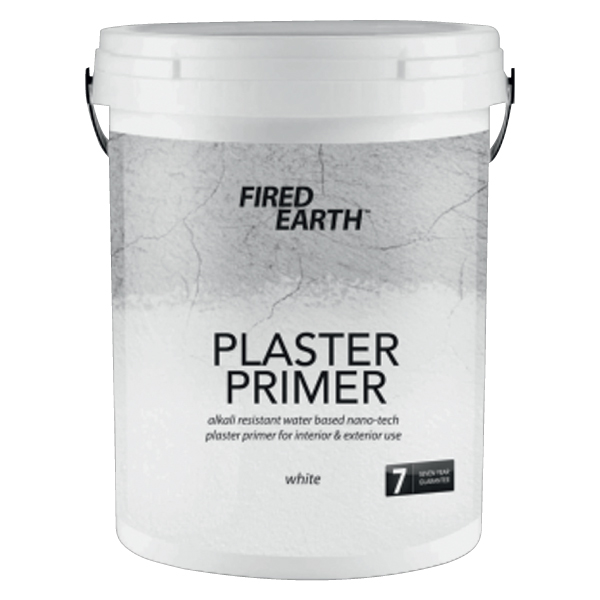
- Use a putty knife or scraper to undercut small cracks and holes. Follow by priming with a plaster primer
pack with correct filler and prime again before painting.
All about primer
Saves you time and money!
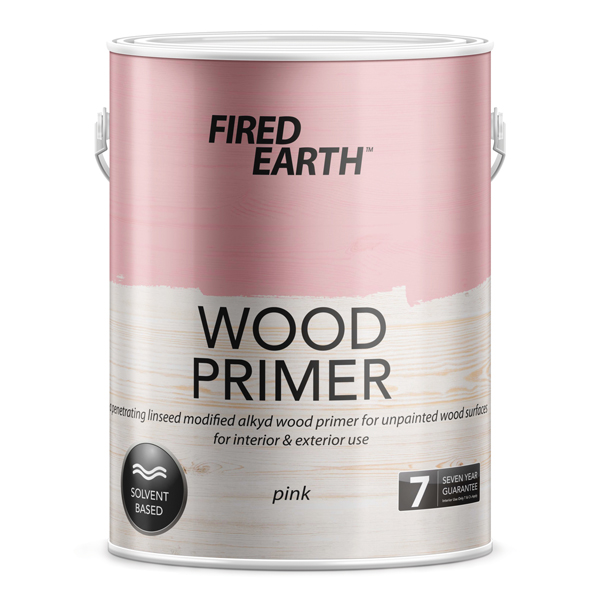
- Use a plaster primer to prime raw surfaces – those areas that have never been painted before.
- If you are changing the shade of your wall from a light to a dark shade, always use a primer. Tint your primer to a lighter shade of the colour you wish to achieve; a dark colour over a light colour.
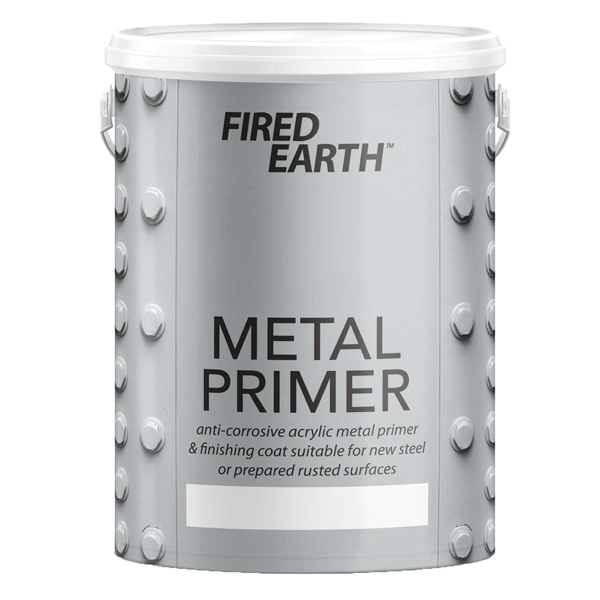
- Don’t use all-purpose primers if possible. Use a primer specifically designed for the surface area of the job at hand.

Any wall can be repaired and repainted. Arm yourself with the correct information and be prepared to put in the work. Buy a skim coating which will smooth out damaged surfaces.


- Wear a hat that protects your hair.
- Stir your paint beforehand in a figure eight pattern using a flat paddle mixing stick. Don’t use round sticks, they don’t mix the paint, they only move it around.
- Always work from top to bottom.
- Oil-based paint should be applied with an excellent quality brush or foam rollers.
- When working with a roller, use long, back and forth movements in a “W” pattern. Each stroke must smooth the edges of the one before it.
- Remember that water-based paints do look patchy at first, but they will even out.
- When painting, never stop in the middle of a wall. Always paint corner to corner.
- Be careful not to paint yourself into a corner.

“When in doubt read the instructions on the back of the tin”
– Darrin Mail, Paint Merchandise Manager
Painting Shopping Checkist
Download our Paint Colour Cards


Browse 1000’s of products available to you. Select your country to Shop Online.


