
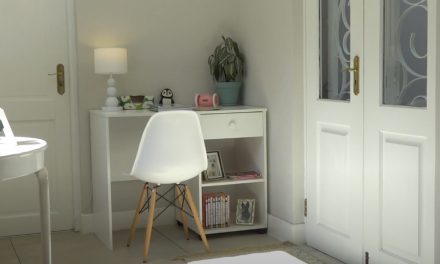
This lampshade made of wood is the perfect decoration for your bedroom or the living room – and it’s so easy to make!
- Scissors
- Pen/pencil
- Jigsaw
- G-clamp
- Drill with 6 mm drill bit
- Template from you.co.za
- 1 x A0 print
- SupaWood 6 x 600 x 900 mm
- White spraypaint
- 2 cable ties (10 x 2,5 mm)
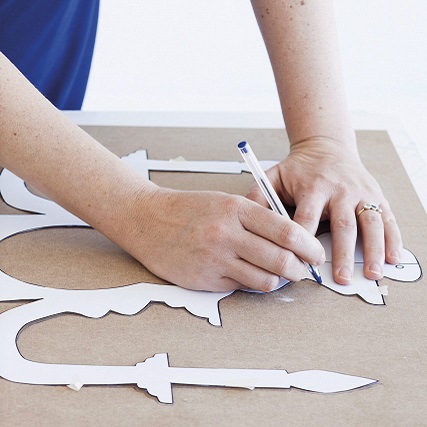
Step 1
Print out the template on A0-size paper. Cut the template out using scissors and trace it onto the SupaWood.
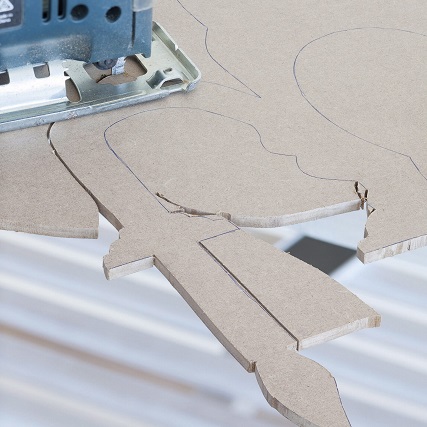
Step 2
Clamp the SupaWood down to your work surface and carefully cut out the shapes with the jigsaw.
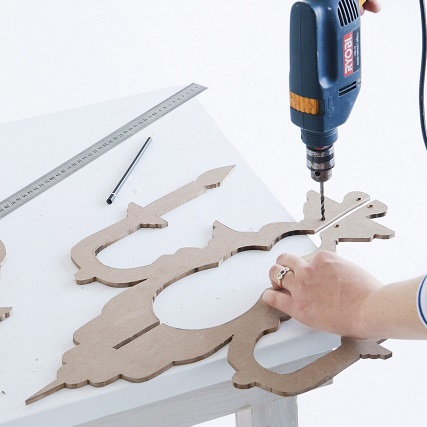
Step 3
Use the 6 mm drill bit to drill four holes in each plate on the marks shown on the template.
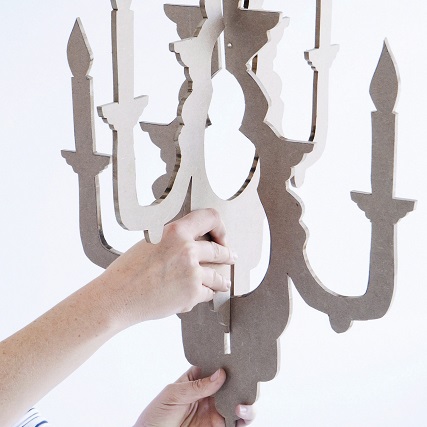
Step 4
Slide the two shapes at a right angle into each other.
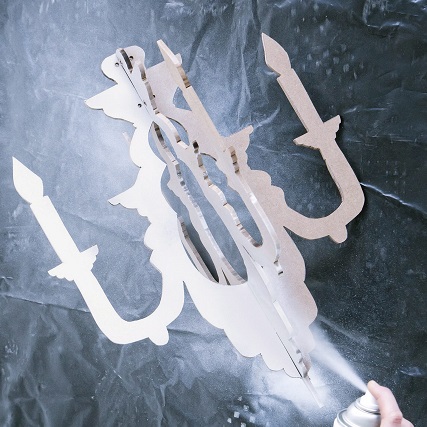
Step 5
Spraypaint the chandelier on all sides, with two coats.
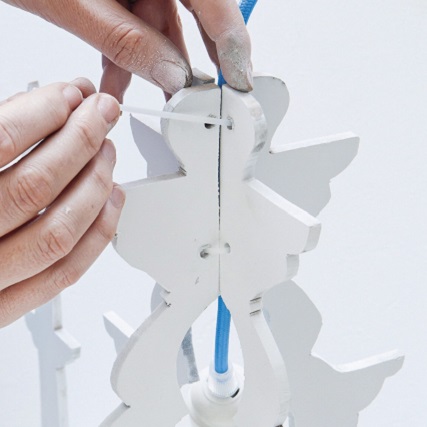
Step 6
Slip the cable through the open space at the top of the chandelier and tighten with cable ties. Get a qualified electrician to connect the pendant to the ceiling.
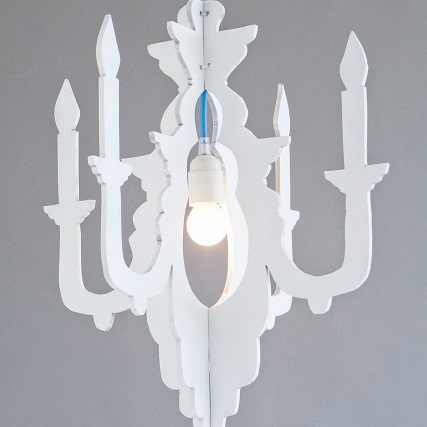
Your DIY is complete
Now your DIY chandelier is complete and ready to light up your living area.
Credits
Referenced from Gallo images / YOU Magazine
Browse 1000’s of products available to you. Select your country to Shop Online.


