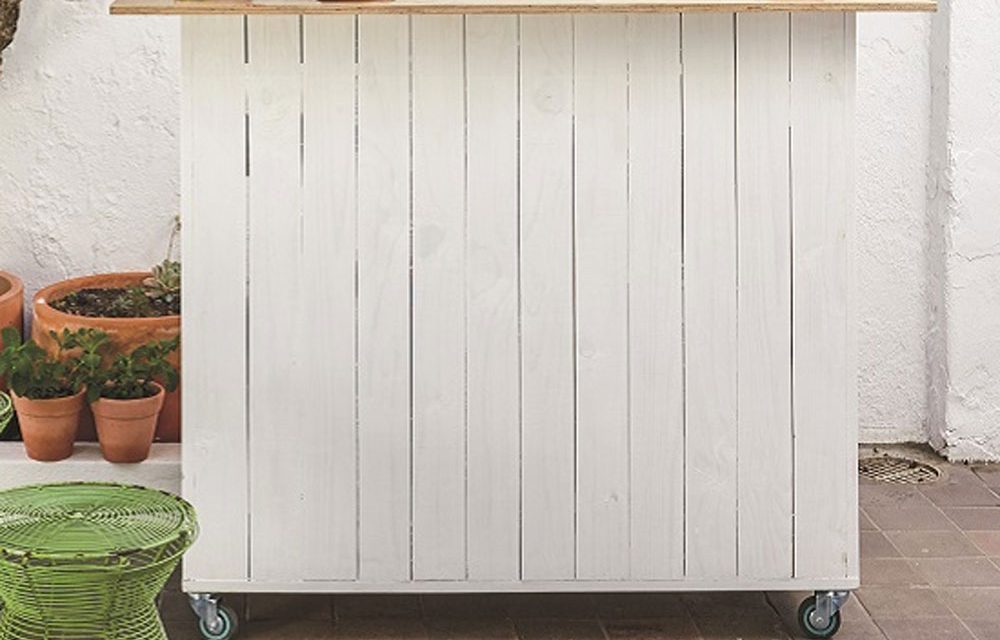
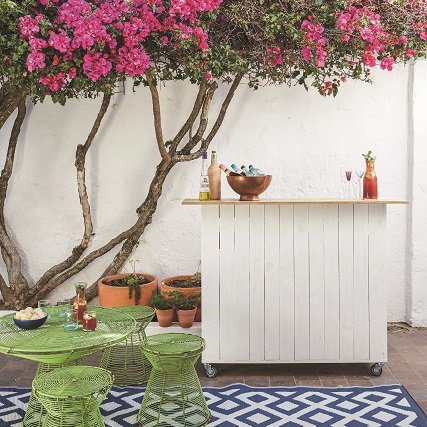
Make a mobile bar that can be moved wherever you want it – and get the party started! Such an easy DIY!
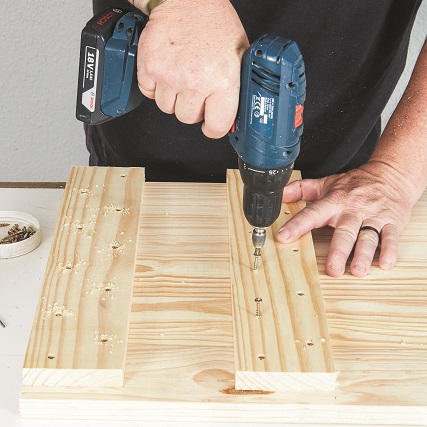
- Cordless drill and 3mm drill bit
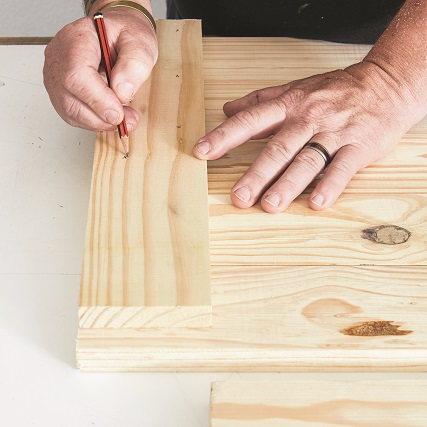
- Pencil
- Jigsaw
- Tape measure
- Square
- Paintbrush
- Scraper
- 4 plate castors (two with brakes)
- One packet of 8mm x 30mm chipboard screws
- Wood glue
- Wood filler
- 120-grit sandpaper
- Paint or varnish (optional)
- Planed pine (22 x 95 x 3 000mm), cut to:<
- twenty-two 1 000mm lengths
- three 1 090mm lengths, six 450mm lengths
- one 1 130mm length
- one 1 170mm length
- two 380mm lengths
- 18mm plywood, cut to:
- one 1 130 x 470mm length
- one 1 130 x 450mm length
- one 1 400 x 300mm length
Step 1
Place five of the 1 000mm planks side by side. Position a 450mm plank across each end and another 450mm plank 300mm in from the top end. Make sure the horizontal planks are flush with one side and 22mm in from the other. Glue and screw together and repeat for the other panel so they are mirror images of each other.
Step 2
Make the front in the same way with the remaining twelve 1 000mm planks and three 1 090mm planks.
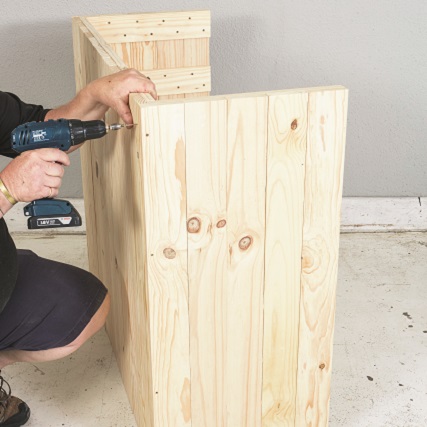
Step 3
Screw the two side panels on either side of the front panel.
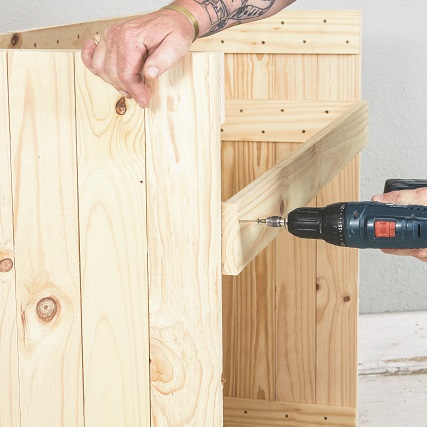
Step 4
Use the 1 130mm plank to reinforce the back of the bar and to help keep the structure square; screw it to the middle horizontal planks of the side panels.
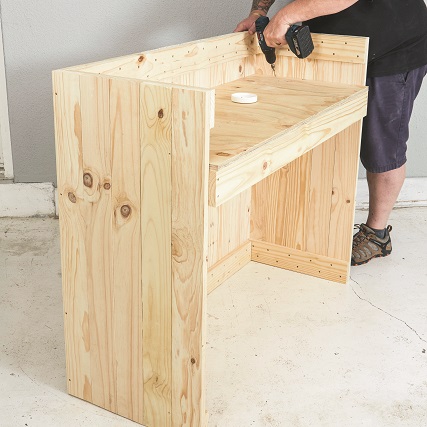
Step 5
Place the 1 130 x 470mm plywood piece in position on the middle horizontal planks and reinforcing plank and screw it down to form the countertop. Screw the 1 130 x 450mm plywood piece to the lower horizontal planks to form the bottom shelf.
Step 6
Turn the bar upside down and screw the 1 170mm plank to the bottom of the front panel; then screw the two 380mm planks to the bottom of the side panels.
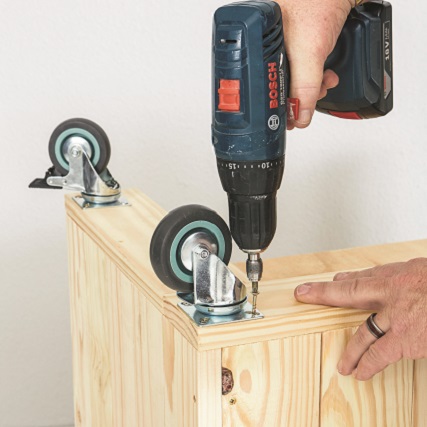
Step 7
Attach the castors onto the four corners of your structure.
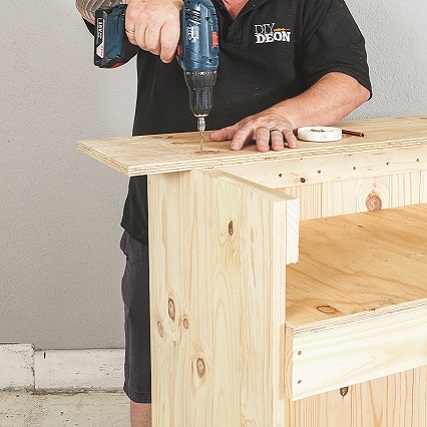
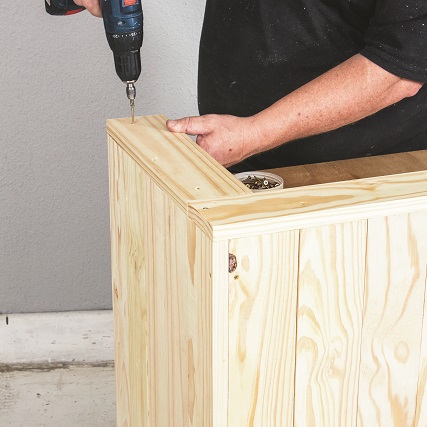
Step 8
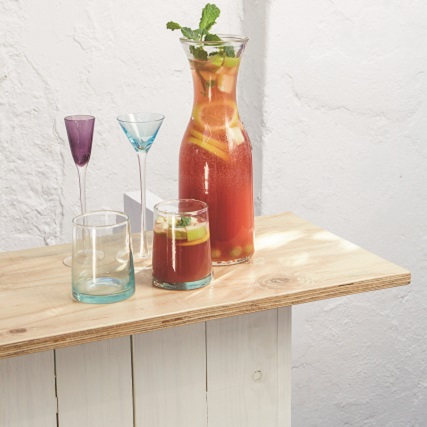
Turn the bar the right way up again and screw the 1 400 x 300mm plywood bar counter on top, making sure there is an equal overhang on the front and sides. Fill all visible screw holes with wood filler and allow to dry completely. Sand the entire structure thoroughly with 120-grit sandpaper before you paint or varnish in the finish of your choice. We painted the bar white with Duram NuGlo and sealed the countertop with Woodoc Water-Borne Floor.
Project Notes
- Sand the wood beforehand.
- Remember to drill pilot holes.
Credits
Referenced from Gallo images / Home Magazine
Browse 1000’s of products available to you. Select your country to Shop Online.


