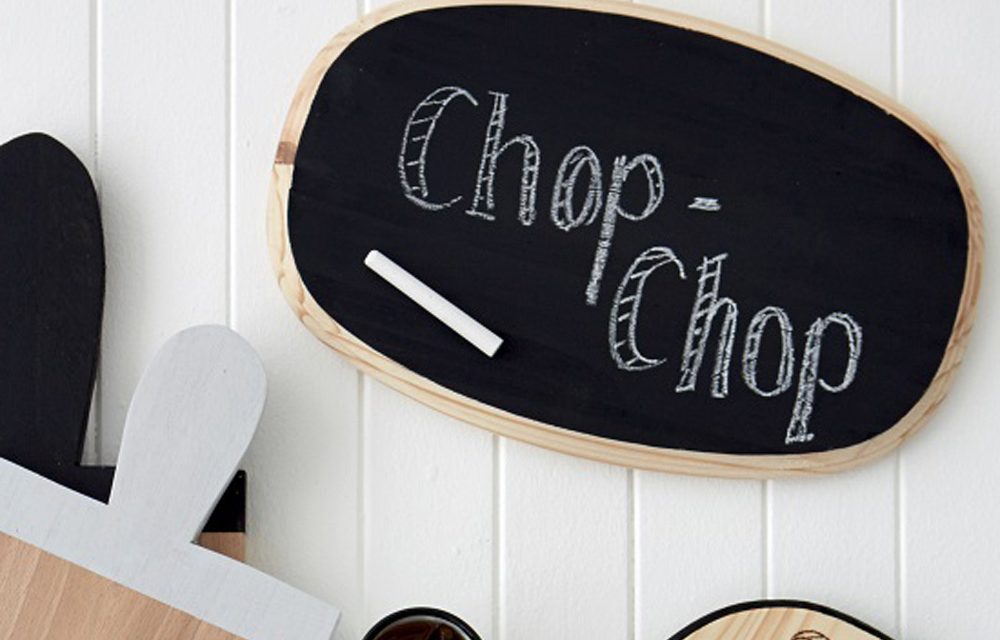
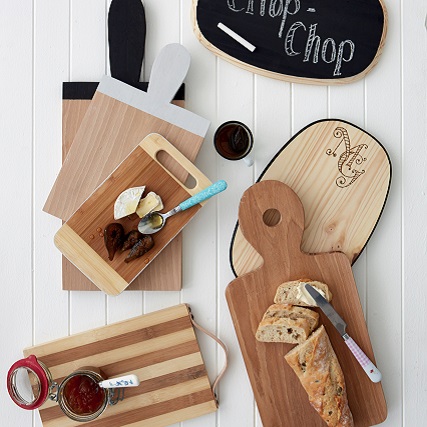
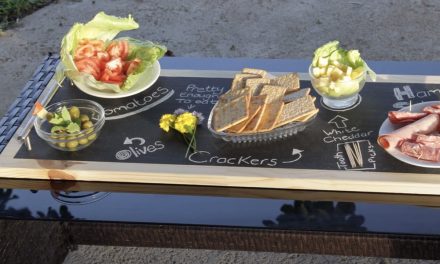
In this DIY, we show you how to add interest to old cutting boards or make your own from scratch.
- beech wood offcuts (hardwood is available from specialist timber outlets)
- mineral oil (also known as liquid paraffin, available from your local chemist)
- A4 sheet of paper
- pencil
- pair of scissors
- masking tape
- ruler
- G-clamps
- jigsaw
- drill with 35mm spade bit
- sandpaper
- electric sander (optional)
- cloth
Step 1
Make a template for the handle of your chopping board. Use the A4 sheet: fold it in half lengthwise and draw the design of half a handle against the fold. Cut it out.
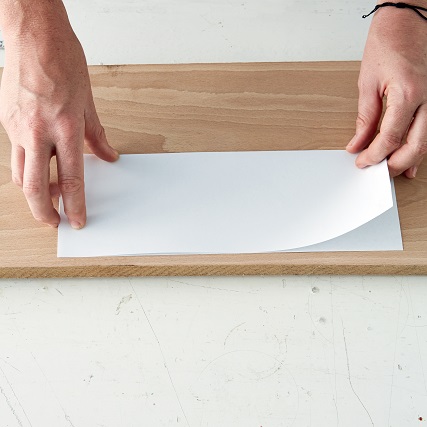
Step 2
Fold the round section of the handle again to determine the centre point. Place your template on the timber and secure it in place with masking tape. Use a sharp object to pierce the paper in the centre and mark it on the timber.
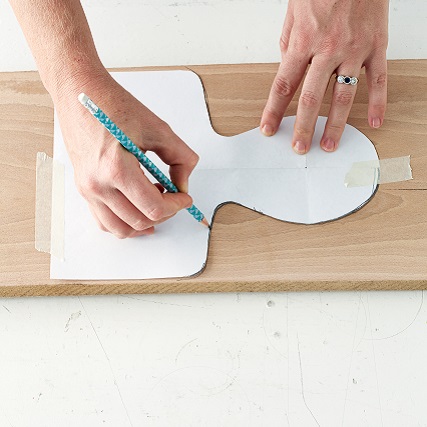
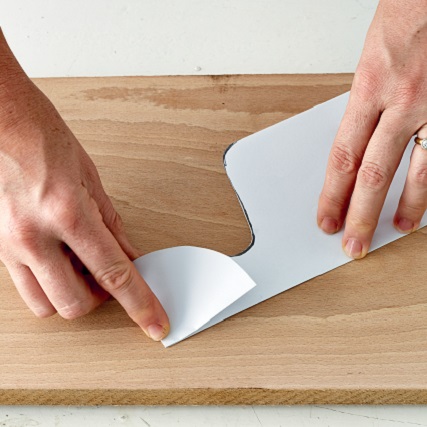
Step 3
Trace the shape of the handle on the timber.
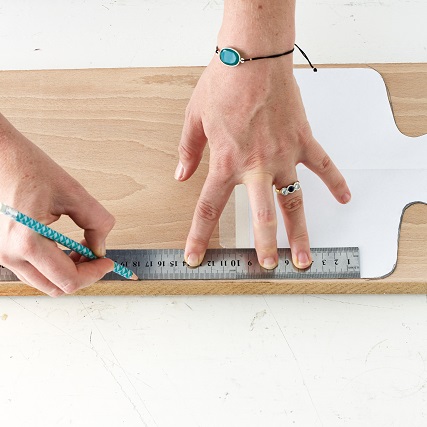
Step 4
Extend the template to the desired length using a ruler.
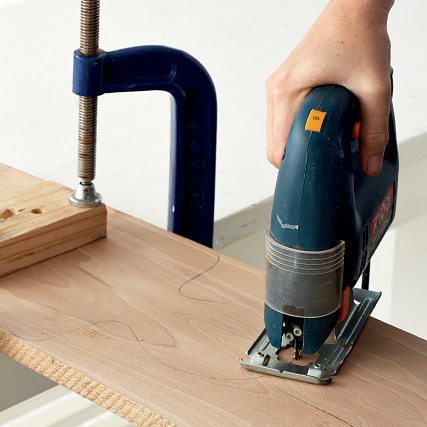
Step 5
Use the G-clamp to secure the timber onto your work surface. Cut the shape out with a jigsaw.
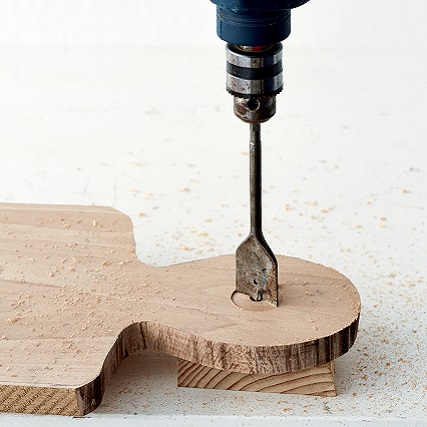
Step 6
Use the 35mm drill bit to drill a hole through the handle at the centre point.
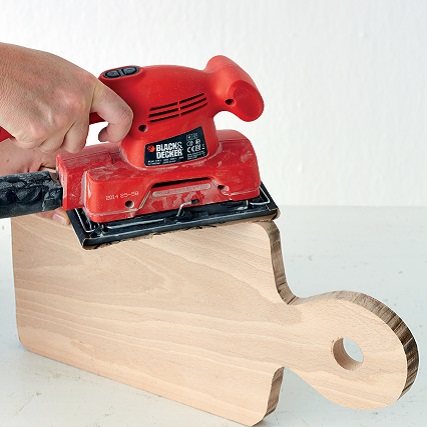
Step 7
Sand the edges smooth.
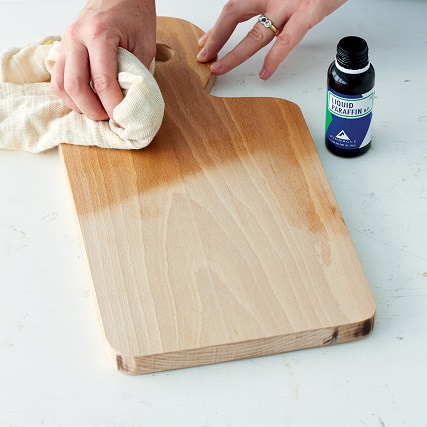
Step 8
Seal the board with mineral oil. Pour it onto a rag and rub it into the surface of the board until it’s soaked through and the mineral oil will no longer penetrate. Leave the board overnight. Wipe off any remaining mineral oil the following day then rinse the board and wipe dry with paper towels. Now it’s ready to use!
Now to paint the handles you will need:
- wooden cutting boards with handles
- non-toxic, water-based, stained wood sealant (we used Gripseal in the colours Ebony and Snow White from Builders)
- masking tape
- paintbrush
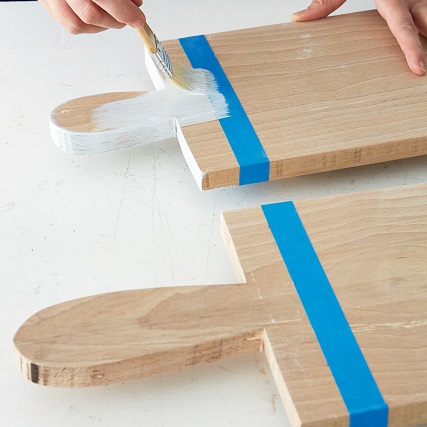
Here’s how you do it
Mask just below the handle and paint the area with the water-based stained sealant; we only painted 1 coat so the grain would show through but if you want a more solid look, apply 2–3 coats. Let the sealant cure completely for 12 hours before you use the board.
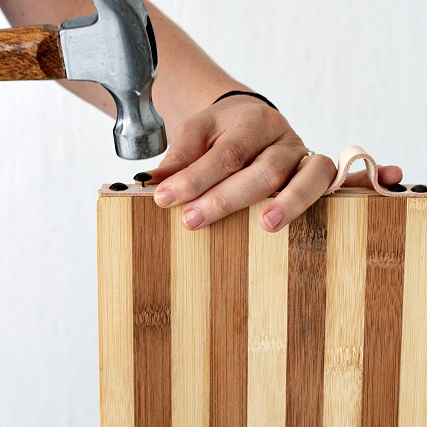
Try adding a leather handle
Cut offcut leather with a craft knife to the desired size for the handle. Then attach the leather strap to the short side of the chopping board with upholstery pins.
To etch a monogram you will need:
- wooden cutting board
- non-toxic, stained, waterbased wood sealant (we used Gripseal in the colour Ebony from Builders)
- The sealant is water-based and non-toxic but it isn’t foodsafe, so it should only be applied to areas of the board that won’t be in direct contact with food, such as the handles or sides.
- monogram design (or any other design you like)
- pen
- carbon paper
- masking tape
- soldering iron
- paintbrush
Here’s how you do it in 3 easy steps
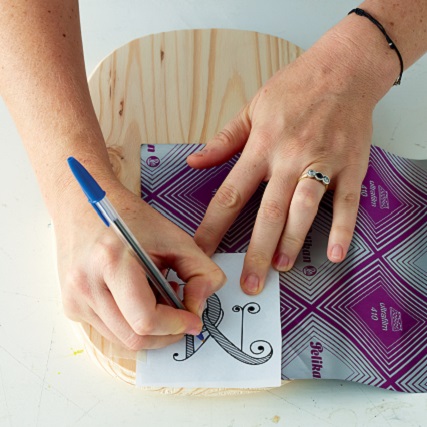
Step 1
Position your design on the cutting board and secure it in place with masking tape. Slip the carbon paper between the design and the wooden board. Trace it with a pen.
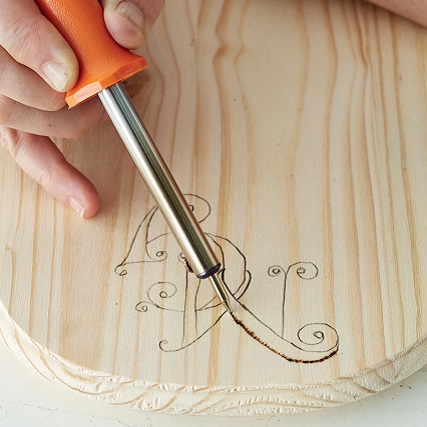
Step 2
Heat up the soldering iron and burn the lines of your design into the wood. This is a slow process; keep going until you achieve the desired effect.
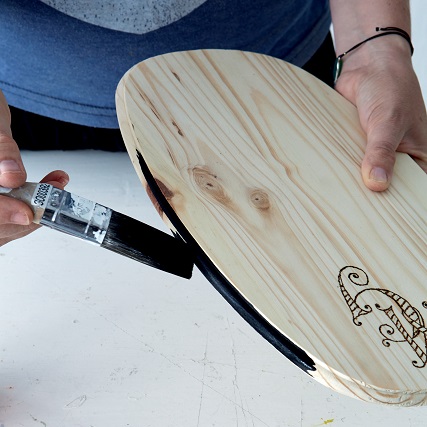
Step 3
Paint the edge of your board with the stained sealant to complete the look.
Credits
Referenced from Gallo images / Home Magazine
Browse 1000’s of products available to you. Select your country to Shop Online.


