An outdoor shower is a summer must-have. See how easy it is to build your own mobile version in one weekend – and enjoy it all summer long.
- waterproof wood glue
- 50mm chipboard screws
- 75mm chipboard screws
- shower rose
- tap
- hose connector
- brass Conex elbow connections
- 6m length of Polycop tubing
- thread tape
- drill
- pencil
- measuring tape
- tri-square
- hacksaw
- mitre saw (if wood is not pre-cut)
- corner clamp (optional)
- G-clamps (optional)
- hole saw or spade bit
Cutting List
- 74mm x 38mm treated pine cut to:
- two 924mm
- two 314mm
- two 442mm
- one 864mm
- one 788mm
- one 288mm
- 50mm x 38mm treated pine cut to:
- two 428mm
- two 2262mm
- five 219mm
- 44 x 22mm treated pine cut to:
- four 1000mm
- two 920mm
- two 2144mm
- two 2300mm
- two 378mm
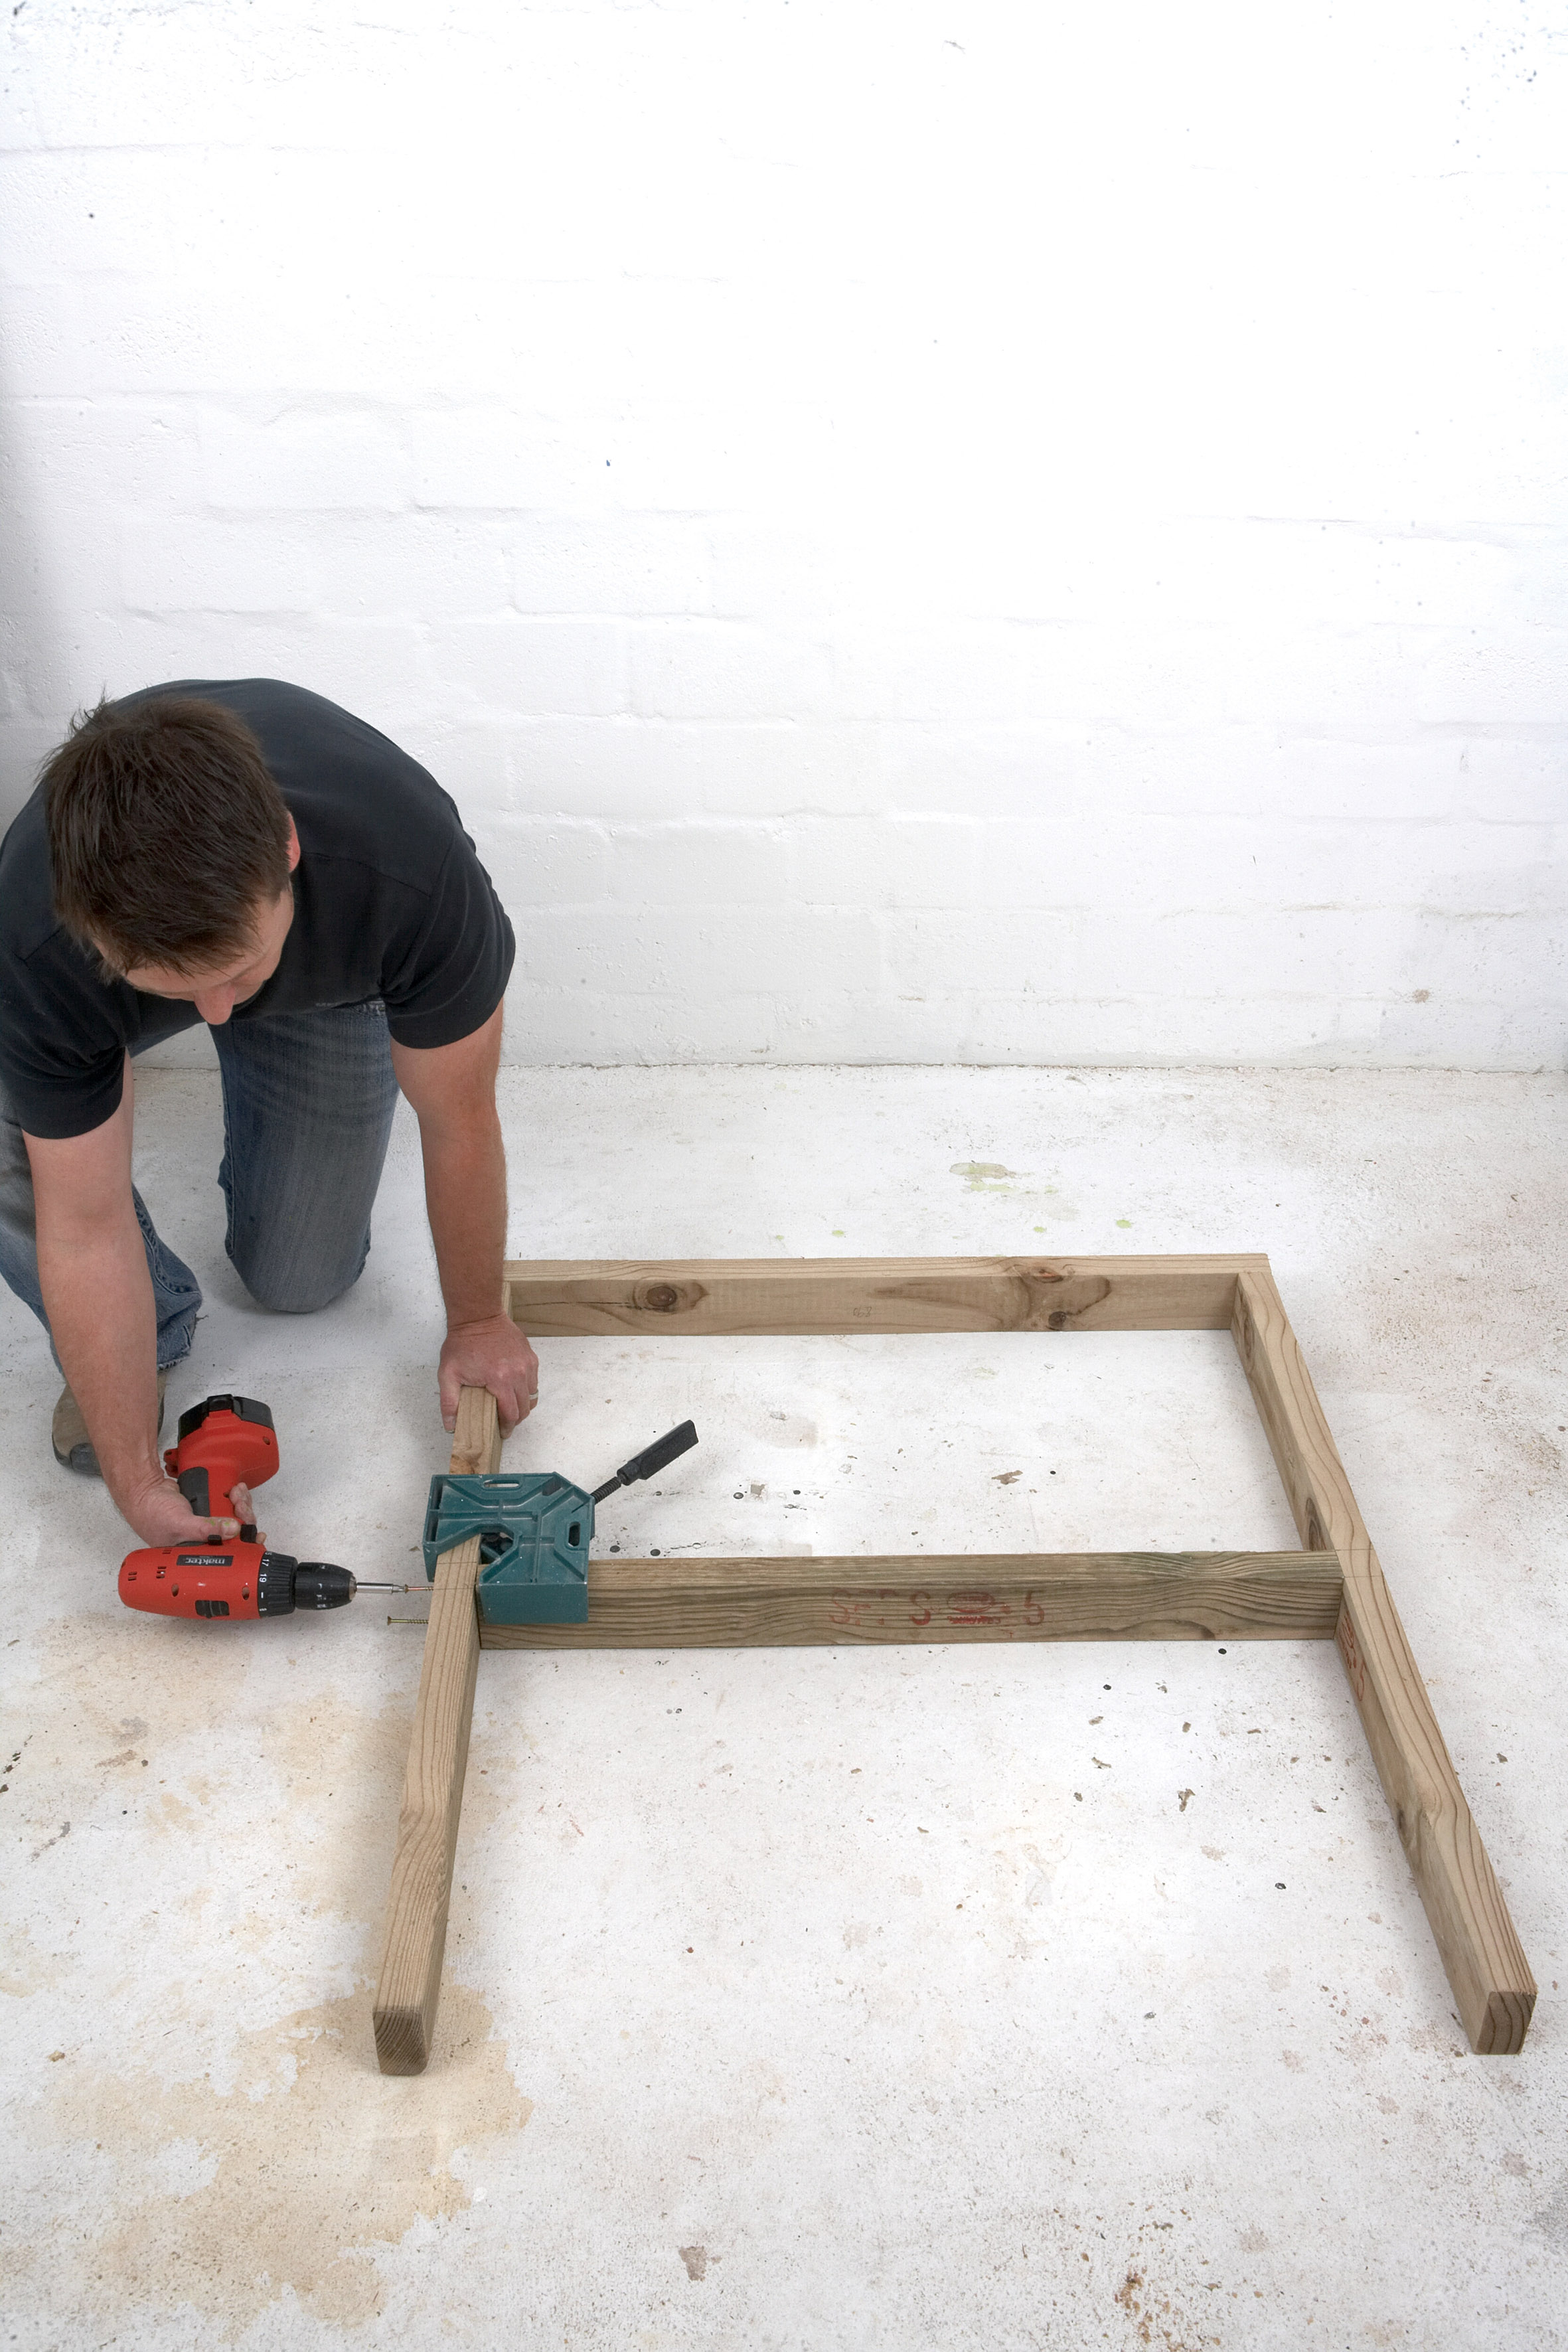
Step 1
Create the base framework. Fix the 864mm length across the ends of the two 924mm pieces (with the 788mm brace in-between). Refer to framework measurements on the sketch to correctly position the various lengths, preferably on a flat surface. Mark the points where the various parts of the framework will join. Use the pencil, measuring tape and tri-square to mark 38mm-wide bands on the outside parts and the ends of the framework components. You will drill pilot holes between these lines. TIP Use a corner clamp to hold pieces in position when drilling or screwing.
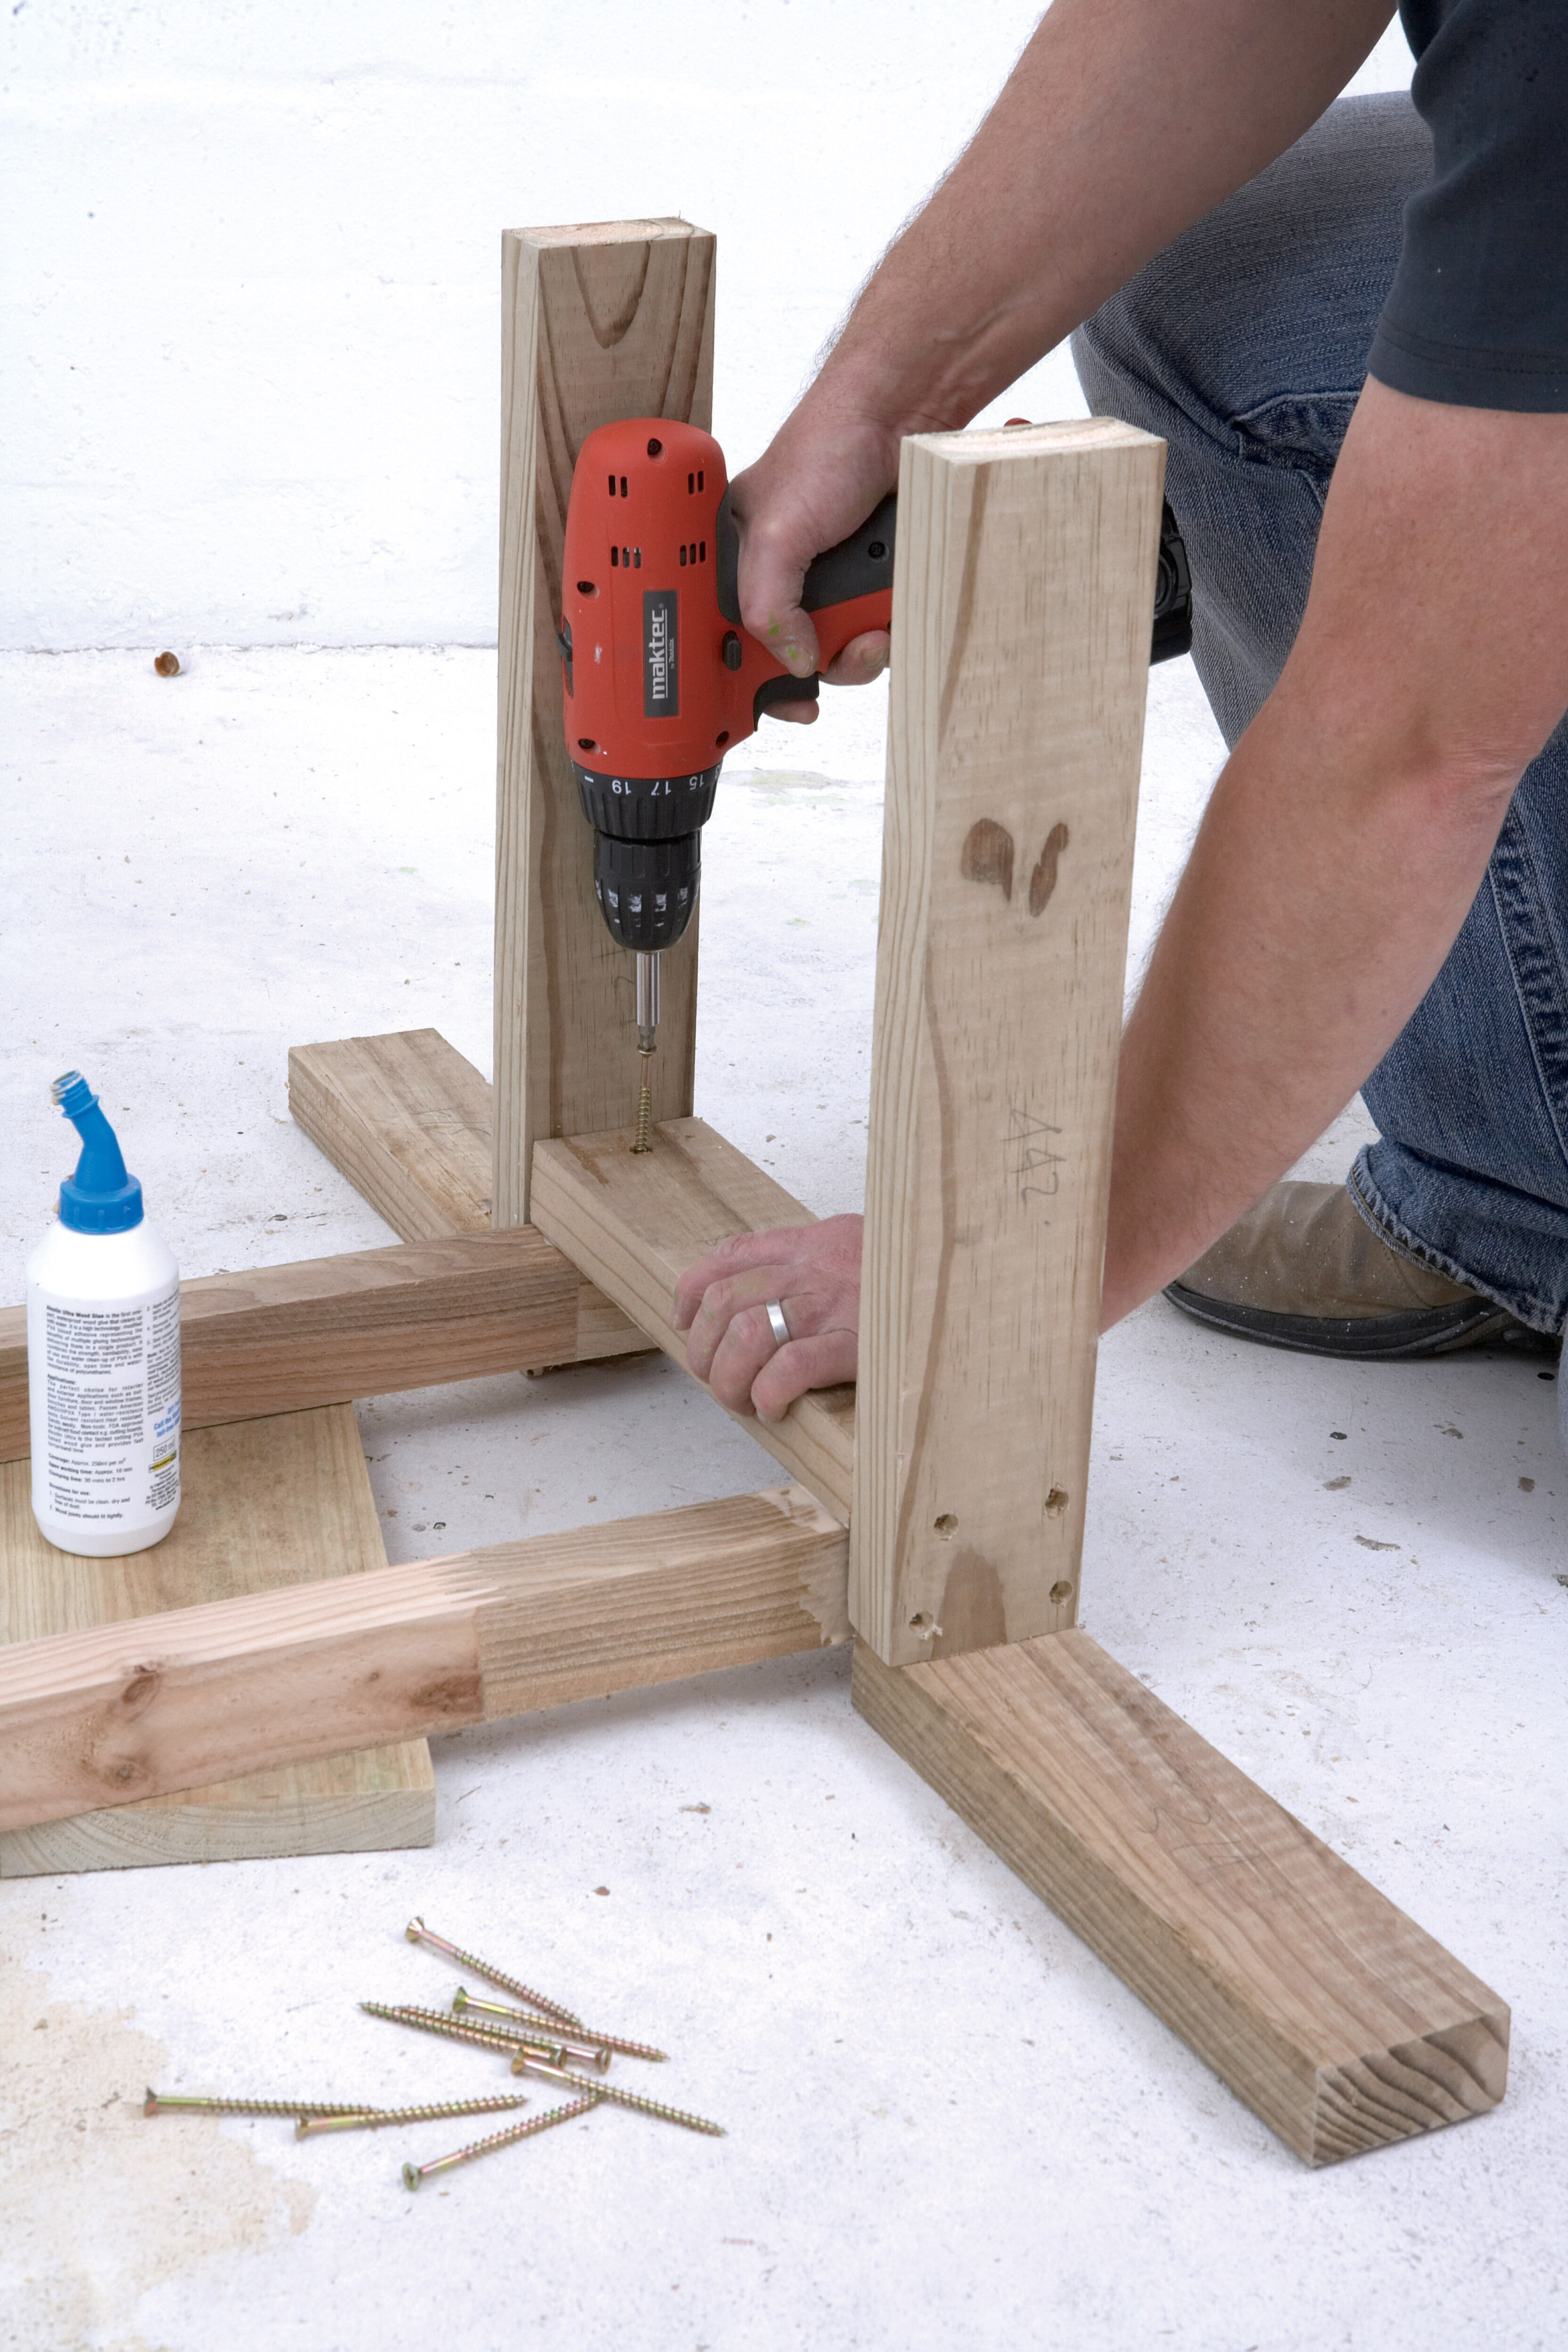
Step 2
Once you have constructed the basic frame, start building the upright and base of the shower frame. Fix the 314mm lengths to the 442mm lengths. Then fix the 288mm length in-between, allowing space for the 2262mm uprights.
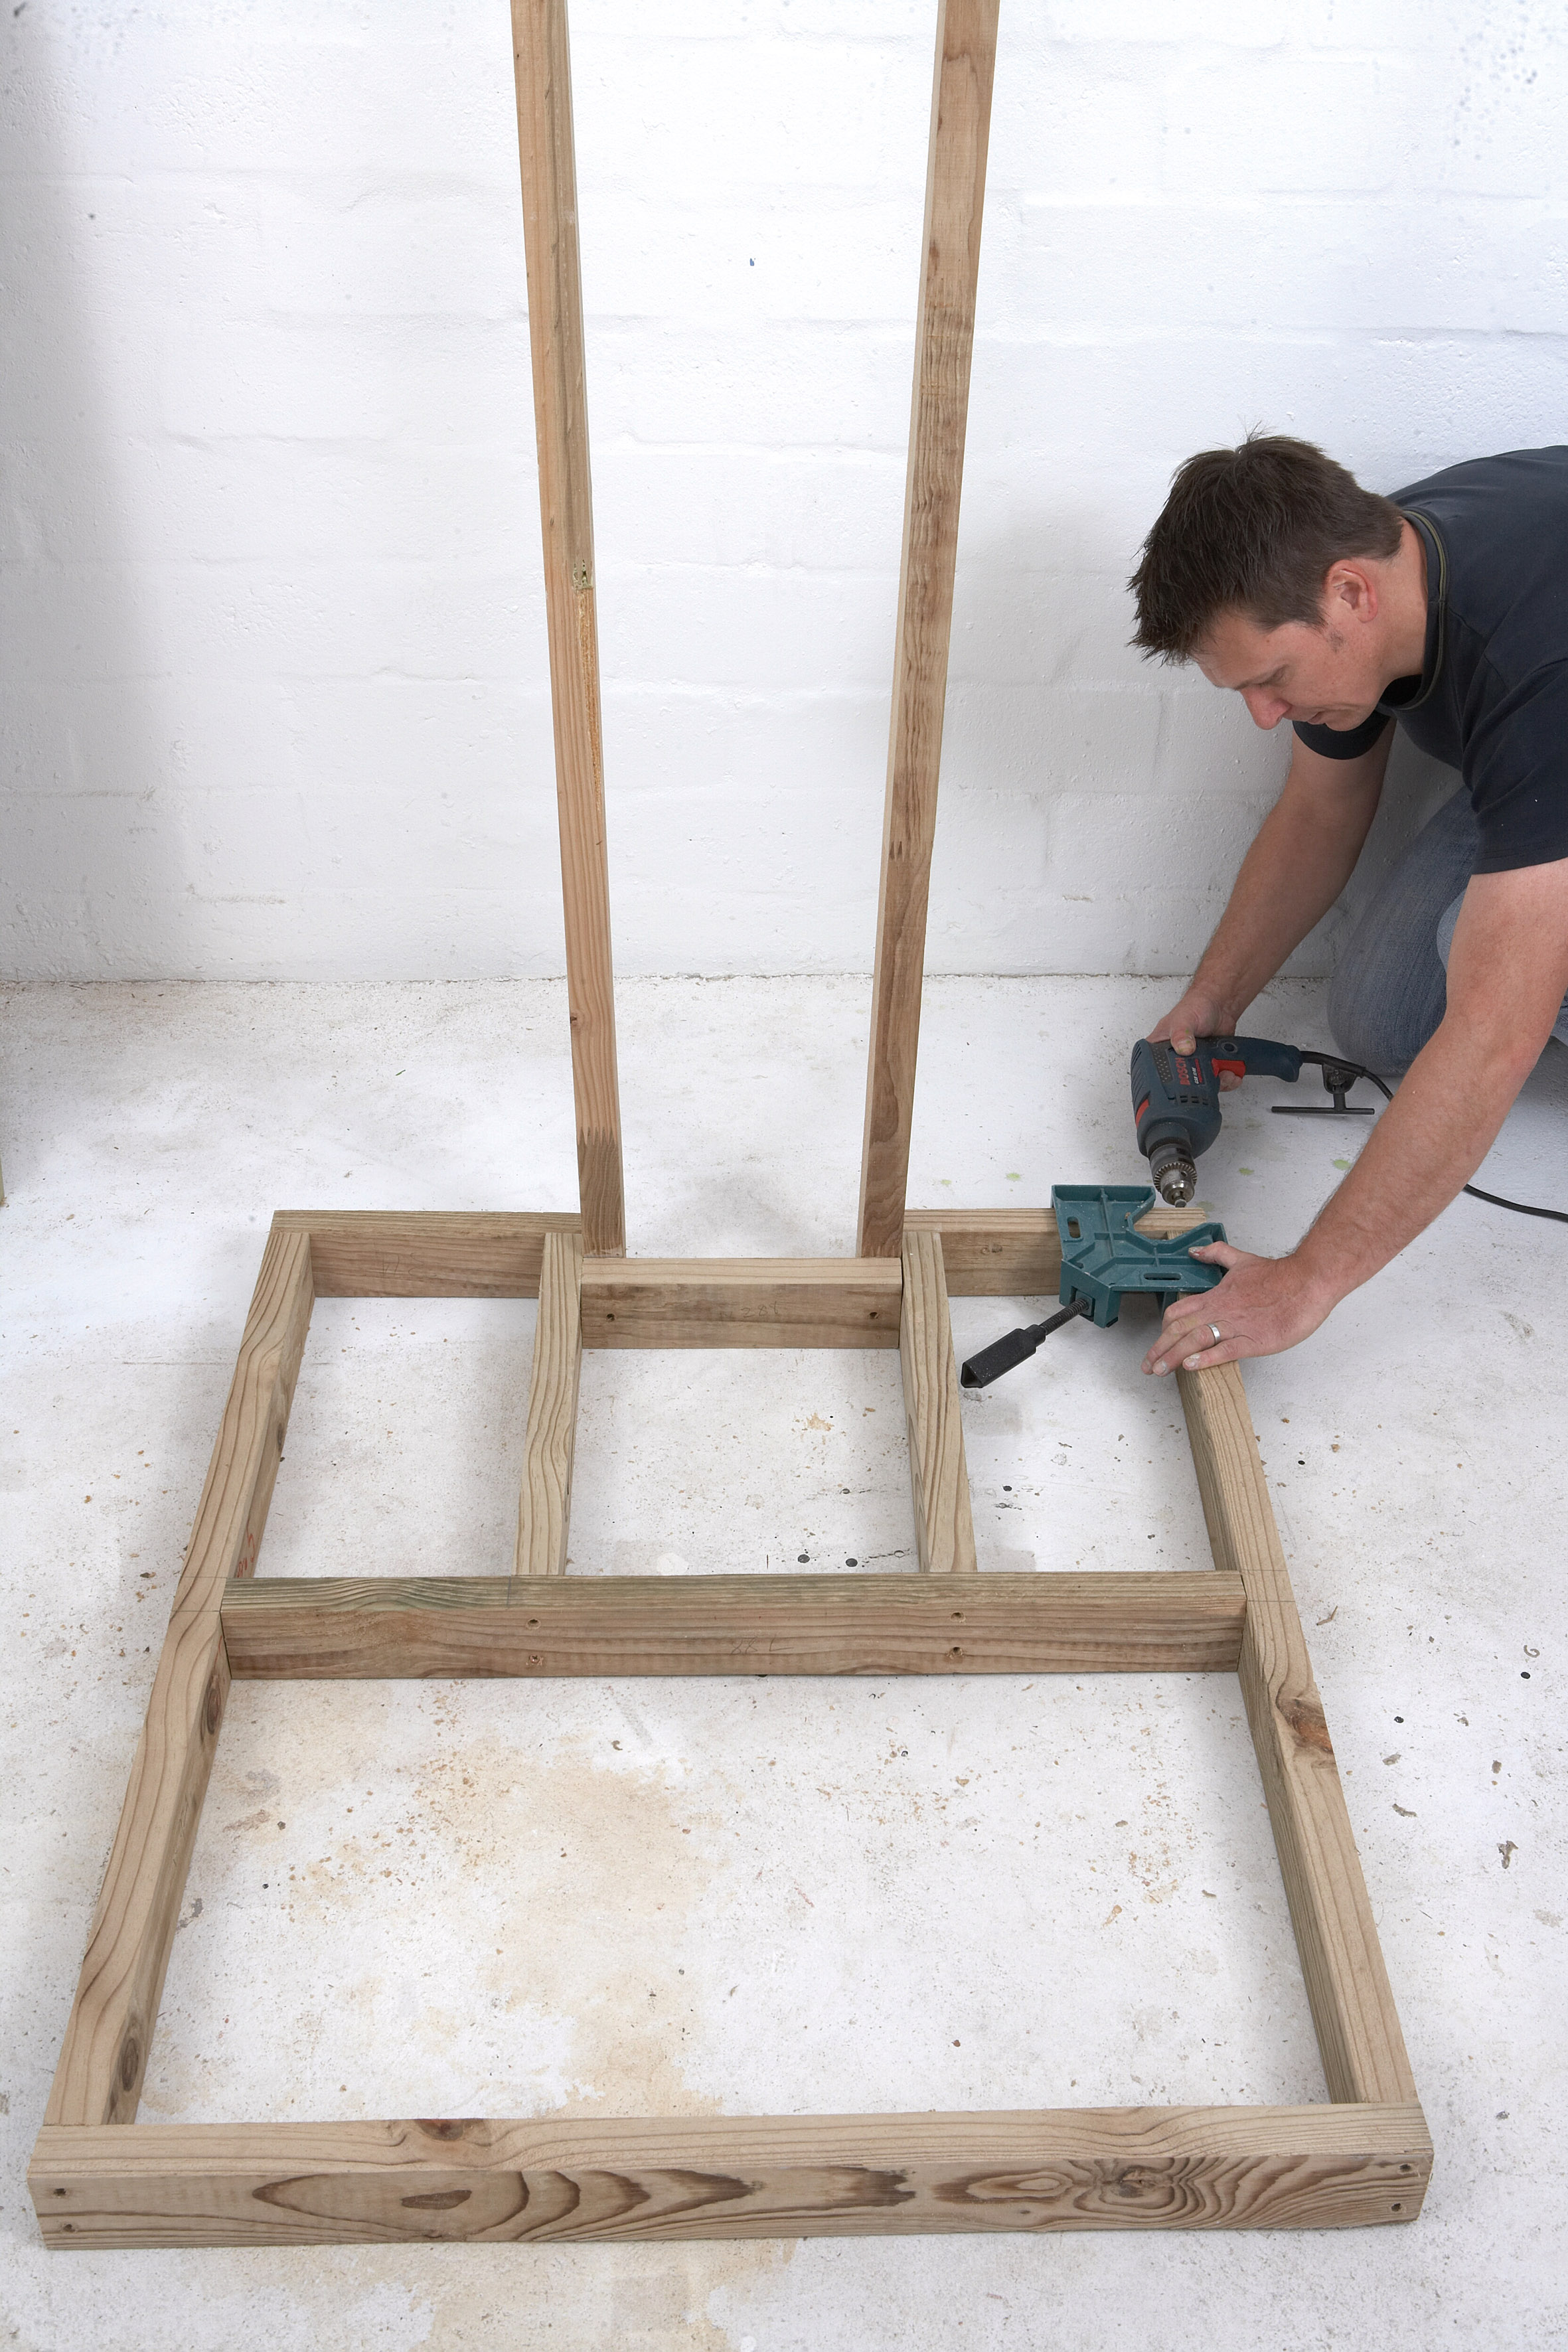
Step 3
Lift the upright section and position it within the base framework (step 1) and fix it along the 788mm centre brace and at the corners, as shown.
Step 4
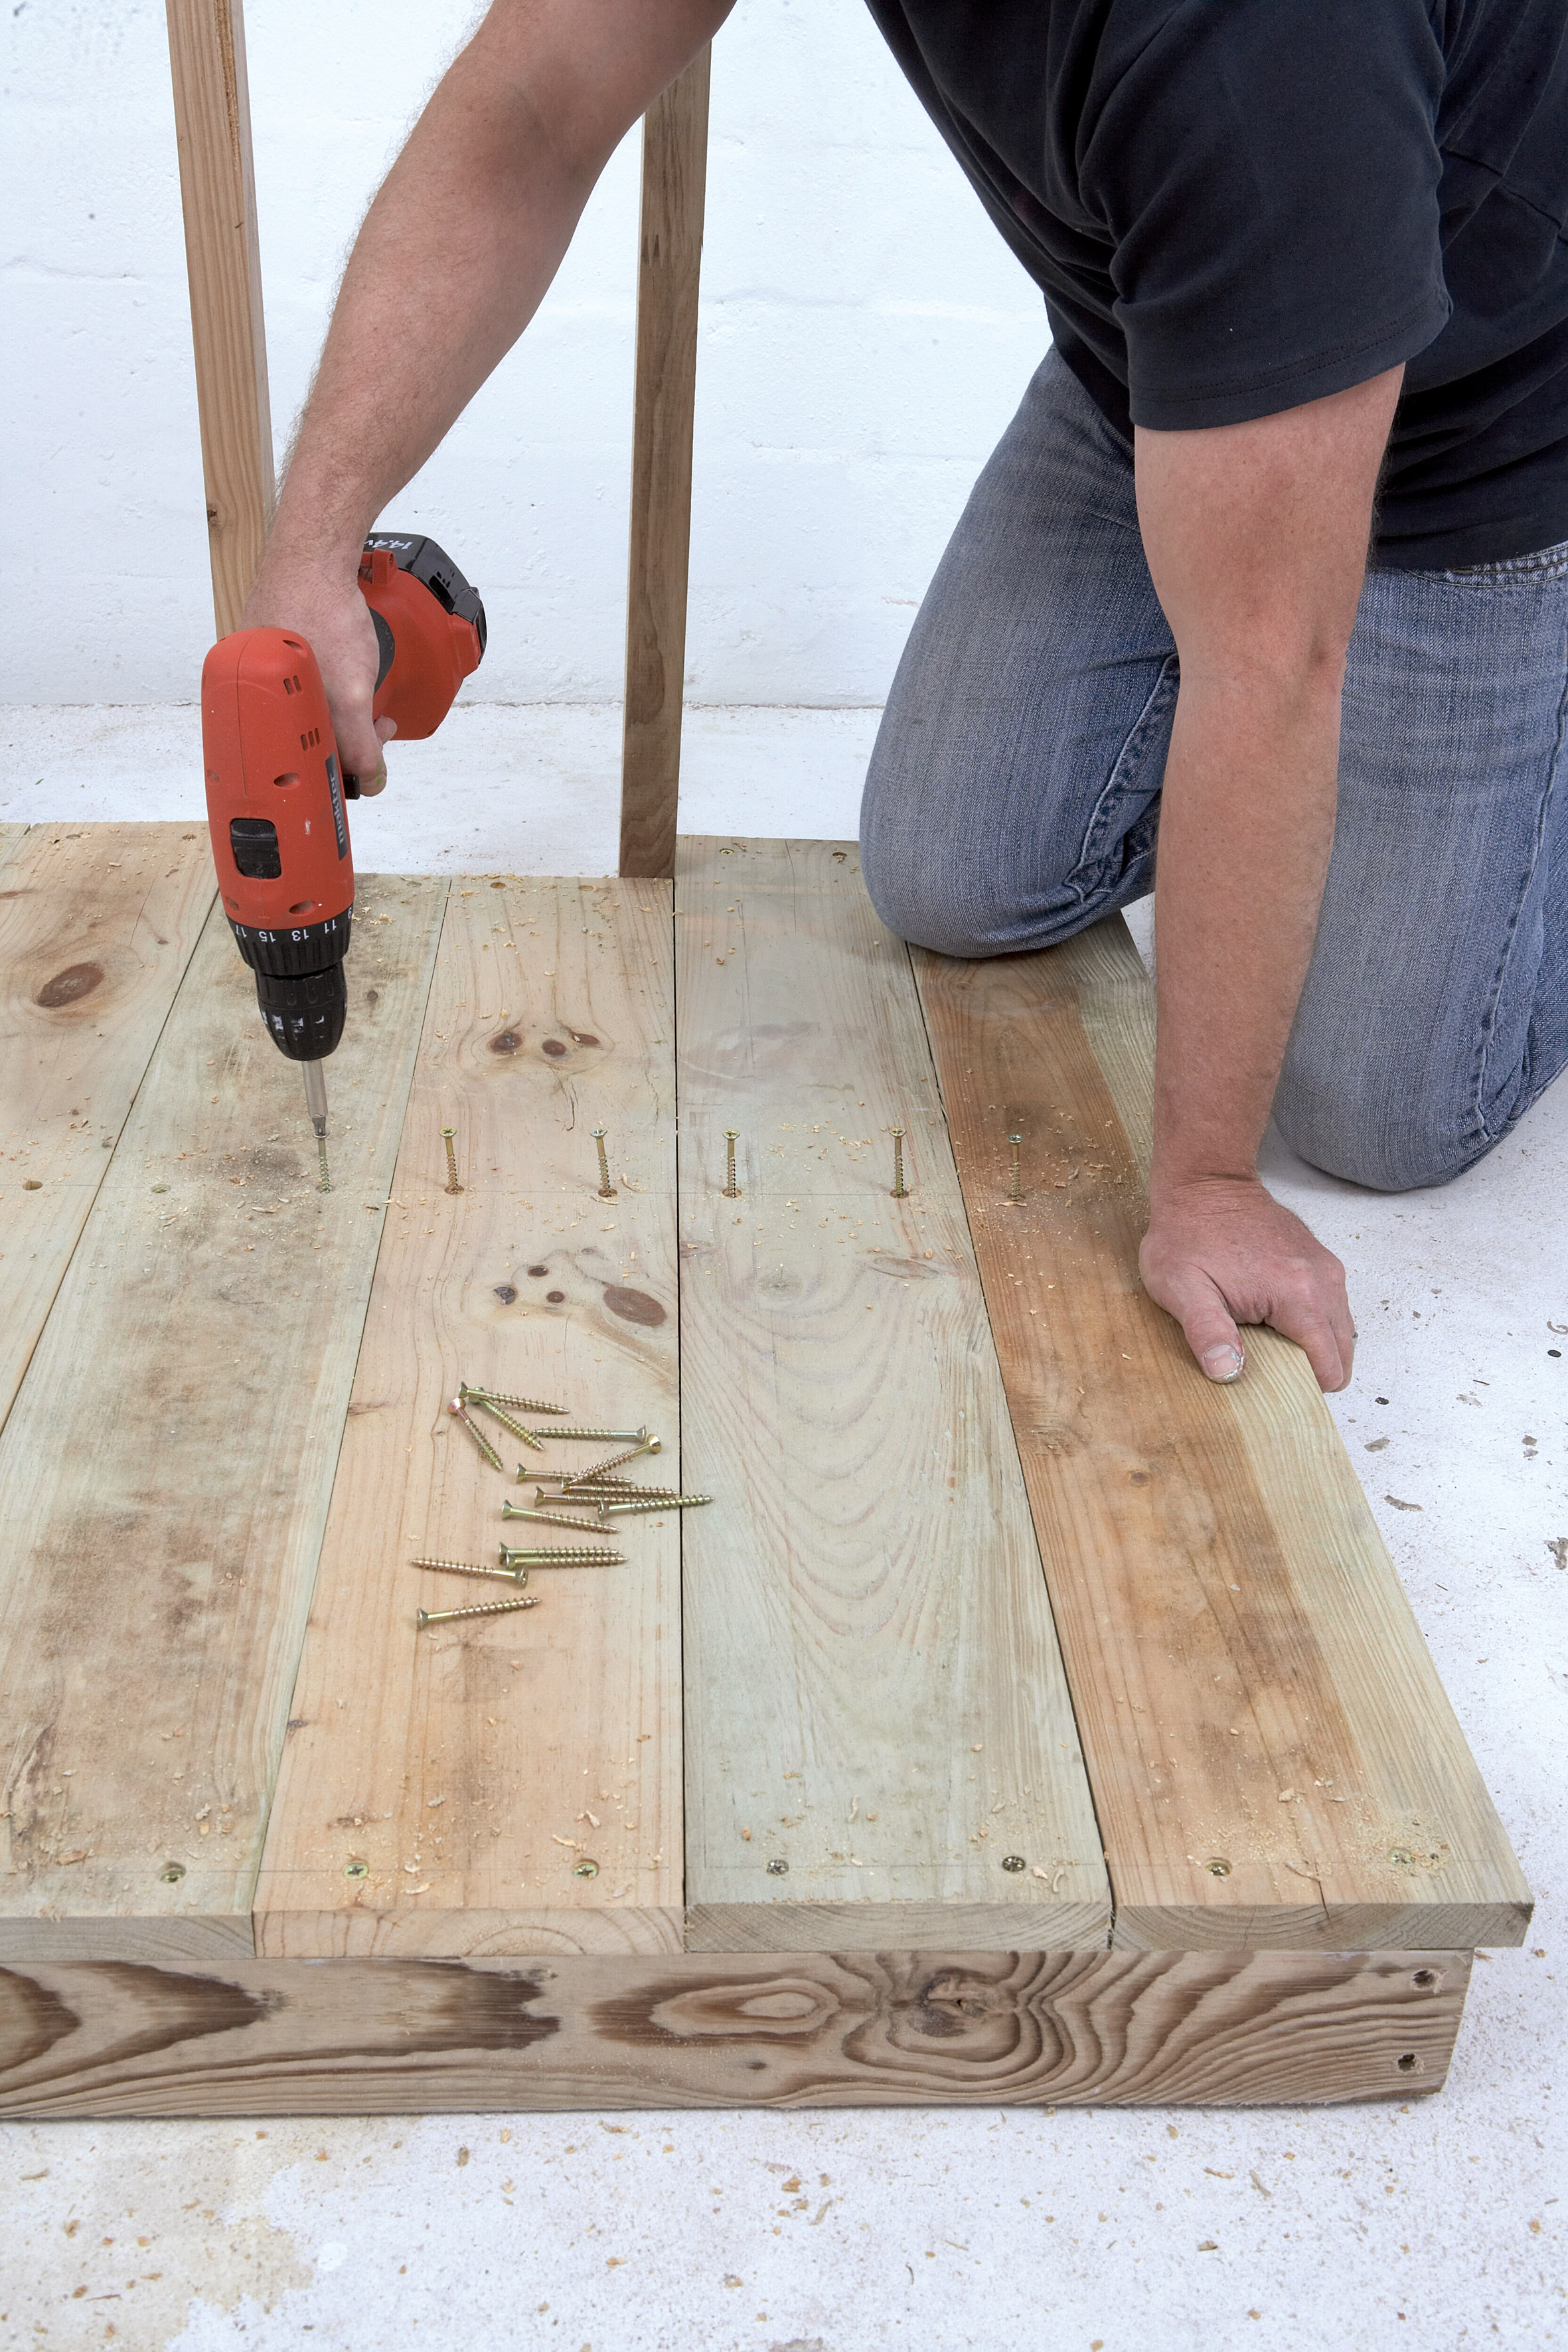
Fix the 144mm-wide cladding onto the framework. Start with the 1000mm pieces that will create the base. The two 920mm planks will sit in the middle. Then fix the 2144mm front upright cladding and 378mm underside of the shower ‘arm’. Leave the back open for now.
Step 5
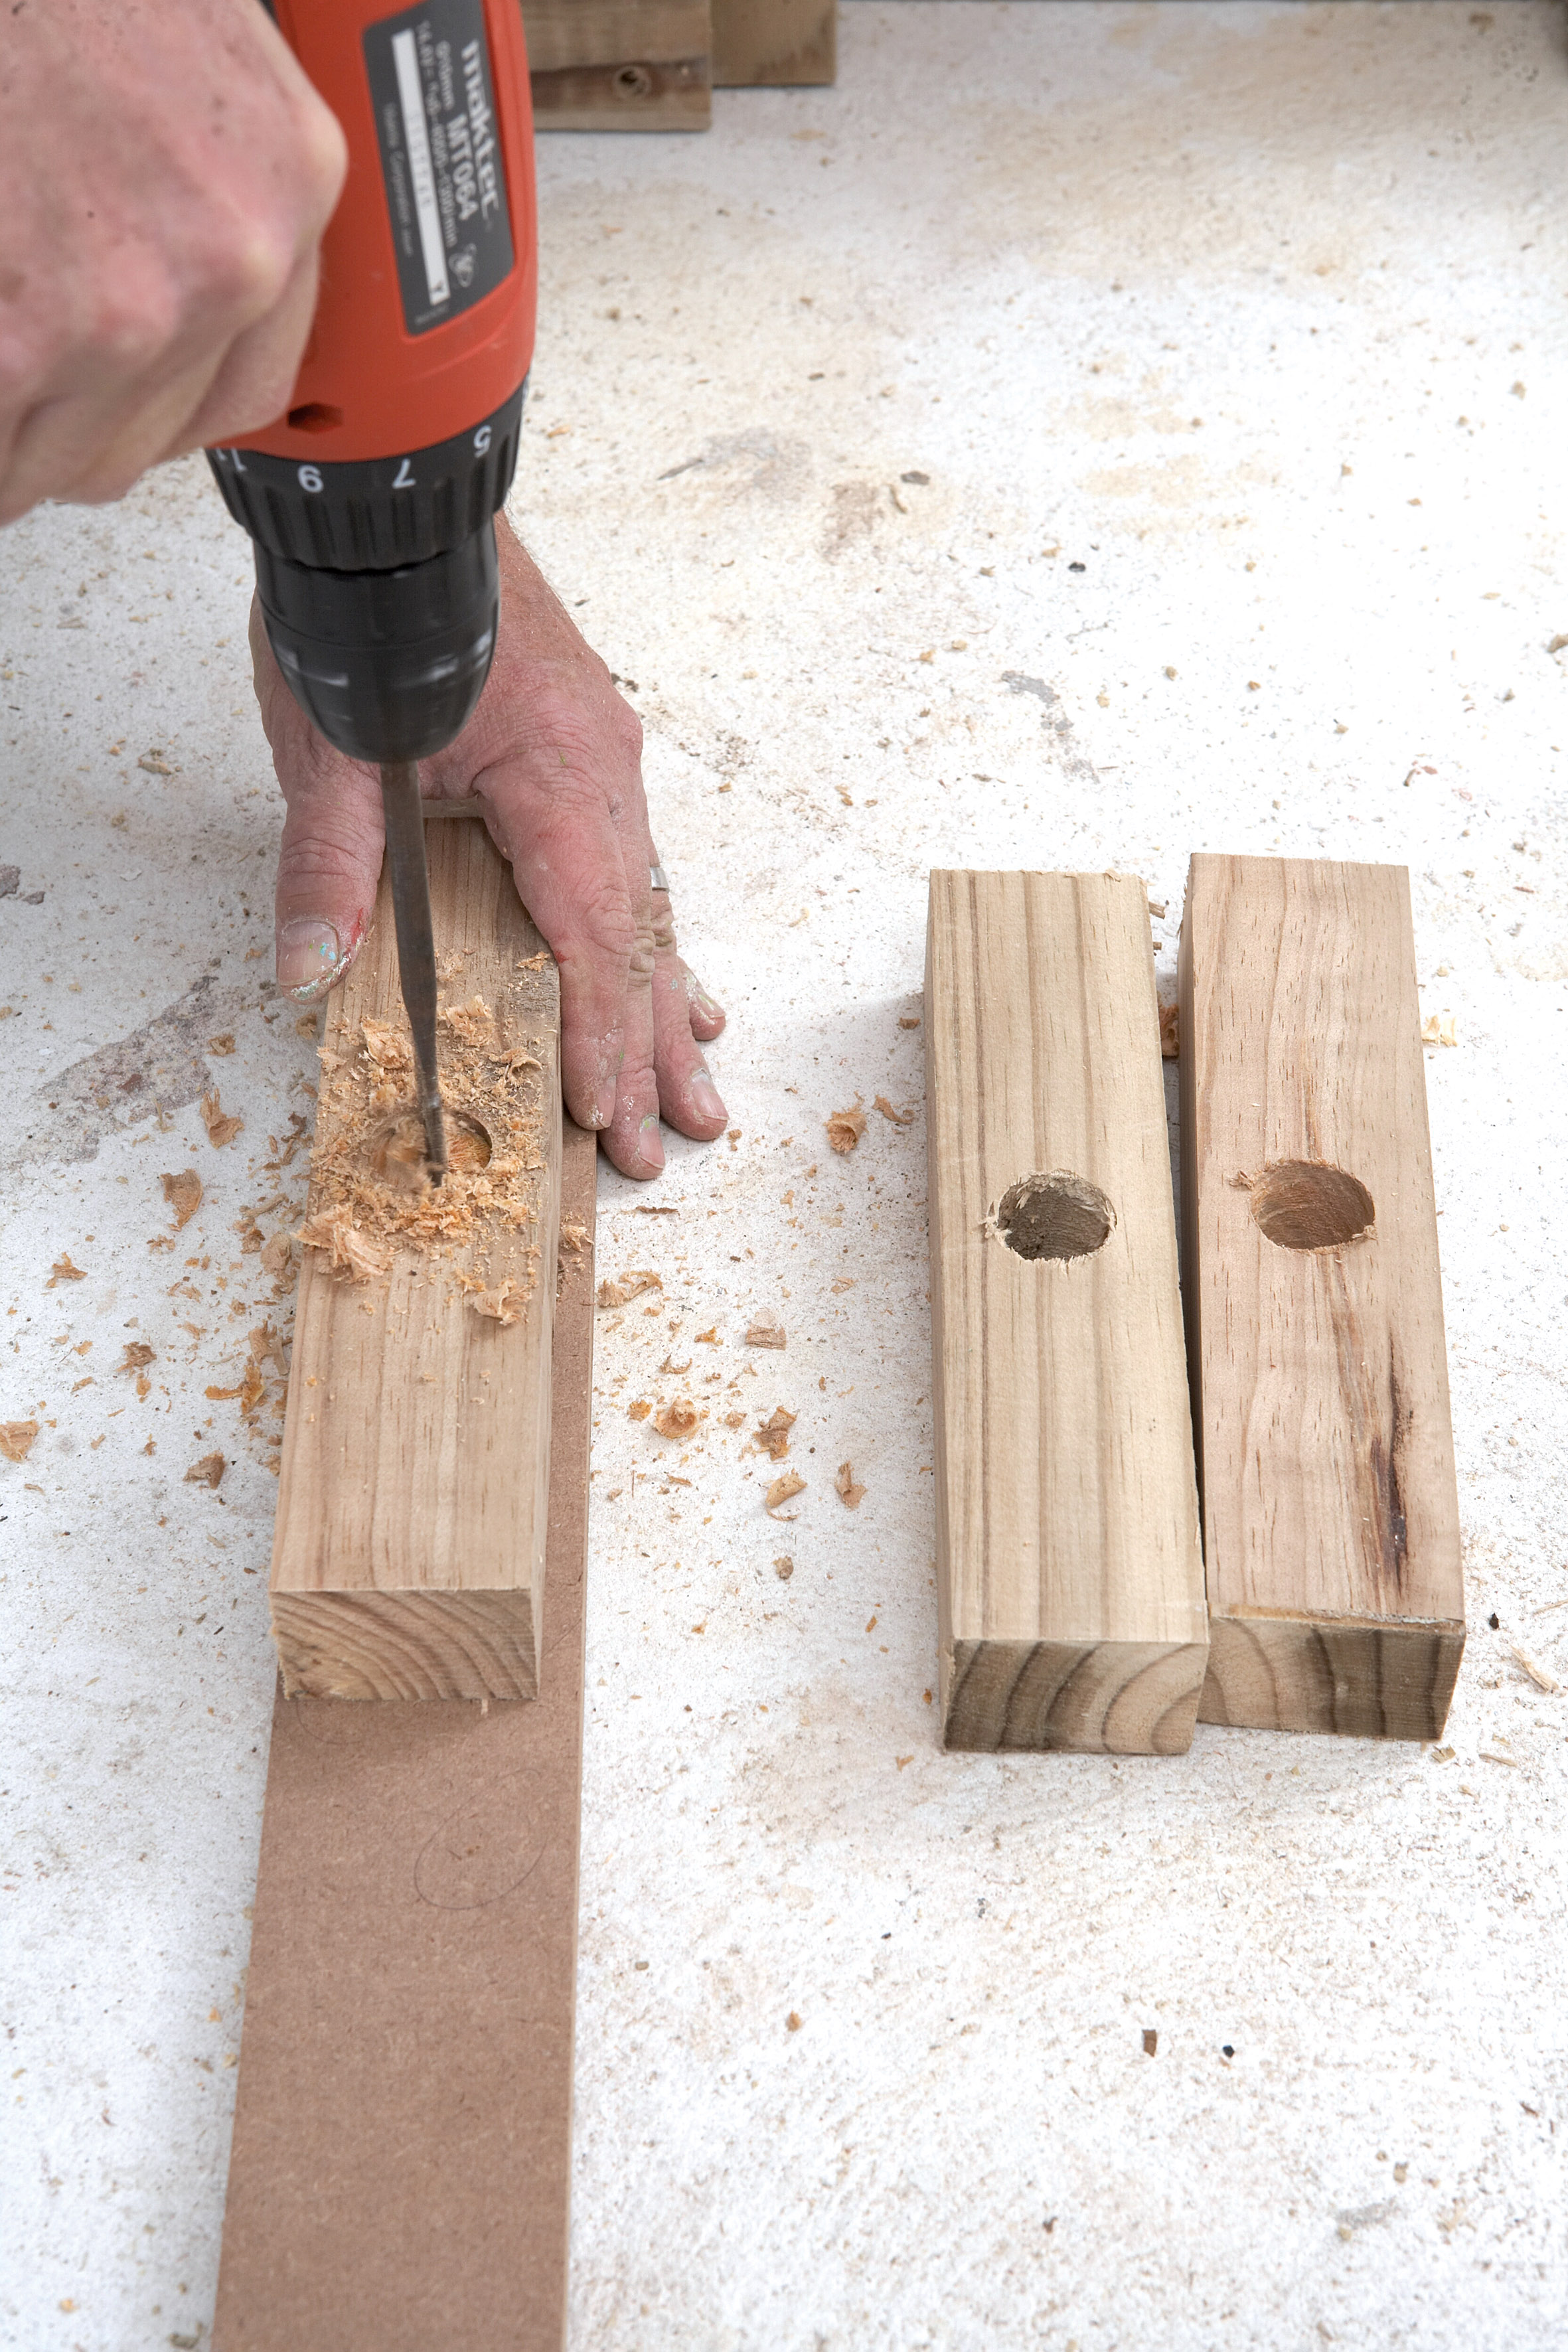
Use the spade bit to drill 35mm diameter holes in the centre of four of the five 219mm pieces.
Step 6
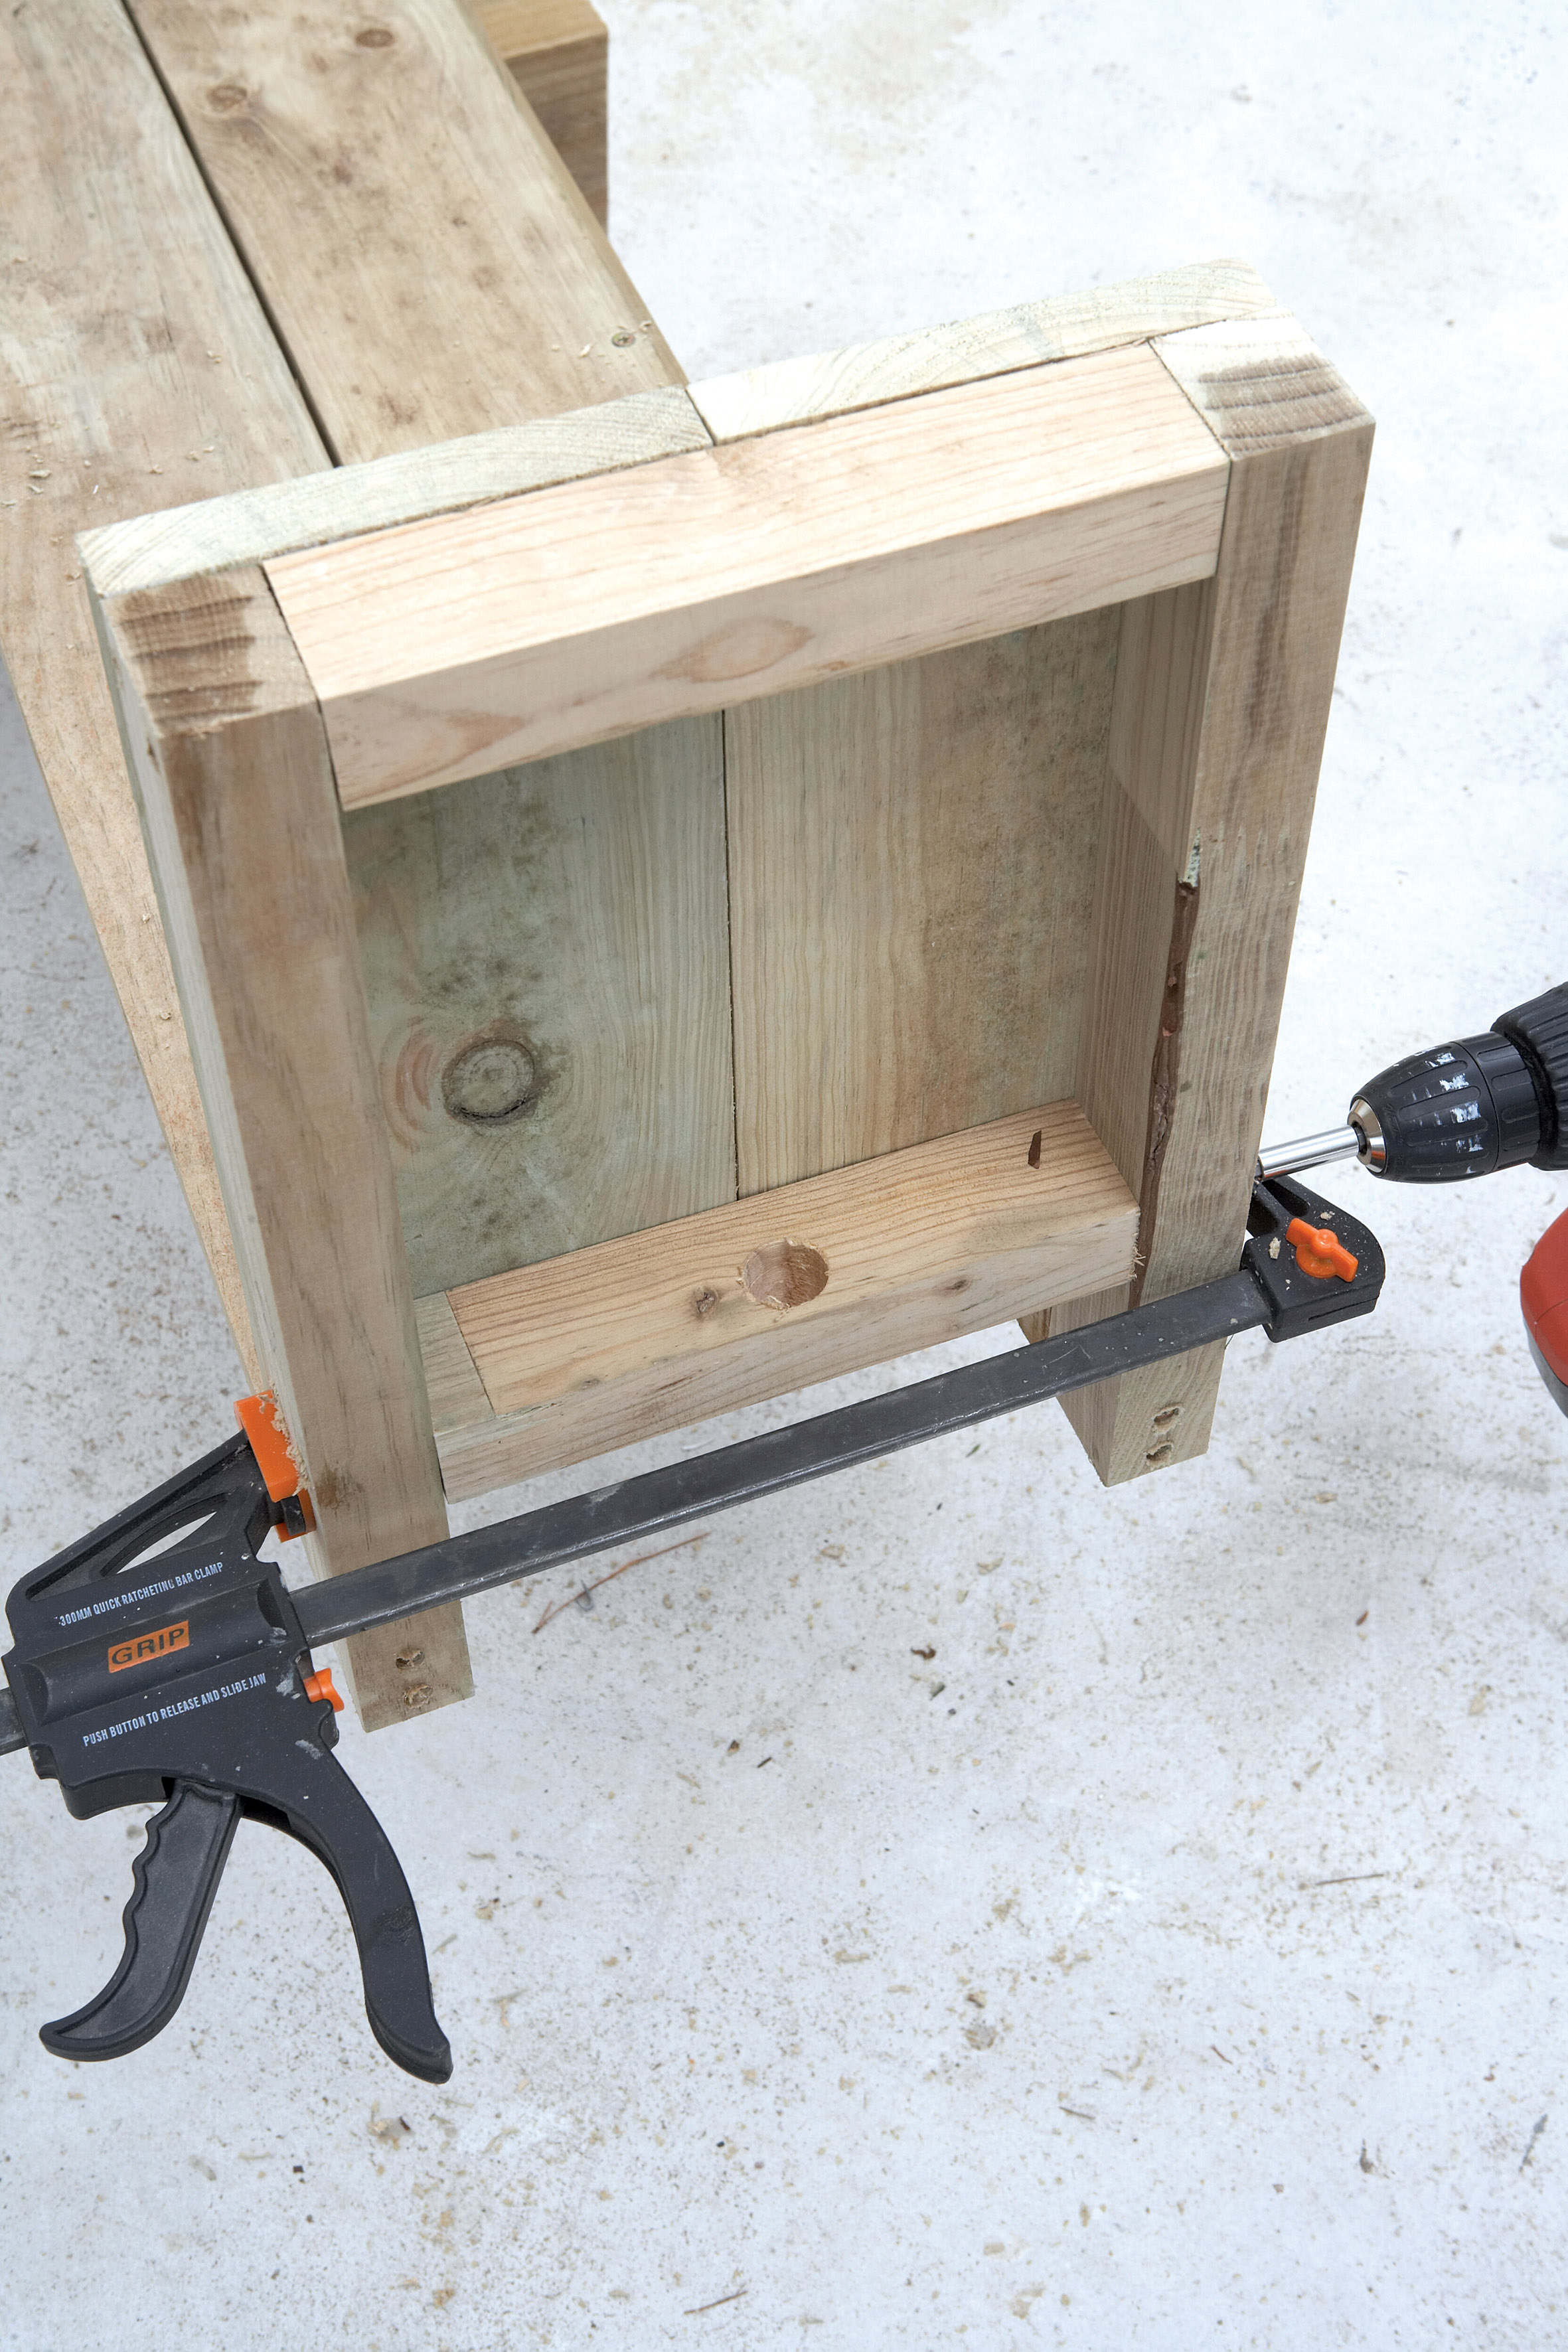
Now add these pieces onto the framework, as shown on the sketch. The middle piece is situated at the height of the tap, so you can place this at the height best suited to you. First glue and then use the 75mm screws to fix the pieces in place.
Step 7
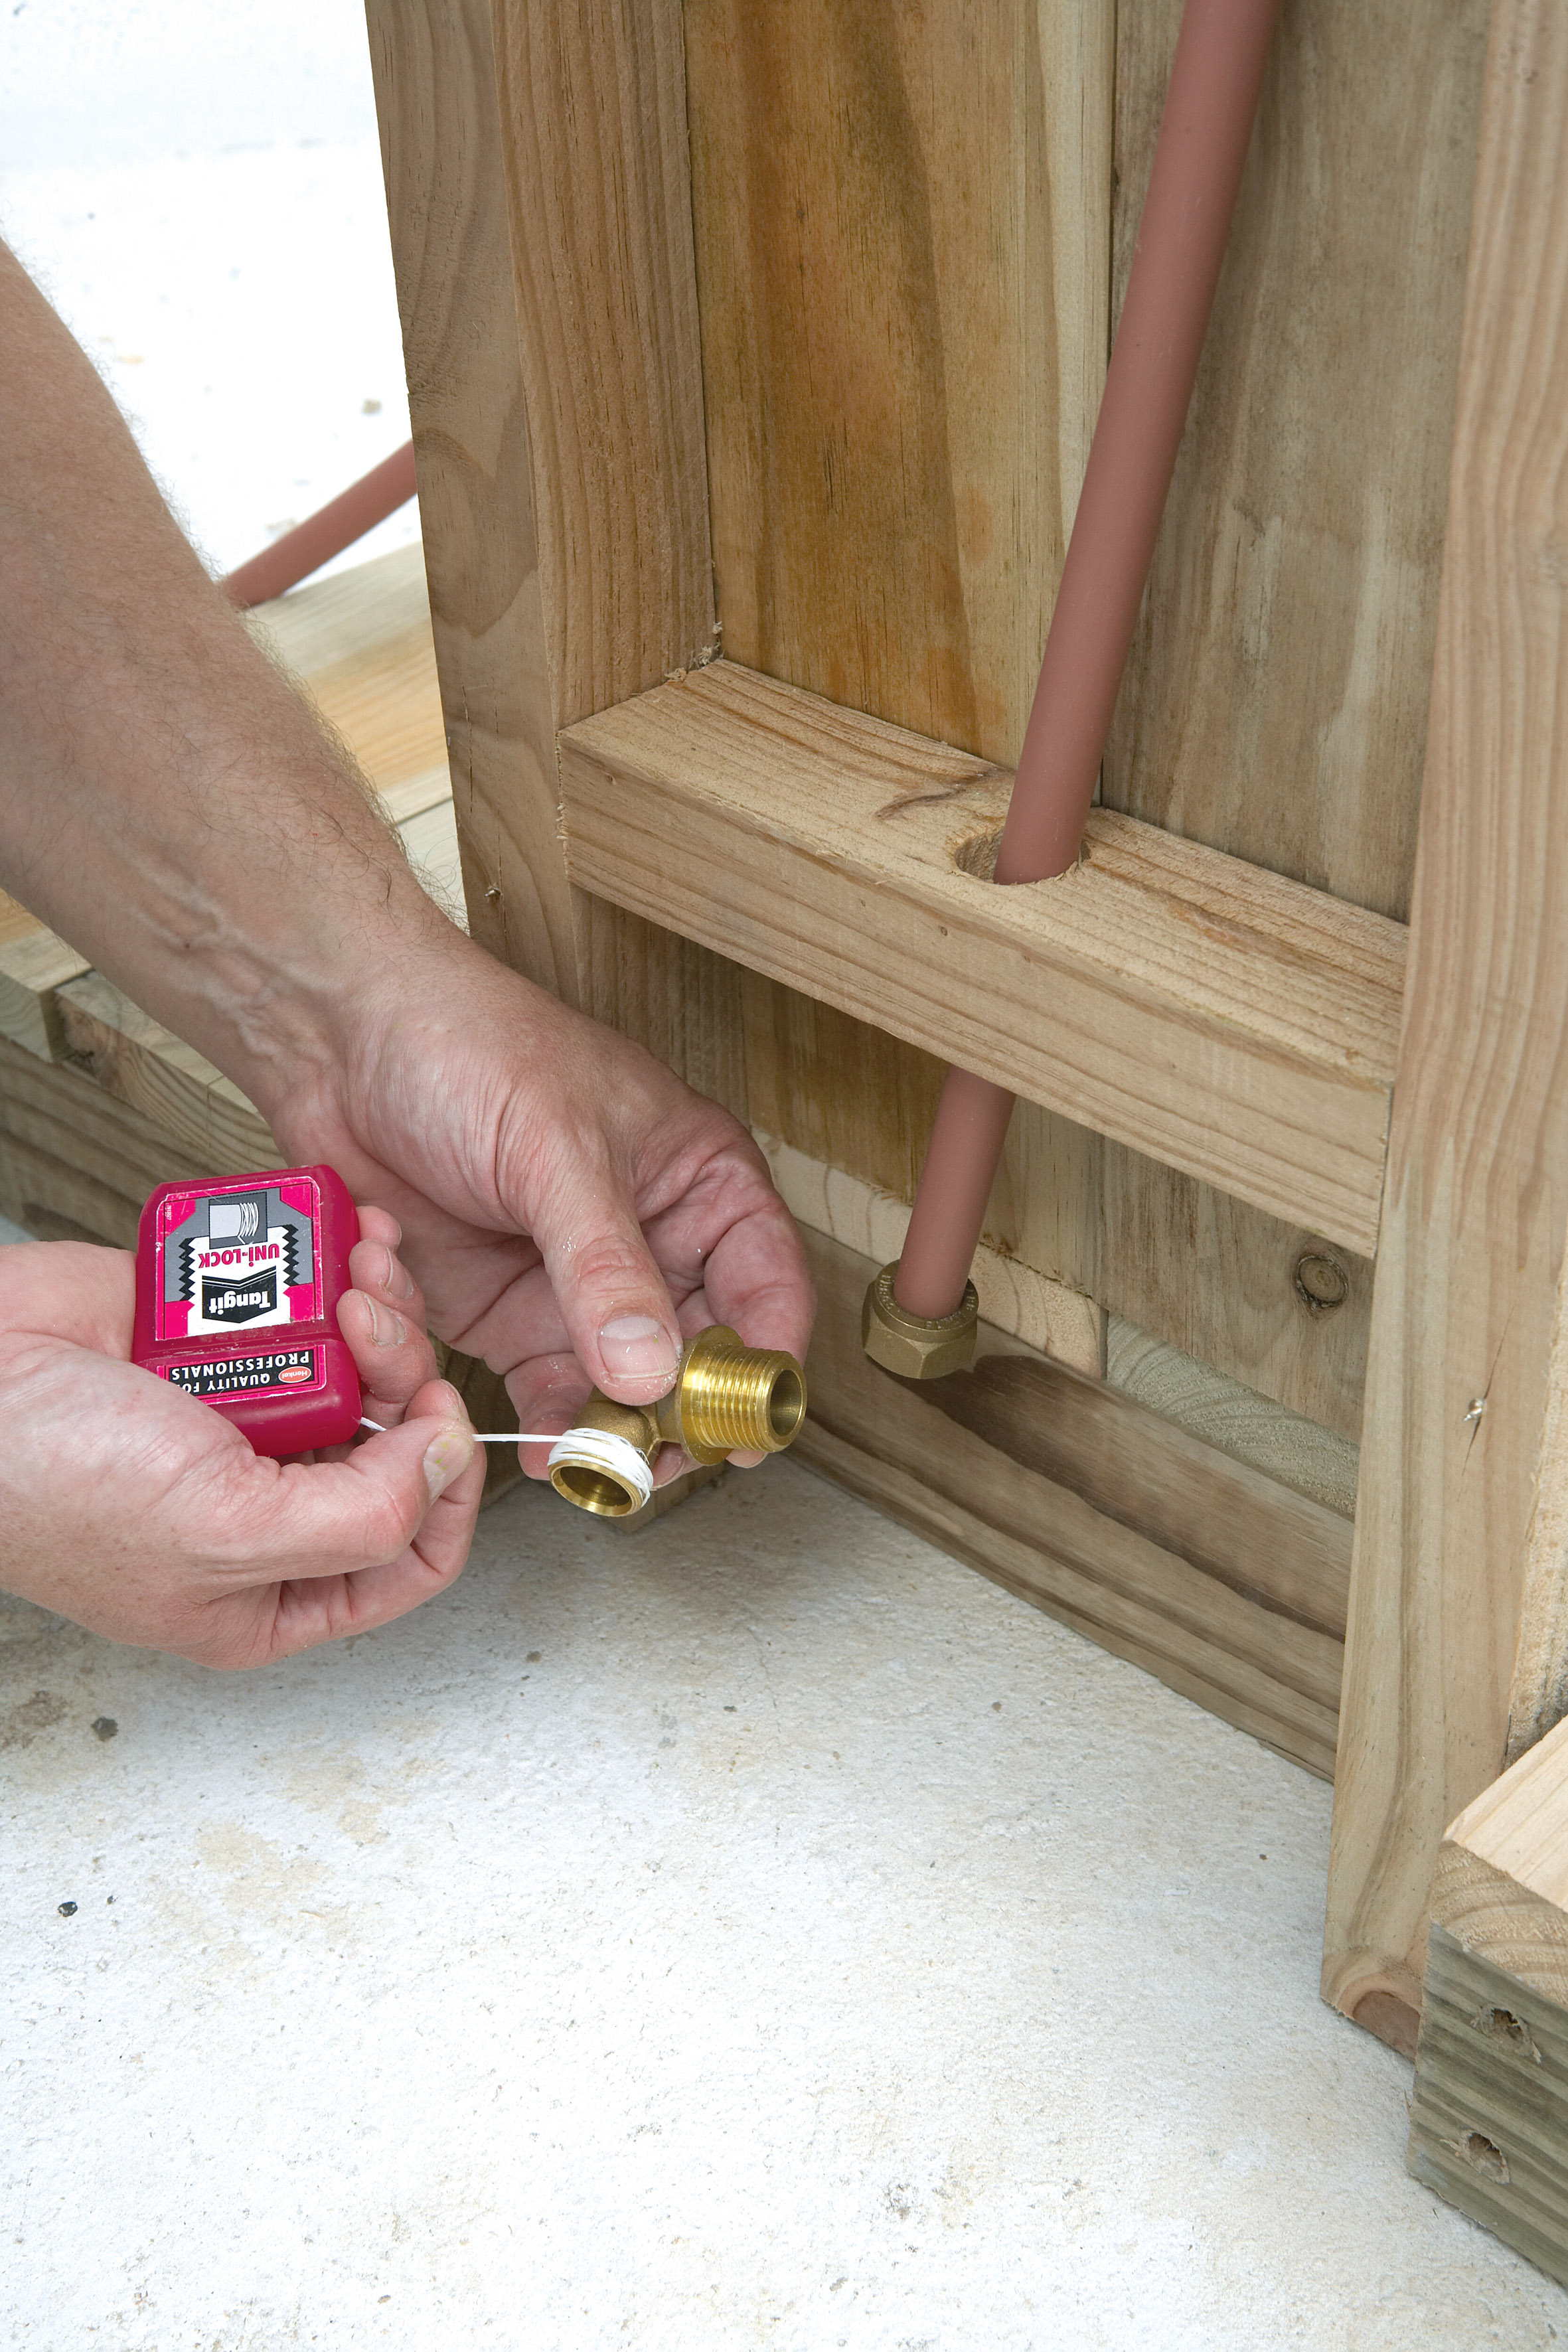
Start fitting the various plumbing components. Begin at the bottom with the elbow connector that will hold the hose connector. Remember to use thread tape or similar (shown here) before tightening the parts.

Step 8
Then cut the tubing to tap height, above the timber brace, allowing a bit extra for the connection. Fit the tap fitting in the same manner, remembering to check the flow direction (indicated by arrow on side of fitting). Make sure you tighten the nuts firmly using a shifting spanner or water pump pliers.
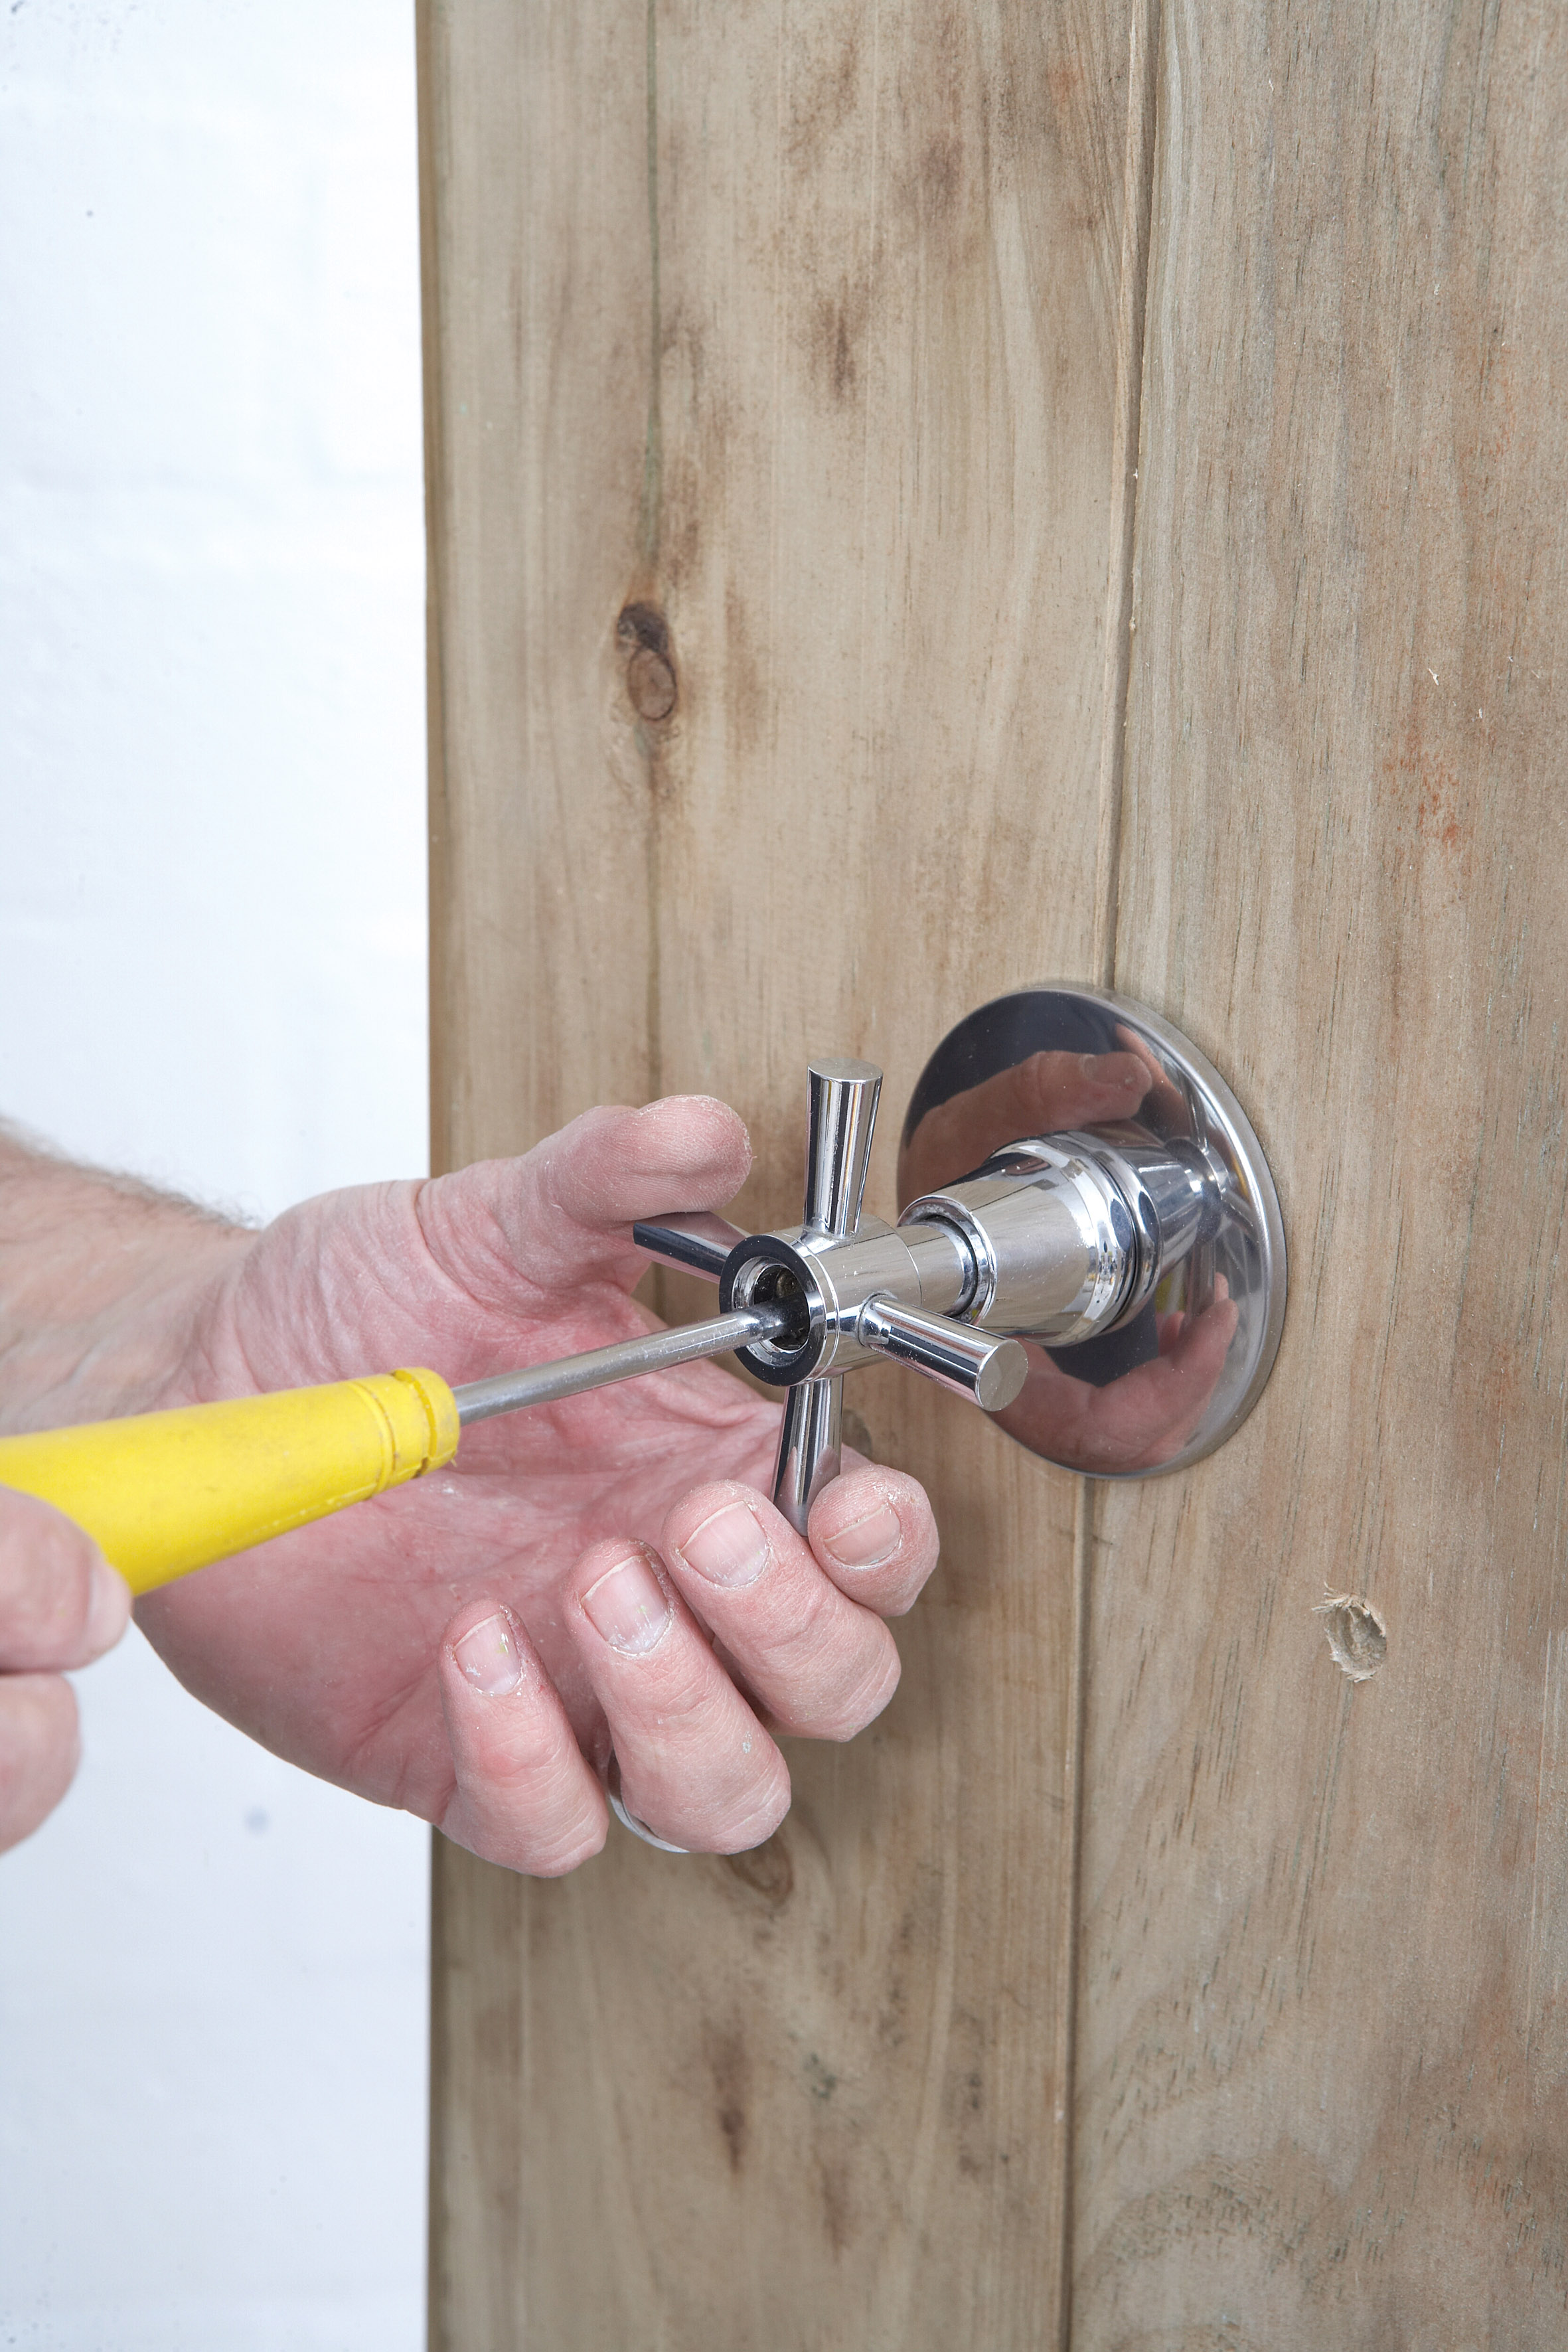
Step 9
Fix the tap handle to the fitting using a screwdriver.
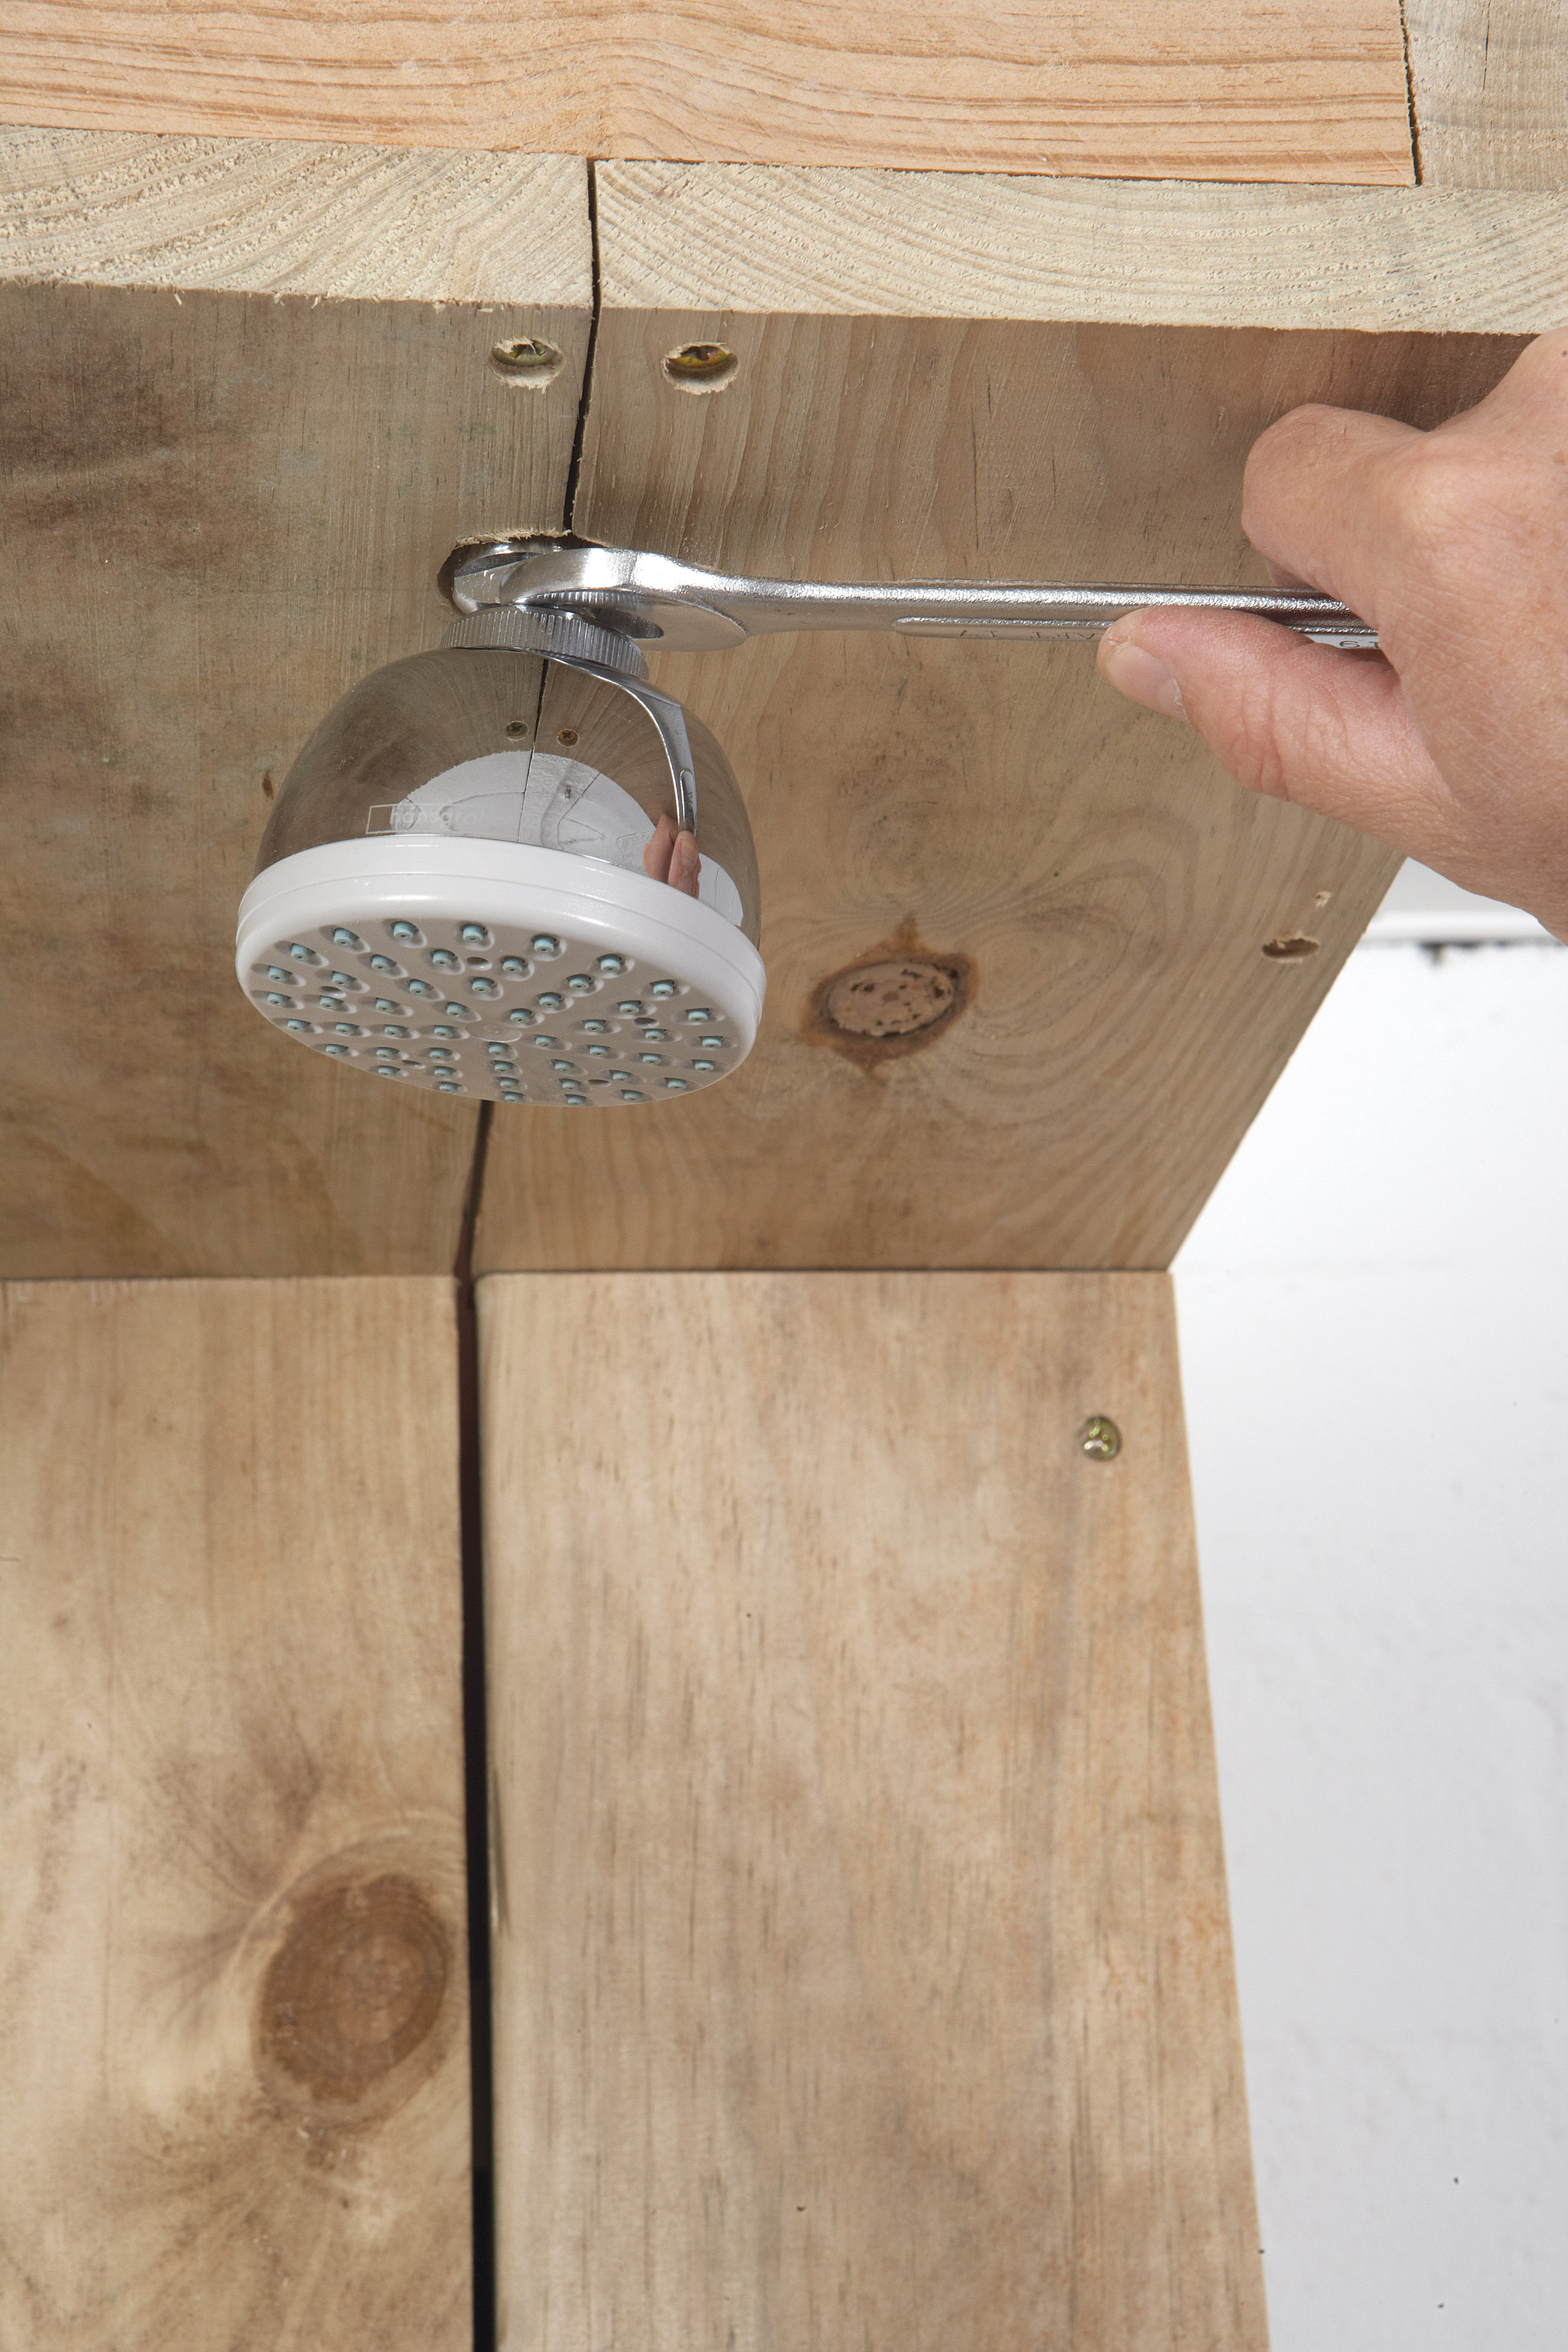
Step 10
Then finish the piping by adding the remaining sections of tubing, the elbow joint and shower rose connector. Push the tubing through the holes of the 219mm braces to hold these in position. Fit the showerhead.
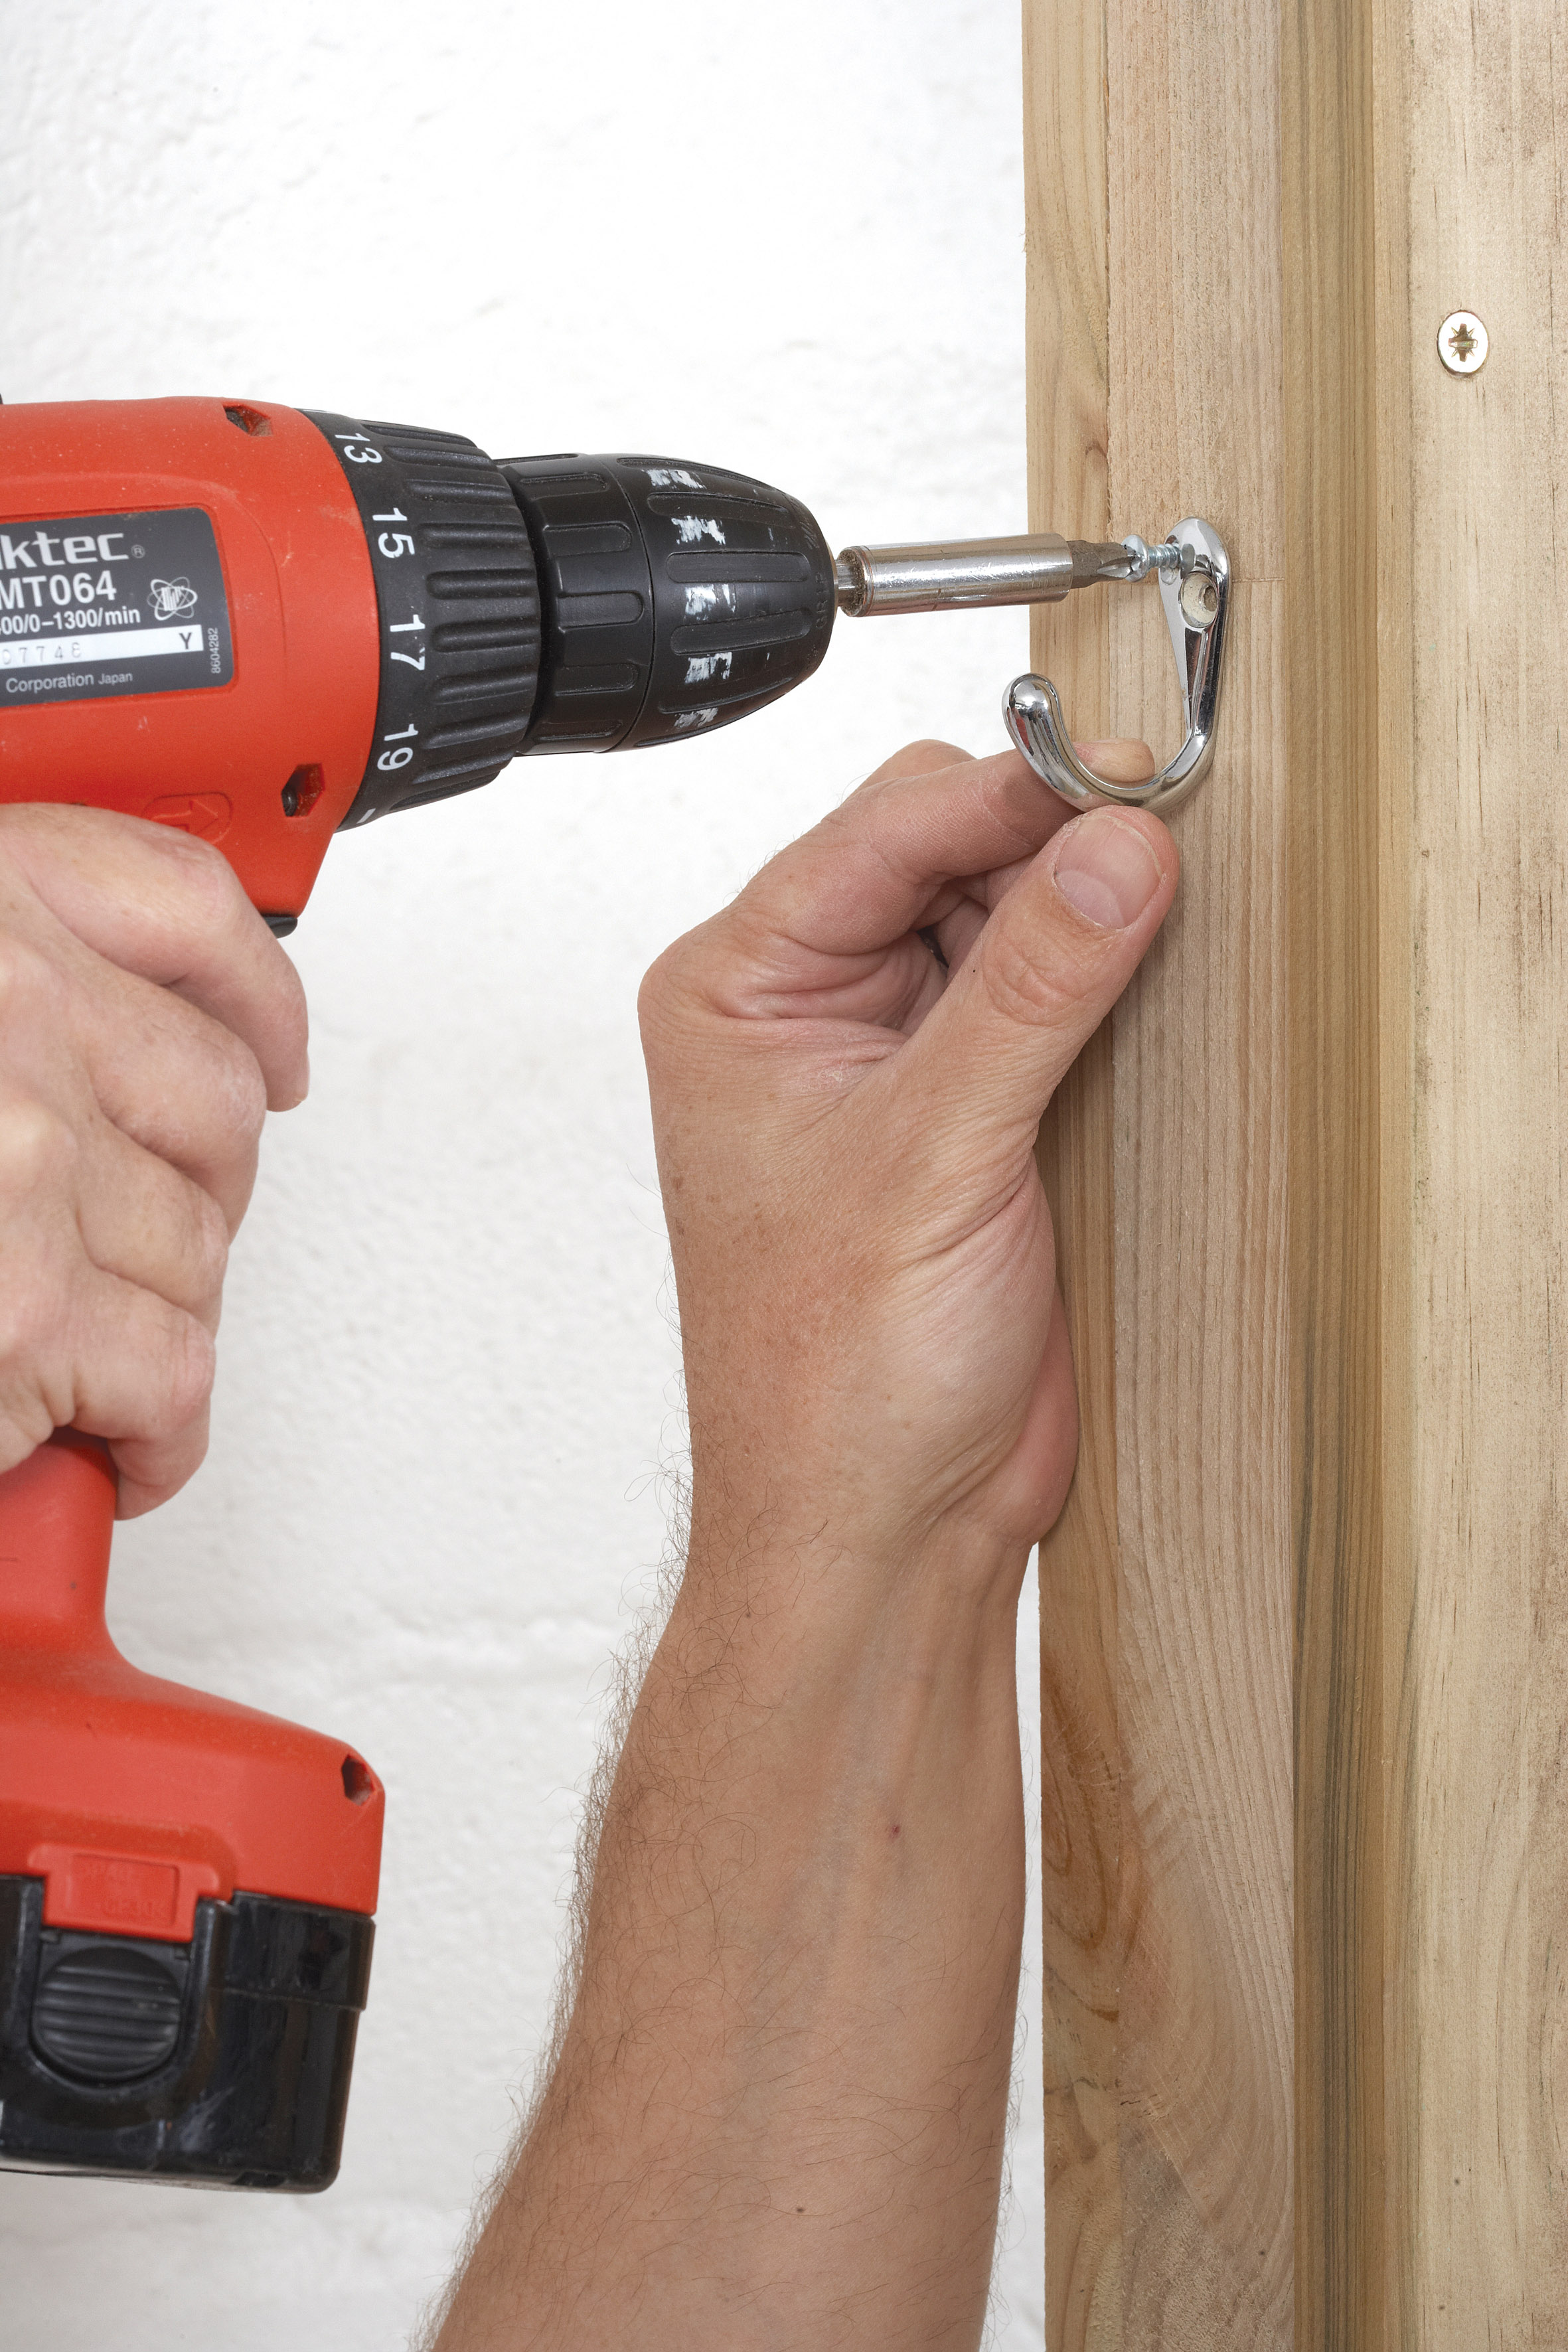
Step 11
Finish by adding the cladding to the back (2300mm lengths), and a hook on the side for your towel!
Credits
Referenced from Gallo images / Home Magazine
Browse 1000’s of products available to you. Select your country to Shop Online.


