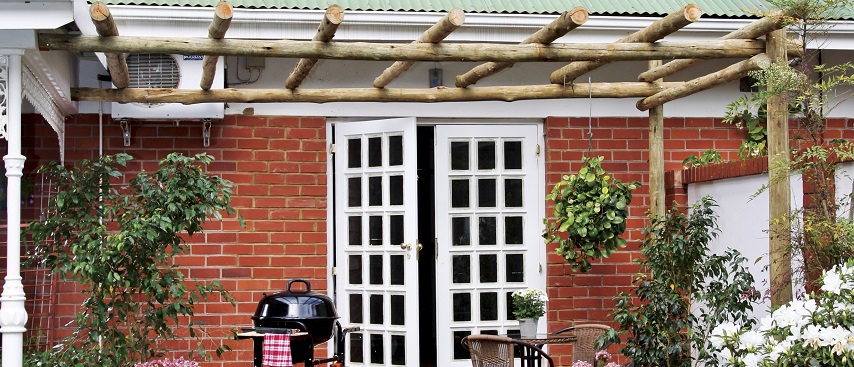
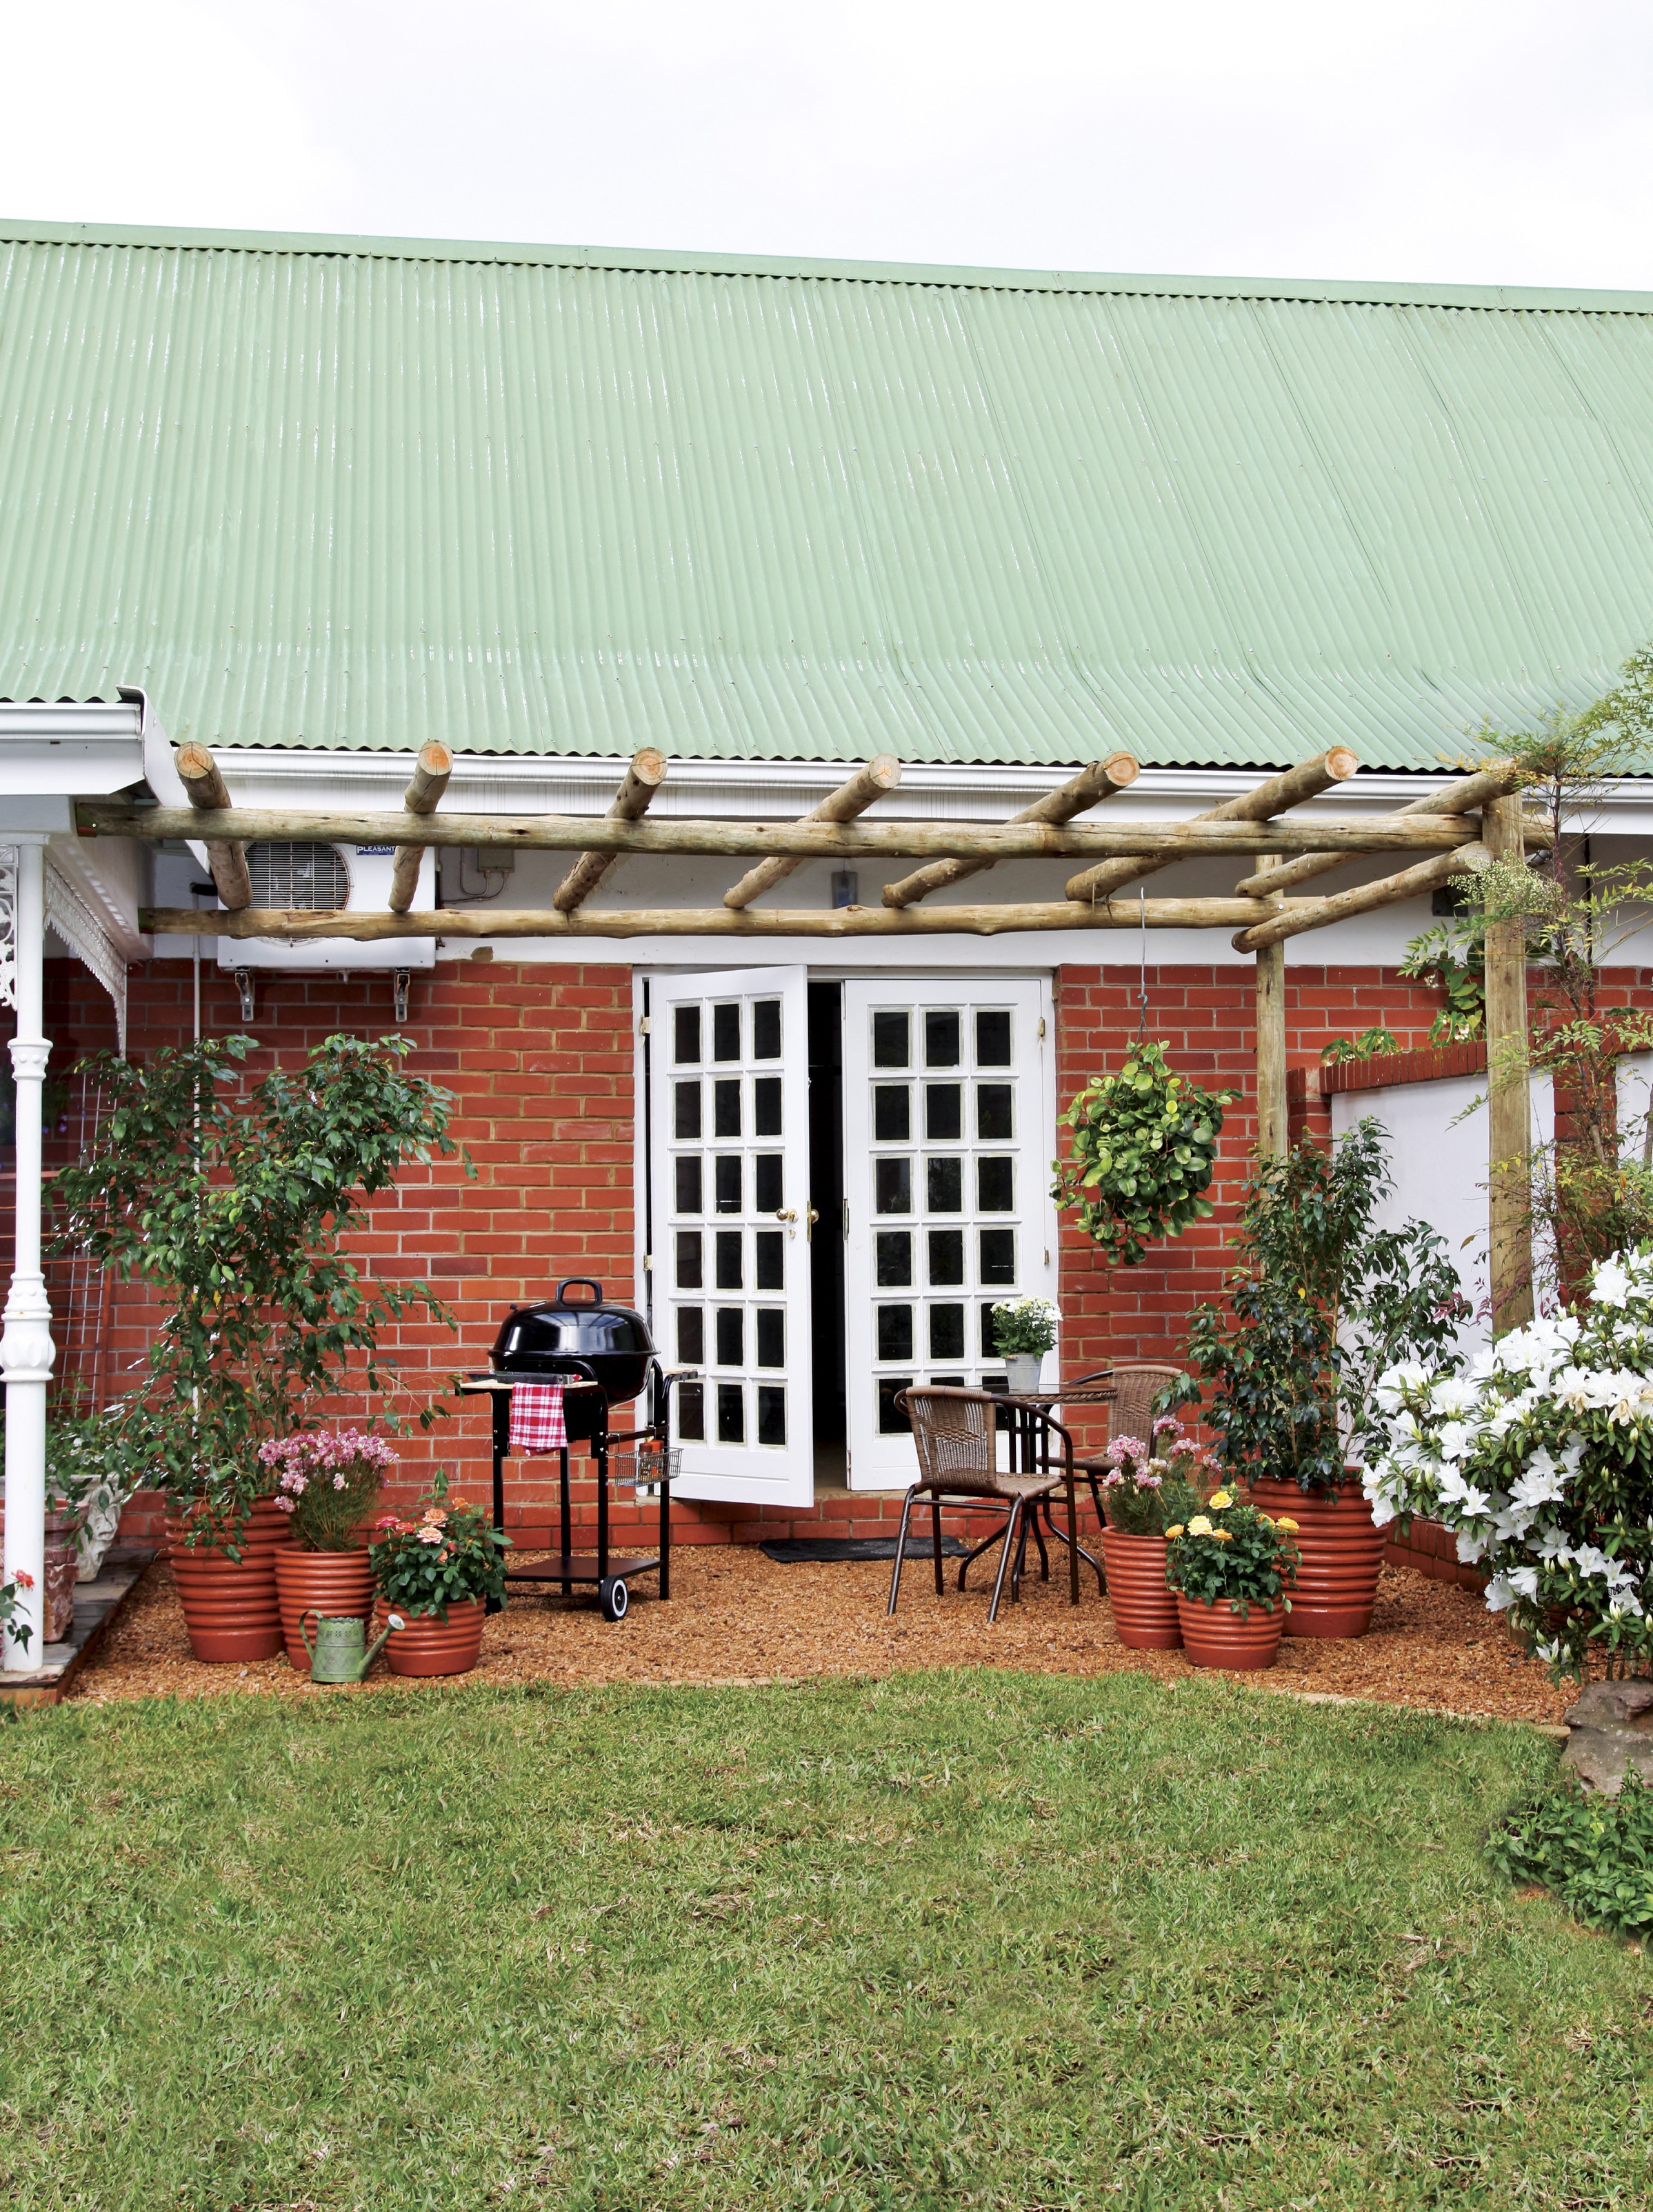
Adding a pergola to an existing patio – or creating one from scratch – is not as complicated as you may think.
- 2 x 2,8m CCA-treated poles (100-125mm thick) for the uprights
- 2 x 4,6m CCA-treated poles (75-100mm thick) for the horizontal tie-beams
- 2 x 2,470m CCA-treated poles (75-100mm thick) for the support beam
- 2 x 3m CCA-treated poles (75-100mm thick) for the cross-beams
- 2 brackets
- Spirit Level
- Concrete mix
- Cordless drill
- 18 x coach screws 150mm
- hammer
- no.18 spanner
- 4 x 6mm Hilti screws with wall plugs
- 4 x full-thread cut screws
Step 1
Before buying your materials, measure up the area which you envisage the pergola covering – for length, breadth and height dimensions. The existing roof edging often determines the height as this ensures a far more aesthetically pleasing pergola that fits in with the architecture of the house.
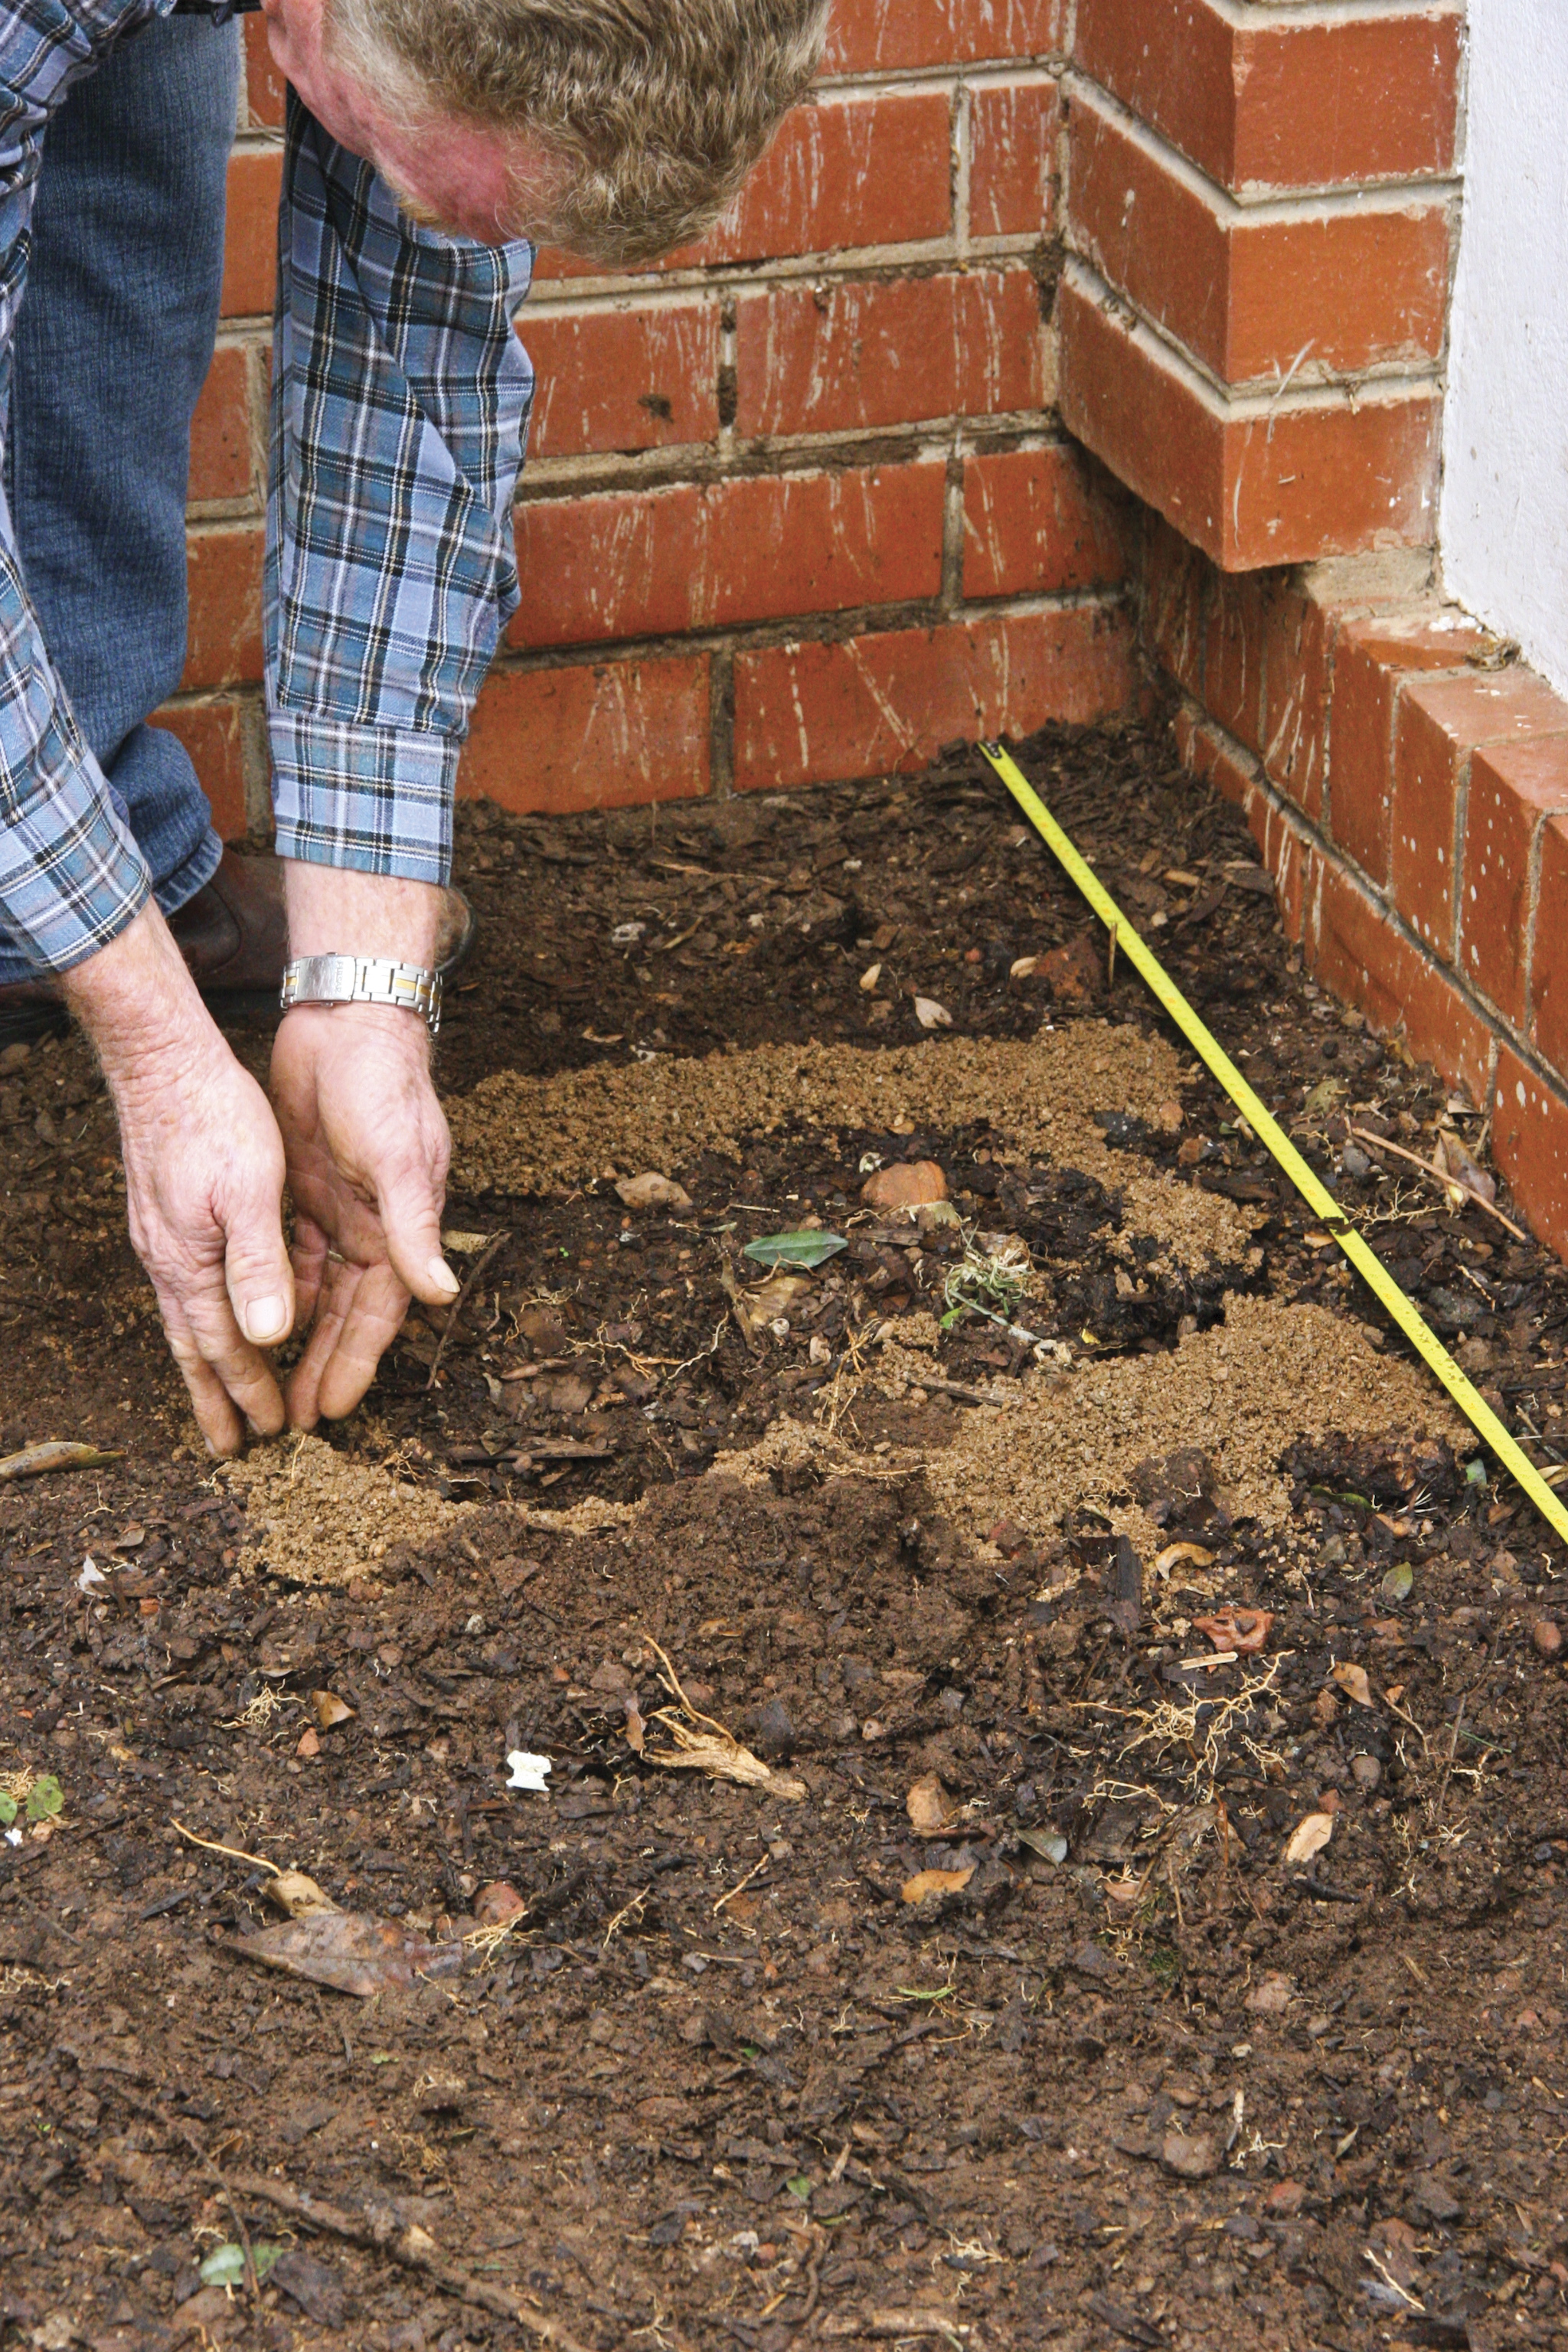
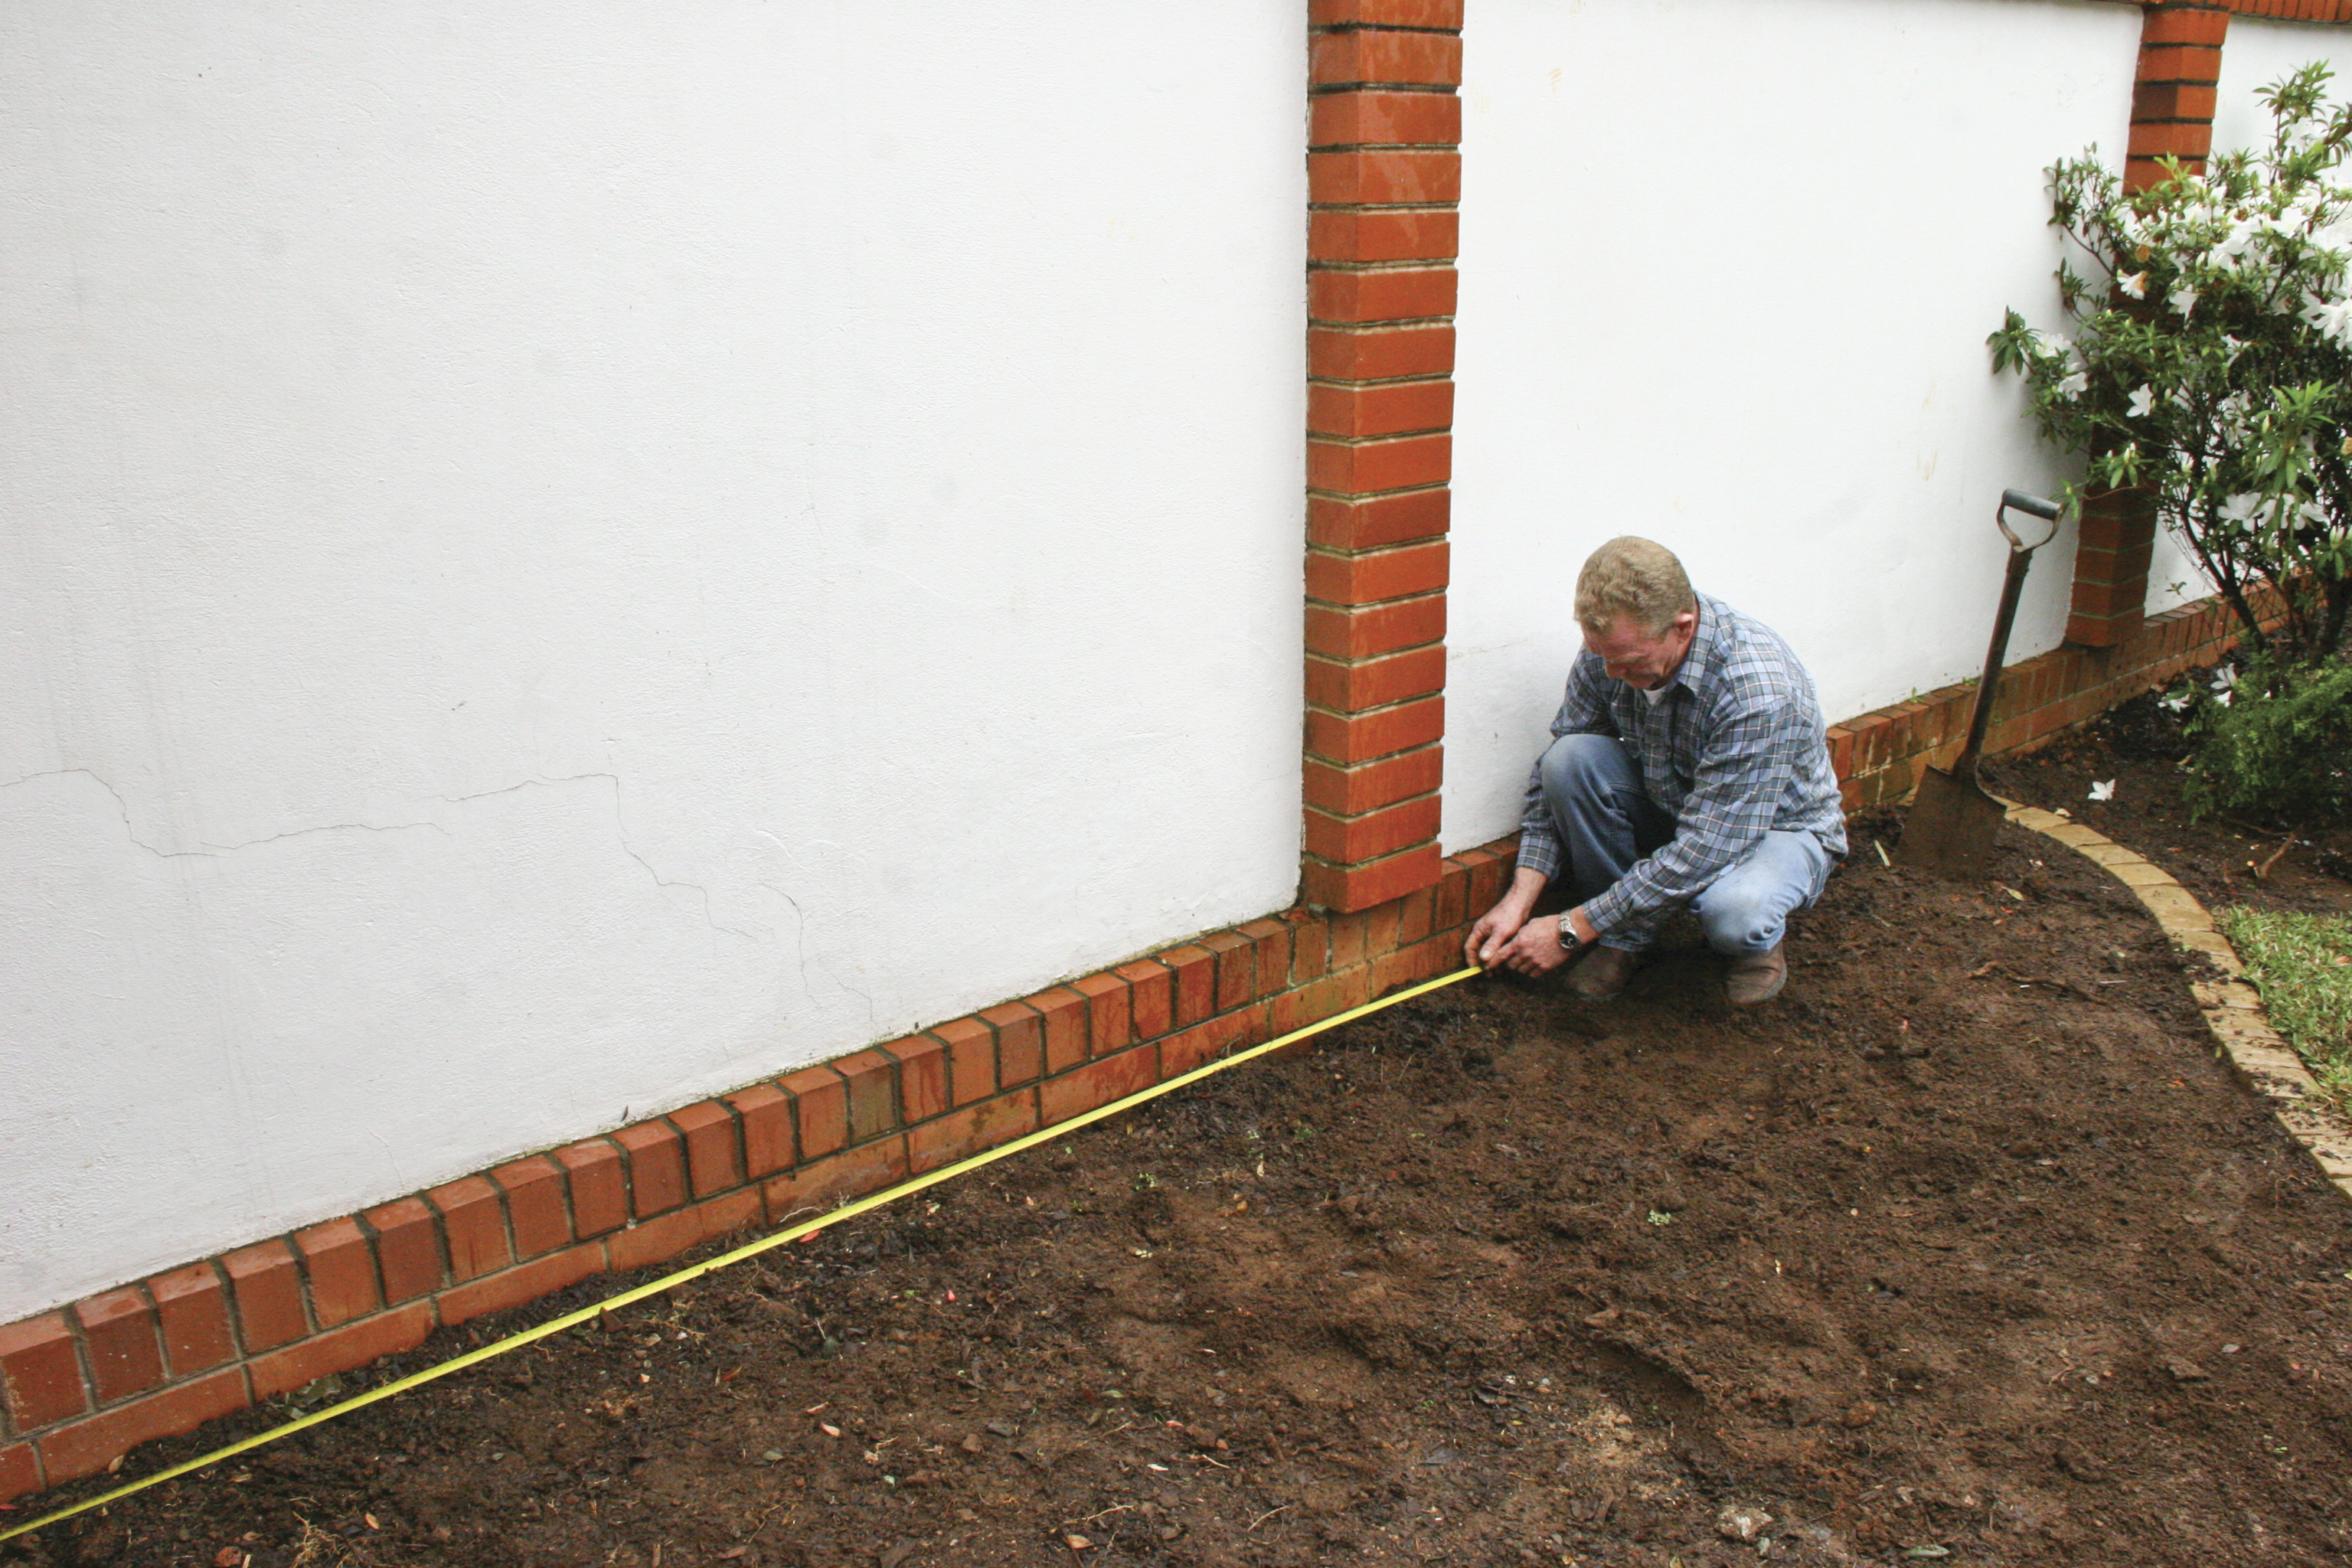
Step 2
Determine the position of the upright poles, opposite the existing wall of the house that will support your pergola extension. Ideally they should be spaced not more than 3m apart. Next, dig the two holes for the poles, a minimum of 600mm deep and 500mm wide.
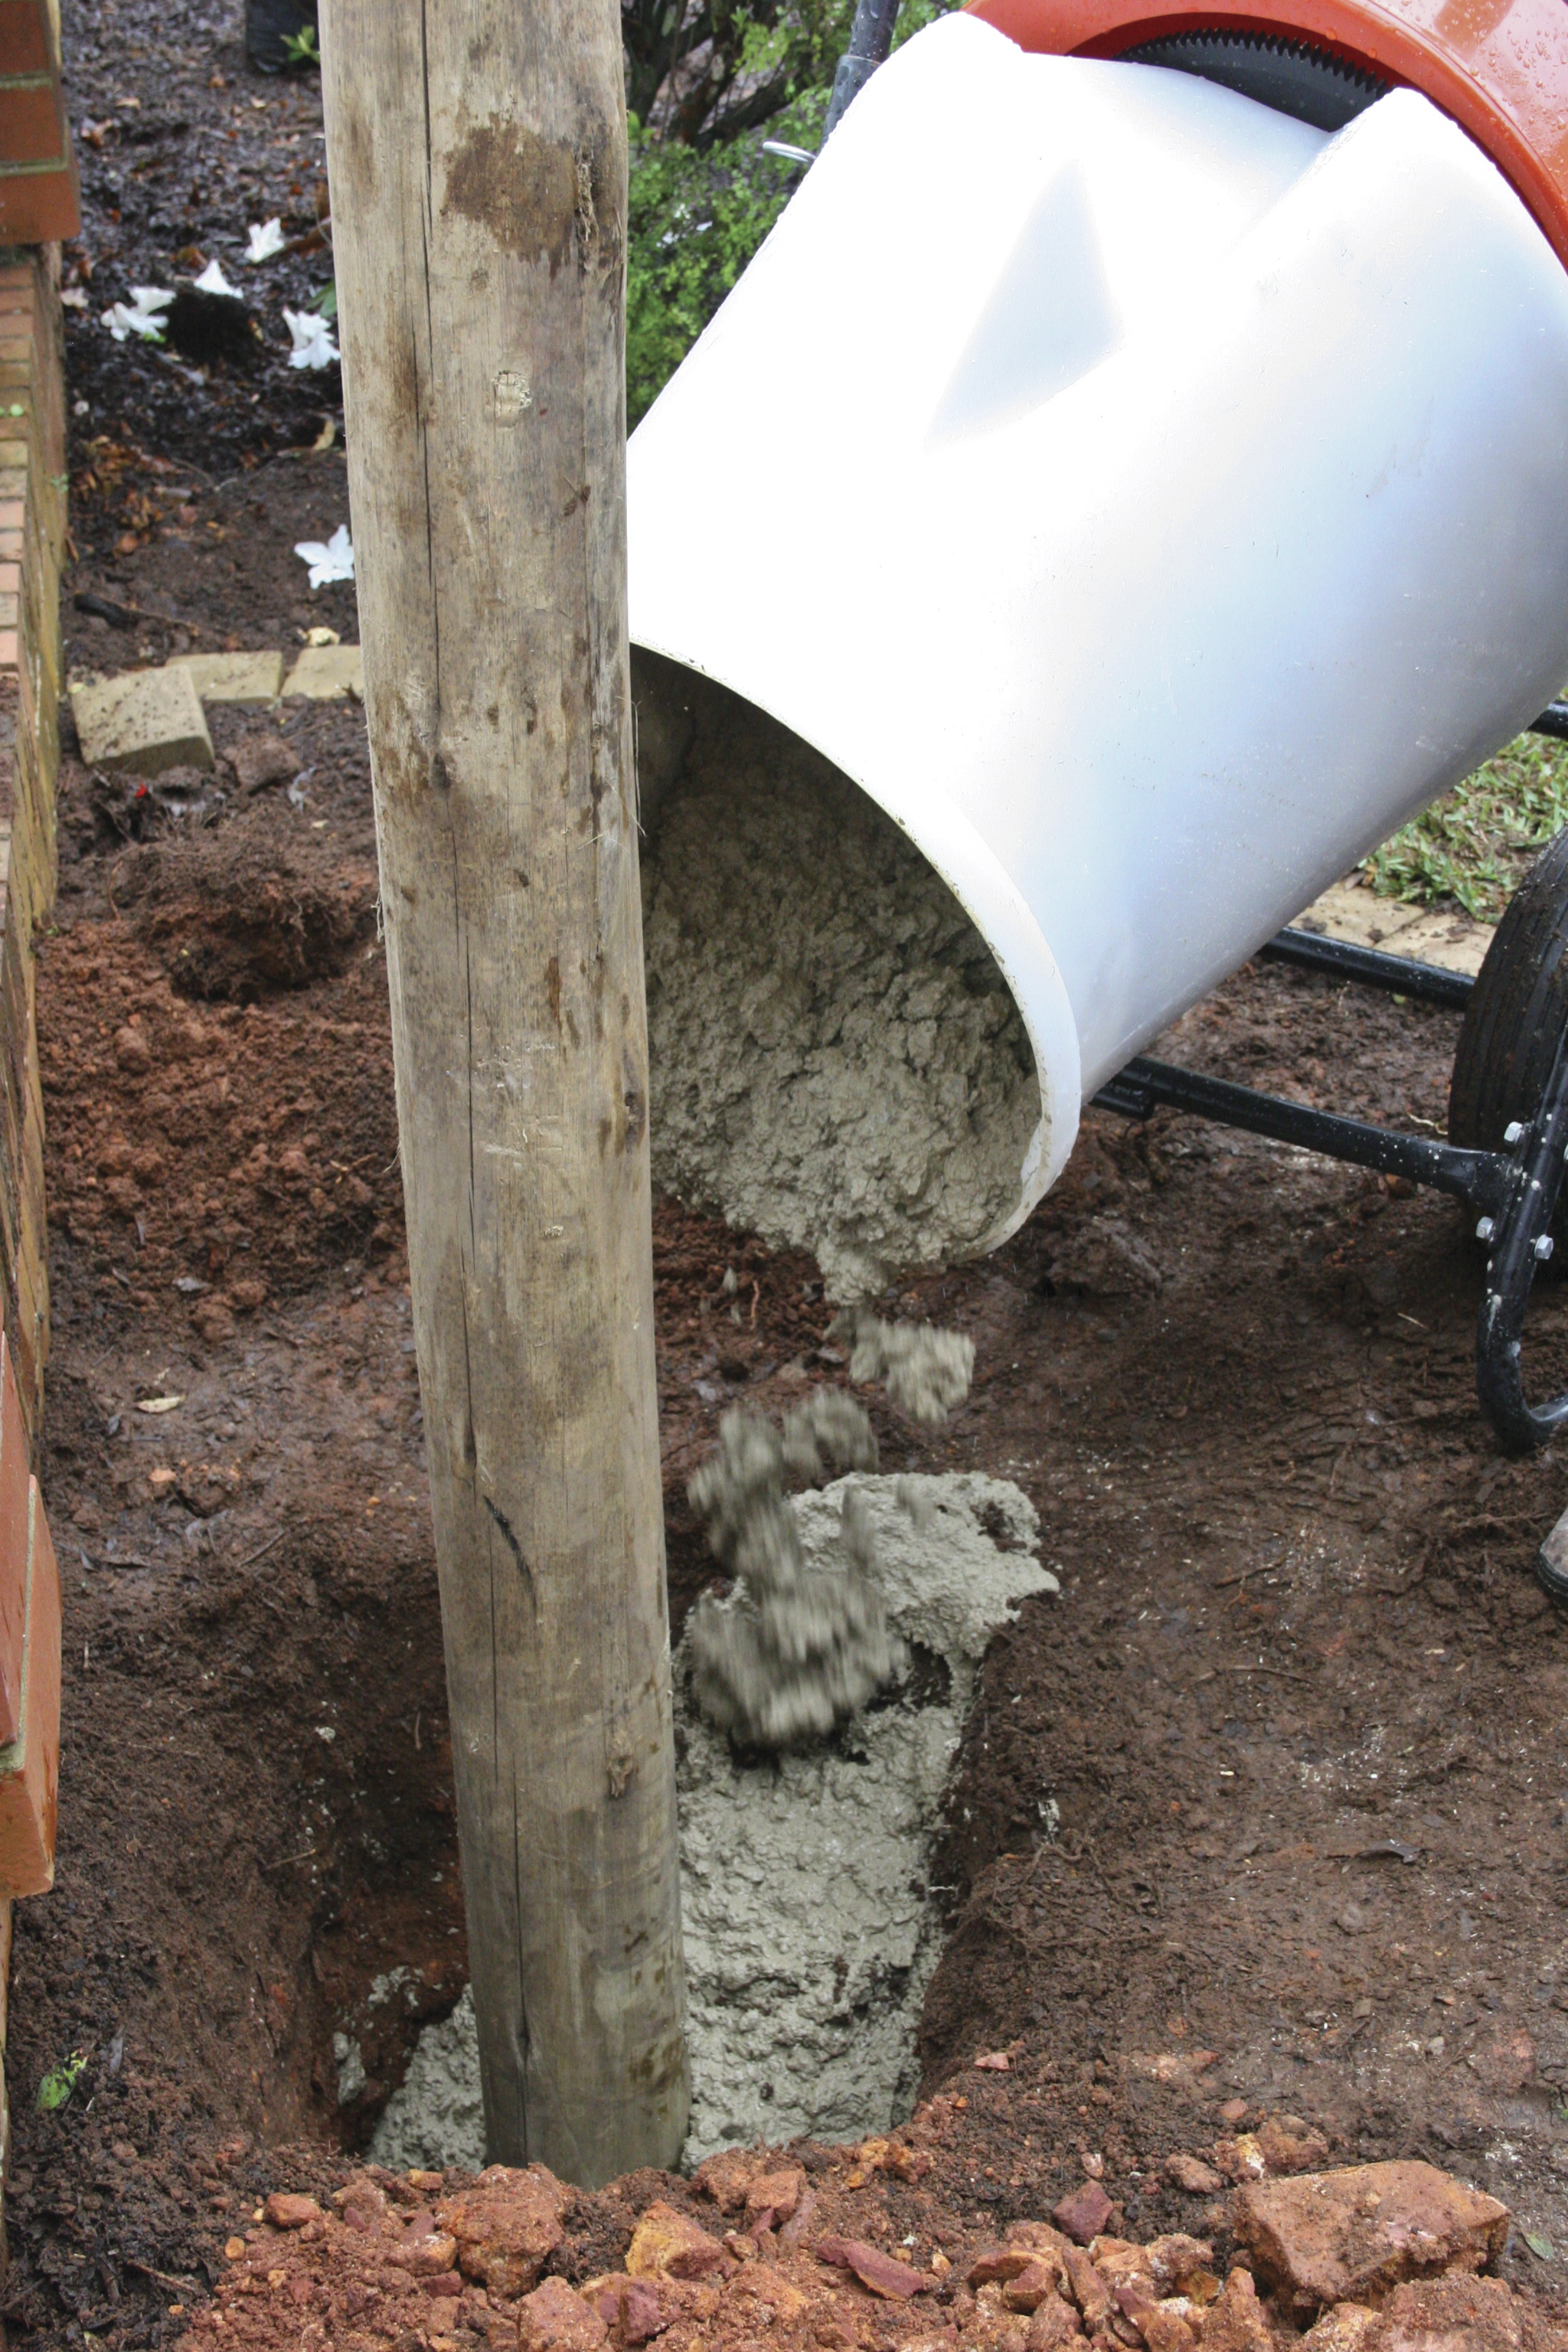
Step 3
Create a concrete mix of 2 parts stone, 2 parts sand and 1 part cement. Place each pole in the centre of its hole and only then pour the concrete mix around the pole. Agitate the mixture to ensure it fills all the space of the hole.
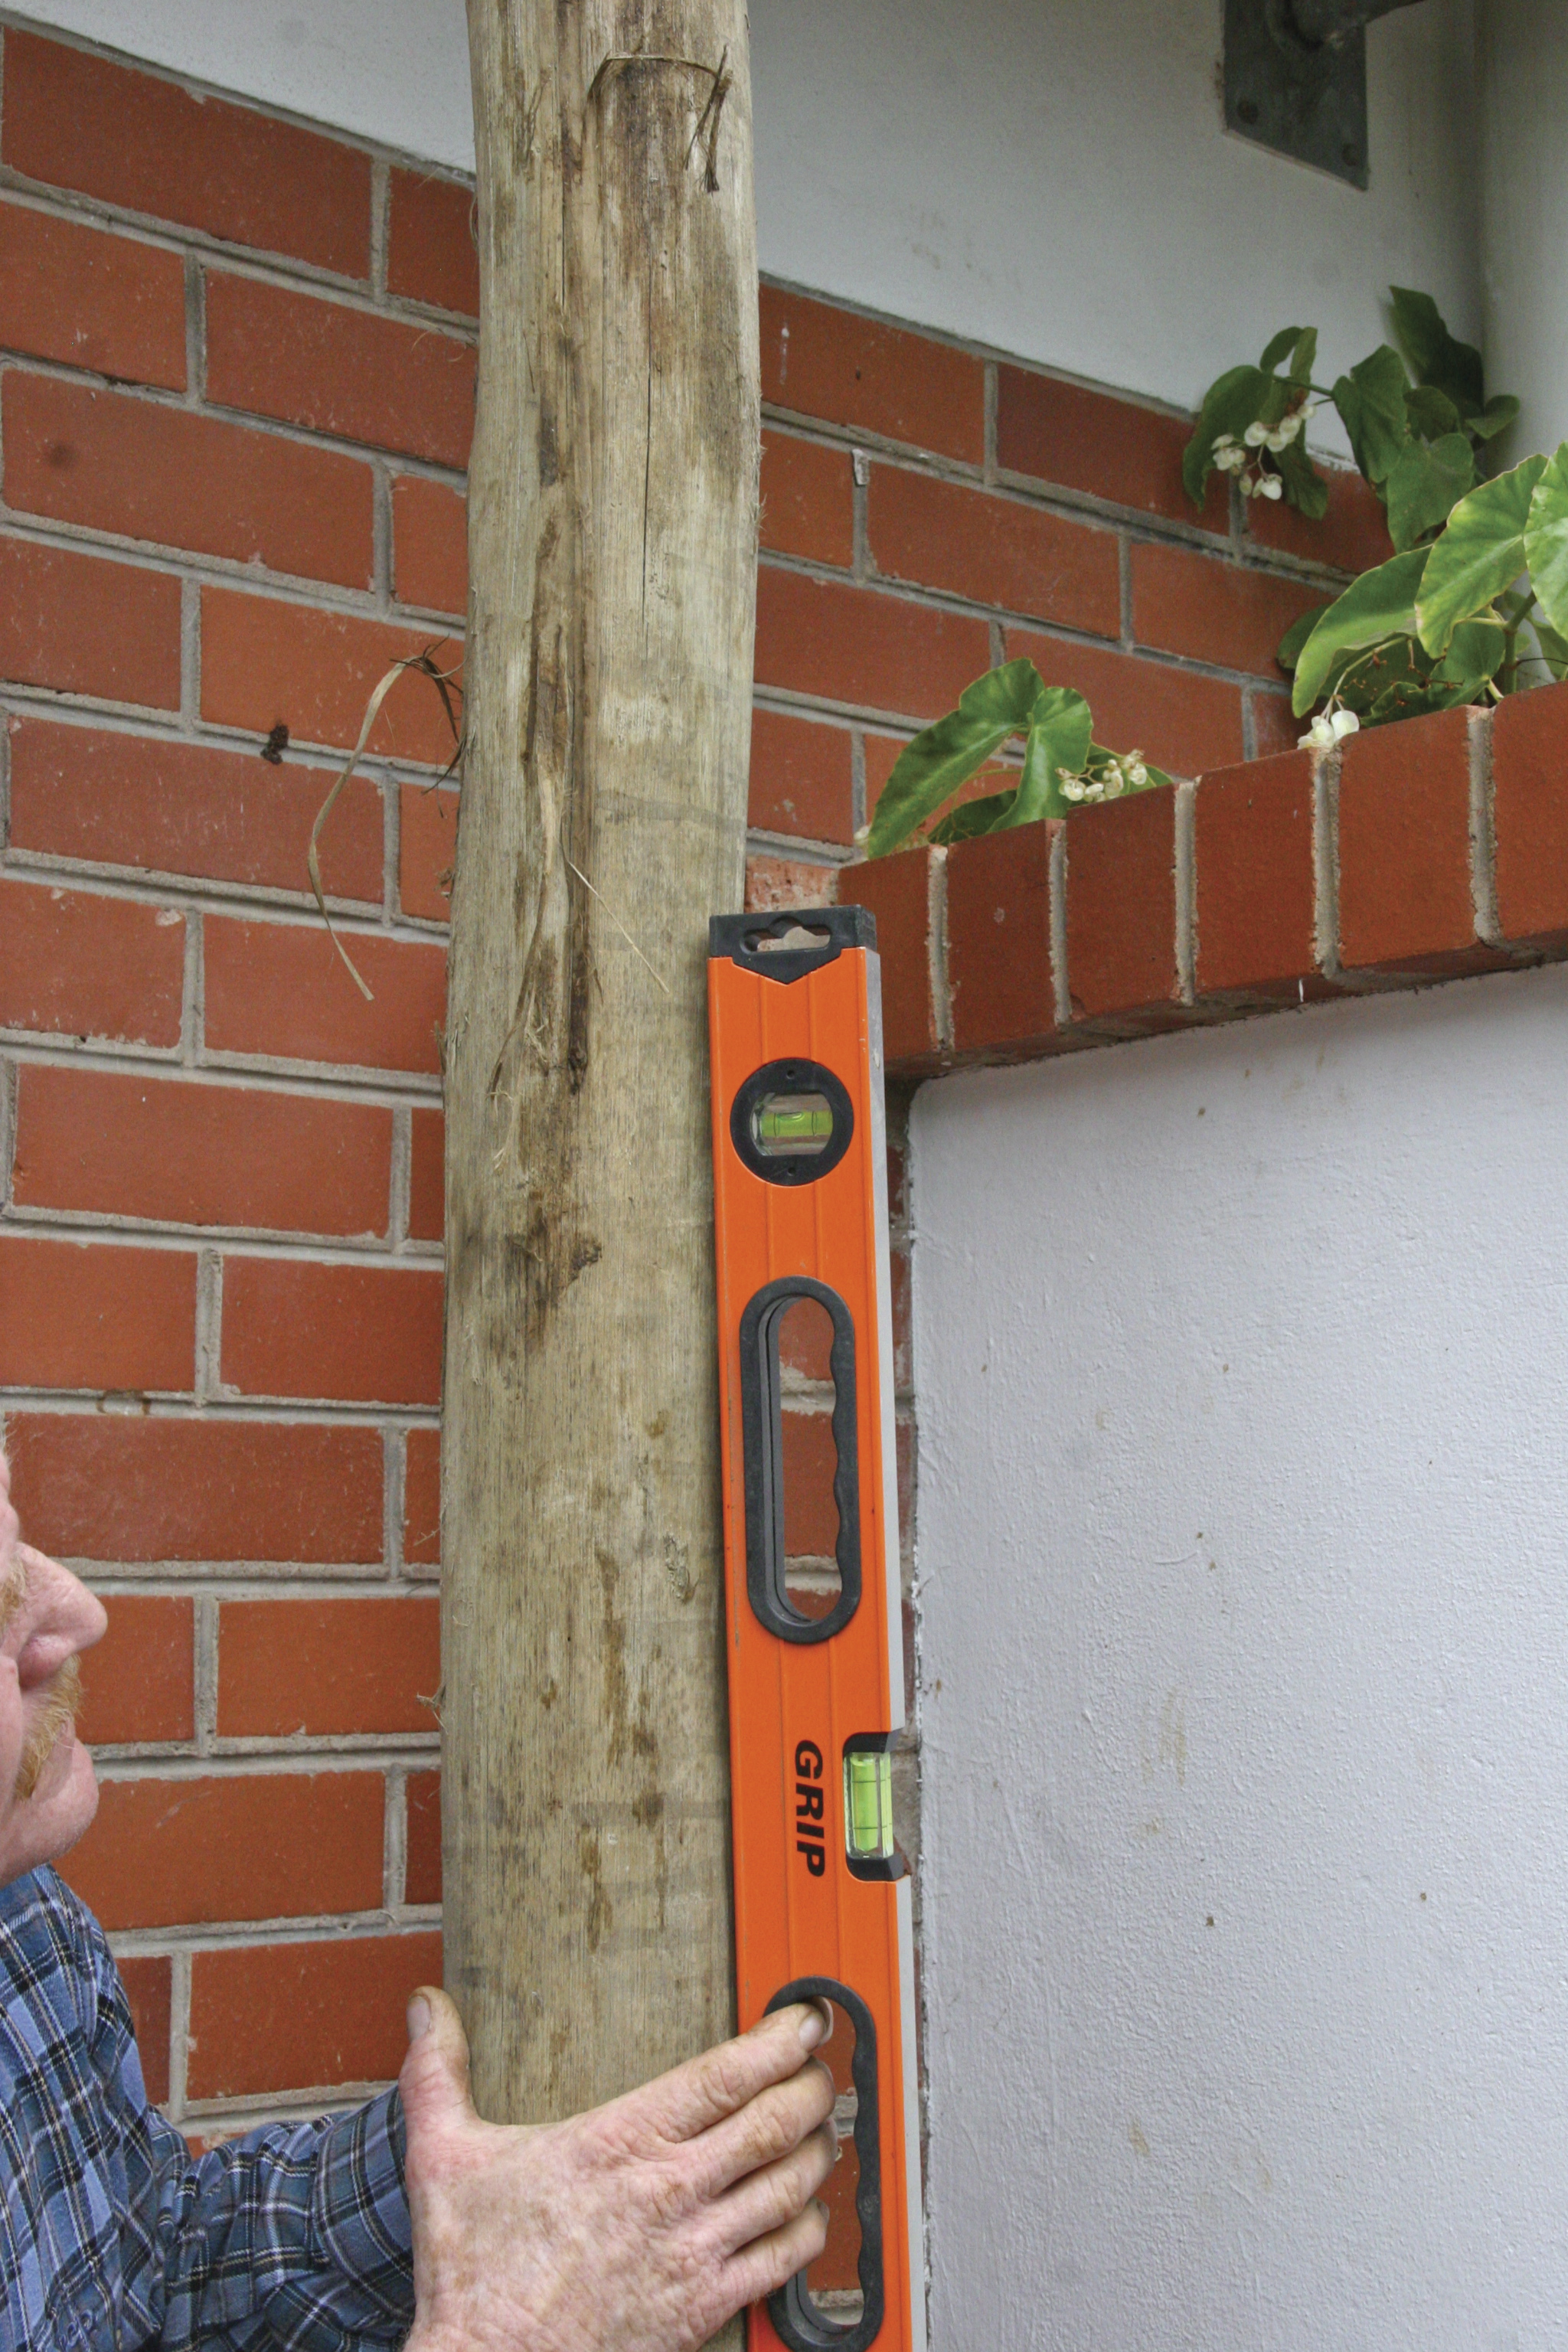
Step 4
Using the spirit level, adjust each pole until it is exactly vertical. Allow the mixture to dry for 24 hours before proceeding.
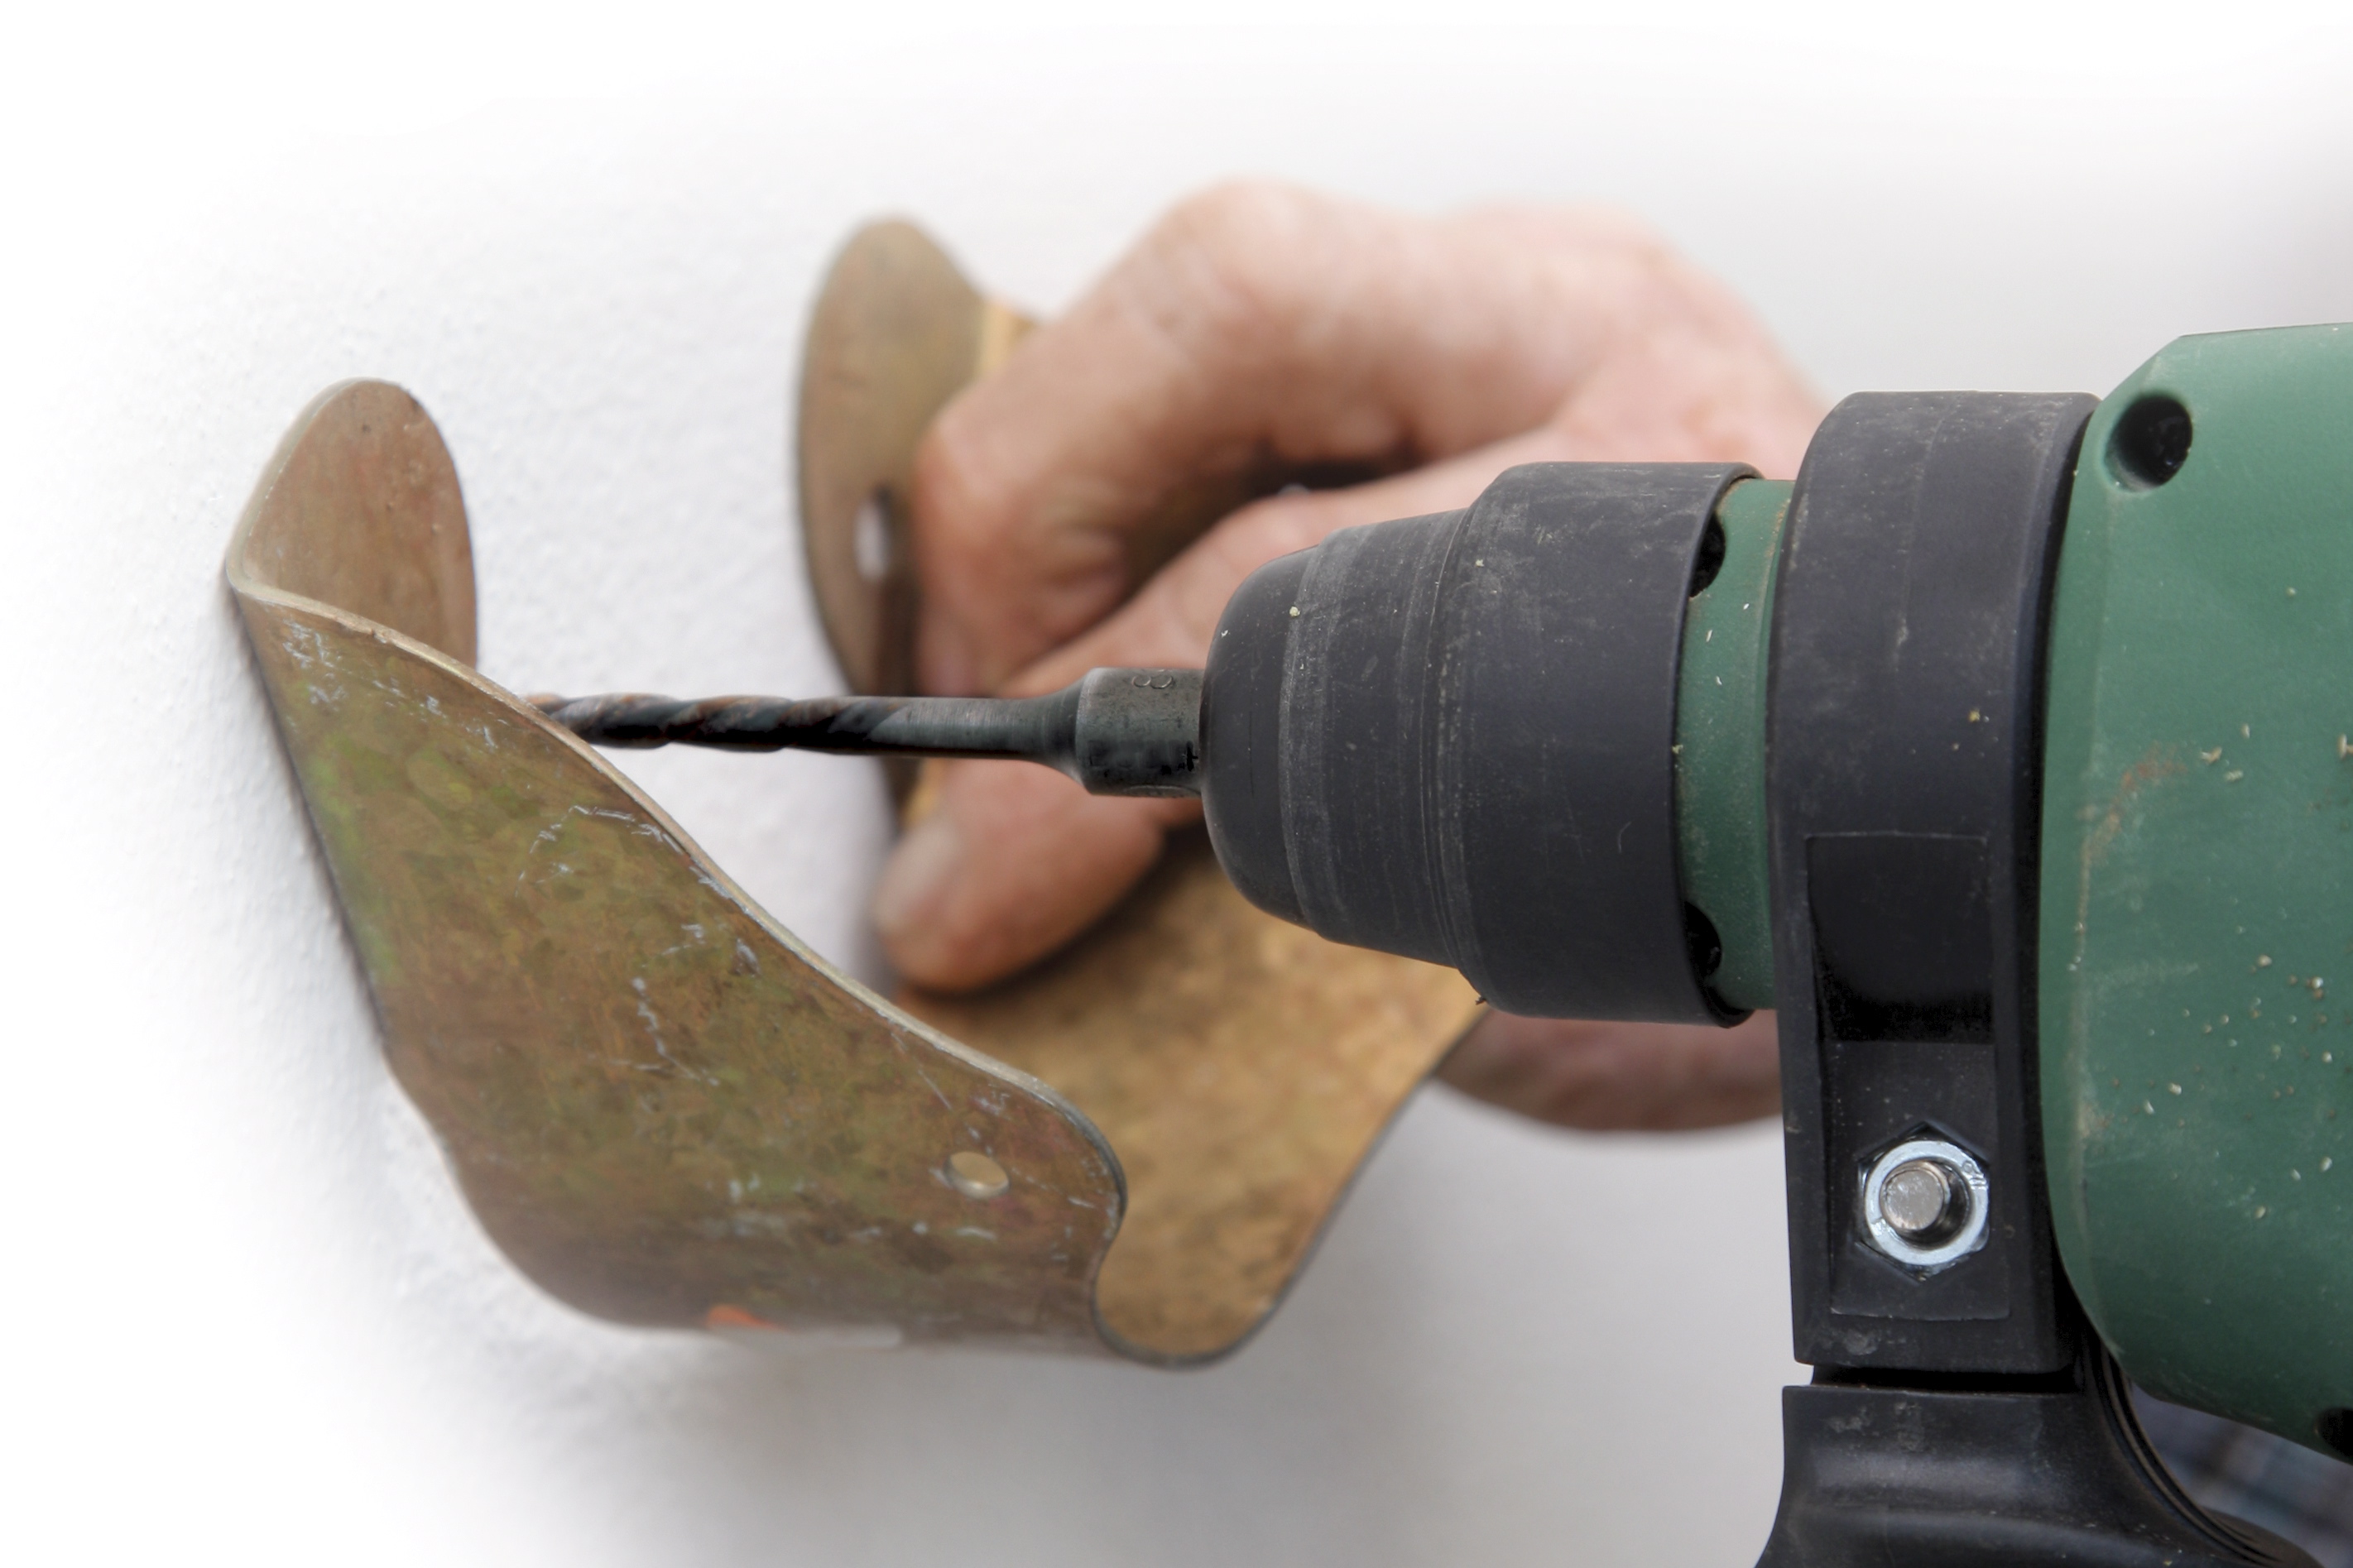
Step 5
The horizontal tie-beams now need to be attached to the upright poles to give the structure strength and stability. First, place the pole brackets on the existing wall opposite the two upright poles, at the required height, and mark. Drill and attach the pole brackets to the wall using Hilti screws and plugs.
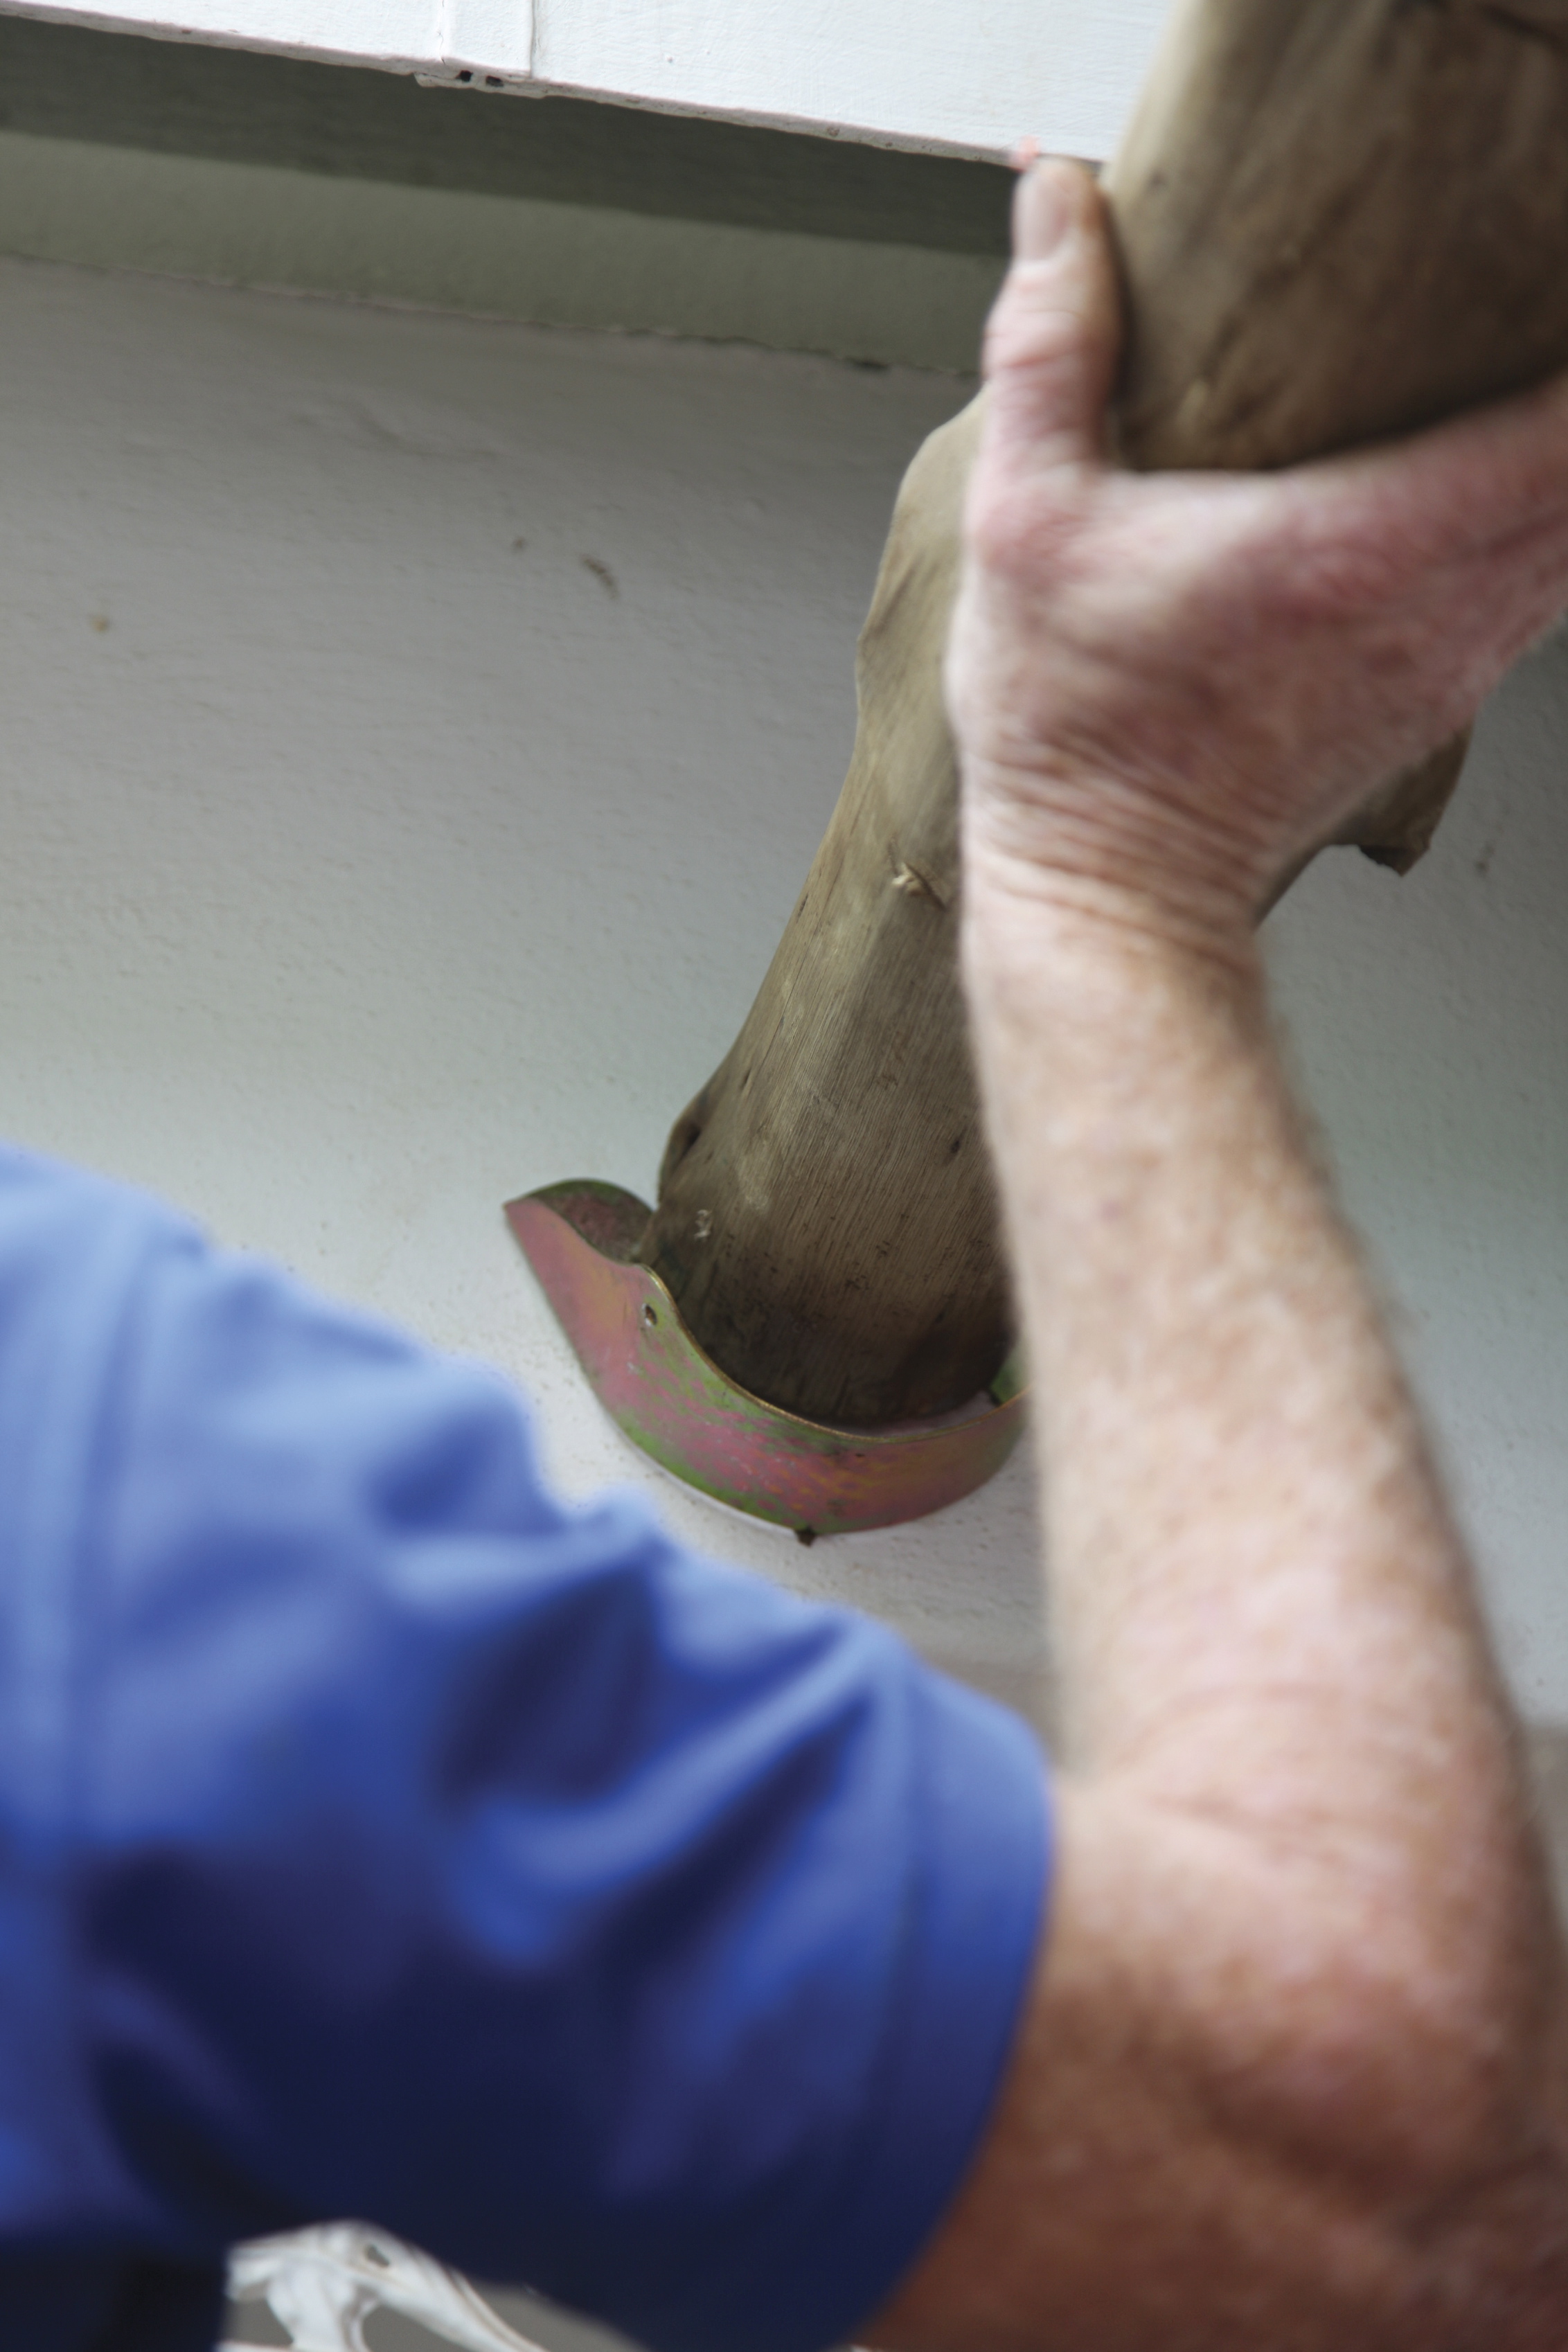
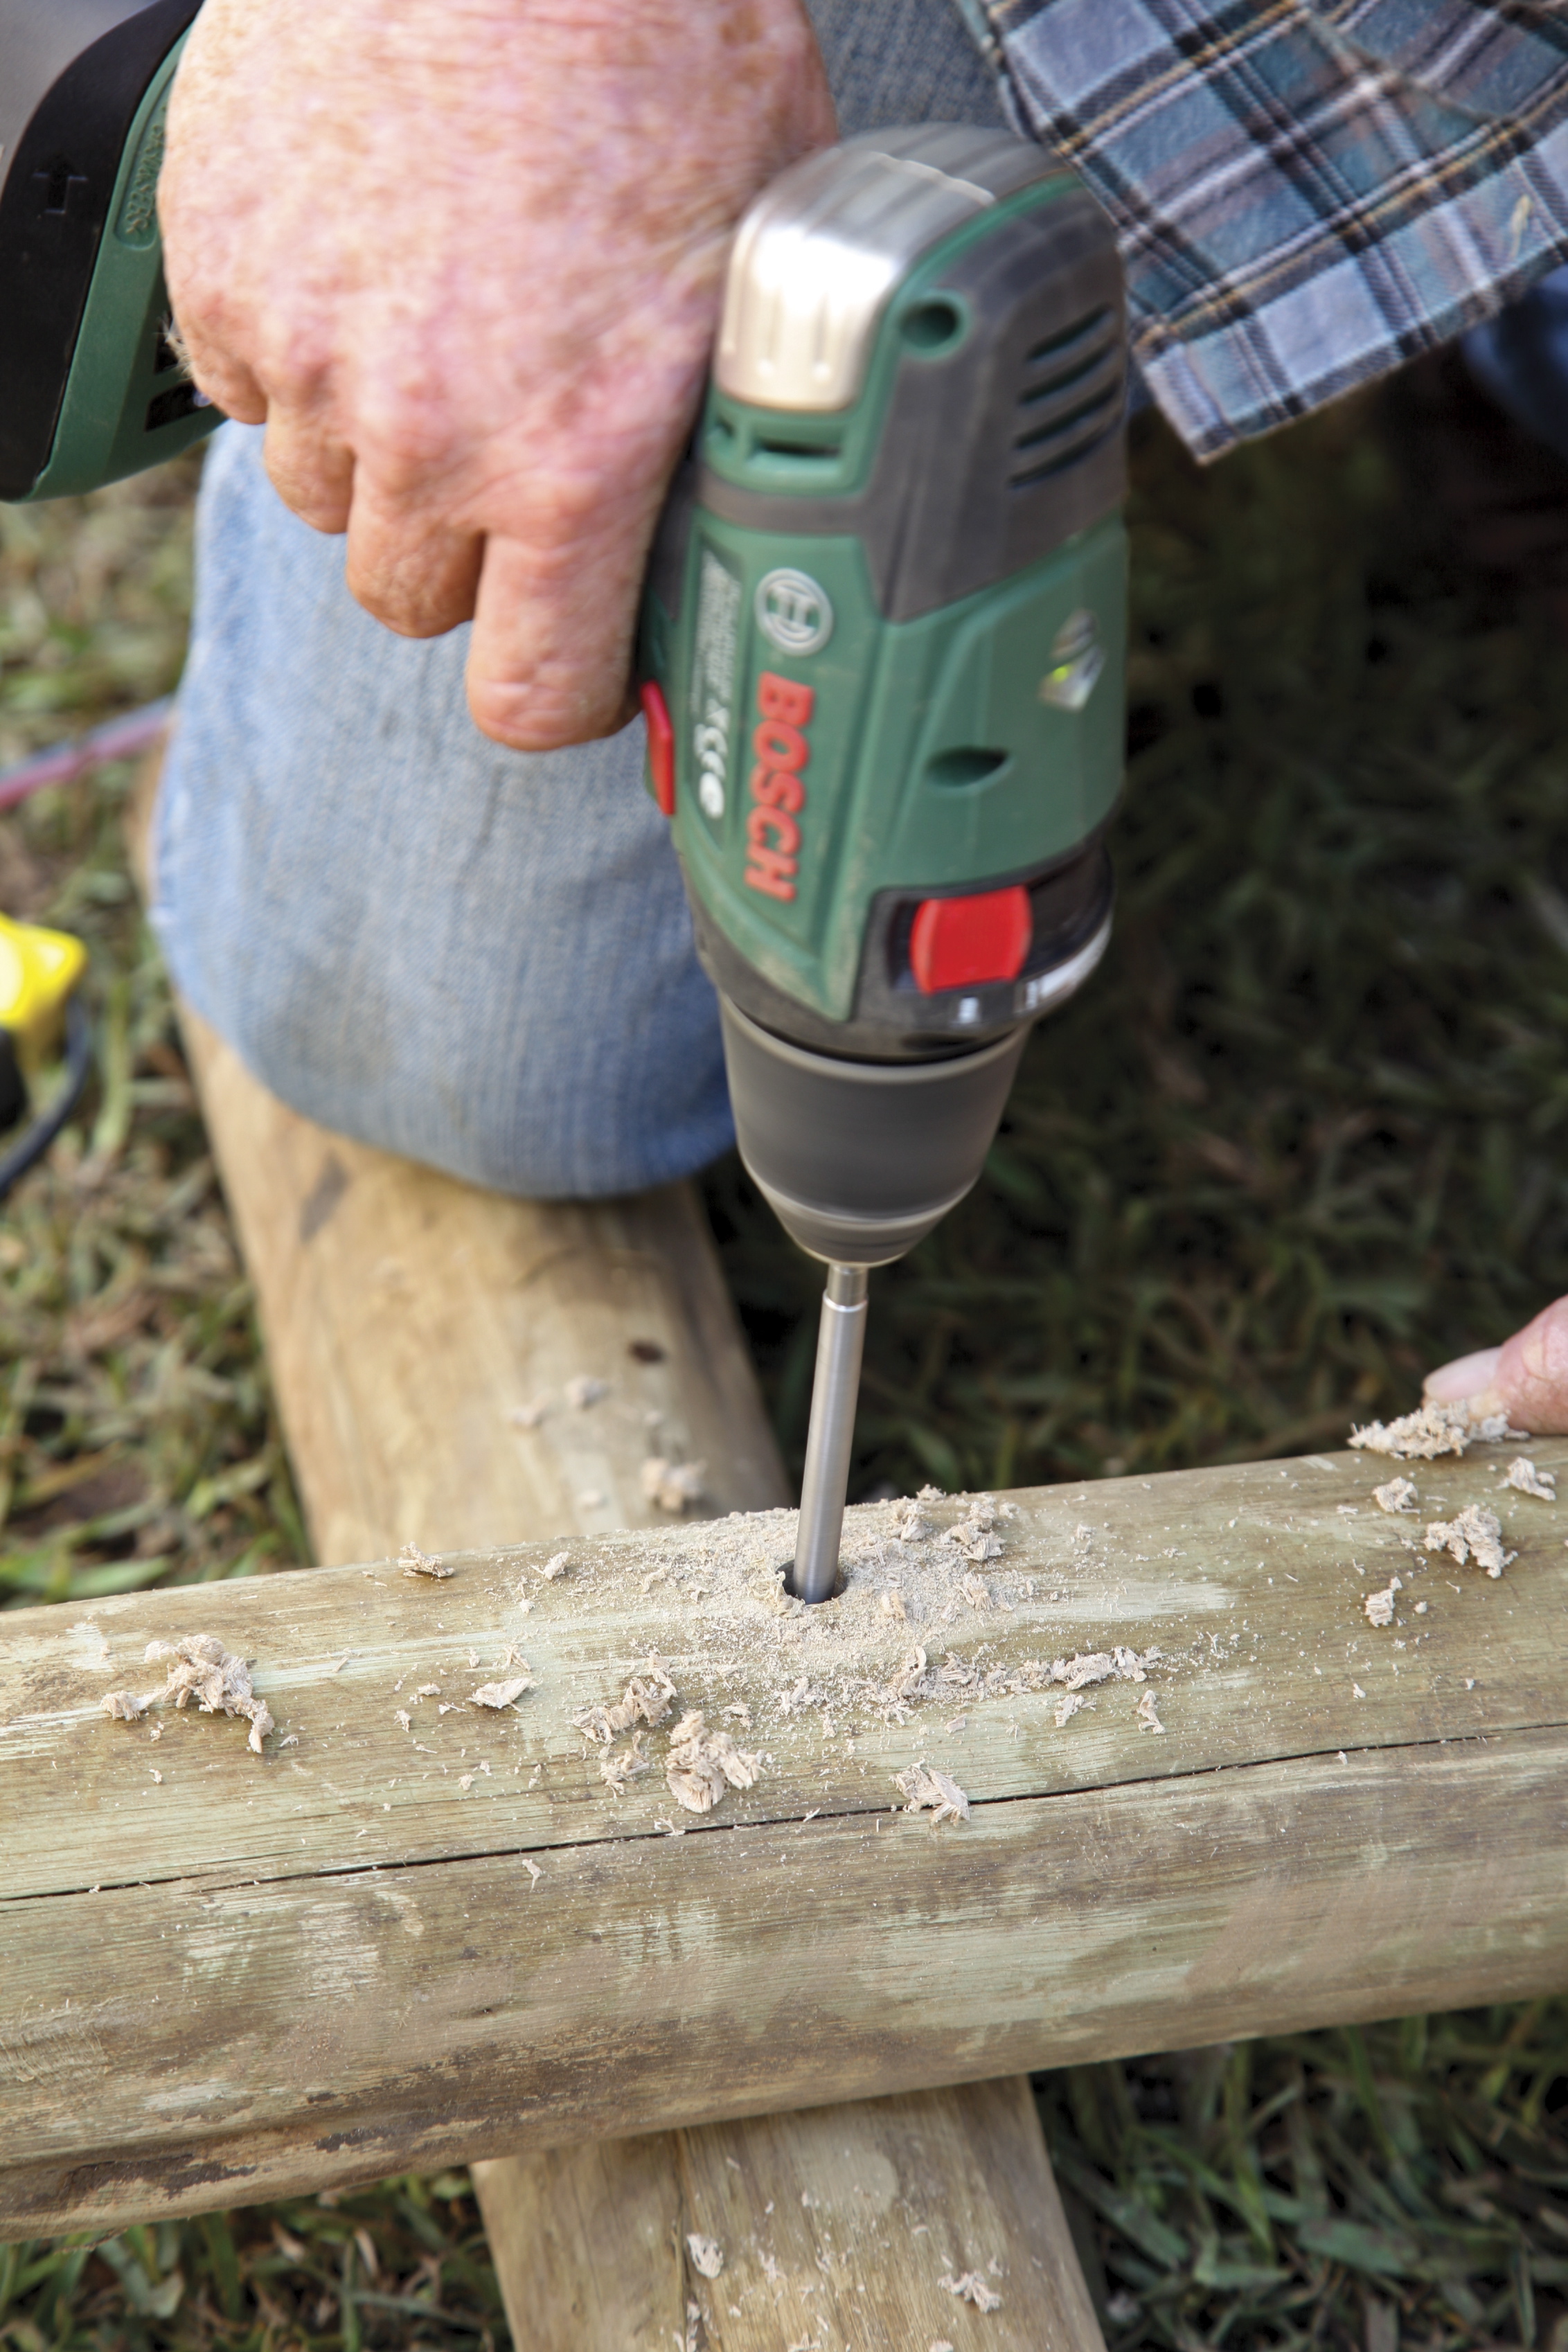
Step 6
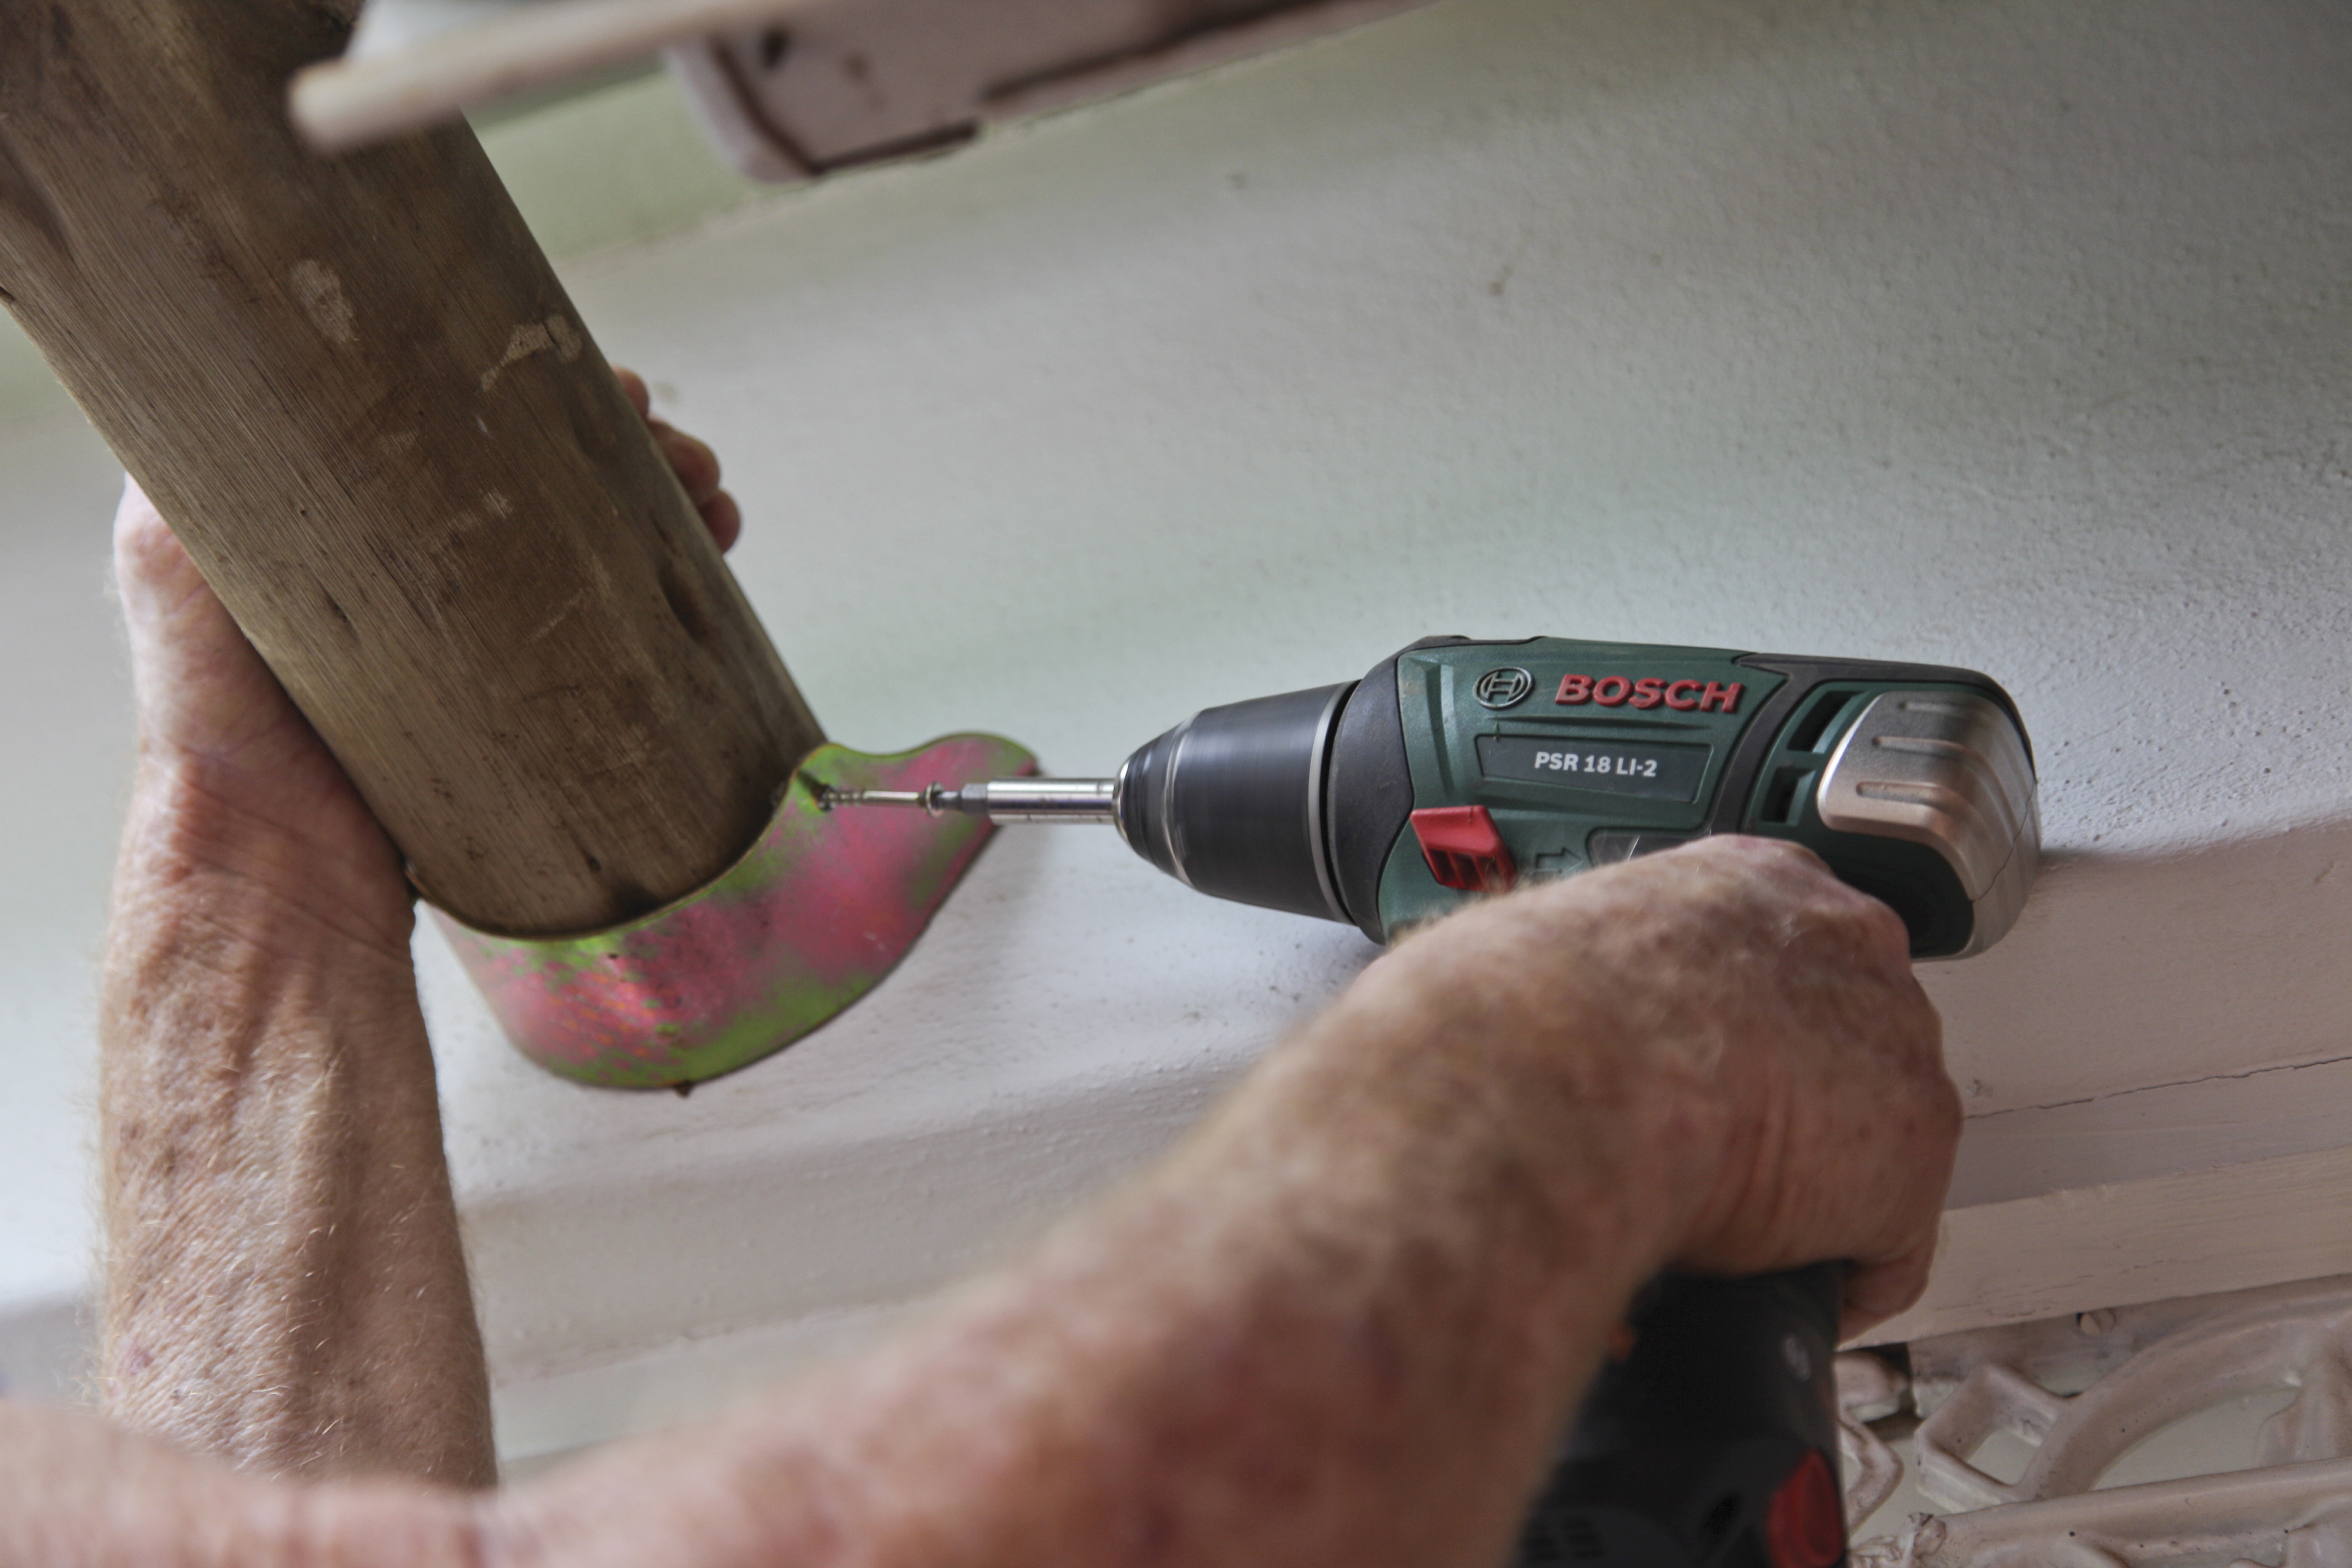
Take a tie-beam pole, resting one end on the first wall bracket and holding the other end on the inside of the upright pole, ensuring it is exactly horizontal. Using a pencil, mark the position where it touches the upright pole. Using the 13mm wood drill bit, drill a pilot hole into the tie-beam pole.
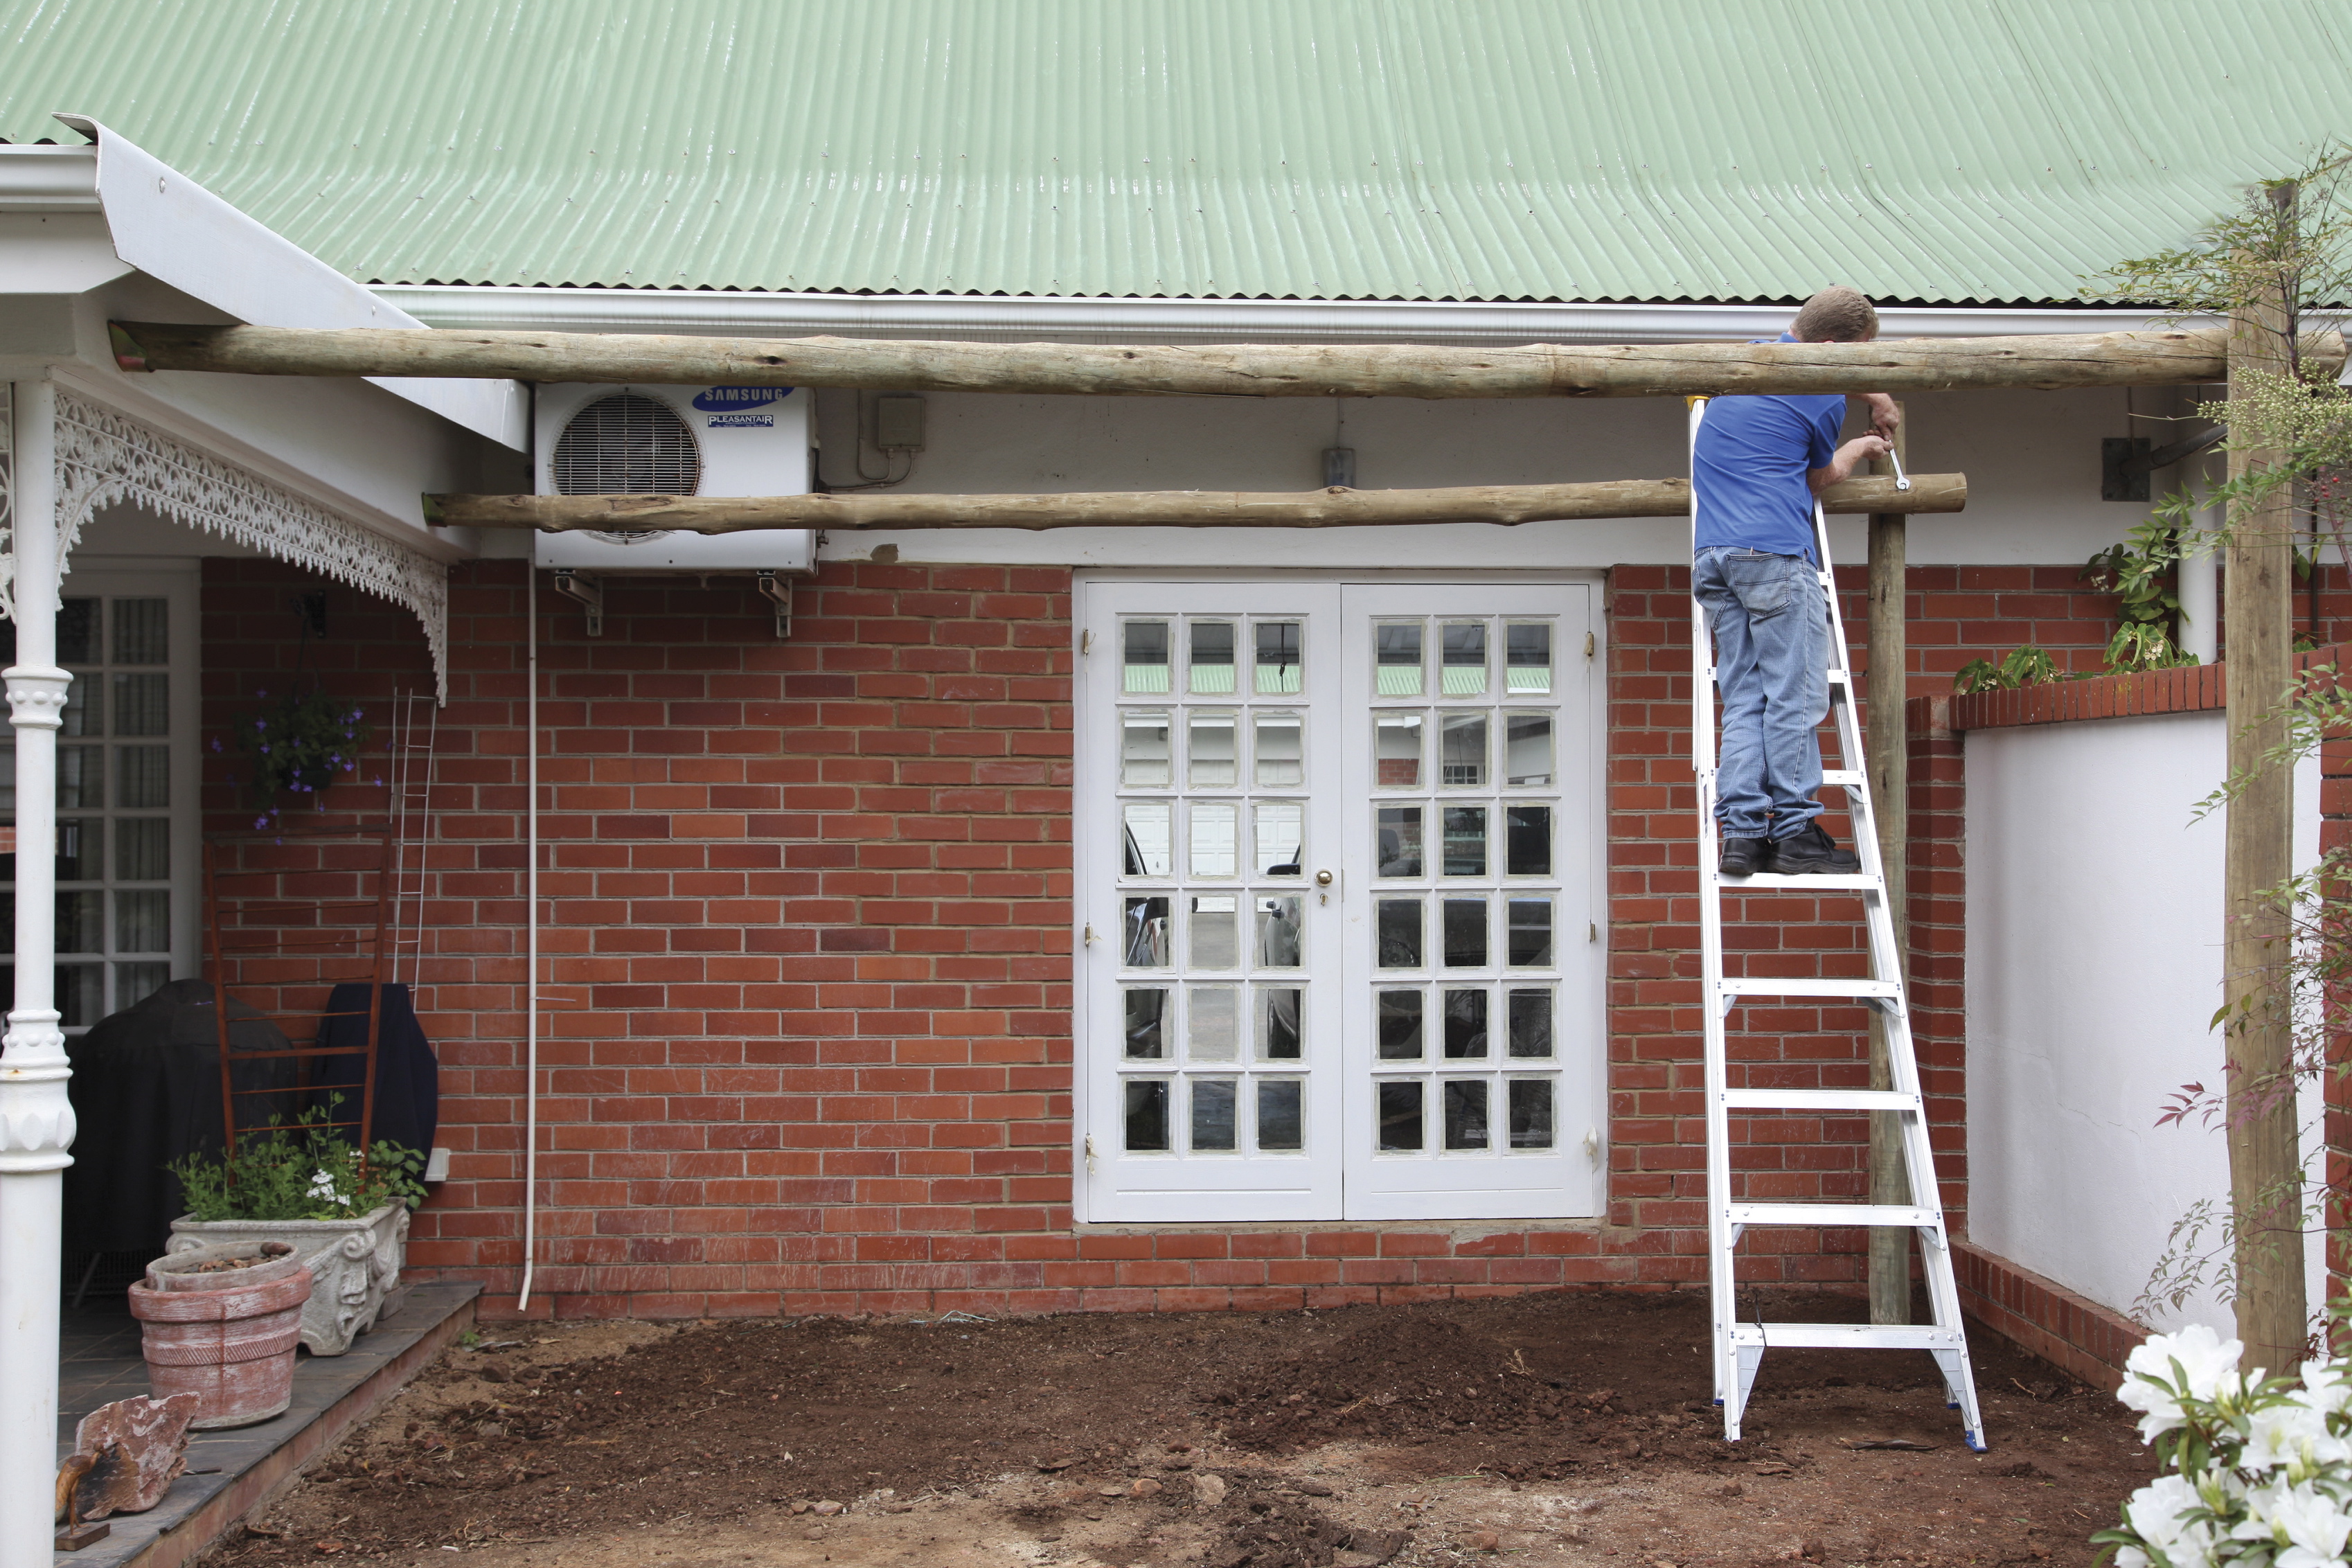
Step 7
Insert the coach screw into the pilot hole and drive it into the upright pole with the hammer till the end of the thread is reached. Using the no.18 spanner, then tighten the coach screw till it emerges through the other end of the upright pole. Secure the other end of the tie-beam pole to the wall bracket, using the full-thread wood screws.
Step 8
Repeat steps 6-7 to fix the other tie-beam pole.
Step 9
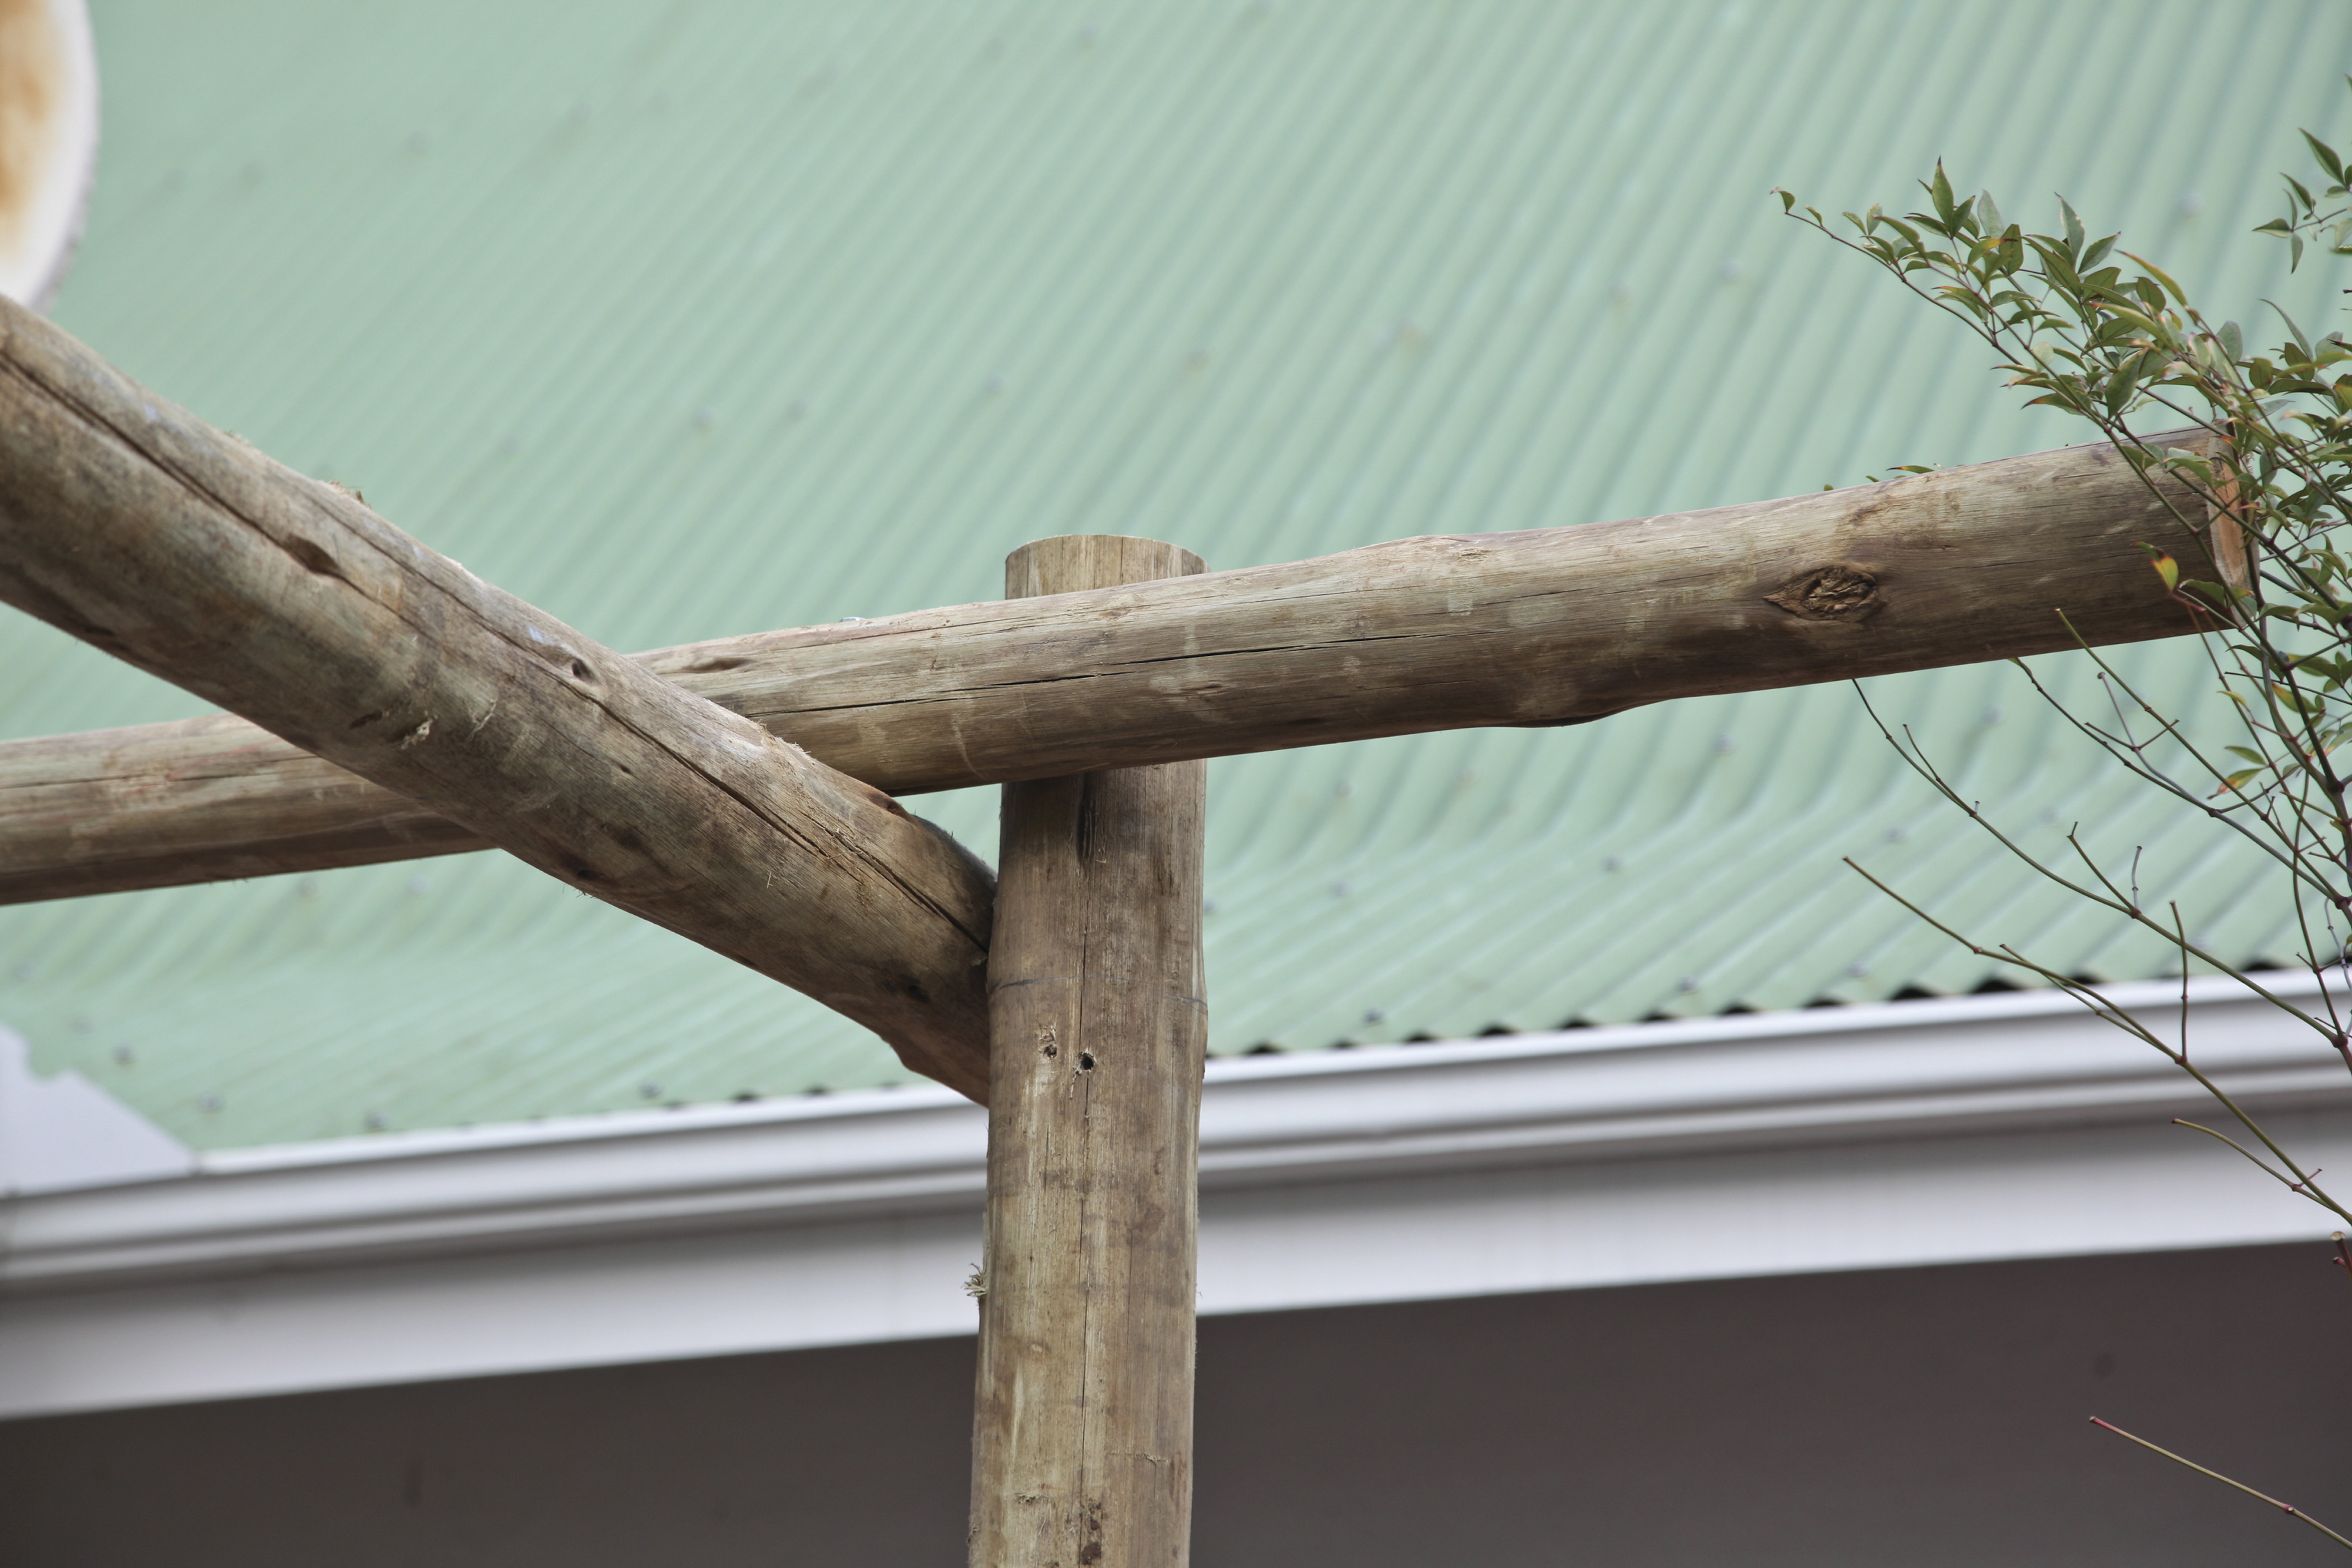
Now, using coach screws, attach the support-beam (which is slightly shorter than the cross-beams) between the two upright poles (placed underneath the tie-beams) to make the structure more sturdy.
Step 10
You are now ready to fix the cross-beams on tops of the tie-beam framework. These will form the ‘canopy’ of the pergola. Position the first one so that it is resting where the tie-beams join the upright poles, parallel with the support beam between the two uprights. It should have an overhang of 100mm on the inner, wall side and 500mm on the outer side of the tie-beams. Once positioned, mark where the cross-beam rests on the tie-poles, remove it, and drill pilot holes. Fix the coach screws.
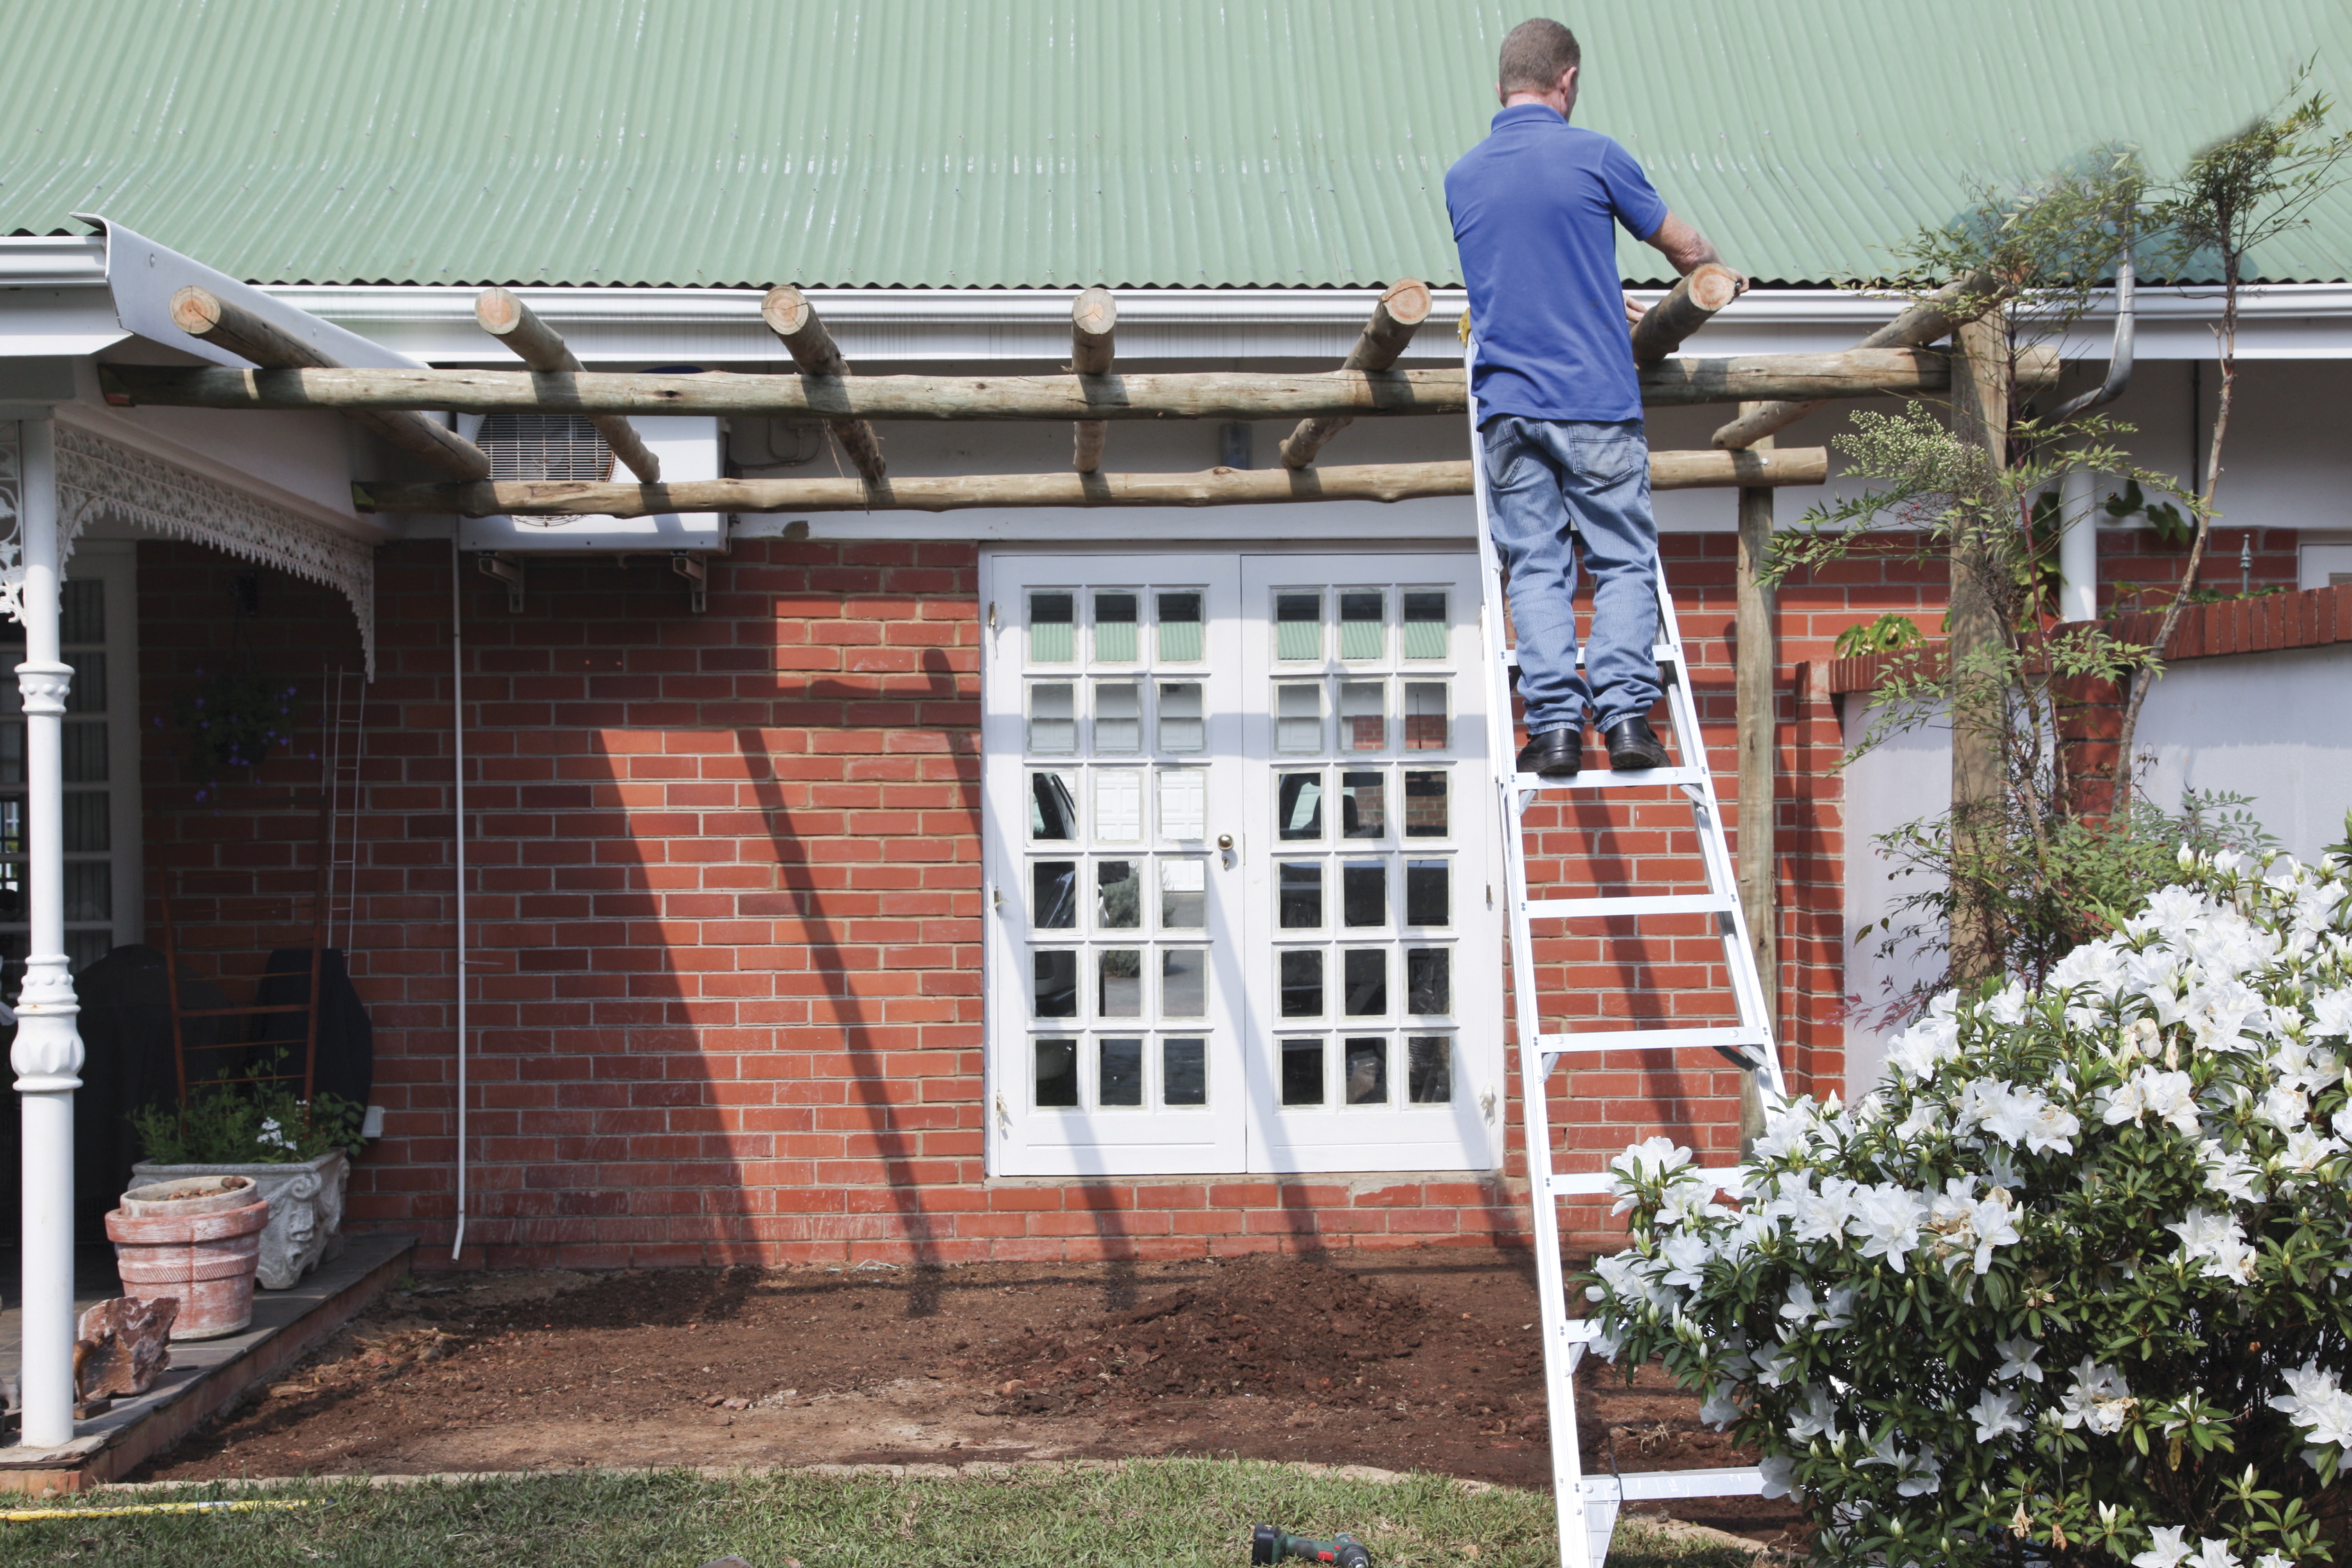
Step 11
Position and fix the remaining six cross-beams 550mm apart to complete the canopy of the pergola.
Browse 1000’s of products available to you. Select your country to Shop Online.


