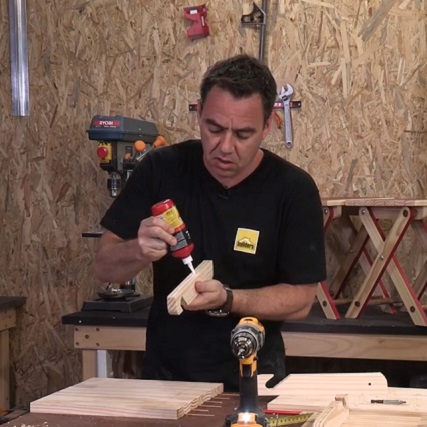
How to make a folding chair that doubles into table.
Materials
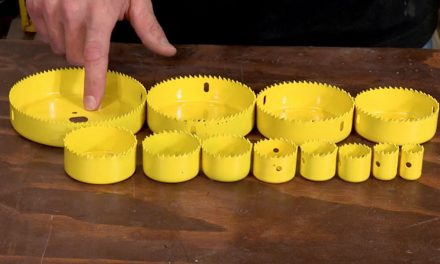
- 4 x 1,8m lengths of (22x44mm)
- 1 x 1,8m length of 22mm diameter dowel
- 1 x 910mm length of 3mm diameter dowel
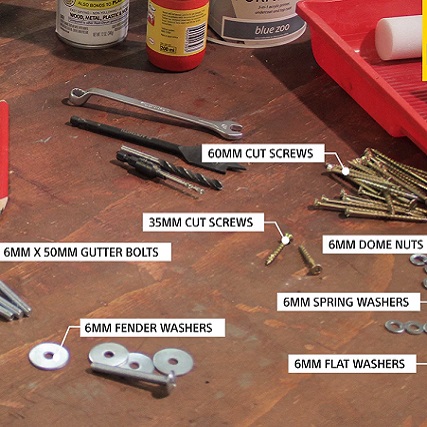
- 6mm x 50mm gutter bolts
- 6mm flat washers
- 6mm spring washers
- 6mm fender washers
- 6mm dome nuts
- 4 x 35mm cut screws
- 4 x 60mm cut screws
- Rustoleum satin clear
- Fired Earth cabinet and furniture (blue zoo)
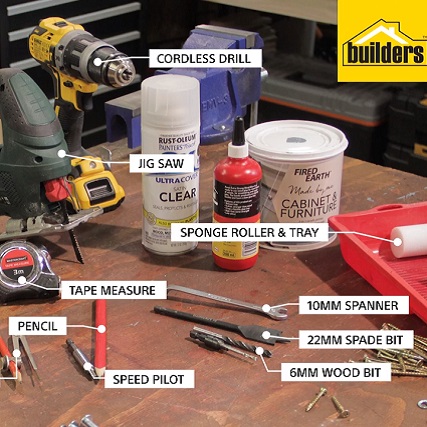
- Cordless drill
- Jig saw
- Sander
- Tape measure
- Compass
- Pencil
- Speed pilot
- 6mm wood bit
- 22mm spade bit
- 10mm spanner
- Sponge roller
- Tray
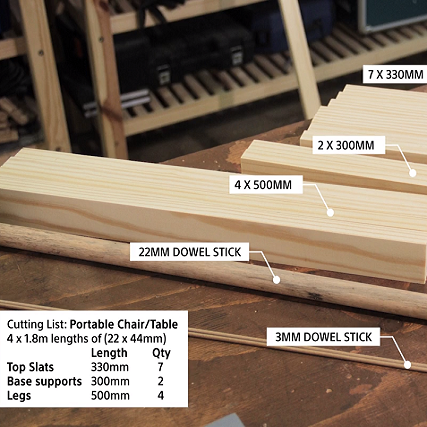
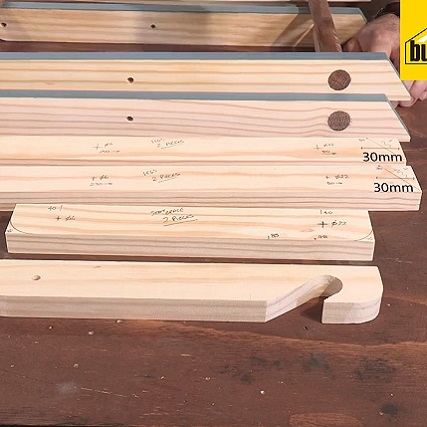
- 7x 330mm (Top slats)
- 2x 300mm (Base supports)
- 4x 500mm (Legs)
Make the base support struts
Step 1
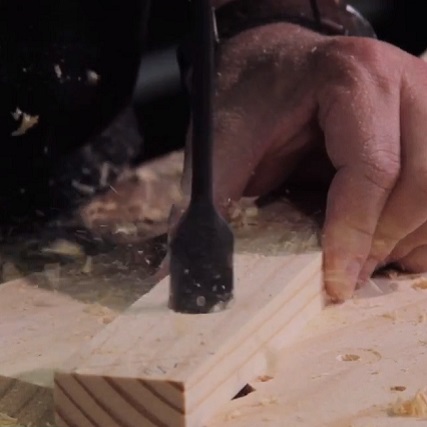
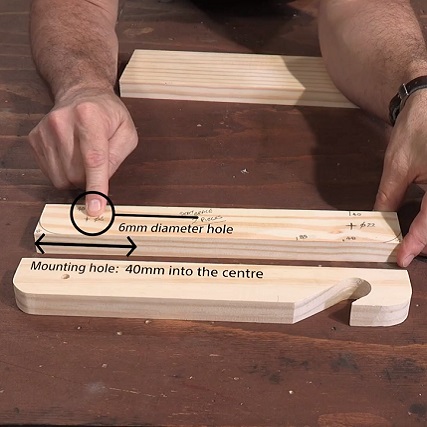
Begin the DIY by drilling all the necessary holes. Drill a 6mm mounting hole, 40 mm from the edge of each base support in the centre. On the other side, use the space bit to drill a 22mm catch hole 40mm from the end of the timber in the centre.
Step 2
Mark out an 85mm point on top of the 22mm hole and a 48mm point beneath the 22mm mark. Draw diagonal lines from both the 85mm and 48mm marks, down toward the bottom of the timber, this will form your guideline for where to cut the timber to form a catcher.
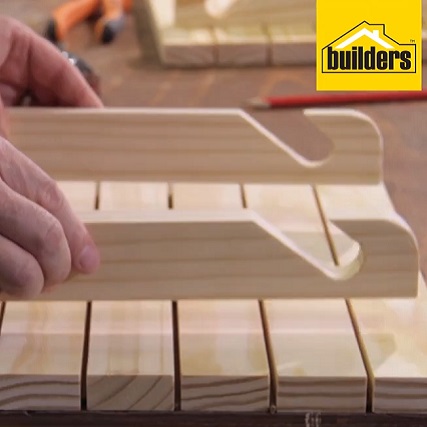
Step 3
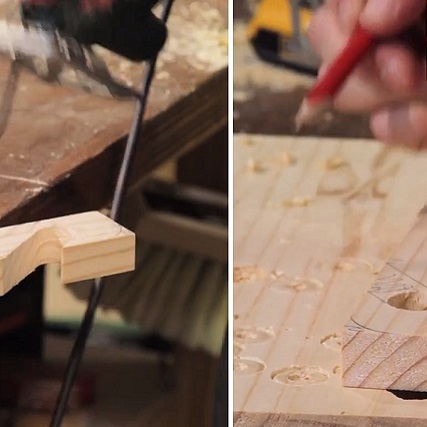
Use the jigsaw to round the edges of the struts and cut the catcher.
Step 4
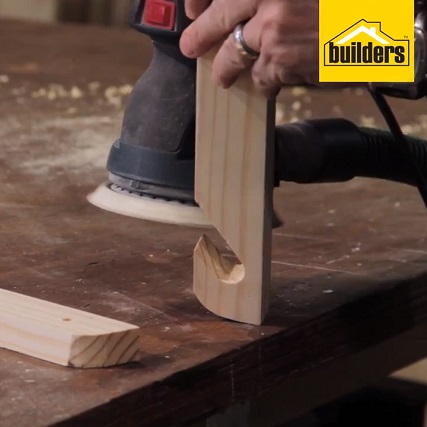
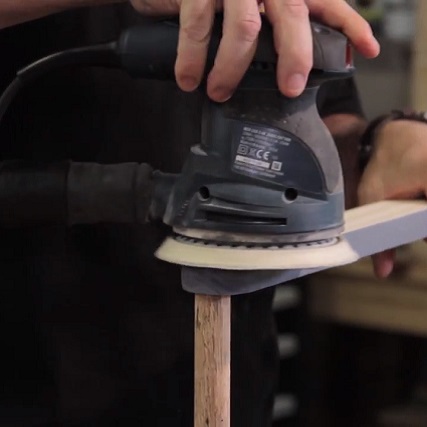
Sand down your timber to smooth out any imperfections.
How to make the legs
Step 1
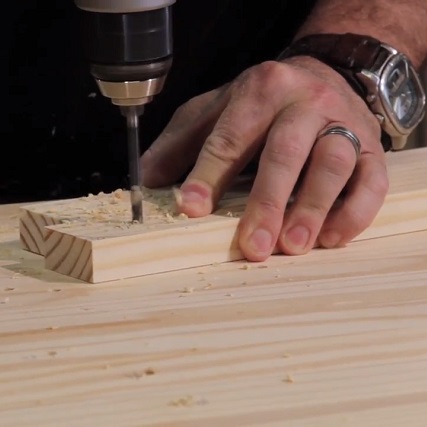
Use a similar process when drilling holes for the legs of your chair/table. Drill a 22mm hole into the 2 outer legs of your chair/table, 480mm from the edge of the timber. Then drill a 6mm hole, 290mm from the same starting point to create the middle hole. Finally, drill another 22mm hole, 80mm from the starting point.
Step 2
Measure 30mm from the above mentioned starting point, and draw a diagonal line down from that point to the base of the timber. Cut the corner off using a jig saw. This will form the foot of your stool. Repeat the process in step 2 for the 2 inner legs, except drill a hole of 6mm at the 480mm mark.
Base assembly
Step 1
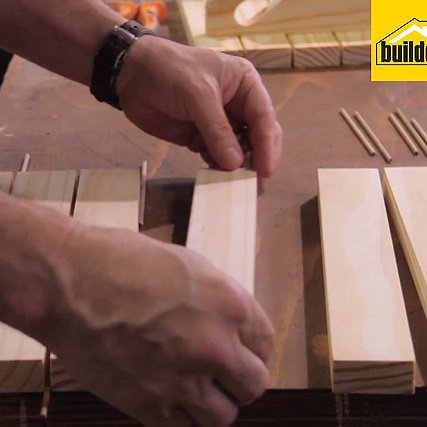
Lay out top planks square to each other, using the 3mm dowels between each slat as spacers.
Step 2
Mark off 55mm from the outer edge of the top slats for the support strut placement and 15mm from the side edge of the slats.
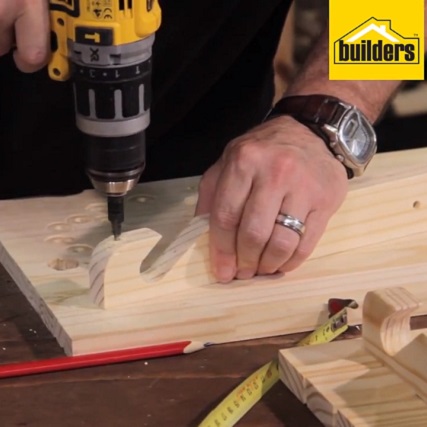
Step 3
Use the speed pilot to drill and counter sink the holes for the screws.
Step 4
Use wood glue between the mating surfaces and screw the slats into place.
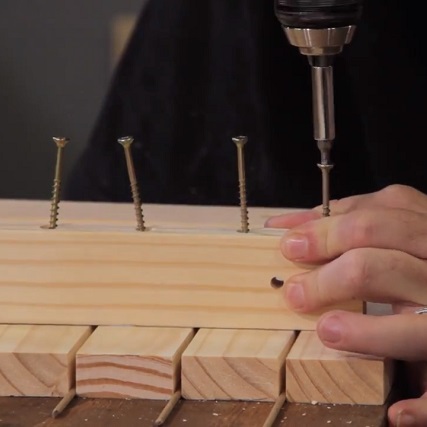
Step 5
Use the 35mm screws for the lower section of the catch area and the 60mm screws for the rest.
assemble your diy
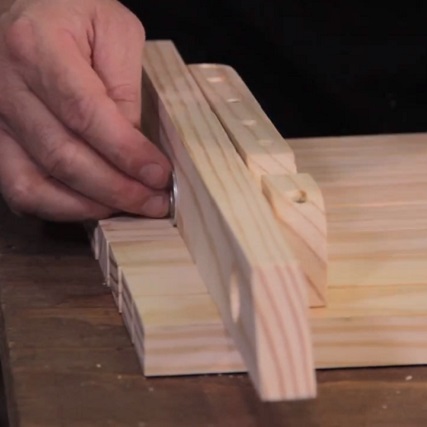
Step 1
Use your seat base as a template for the spacing of the dowels. Lay the base face down and lay your legs against the support beams, (including a washer in between the two legs to avoid them touching) as an indicator of how long the dowels will need to be.
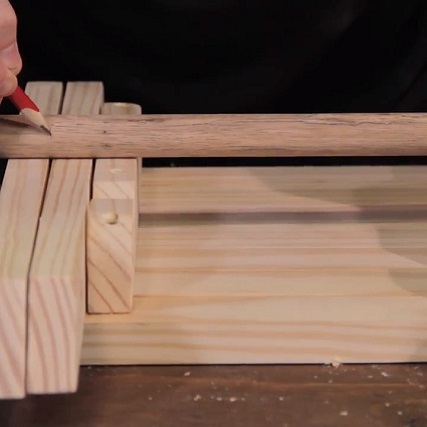
Step 2
You will need 2 longer dowels and 1 shorter one. Measure the distance from the inside leg to the opposing inside leg to get the length of the shorter dowel and measure the distance from the outer legs to get the length of 2 longer dowels. Once measured, cut your dowel to size.

Step 3
Next join the legs together. Attach the longer dowels to the 2 outer legs using wood glue. Repeat the process for the smaller dowel and attach it to the inner legs. Allow the glue to dry.
Step 4
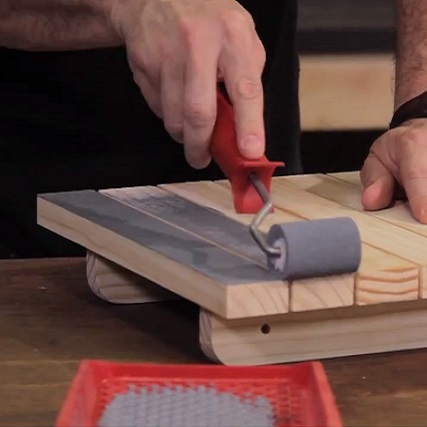
Once glue is fully dry, paint the 22mm edges of the legs and the top surface to your desired colour and leave to dry. We used a paint with a primer, base coat and top coat all in one.
Step 5
Once dry sand down any rough edges for a smooth finish and seal the timber with a lacquer spray or wood sealer.
Step 6
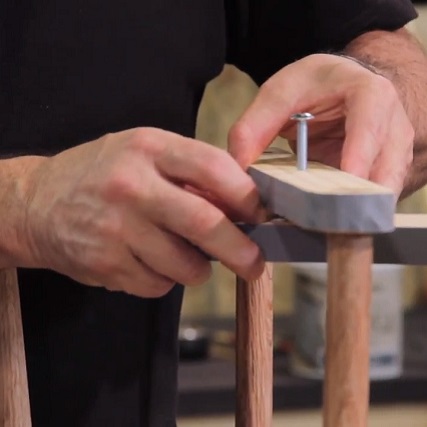
It is now time to assemble the chair. Line up your legs and use a 6mm gutter bolt through the middle hole, remembering to place a washer between the two legs. Once the bolt is through, use a flat washer, a spring washer and a dome nut on the underside to fuse the legs together. Use a spanner to ensure a tight bond. Repeat the process on the opposite side.
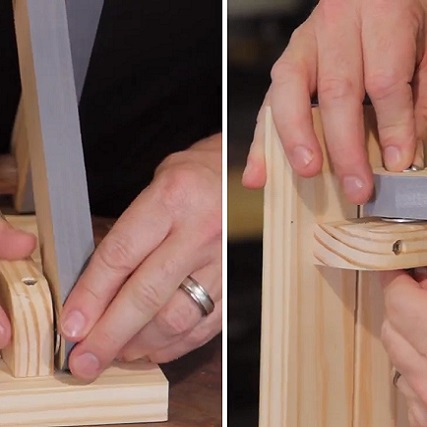
Step 7
Once legs are complete, slip them into place – letting the shorter dowel for the inside legs slide into the catcher. Repeat the process of using a gutter bolt, washer, spring washer and dome nut, to secure the top of inside legs to the support beam and your DIY is complete!
Browse 1000’s of products available to you. Select your country to Shop Online.


