
This nifty little shelf on wheels is perfect to spice up a narrow space beside the stove.
For the spice rack frame:
- Two 16mm supawood cut 600mm x 120mm (for the top and bottom)
- Two 16mm supawood cut 848mm x 120mm (for the sides)</li
For the shelving:
- Three 16mm supawood cut 568mm x 120mm
- One 10mm x 1 800mm meranti dowel stick (cut to three lengths of x 60mm)
For the backing board:
- One 3mm supawood cut 595 x 880mm
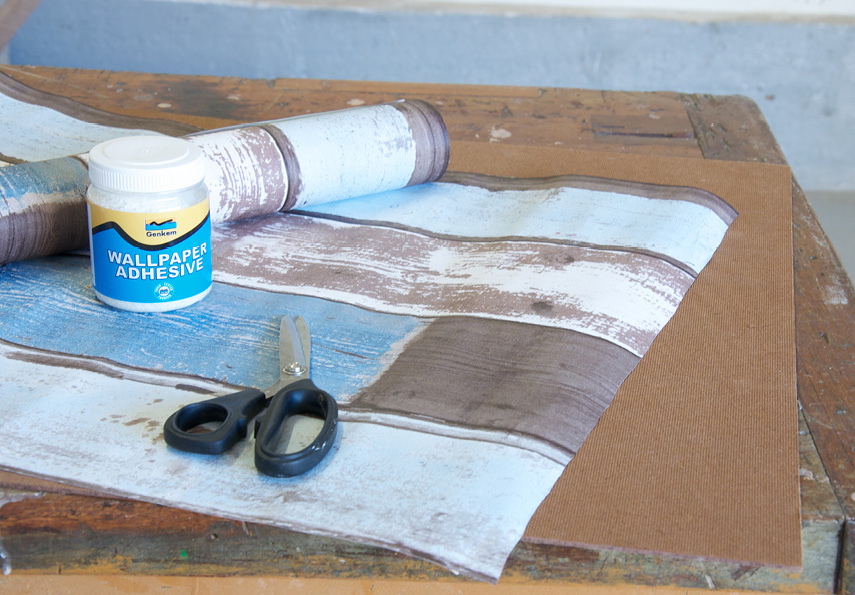
- Fired Earth wallpaper – distressed wood
- Wallpaper glue
- Panel pins
Top Tip: Make use of the Builders timber cutting service and have your materials for the spice rack cut to size for you.
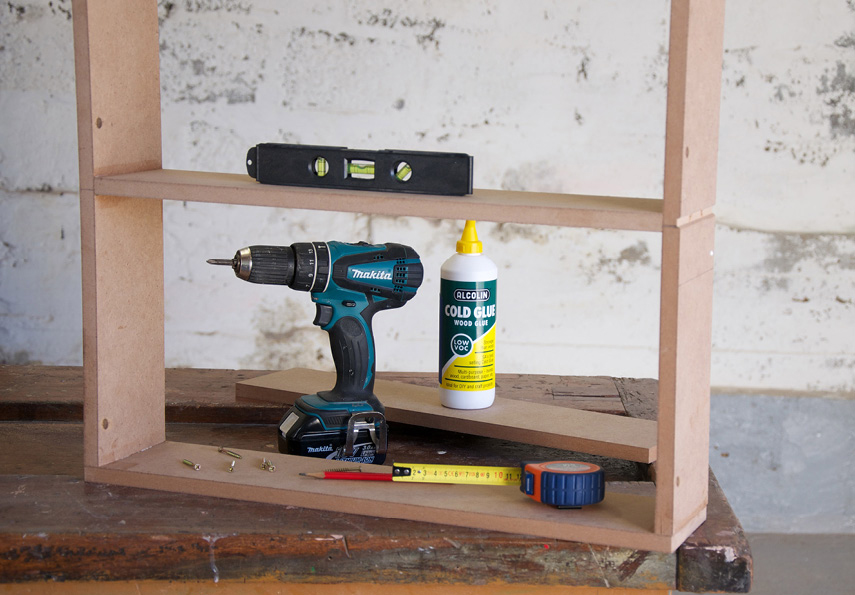
- Cordless drill
- 3mm and 10mm wood drill bit
- 5mm wood drill bit or countersink bit
- Plunge router
- Ogee Fillet 28,6mm x 12,7mm bit
- Multi-purpose sander
- 80-grit sander discs
- 180-grit sander discs
- Wood glue
- Wood filler
- Spatula
- 3,5 x 40 woodscrews
- 16 x 5,0 x 16mm self tapper screws for castors
- Pencil
- Measuring tape
- Combination square
- Wood clamps
- Level
- Three cup handles (includes screws)
- Four 50mm white castors
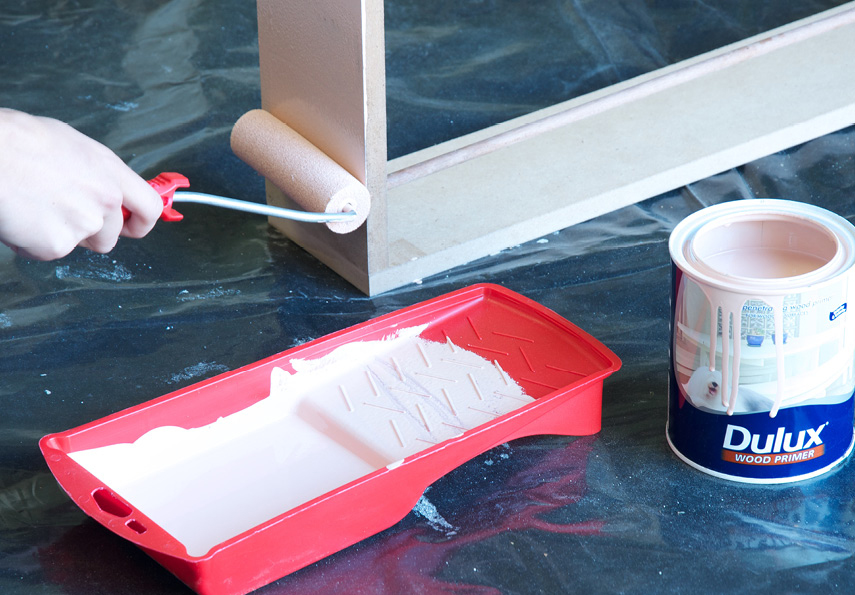
- Dulux wood primer
- 1ℓ Modo Jindabyne
- Foam roller and tray
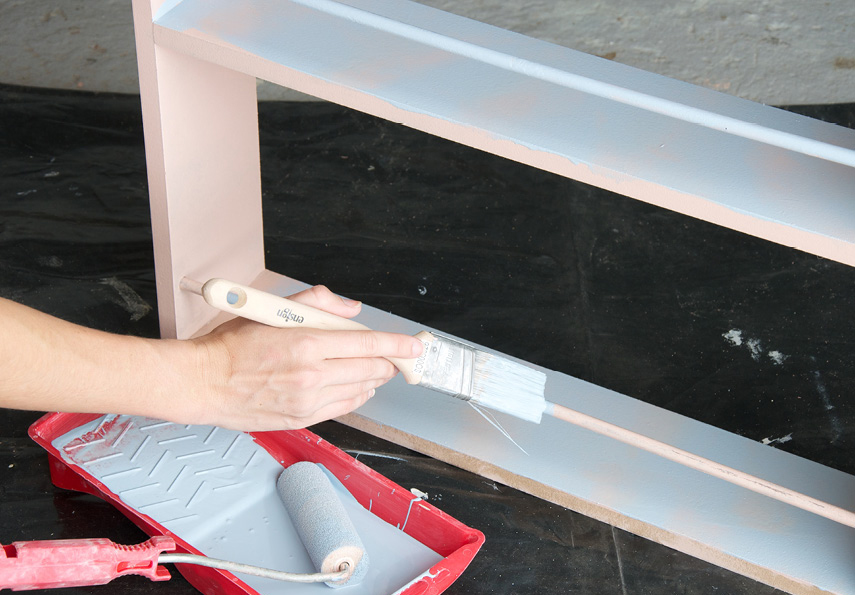
- Paintbrush
Step 1
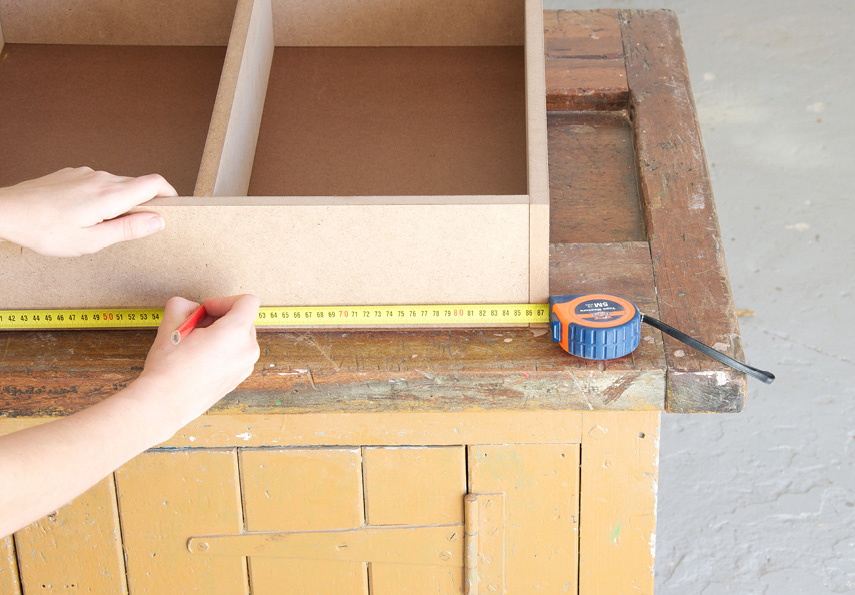
Mark the 848mm x 120mm planks (the sides) as the front and as the back.
Measure along the length of the sides and mark at 27,5mm and 57mm on each.
Step 2
Use the combination square and draw a pencil line across the width of the planks at the markings mentioned in step two.
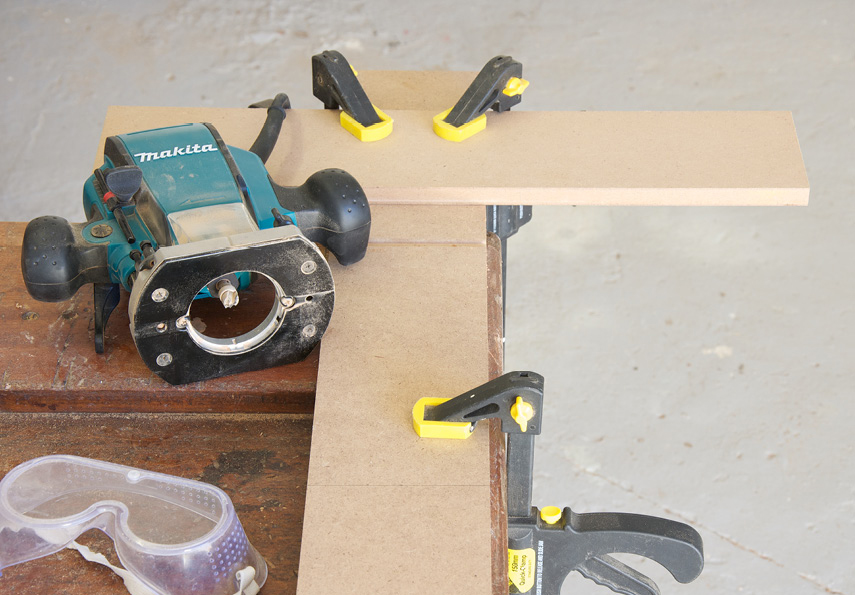
Secure the front plank on the workbench with clamps.
Using the router and Ogee Fillet 28,6mm x 12,7mm bit, router two grooves 4mm deep into the supawood on the pencil lines.
Step 3
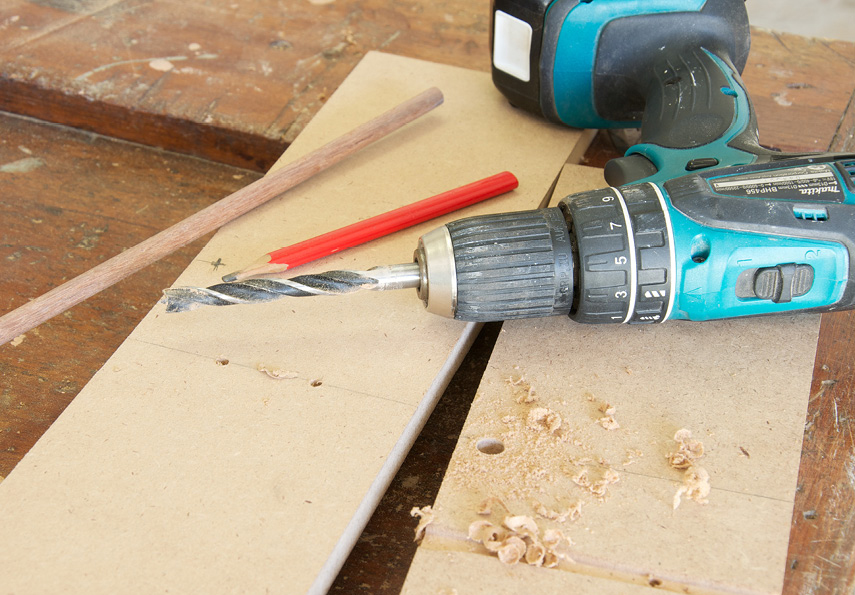
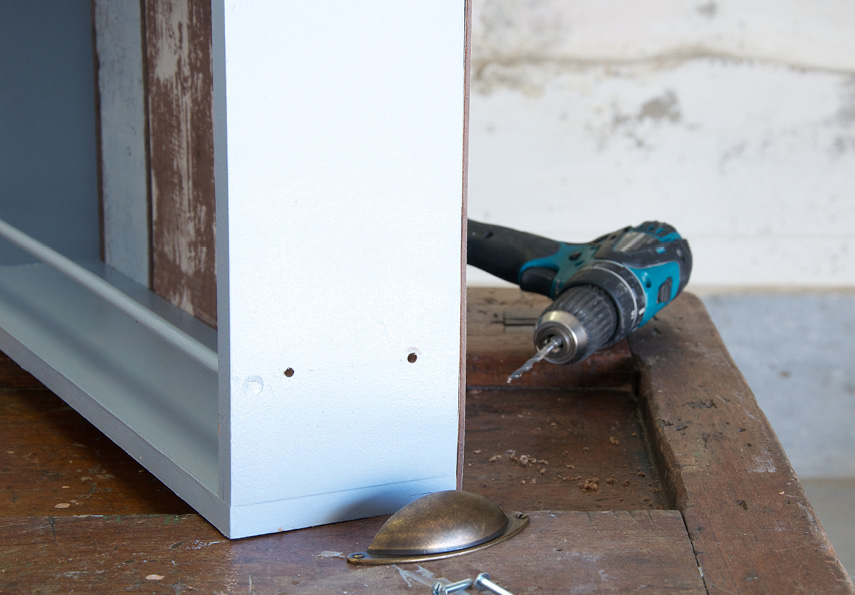
Dot markings for pilot holes at 40mm and 80mm in the grooves and on the pencil lines on the back plank.
Drill pilot holes with a 3mm wood drill bit and finish each with a countersink bit.
Mark the placement for the dowel sticks 7cm above the line and 1cm in from the frontal edge of the side planks.
Drill the dowel holes with a 10mm wood drill bit.
Step 4
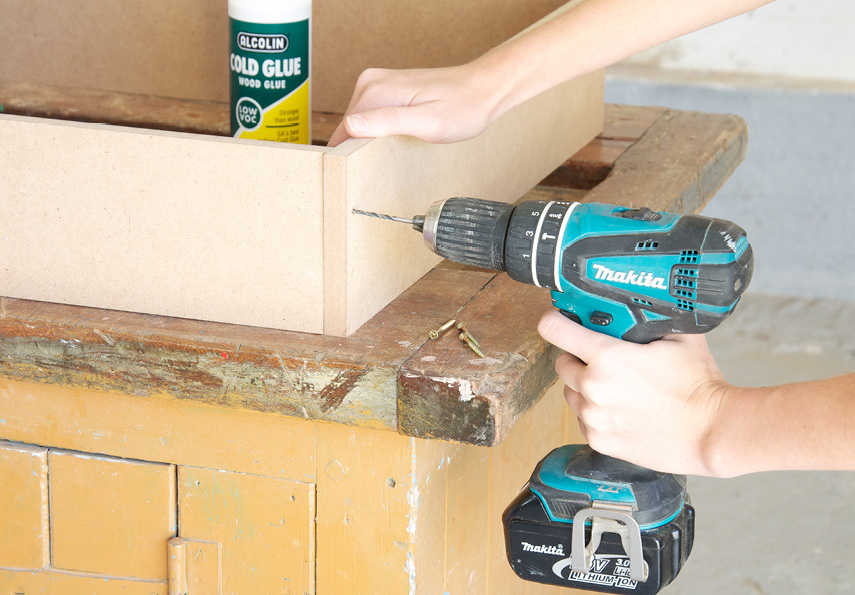
Glue the 600mm x 120mm planks onto the top edges of the side planks, drill pilot holes with the 3mm drill bit and finish each hole with the counter sink bit.
Step 5
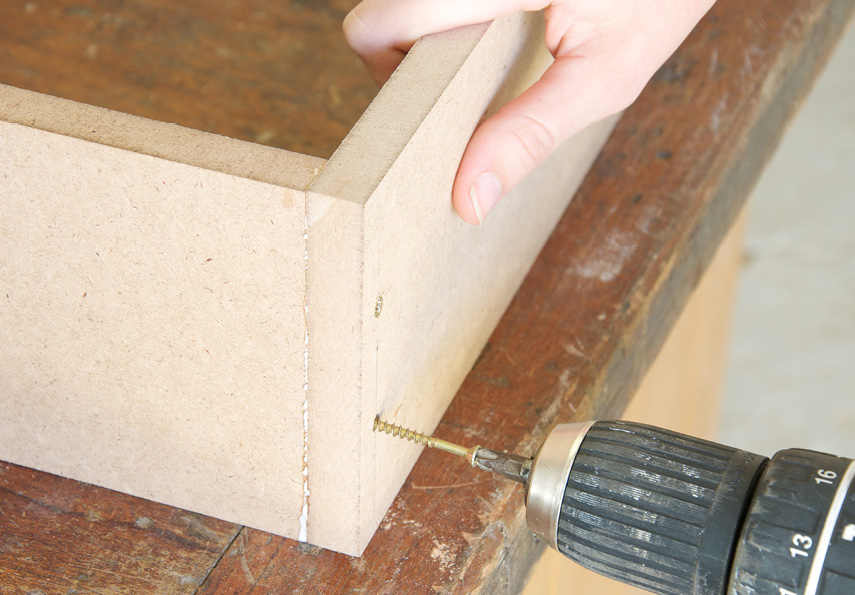
Secure the frame of the spice rack with the wood screws.
Step 6
Dab wood glue on the edges of the shelves and position one by one between the side planks, and secure with wood screws.
Top Tip: Place the level on the shelf before securing the second set of screws of each shelf to make sure it is level.
Dab wood glue in the dowel holes and insert the dowels into position.
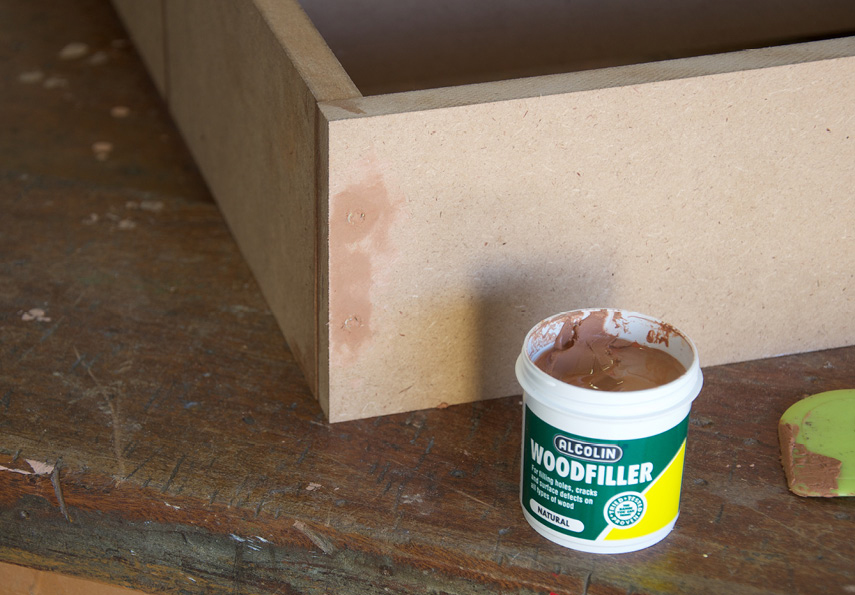
Step 7
Fill and touch up the screw holes with wood filler.
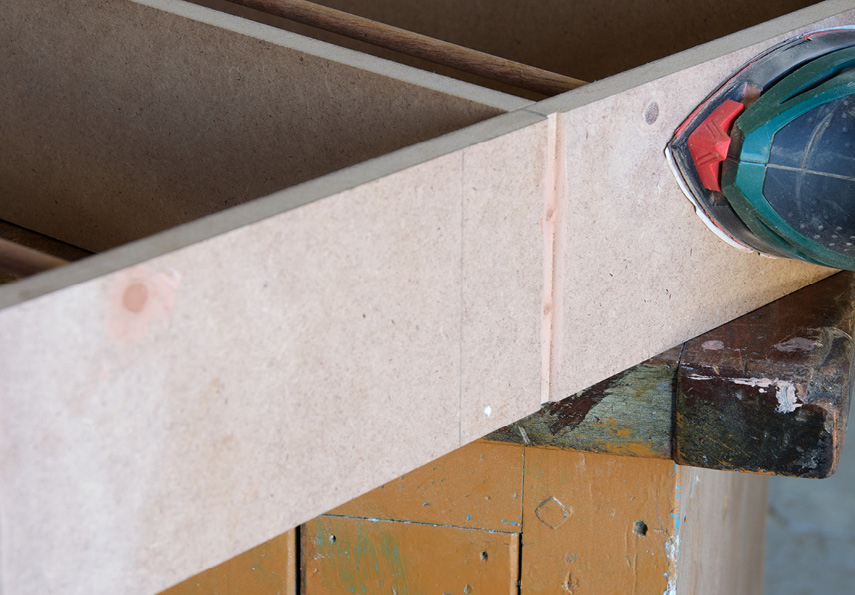
Step 8
Sand the excess wood filler and unevenness that might occur from the dowels protruding through the holes.
Step 9
Cut the wallpaper slightly longer than the backing board for it to fold over the top edge. Cut an additional section of paper to cover the board across the width in the case of the wallpaper not being wide enough.
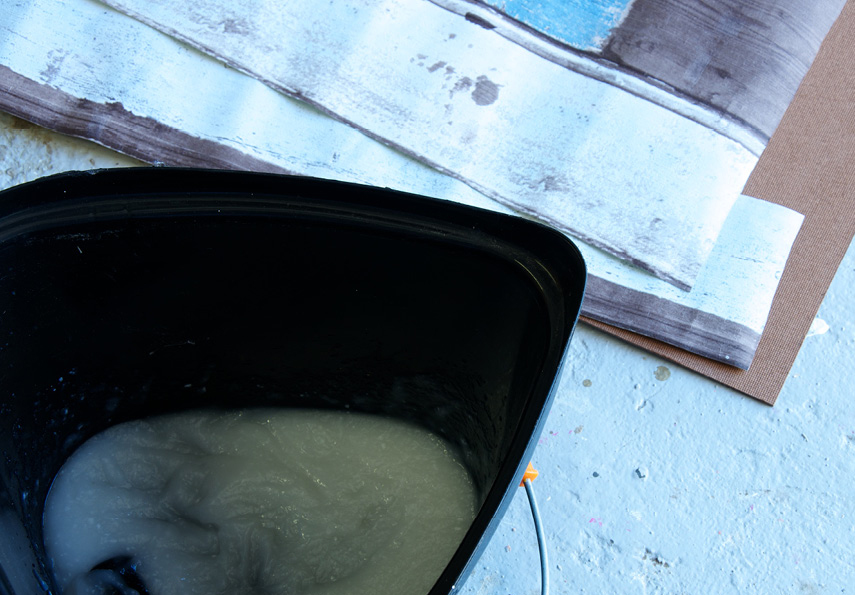
Step 10
Mix the wallpaper paste according to the instructions.
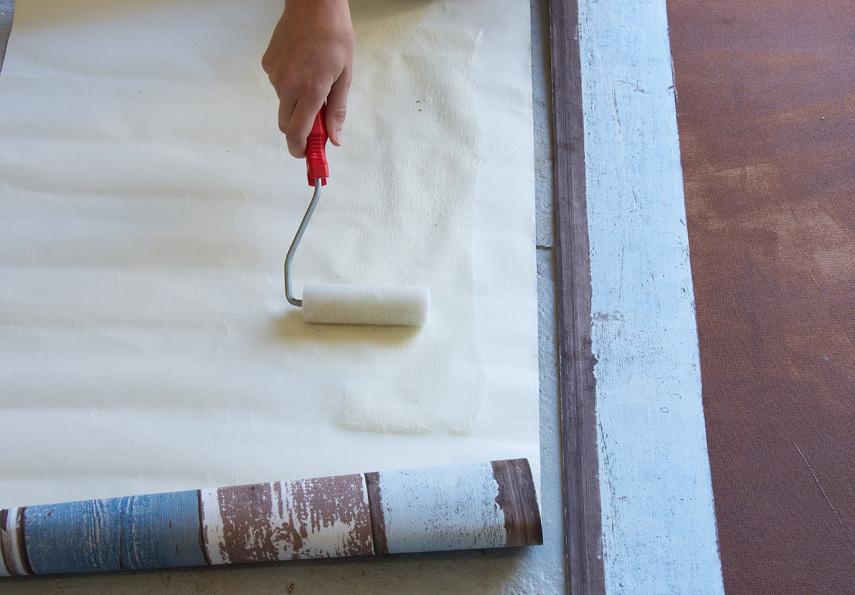
Step 11
Apply the wallpaper paste onto the backing board and the back of the wallpaper with a foam roller and position the paper with care on the backing board.
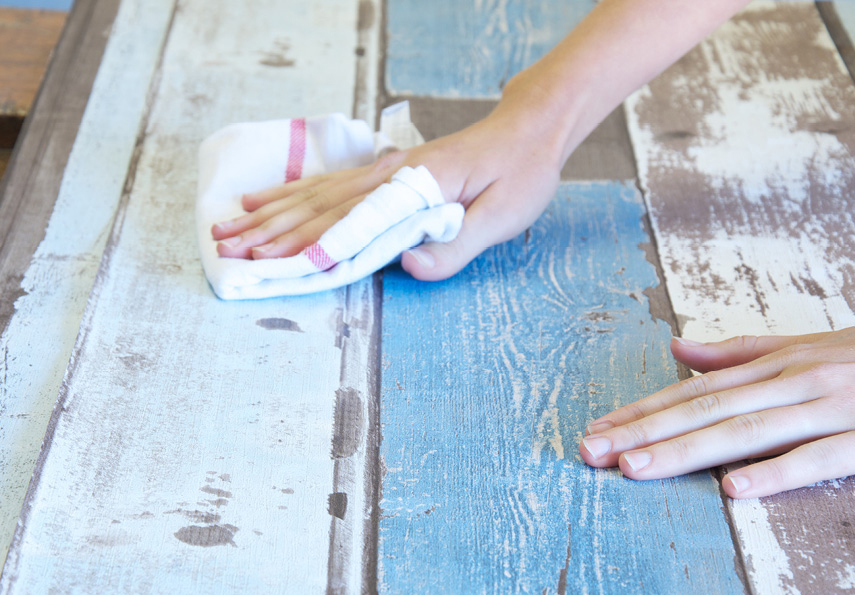
Step 12
Use a cloth and gently wipe all air bubbles from the centre of the board outwards.
Step 13
Paint the wood with Dulux wood primer using a small foam roller and use a paintbrush for the awkward areas and dowels and leave to dry.
Step 14
Paint the spice rack with two coats of Modo Jindabyne and leave to dry thoroughly before applying each coat.
Step 15
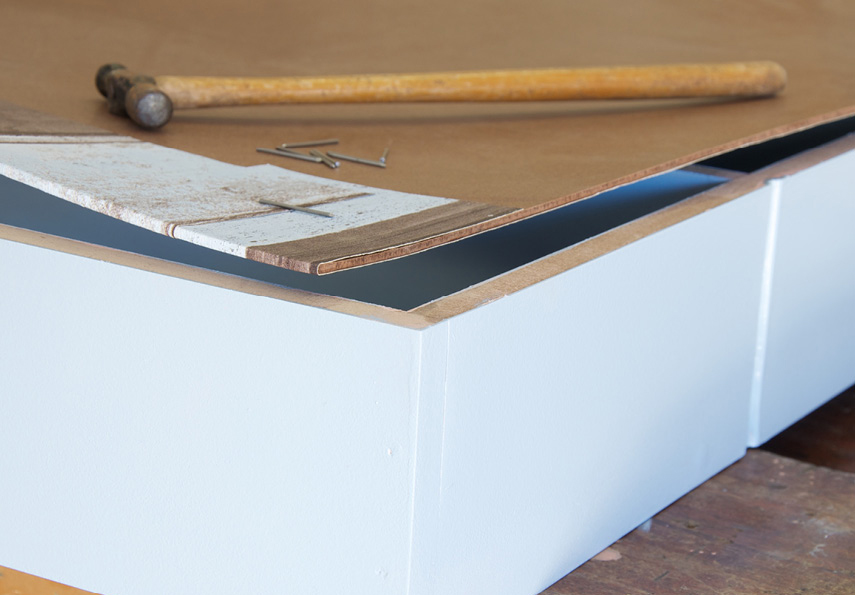
Place the backing board on the back of the spice rack with the wallpaper facing the shelf.
Step 16
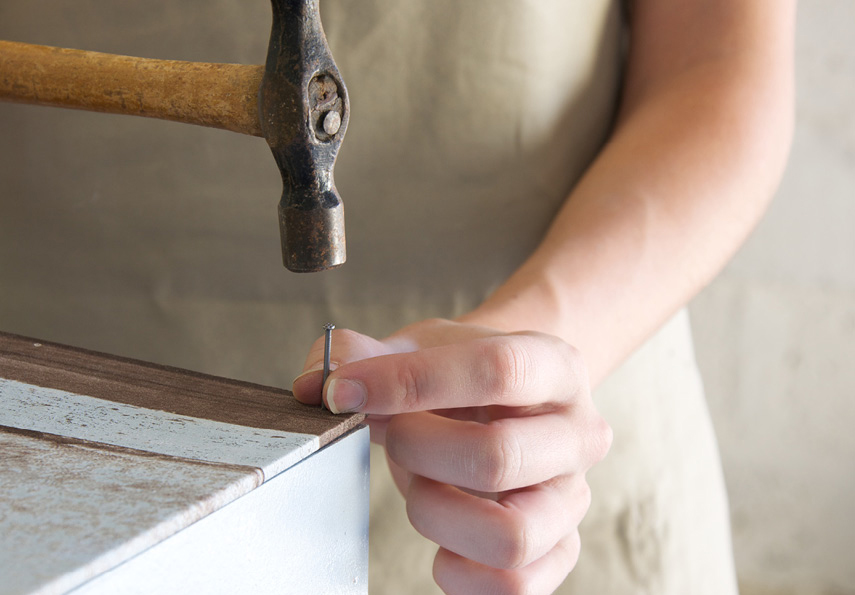
Attach the backing board to the edge of the rack with panel pins. Apply wallpaper to the back of the backing board to cover remaining exposed wood and panel pins, and leave to dry.
Step 17
To place the handles, measure 7cm above each shelf and draw a horizontal pencil line on the front plank. Mark the centre of the line. Measure the distance between the screw holes of the handle, and with this measurement determine the middle of the handle placement.
Step 18
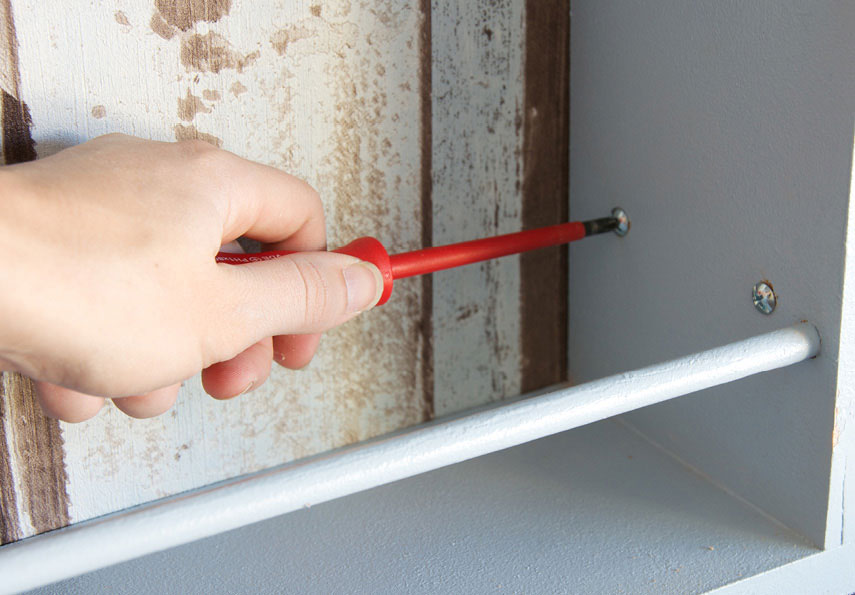
Mark the screw holes on the horizontal line. Drill holes for the screws with a 5mm wood drill bit. Fasten the handles with the screws and a Philips screwdriver.
Step 19
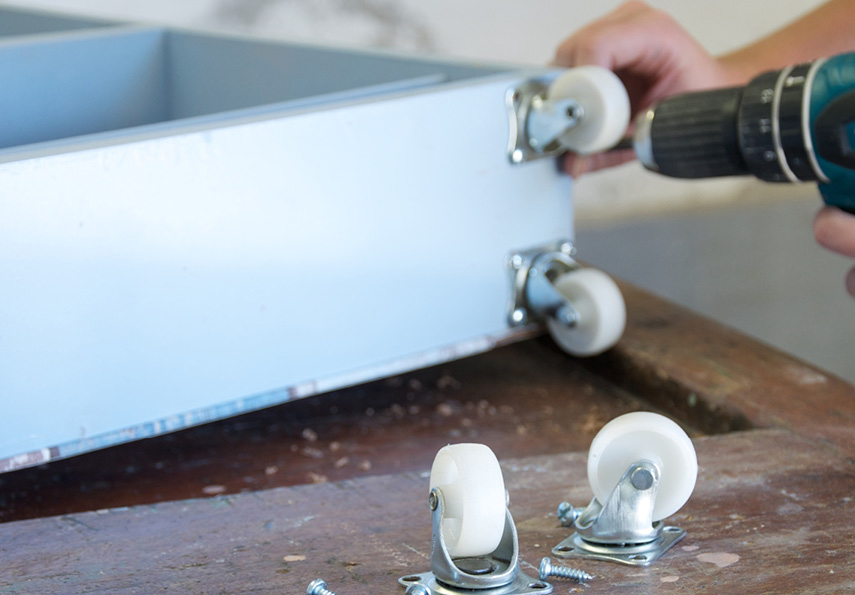
Position the castors on the bottom of the spice rack and mark the screw placements with a pencil. Drill pilot holes with the 3mm drill bit and fasten the castors with the self tapper screws.
Browse 1000’s of products available to you. Select your country to Shop Online.


