- Pine PAR 22 x 69mm cut to the following lengths:
- sides 6 x 180mm
- steps and fronts – 11 x 330mm
- back legs 2 x 900mm
- front legs 2 x 710mm
- short legs 2 x 121mm
- base sides 2 x 390mm
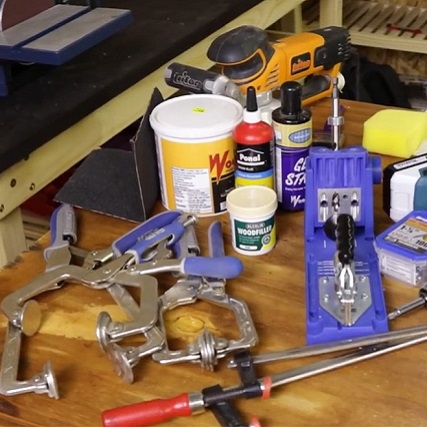
- Cordless drill
- Kreg pocket tool maker
- Kreg screws
- Wood filler
- Wood glue
- Wood sealer
- Quick Clamps
- Gel Stain
- Paintbrush
- Sponge
- Gloves
- Orbital sander
- Router (You may not need this)
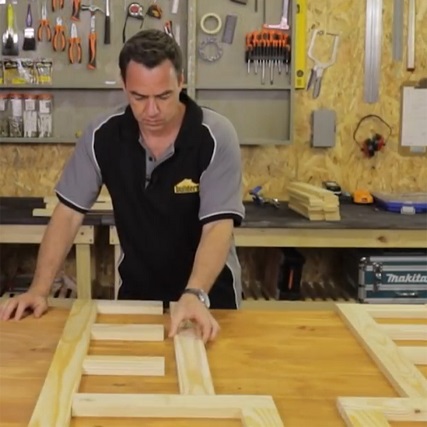
Step 1
Lay out your timber and mark up the positions where the pocket holes need to be. It is also helpful to mark the timber to insure which piece goes where. Use the Kreg pocket maker tool to make stronger and more concealed pocket holes. Do this for your framework.
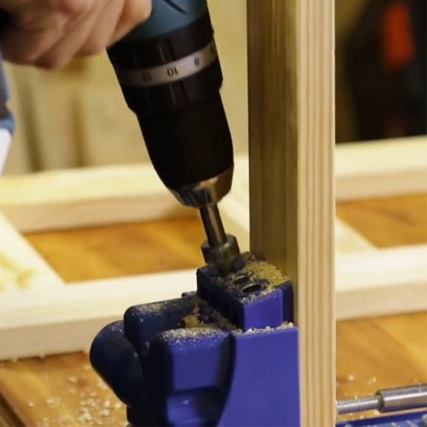
Step 2
Drill two pocket holes into every side (top and bottom) of your steps.
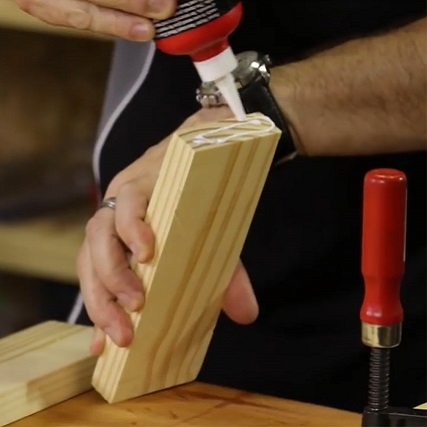
Step 3
For stability secure your timber to your bench using clamps and place the screws into the pocket holes. If you would like, you can put a bit of wood glue between the mating surfaces of the timber for an even stronger bond.
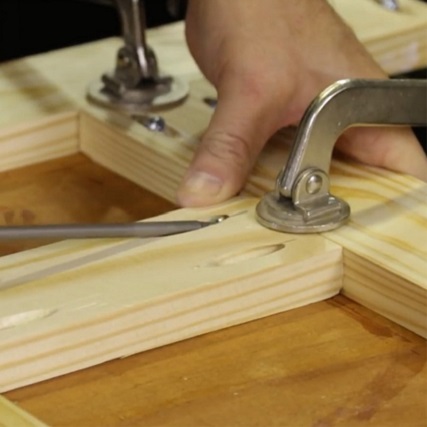
Step 4
Screw the pieces together, using your existing timber as a measuring tool in place of a tape measure to insure everything is spaced correctly (repeat procedure on other side).
Step 5
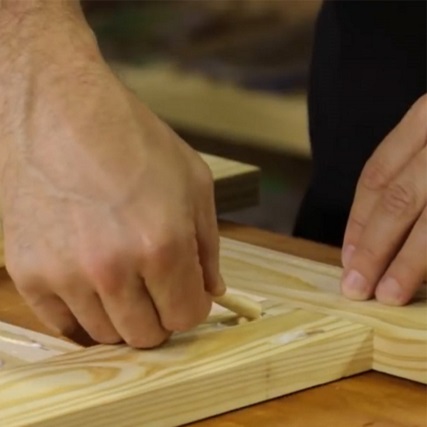
Do this by filling the hole with glue, squeezing the pocket holes plug in and leaving it to dry (repeat procedure on other side).
Step 6
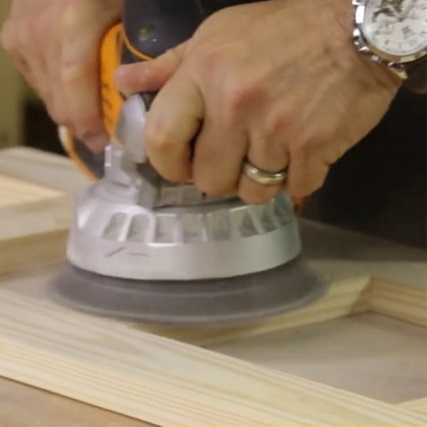
Once dry, sand your project for a smooth finish. Use a router to round sharp edges if available, or alternatively, use sandpaper to soften the edges. Repeat Step 6 for the back pieces and steps – making sure to steer clear of the edge where the timber joins the frame (only the outer edges).
Step 7
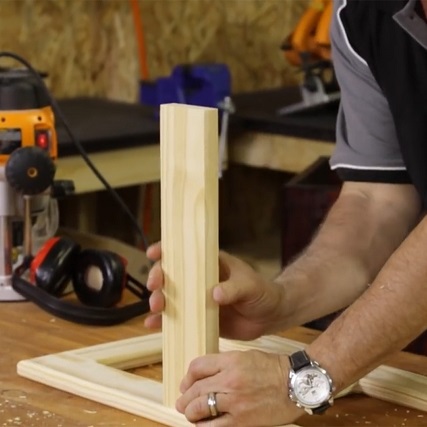
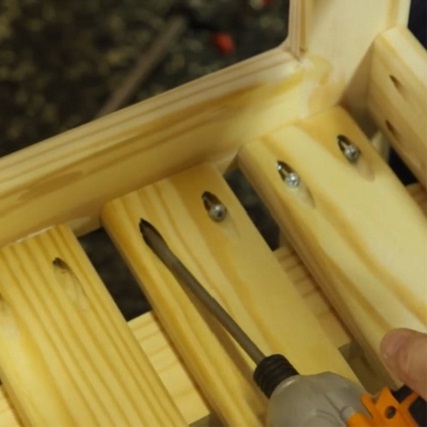
Attach back pieces to the frame of the stand using Kreg pocket hole screws. Begin screwing the steps into place.
Step 8
It is easier to do this step if the frame in upside down. Fill in the remaining pocket holes with plugs by repeating process from Step 5.
Step 9
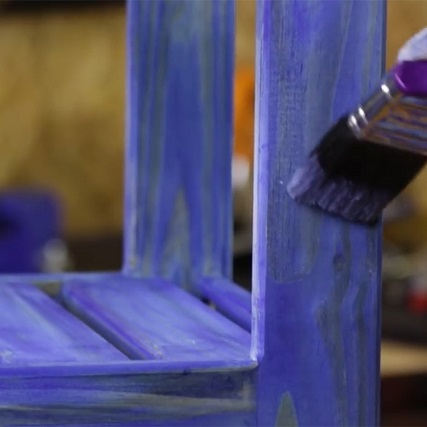
Sand structure until smooth then stain and seal your stand.
