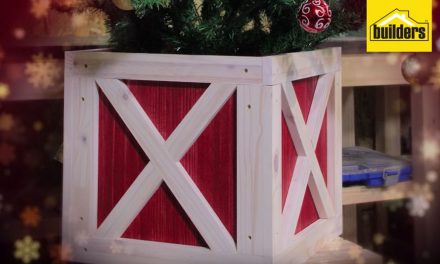
Follow these simple steps and make yourself a simple vertical wall planter to take your garden decor to the next level!
Materials
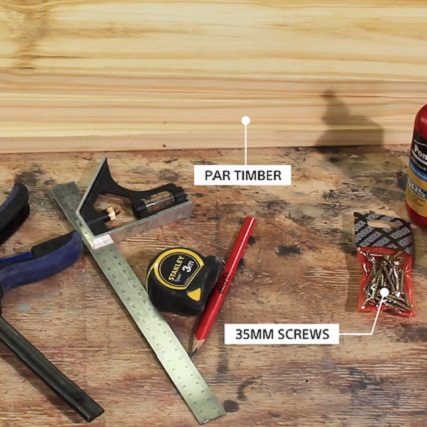
- 3 x 22mm x 144mm x 1.8m PAR Pine
- Wood glue
- Rust-Oleum wood stain
- 4 x 35mm cut screws
- 12cm succulent pots
- Speed pilot drill bit
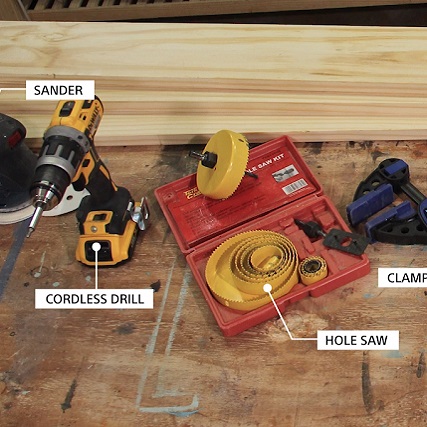
- Bosch orbital sander
- Tape measure
- Pencil
- Eclipse face clamp
- Set square
- 102mm hole saw
- Dewalt cordless drill
- Cloth
- DeWalt mitre saw
- Latex gloves
- 1 x 1.4m x 144mm x 22mm (upright)
- 4 x 185mm x 144mm x 22mm (horizontal pieces)
- 4 x 260mm x 144mm x 22mm, with 45° ends angled inwards (diagonal pieces)
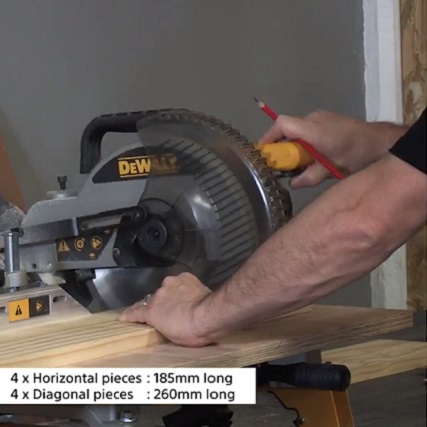
Step 1
Begin by marking and cutting the timber according to the cutting list. You can use a mitre saw, a jigsaw or a rotary saw set to a 45° angle to cut the diagonal planks.
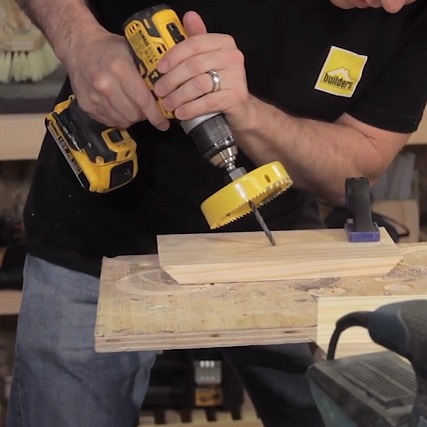
Step 2
Once the timber is cut, find the centre of a diagonal plank to create a hole for a pot. Place a ruler diagonally across the plank from corner to corner and draw a line, repeat this process on the opposite side, and the point where the lines intersect is where you will drill a hole for a pot. Line the hole saw drill bit up with the centre, making sure it’s square, and drill a hole. Repeat this step for all diagonal pieces.
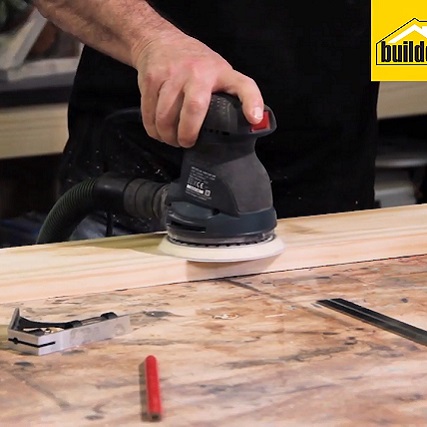
Step 3
Once all four holes are drilled, sand all timber before assembly.

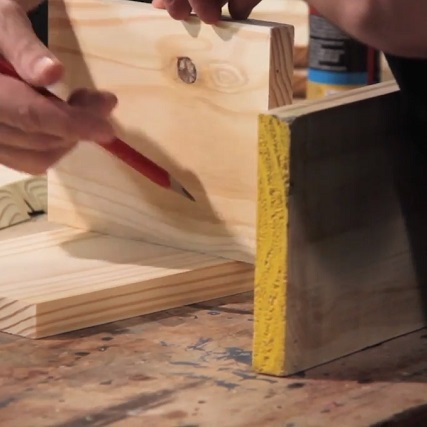
Step 4
Once sanded, mark the positions of the planks. Draw lines at 400mm intervals (starting from the bottom of the plank) for the horizontal planks. Turn the plank over and also mark the 400mm intervals on the back too, so you know where to drill later in the DIY.
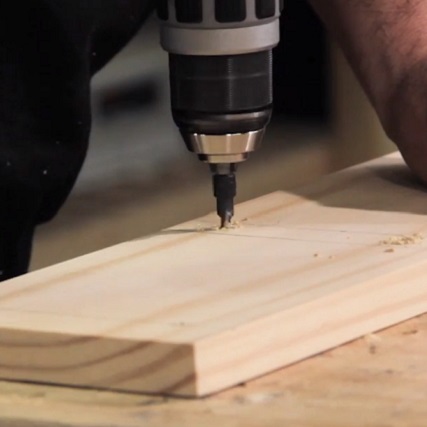
Step 5
Draw lines for the diagonal plank positions 175mm from the previously drawn horizontal lines (at 175mm, 575mm, 975mm and 1375mm). Once the timber is marked, drill pilot holes into the upright on all the 400mm and 175mm lines. To avoid damaging the wood’s surface, place a piece of scrap timber below the upright and drill into that.
Step 6
Drill holes into the underside of the horizontal pieces 22mm from the edge, to join the diagonal pieces.
Step 7
Once all holes are drilled it’s time to assemble your planter. Use wood glue between the mating surfaces for a secure bond and clamp a horizontal plank into position. Screw the horizontal plank into position.
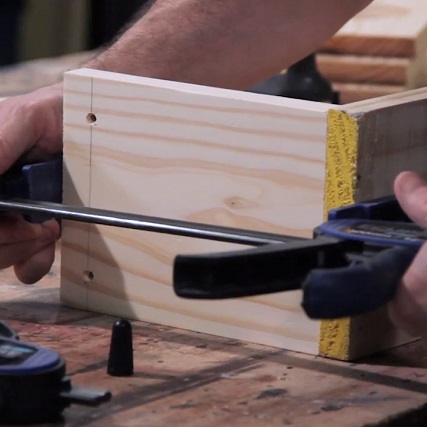
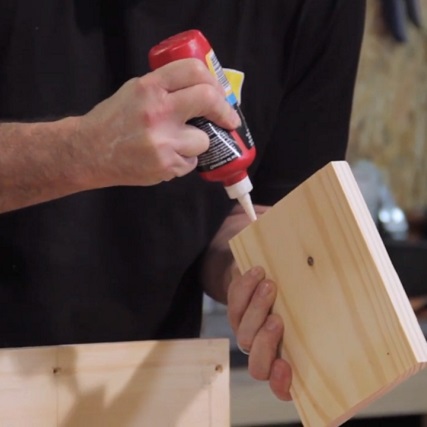
Step 8
For the diagonal plank, use wood glue on the mating surfaces and clamp it into place. Screw it into place. Repeat the process for all planks.

Step 9
Once the structure is complete, sand any sharp edges for a smooth finish.
Step 10
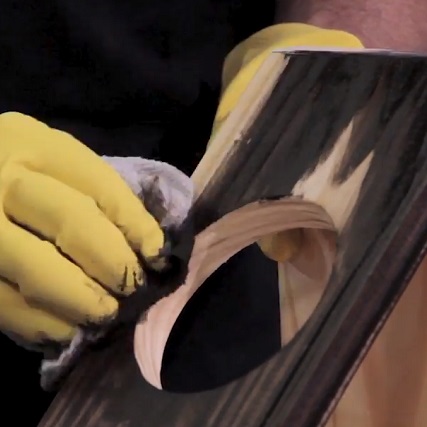
Stain the timber, remembering to apply the stain with the grain

Step 11
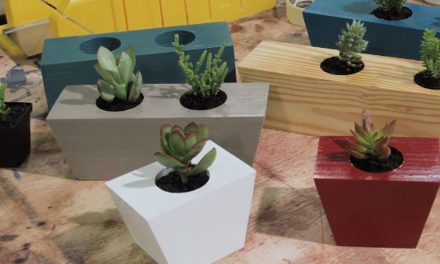
Use a sander (or sand by hand) to give your planter an aged look or simply leave it as is. Place potted succulents into the holes and your planter is complete, ready to hang on a wall.
Browse 1000’s of products available to you. Select your country to Shop Online.


