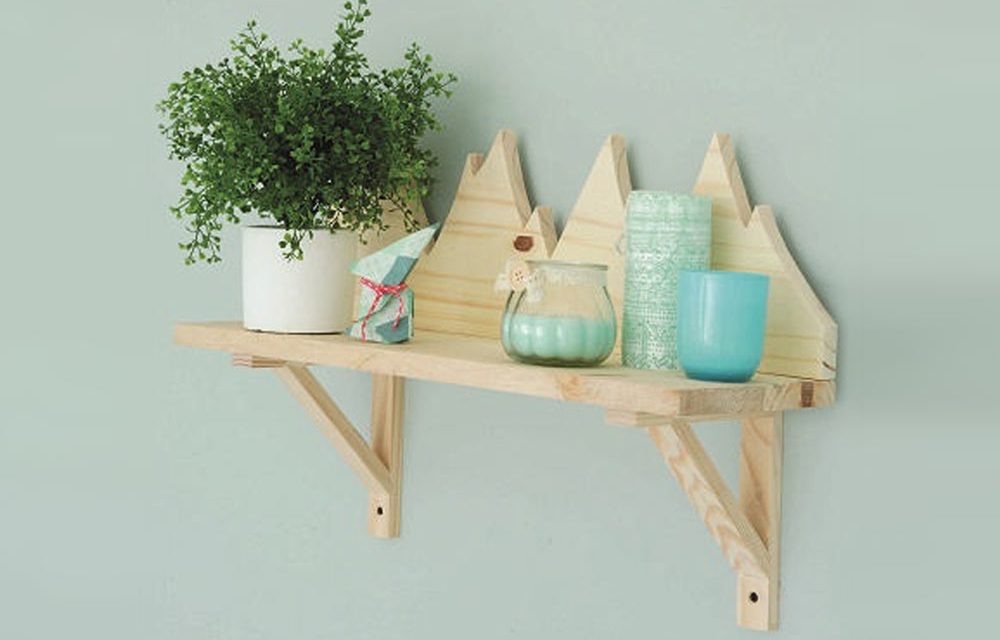
We show you how to make this beautiful Alps shelf that will brighten up your living areas.
- Scissors
- Sticky tape
- Pencil
- G-clamps
- Jigsaw
- Sandpaper
- Drill with 8 mm masonry drill bit
- Spirit level
- Glue gun
- Alps design
- 2 x laminated pine shelves, 600 x 200 mm
- 2 x triangle brace brackets
- 4 plugs and screws, 8 x 50 mm (pack of 8)
- 4 chipboard screws, 4 x 25 mm (pack of 25)
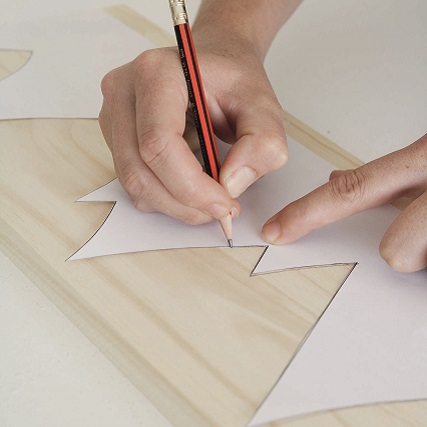
Step 1
Download the design and print at 100 per cent. It will print on 3 pages. Align the images and stick together. Cut out, place on one of the shelves and trace the shape with a pencil.
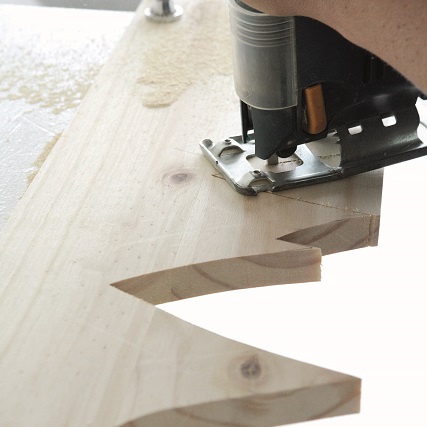
Step 2
Clamp the shelf to the workbench and cut out with a jigsaw.
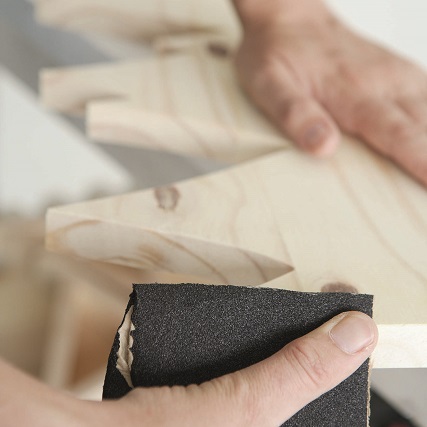
Step 3
Sand the edges smooth.
Step 4
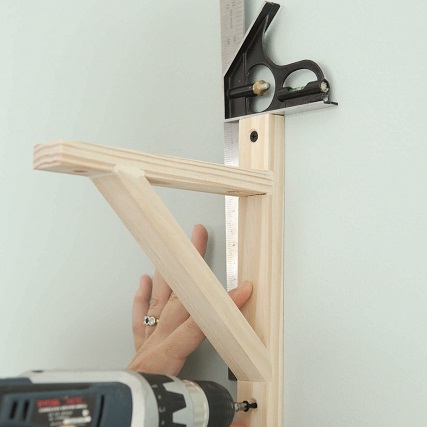
Attach the brackets to the wall with the plugs and screws about 45 cm apart. Use the spirit level to help you get the brackets level.
Step 5
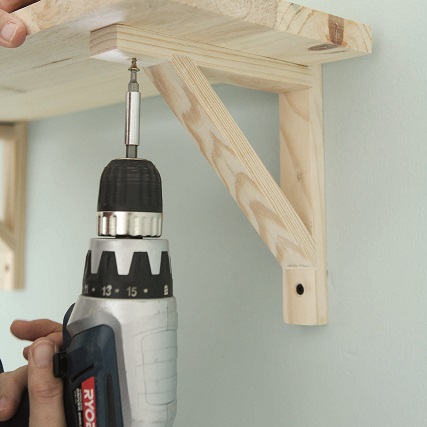
Place the uncut shelf on top of the brackets and screw in place.
Step 6
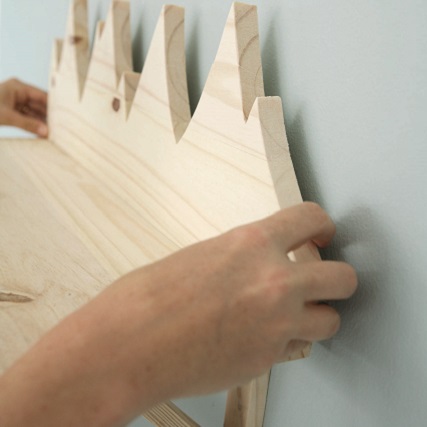
Secure the Alps cut-out to the shelf with hot glue.
All Done
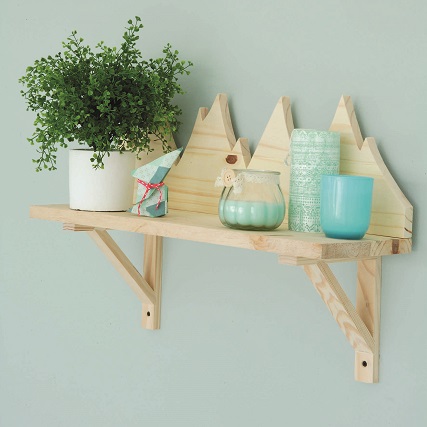
Now your DIY is done and you can decorate it as you wish. Be sure to add some plants to the shelf to give it a real Alps feel.
Credits
Referenced from Gallo images / YOU Magazine
Browse 1000’s of products available to you. Select your country to Shop Online.


