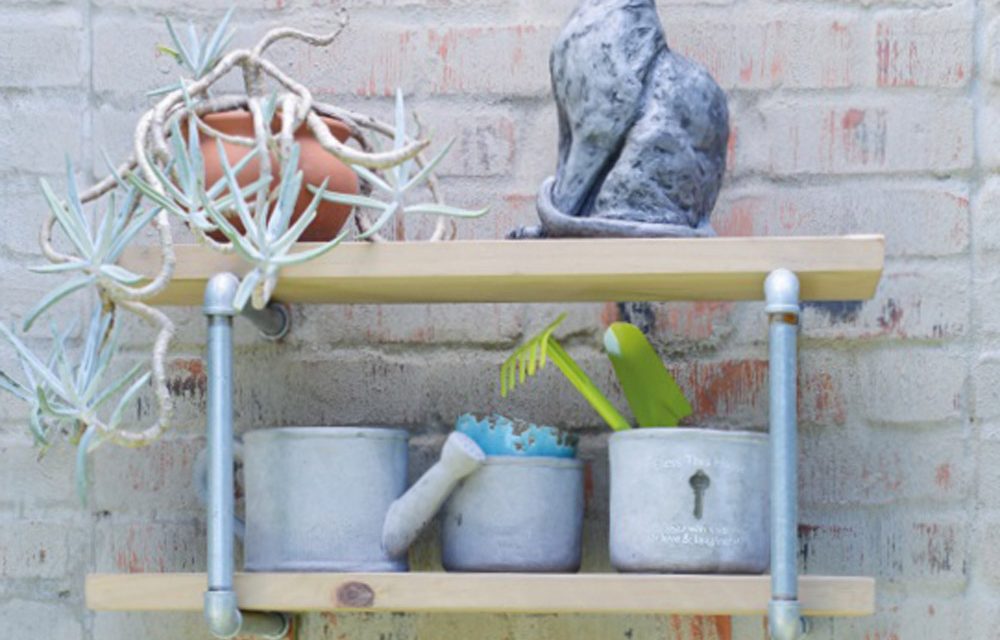
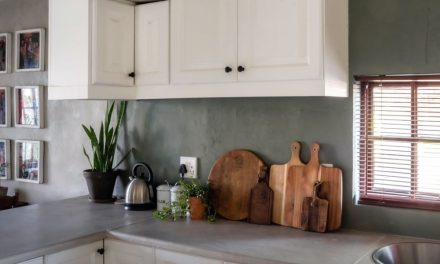
Create a handy storage unit for your garden or home with a striking combination of wood and metal.
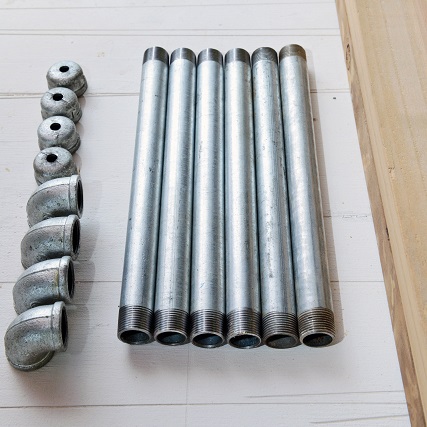
- assorted galvanised pipe fittings:
- 4 x end caps
- 4 x elbows
- 6 x 300mm stand pipes (threaded on both ends)
- 4 x 6mm Rawlbolts
- planks of your chosen width and length
- sandpaper
- wood filler
- paint
- paintbrush
- drill and concrete drill bit
- 3mm + 6mm drill bits
- spirit level
- 10mm socket (to fix Rawlbolts)
- pencil
- measuring tape
- vice
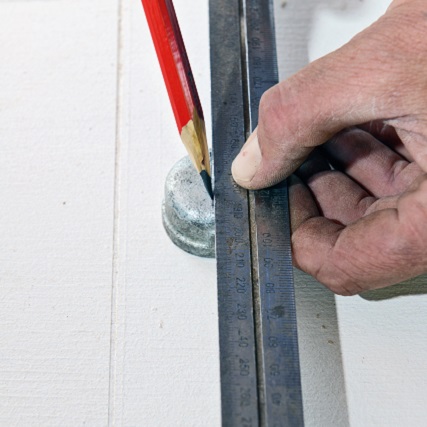
Step 1
Using a sharp pencil, mark the centre of the caps
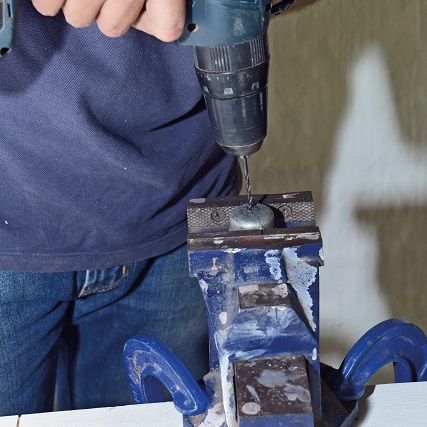
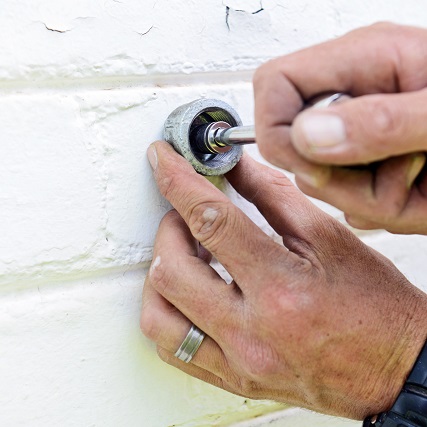
Step 2
Drill the end caps by securing it in a vice and begin with a 3mm drill bit then change to the 6mm drill bit.
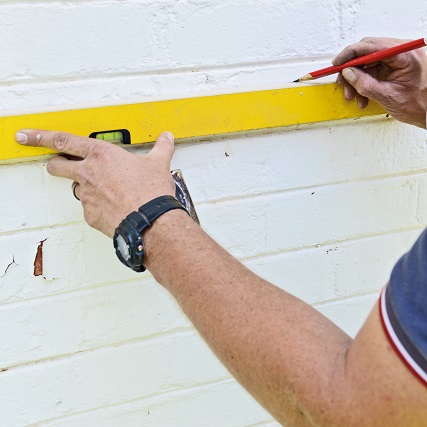
Step 3
Using a spirit level, mark the wall where the top two end caps will be and drill holes for the Rawlbolts.
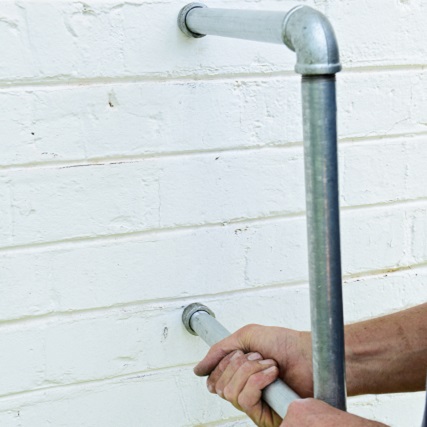
Step 4
Secure the end caps to the wall with the Rawlbolts. Make two shelf supports by joining three stand pipes with two elbows in-between. Turn the top pipe of each support into an end cap.
Step 5
Mark the bottom two caps and drill and fix them with Rawlbolts as for the top end caps, but leave them a little bit loose as you will need a bit of leeway when you turn the end cap into the bottom pipe.
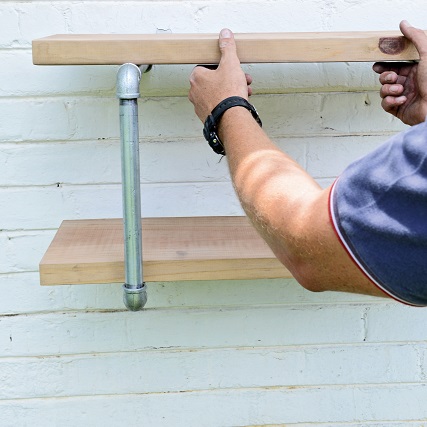
Step 6
Now install the shelves.
Credits
Referenced from Gallo images / Home Magazine
Browse 1000’s of products available to you. Select your country to Shop Online.


