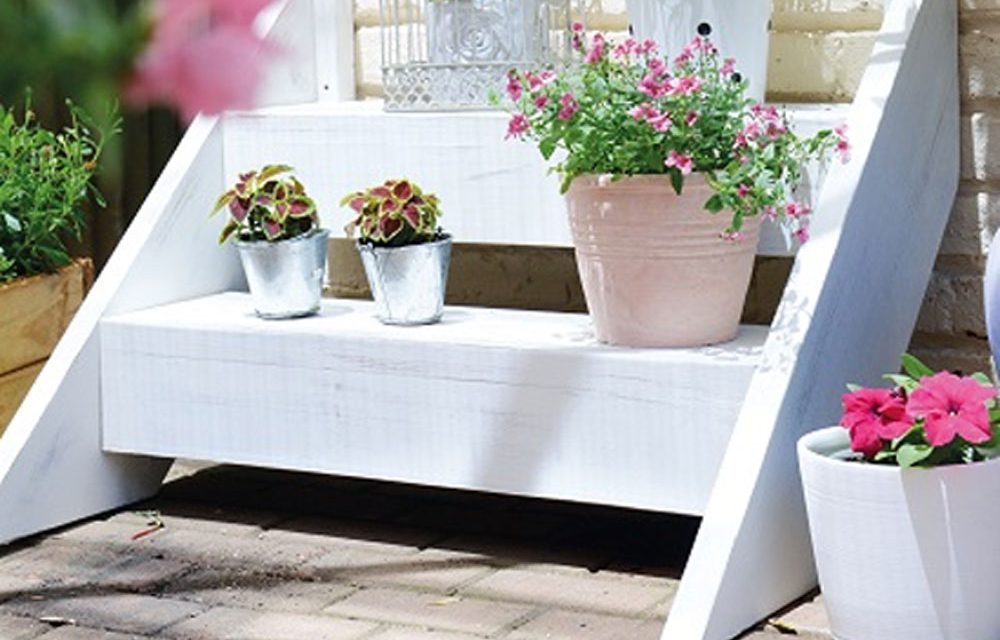
Dual purpose steps are perfect for displaying colourful summer-flowering potted plants; they’re also handy for a slightly raised verandah or Wendy house.
- 228 x 38mm wood for stringers and steps
- 114 x 38mm for toe boards
- 38 x 38mm for step supports
- 5mm x 60mm screws
- paint/varnish
- wood glue
- wood finish
- jigsaw
- large tri-square
- drill
- electric sander (optional)
- 3mm and 5mm drill bits
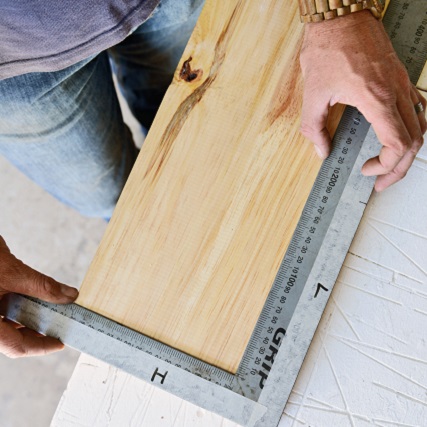
Step 1
Make a marking gauge on the tri-square; mark it with masking tape with the step depth on one side and the step height on the adjacent side. Make the stringers slightly longer than the calculated size when ordering.
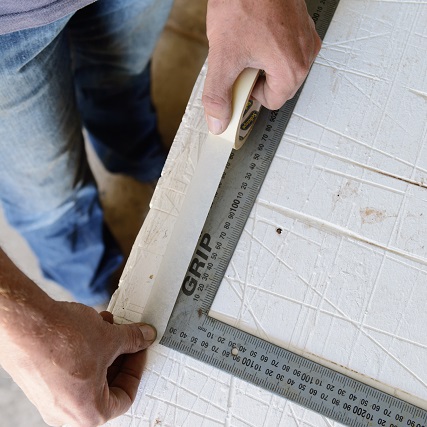
Step 2
Lay the tri-square over one end of a stringer with the step depth mark down the length of the stringer and the height on the end, and make a mark.
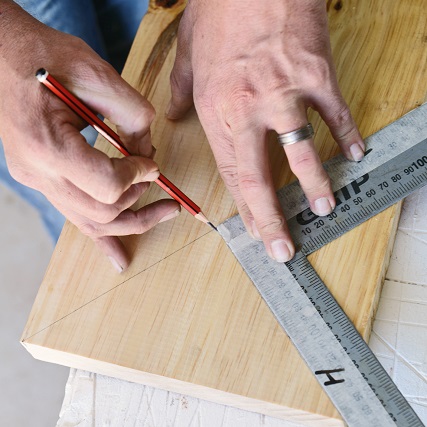
Step 3
Draw a line across these two marks. Now draw a line perpendicular to that mark through the corner.
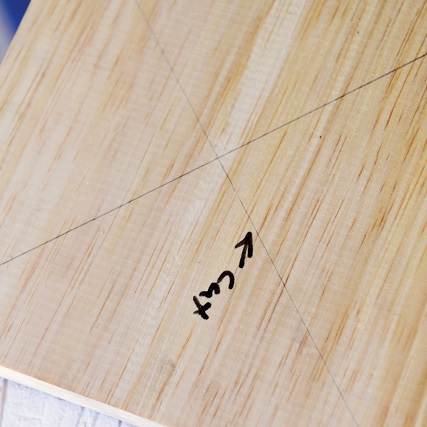
Step 4
Extend that line; this is your cut line. Also use this line as the starting point to mark the position for the steps on the stringers.
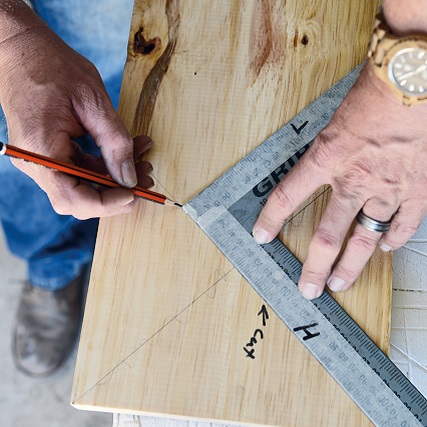
Step 5
Using the tri-square, mark the step height (200mm) on the cut line; mark the depth (228mm) perpendicular to this point. Continue marking with the tri-square, making sure to maintain accuracy.
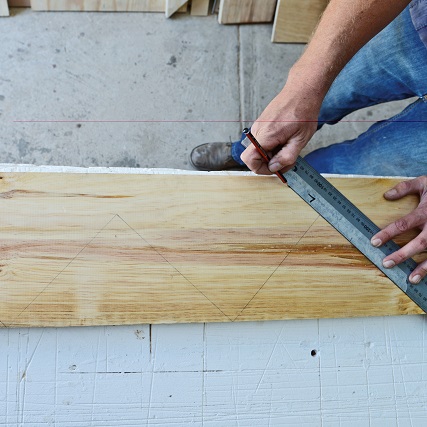
Step 6
When you’re at the end of the stringer length, extend that line – this is where it will touch the floor.
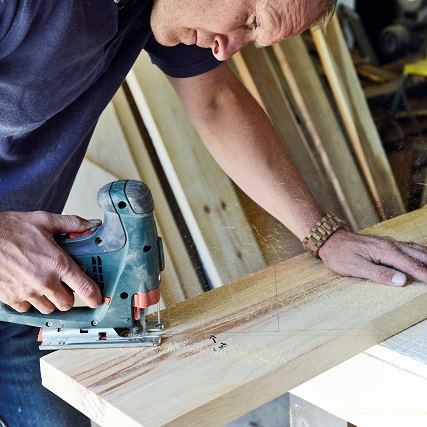
Step 7
Cut the ends using the jigsaw; mark the top and the bottom.
Step 8
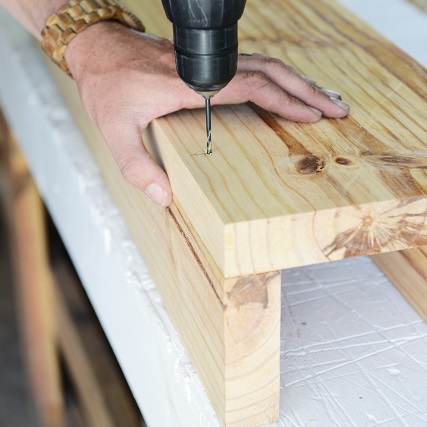
Position the step and toe boards together then drill pilot holes and screw together.
Step 9
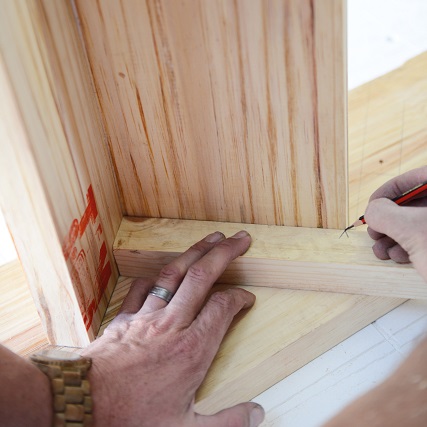
Position the steps on the stringers and mark inside lines to install step supports. Mark the length of the step supports.
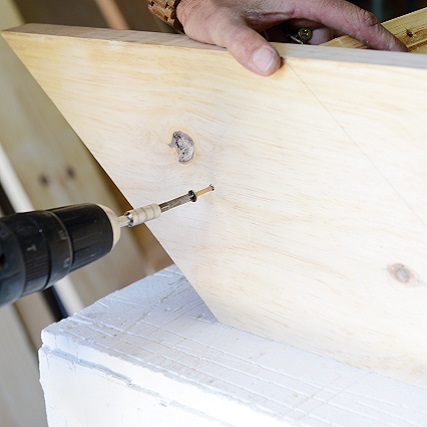
Step 10
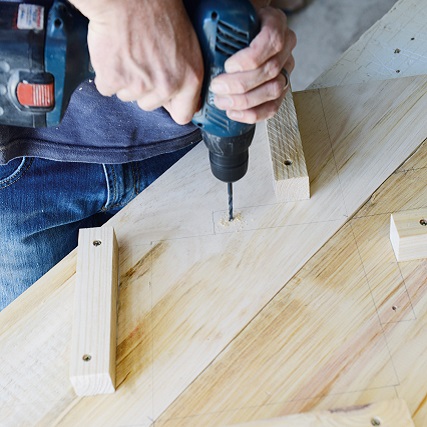
Position them in place and fix with screws. Drill pilot holes where the toe boards touch the stringers and screw in place from the outside.
Step 11
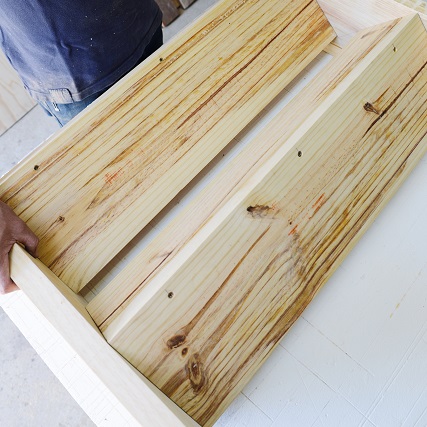
Lay the stringers on their edges and place the completed steps in position.
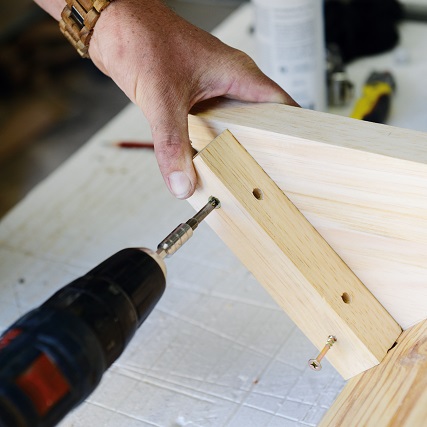
Step 12
Screw from the outside of stringers into the toe board. Drill and screw the steps into the step supports.
Step 13
Attach wall fixing blocks at the top.
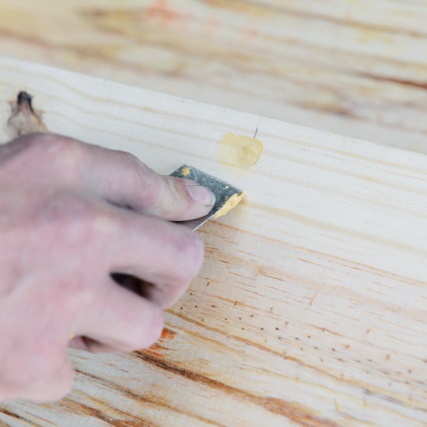
Step 14
Fill the screw holes with wood filler and sand, then paint in the colour of your choice or varnish.
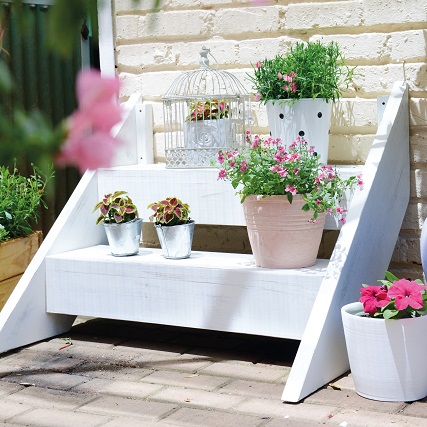
Focal point
Now your DIY is complete and you can use these steps to turn your potted herb garden into a pretty focal point in your kitchen garden or on the patio.
Credits
Referenced from Gallo images / Home Magazine
Browse 1000’s of products available to you. Select your country to Shop Online.


