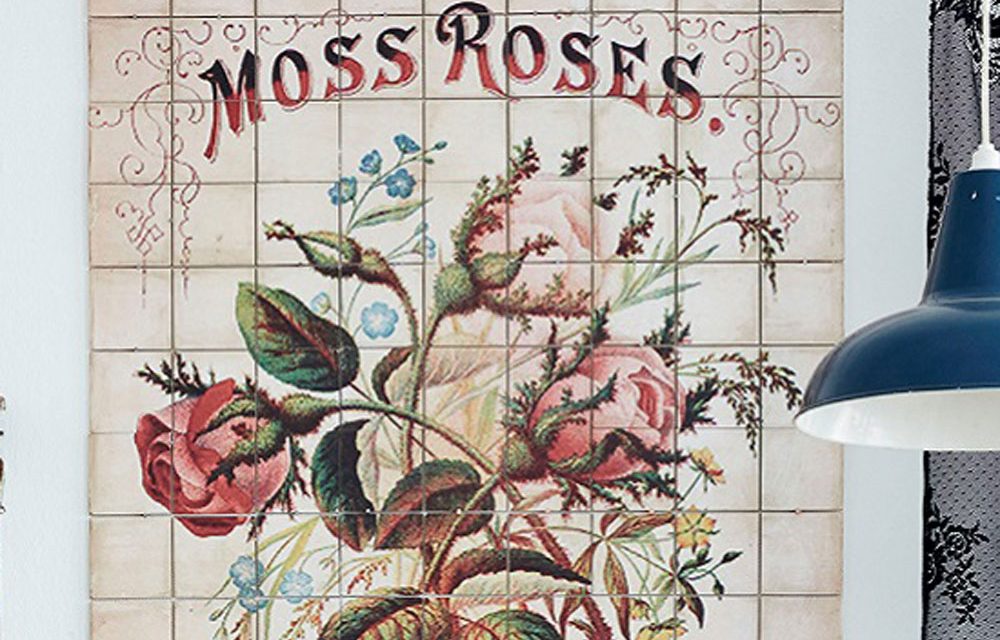
Use a vintage picture to decorate new tiles or a wall that has already been tiled.
- Tiles
- High res digital picture
- Modge podge
- Antique glaze
- Suitable sealant
- Sponge roller, paint brush and tray
- Craft knife and cutting mat

Step 1
Choose an image big enough to cover the area you want to decorate. Print a small version and divide it into blocks according to the area you want to decorate as a reference when you are working. Print out your picture on an A3 page to cover your sheets of tile.
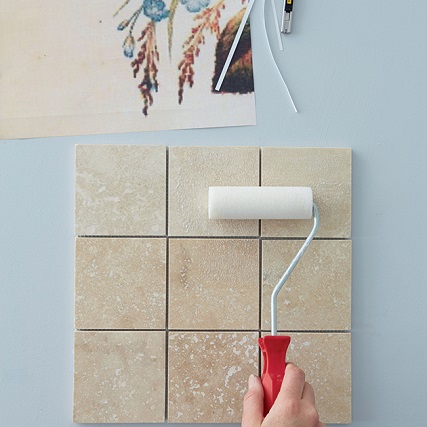
Step 2
Cut the excess white paper around the edges so the pieces form a complete picture according to your diagram. Pour a little modge podge into a paint tray and use your sponge roller to apply a thin coat of modge podge over the first sheet of tiles.
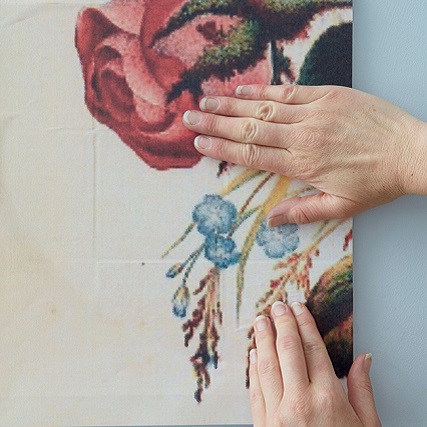
Step 3
Position the picture on the tiles and rub it down in place while the modge podge is still wet. Rub out the wrinkles carefully with your fingertips and leave to dry.
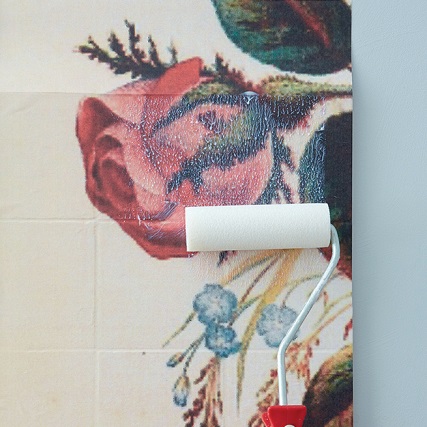
Step 4
Paint another coat of modge podge over the dry picture. Leave to dry again before applying another coat and leave to dry overnight.
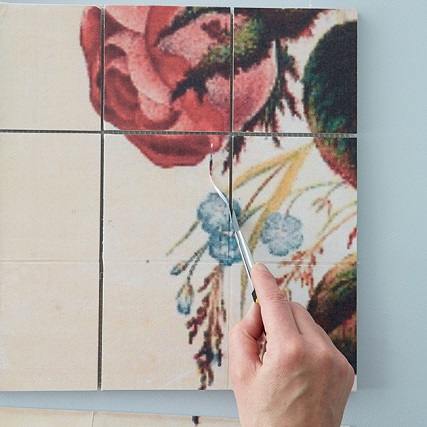
Step 5
Cut around the edges neatly. Also carefully cut away the paper in the grooves between the tiles. If you are working on a surface that has been already tiled, you can cut outside the grout lines and pull the pieces of the paper off the grout.
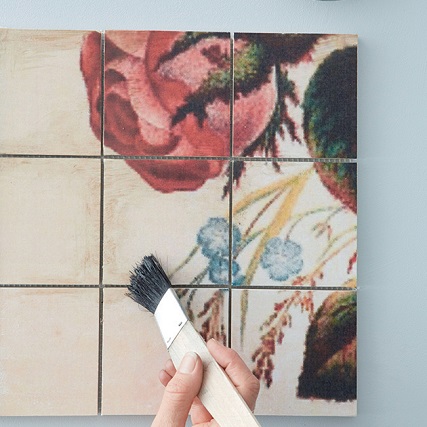
Step 6
Paint the tiles with antique glaze to get a vintage look. Apply the glaze around the edges of the lines. Leave to dry then seal the picture with a polyurethane varnish or resin to protect it. Make sure to seal the edges properly. If you are working on loose sheets of tiles, you can now fix them in place and grout it.
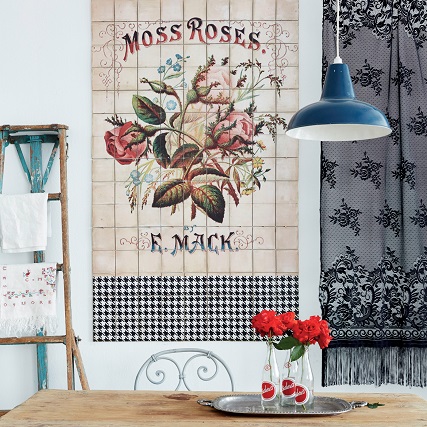
Picture Perfect
Now your DIY is complete and you have created your own vintage looking tiles to add an extra personal touch to your kitchen or living area.
Credits
Referenced from Gallo images / IDEAS Magazine
Browse 1000’s of products available to you. Select your country to Shop Online.


