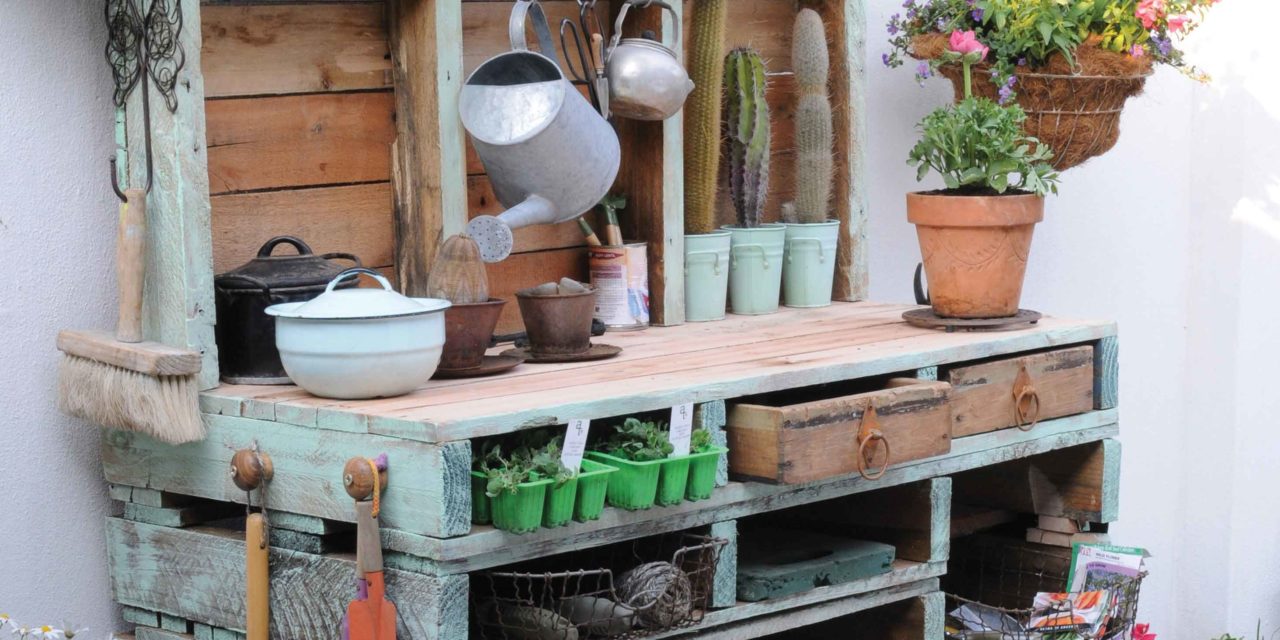
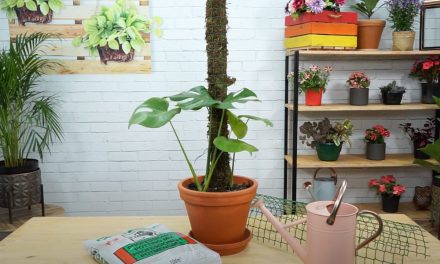
Make your own potting table with used wooden pallets and a few recycled items.
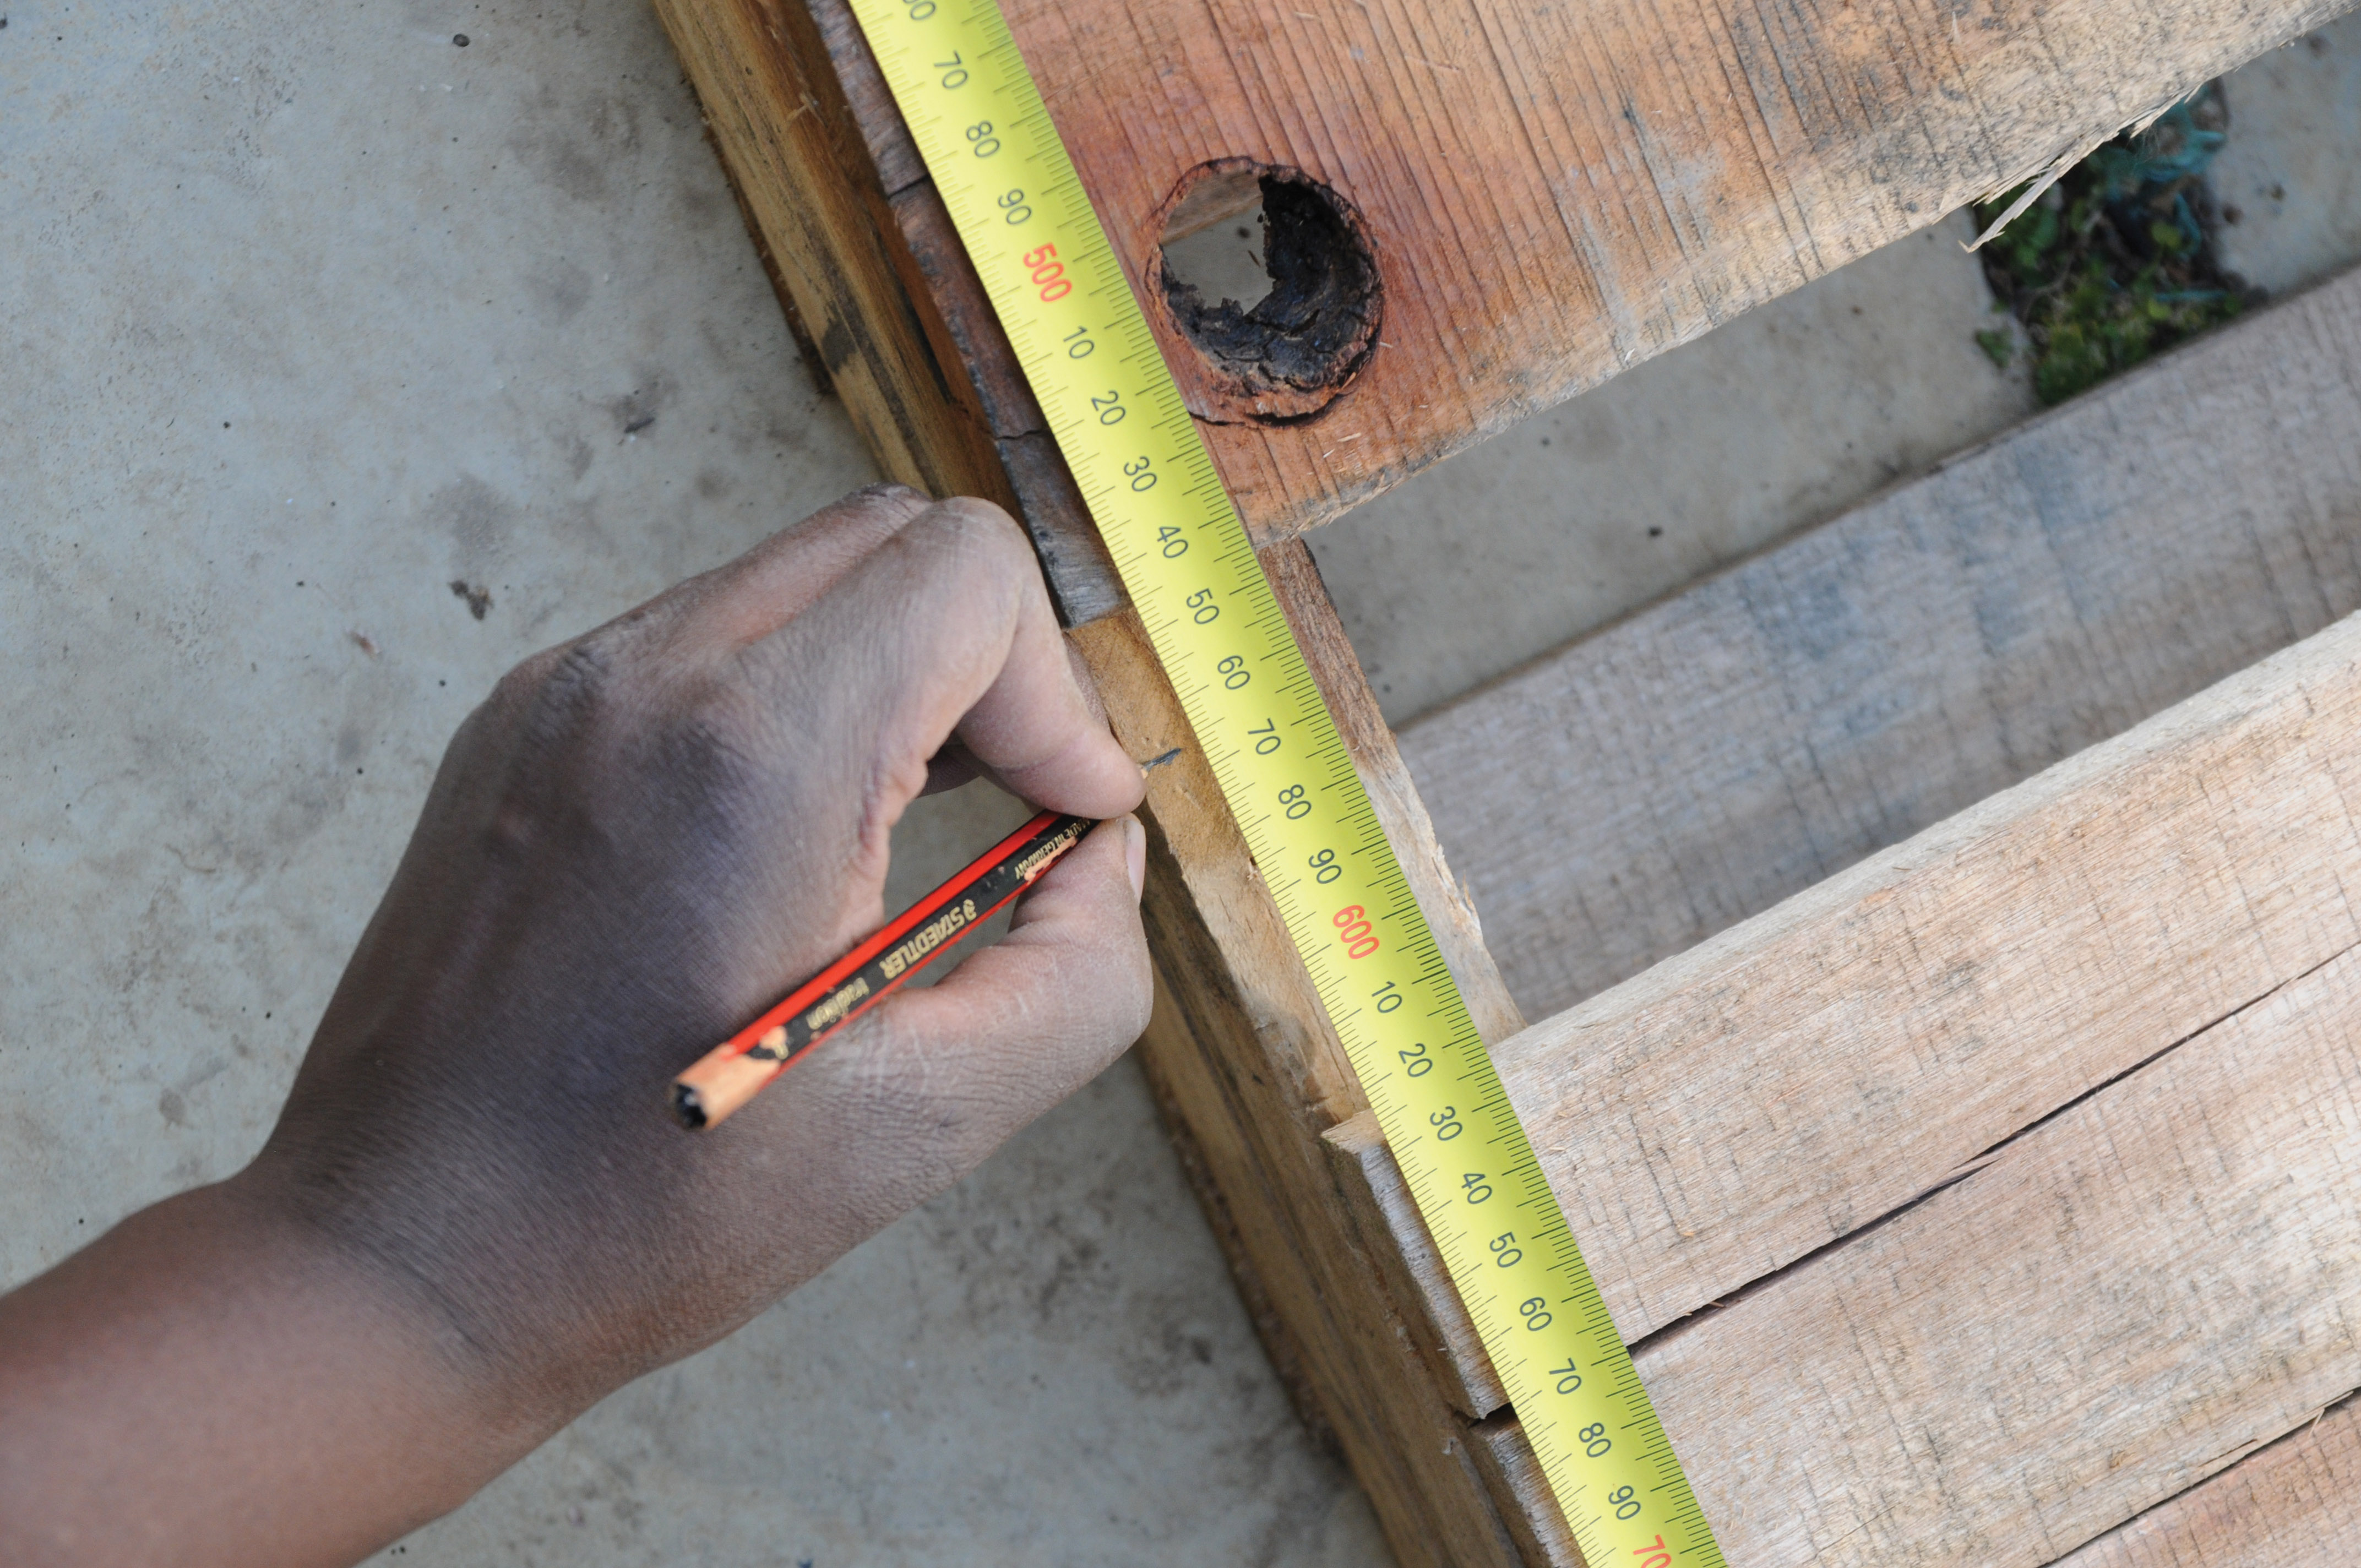
Step 1
Measure and mark the centres of four used or new wooden pallets. New wooden pallets can be bought at R145-R200 each from your local hardware store. We bought used eight-slat two-way pallets from Active Pallet & Box cc (011 455 6883) at R40 (plus VAT) each, but we had to go and fetch them in Germiston. Make sure the pallets you buy are still in a good condition and not rotten, and that they all have a similar size and design. Twoway pallets are the best for this project, as they each have two side slats.
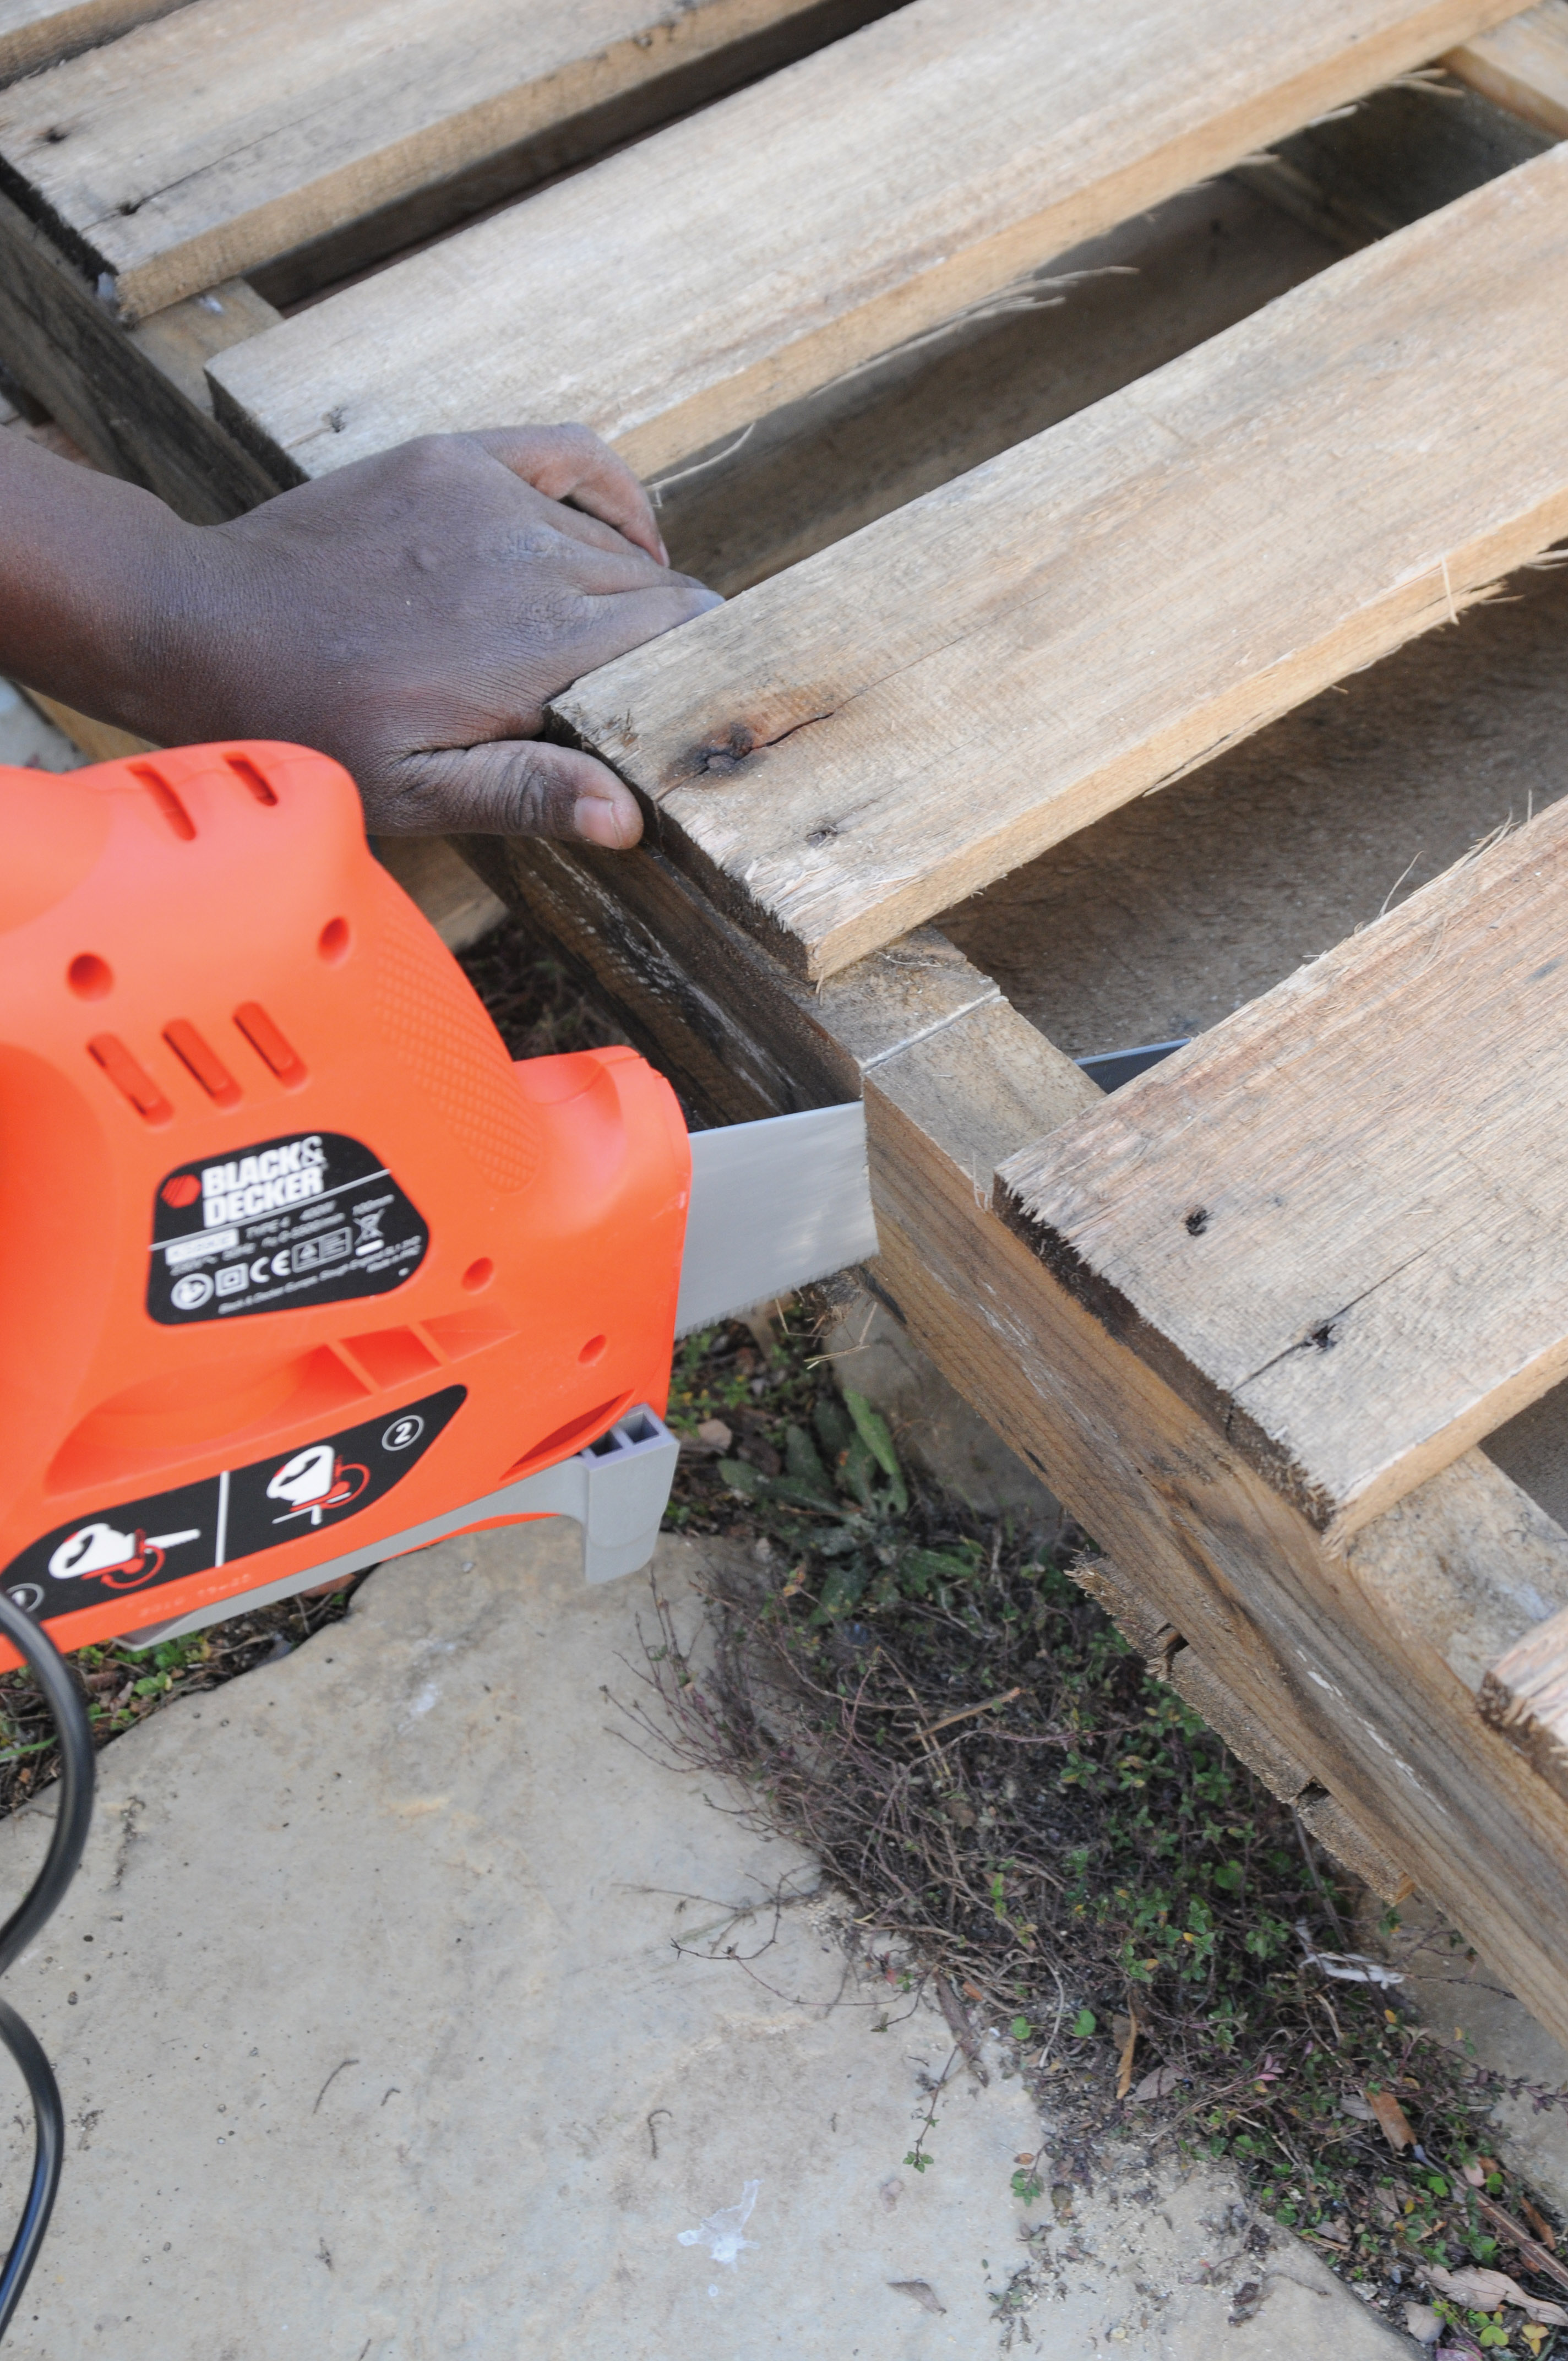
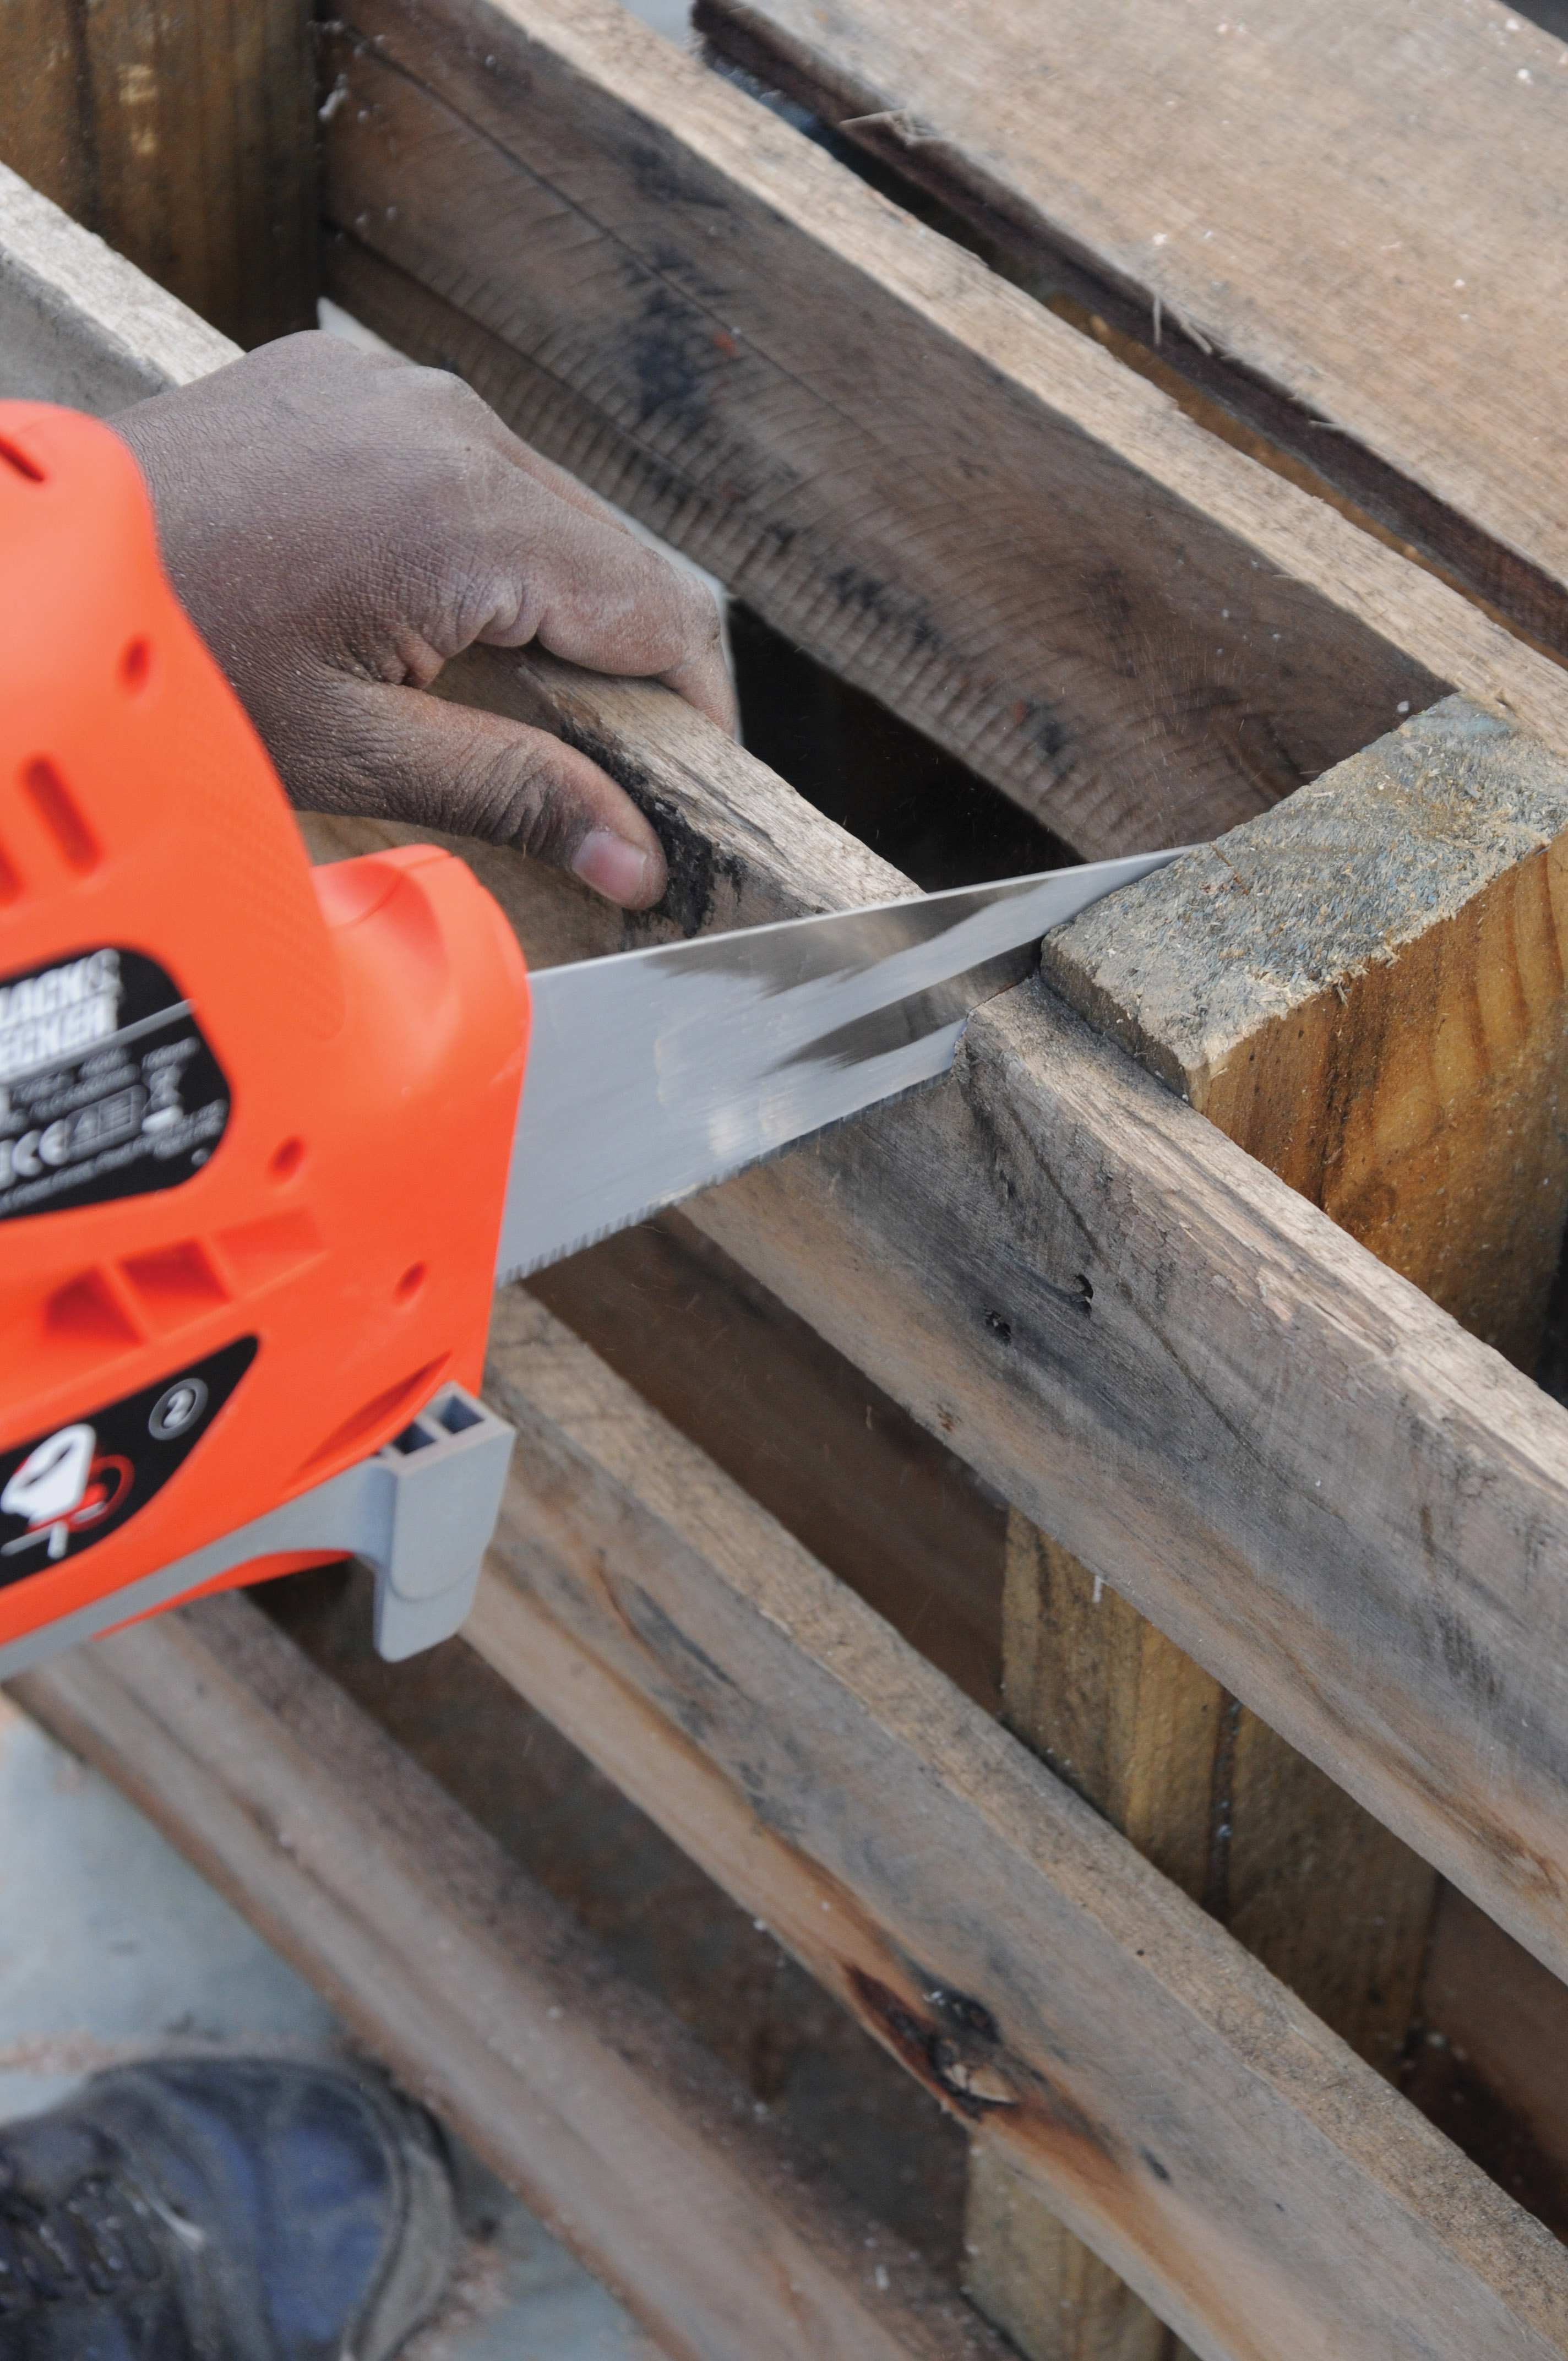
Step 2
Cut the pallets in half, using a jigsaw. If the slats are too close together, you can use a handsaw or electric handsaw to do this.
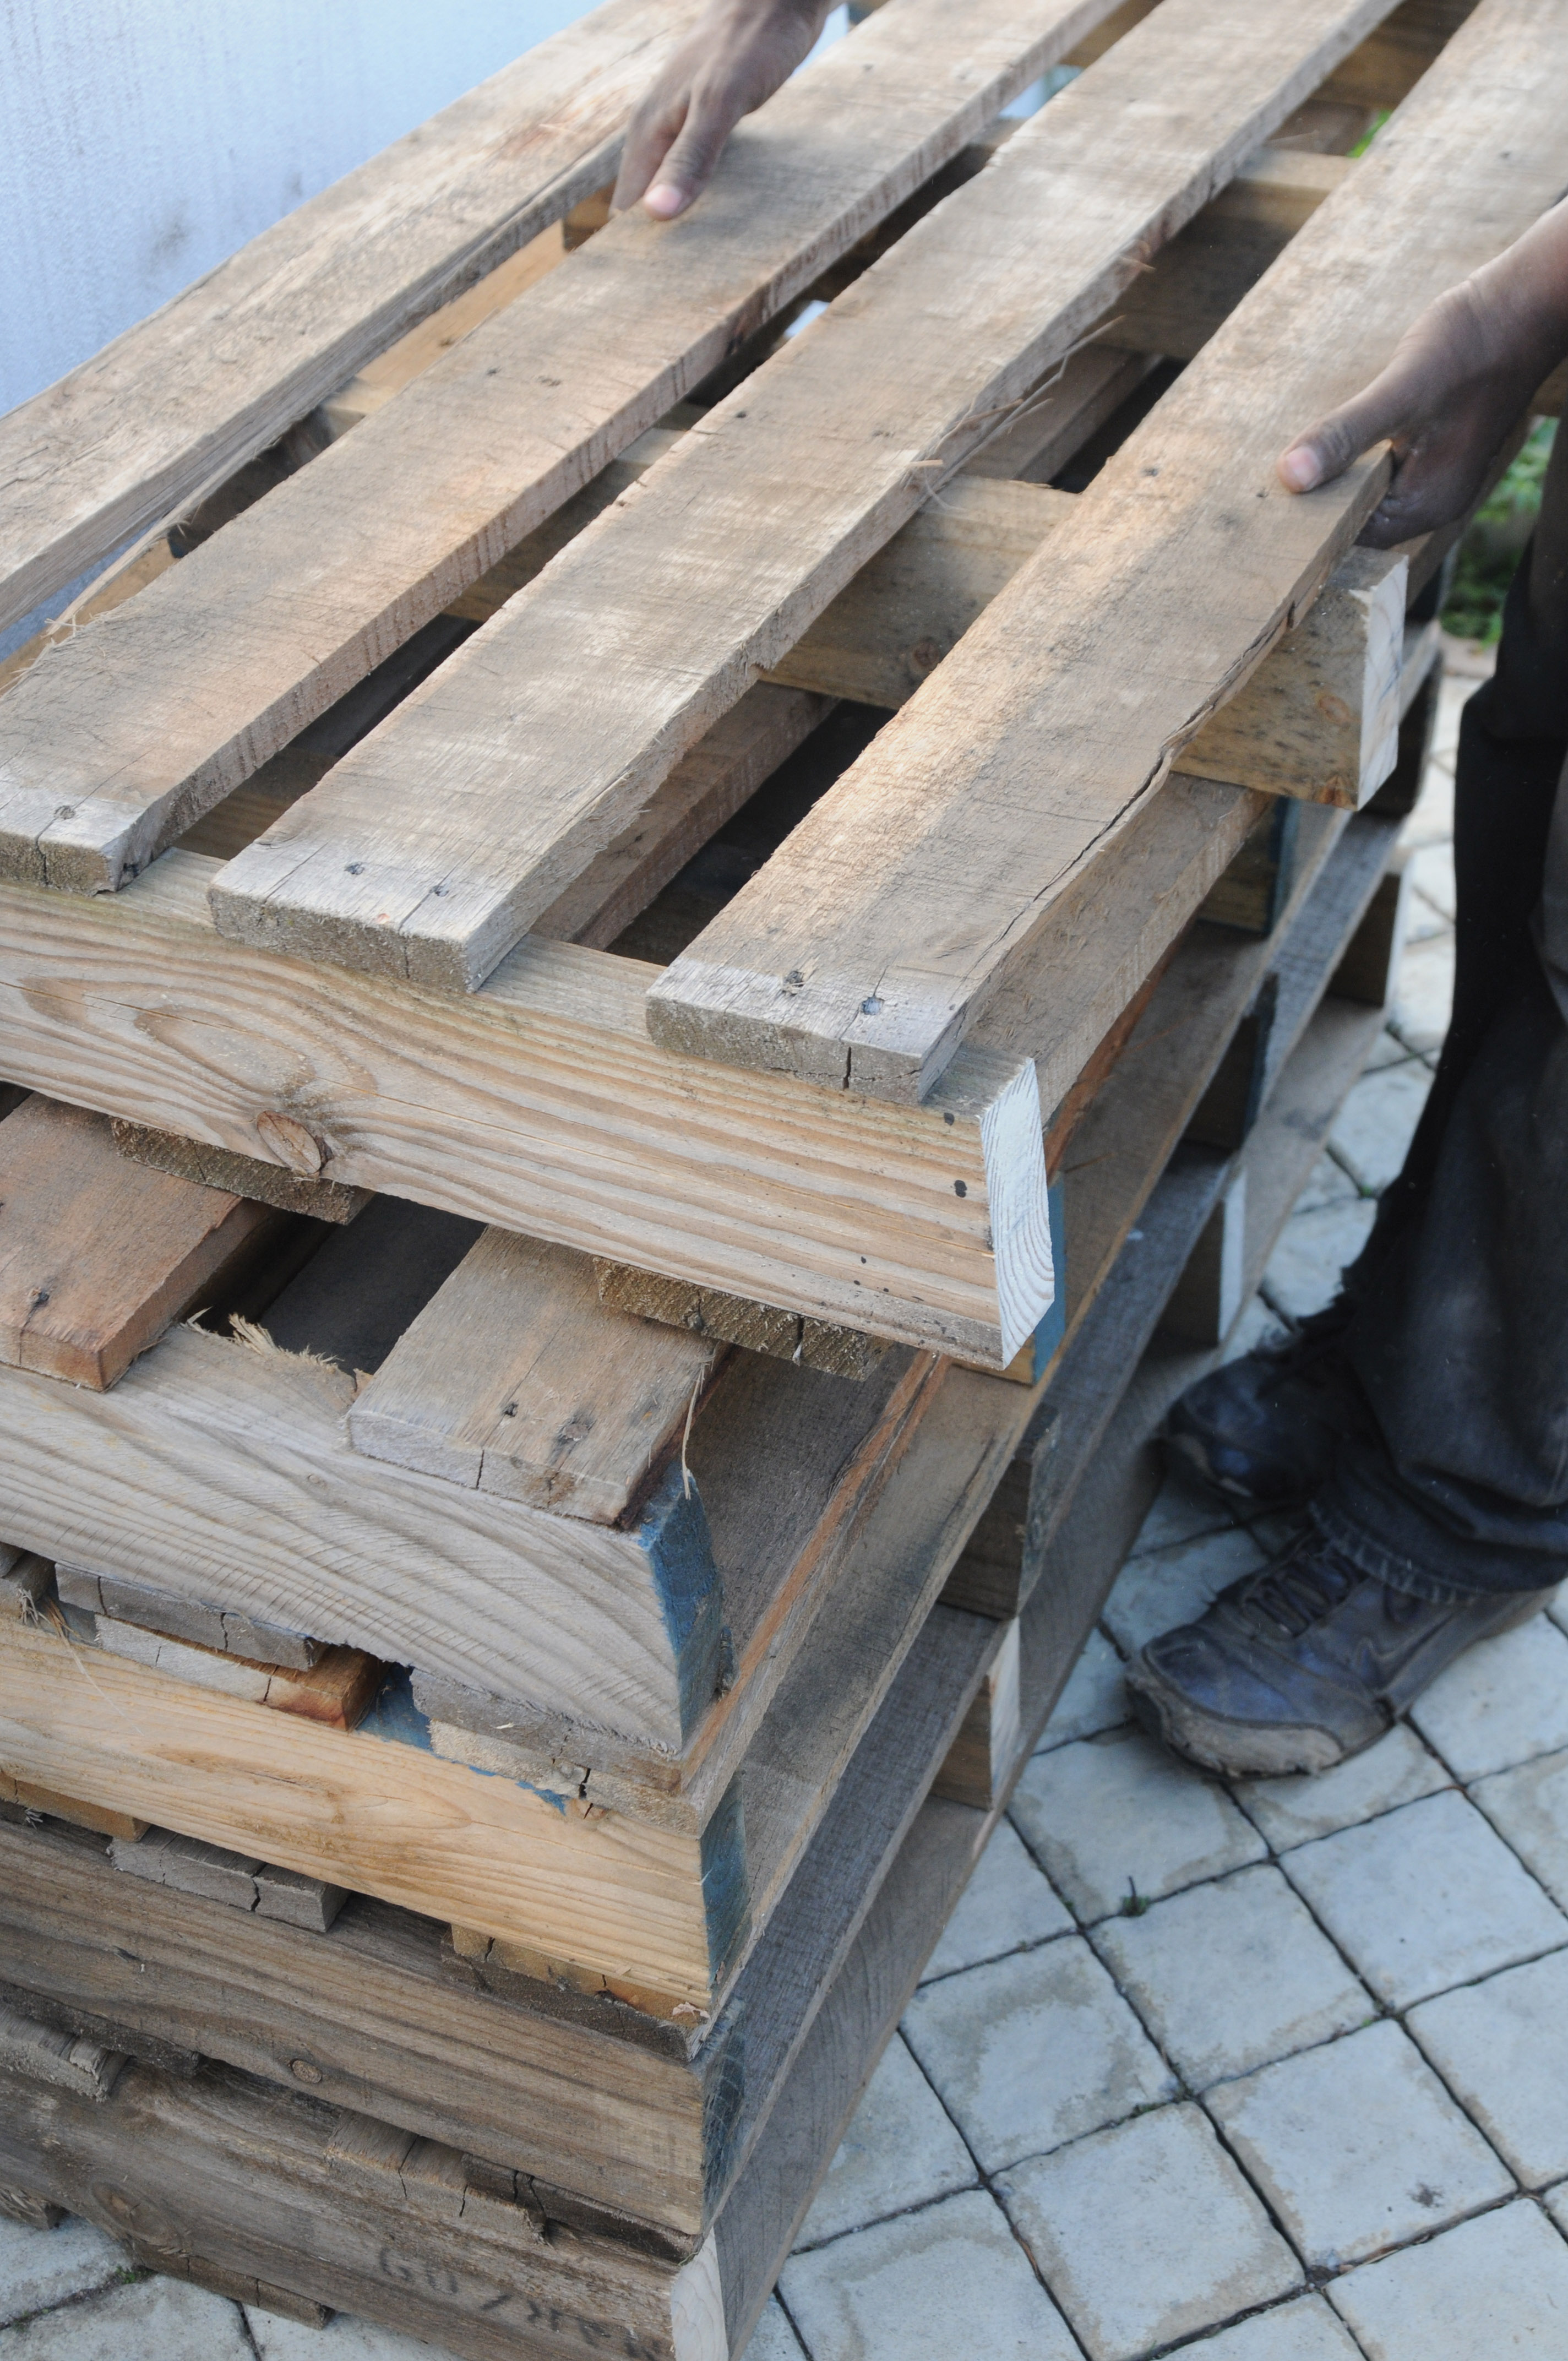
Step 3
Stack seven halves on top of each other, and mark where you want any slats cut out to form shelves. Before you dismantle the stack, number the pallets on their side slats so that you know where each pallet-half goes after you have cut the shelves out.
Step 4
Dismantle the stack and cut the marked slats out to form shelves. You can remove more slats if you want the shelf to be deeper or higher. Do not take out any supporting, upright slats – only the horizontal slats. Take care not to cut out the very top and the very bottom slats.
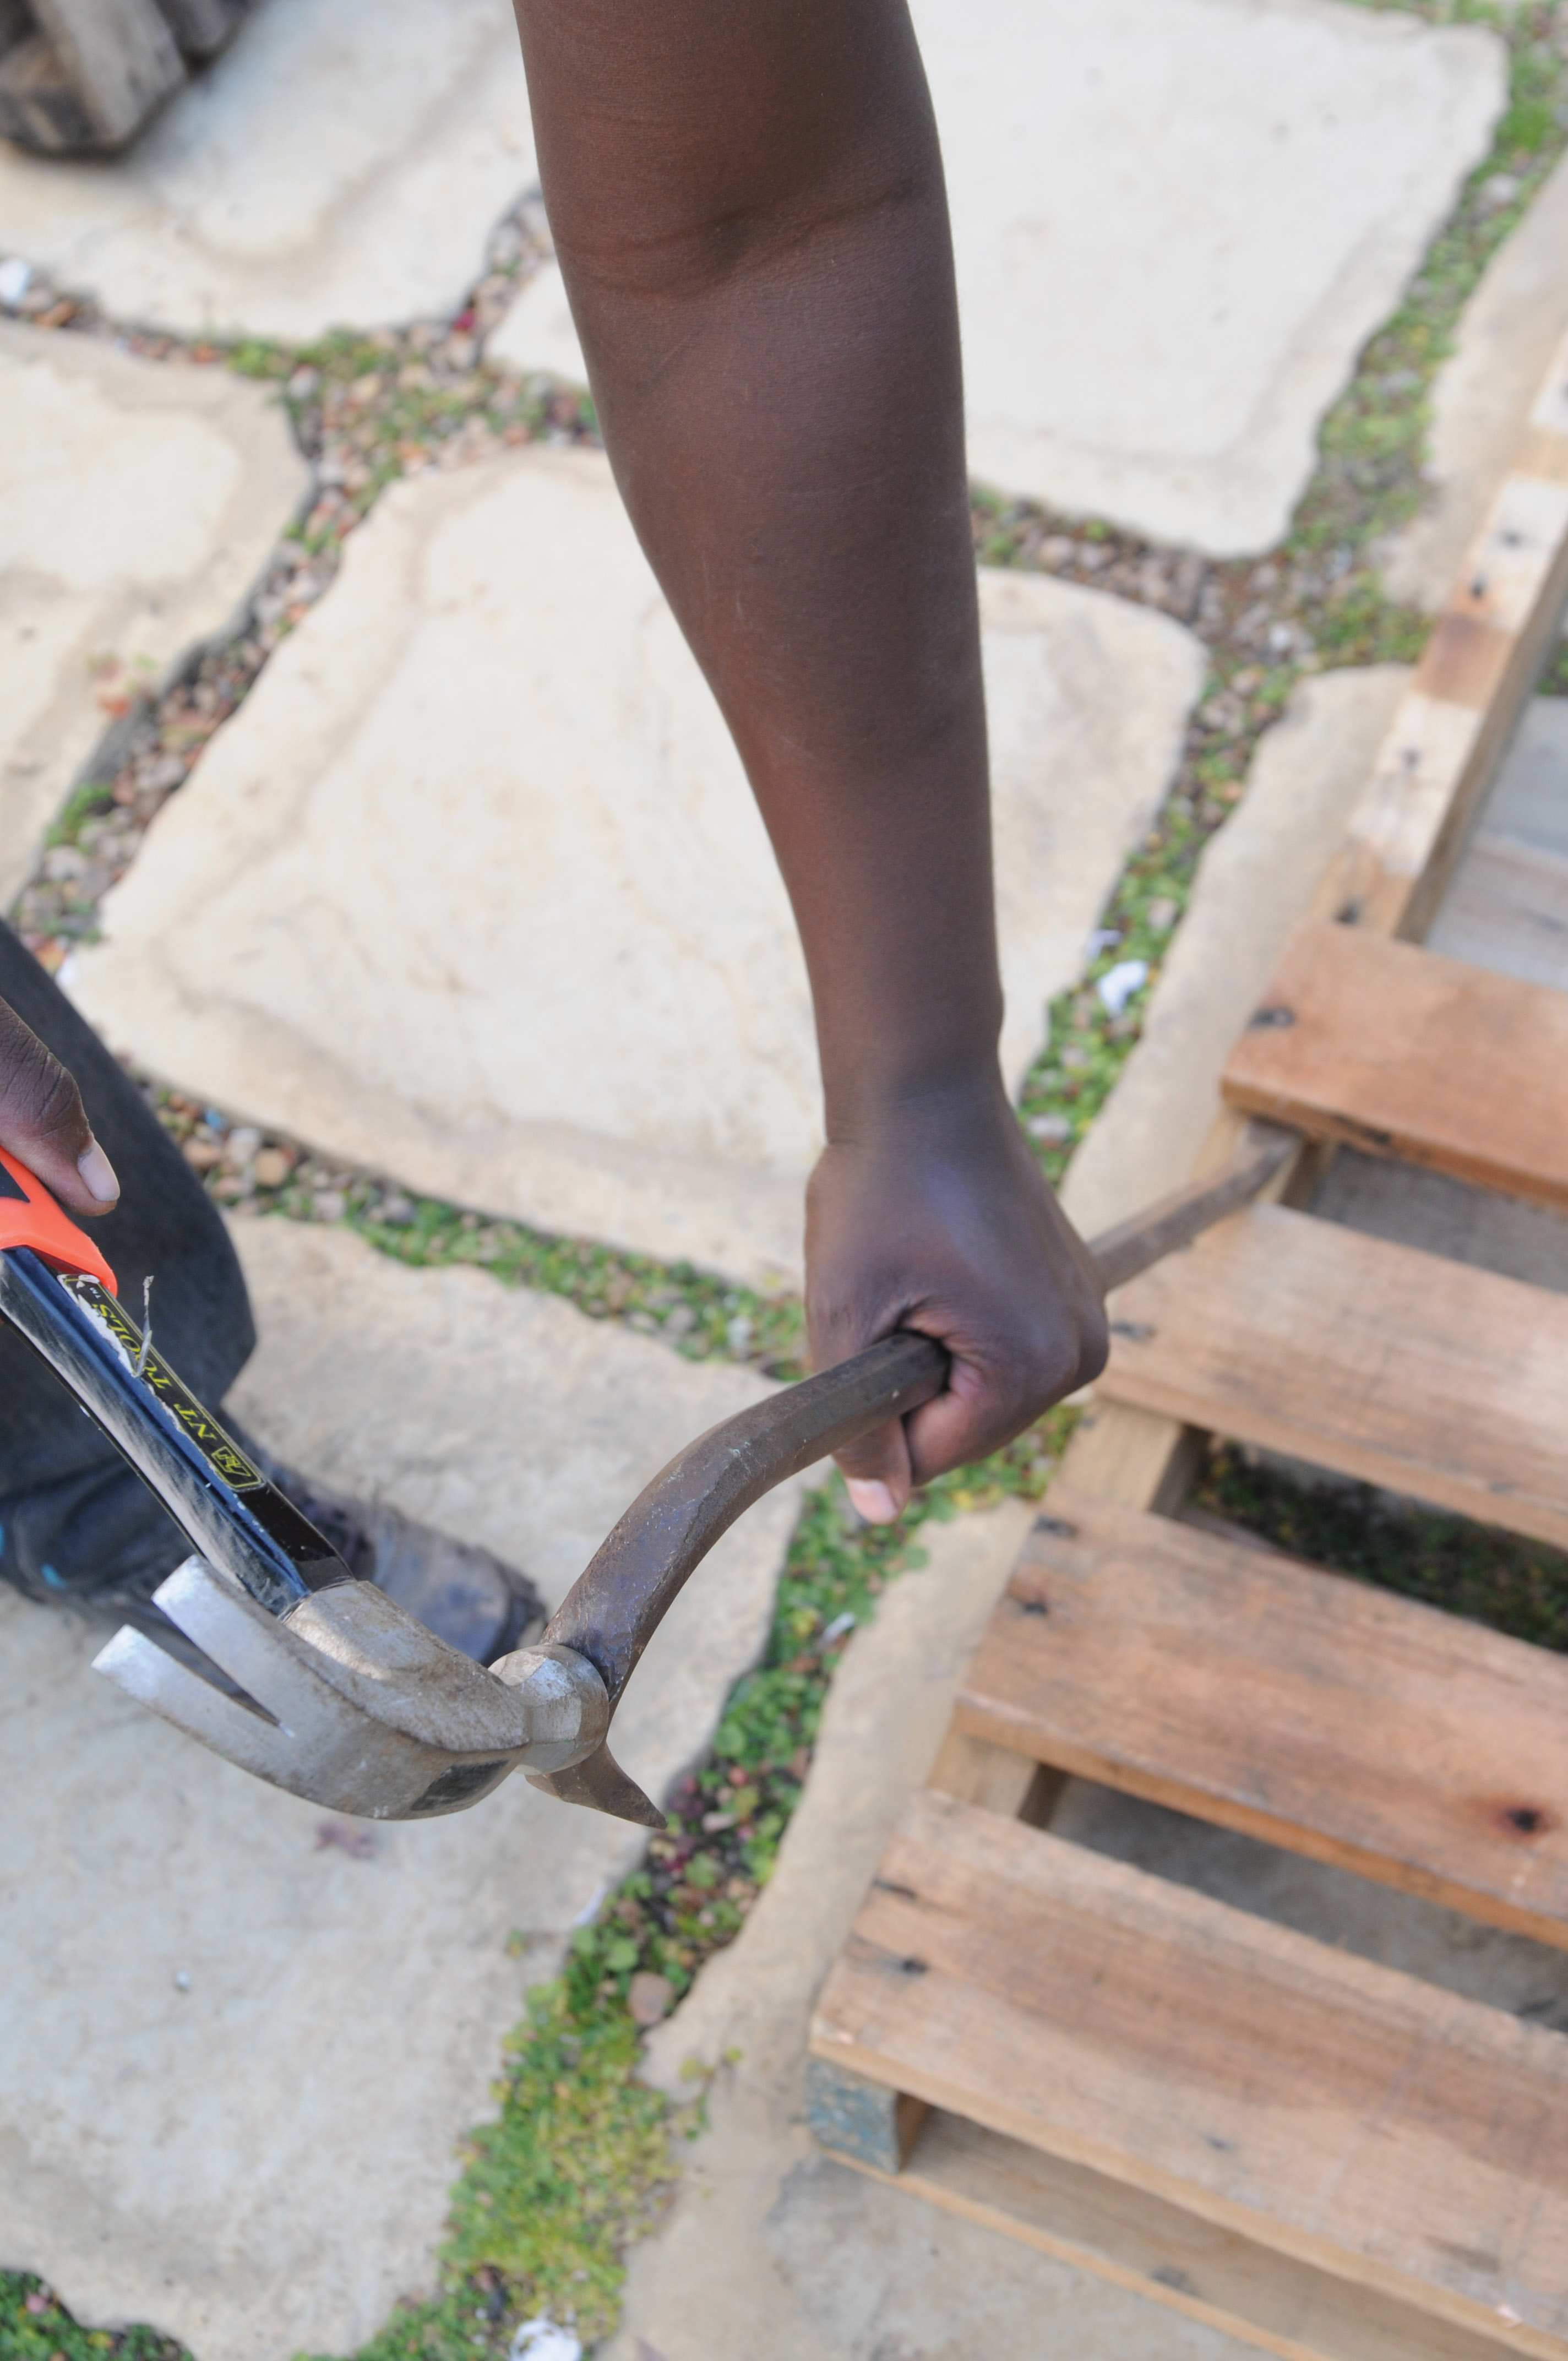
Step 5
Remove the top slats of the top pallet-half one by one using a small crowbar – this is the tough part! You need to do it in order to nail them into position without any openings in between the slats. This will be your table’s top. Do the same with the eighth pallet-half, which will become the top part of the cupboard – you need to create a solid backing after taking them off.
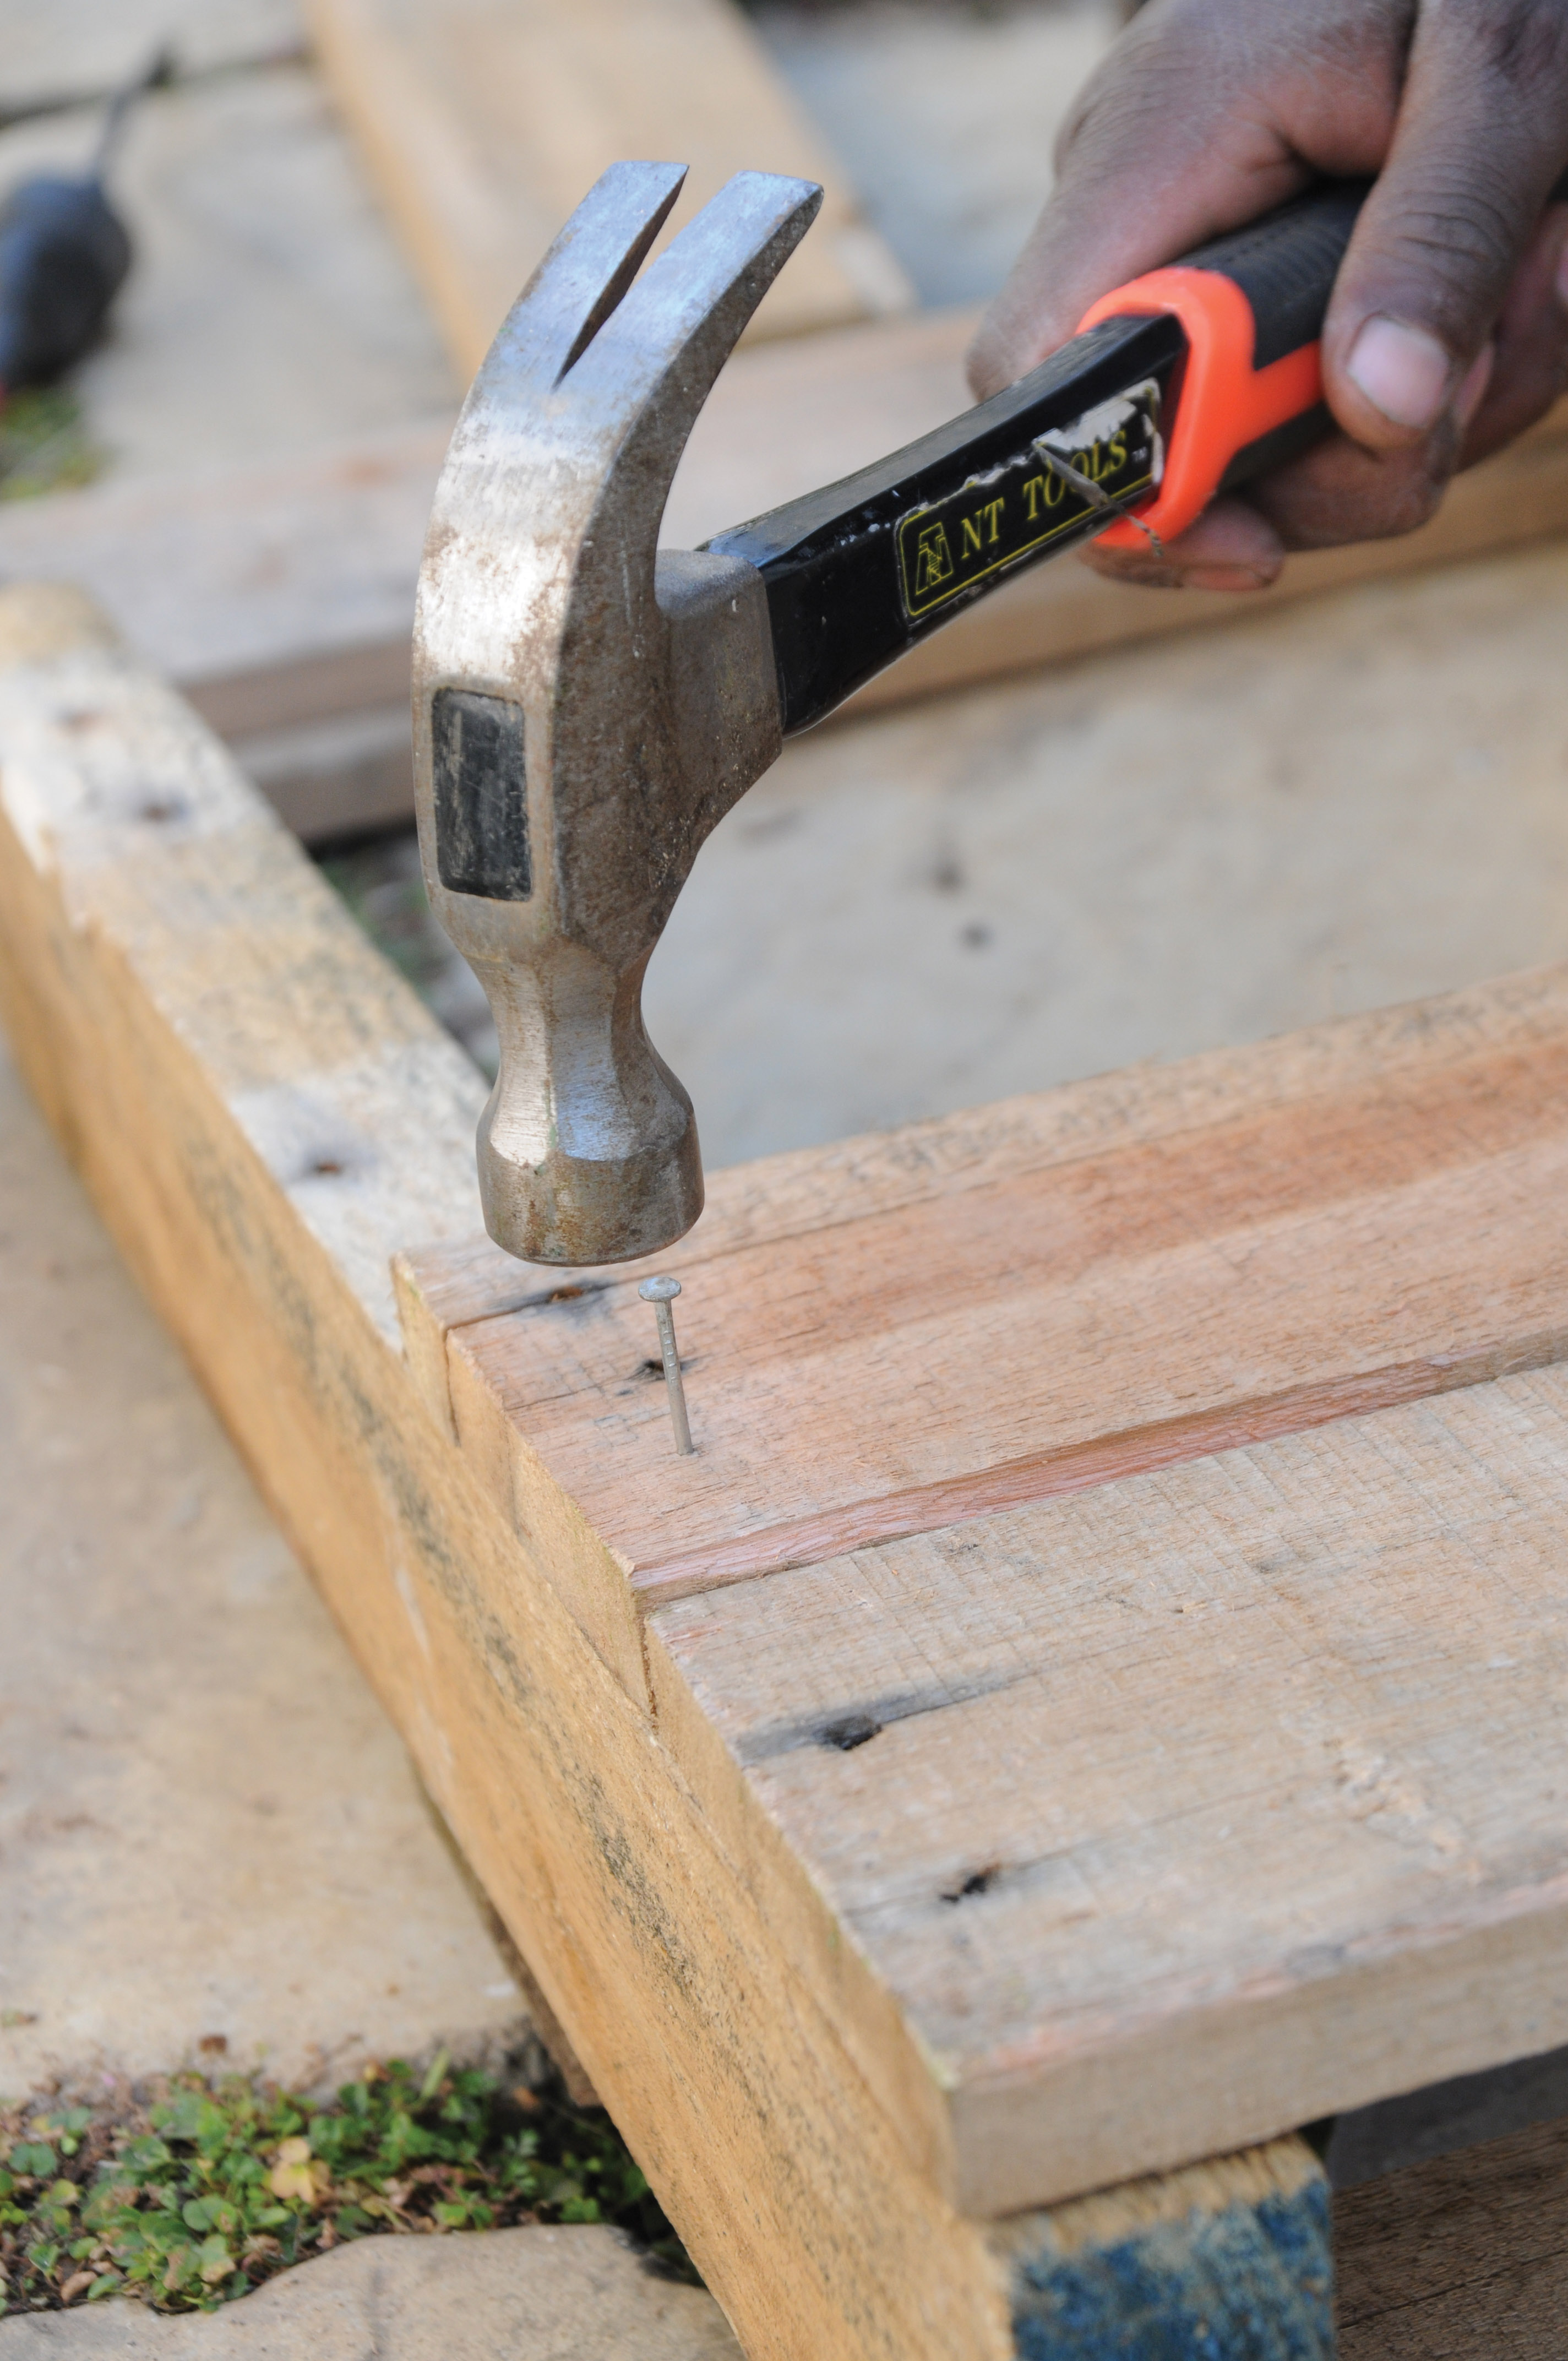
Step 6
Next, nail the slats down onto the top pallet-half as close together as you can. Now you have your table top. After this, you can nail the slats of the upright table backing together as closely as you can. Also take the slats off the front of this upright backing – all except the top slat.
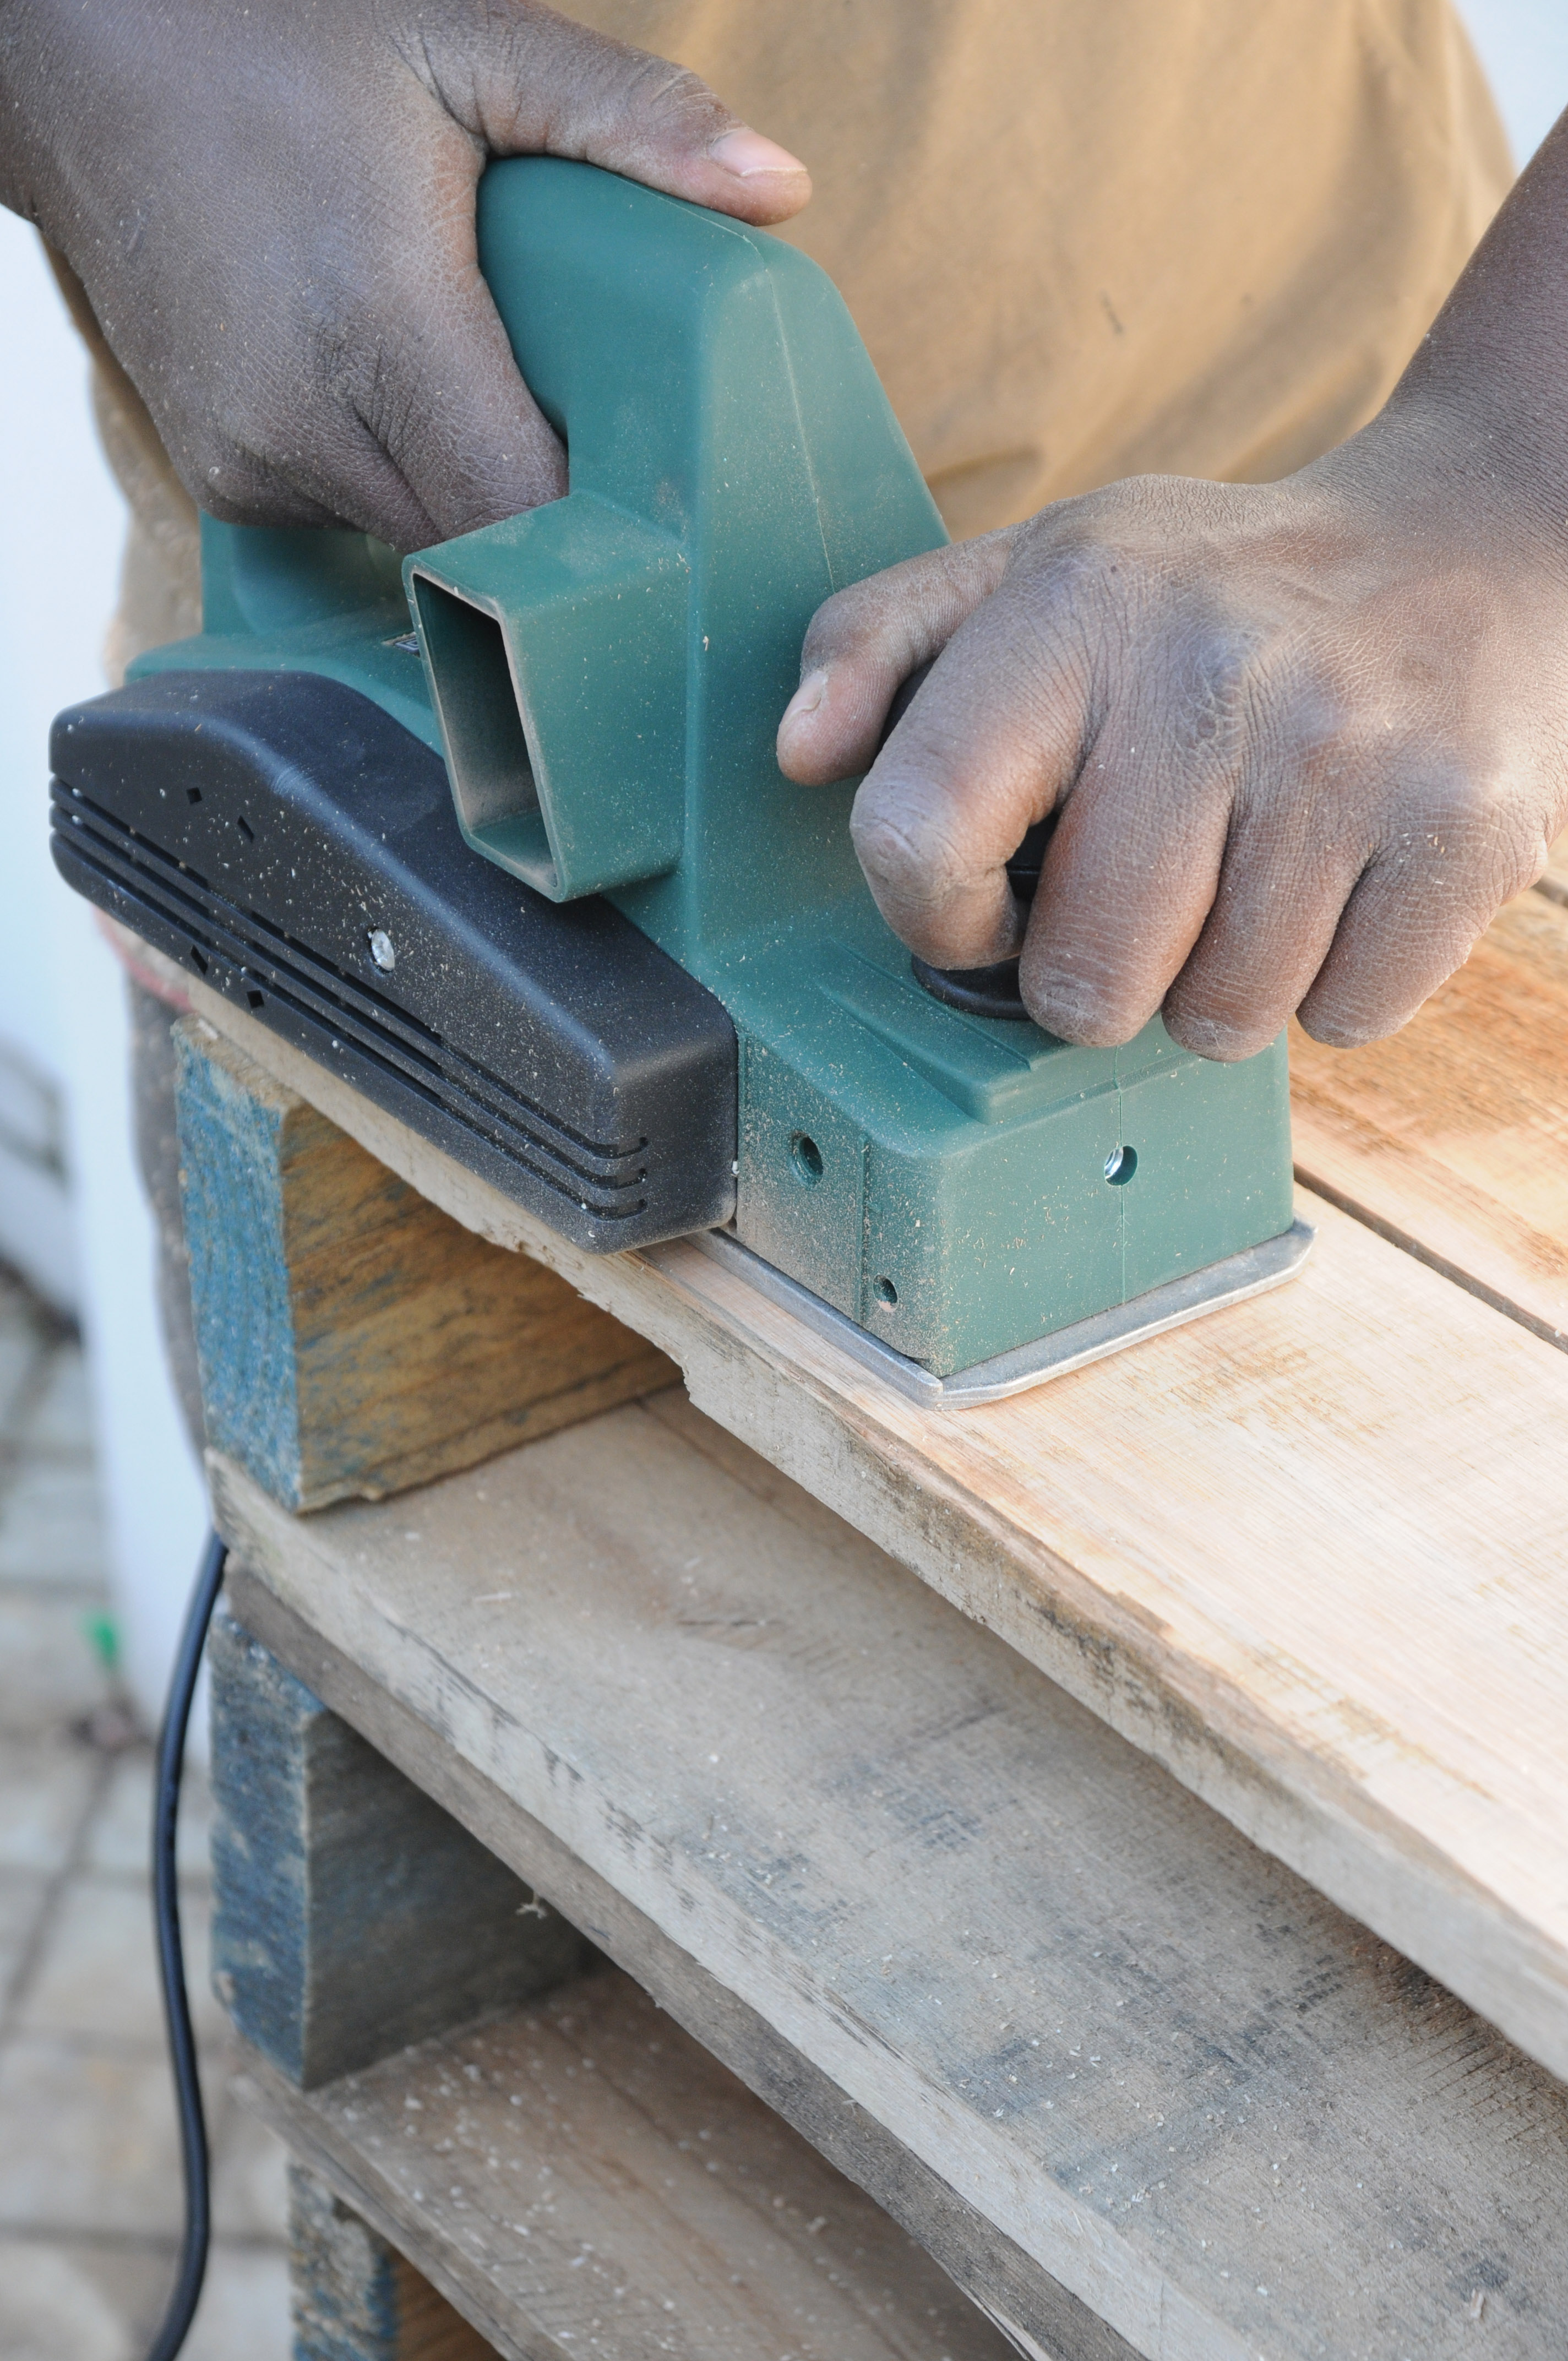
Step 7
Smooth the table top slats with an electric planer to create a safer and more practical surface – this will ensure that soil does not stick to the rough, unfinished wood surface, and will also get rid of wood splinters.
Step 8
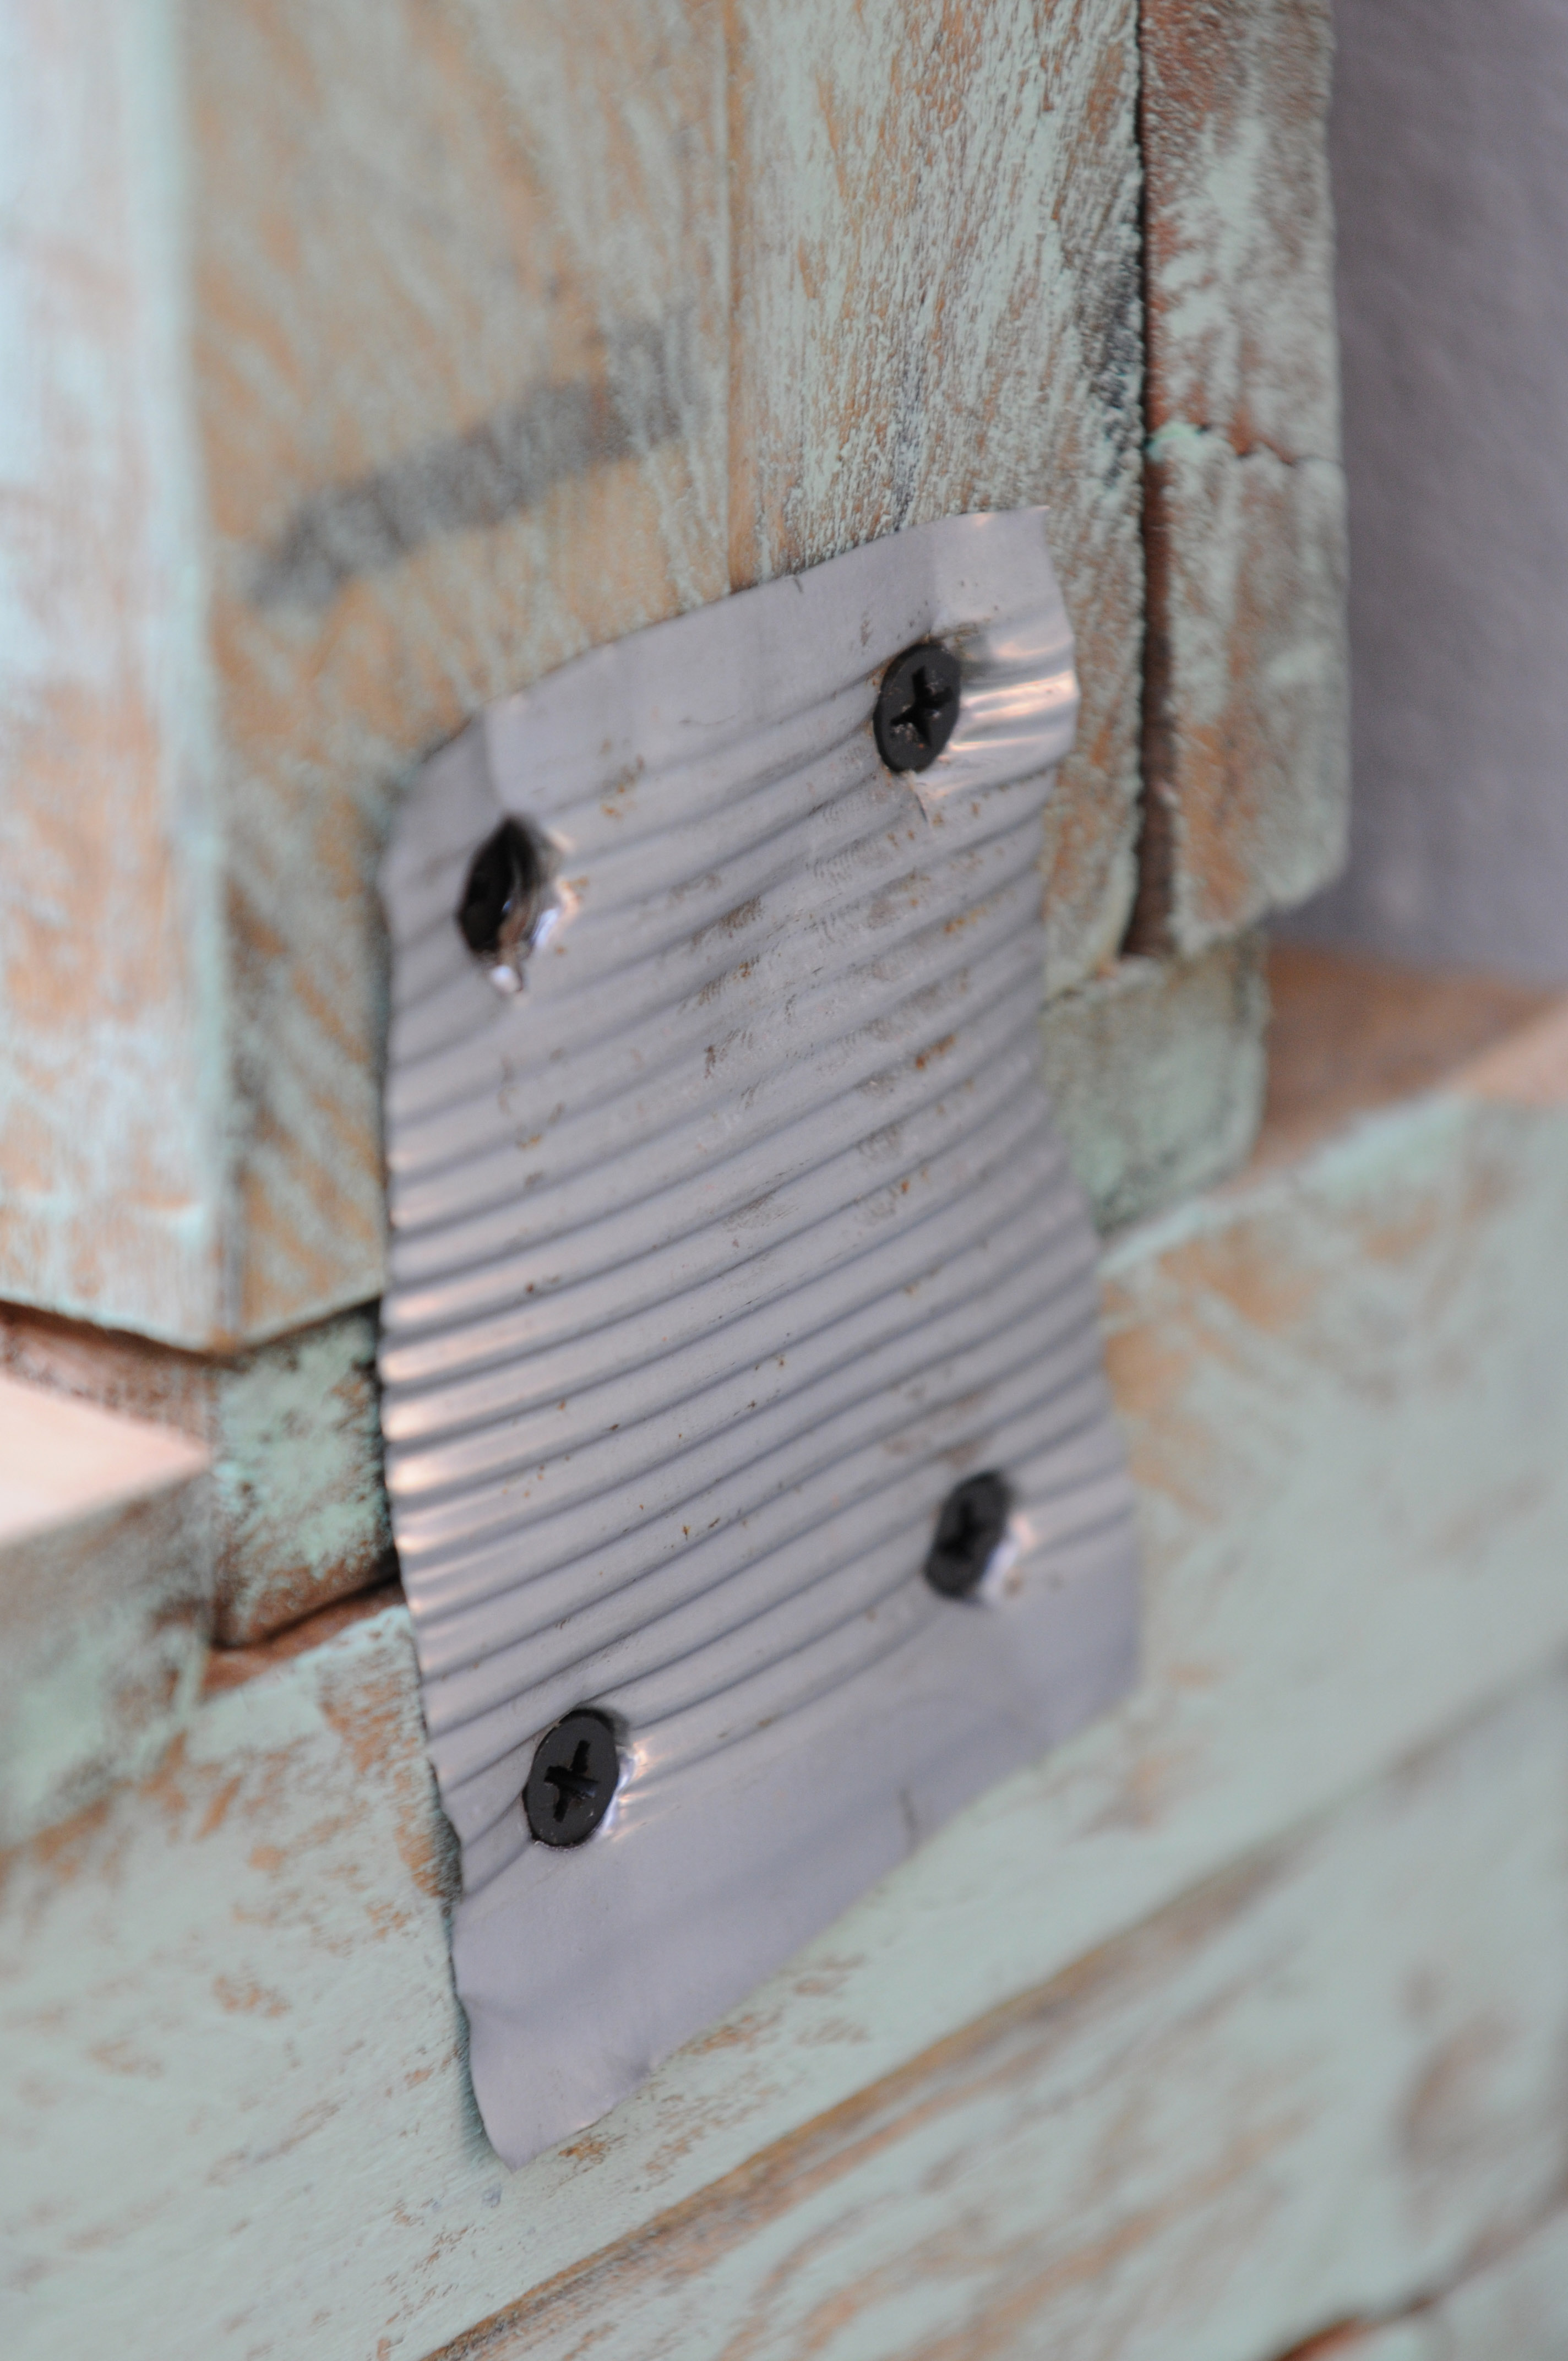
Paint the side slats and the fronts of all vertical and horizontal slats with soft-green PVA using a dry-brush technique. For this you use very little paint: dip only the tip of a dry, wide paintbrush into the paint, and paint with long, quick strokes over the rough wood. Try not to repaint any parts, as the effect is lost when you paint over the brush strokes. Fix the upright cupboard backing to the table top with a piece of tin that you have cut from a recycled food tin.
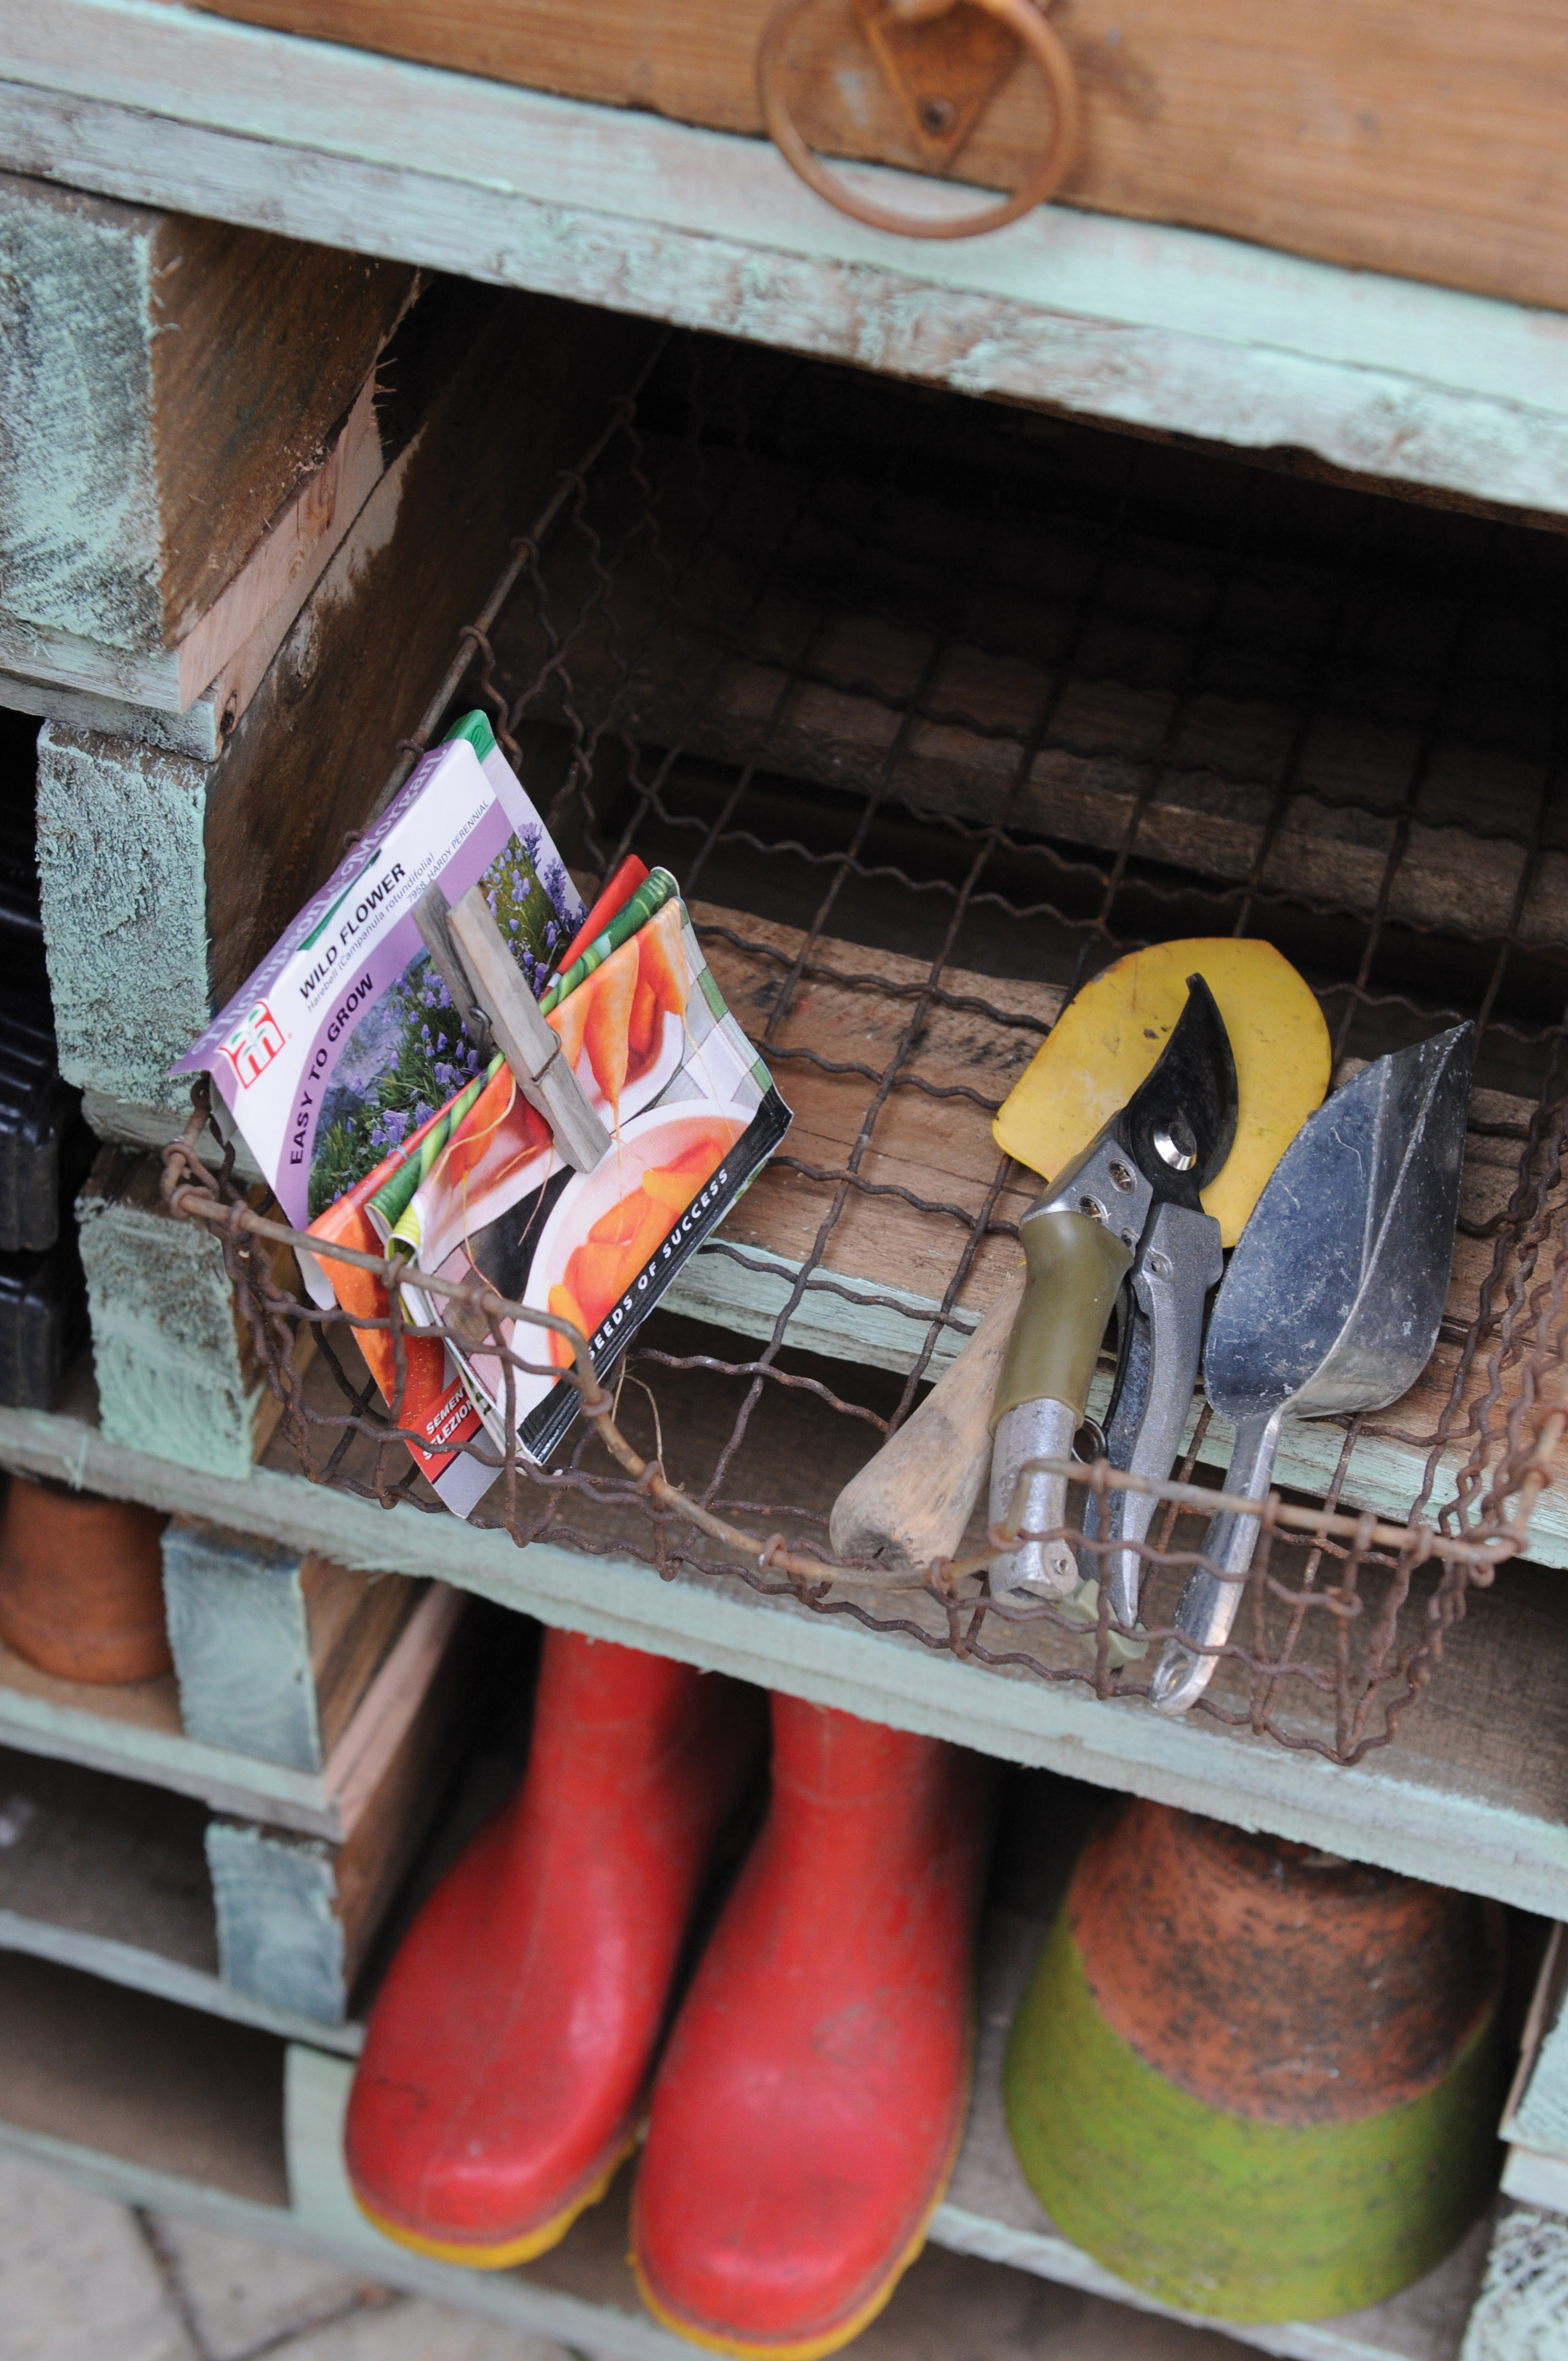
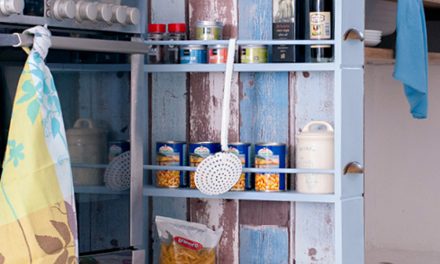
Wire desk trays
Use old wire desk trays as drawers. You can store twine, seed and tools in them. Put the trays into areas where you have cut out slats, to use as proper drawers.
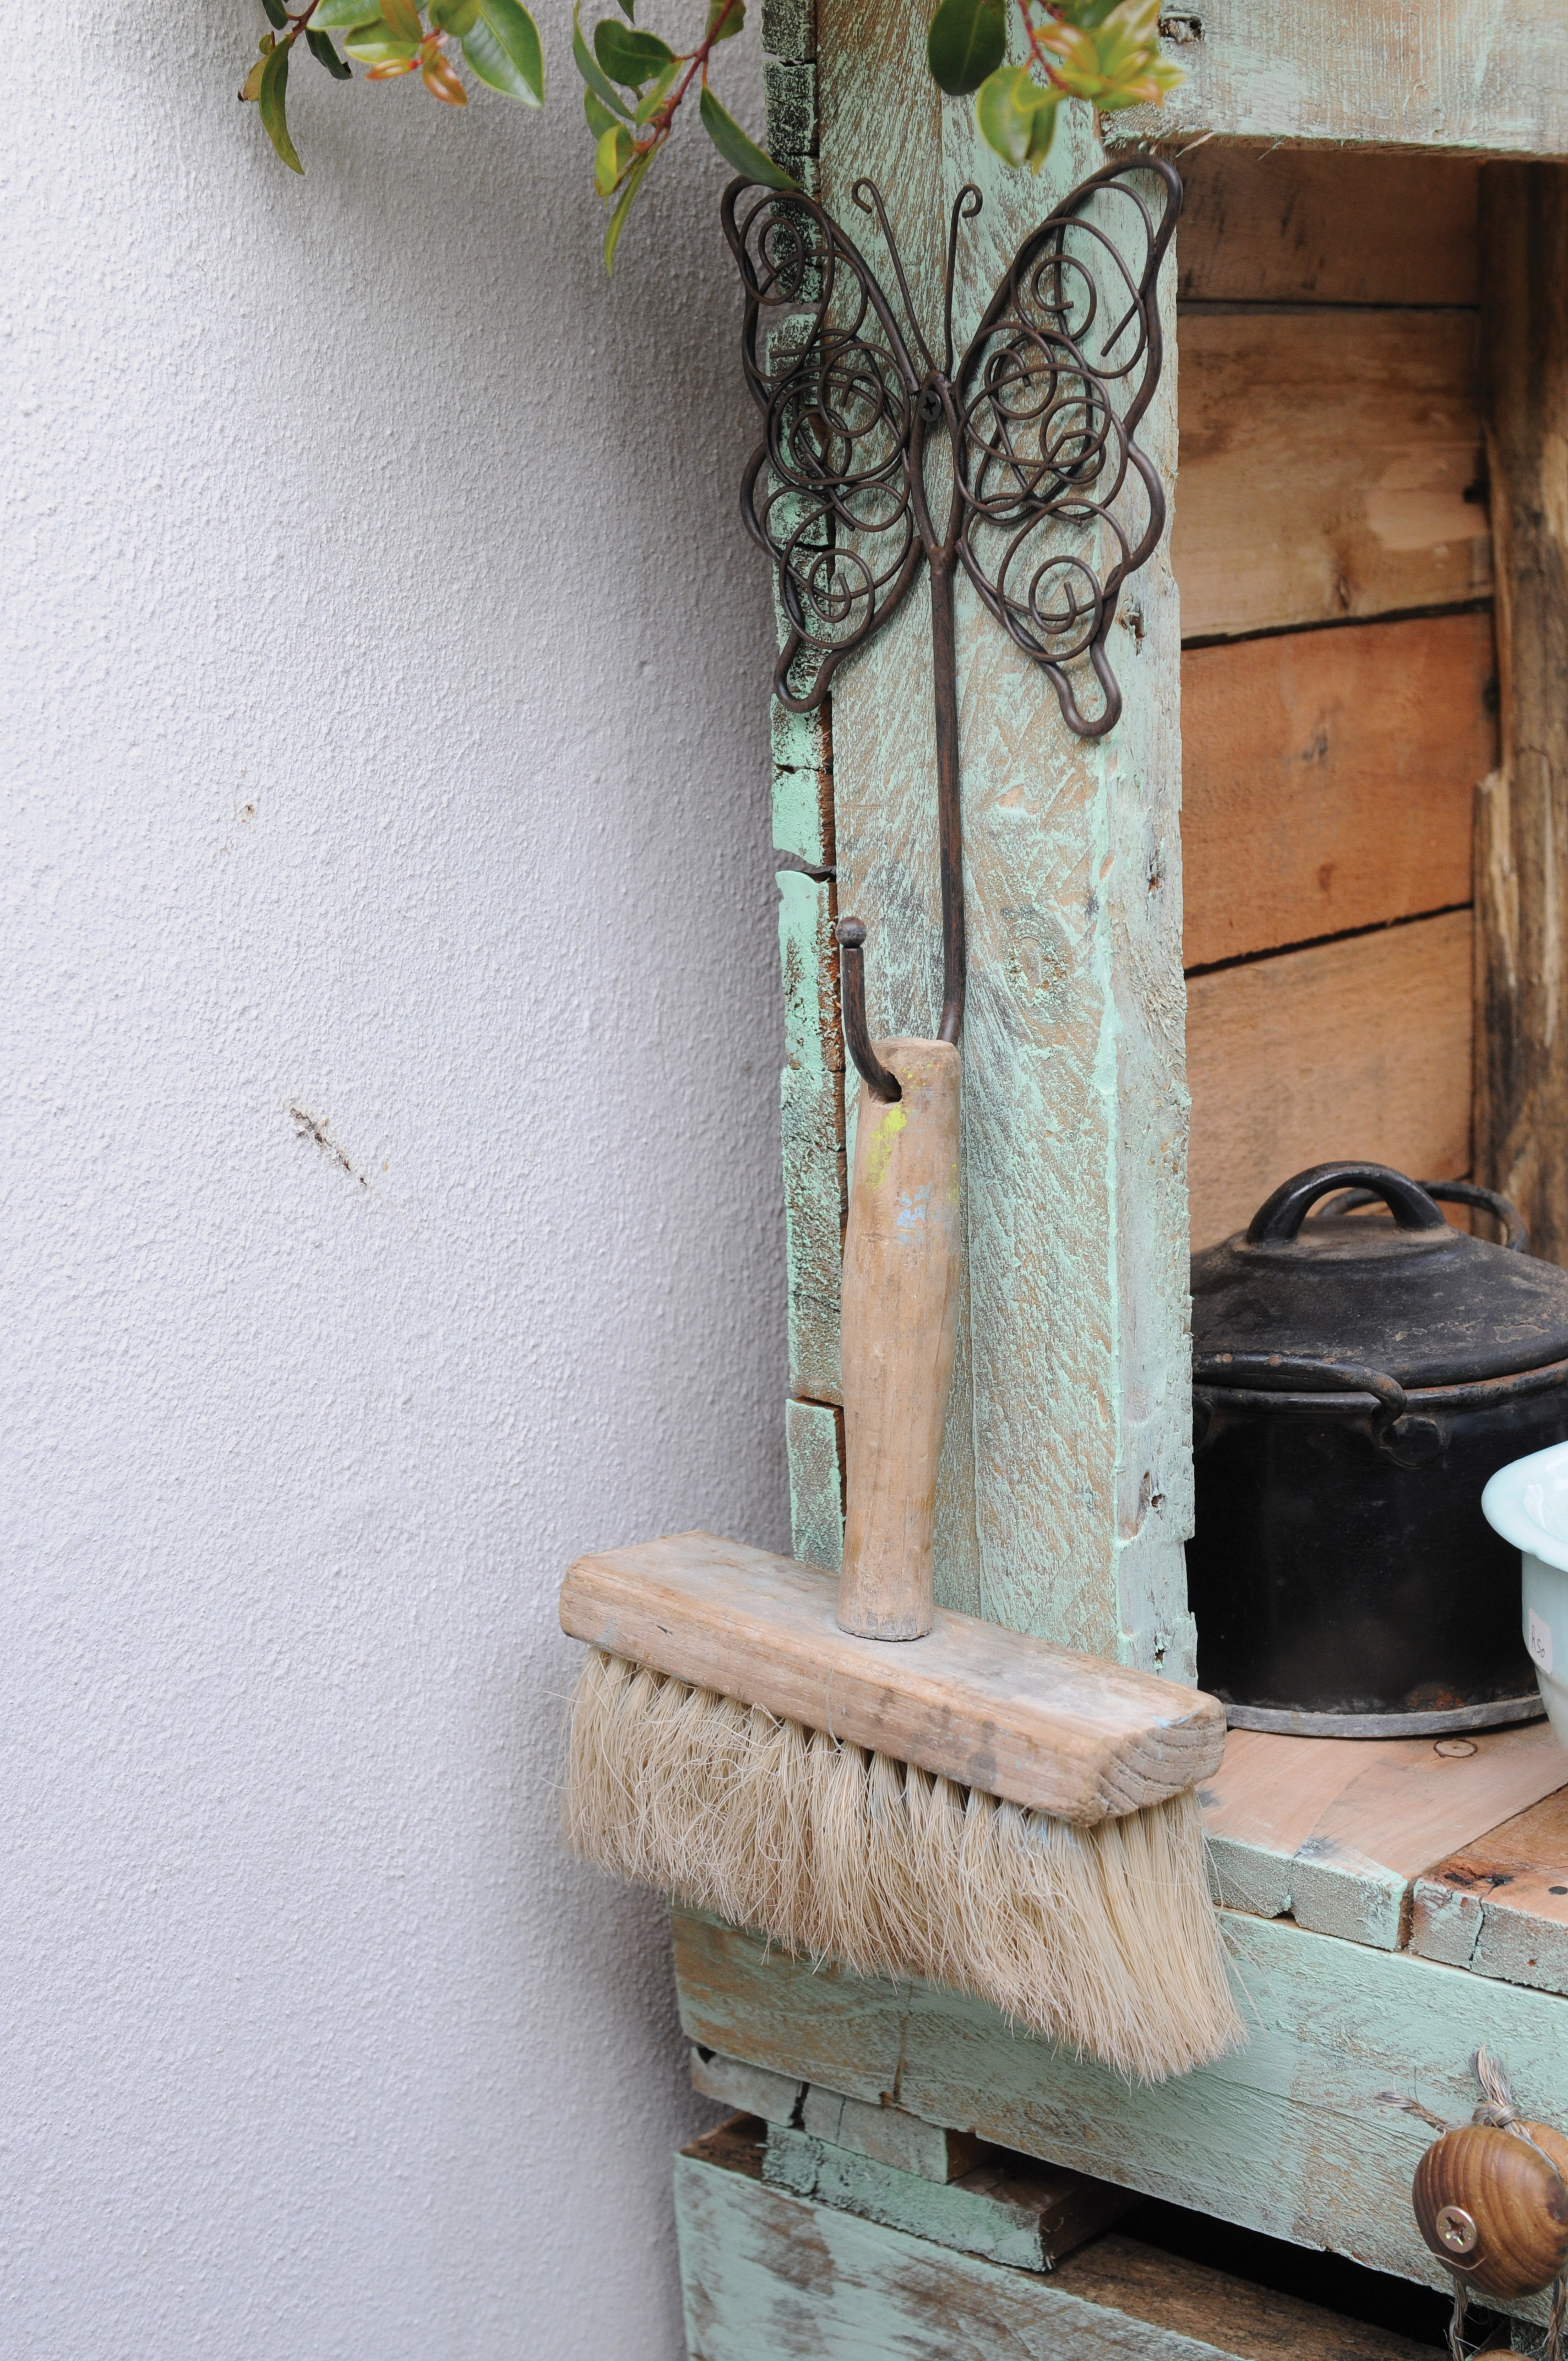
Butterfly Hook
Butterfly hook, R29,99 from Mr Price Home.
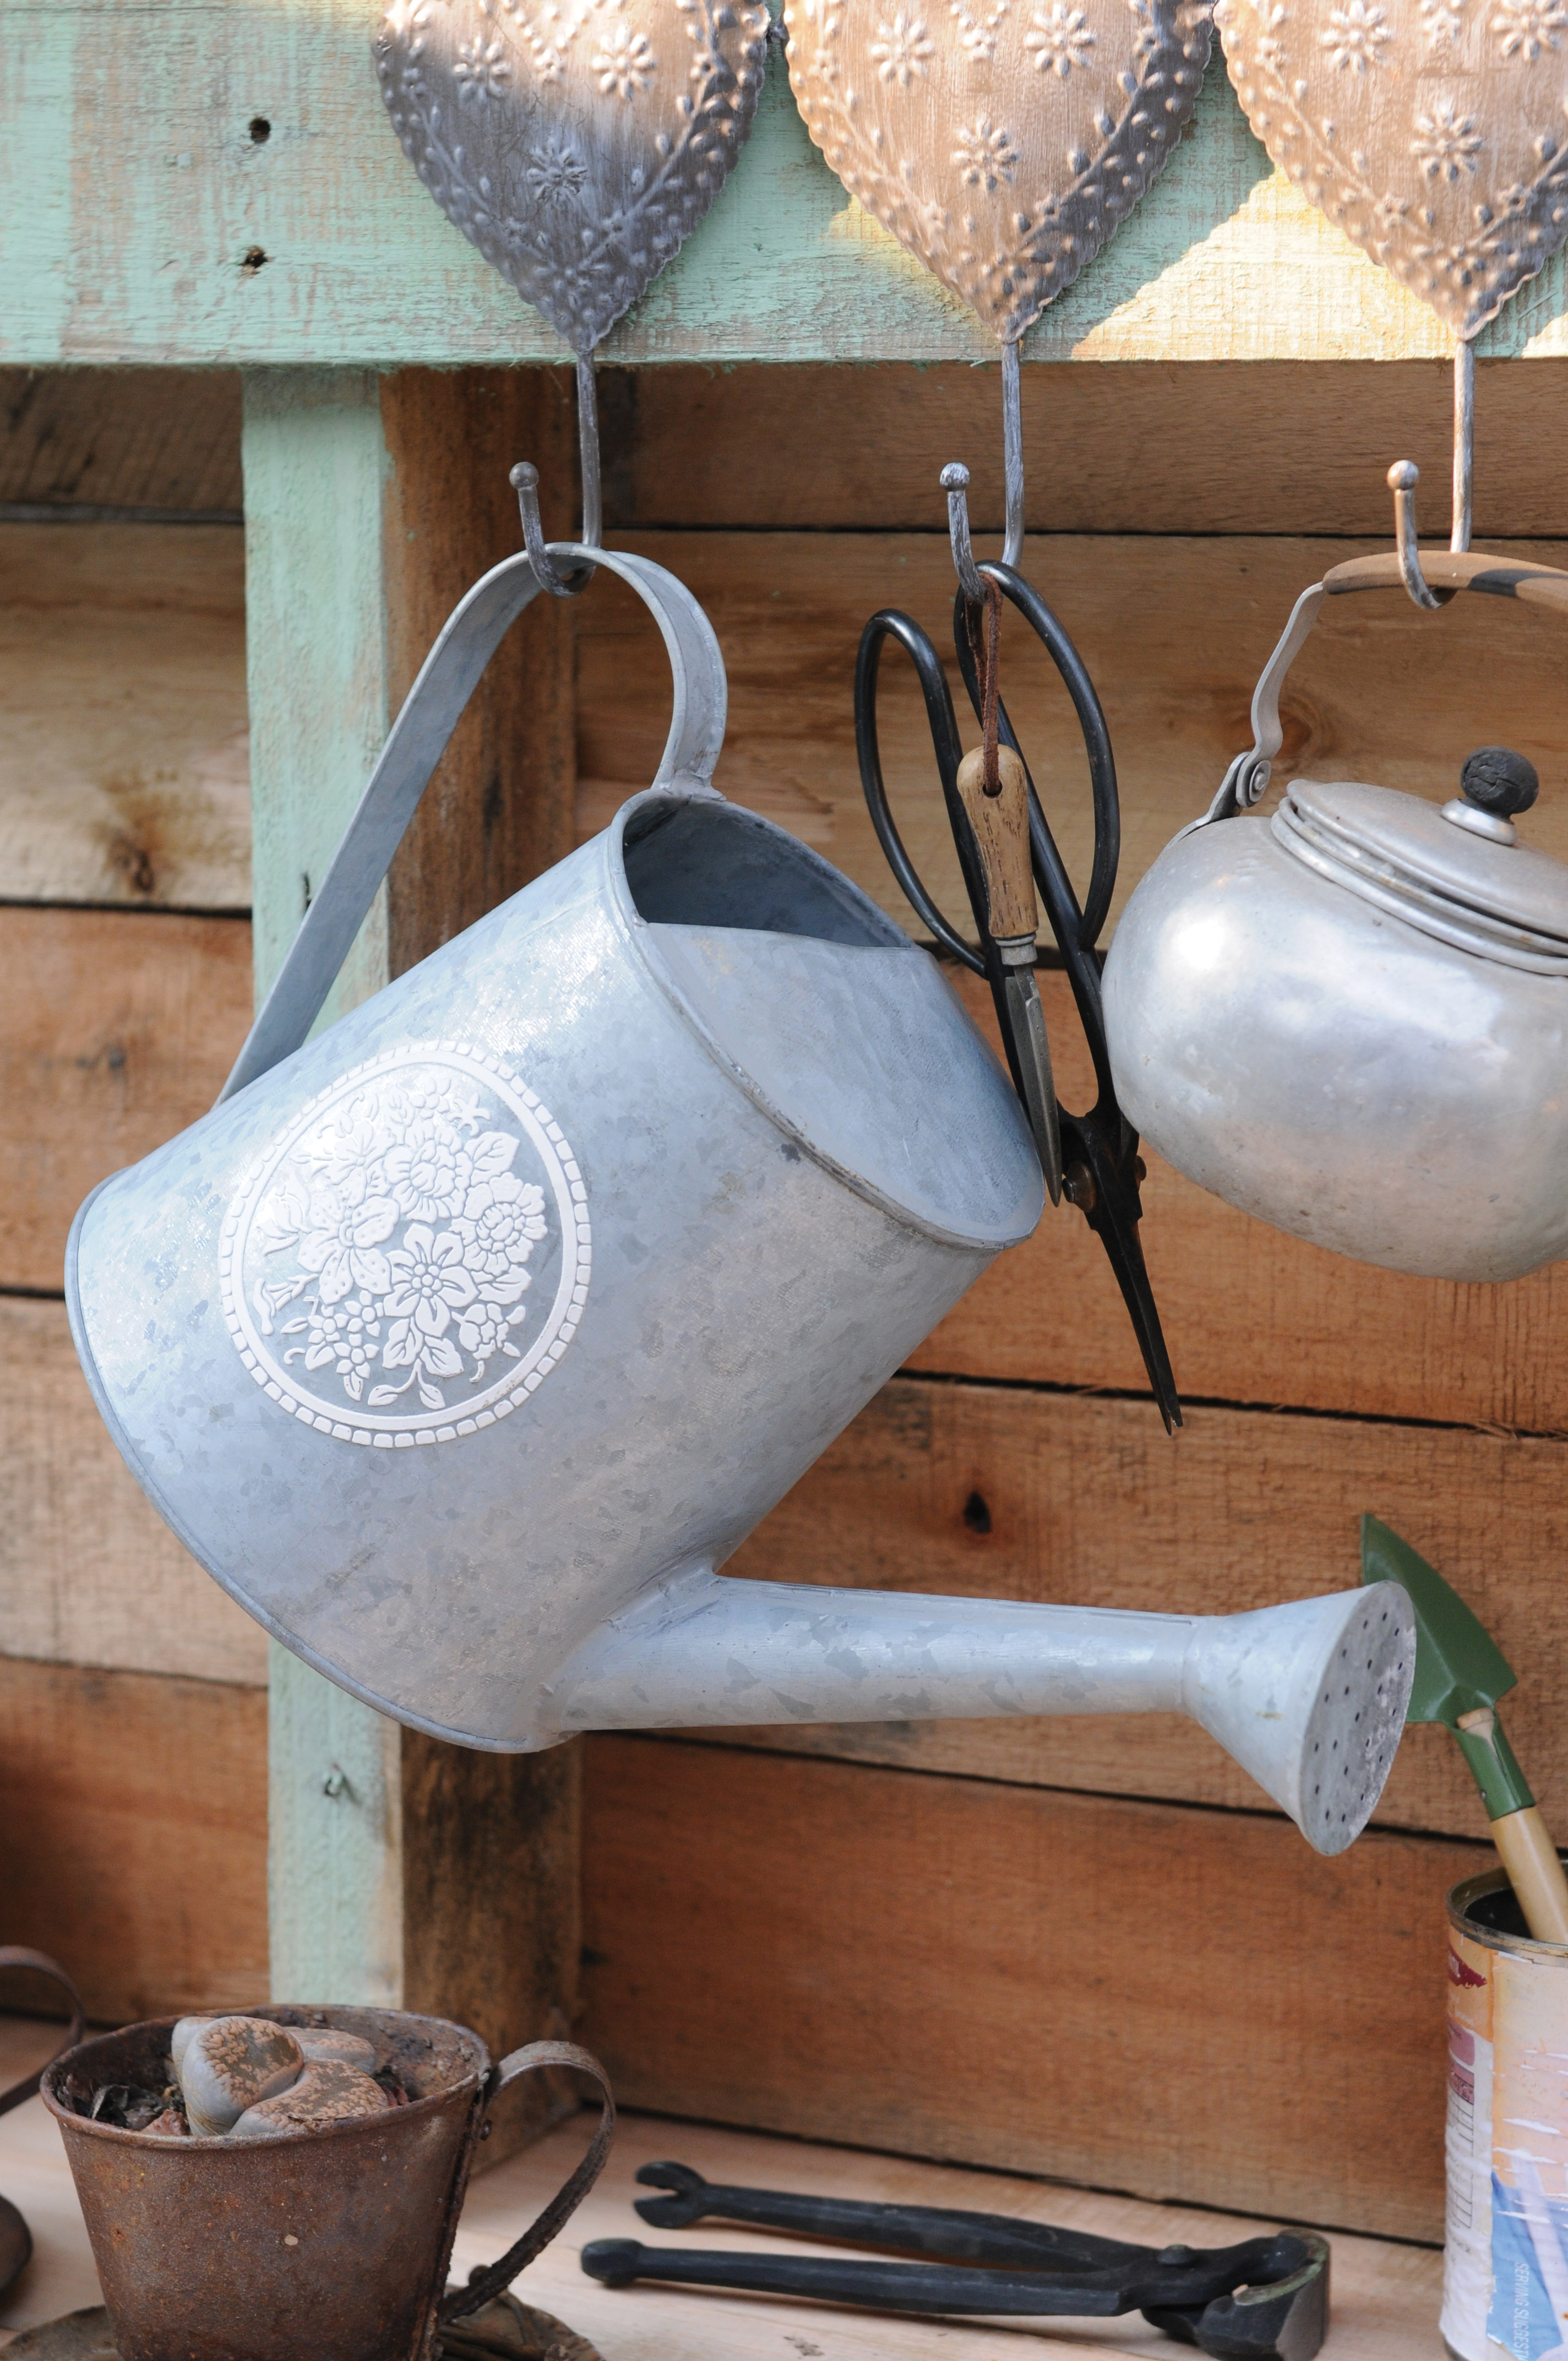
French watering can
French watering can: R79,99 at Lifestyle Home Garden Centre (011 792 5616). Heart hooks, R49,99 at Mr Price Home.
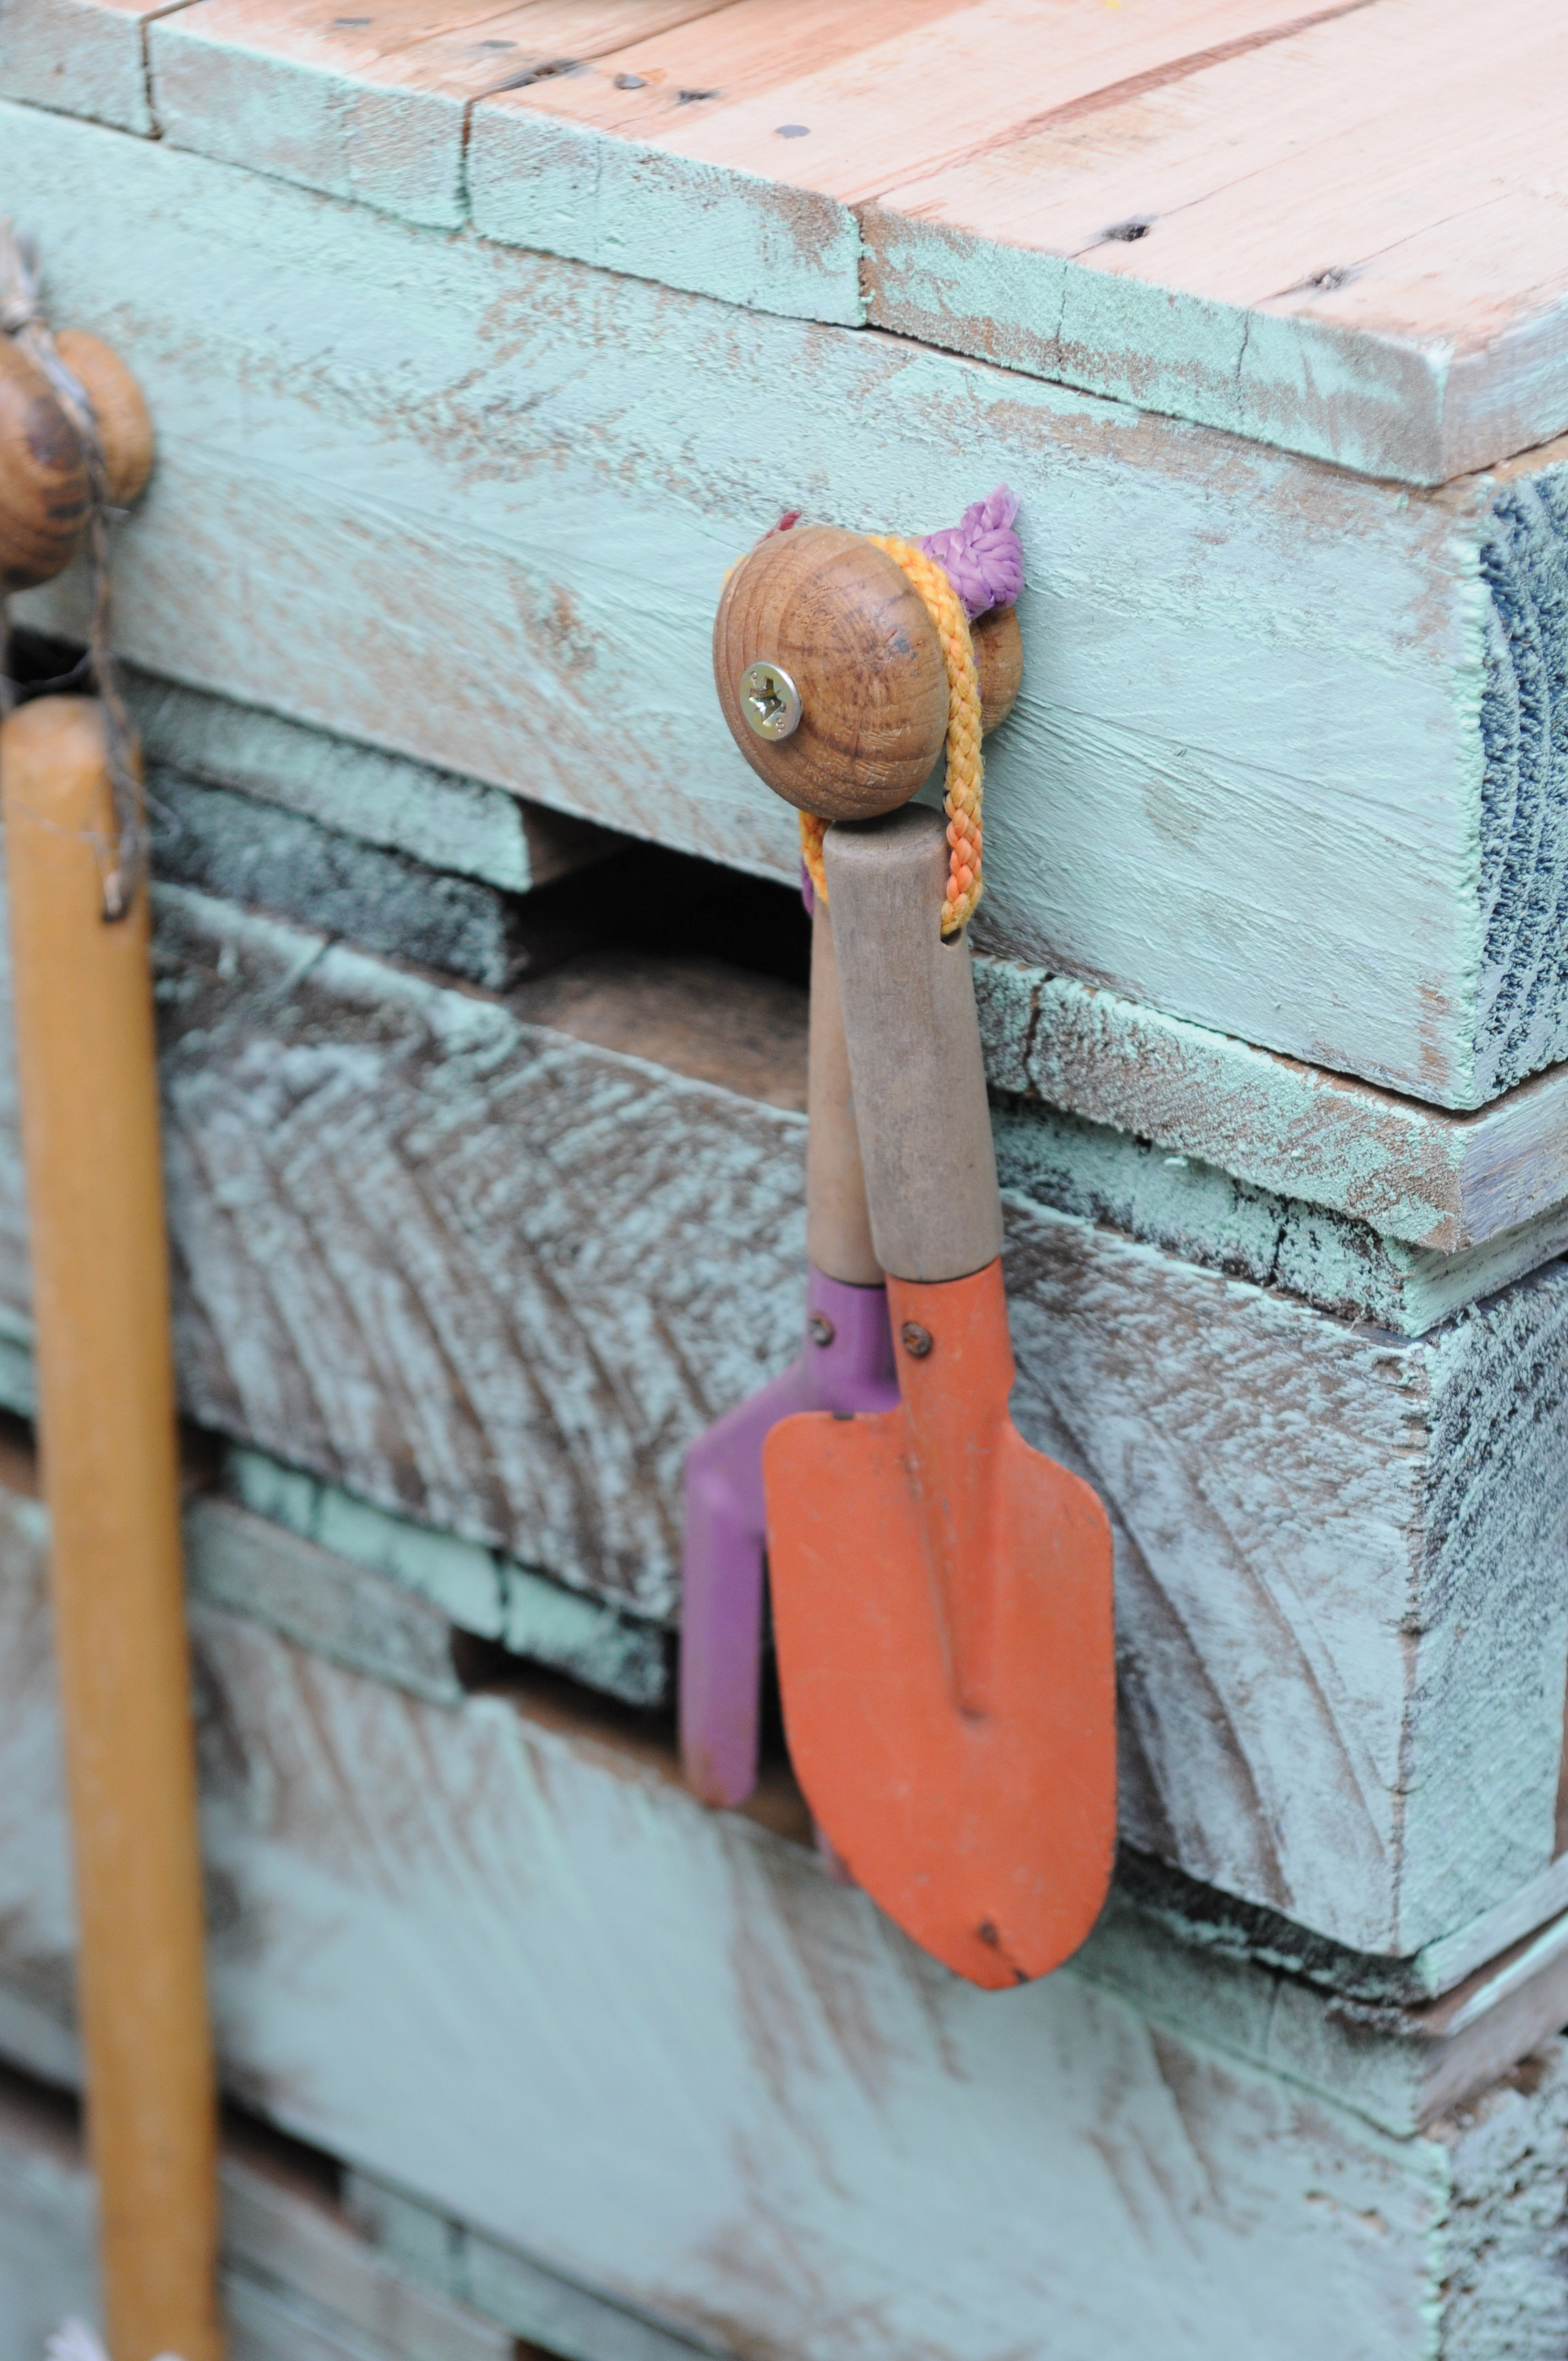
Wooden cupboard doorknobs
Wooden cupboard doorknobs can be re-used as hooks to hang tools from. You can screw the wooden knob onto the side of the potting table.
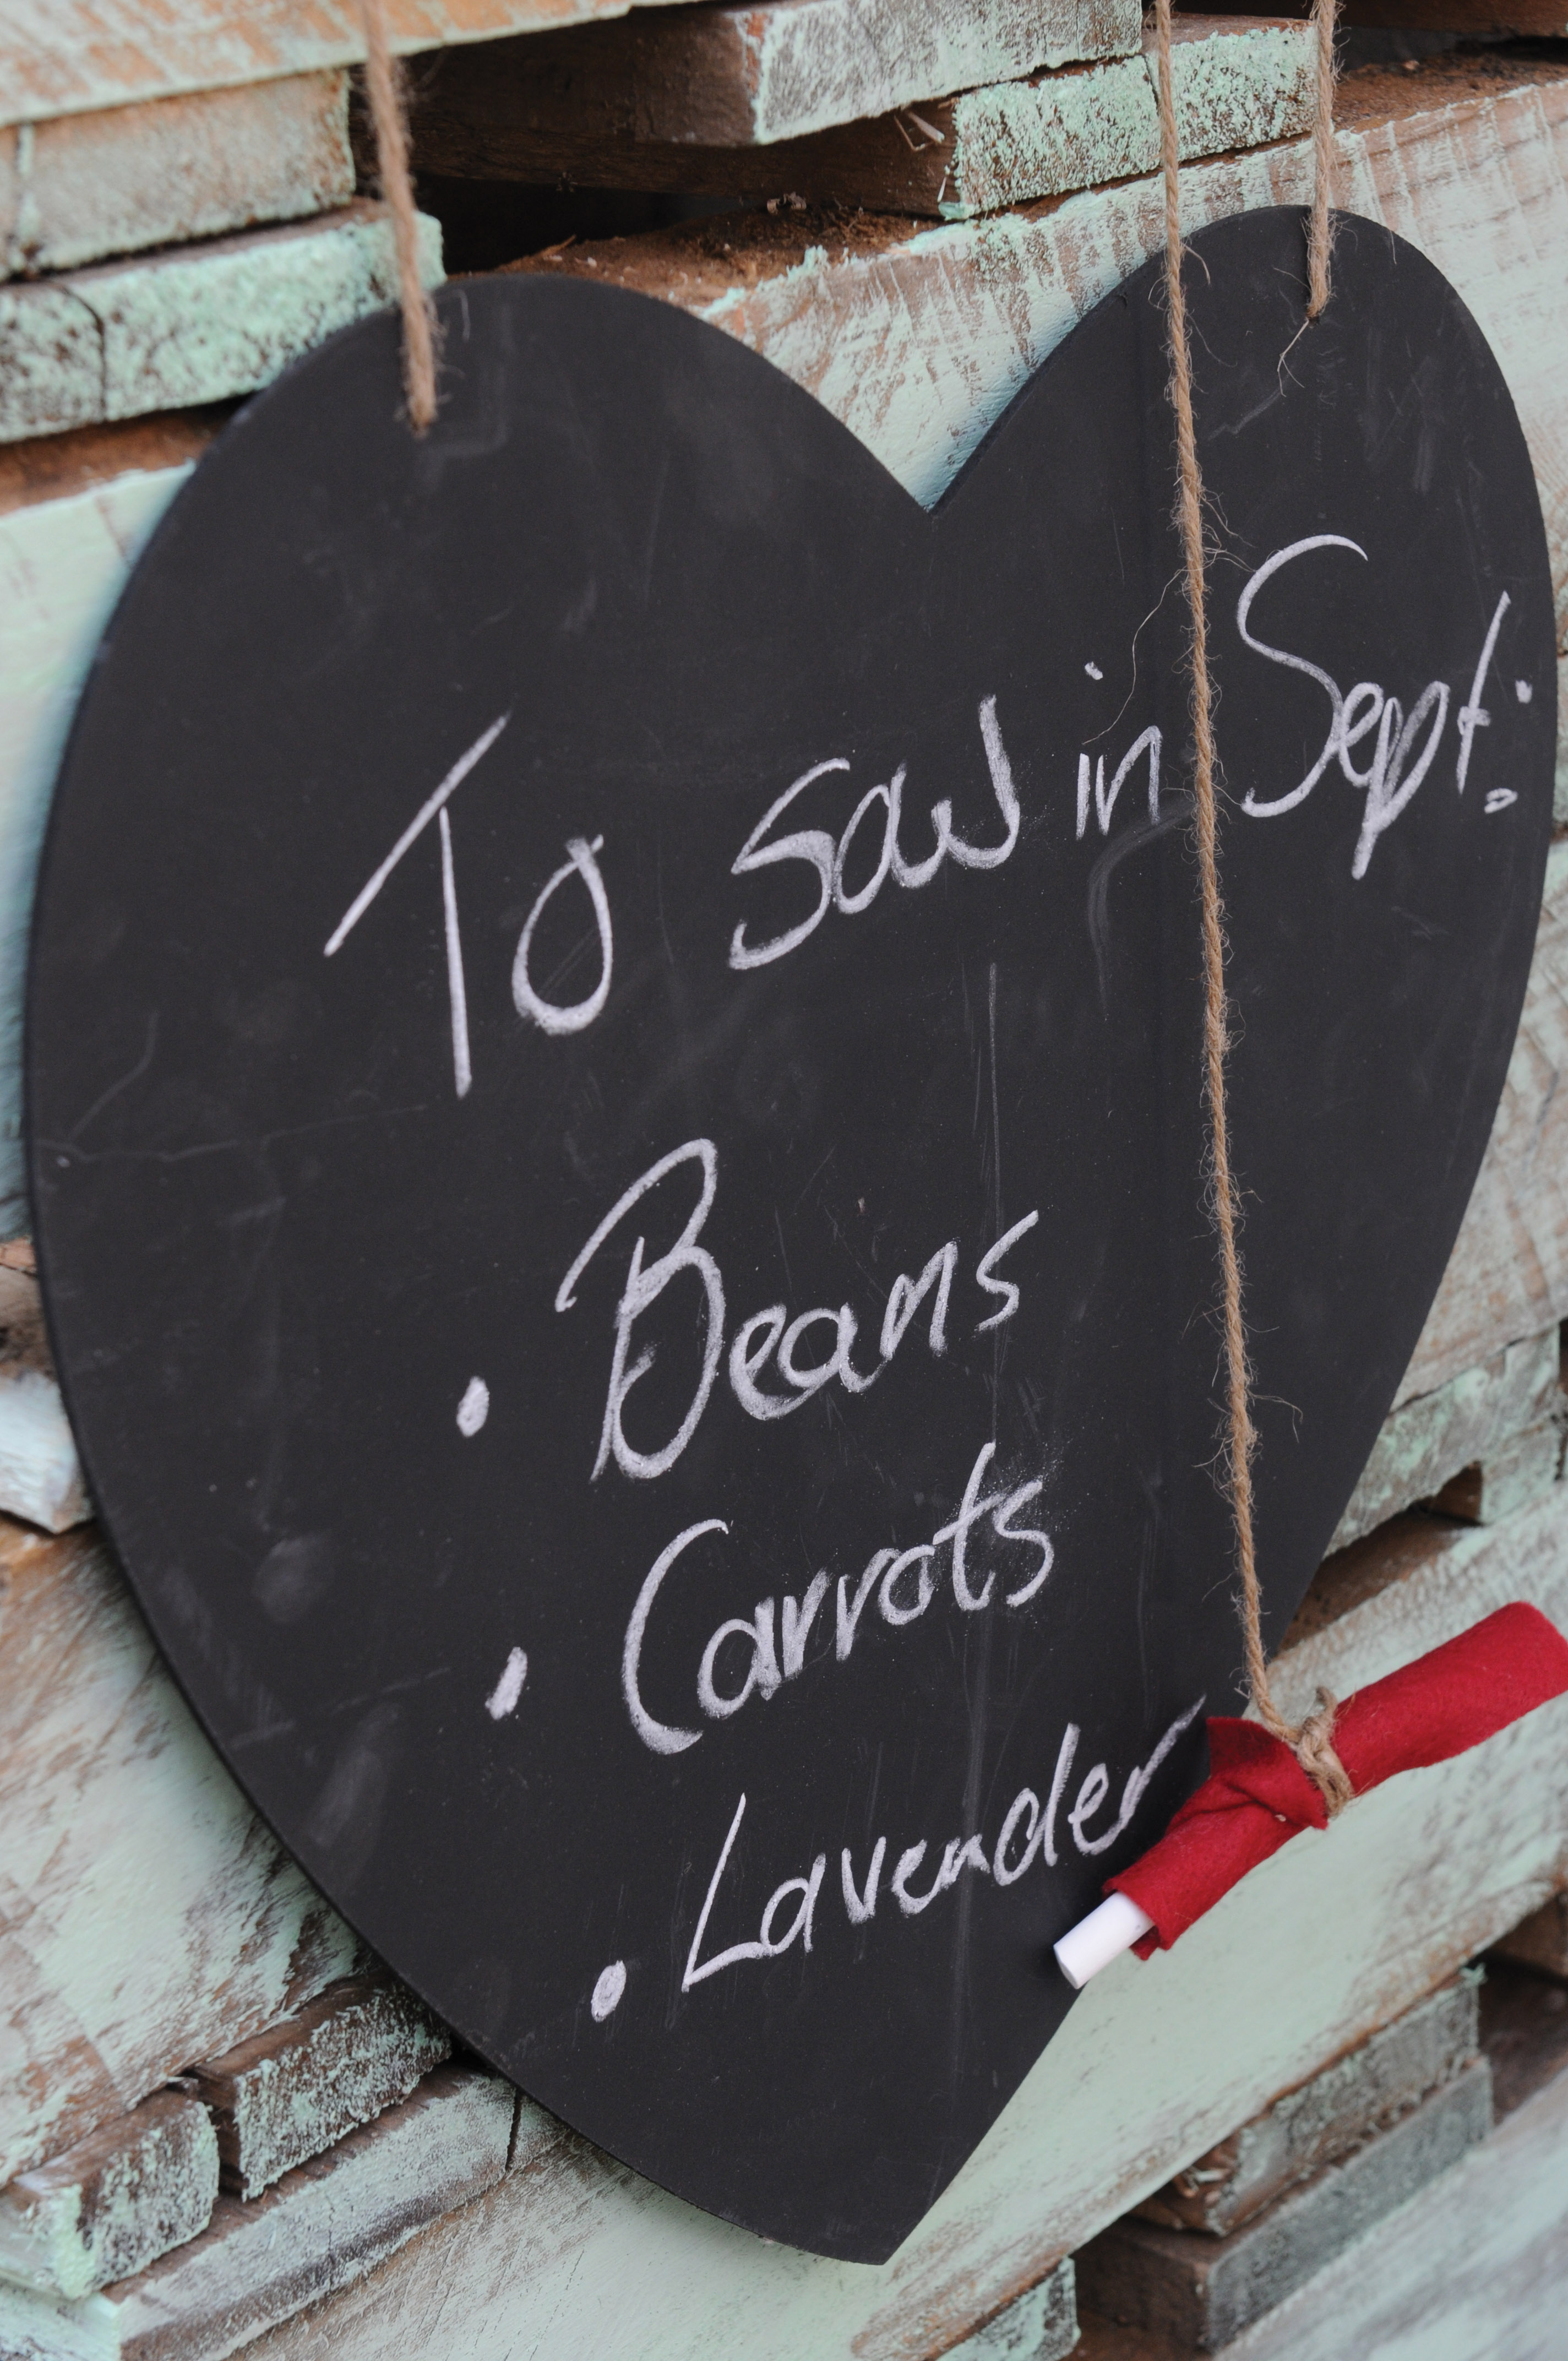
Heart Memo
Blackboard heart memo, R29,99, from Mr Price Home.
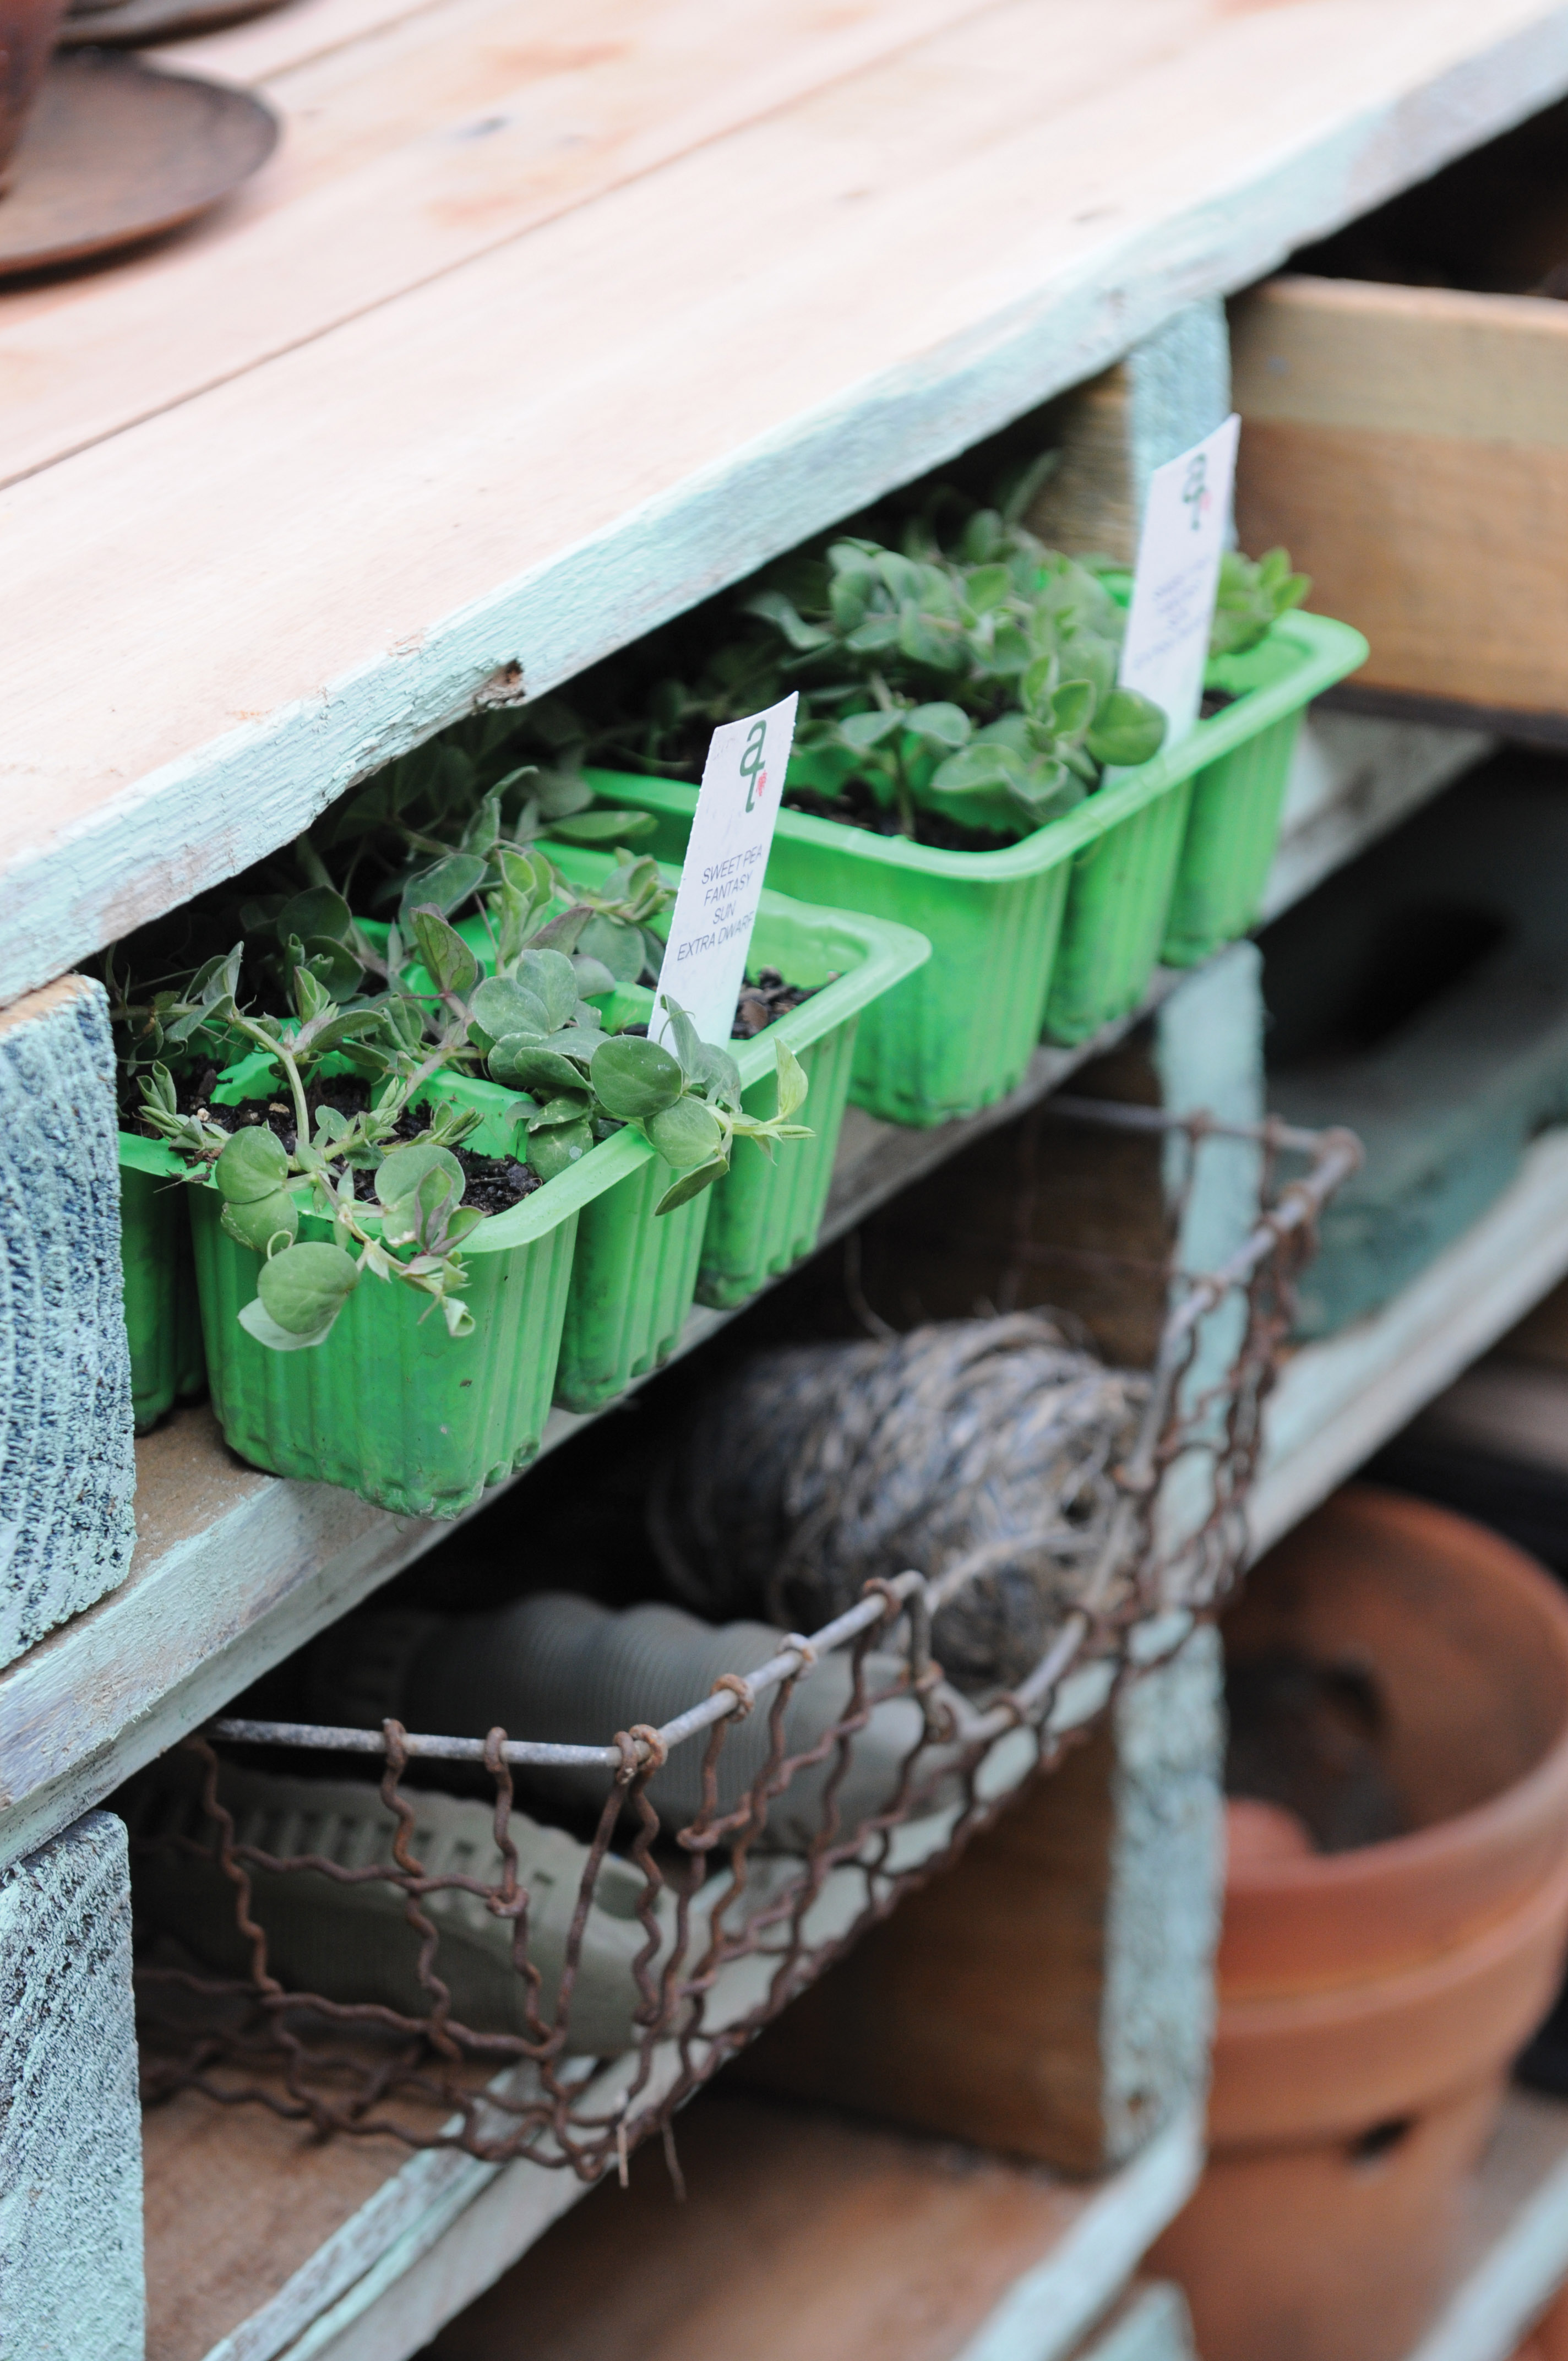
Seedlings
Stick trays of seedlings into the pigeonhole openings of the pallet potting table – they fit nicely.
Wooden desk trays
We bought wooden desk trays from a second-hand shop, and fixed old drawer handles to them. They fitted snugly into the openings of the pallet.
Credits
Referenced from Gallo images / SA Garden Magazine
Browse 1000’s of products available to you. Select your country to Shop Online.


