Paper can be used for so much more than cards, tags and giftwrap. Read on to find out how to use it as a décor element in your home.
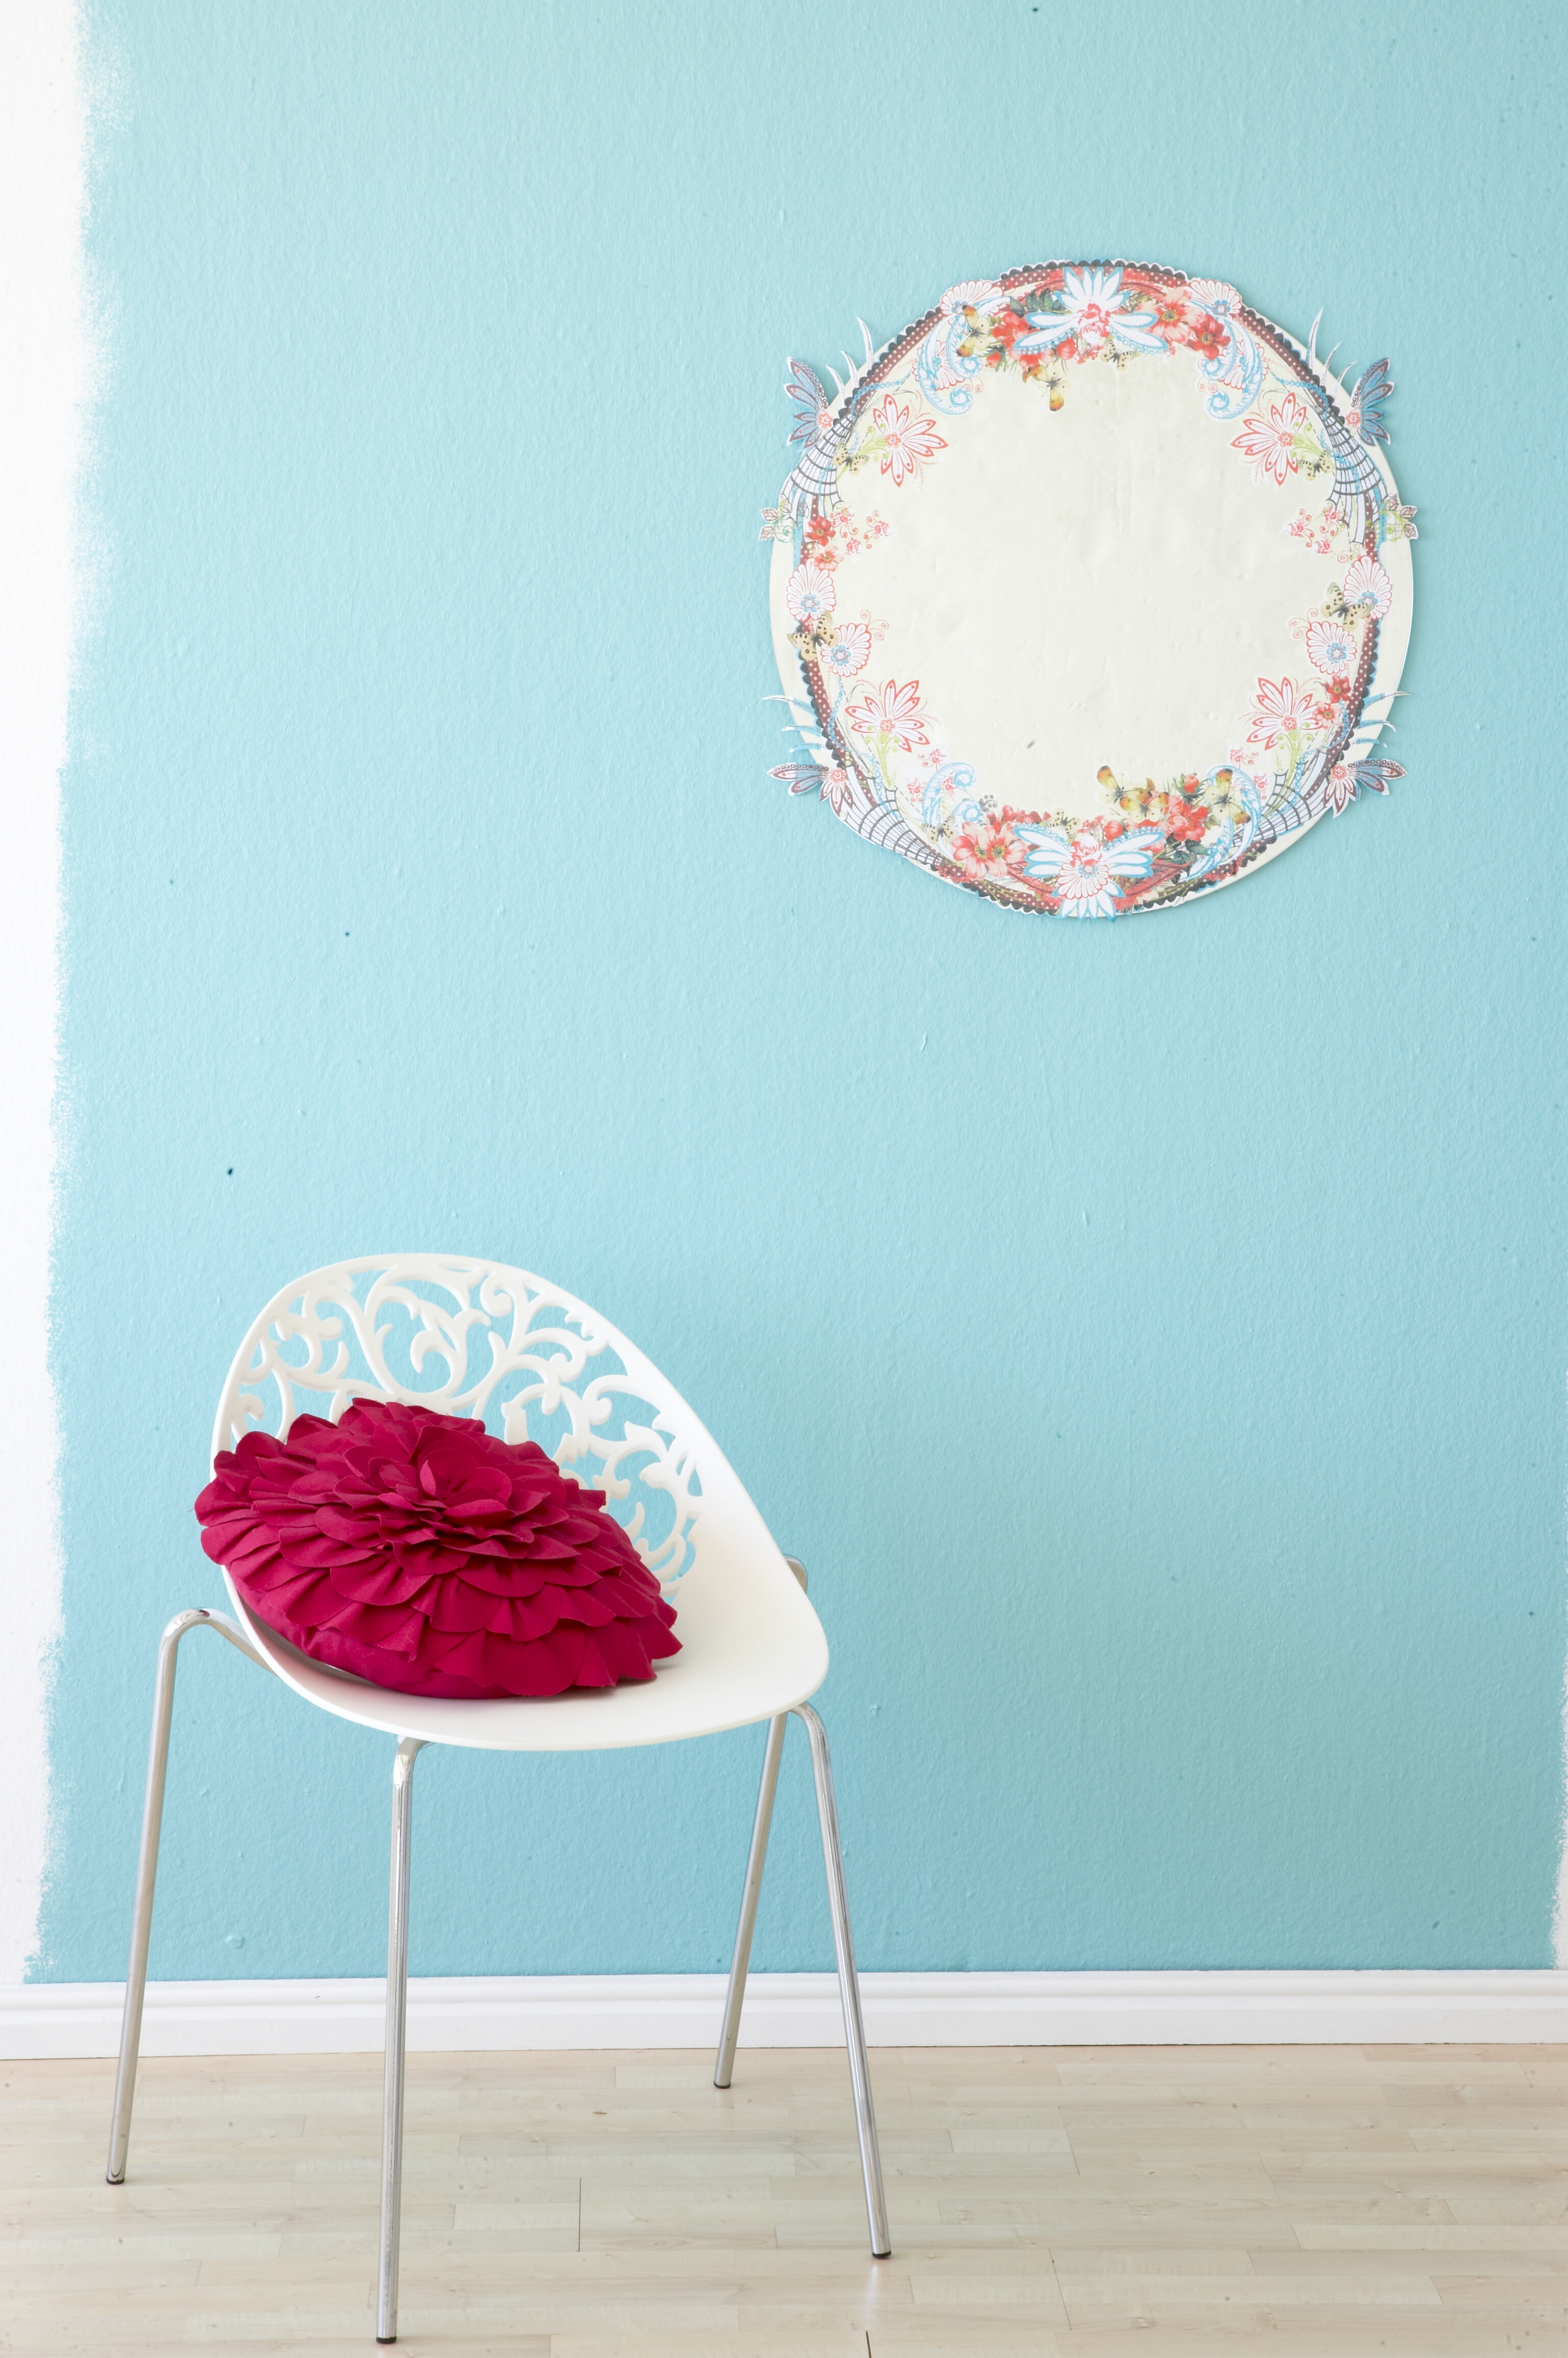
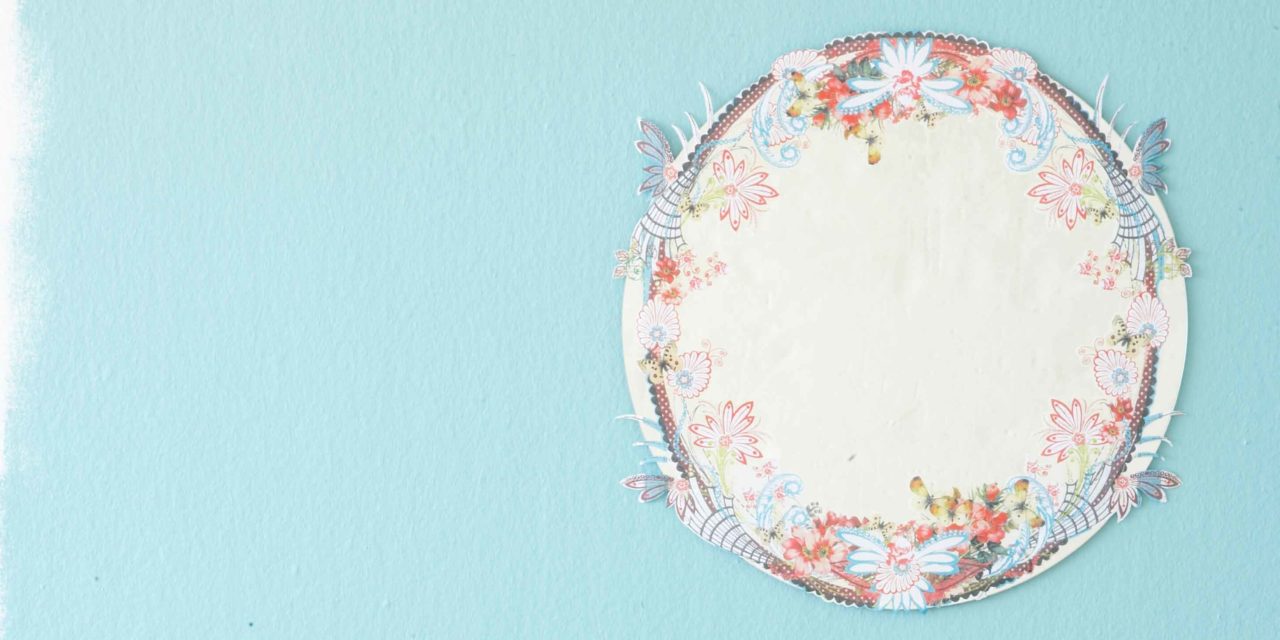
Decorative edging for a mirror
This idea can work for any shape of mirror. Choose decorative paper that complements your décor theme and enlarge it on a photocopier so it will fit the mirror. We used scrapbooking paper and enlarged it in quarters to make it fit. Assemble the design by securing the different sections of the paper to each other with craft glue or spray glue. Cut out along the inner and outer edges using a craft knife, then glue the pieces onto the mirror. You can also use modge podge as an adhesive.
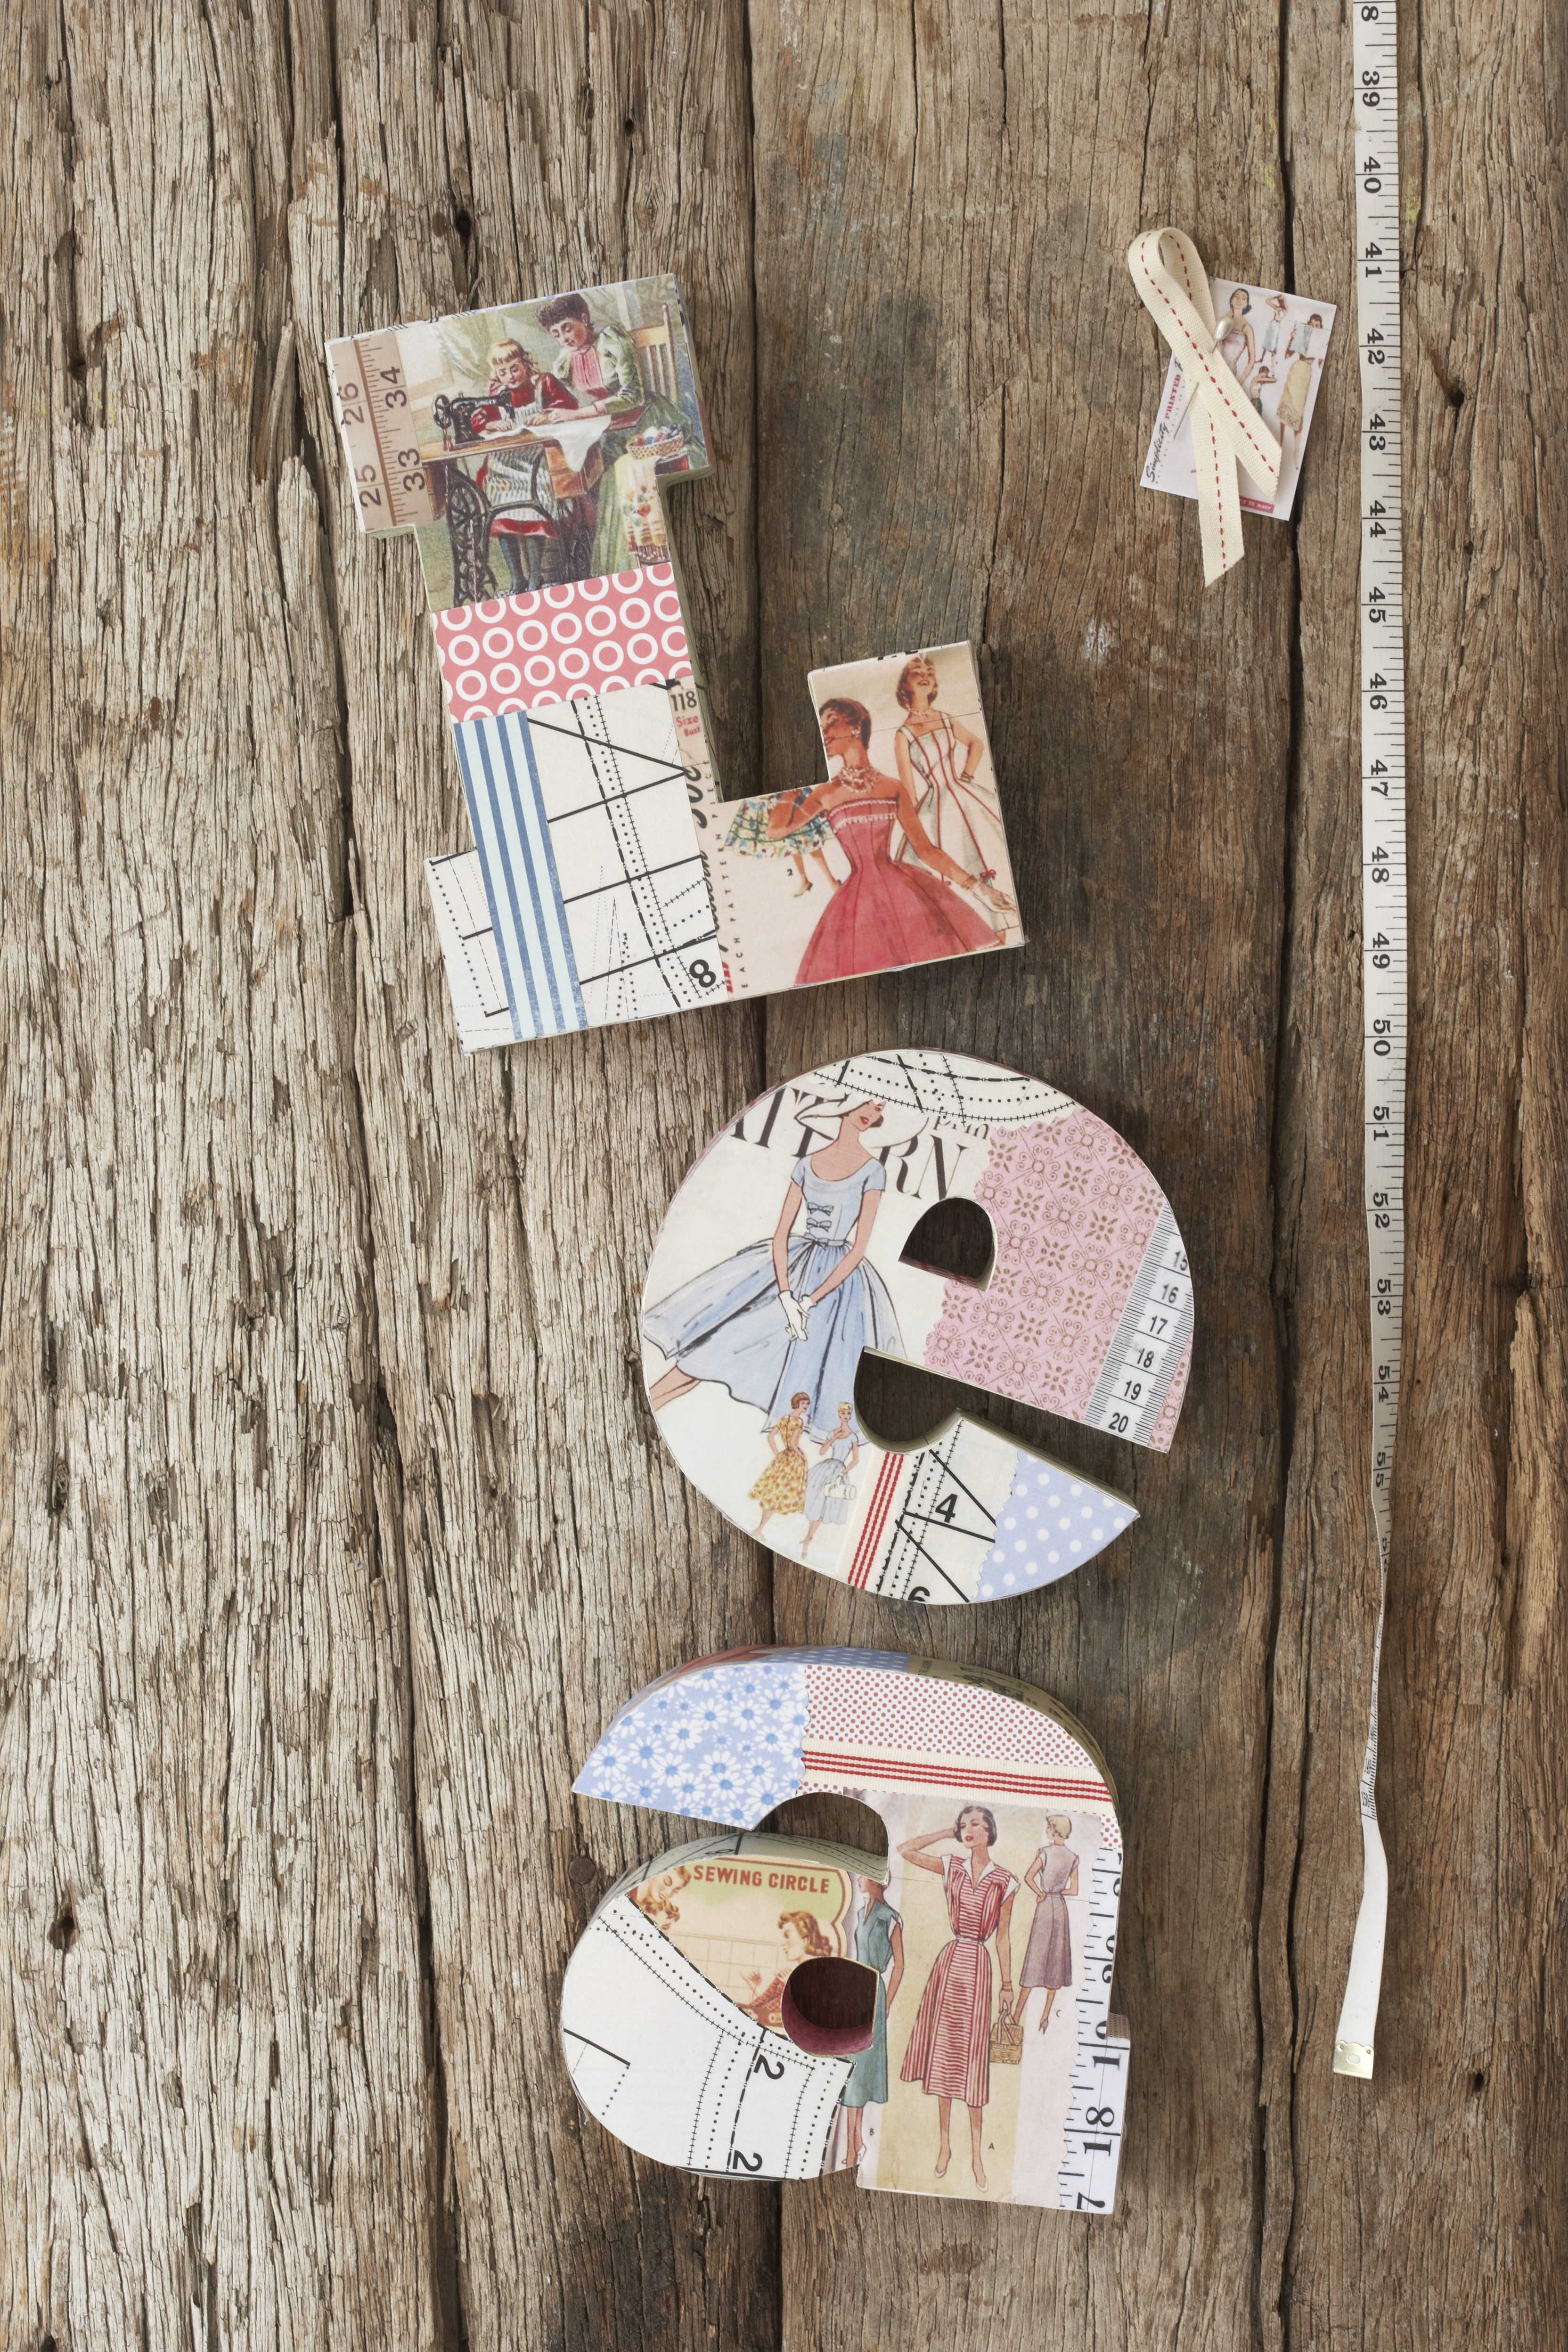
3D letters
This makes a very special gift. Play with different typefaces, colours and themes to create a name or word that the person can arrange on a shelf or hang on a wall. (Turn to page 53 for instructions.)
Materials you will need:
- letters for a word of your choice
- decorative paper
- thin cardboard
- masking tape
- craft glue or spray glue
- craft knife
- cutting mat
- metal ruler
1. Choose a typeface on your computer and print out the letters in the desired size. Our capital letter measures 20cm and the lowercase letters measure 17cm. You can also use stencils to do the lettering, if you prefer.
2. Arrange the enlarged letters on two sheets of thin cardboard – you need two of each to make the box shape for each letter – and use masking tape to secure to your cutting mat. Cut out the letters with a craft knife.
3. Cut long strips of 4cm-wide cardboard to use for the side panels of the box shapes.
4. Use short pieces of masking tape to start attaching the cardboard strip at an angle of 90 degrees around the first letter. Fold the strip to follow the shape of the letter. If the strip is not long enough, simply attach another and keep going until the side section is completed.
5. When you have completed the first letter, repeat to attach the side strips to the other letters.
6. Decorate the completed letter boxes with different types of paper such as giftwrap or scrapbooking paper, or even old sewing patterns or sheet music. Cut 4cm-wide strips of paper to decorate the sides of the box shapes. Use craft glue or spray glue to affix your decorative paper to the cardboard.
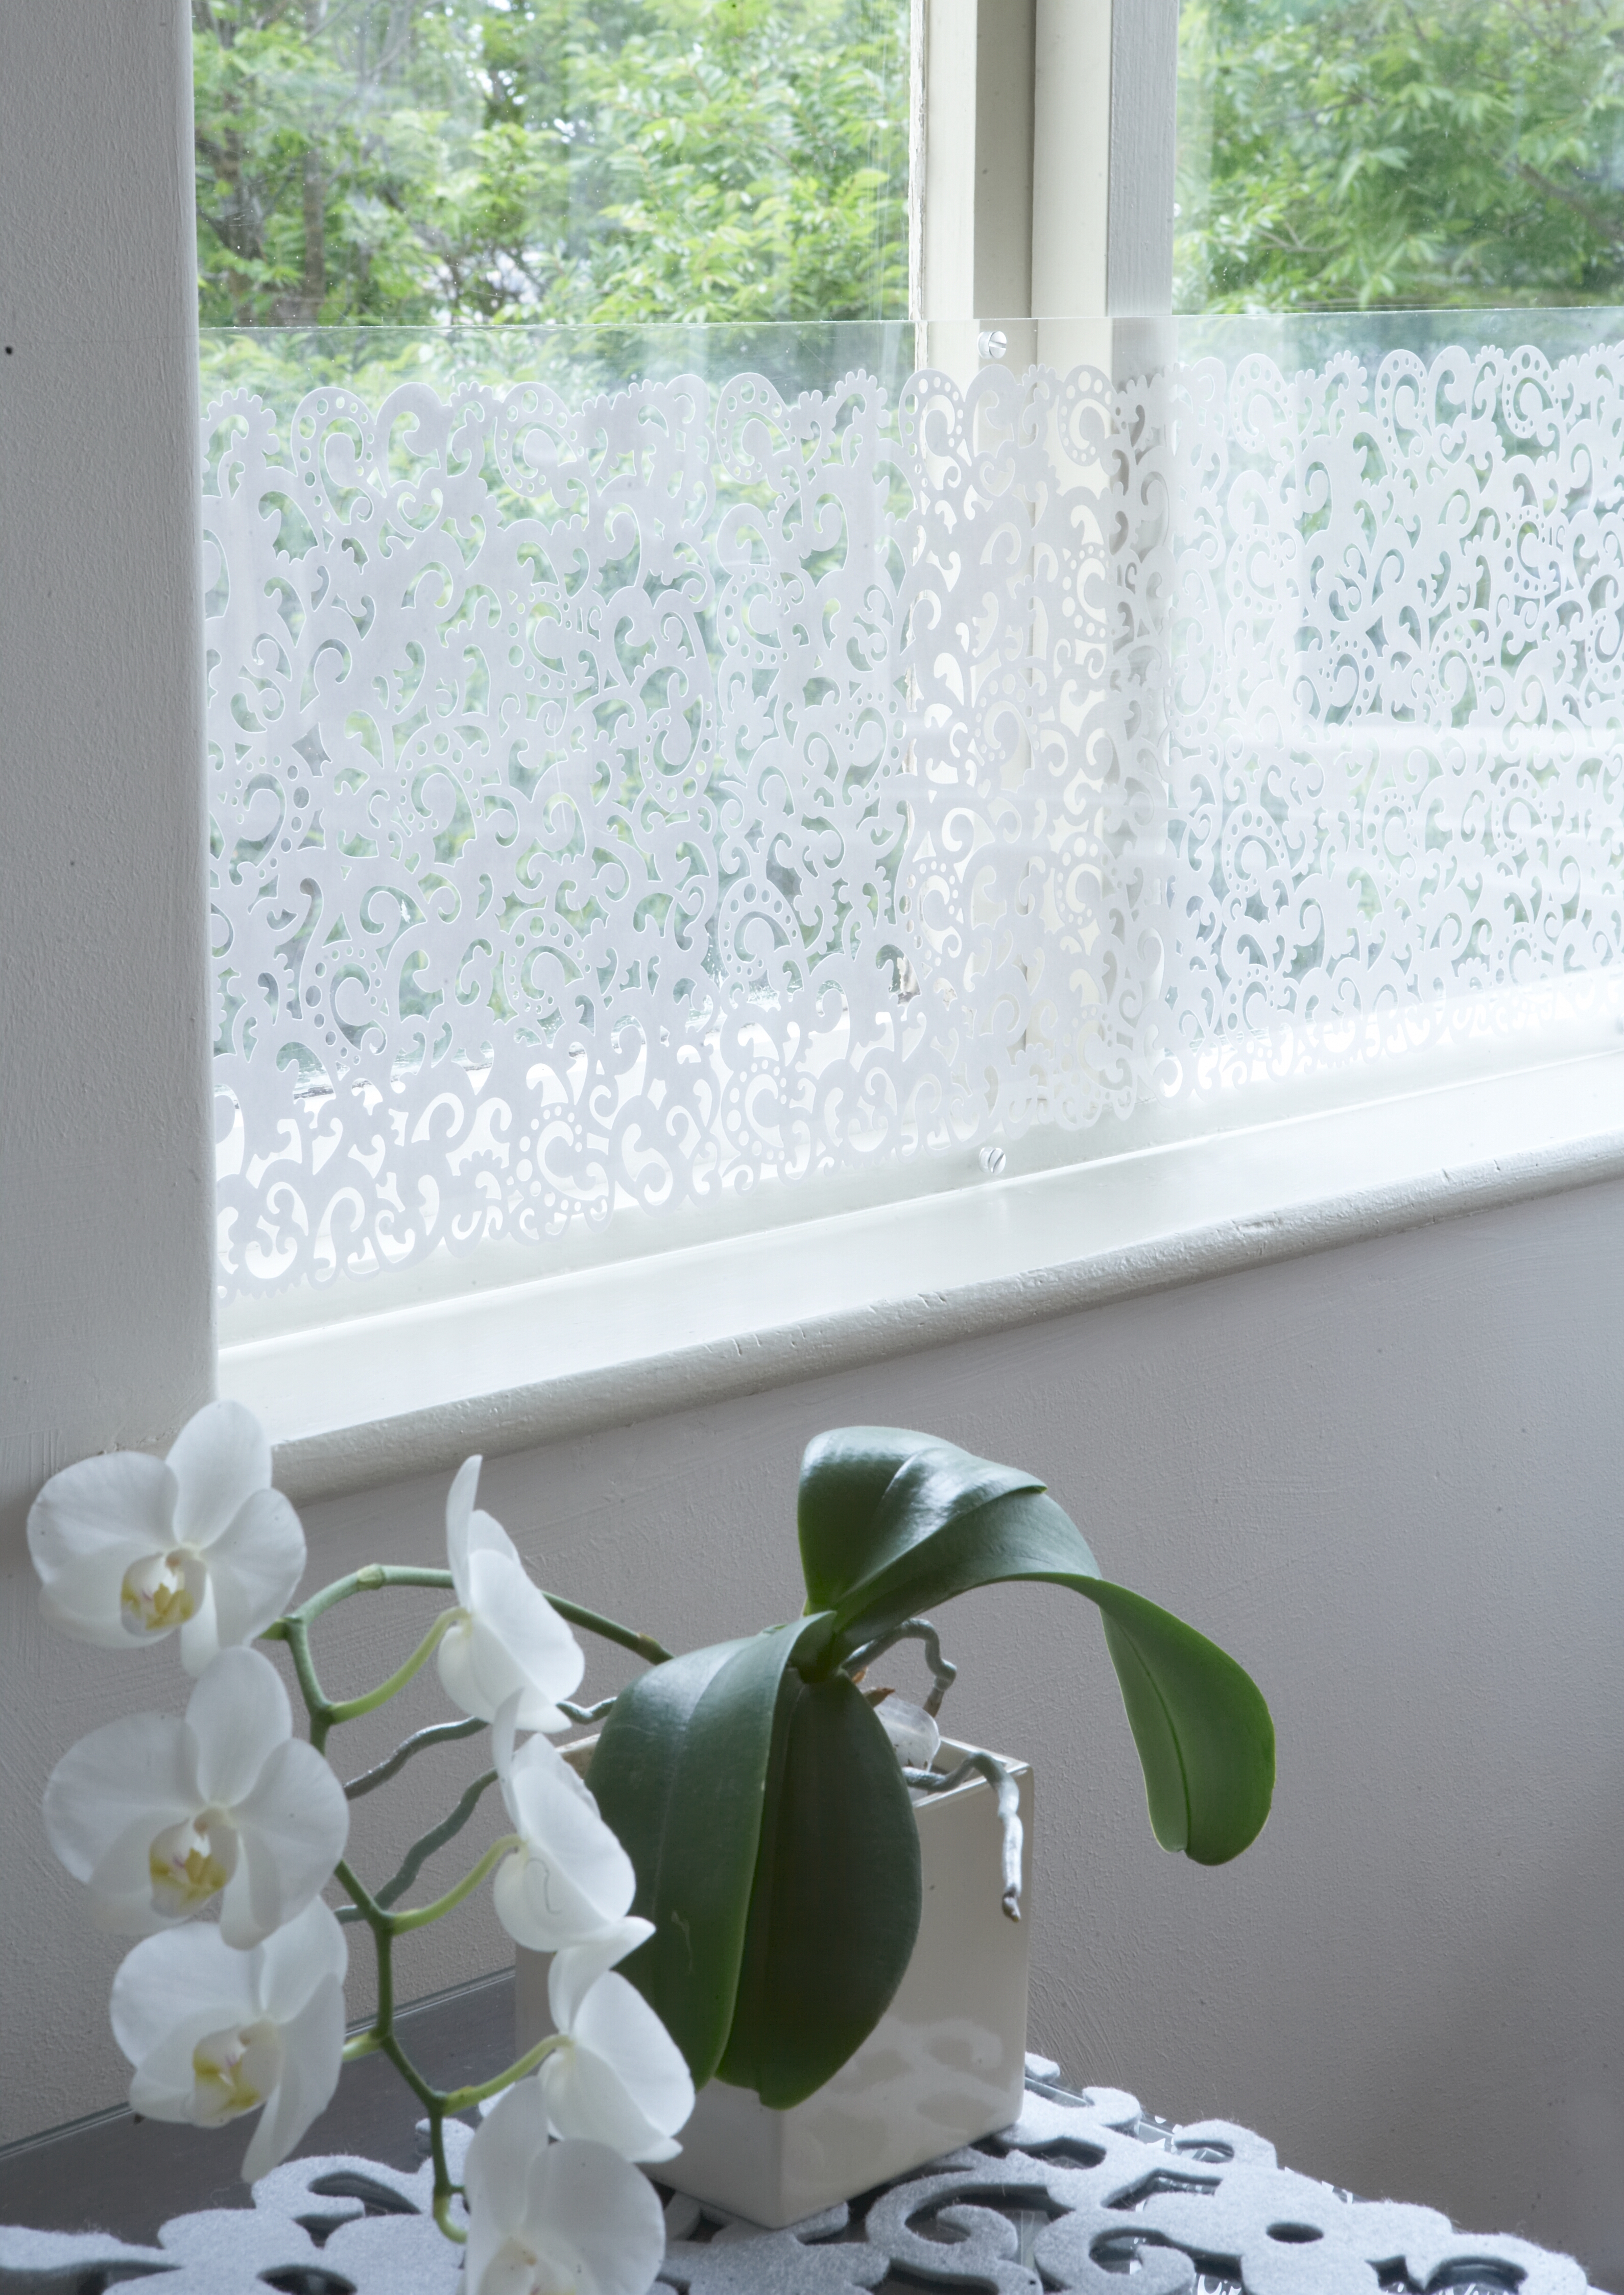
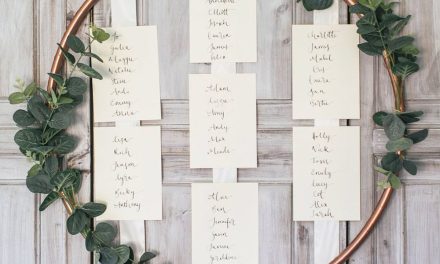
Window Decoration
This window dressing looks beautiful and provides privacy too. If you would like to use it in your kitchen or bathroom, seal the Perspex with clear silicone to keep out the moisture and to prevent the paper warping.
- 3mm-thick Perspex
- laser-cut scrapbooking paper
- drill and drill bits
- 6mm book-binding screws
- masking tape
1. Measure the window where you would like to place the decoration, then use the measurements to determine how many sheets of scrapbooking paper you will need. Leave space in the corners for the screws. Have two sheets of Perspex of equal size cut according to your measurements.
2. Remove the plastic backing from the Perspex. Place the sheets on a flat surface where they will not be scratched. Wipe with a soft cloth.
3. Arrange the scrapbooking paper on one sheet of Perspex.
TopTip: Lightly spray the paper with spray glue before placing it on the Perspex to help hold it in position while you place the second sheet of Perspex on top.
4. Carefully place the second sheet of Perspex on top of the first.
5. Use masking tape to hold the two sheets of Perspex together while you drill the holes. Mark the positions of the screws in the corners and on the long sides, if necessary, then drill the holes.
6. Wipe down with a soft cloth before screwing together. Remove the masking tape to complete.
Credits
Referenced from Gallo images / IDEAS Magazine
Browse 1000’s of products available to you. Select your country to Shop Online.


