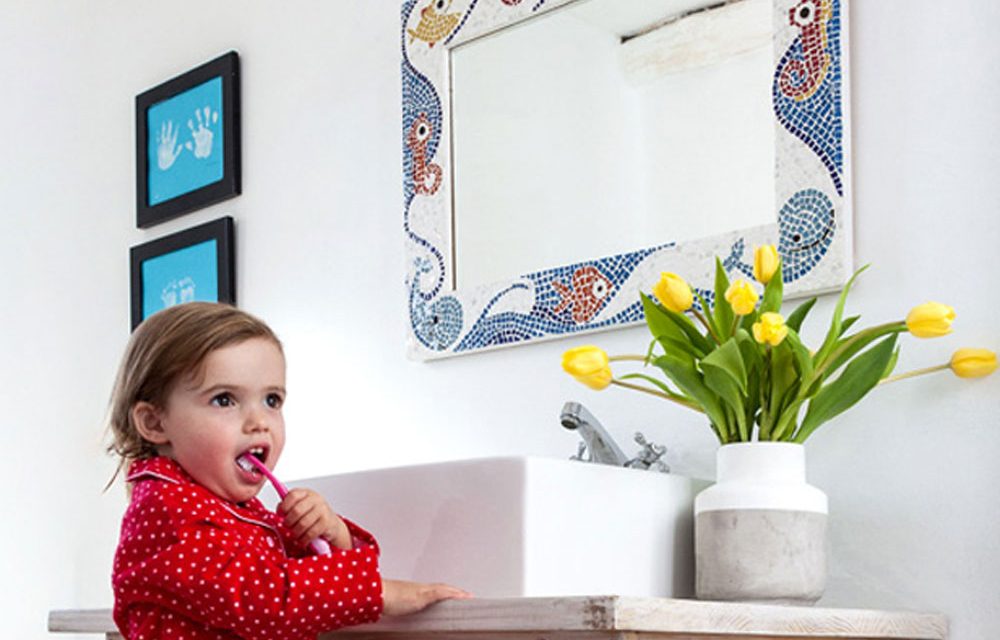
Mosaic a mirror frame with images of friendly creatures. Mosaic is easier than it looks, and so too is making a mirror frame. It will take you a little longer than a weekend to do, but will give the youngsters years of enjoyment.
- A mirror
- Pine plank (22 x 94mm x 2,4m)
- Mitre box and handsaw (if you don’t have a mitre saw)
- Cordless drill or screwdriver
- Permanent marker
- Wood filler
- Wood glue
- Putty knife
- Sandpaper
- Mosaics
- Tile cutter
- Tile nippers
- Grouting cement
- Damp cloth
- Thick cardboard cut to the dimensions of the mirror
- Pin nails

Step 1
Using a ¾ inch straight-cut router bit, cut a right-angle groove along one side of your pine plank. This is the recess for the mirror. Our mirror was 400 x 600mm and we used three metres of plank for the frame.
Top Tip: Make router cuts in stages to minimise the risk of burning the wood or blunting the bit. In this case we did two cuts, even though pine is very soft.
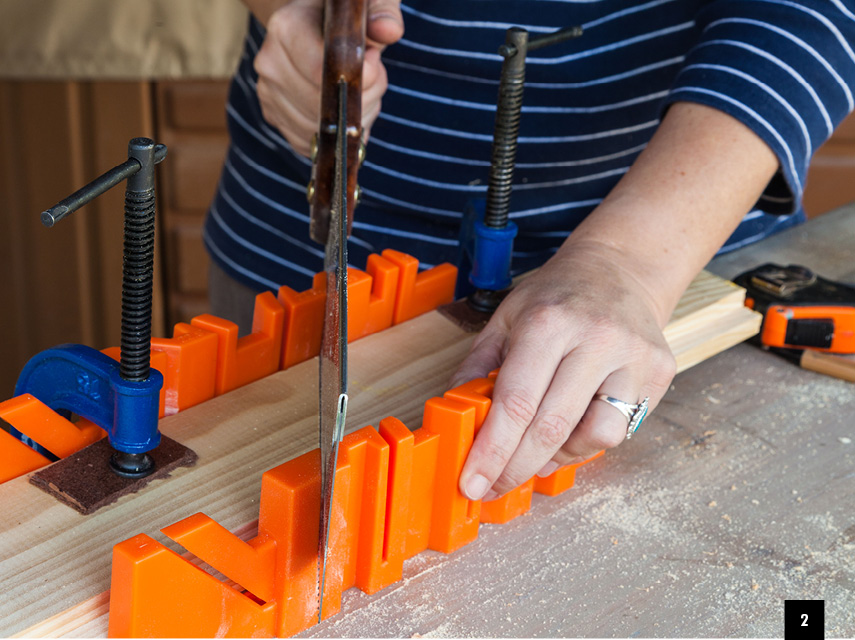
Step 2
Measure your mirror carefully and mark the mitre cuts on the plank. If you’re using a handsaw, clamp the wood and the box securely to your workbench. We set our recess at 10 x 10mm.
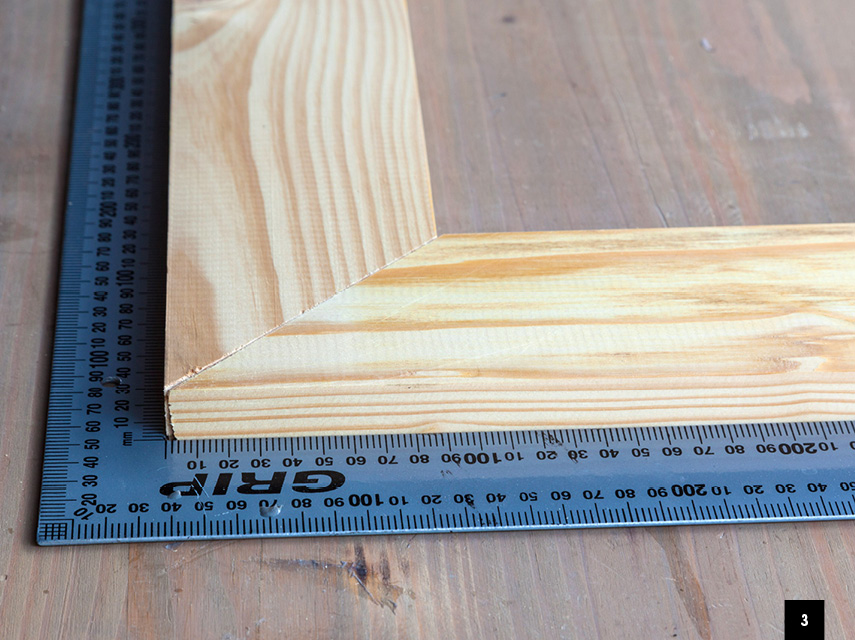
Step 3
Once you’ve cut all four sides of the frame, lay it out, grooveside up. Square off the frame using a try.
Top Tip: To protect the wood from moisture in the bathroom, seal the back of the frame with at least two coats of Woodoc Floor Sealer. It’s a very hard-wearing, water-based sealer.
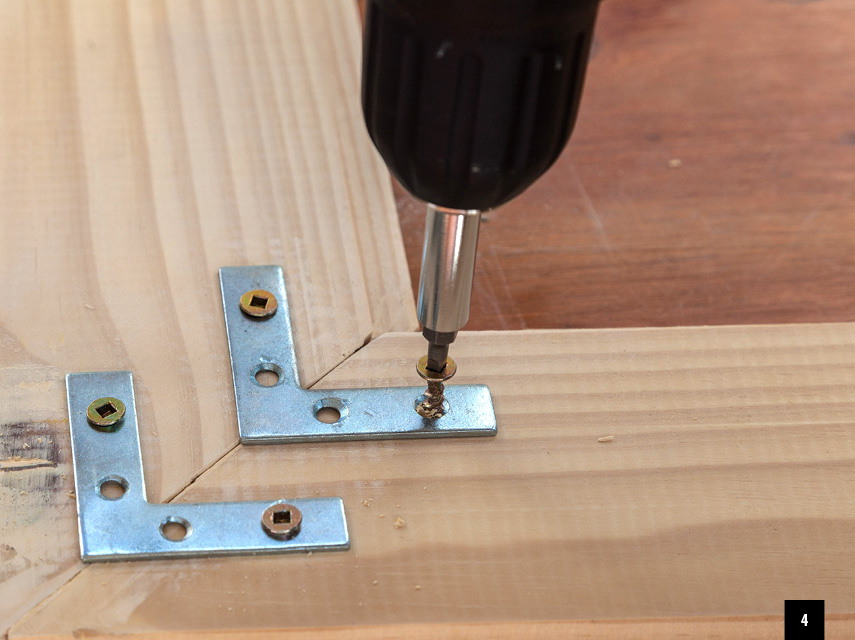
Step 4
Secure the frame using flat corner braces. It’s a good idea to use two braces per corner, to ensure that the frame remains secure. Remember the mosaics and mirror make it quite heavy.
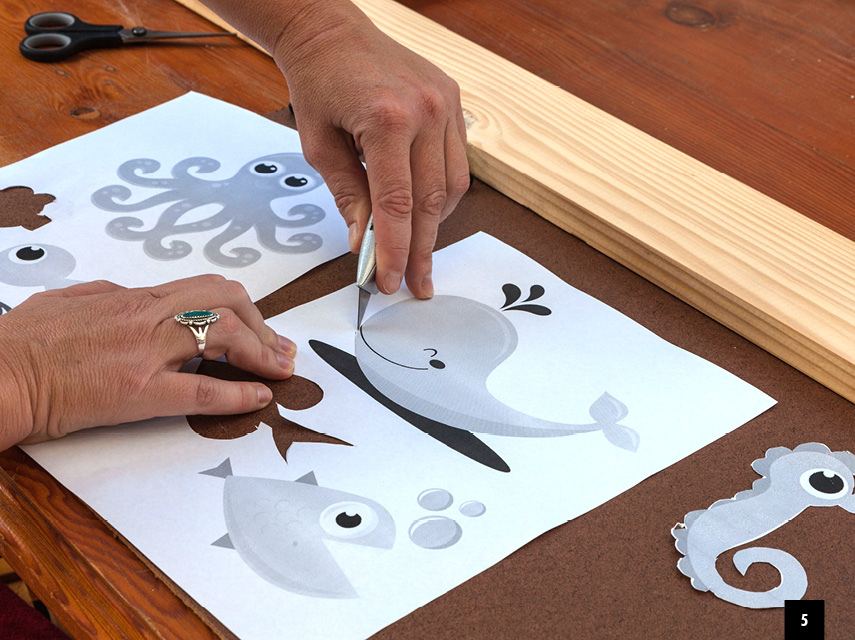
Step 5
Choose your design. We pulled some free clipart off the web, printed it out the right size and cut them out to make templates.
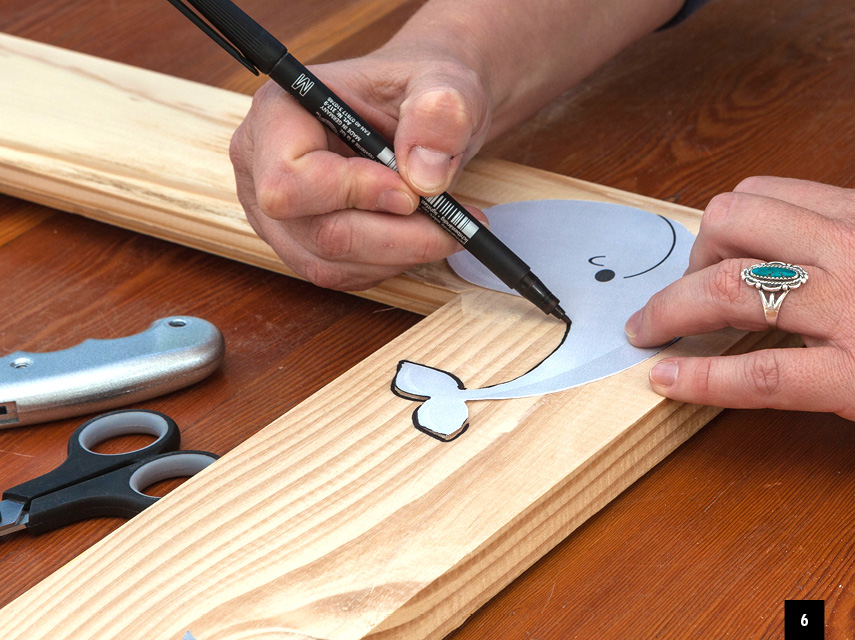
Step 6
Trace the outline of your designs onto the frame using a permanent marker.
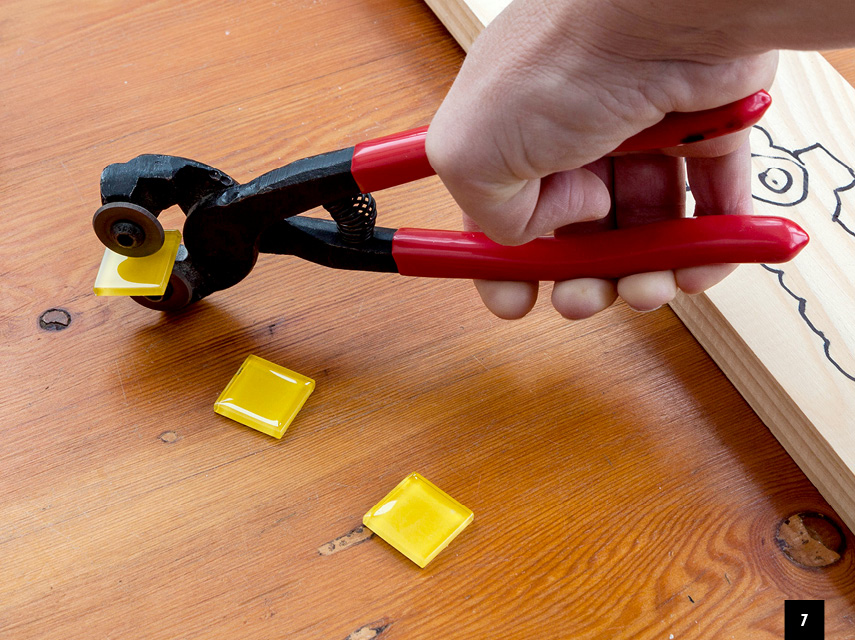
Step 7
The more intricate the design, the smaller your mosaic pieces will need to be. For this project we cut the mosaics roughly into quarters.

Step 8
Glue the pieces of mosaic onto the wood using wood glue. A piece of sucker stick works well to spread the glue. Use a damp cloth to remove excess glue from the mosaics.
Top Tip: Start with the characters in the design, it’s easier. That way you can focus on getting your creatures perfect and then filling in the background.
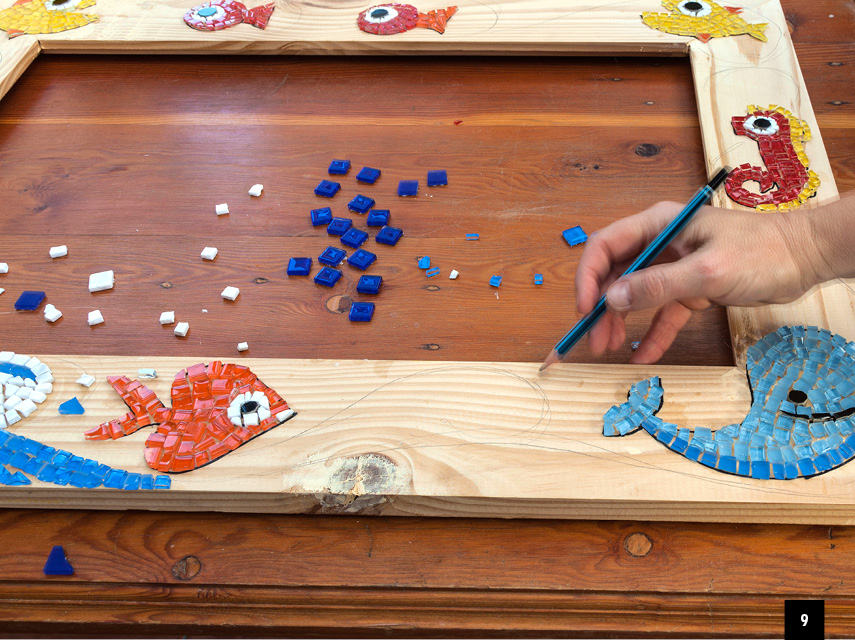
Step 9
Once the characters are done and the glue has set, you can start working on the background. To get the sense of a swirling sea, we drew in some swirly lines as guides, then structured the pattern of the mosaic around them.
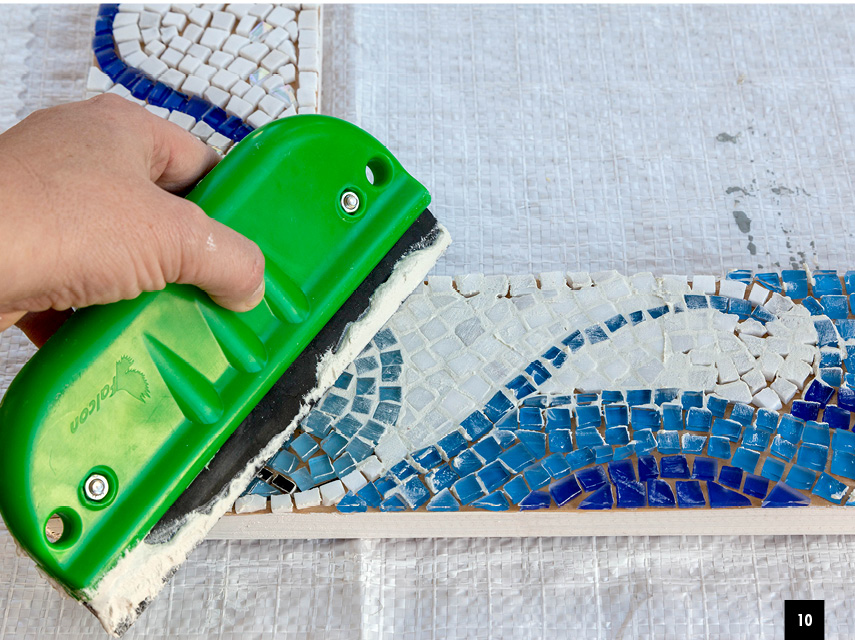
Step 10
Mix the grout according to the packet instructions, then work it in between the mosaics using a squeegee. Once the grout is semi-dry, wipe off the excess from the mosaics using a damp piece of mutton cloth.
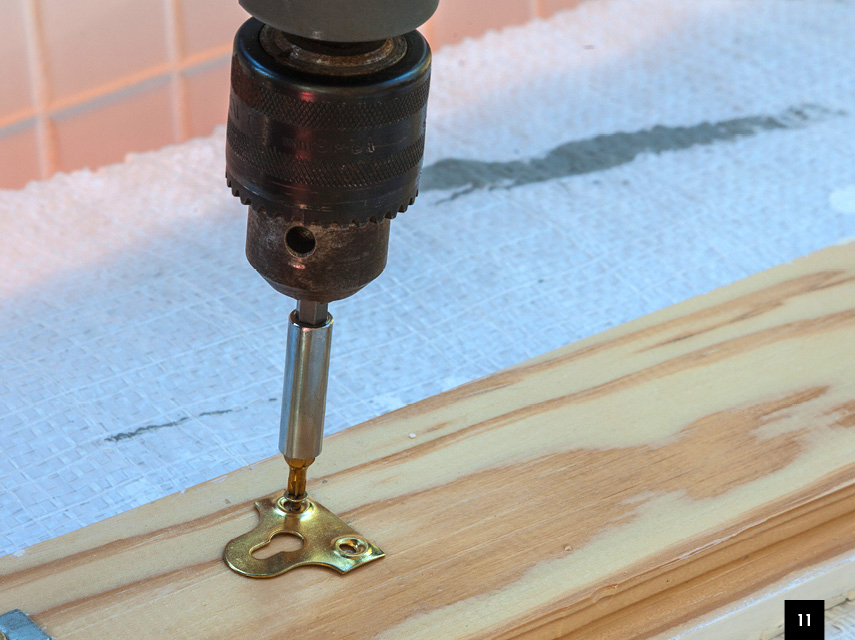
Step 11
Slot hangers are best for heavy frames. First mark up where you want them on the frame and draw the outline of each slot. Then drill out the slot so the wall screws can fit snugly into it. This way your frame will sit flush against the wall. (You’ll need to use a spirit level and very accurate measurements to get the frame level on the wall.)
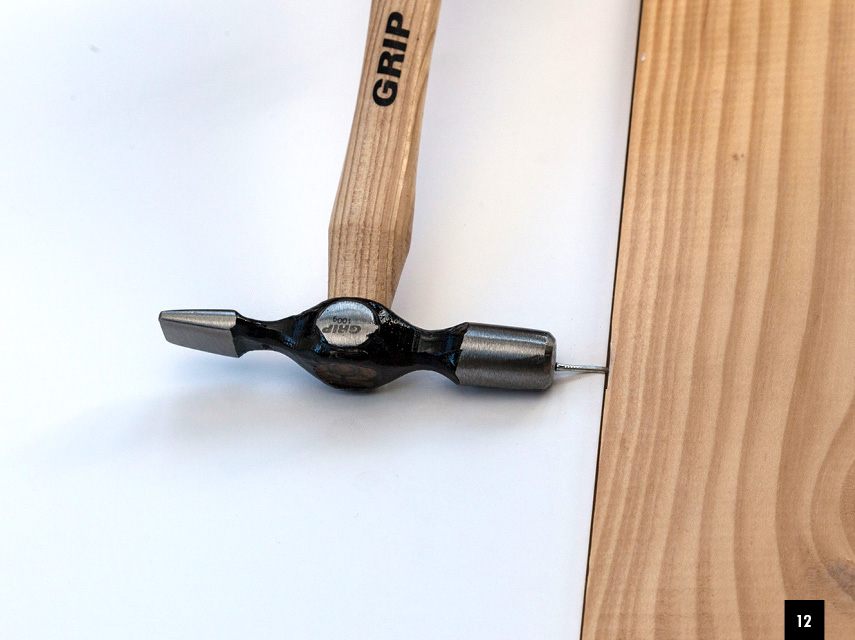
Step 12
Carefully insert the mirror into the frame. Then place your backing board on top of it. Secure with pin nails, hammered into the frame about halfway. Use a small-headed hammer.
Browse 1000’s of products available to you. Select your country to Shop Online.


