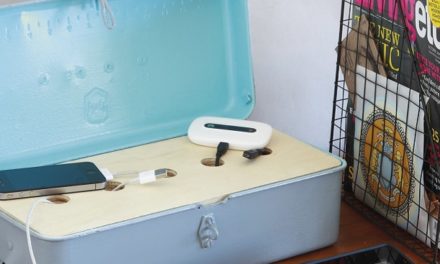
Update furniture with trendy chevrons
- Small sponge roller and tray
- Small paintbrush
- Bloc-it painter’s tape
- Ruler
- Craft knife
- Wire brush
- Dulux Pearlglo Water-based Enamel – Brilliant White
- Chalk
- Rust-Oleum Rusty Metal Primer
- Rust-Oleum Painter’s Touch 2x – White Gloss
Step 1
Mark up a grid using chalk. For this small desk, our squares were 110 x 110mm, but yours can be any size. You can manipulate the angle of the chevrons by making your grid more rectangular, either vertically or horizontally.
Step 2
Use Bloc-it painter’s tape to mark up the chevrons. Every alternate row on your grid will be painted. Make sure that the apexes of your triangles are sharply pointed and line up vertically. Smooth the tape down firmly to minimise the paint bleeding.
Step 3
Use a craft knife and a metal ruler to trim off the excess tape in the rows you’ll be painting.
Step 4
Now you’re ready to paint. It’s best to do this with a small sponge roller in two or three thin coats rather than lay it on thick and risk the paint seeping under the tape, especially if your furniture has a careworn surface like this desk.
Step 5
If necessary, use a small paintbrush to get the paint into scratches and recesses in the surface.
Step 6
Once the paint is completely dry, carefully peel off the painter’s tape to reveal your beautiful chevron pattern.
Step 7
If your piece has a rusty metal frame as this desk does, use a wire brush to remove loose rust, then wipe clean. Prepare it for spray painting by either removing the frame (which we couldn’t do as the nuts had seized) or wrapping the wood carefully (cling wrap and recycled paper are perfect).
Step 8
Spray the rusty parts with rusty metal primer, such as the one from Rust-Oleum. It is best to stick with the same brand of primer and paint, so in this case our top coat was also a Rust-Oleum product.
Step 9
Give the frame a few thin coats of gloss white, allowing each coat to dry before applying the next. Keep the can about 20cm away from the frame to prevent runs and pools.
Step 10
When everything is dry you can remove the wrapping, wipe off the chalk grid and admire your handiwork.
Browse 1000’s of products available to you. Select your country to Shop Online.


