Windows, door frames and skirting boards take a bit of effort, but you can see the difference when it’s done right.
Traditionally, woodwork in the home is painted with enamel because of its glossy finish and ability to withstand knocks. The end choice of colour and type of paint always lies with you.
- Drop cloth
- Screwdriver
- Paint shield
- Bloc-it painter’s tape
- Bucket, sponge and sugar soap
- 38mm cutting-in brush
- Mineral turpentine
- Enamel paint
- Polycell brush cleaner
- Sanding block
- Primer (if necessary)
- Fine-grit sandpaper
- Steel wool
Step 1
Lay down a drop cloth to protect your floor.
Step 2
Prep your windows and frames by washing them with sugar soap. The parts of window frames right next to the glass can suffer from mould. Use a fungicide wash or bleach (diluted 1:3 with water) to get rid of the problem. Always wear gloves and safety glasses with these products. Rinse well and let the wood dry.
Step 3
Use a scraper or sandpaper to remove any loose paint.
Step 4
Remove any fittings and fill any holes with wood filler.
Step 5
Apply primer or stain sealer where necessary to any bare wood.
Step 6
Don’t stir the paint as this will break down the non-drip compound. If the paint has separated, then stir it very slowly and stop as soon as it’s mixed well.
Step 7
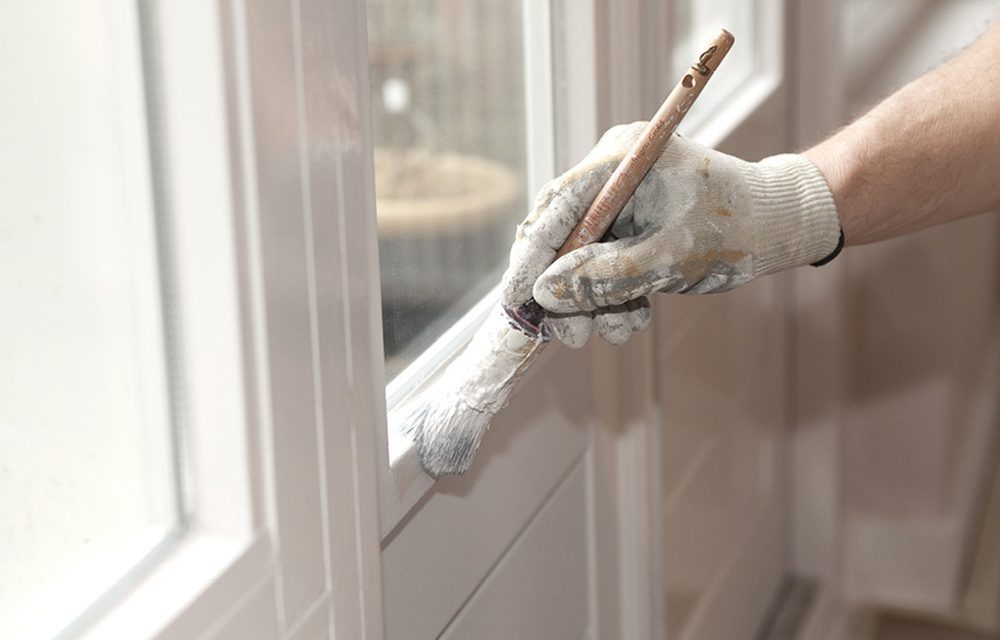
A 38mm trim or cutting-in brush is a good choice. If you have wider or thinner surfaces, then choose a different size. A cutting in brush with an angled edge will be best for painting the parts closest to the glass.
Step 8
If you have casement windows, open them halfway, mask the glass with tape and mask off the walls around the window.
Top tip: You can use painter’s tape, petroleum jelly or lip balm to protect window glass from paint. Or use a ready-made masking shield, held in place as you paint. Leave a 2mm gap between the frame and mask/shield to allow a tiny bit of paint onto the glass. This will seal the frame and is a great trick for external windows as it makes both the paint and frames last longer. If your technique with a cutting-in brush (an angled brush designed to give a good clean edge if you have a steady hand) is good, then you might not have to protect the glass at all. The trick is not to overload the brush with paint and to ease it towards the glass.
Step 9
Paint in the following order:
- Cross-bars and rebates (where the glass meets the wood)
- Top and bottom cross-rails
- Hanging stile and hinge edge
- Meeting stile
- Frame
The brush strokes should follow the pattern of the joinery – so make your vertical strokes cut off the horizontal ones.
Step 10
Work from the glass outwards.
Step 11
Do not apply too much paint in one coat as it will run and take longer to dry.
Step 12
Paint the architraves and the window frame.
Step 13
Prep for a second coat (optional) by sanding the first lightly. Dust off or vacuum and apply the second coat the same way as the first.
Step 14
Remove the painter’s tape and scrape off any excess paint with a scraper.
Step 15
When paint is dry, reattach the fittings.
Step 16
If a window sticks at all, sand lightly where it’s sticking until it closes easily.
Top tip: Remove drips on metal (if you left your fittings on) with steel wool dipped in mineral turpentine. Alternatively, remove fittings, put each in a plastic bag, reattach and pull the bags tight. Paint right up to the plastic and when dry, remove fittings, discard bags and reattach fittings.


