Step 1
Remove all door locks and other fittings.
Step 2
Check for damp and remove the cause. This is a specialized business so best to get in a professional. Allow the walls to dry for at least a month before you proceed.
Step 3
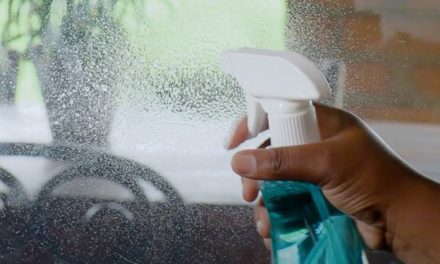
If the surface is merely dirty or full of your children’s crayon creations, use sugar soap to scrub the wall. Water stains and grease can be dealt with using stain sealer available from Builders Warehouse. Make sure you wash off the sugar soap thoroughly and use rubber gloves to protect your hands from this alkaline product. Start from the floor and work up towards the ceiling. The tops of walls tend to be the grimiest, this way you won’t drag dirt across your clean surface. Don’t forget
to clean the mouldings as well. Clean walls use 20 per cent less paint. If there’s mildew, clean with a solution of bleach, water and a mild ammonia-free detergent.
Top Tip: Remember to clean around electrical plugs and switches,likely to be especially greasy from frequent hand contact. Use a damp cloth and sugar soap, making sure you don’t get water into the electrical fittings. Remove soap with a damp cloth.
Step 4
Repair damaged parts and unevenness. Remove any loose or peeling paint with a scraper and feather the edges with sandpaper. Try not to gouge the surface with the scraper as you will have to go back and fill in the marks. If your surface is in bad shape (pitted and full of peeling paint) use a scraper, fill uneven bits with Polyfilla, allow to dry and then sandpaper to flatten the surface. Fill holes with Polyfilla, using a one-inch putty knife.
Step 5
Clean up before you paint. Remove dust from the walls using a fine brush. Get out the vacuum cleaner and suck up all the dust and dirt off the floor.
Top Tip: If your surface has craters that are too deep to fill with a few spatulas of Polyfilla, make your own plug. Cut a piece of kitchen roller towel to size. Saturate it in Polyfilla, roll it between your fingers and compact the plug tightly into the hole, using a pencil or screwdriver. Let it dry, and then fill the remaining gap with Polyfilla. Once you are satisfied with your surface, give the entire wall, including the corners, a light sanding using fine-grit sandpaper to smooth out any lumps and bumps.
Step 6
If you’re tempted to grab trusty old masking tape, STOP! Use ProMask with BLOC-it clean line technology from the USA. Unlike the paper masking tape of old, this tape prevents paint from seeping underneath it, spoiling the surface you want to protect. It comes in a variety of colours. It works beautifully for masking skirting boards, cornices, door frames and so on. Instead of spending time masking plug points and light switches, which can be tricky to do, simply remove the covers. Do so very carefully, especially if you have plastic light covers, to ensure they don’t crack. Use a screwdriver or knife to gently prise the cover loose, going all the way around it until you can pull it off.
Step 7
Always prime virgin surfaces. This includes areas where you’ve touched up with Polyfilla. Ask a Builders expert to ensure the primer is suited to the surface you are painting.
Step 8
Apply your undercoat. This is especially important if you plan to paint a dark surface with a lighter colour and works out cheaper than going straight to the topcoat. Remember that you can add colourant to your primer. Tint it to a lighter shade of the topcoat you intend using. This will ensure better coverage and colour intensity.
Top Tip: Write down the name of the paint (its colour), the manufacturer and batch number with a permanent marker on the inside of the light switch cover. Should you repaint, you will then be able to match it closely, if not exactly.


