- 40 x 30mm cut screws
- Wood glue
- Woodoc wood sealer
- Wood filler
- Cordless drill
- 3mm drill bit
- Countersink bit
- Sander
- Scraper
- Clamps
- Tape measure
- Pencil
- 1 x 2.4m x 1.2m x 12mm sheet of shutterply (1 sheet of shutterply makes four chairs), cut to the following (per chair). For your convenience, get Builders to cut the timber to size.
- 4 x 400mm x 69mm (seat slats)
- 4 x 345mm x 69mm (back slats)
- 8 x 660mm x 50mm (legs)
- 2 x 400mm x 69mm (cross braces)
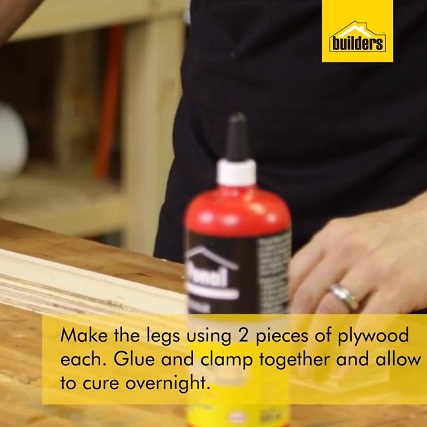
Step 1
Make the legs. To do this use wood glue and clamps to fuse two pieces together, then leave overnight to dry. Repeat process for all four legs.
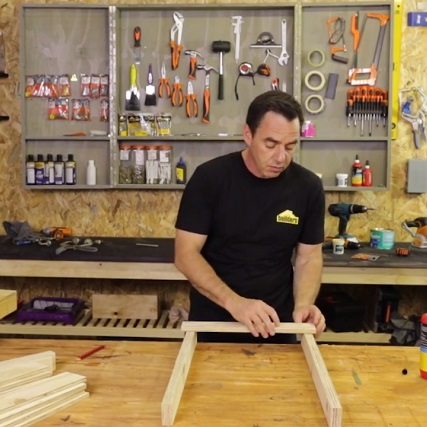
Step 2
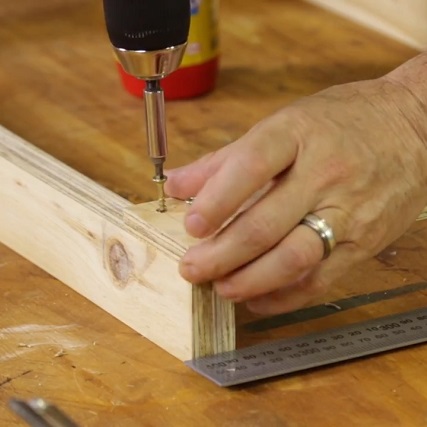
Use a 3mm drill bit and a countersink to drill two pilot holes at each end of four slats, 12mm in from the ends. Tip: use a scrap piece of wood beneath the timber to avoid blow outs and to protect your work surface.
Step 3
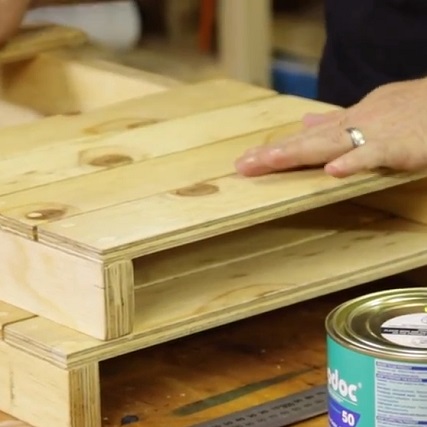
Use wood glue between the mating surfaces and screw the slats into place. The first slat should be flush with the ends of the uprights, then space the other slats equally with a 5mm gap between them.
Step 4
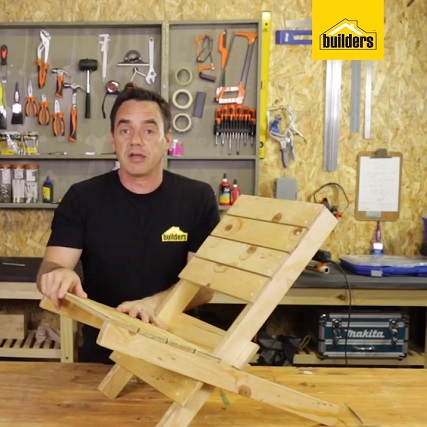
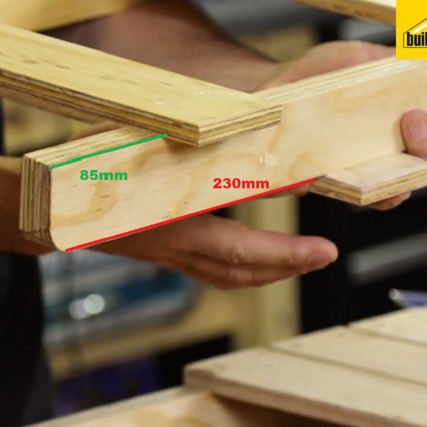
Repeat the process of making the chair front to make the chair back. Once the seat slats are joined, attach the cross braces. Measure 85mm from the bottom of the leg and attach the first brace, on the same side as the four seat slats. Then flip the chair back over and measure 230mm from the bottom of the leg and screw the final brace into place.
Step 5
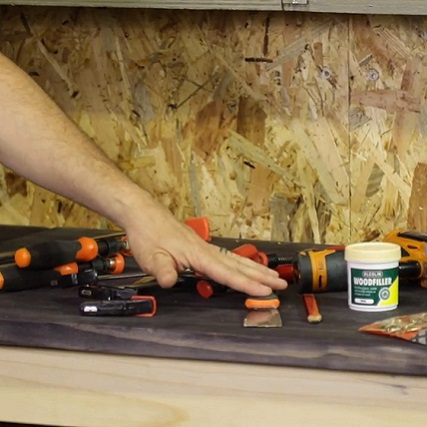
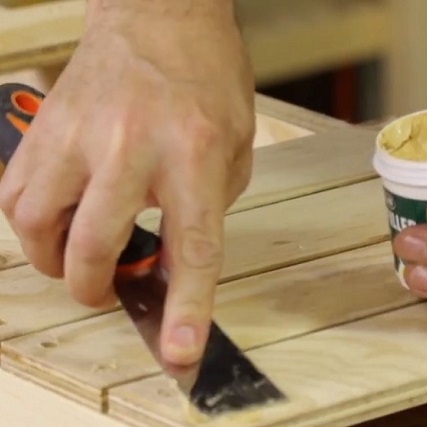
Use wood filler to fill any holes.
Step 6
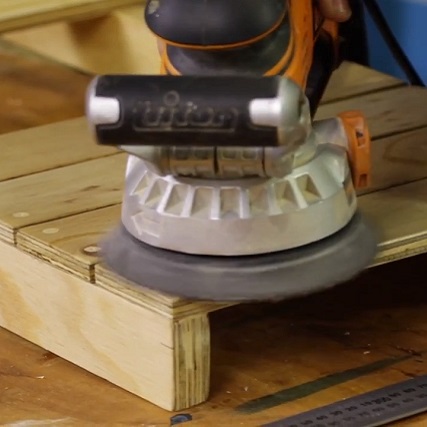
Sand the chair for a smooth finish. It is advisable to round off the legs that will touch the ground with a jigsaw or a sander.
Step 7
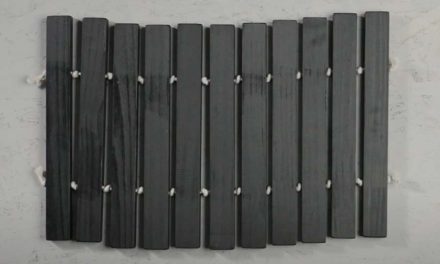
Use at least three coats of Woodoc wood sealer to seal the timber and protect it from damage, leave it to dry and your chair is ready to use!
Browse 1000’s of products available to you. Select your country to Shop Online.


