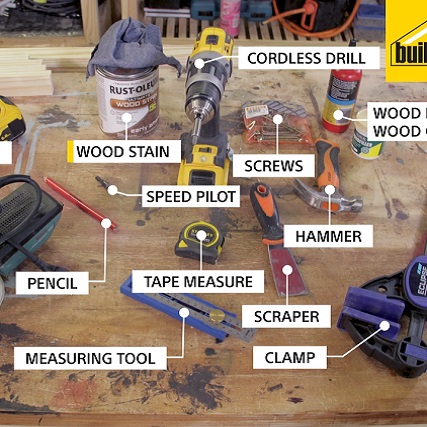
- Sander or sandpaper
- Drill
- Screws
- Wood stain
- Wood glue
- 2 x wooden cross braces (measure and cut the wooden pieces to size)
- 4 x wooden leg pieces (measure and cut the wooden pieces to size)
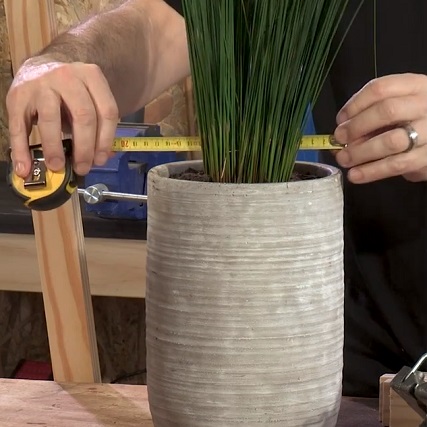
Step 1
Measure the diameter of your pot. Add 10mm to this measurement to determine the length of the cross braces. Measure and cut the wooden pieces to size and keep an extra cross race for later.
Step 2
Measure the centre of the cross brace. Cut a slot in the centre of the cross brace that is equal to the width of the other cross brace.

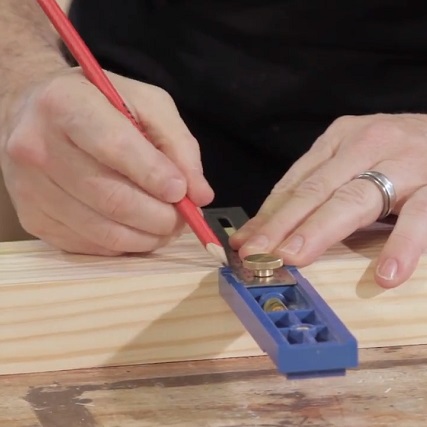
Step 3
Drill a hole in the leg pieces at the height you want the cross braces to sit.
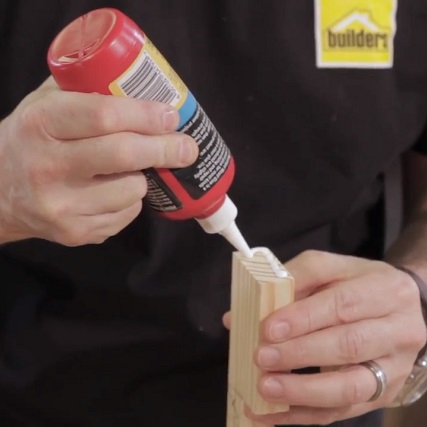
Step 4
Use wood glue and set the cross brace between two leg pieces. Use the extra cross brace to make sure the width between the legs is uniform from the top to the bottom.
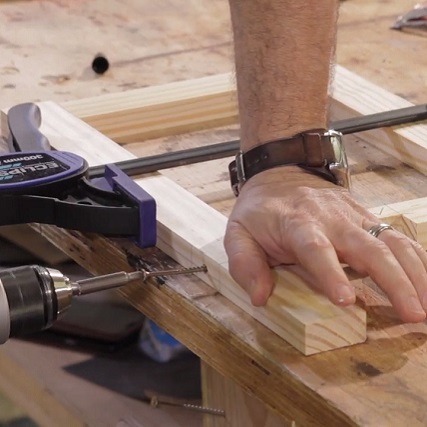
Step 5
Screw through the holes drilled earlier to secure the cross brace. When placing the cross braces, make sure one is pointed up and the other is pointed down so that they can interlock.
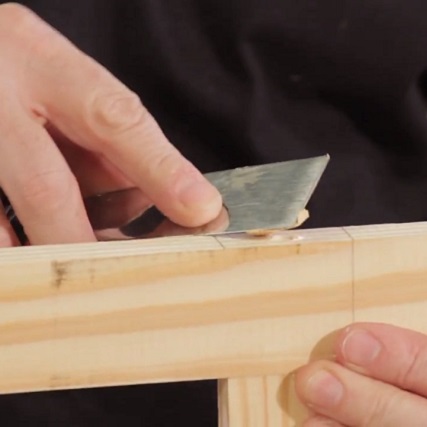
Step 6
Fill screw holes with wood filler. Wait for filler and wood glue to dry before moving on to the next step.
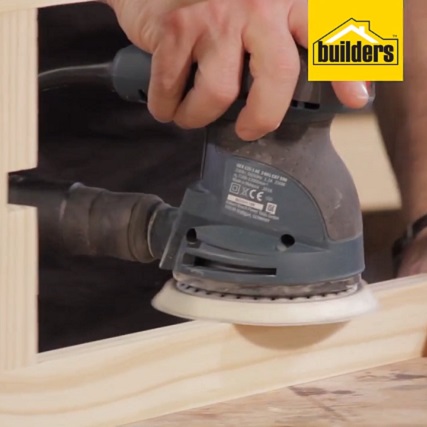
Step 7
Sand wood by hand or with an electric sander.
Step 8
Use an old rag to stain the wood – remember to protect your hands, clothes and work surfaces.
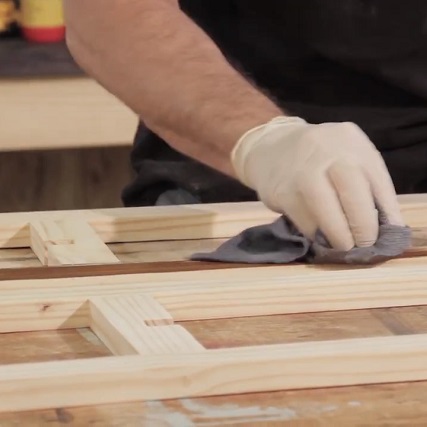
Step 9
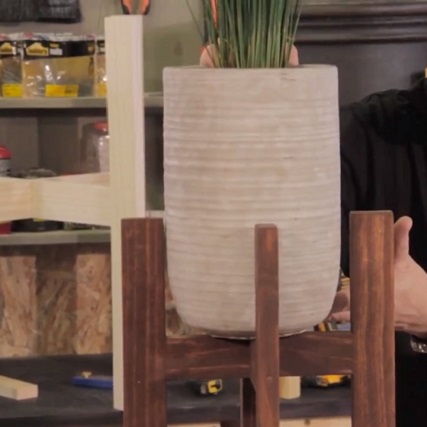
Once the stain is dry, interlock the two pieces and your pot stand is complete.
Browse 1000’s of products available to you. Select your country to Shop Online.


