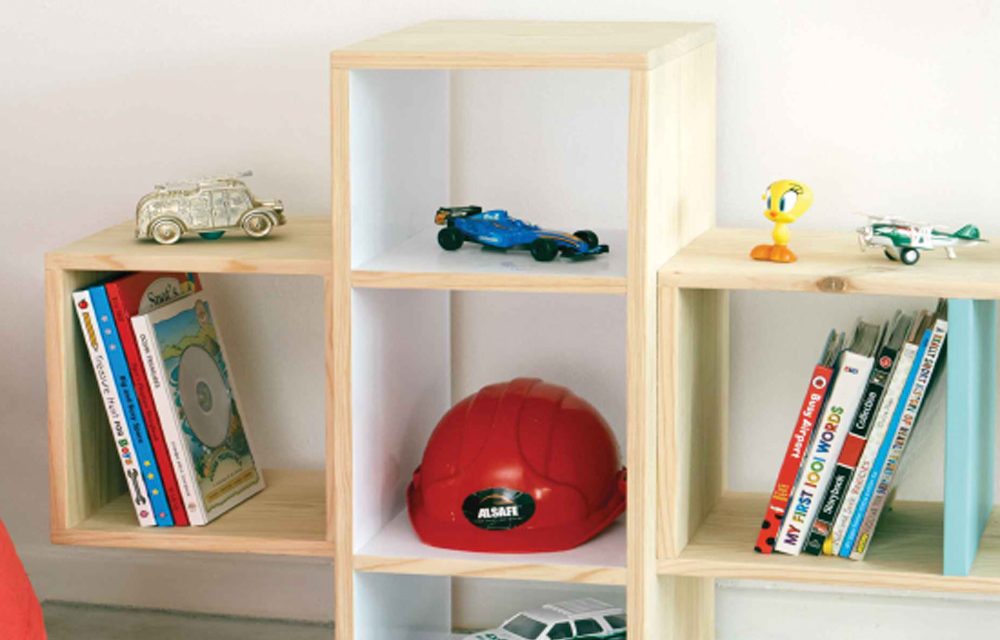
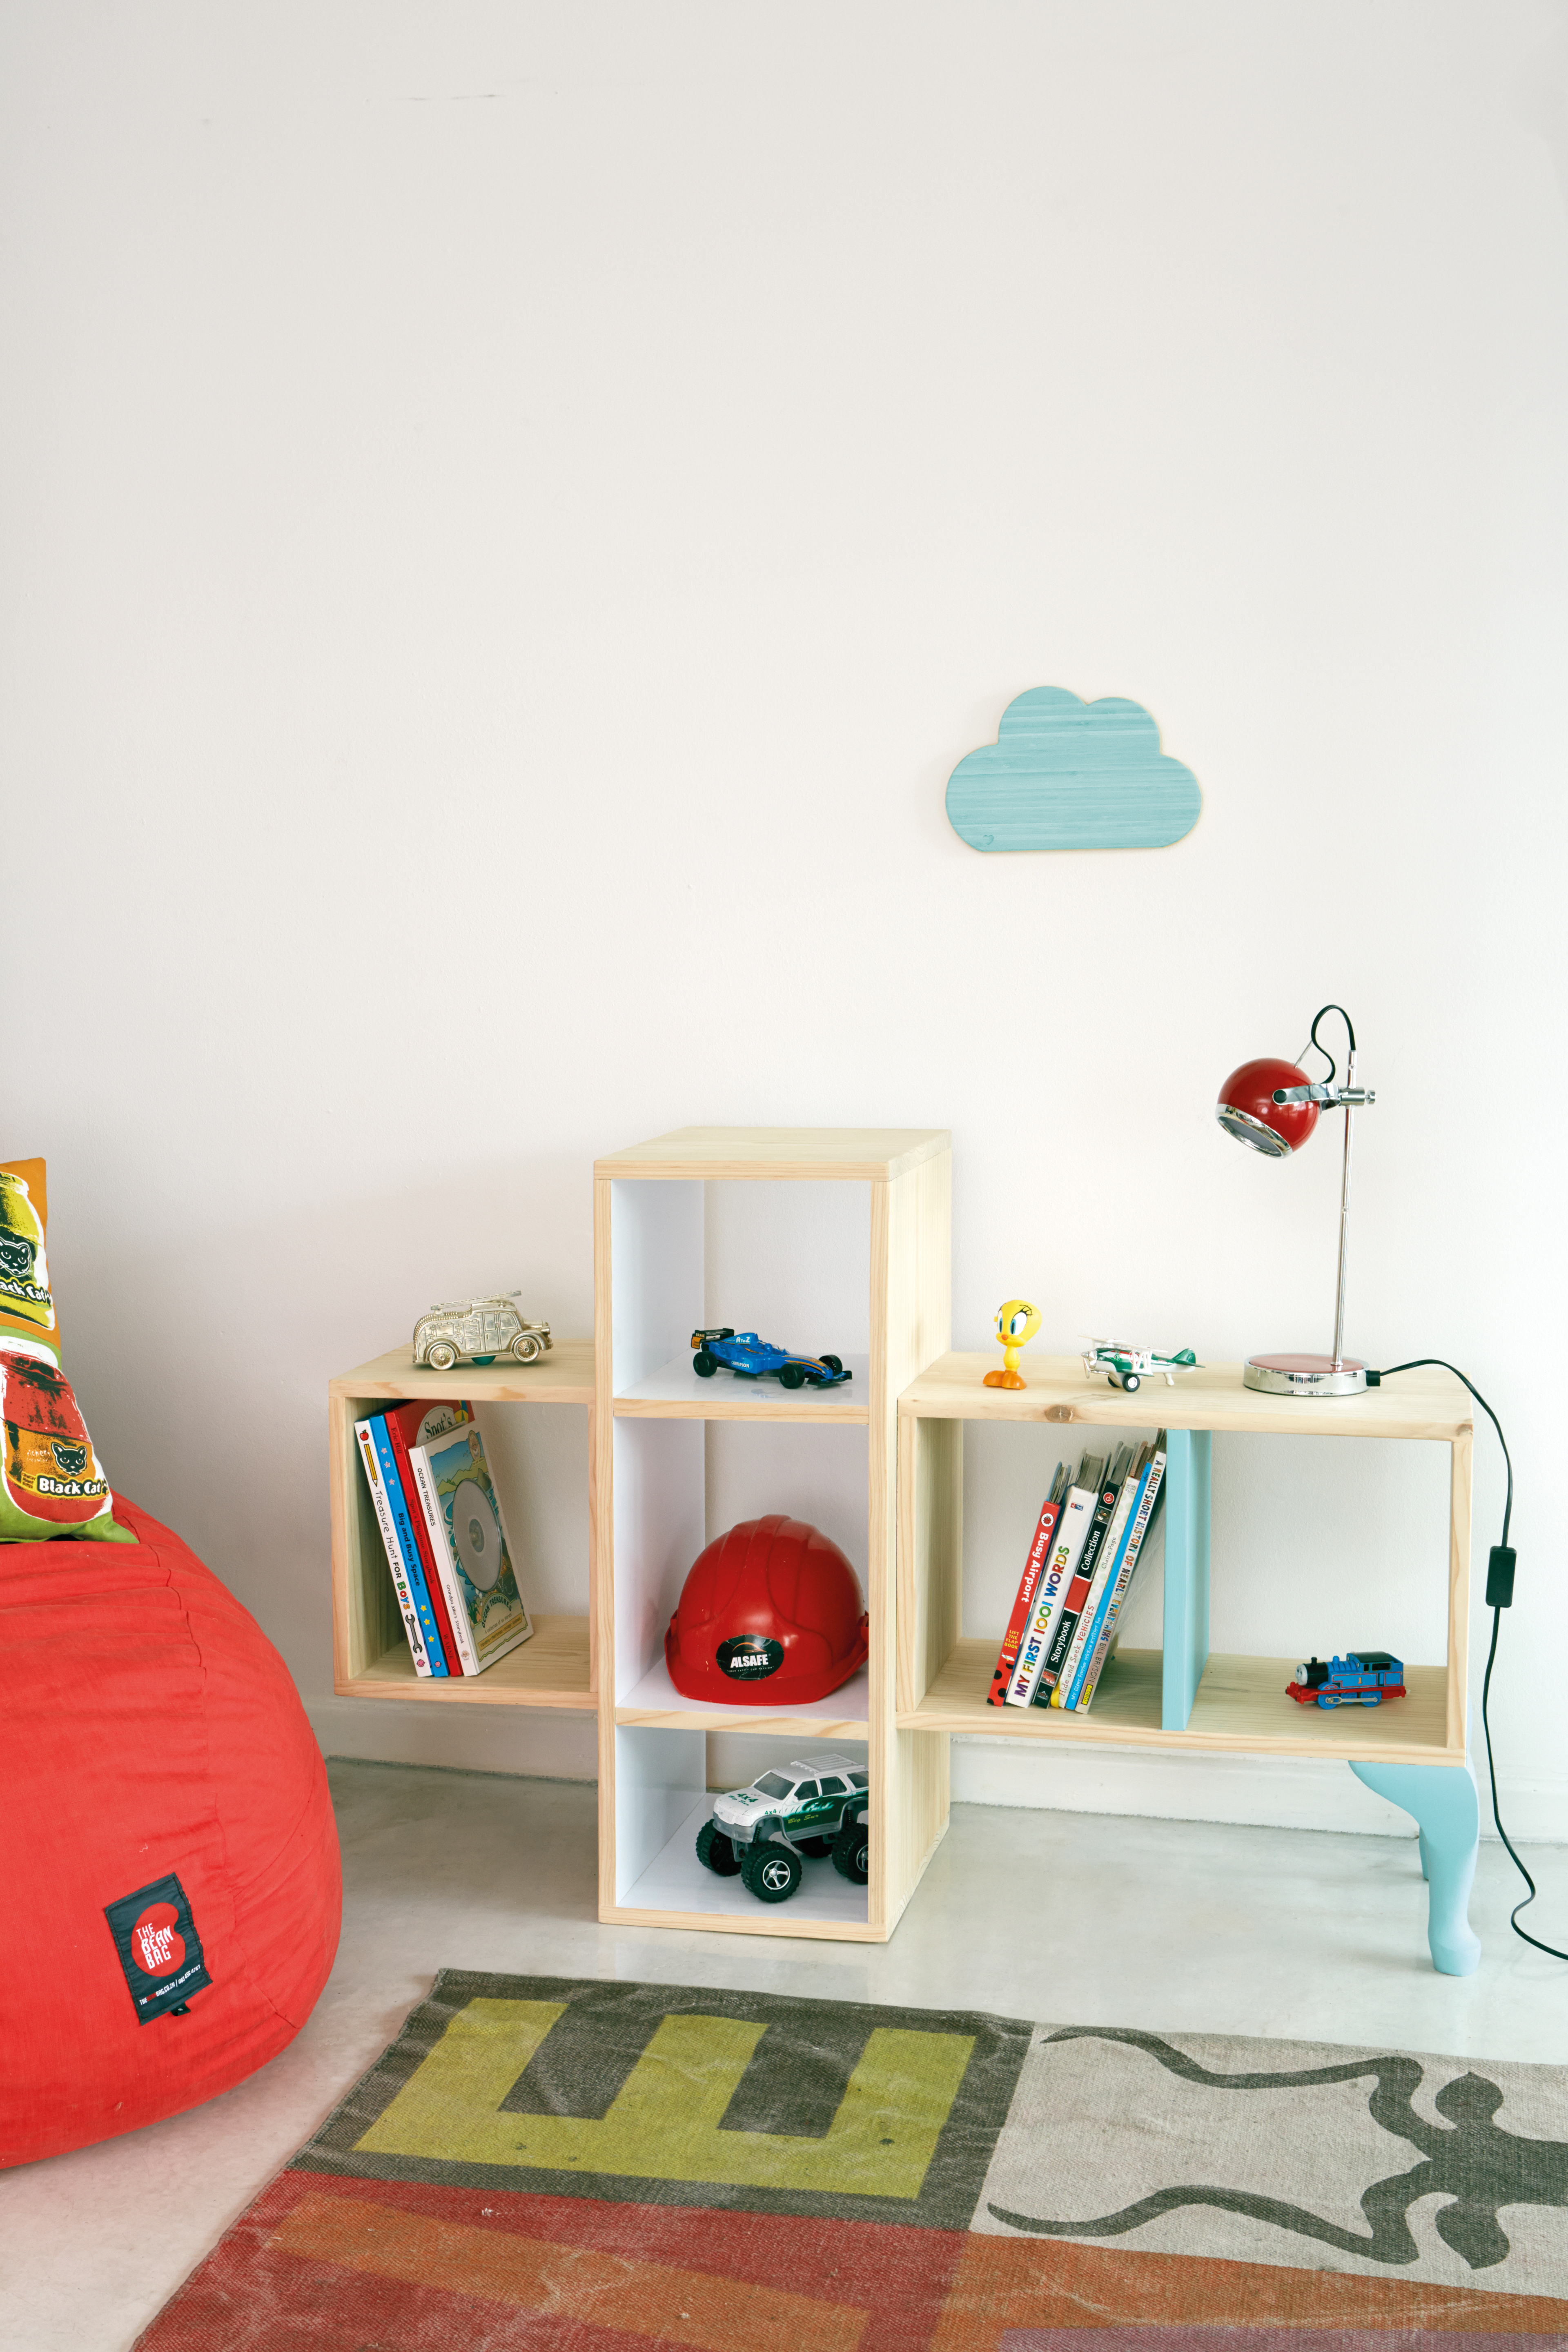
Where kids’ rooms are concerned, fun is where it’s at – so get the whole family involved in making this quirky storage unit.
- wood glue
- 40mm cut screws
- 60mm cut screws
- 220 grit sandpaper
- wood sealer (or varnish)
- wood filler
- paint
- cordless drill, 3mm drill bit
- tri-square
- mitre clamp(s)
- G-clamp(s)
- pencil
- measuring tape
- sander
- spatula
- paintbrush or foam roller
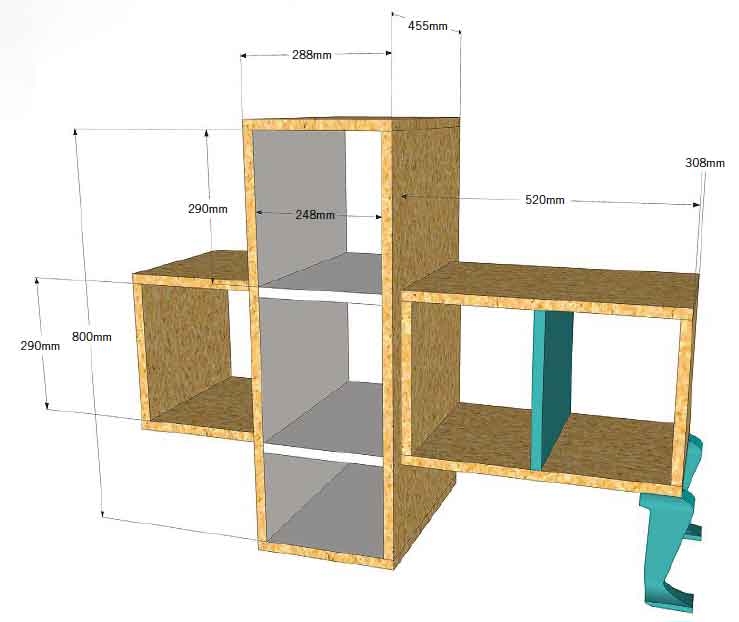
Cutting List
- 2400 x 455 x 20mm laminated pine shelving cut to:
- two 800mm (sides – upright section)
- two 288mm (top and bottom –upright section
- two 1800 x 308 x 20mm laminated pine shelving cut to:
- two 520mm (top and bottom – side section)
- five 290mm (uprights)
- two 288mm (top and bottom – small side cube)
- two 248mm (shelves – upright section)
- two 210mm Queen Anne-style legs (obtained from a cabinet fitting wholesaler)
Step 1 (optional)
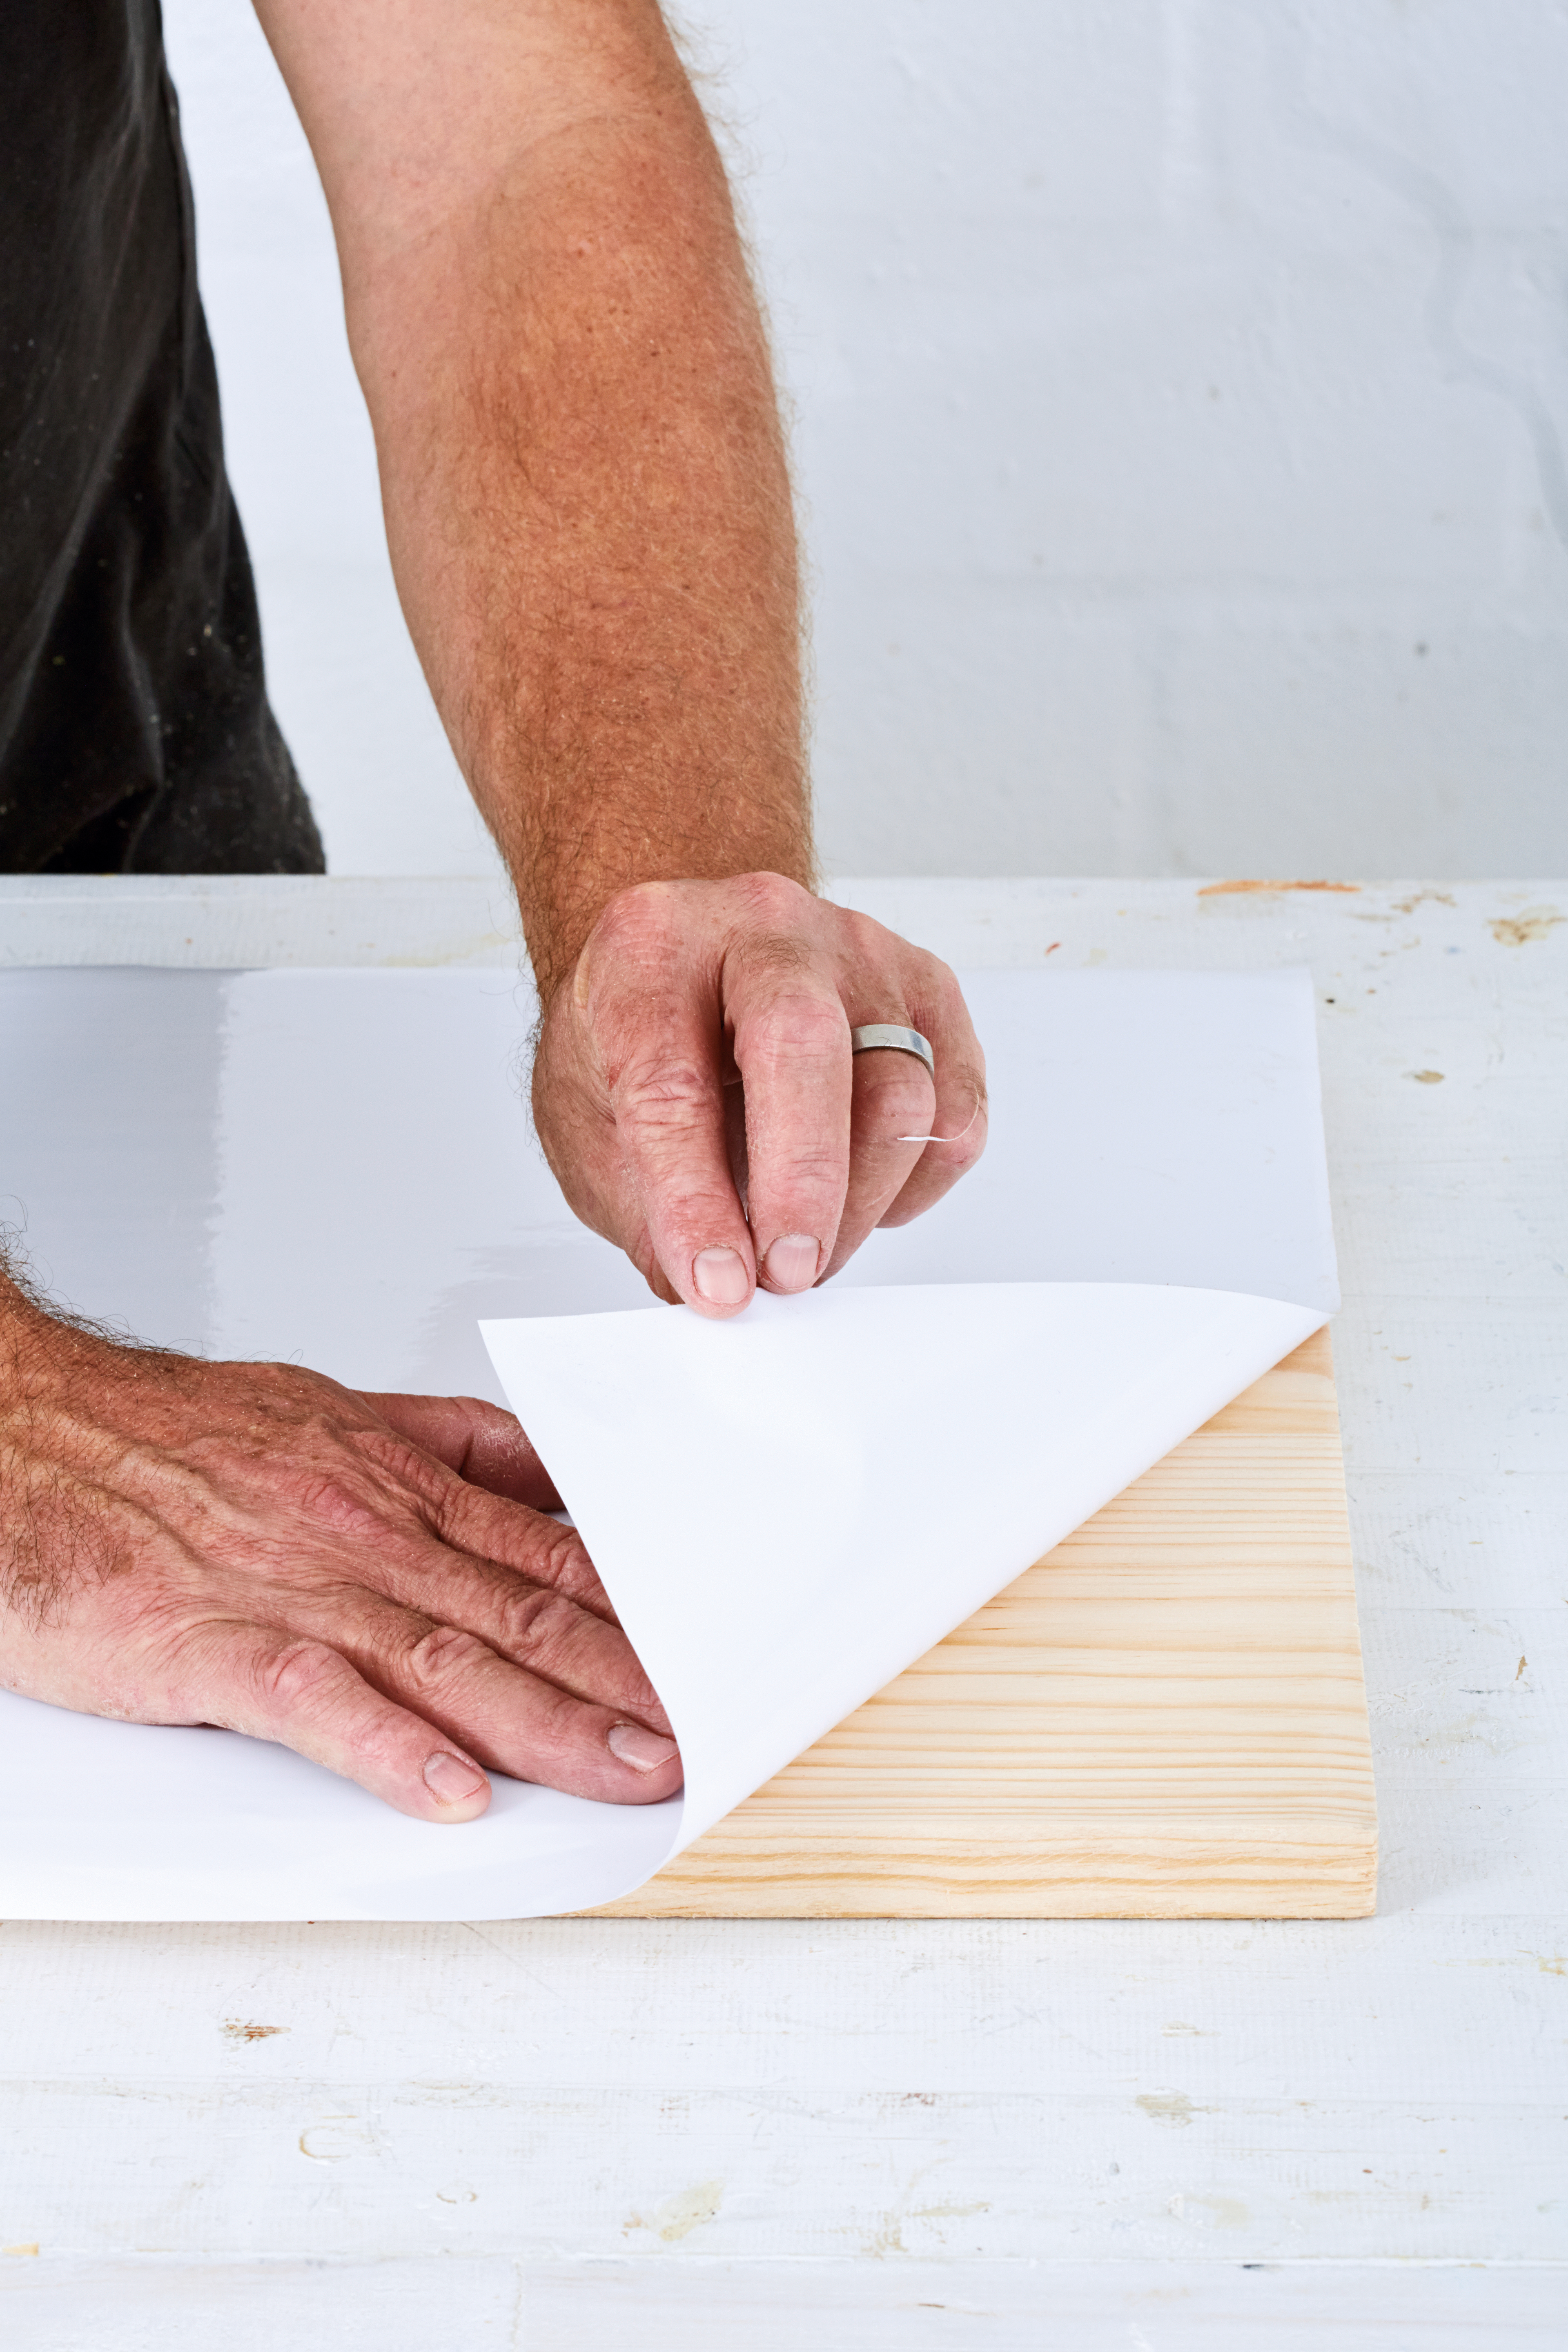
Use vinyl to clad the inside of the sides, top and bottom as well as the shelves of the upright section before beginning construction.
Step 2
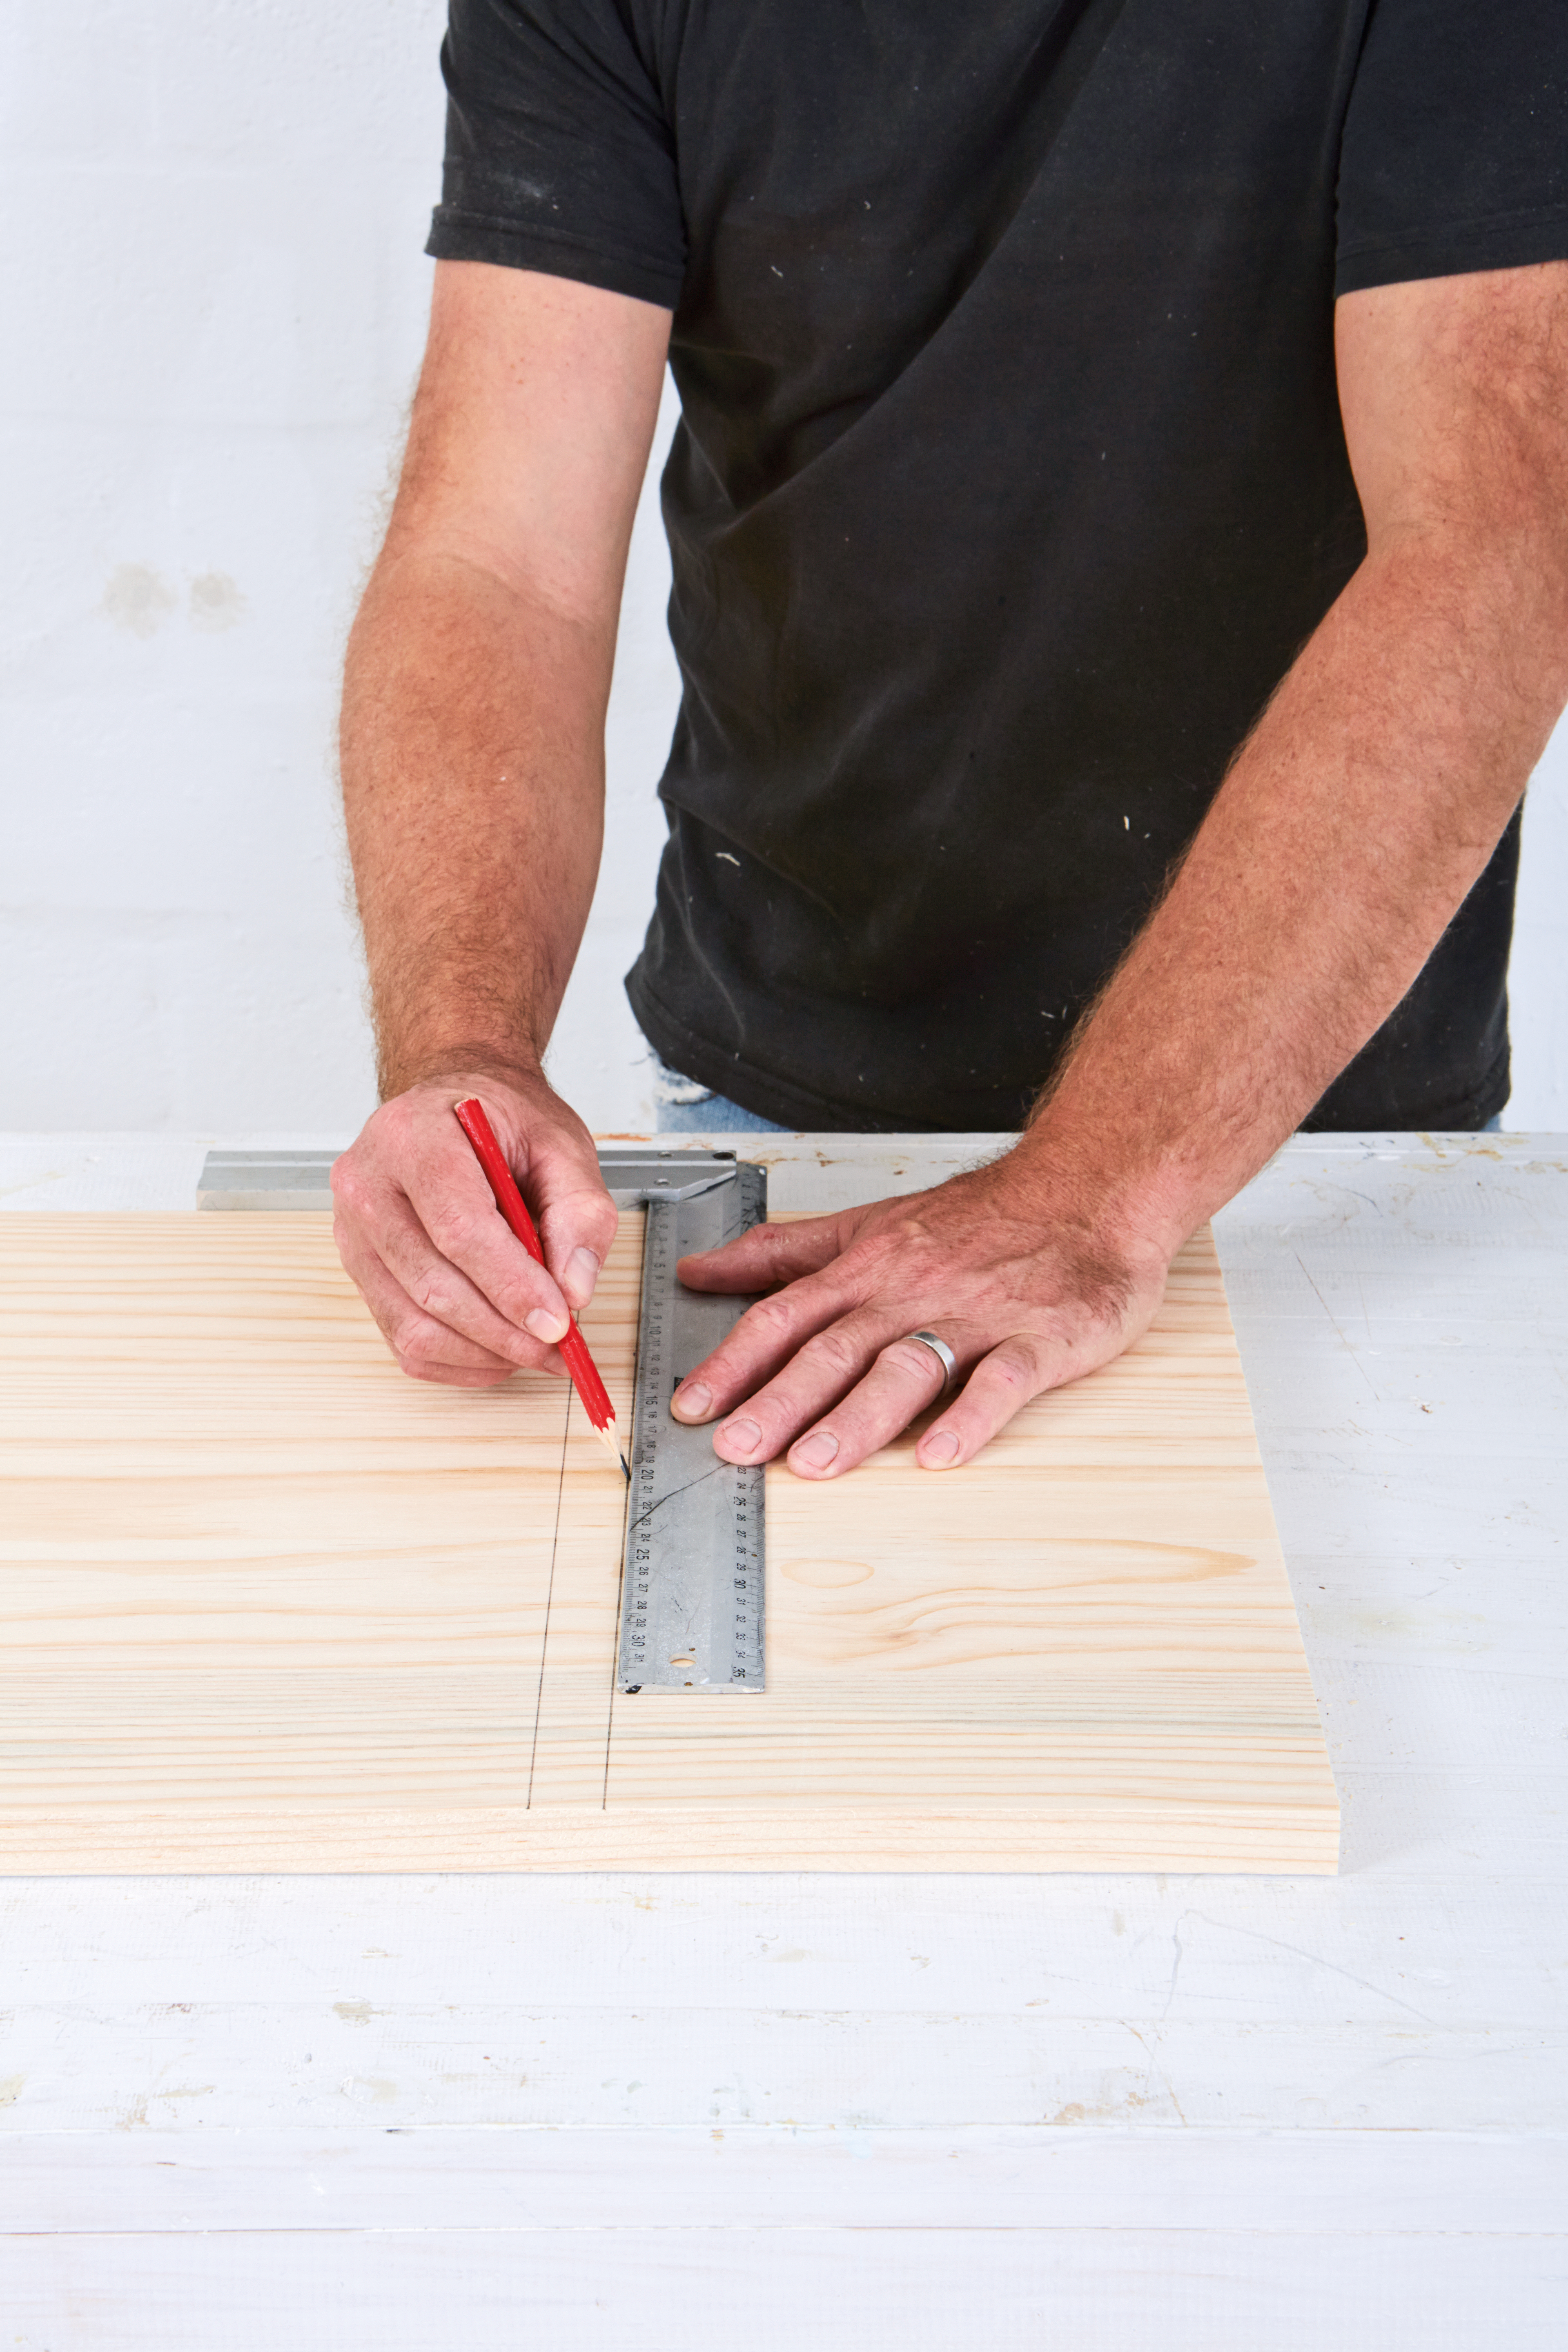
Now mark 20mm-wide bands at both edges of the four 288mm and two 520mm sections, and across the 800mm and 520mm sections where the uprights and shelves will be placed.
Step 3
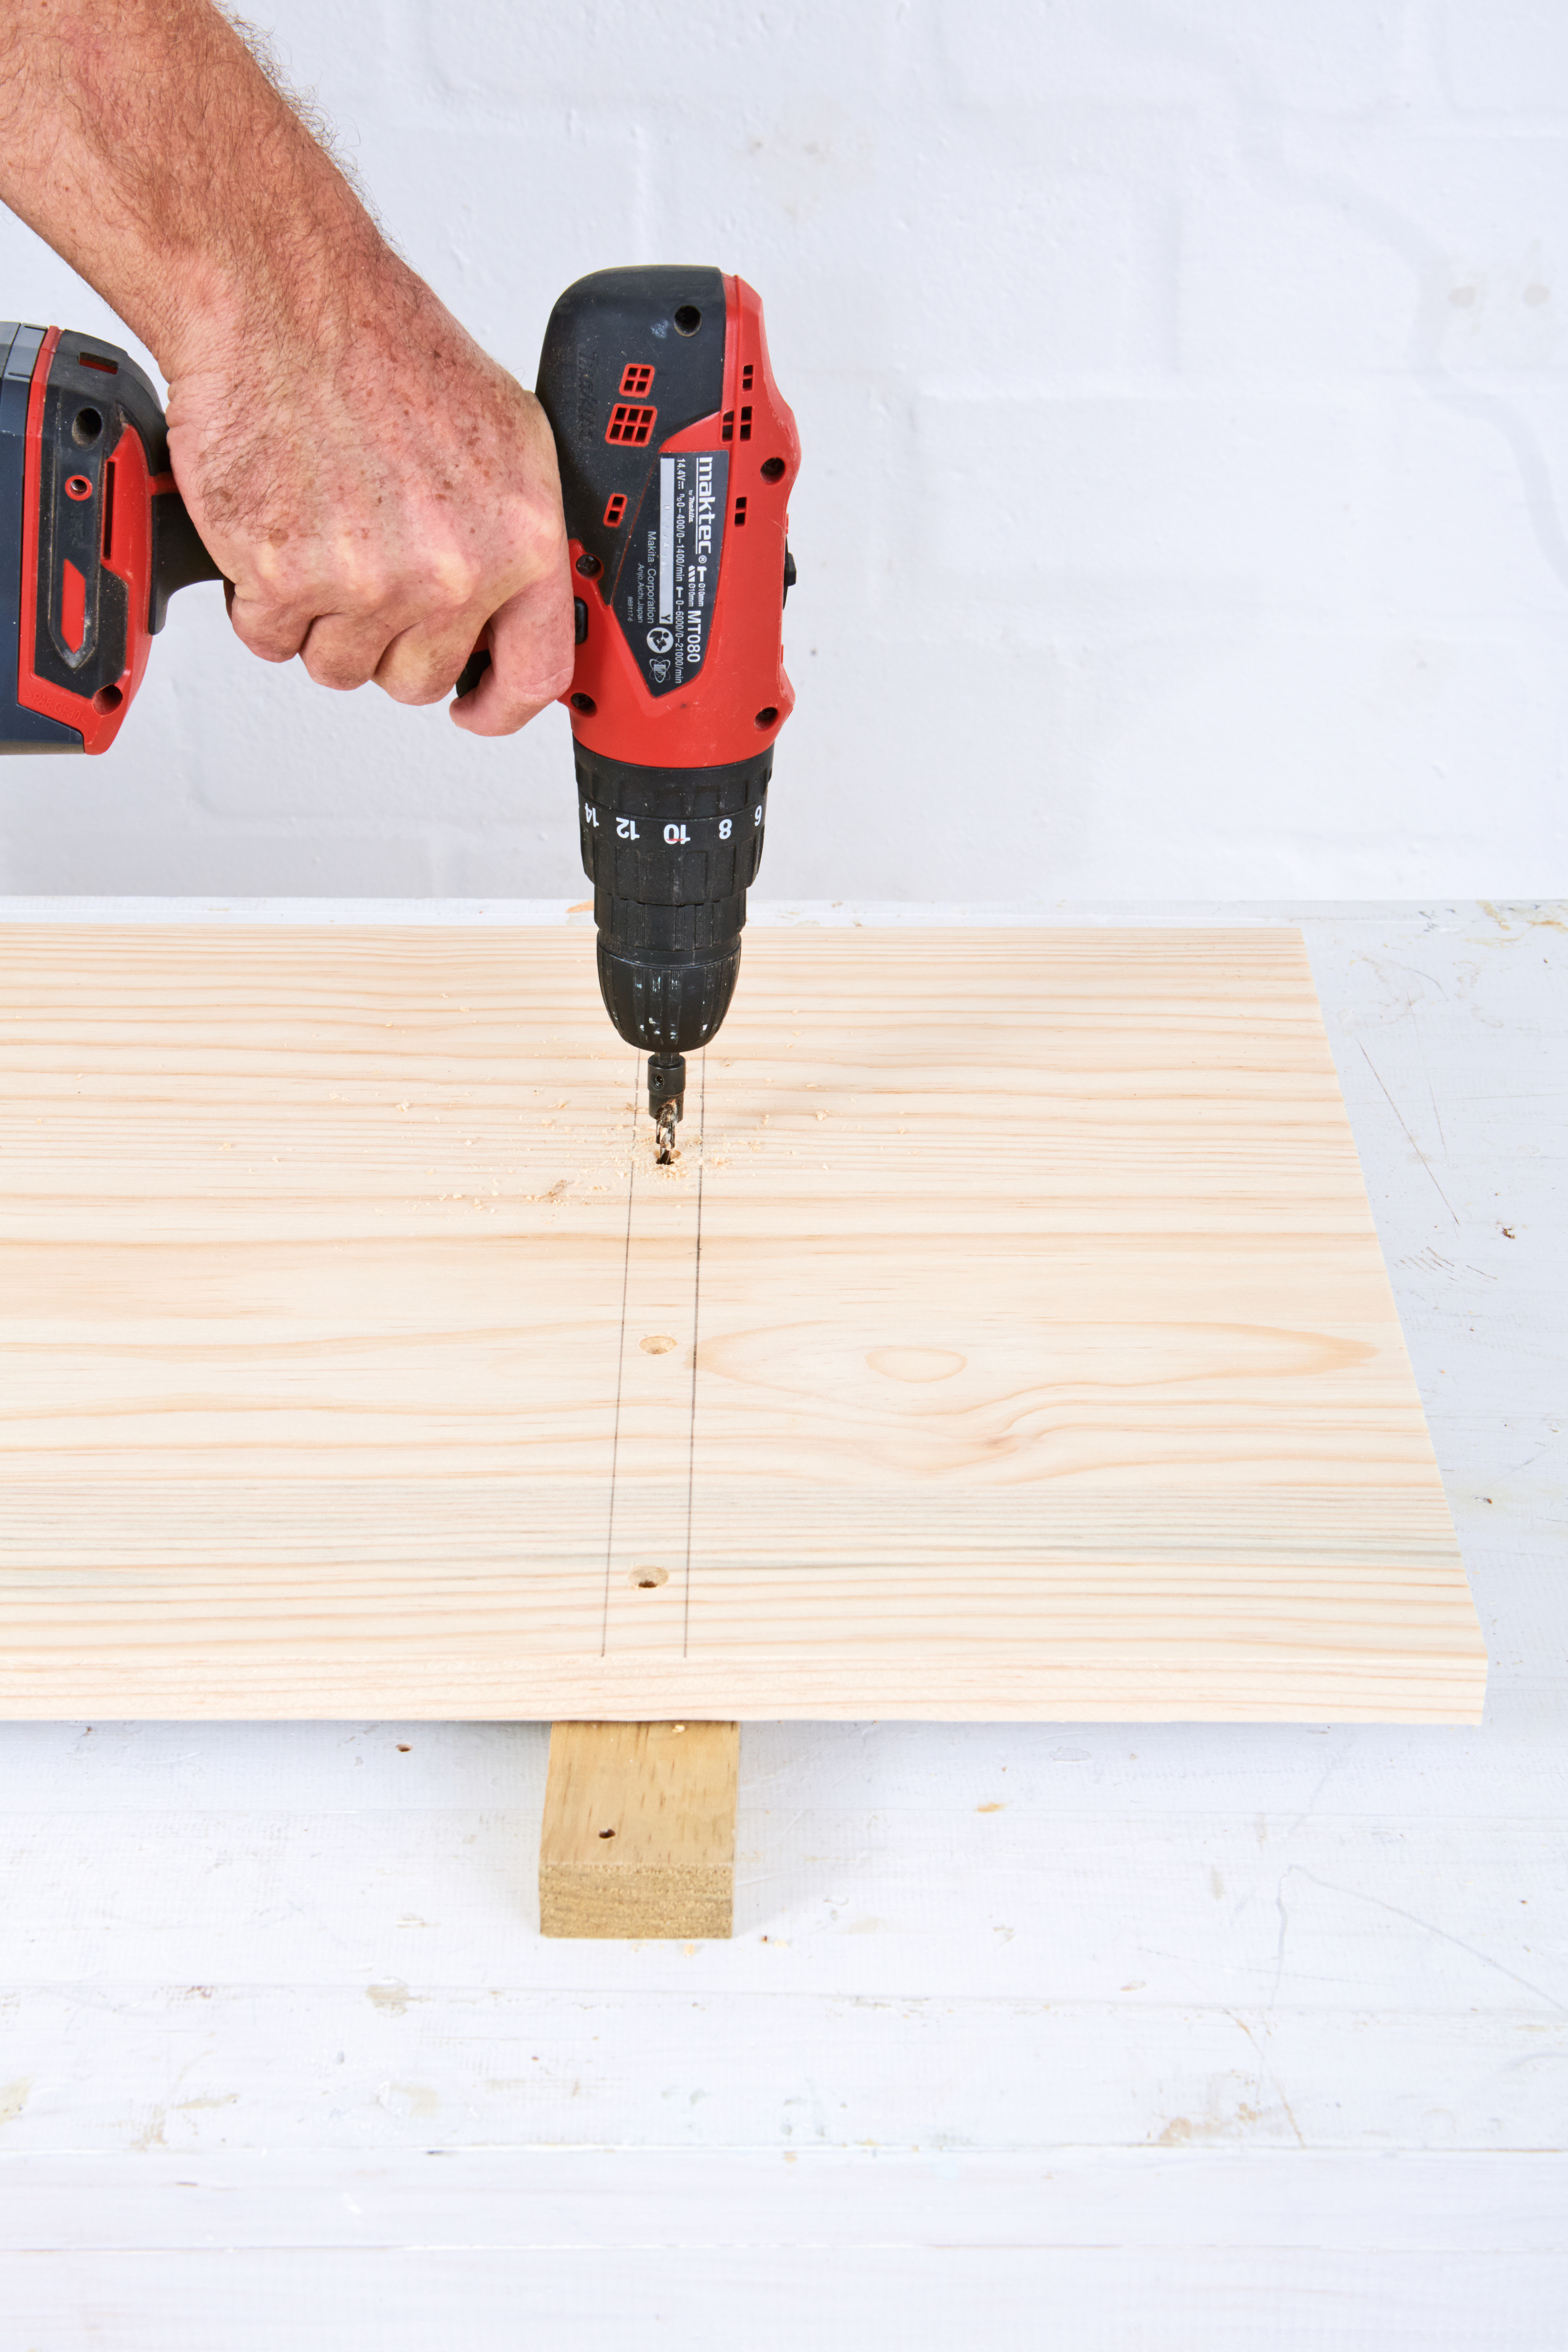
Then drill evenly-spaced pilot holes between these lines, as shown.
Top Tip: Place an offcut piece underneath the timber you are drilling so it doesn’t split out and to prevent any damage to your work surface.
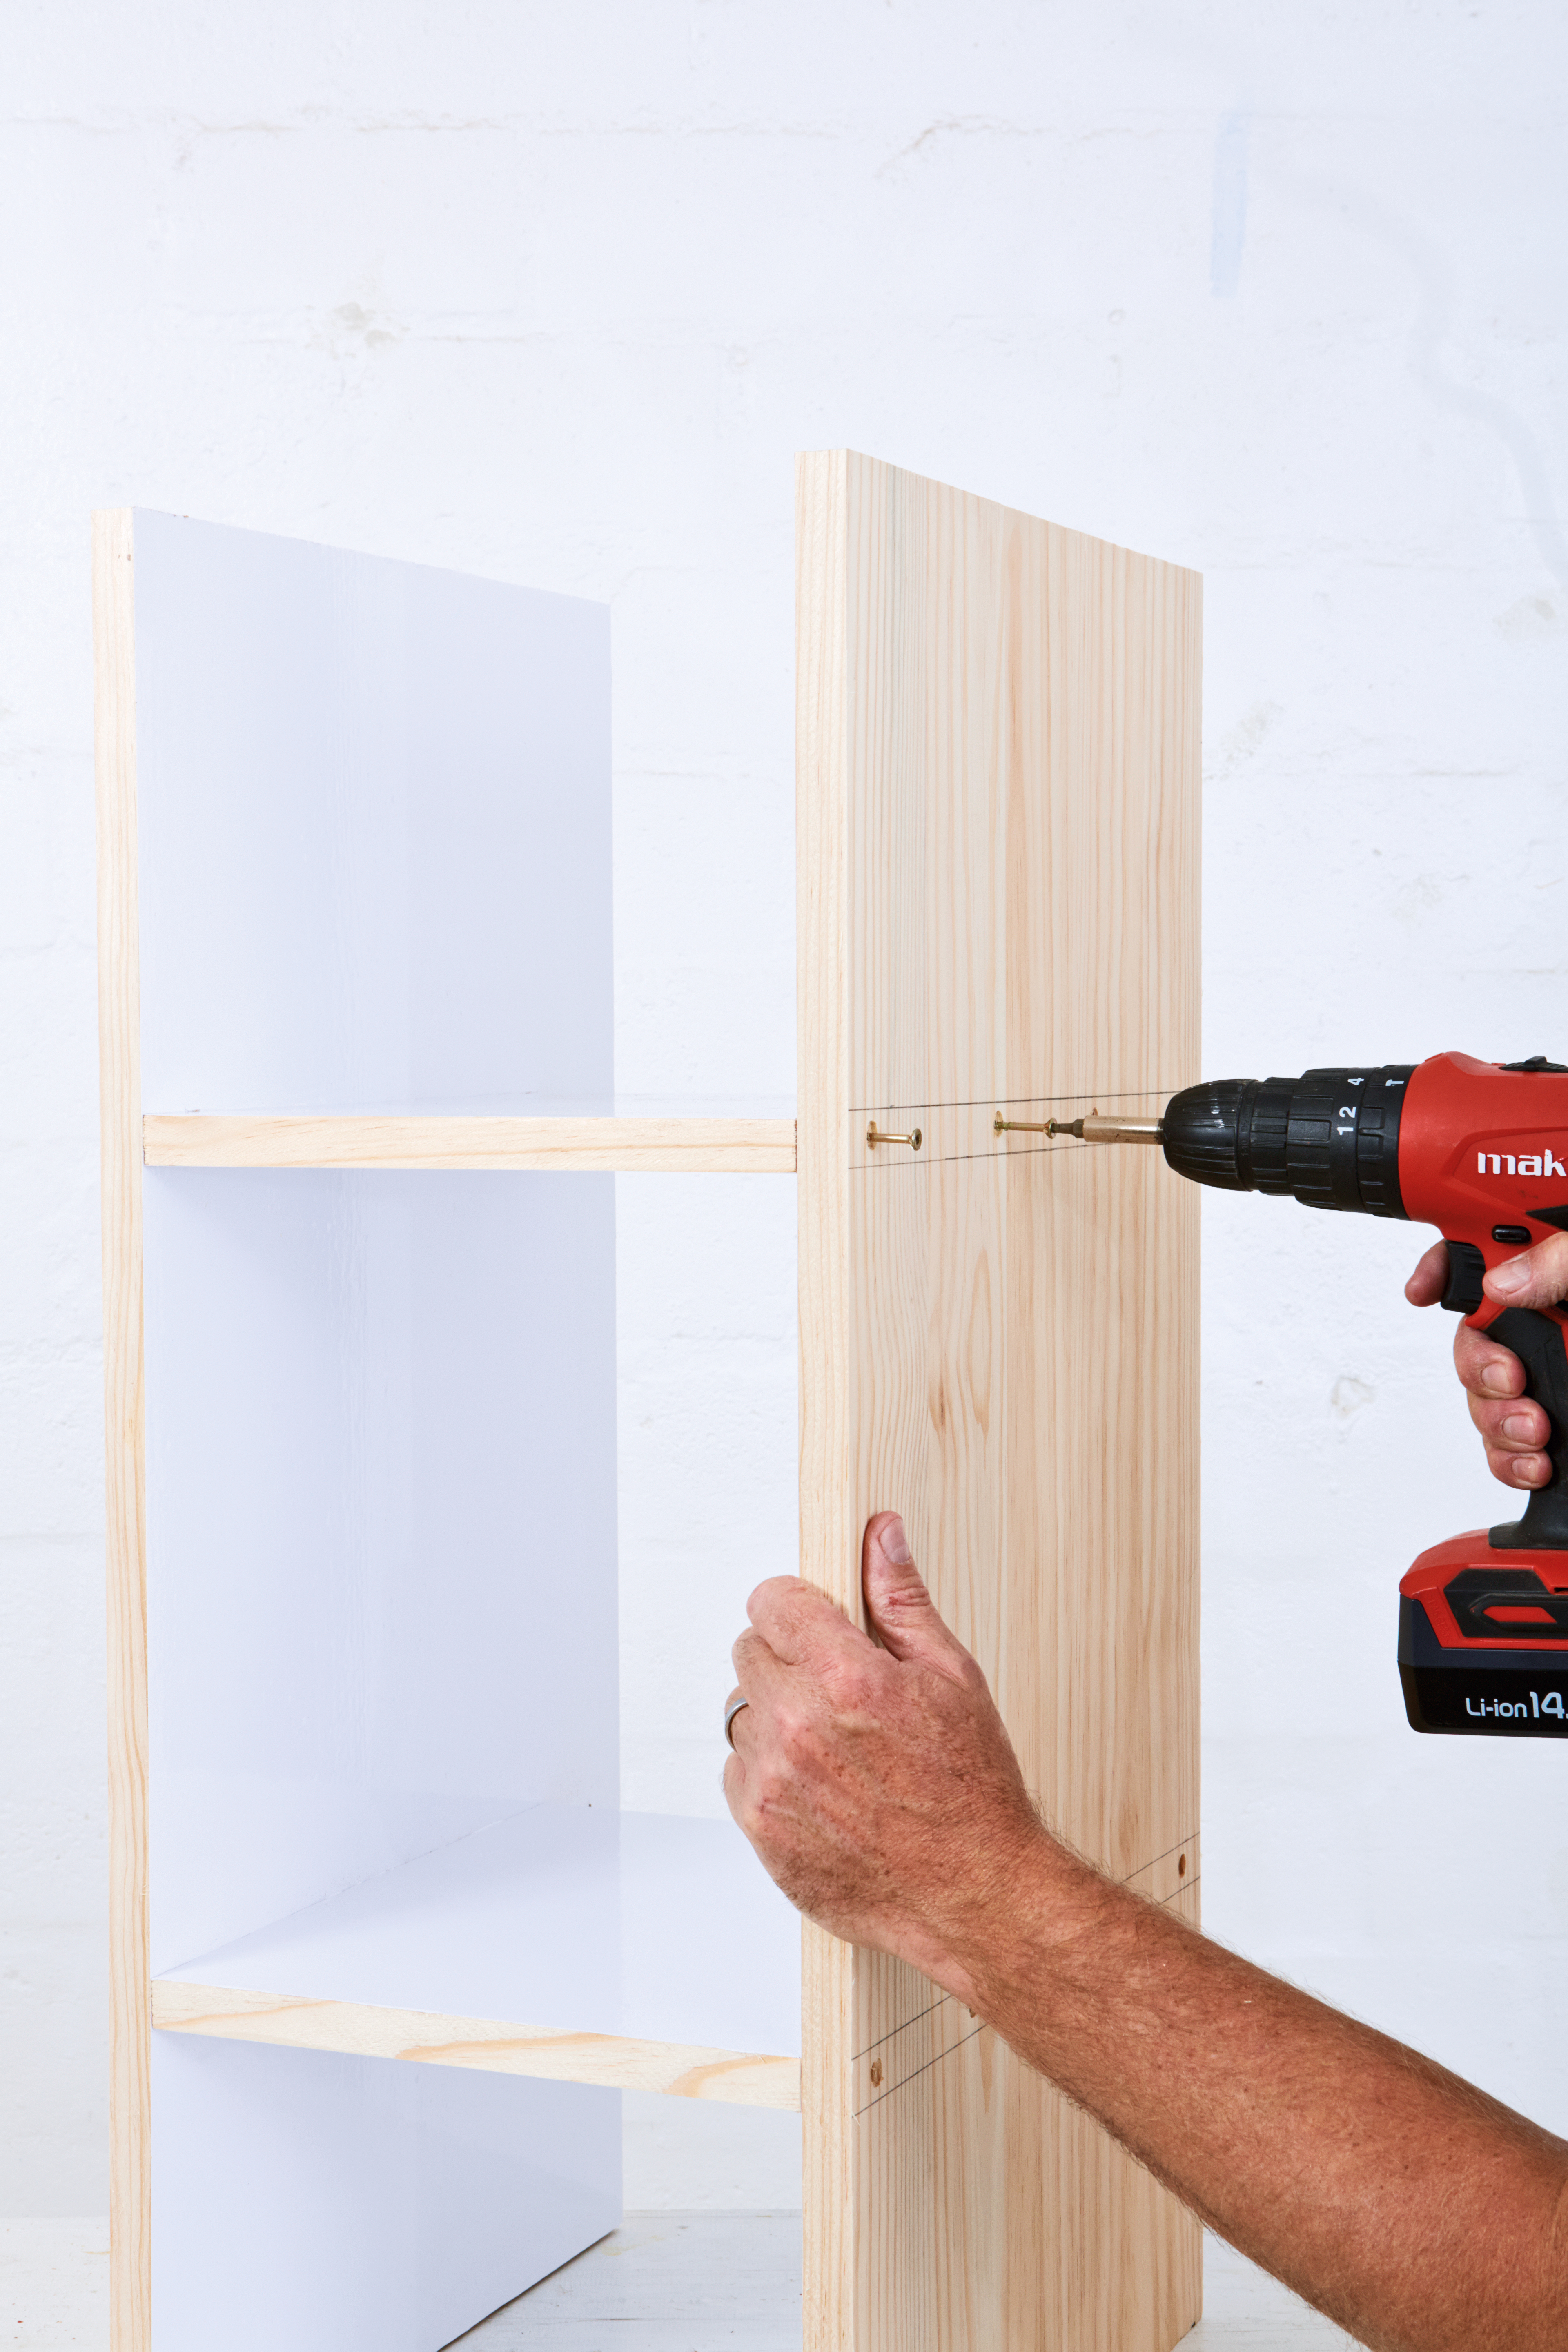
Step 4
Make up the frames: add a dab of glue along the edges, then use the 40mm cut screws to fix the ends as well as the shelves and partitions in place.
Note: Drive the screws about 5mm below the surface; these holes will be filled with wood filler later on.
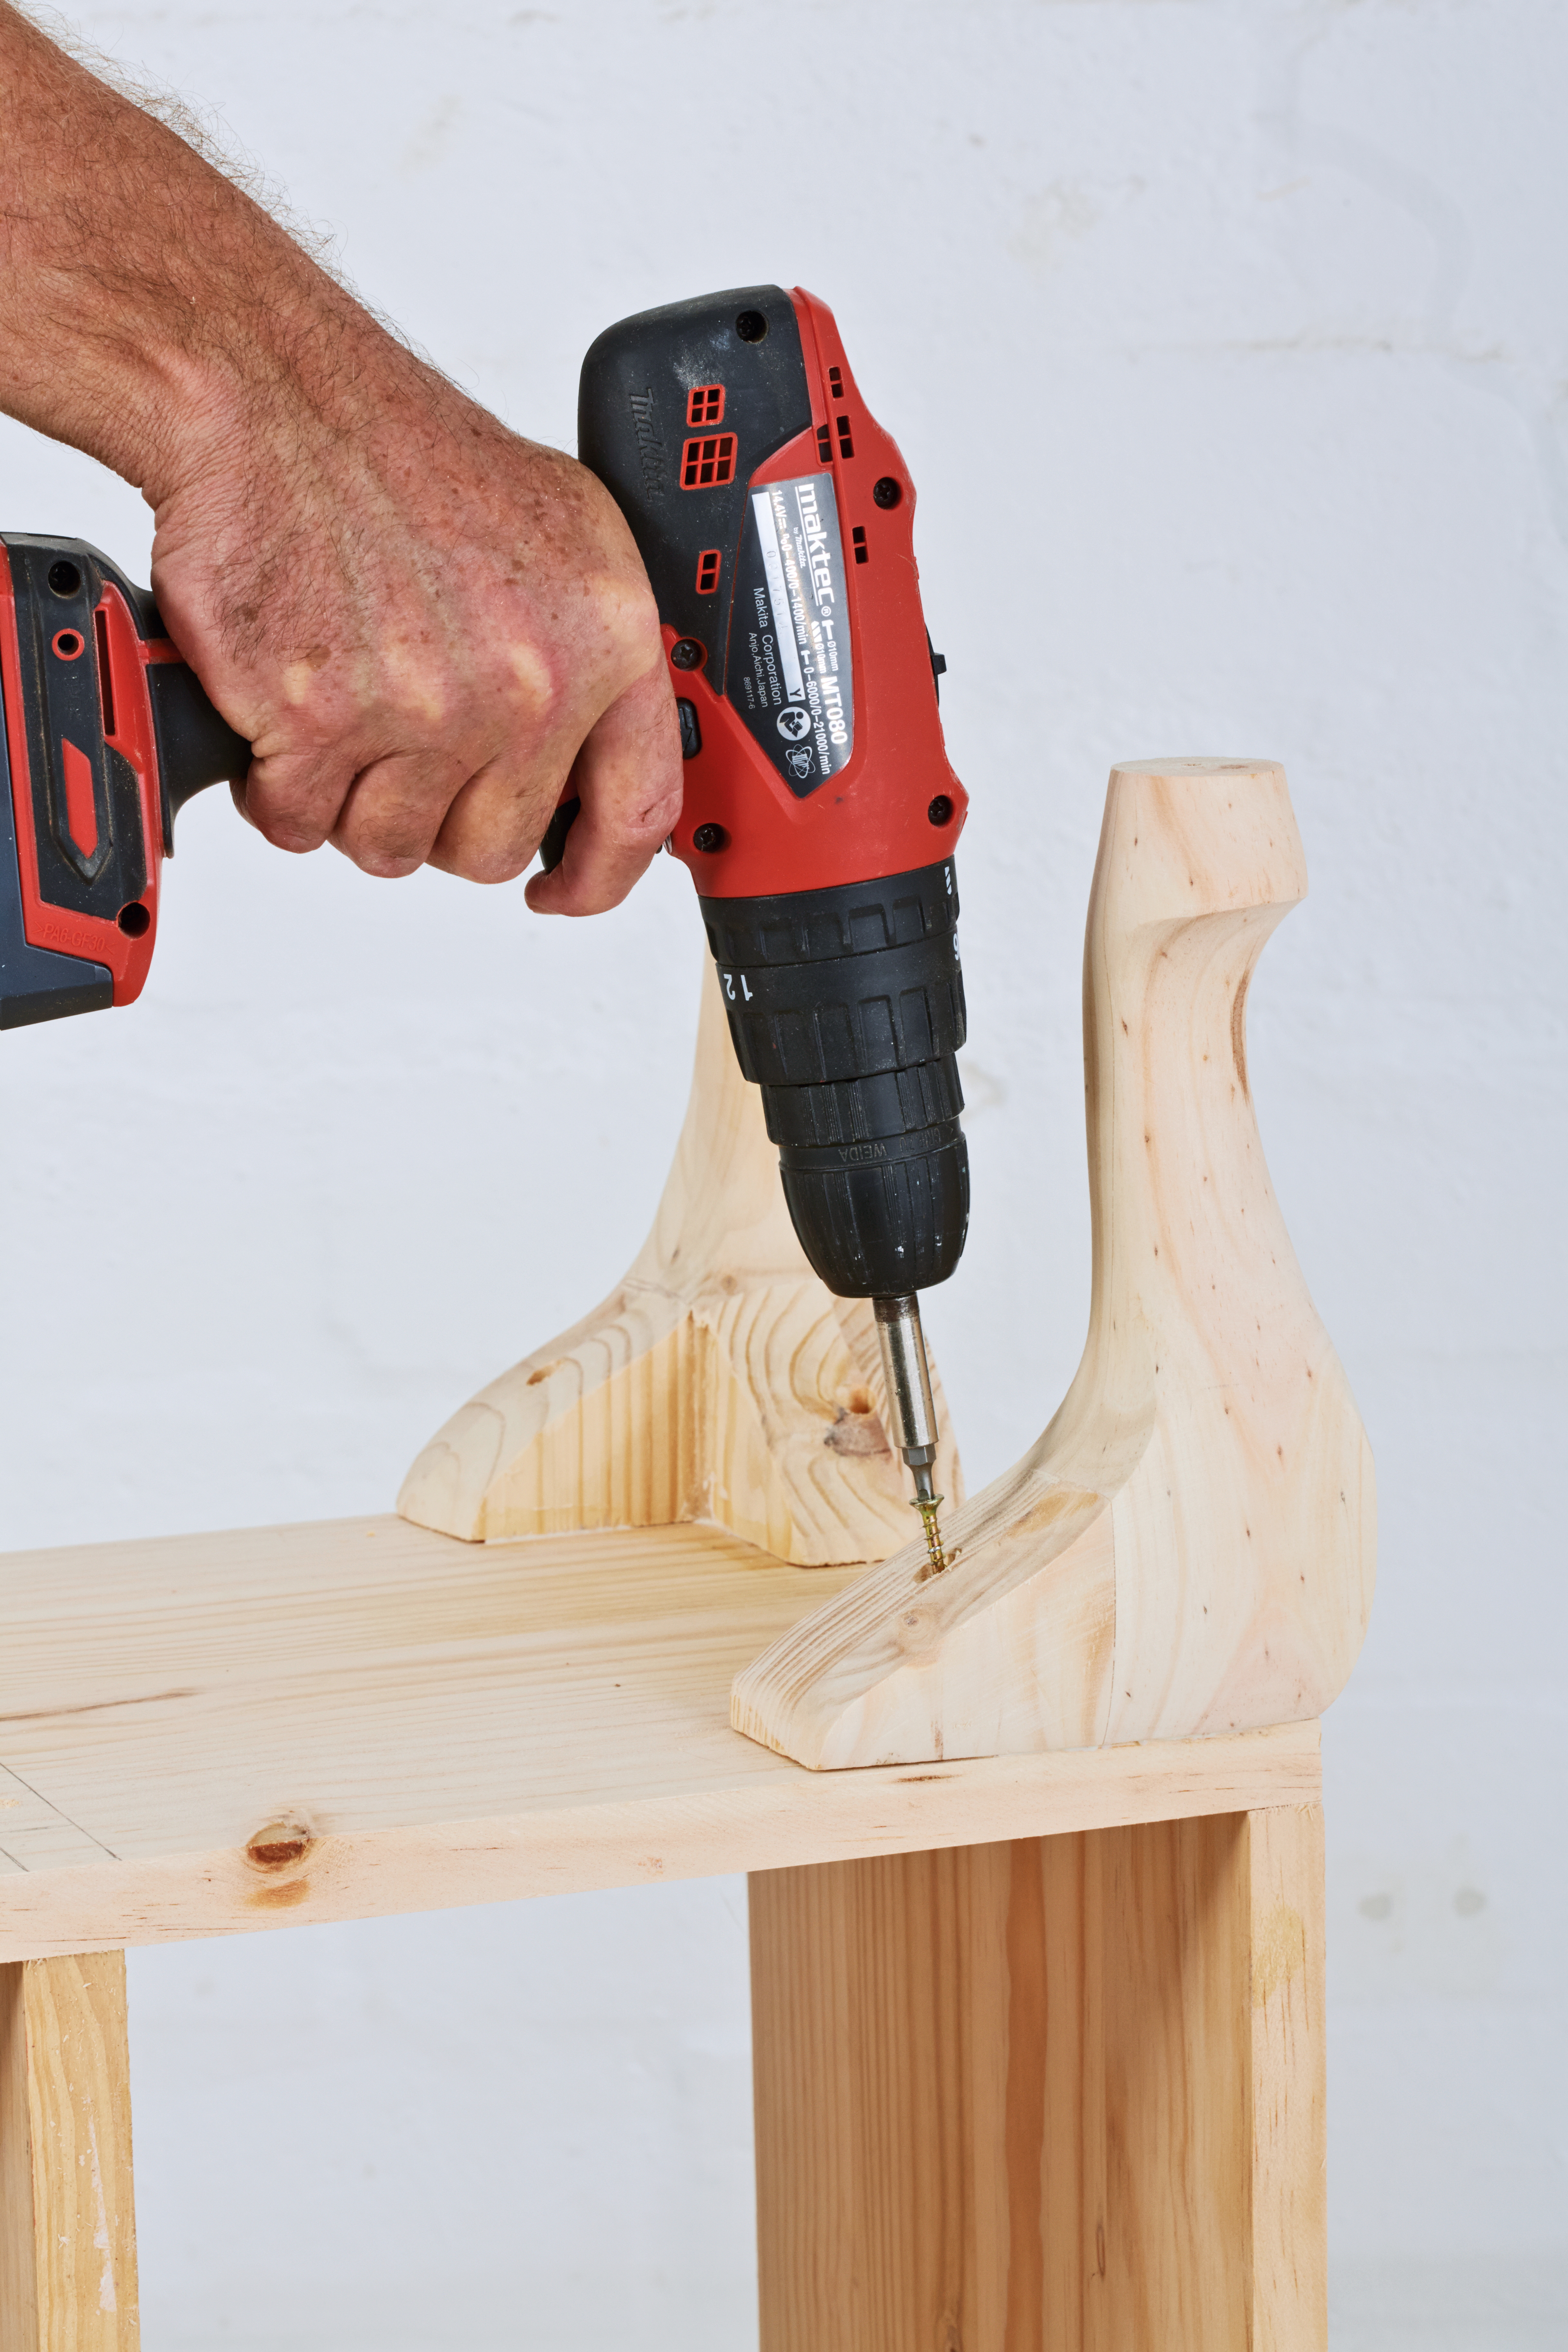
Step 5
Place the two legs at the corners (underside of side section) and fix in place using the 60mm cut screws, as shown.
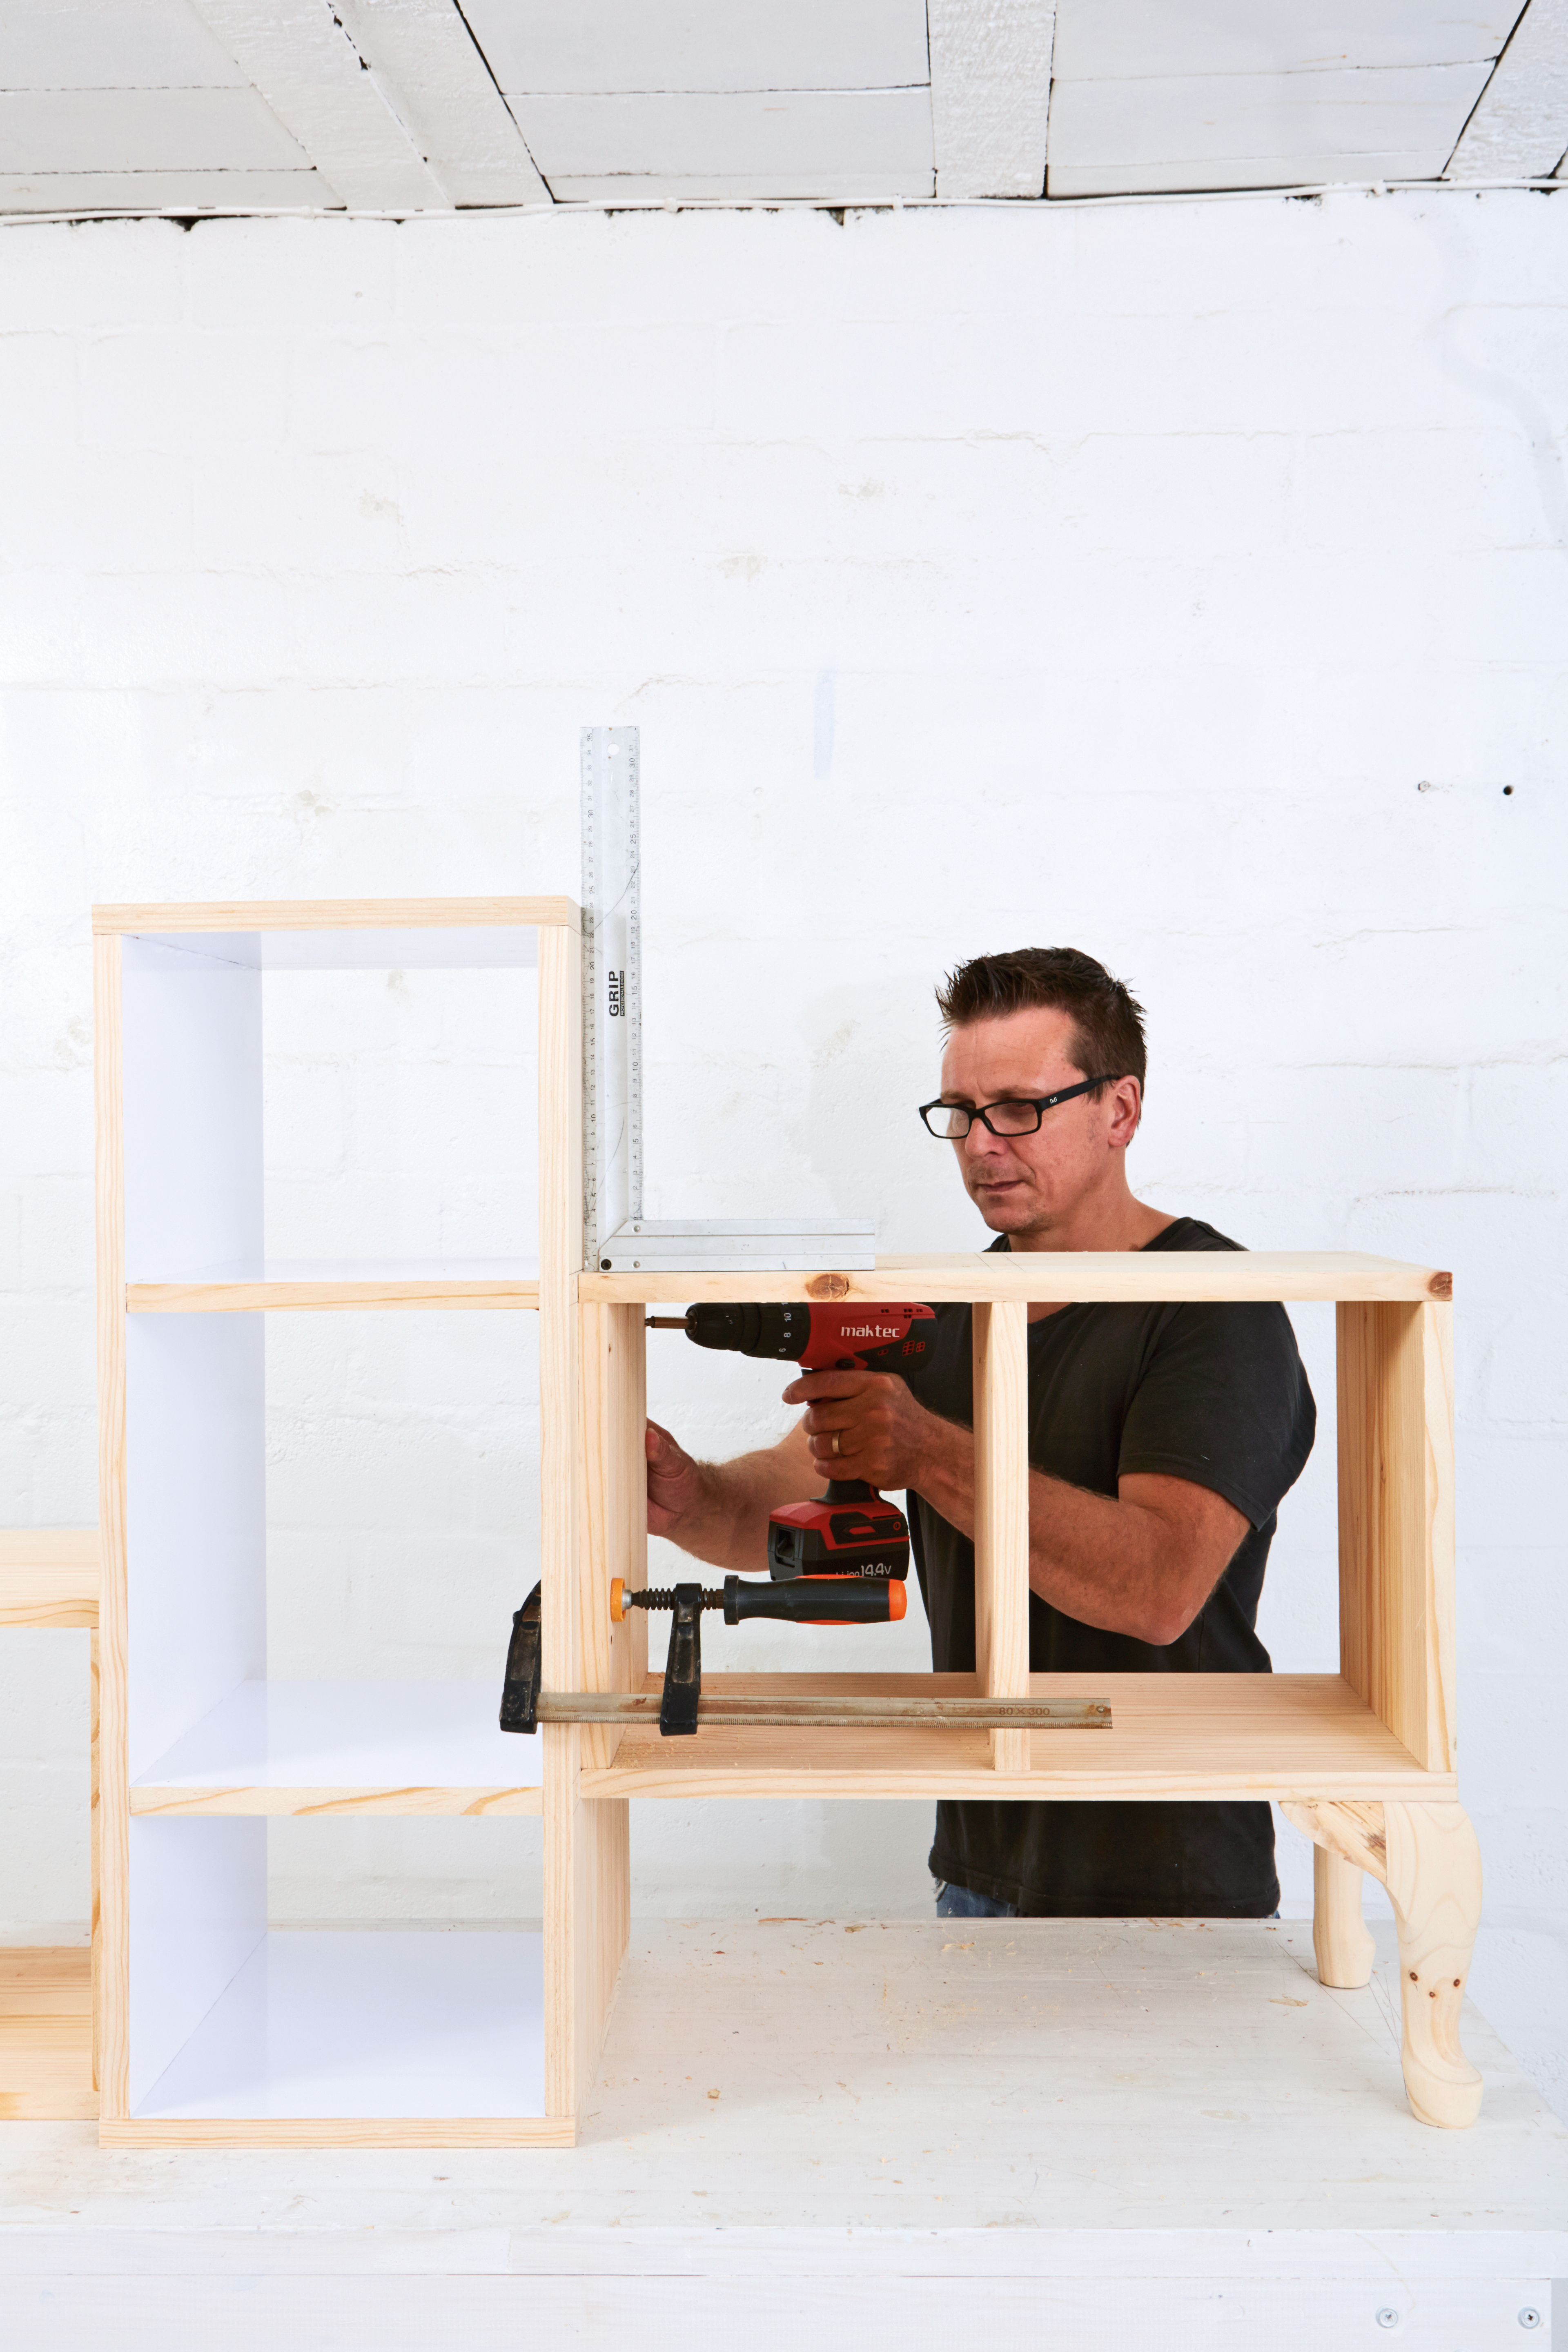
Step 6
Fix the components together in the configuration of your choice, using the 40mm cut screws.
Credits
Referenced from Gallo images / Home Magazine

