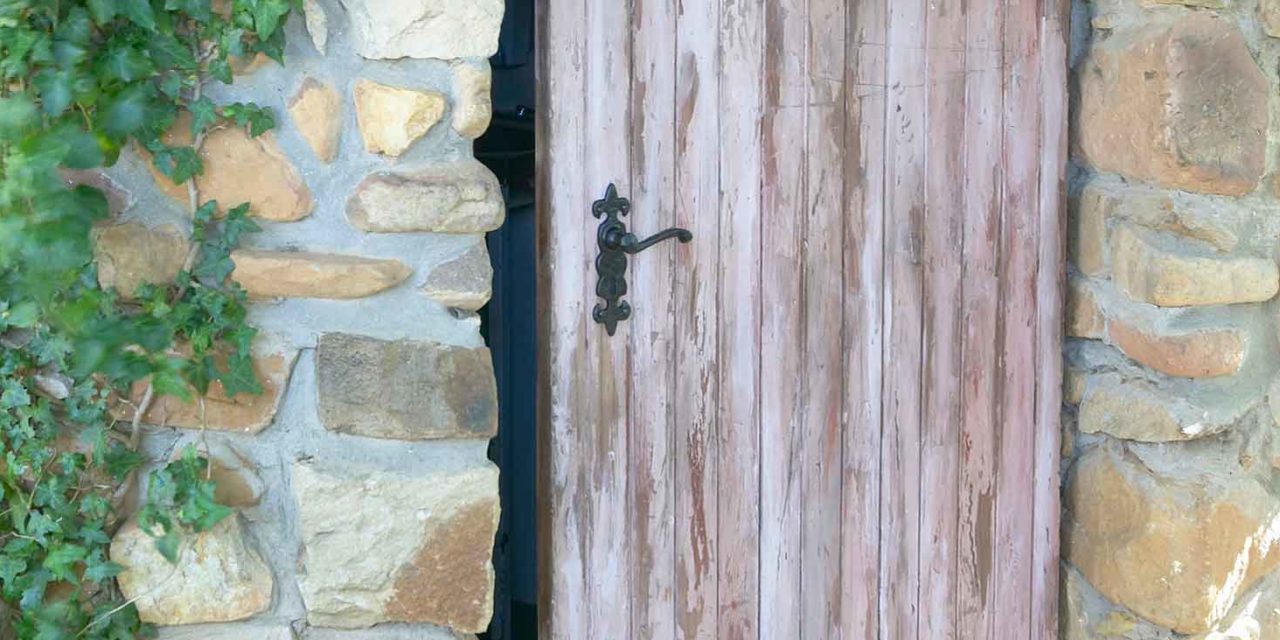
Give a patina of age to items in and around your home with simple paint techniques.
A door with character
Materials you will need:
- wood stain in imbuia
- plastic bowl
- turpentine
- paintbrush
- pine door
- universal paint stain in red and green
- wooden or plastic spatula
- dark wood filler
- petroleum jelly
- white candle
- PVA paint
- paint scraper
- hammer
- chisel
- acrylic paint glaze medium
- dark brown acrylic paint
- old rag
- steel wool
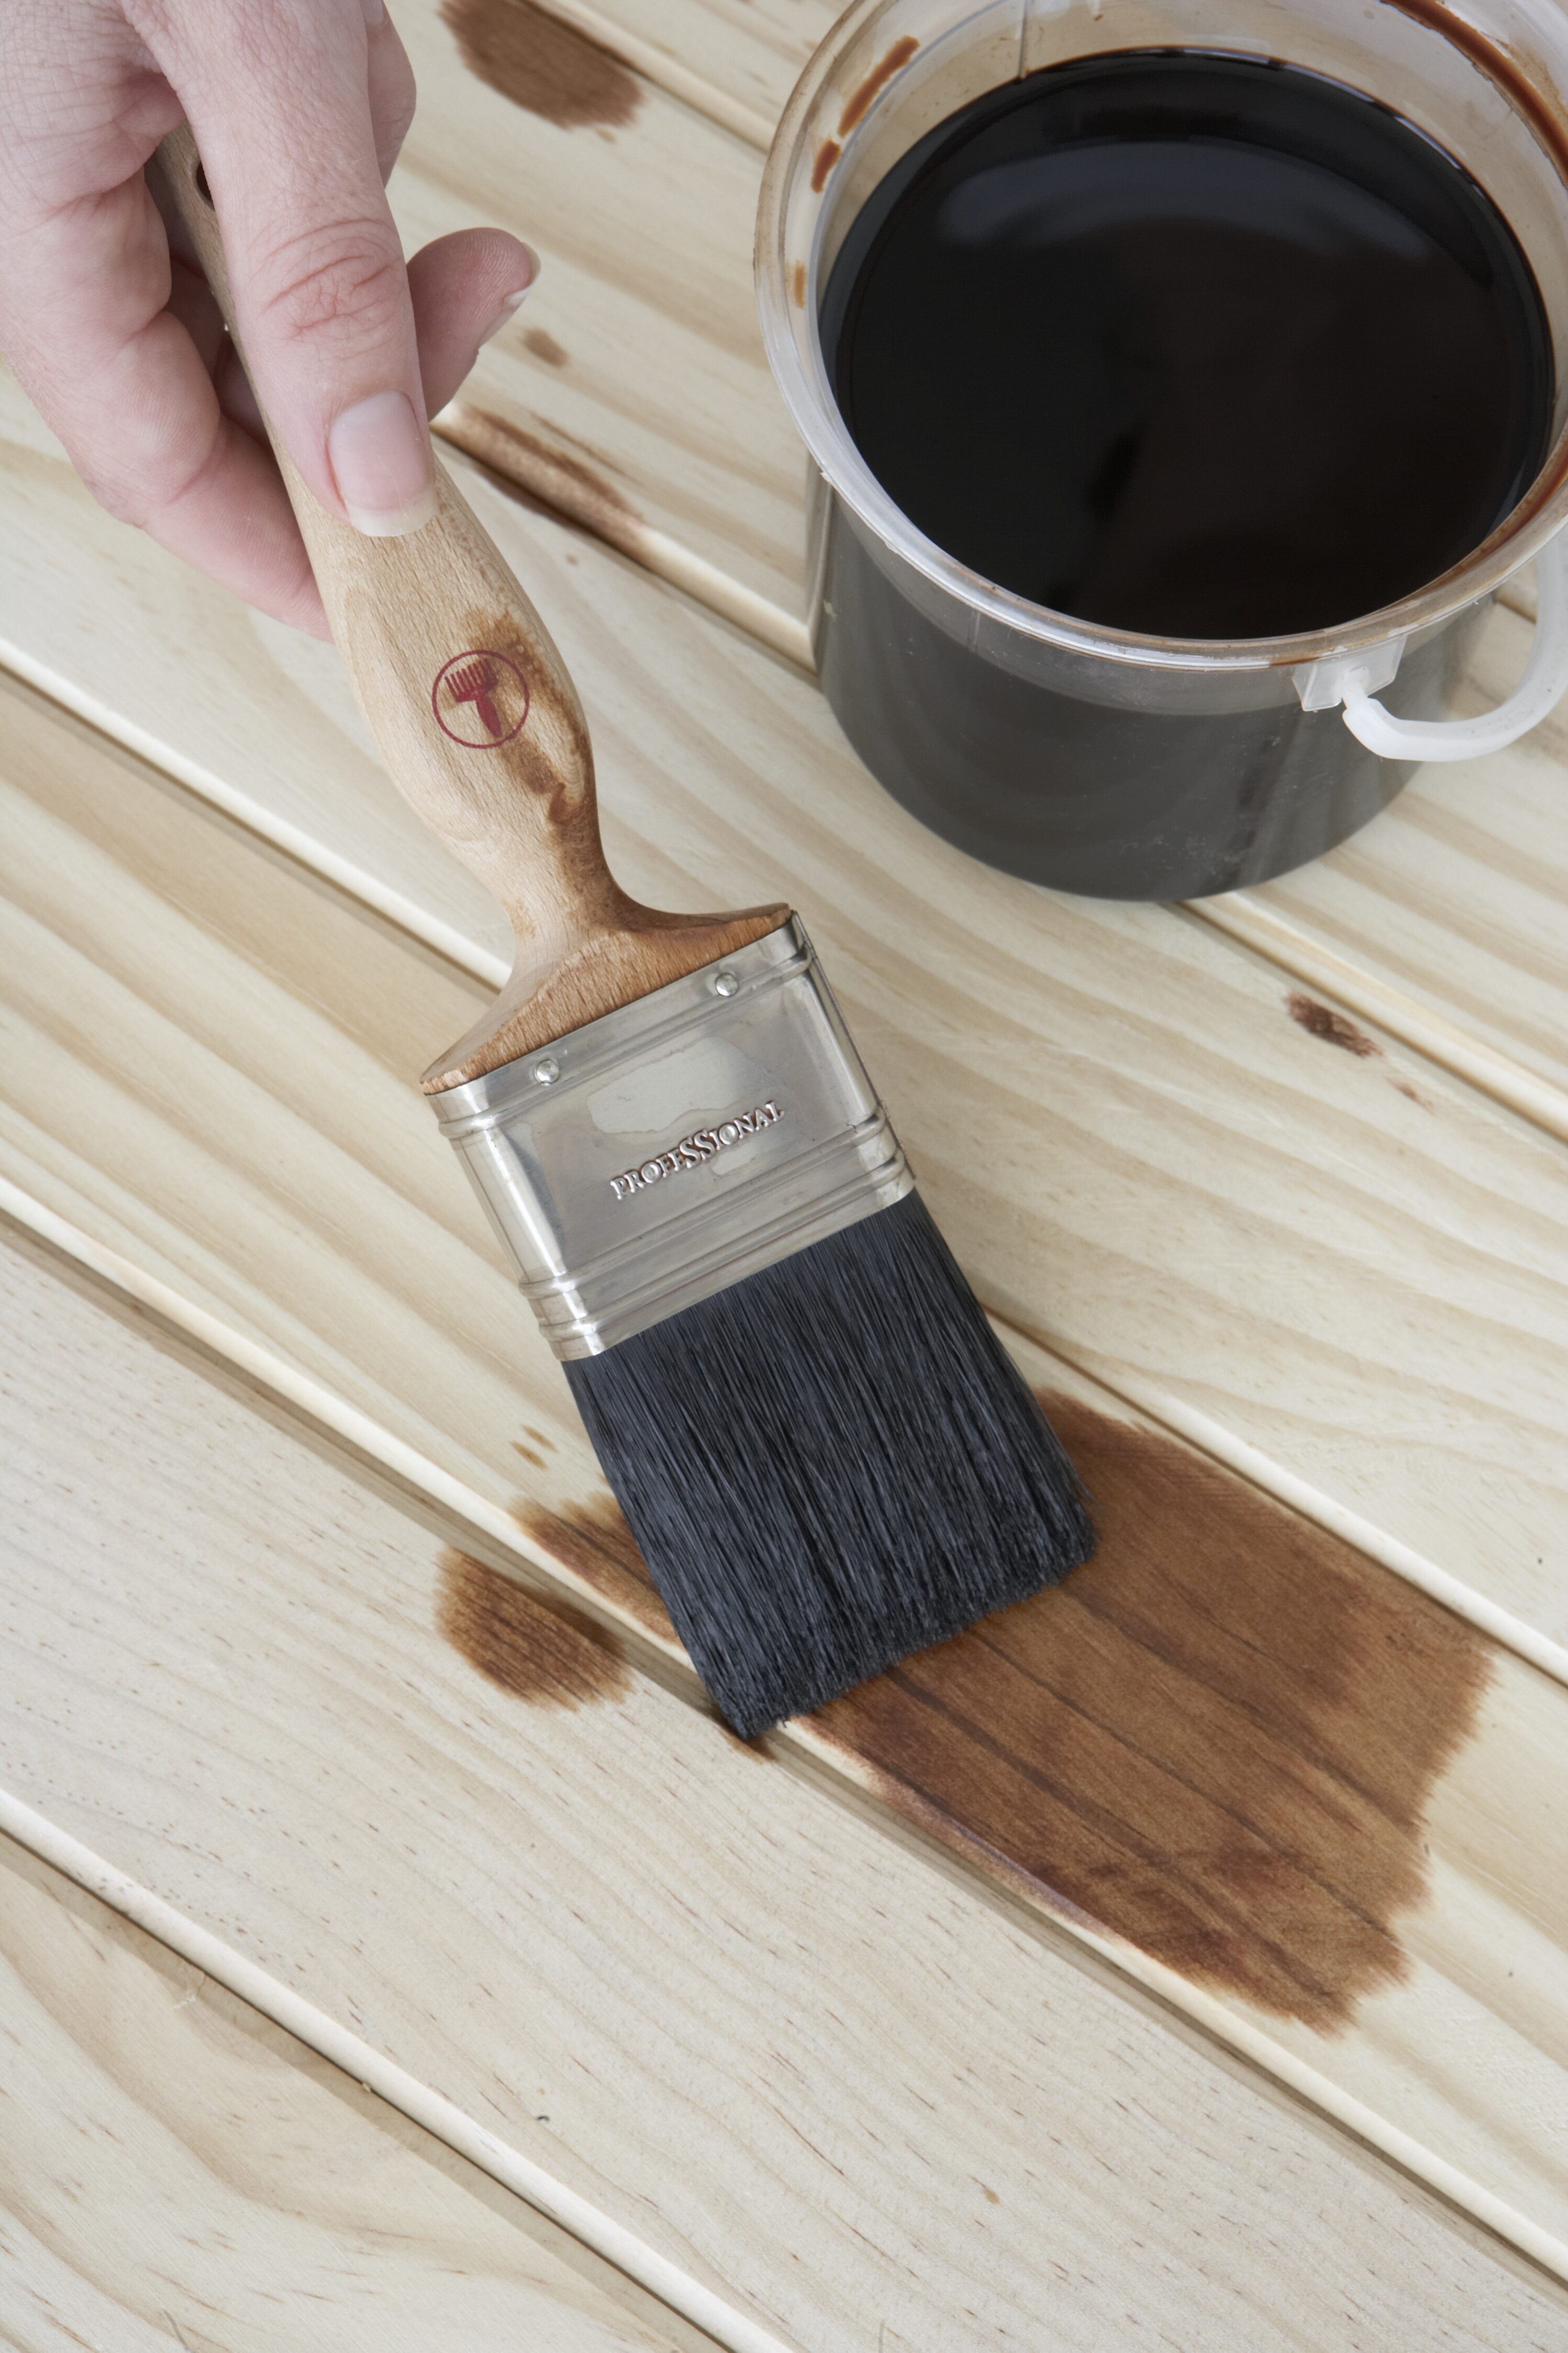
Step 1
Pour a little wood stain into a plastic bowl and thin it slightly with turpentine so the wood will absorb it more readily. Apply an even coat of the mixture over the door and leave to dry slightly. Repeat until you are satisfied with the colour.
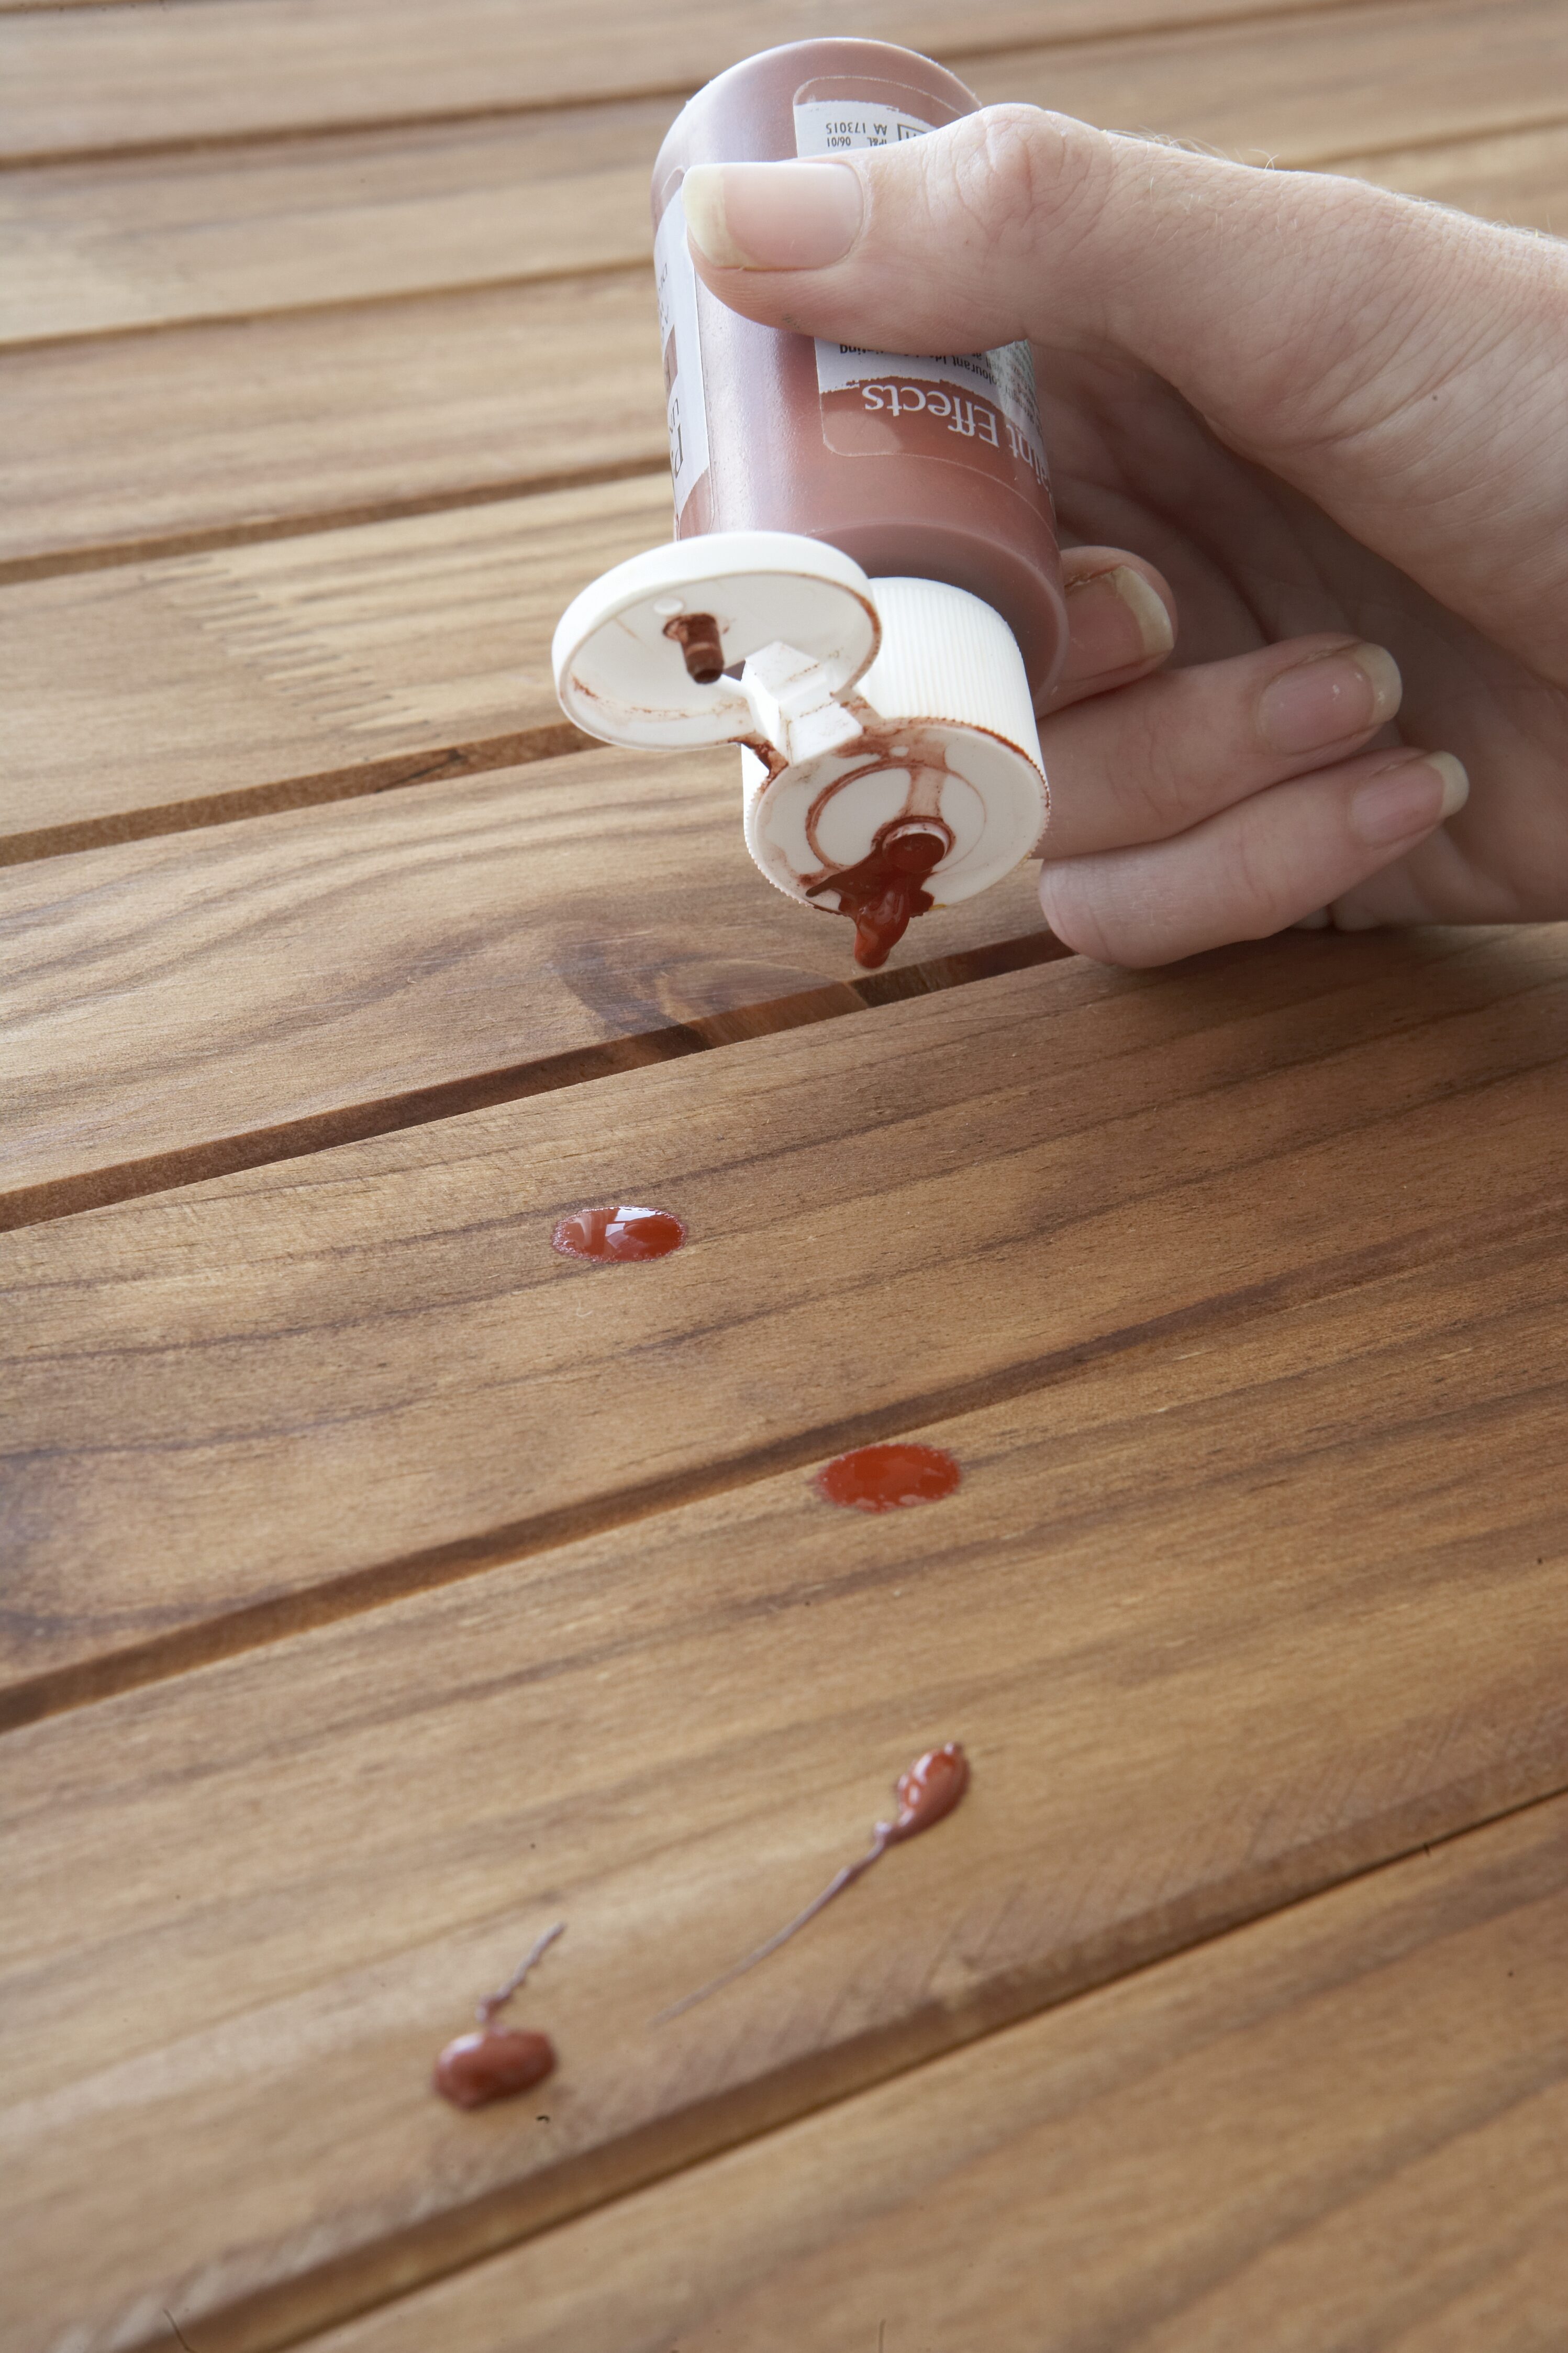
Step 2
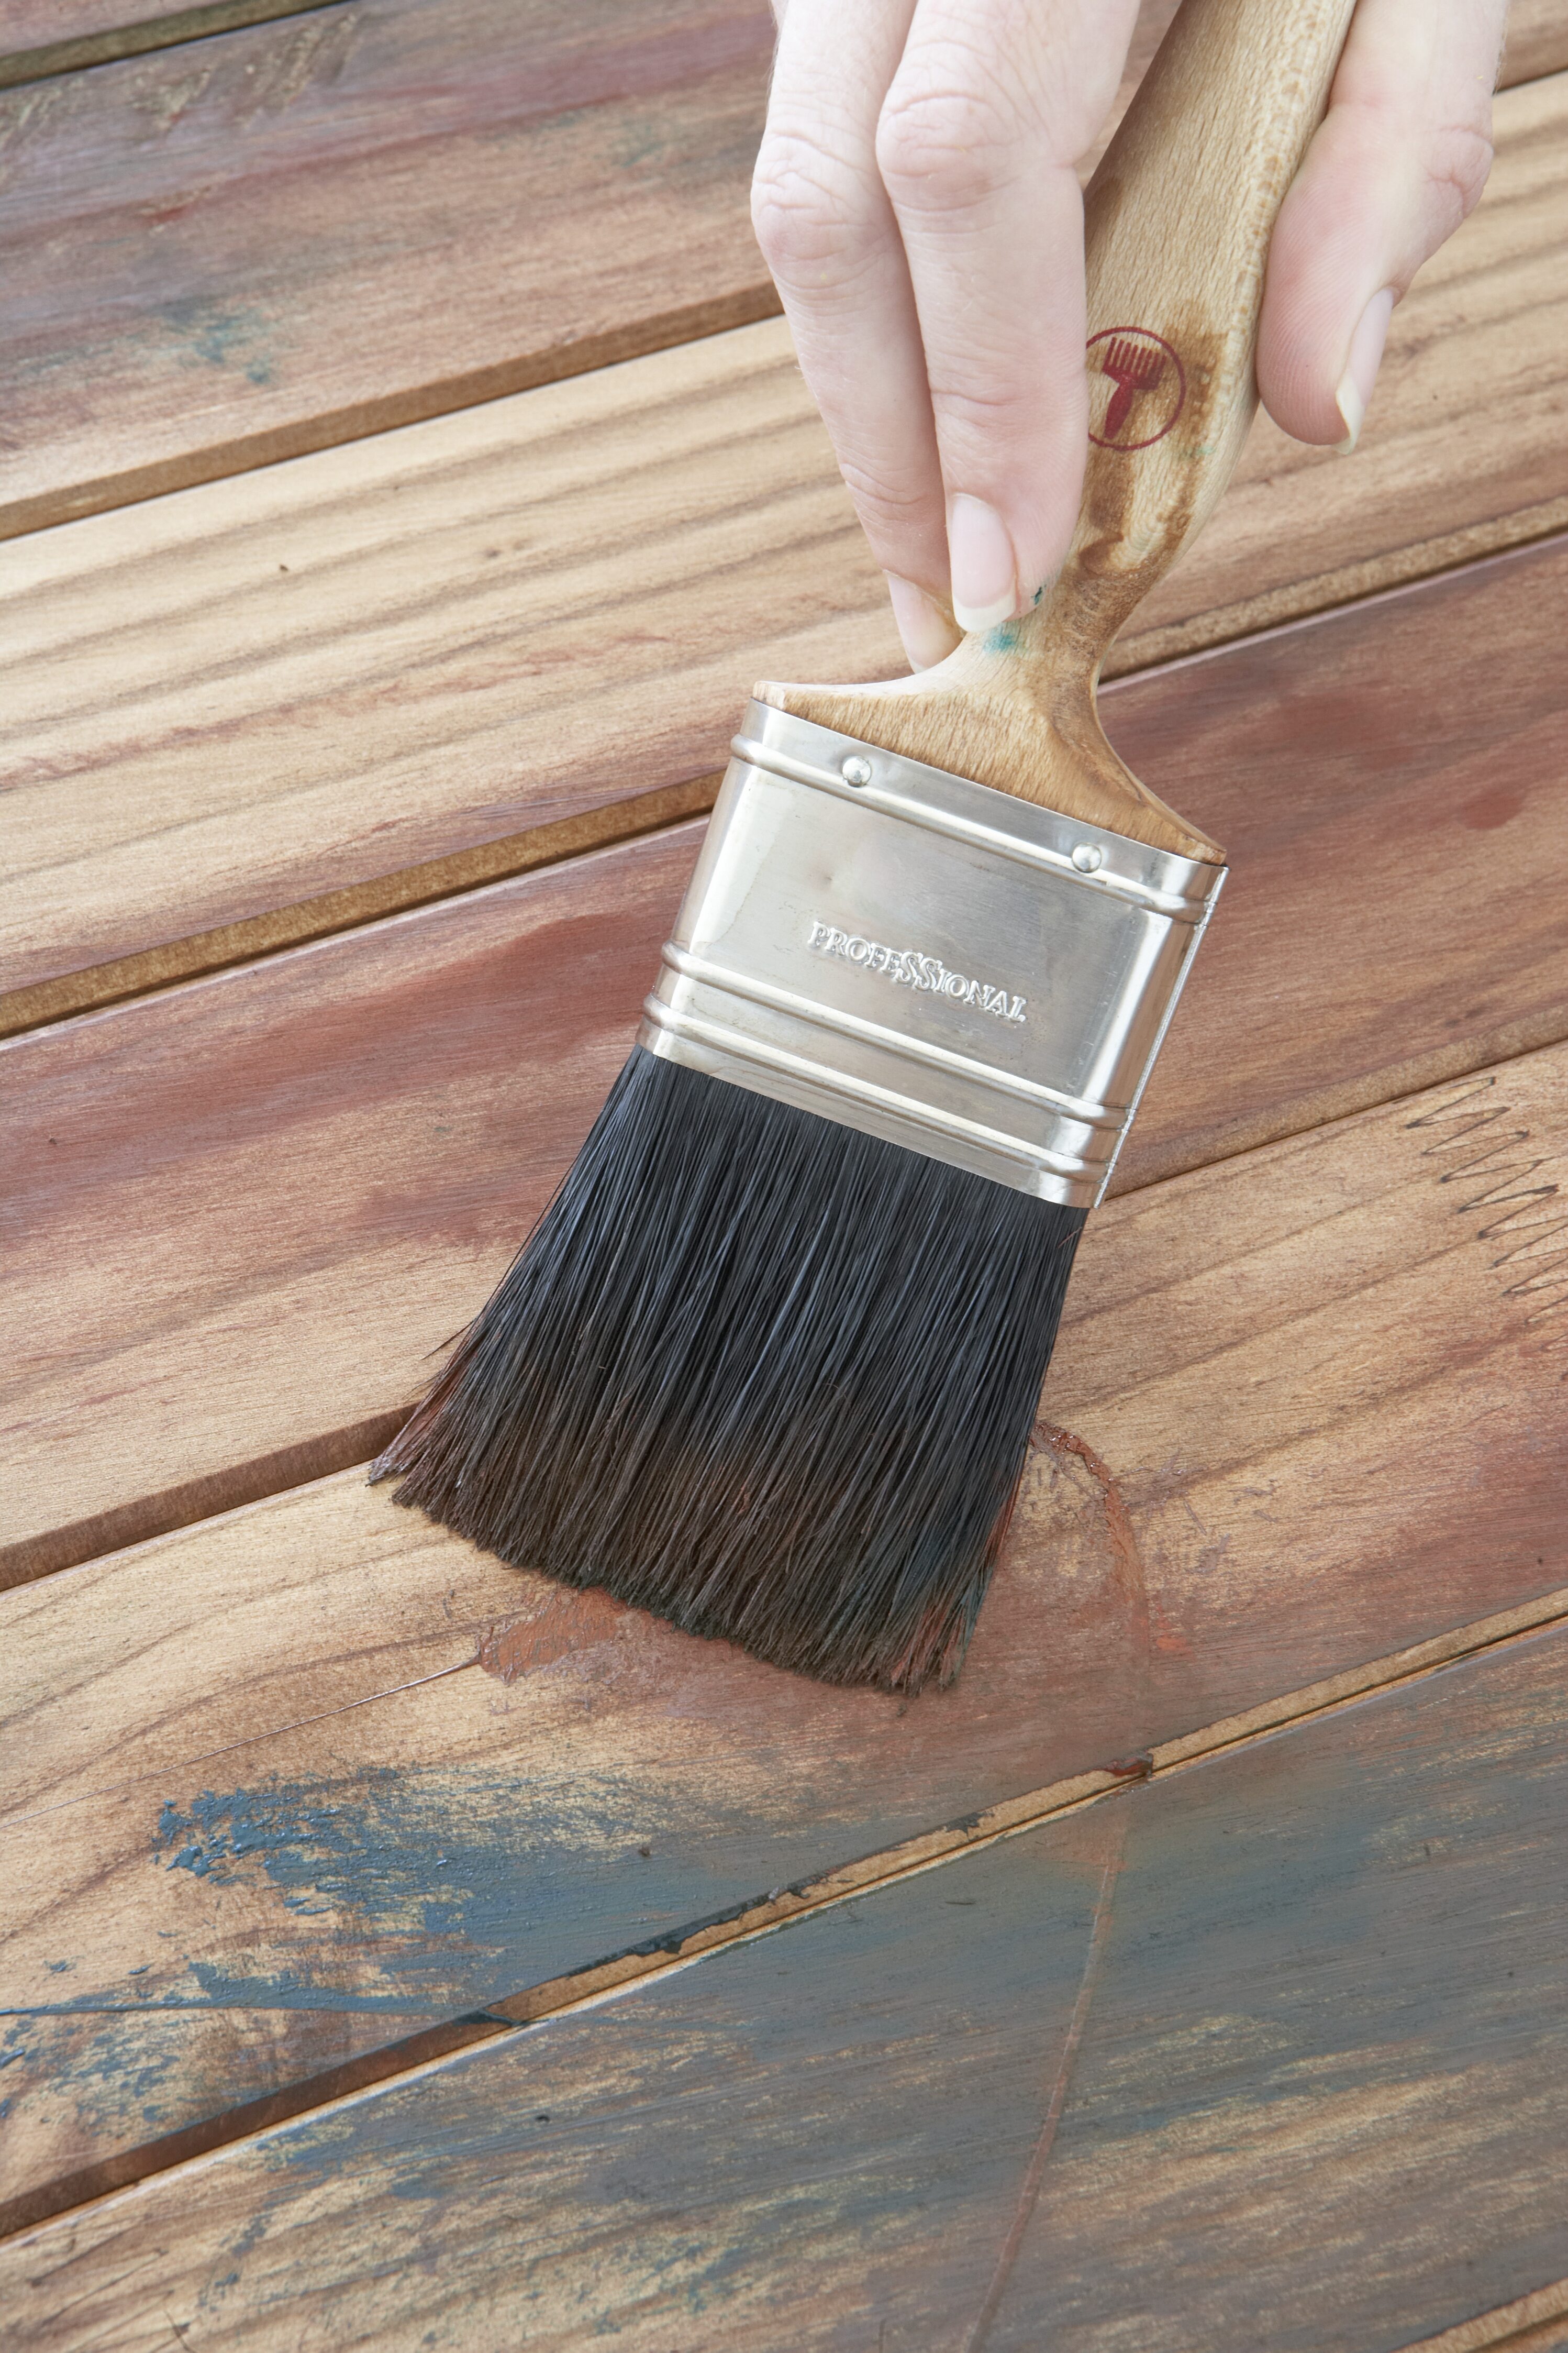
Drip small amounts of red and green stain onto the wood. Use sparingly.
Step 3
Paint the stain into the wood using a dry paintbrush. This will help to give it an aged appearance.
Step 4
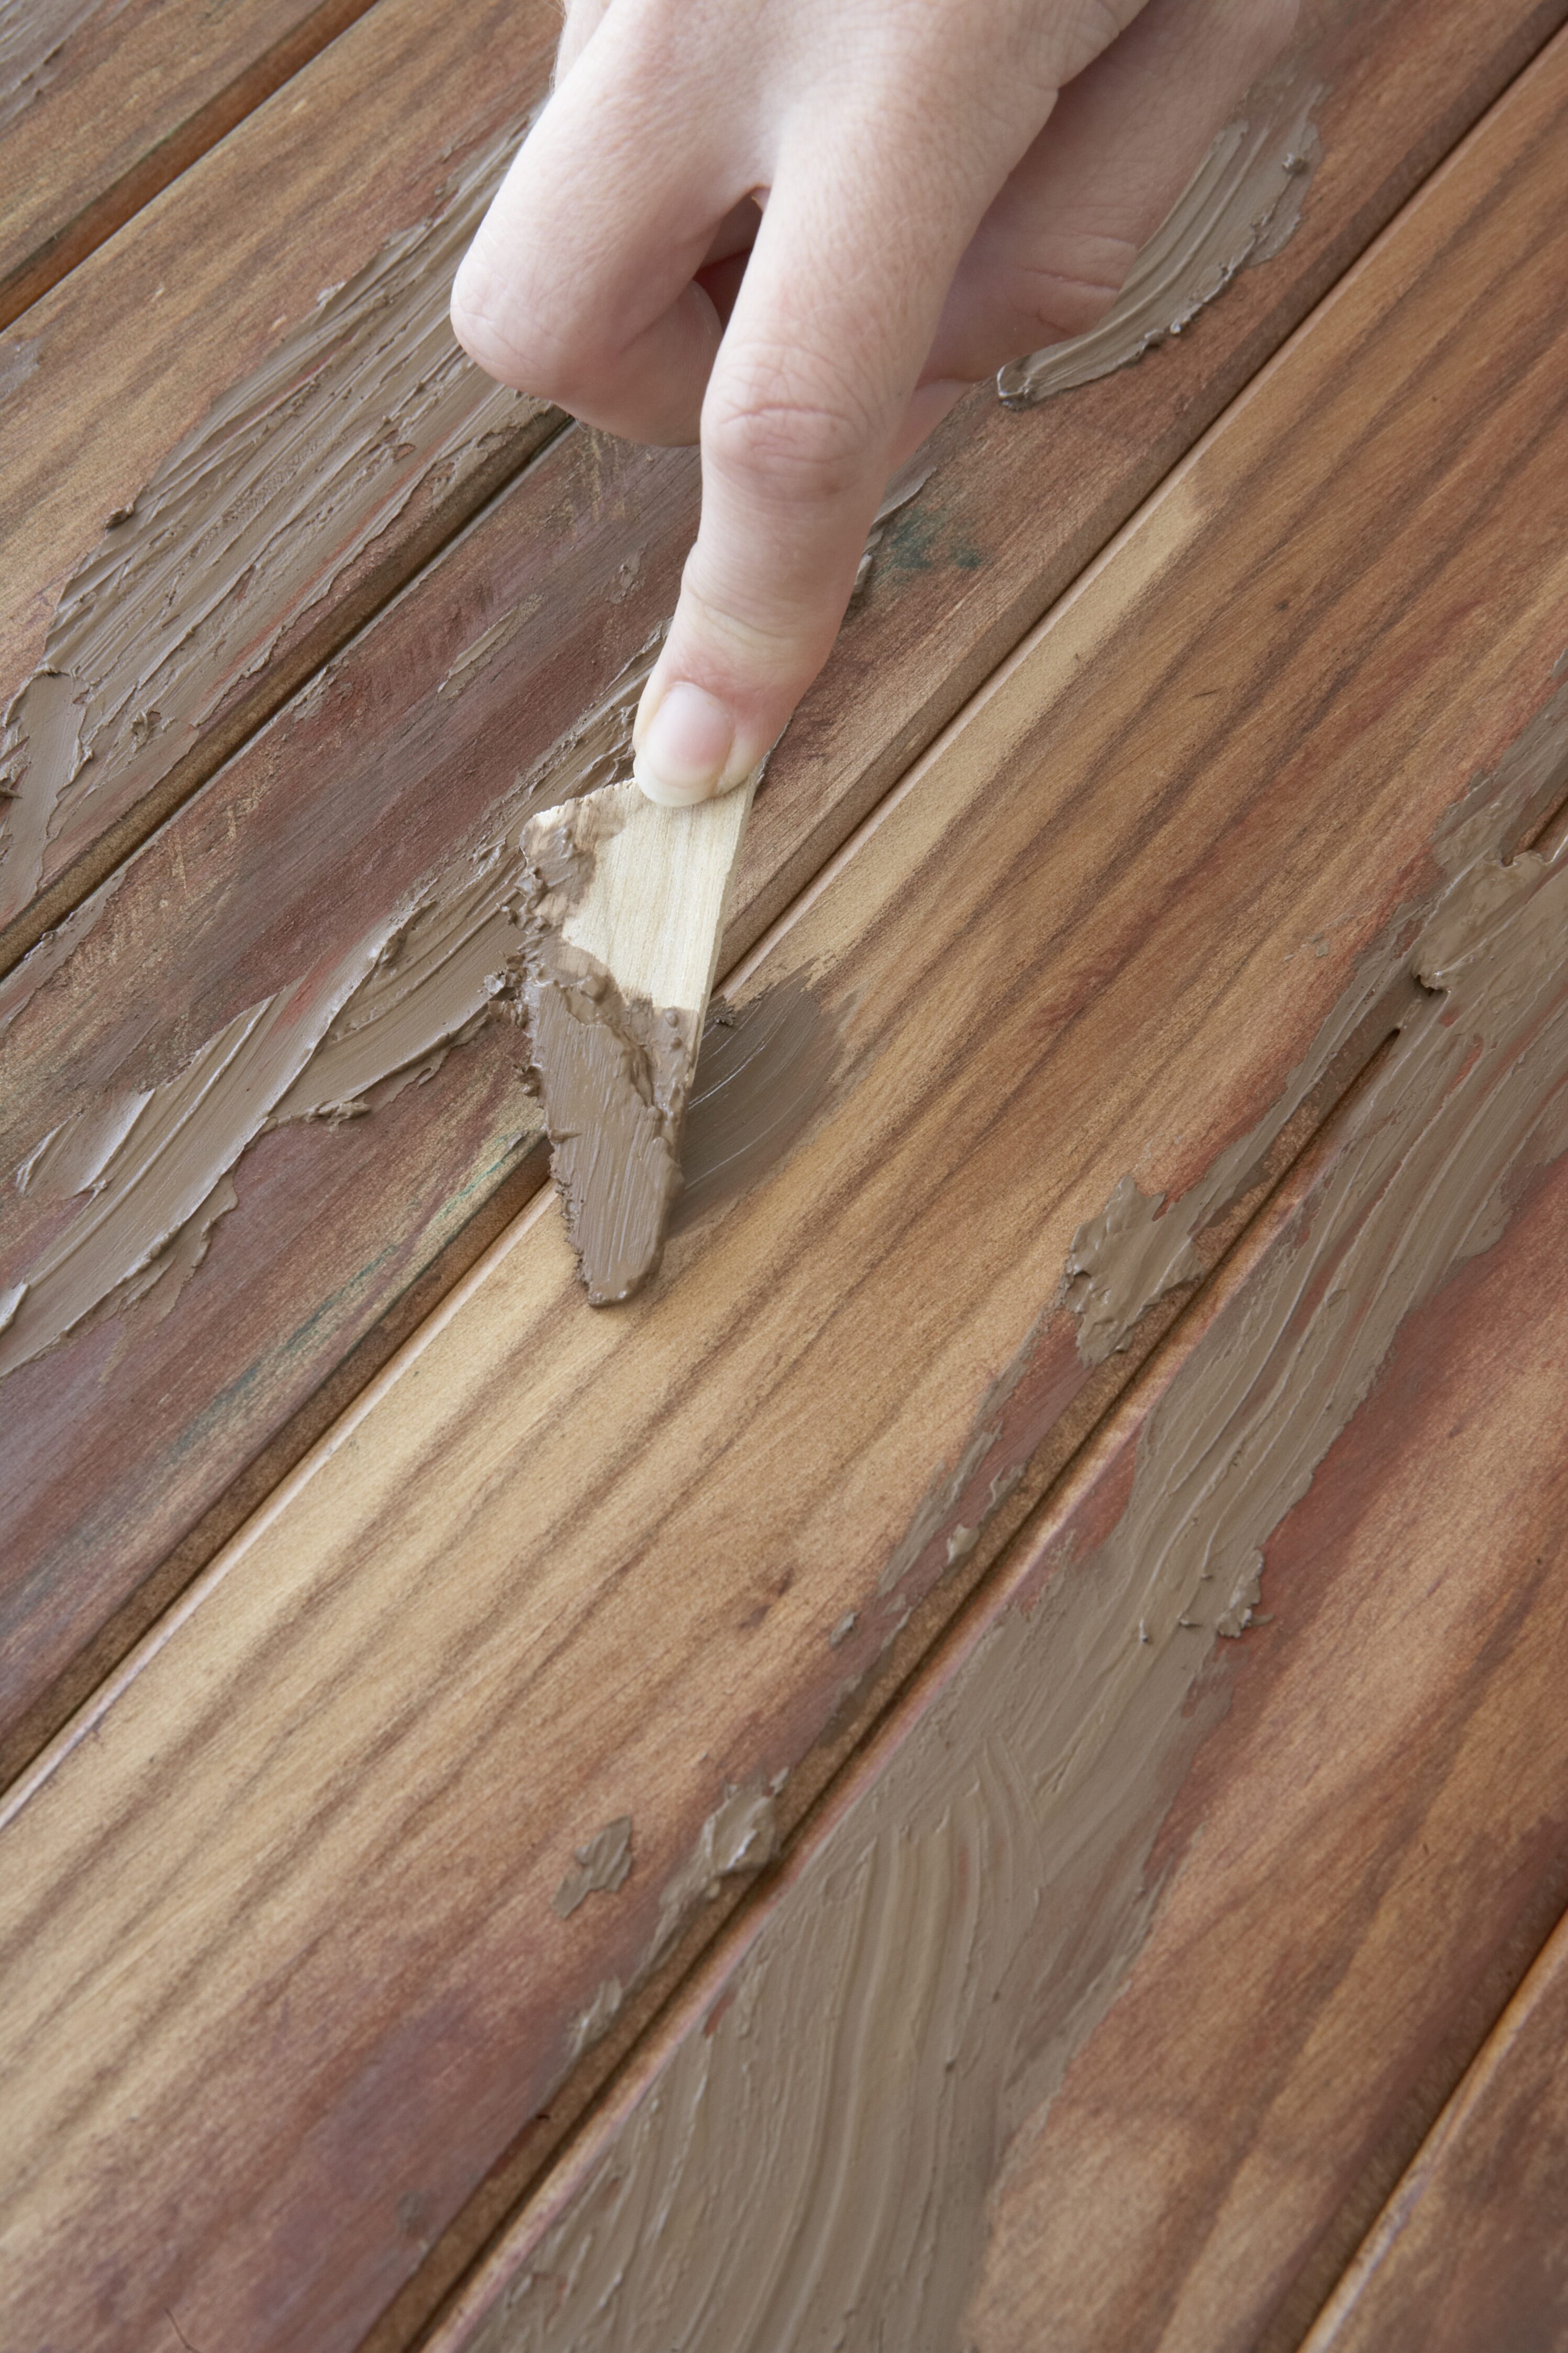
Use a spatula to apply wood filler to the wood in places to give it extra texture. Apply it with the grain and leave to dry once you are satisfied with the appearance.
Step 5
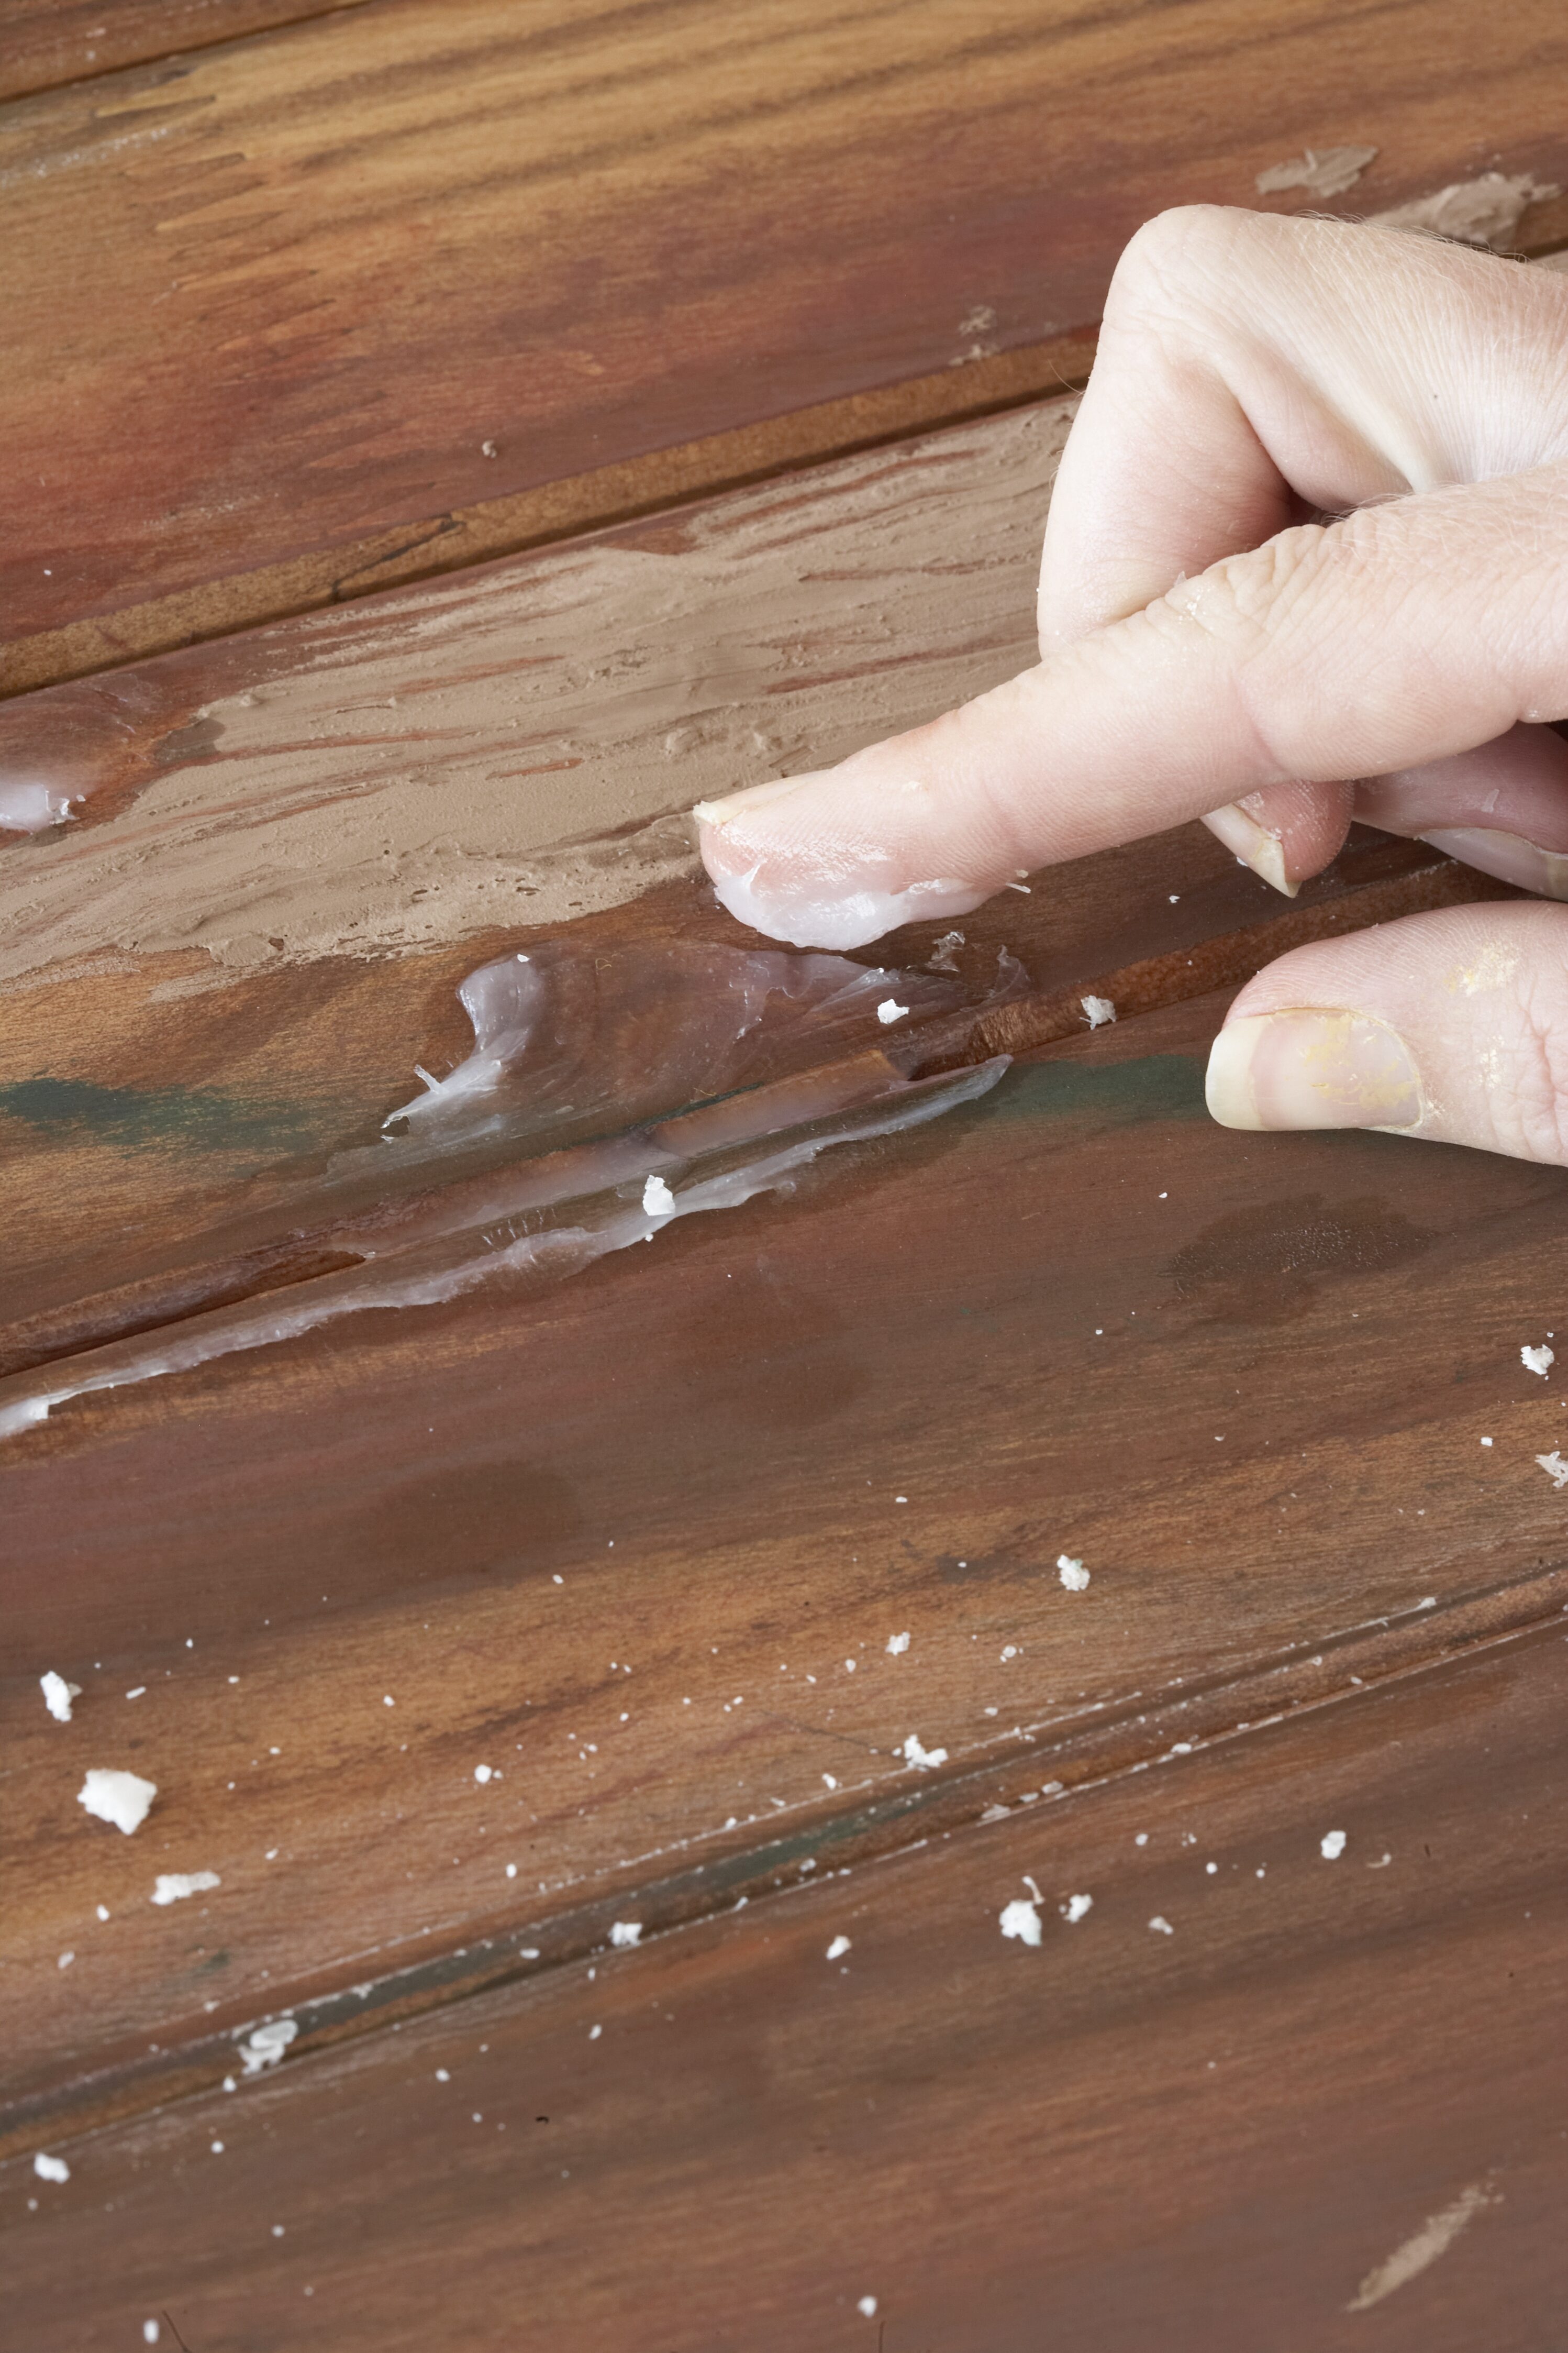
Use your fingers to apply petroleum jelly in places that would normally be the first to show signs of wear, such as grooves and edges. Then rub hard over the surface of the door with a white candle. The petroleum jelly and candle wax will precent the paint from adhering to the surface of the wood, creating the attractive chopped-paint appearance.
Step 6
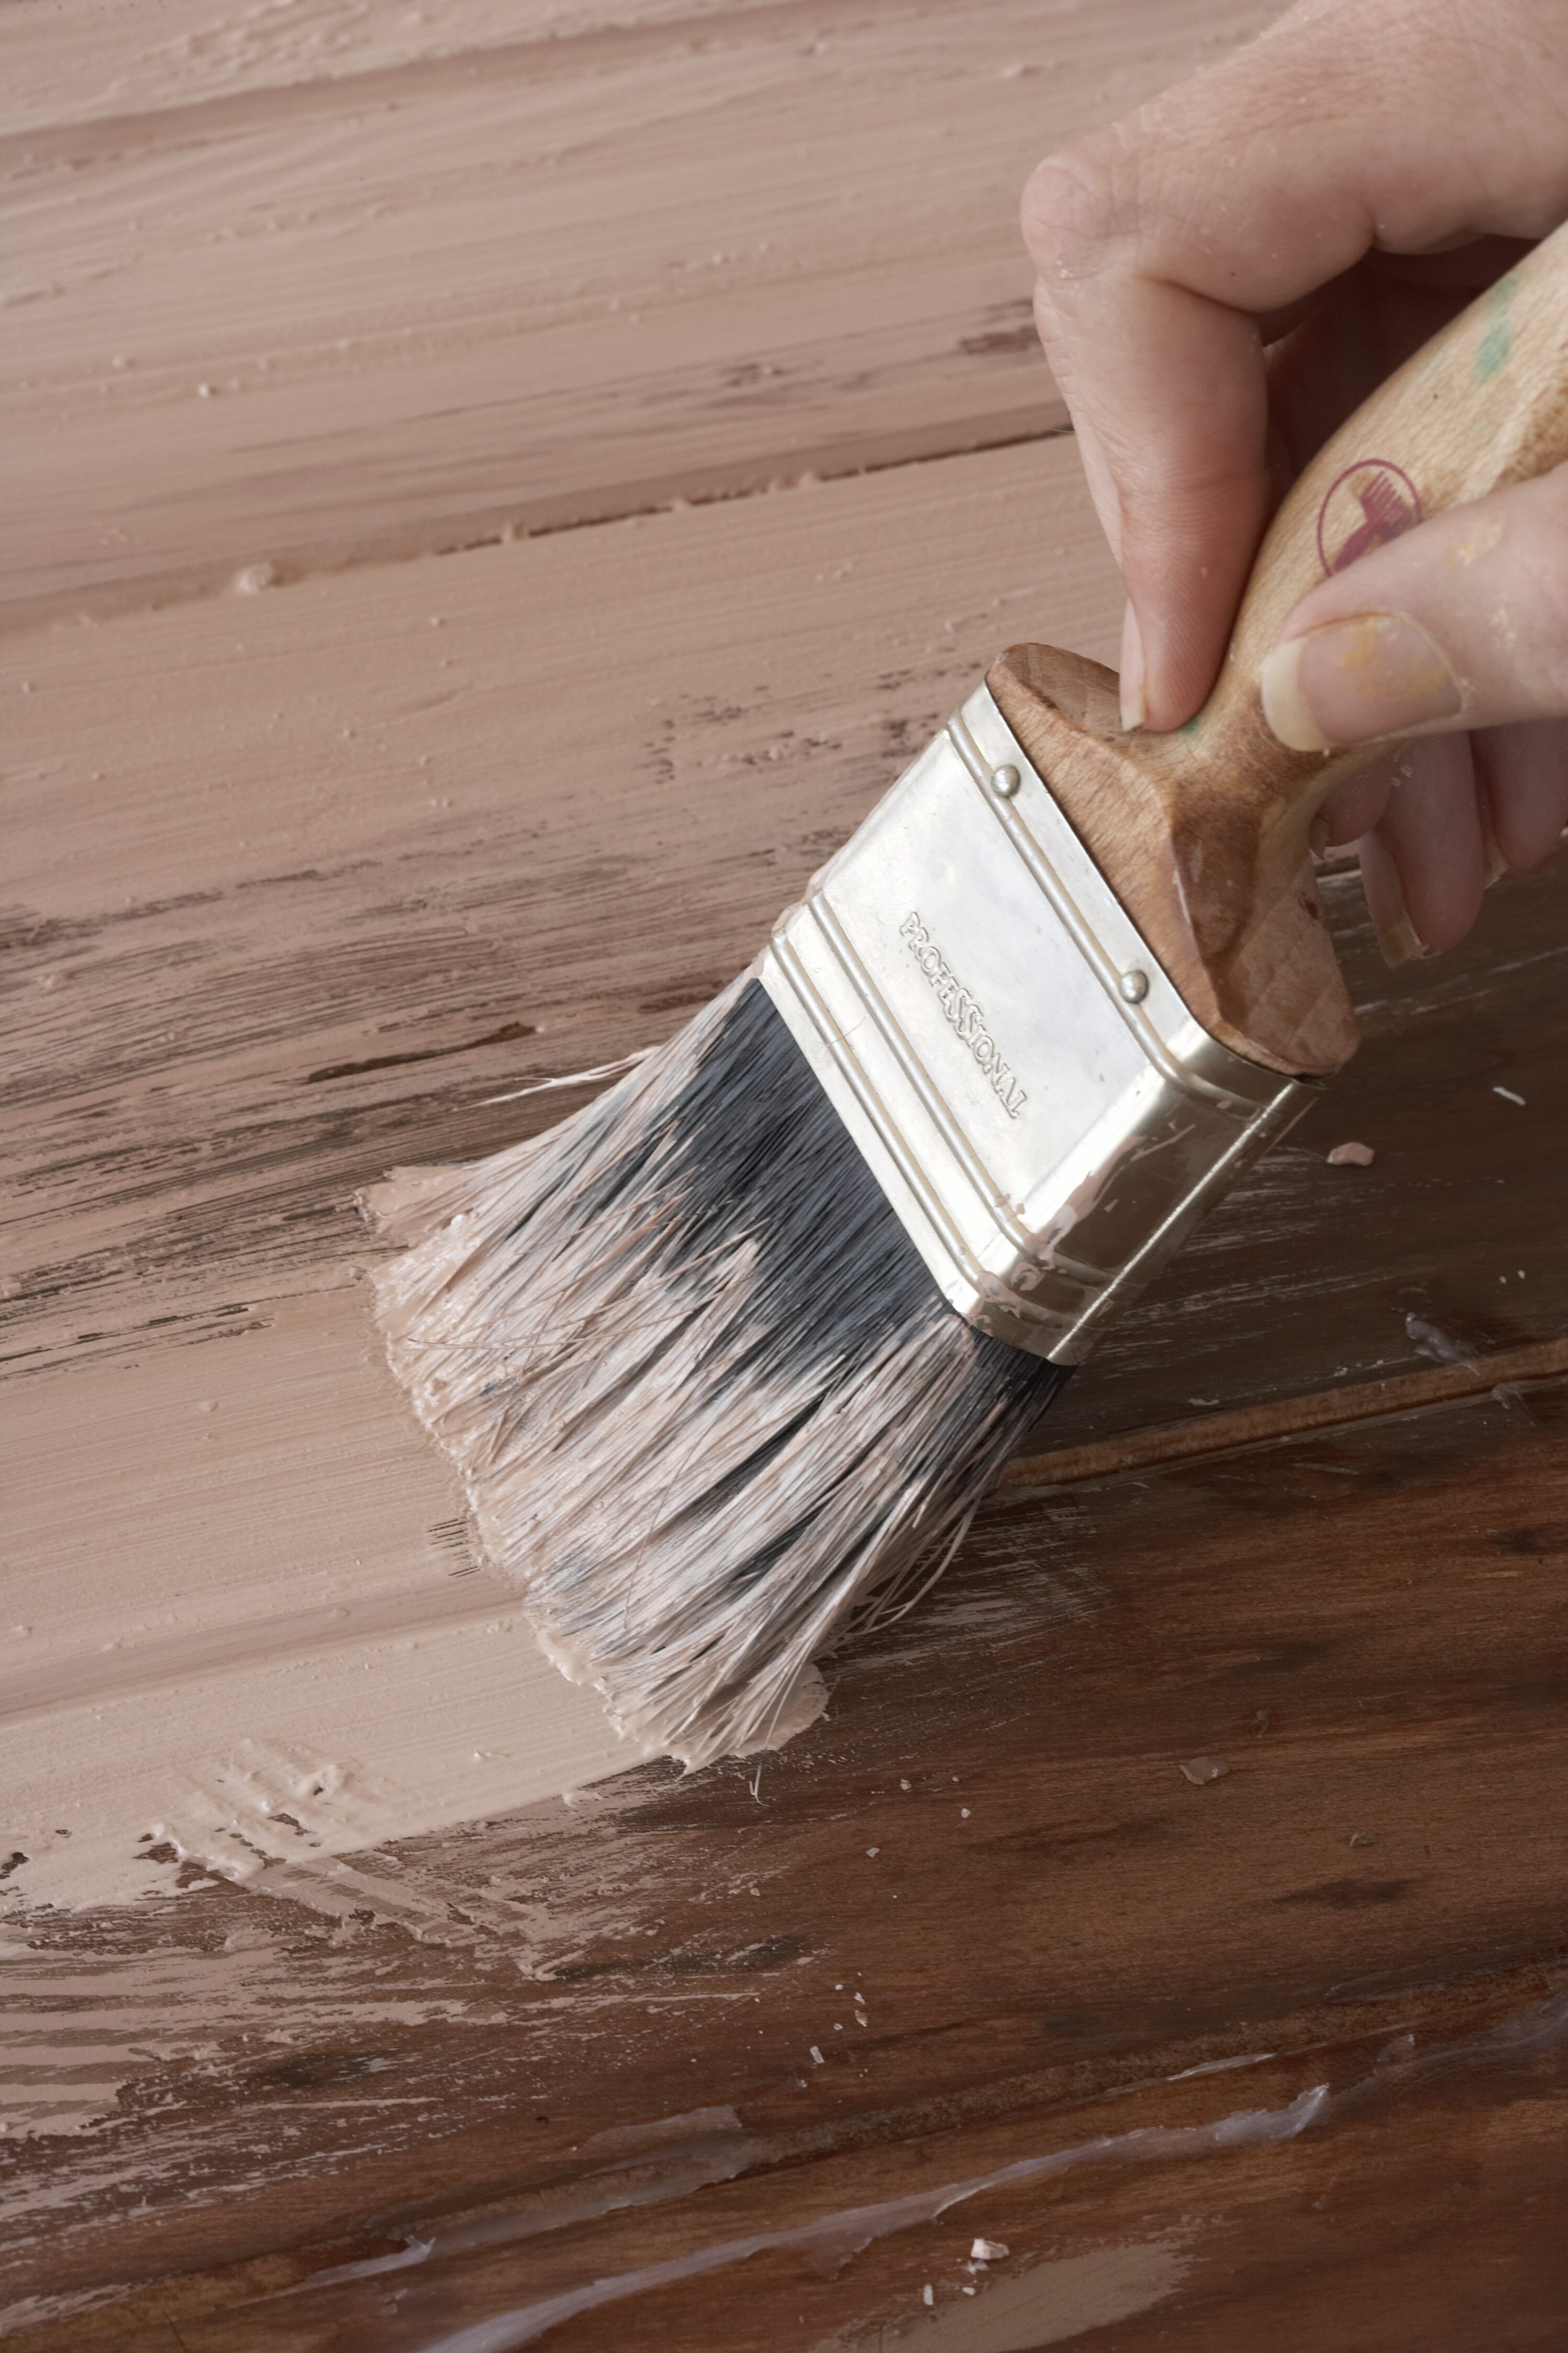
Apply a fairly thick coat of PVA paint over the wood filler, petroleum jelly and candle wax, covering the entire door. Use both colours and paint some parts of the door in one colour and others in the alternative shade. Blend the colours as you go, then leave to dry completely.
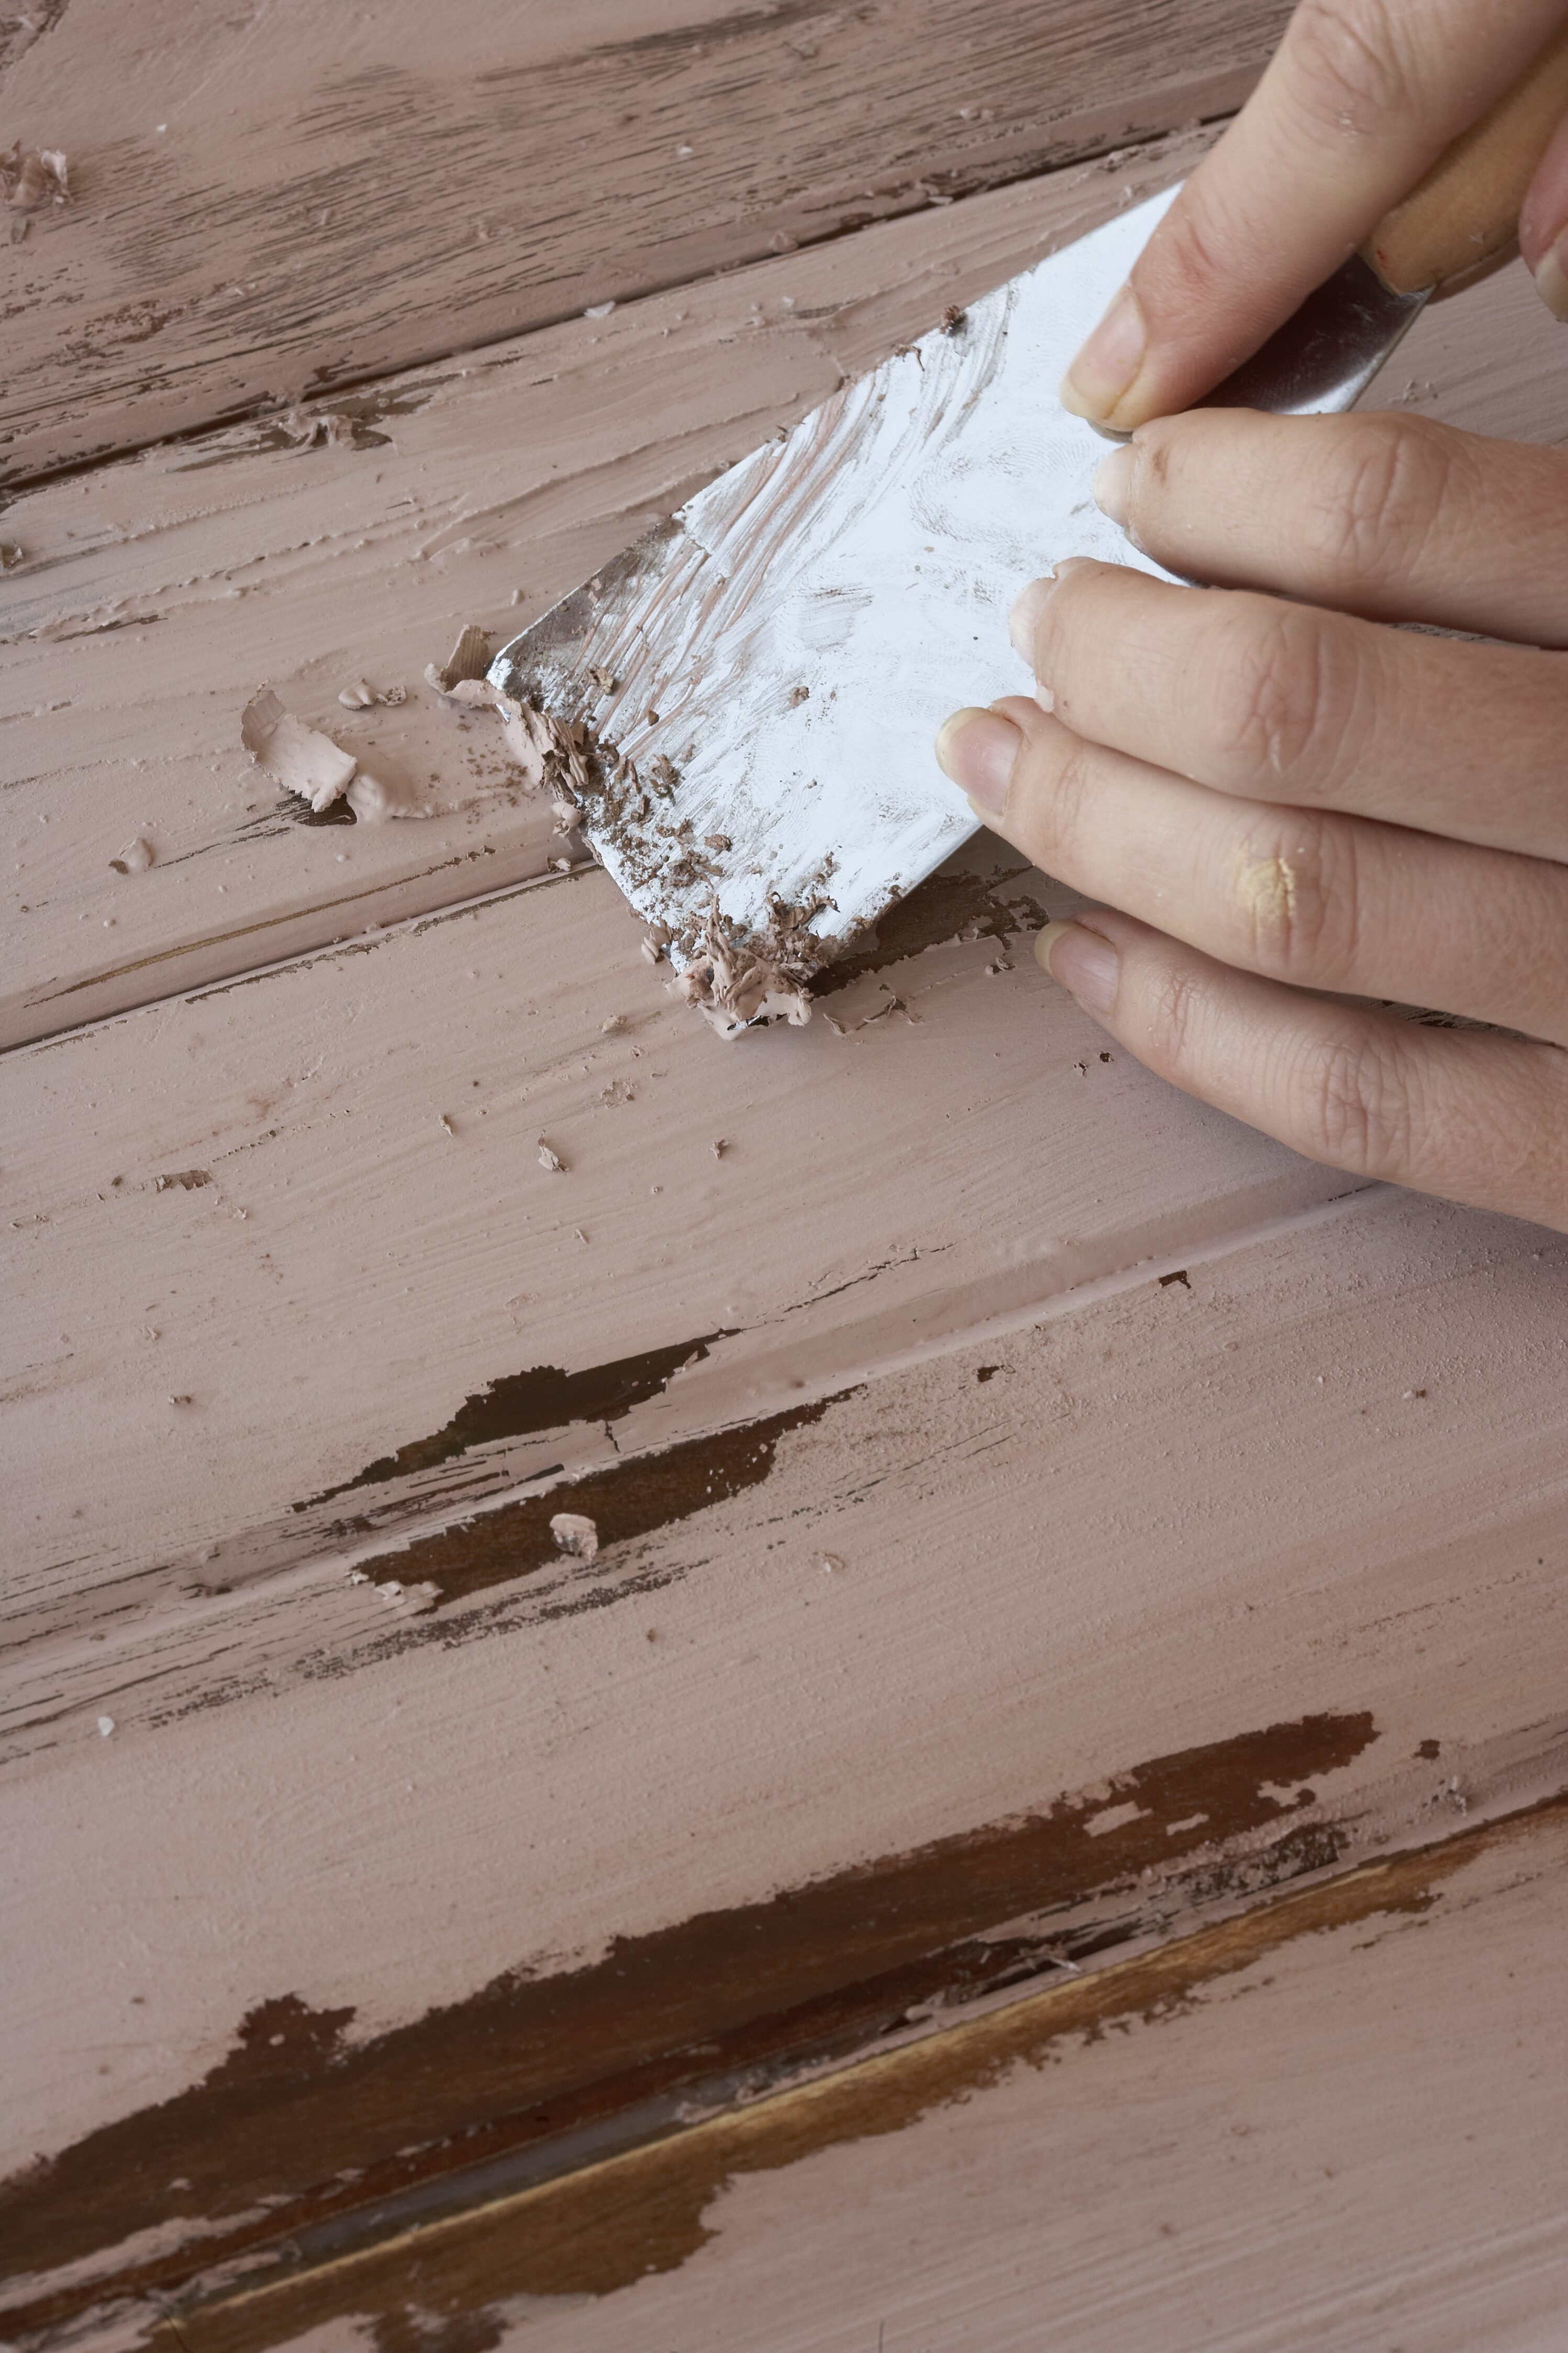
Step 7
Once the paint has dried, scrape over the surface of the door with a paint scraper. The candle wax and petroleum jelly will come off easily.
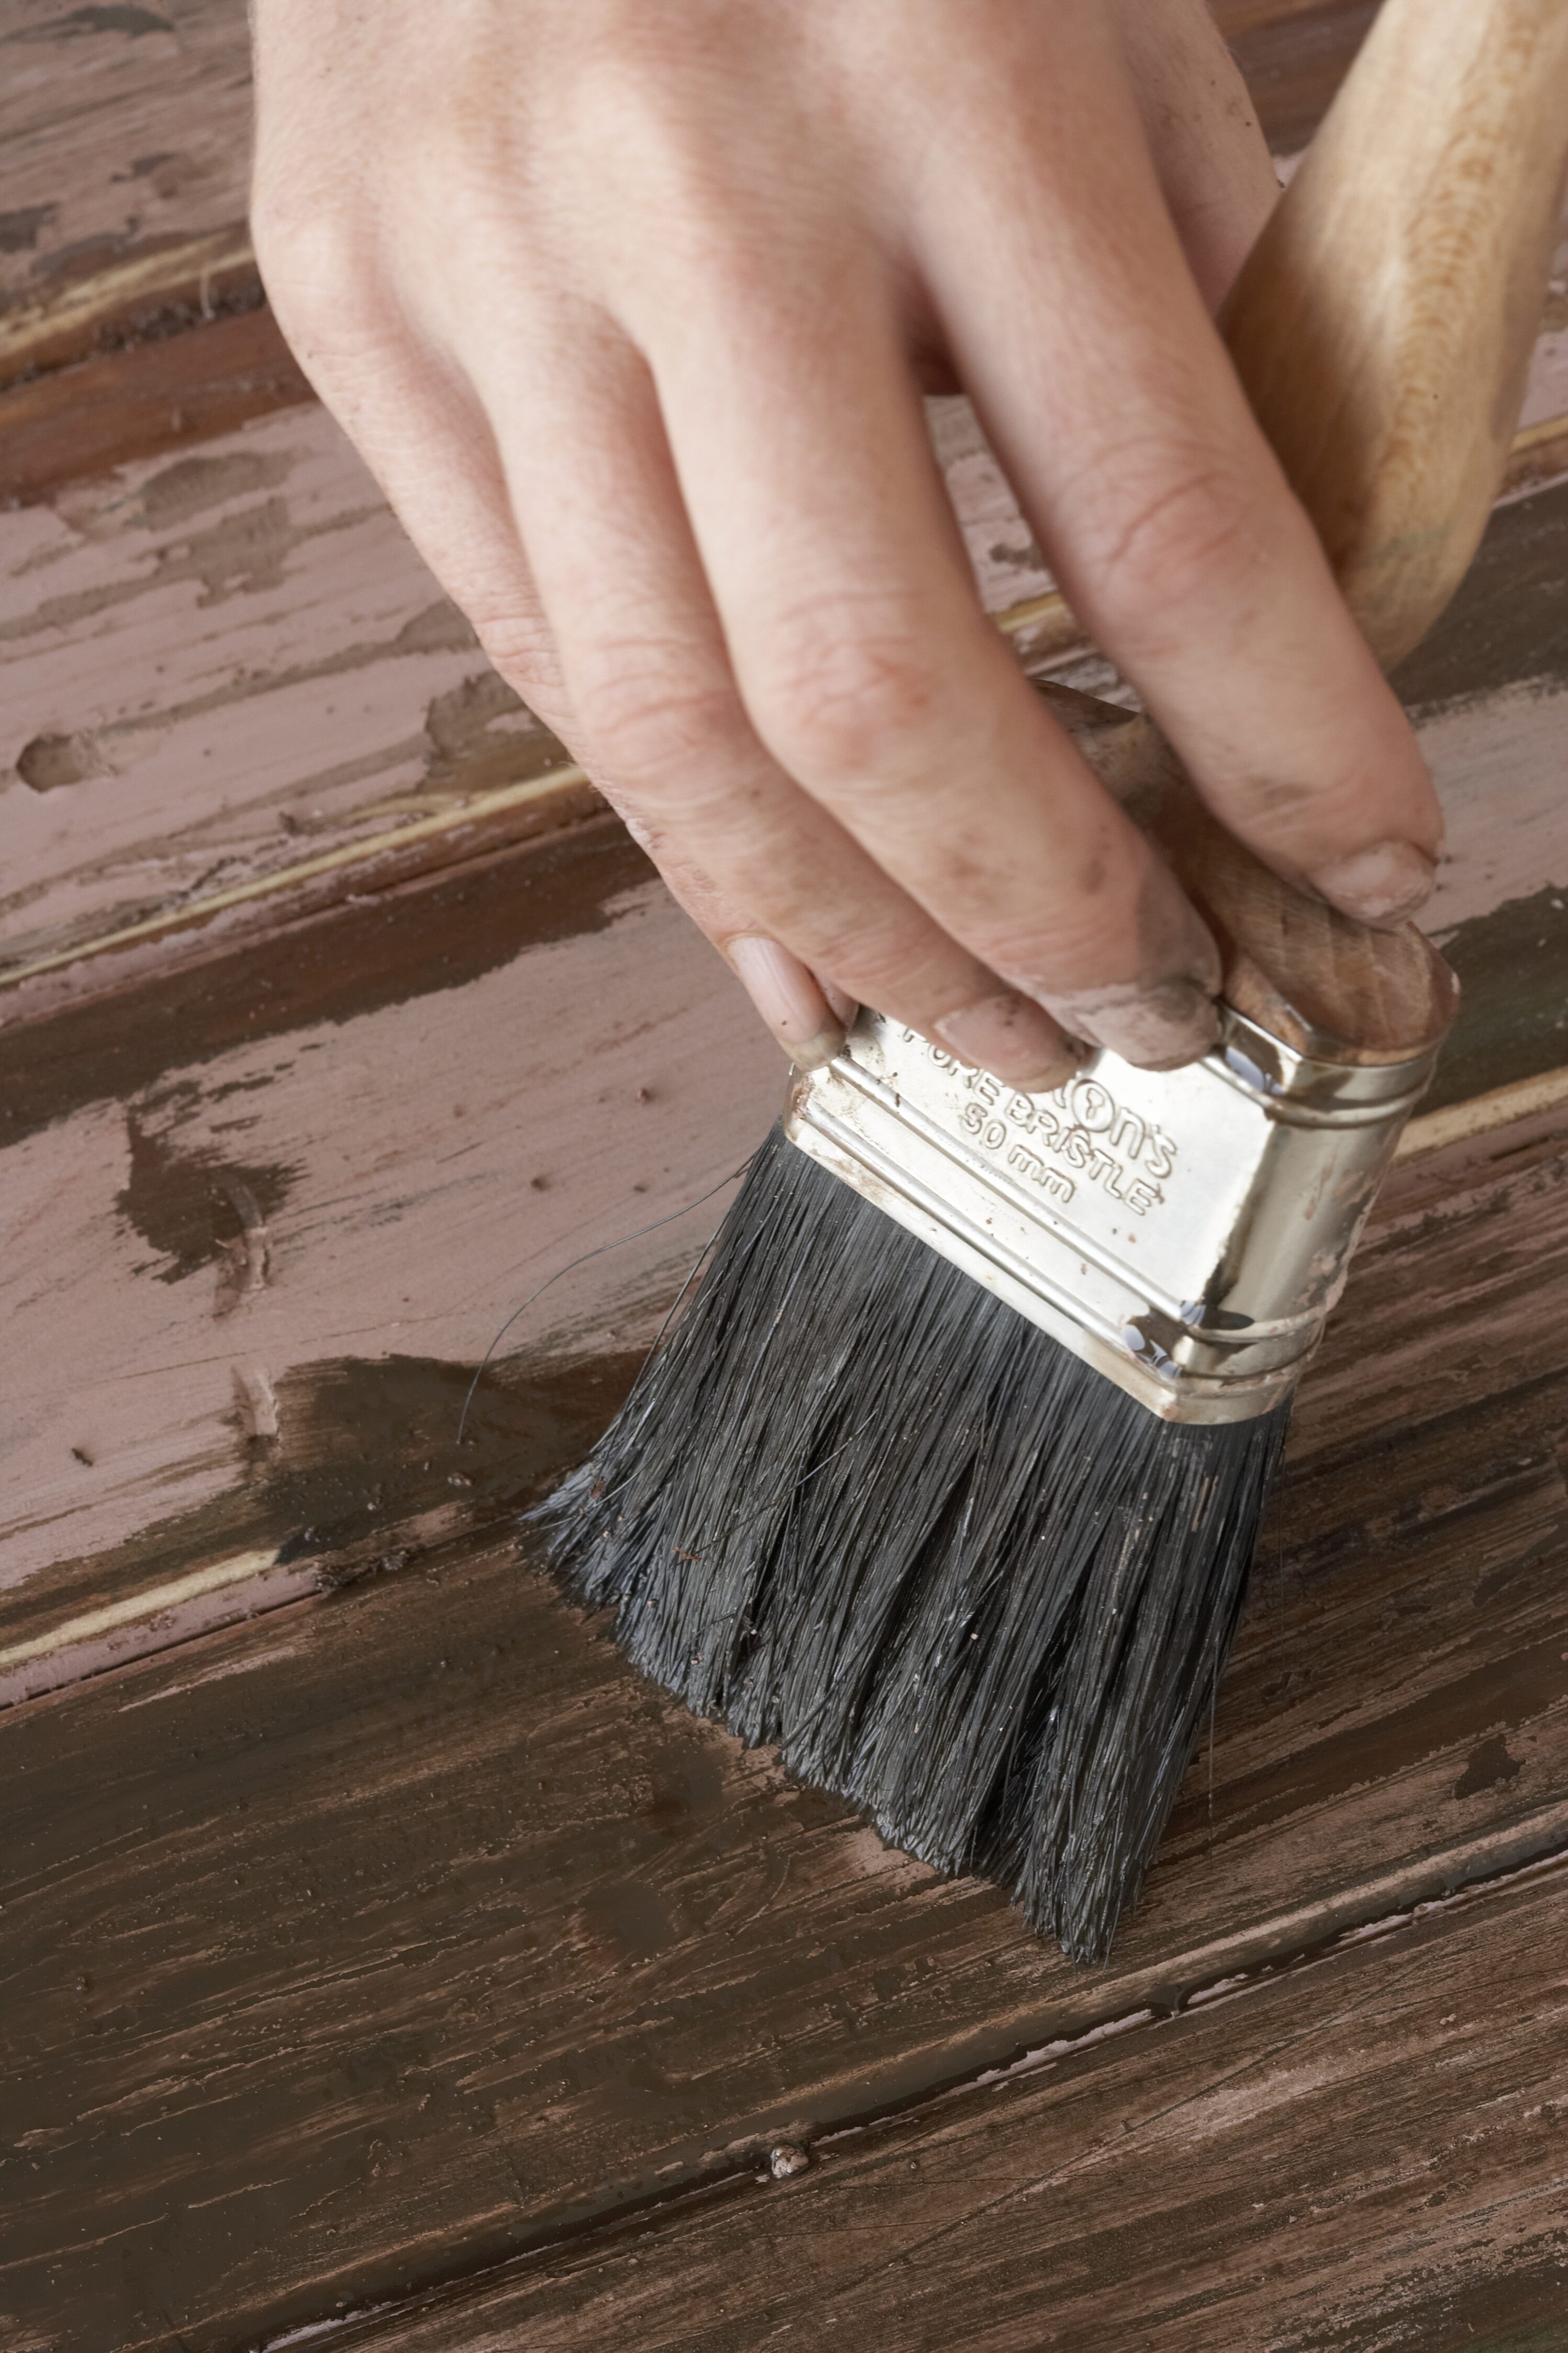
Step 8
Brush off the loose paint using a dry paintbrush. Give the surface of the door a distressed look using tools such as a hammer, chisel and paint scraper to make dents, scrapes and splinters in the wood.
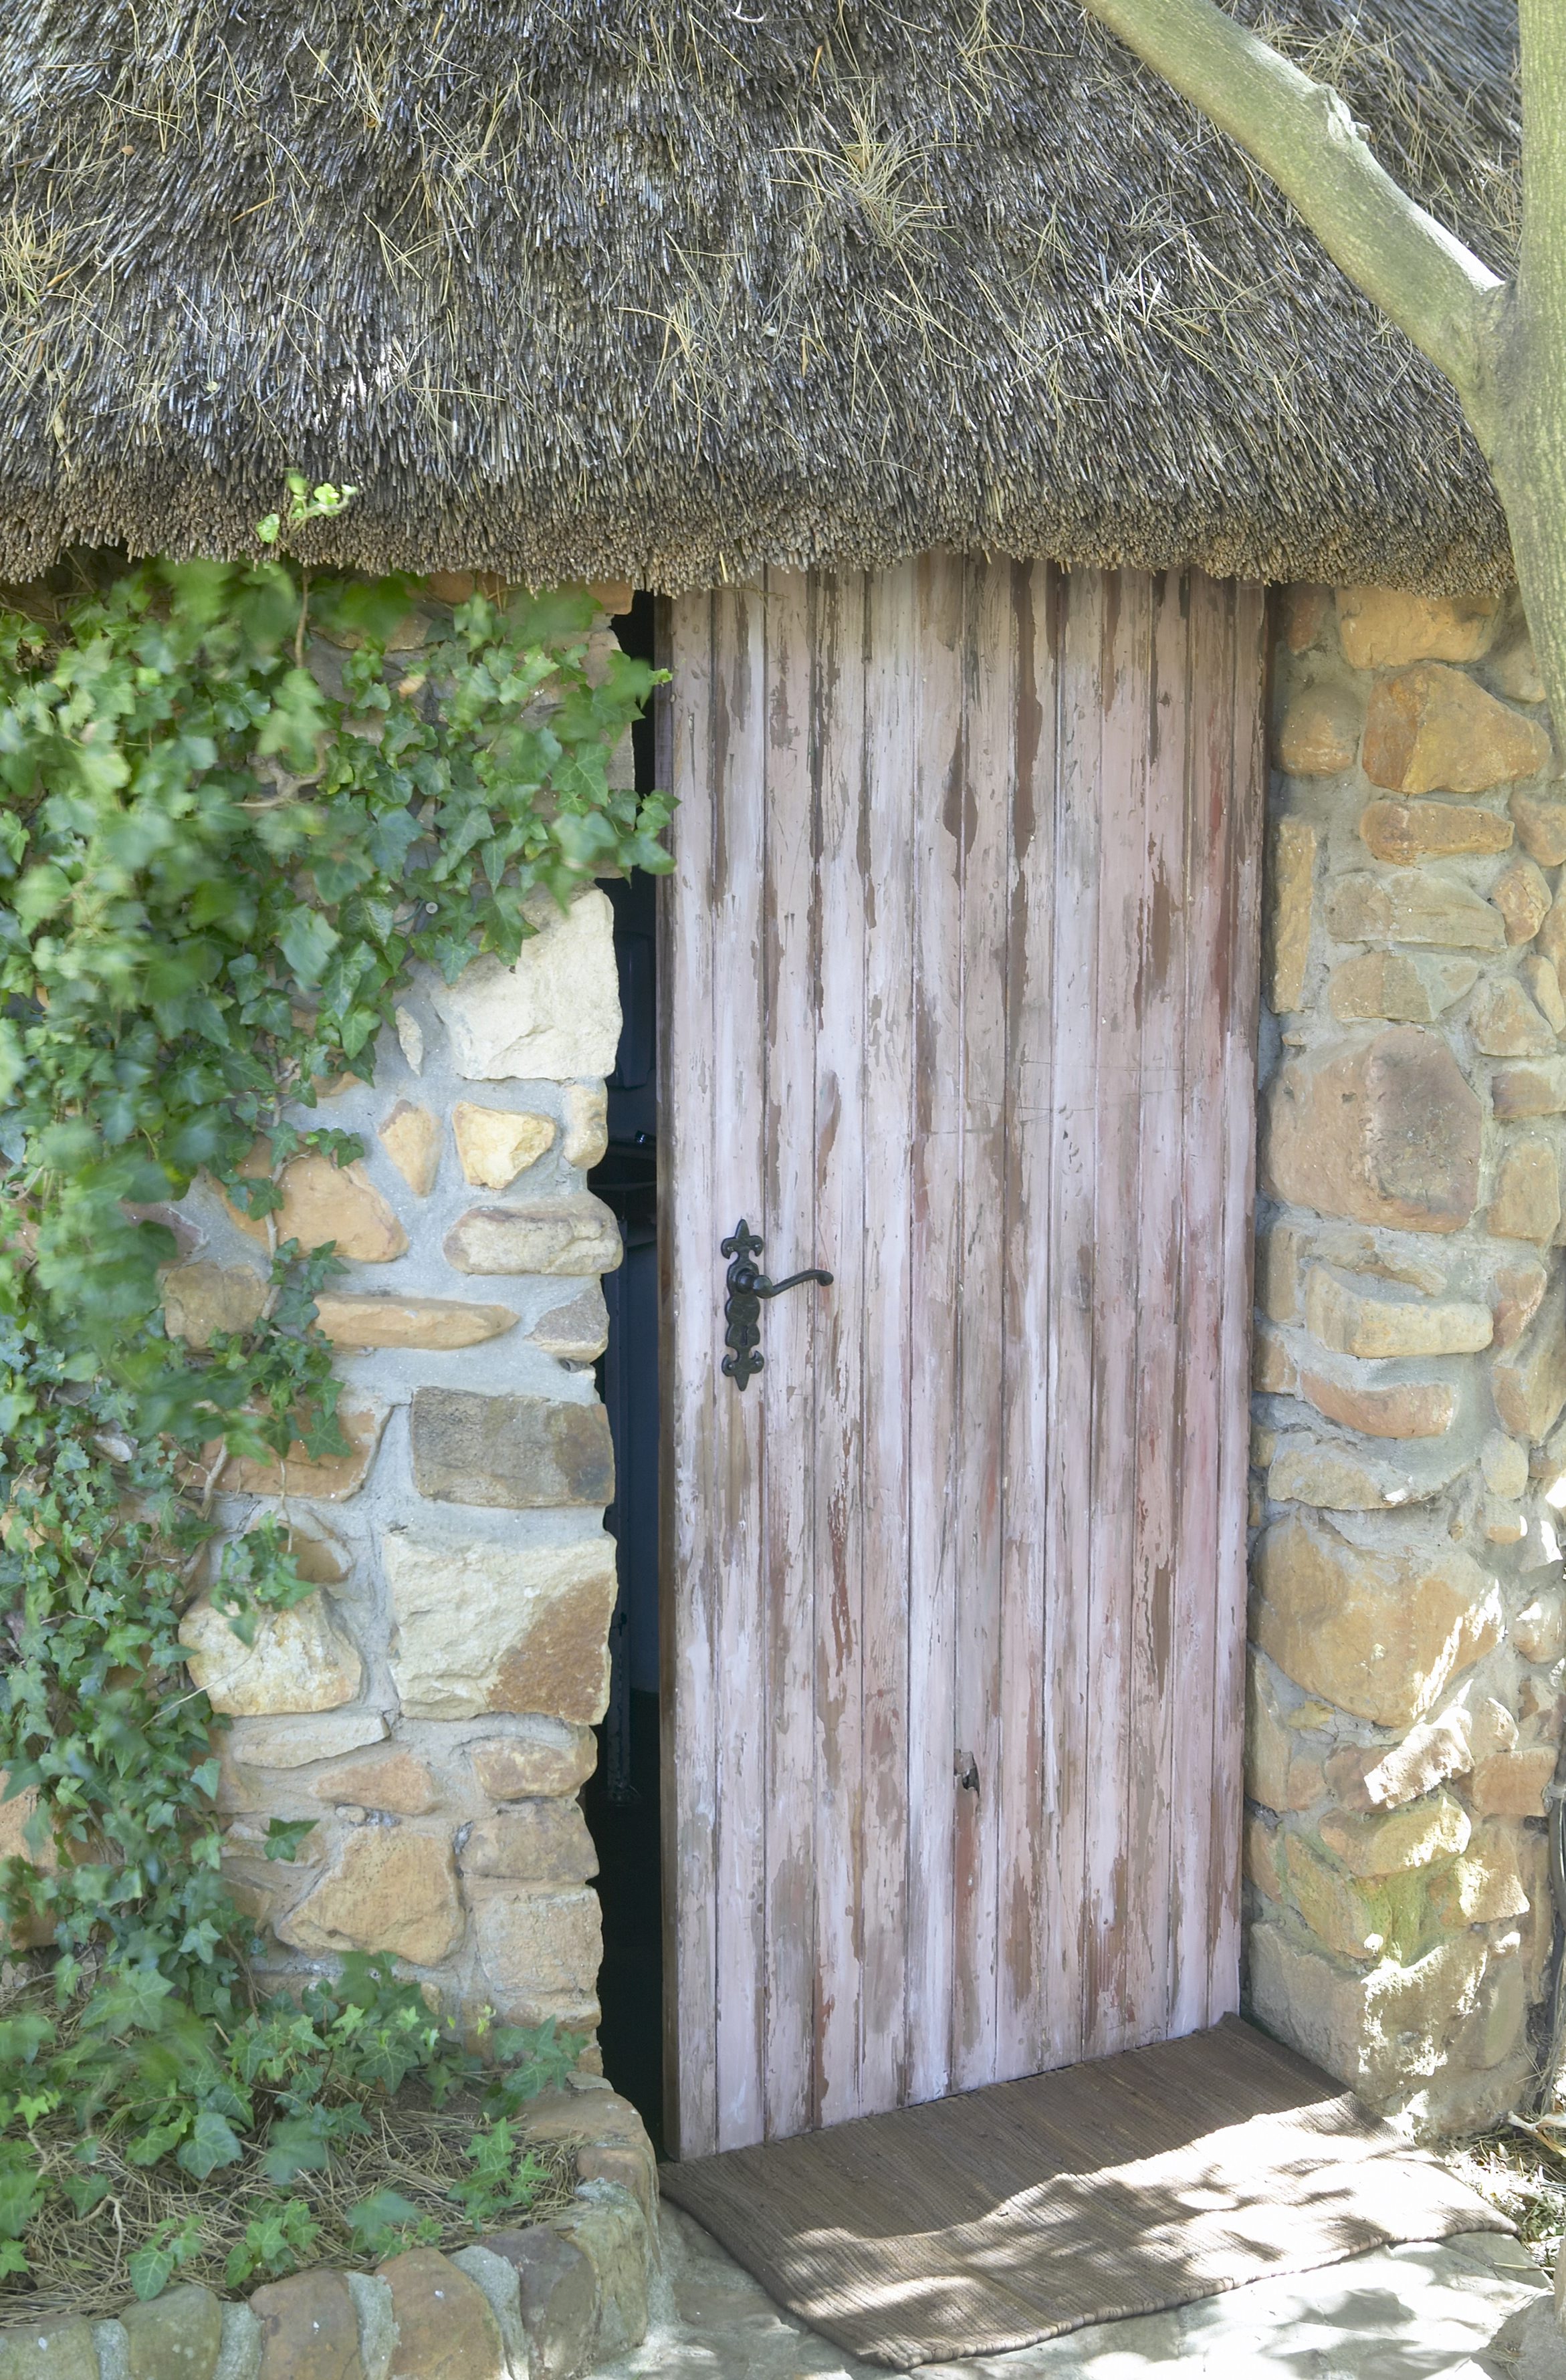
Step 9
Once you are satisfied with the result, mix acrylic paint glaze medium with a little dark brown acrylic paint. Paint the entire door, then wipe most of it off with an old rag and steel wool to expose the bottom layer of paint.
Sandstone Pot
Materials you will need:
- white PVA paint
- universal paint stain in brown or yellow
- acrylic paint glaze medium
- four containers for the paint
- terracotta pot
- paintbrush
- textured sponge
- paper plates
- artist’s paintbrush
- dark brown acrylic paint
- spirits
- medicine dropper
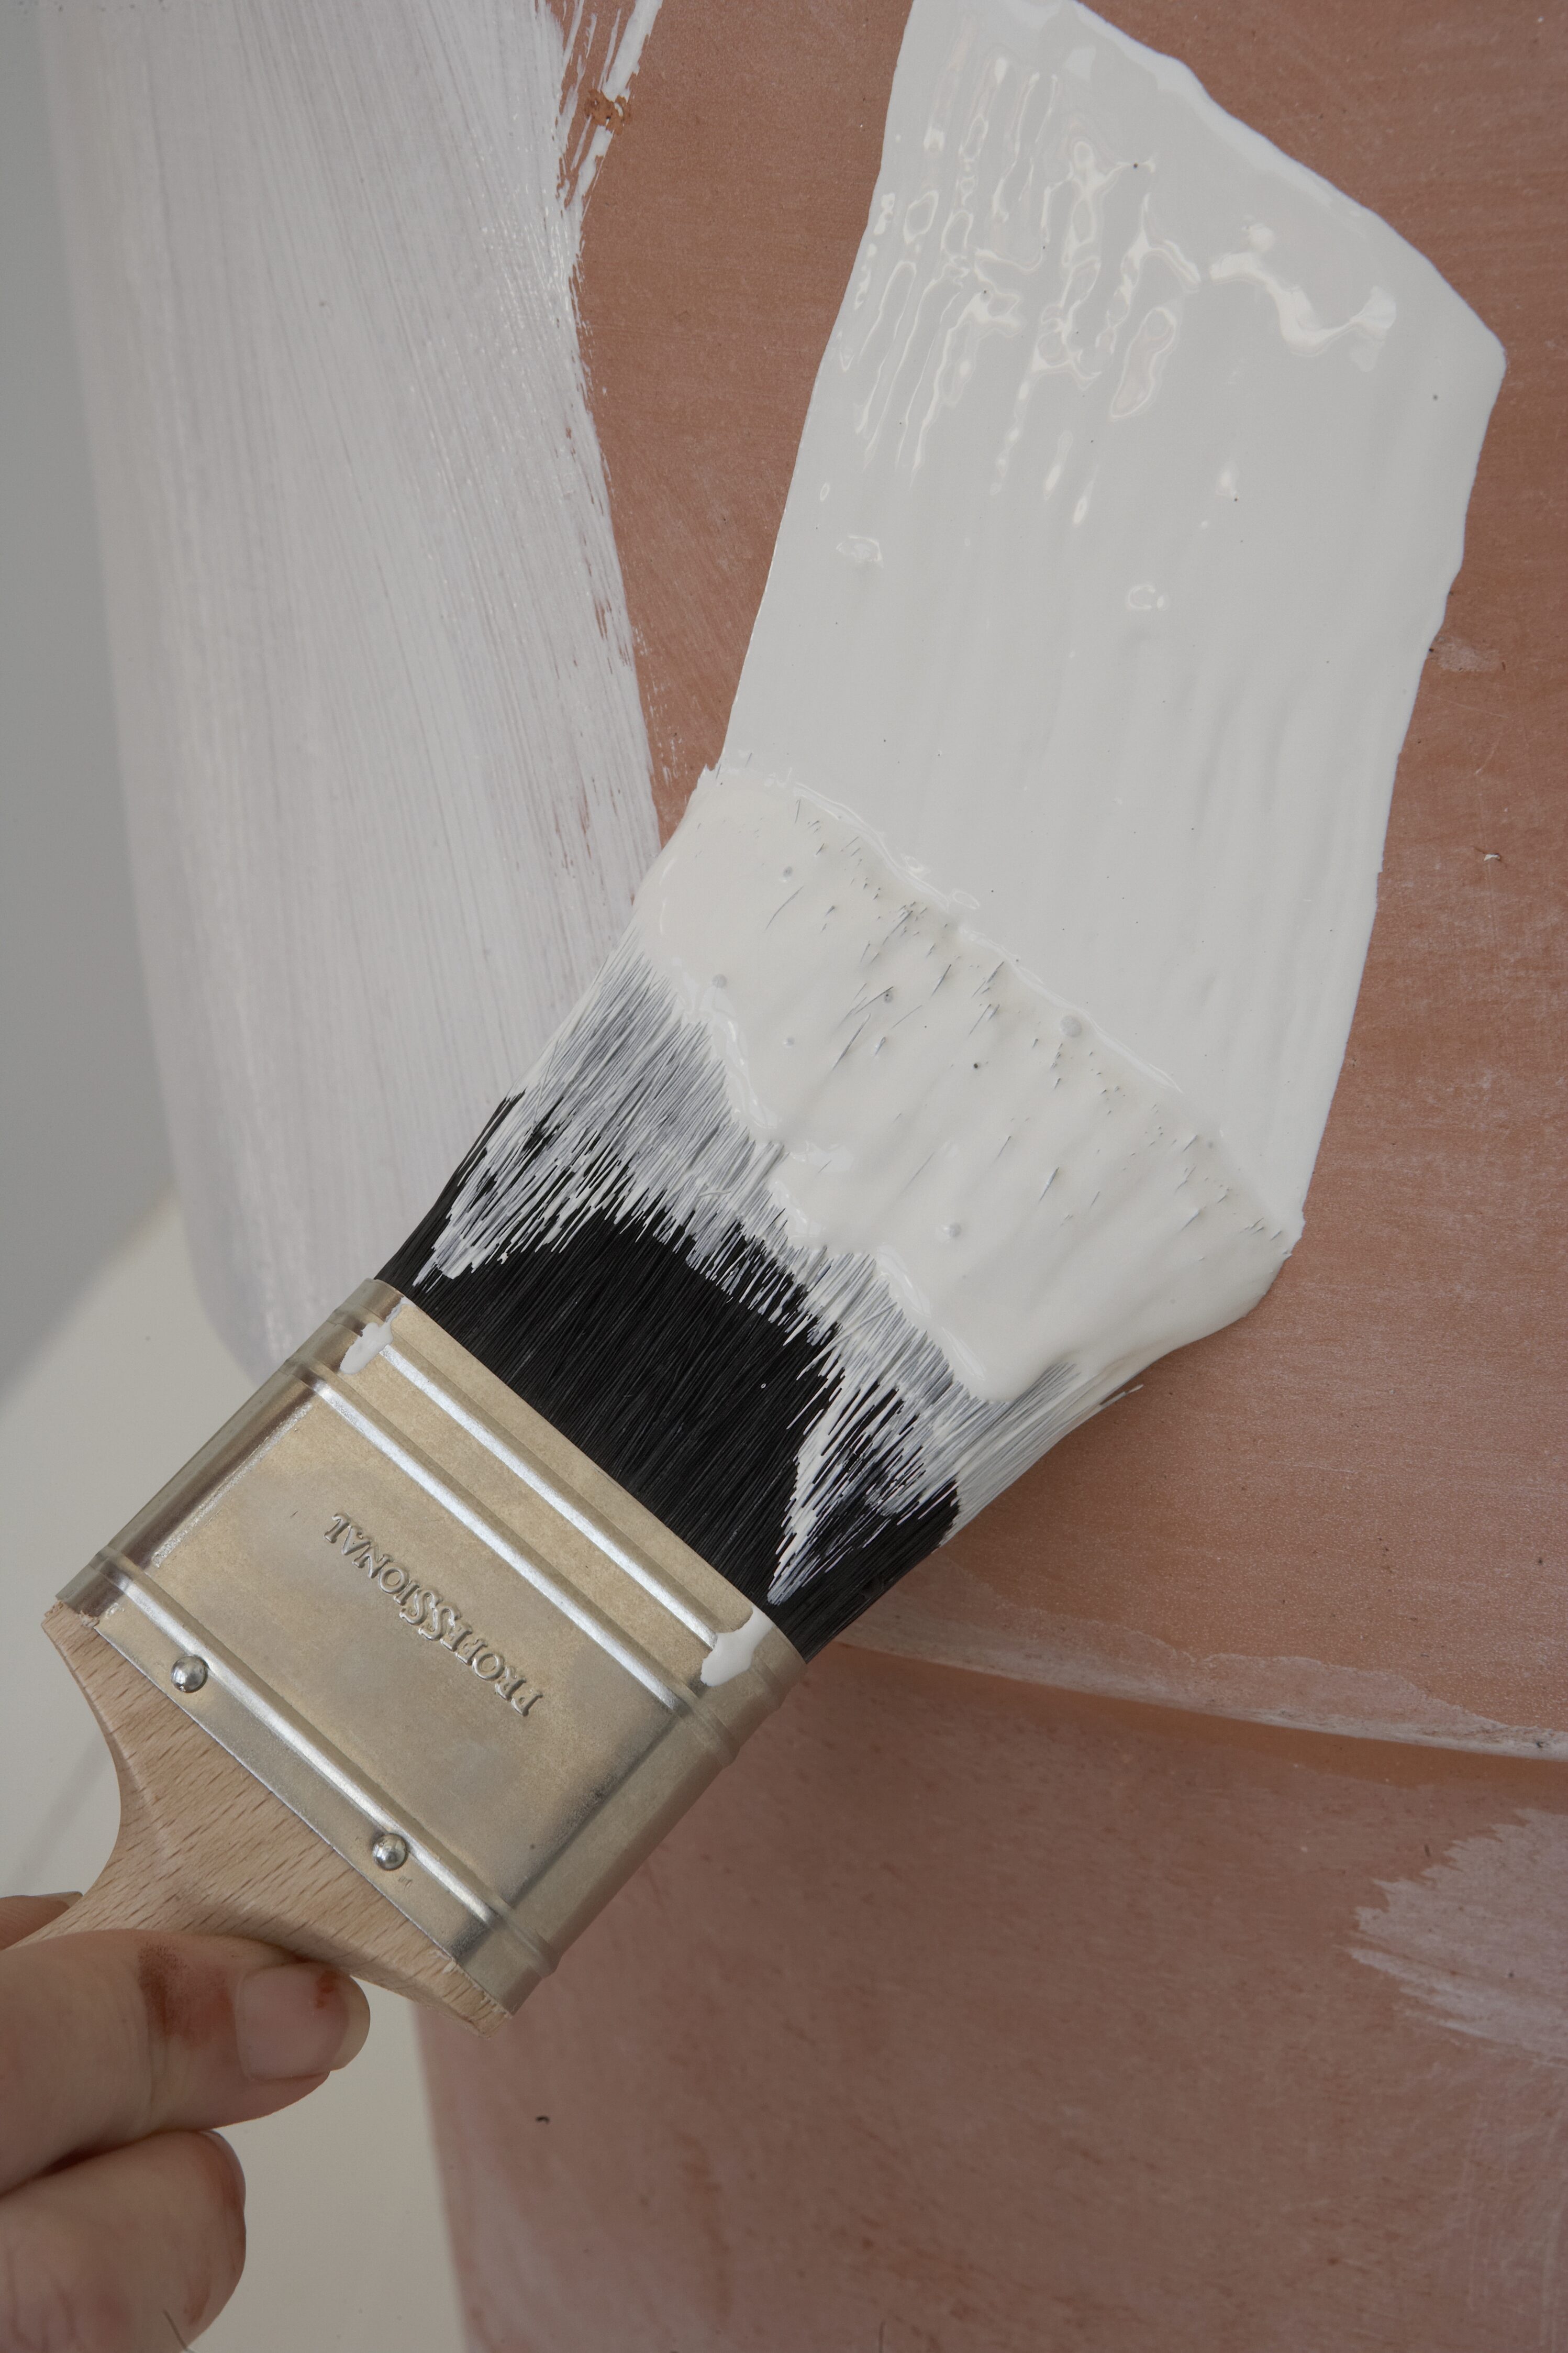
Step 1
Paint the pot with an even coat of off-white paint and leave to dry.
Step 2
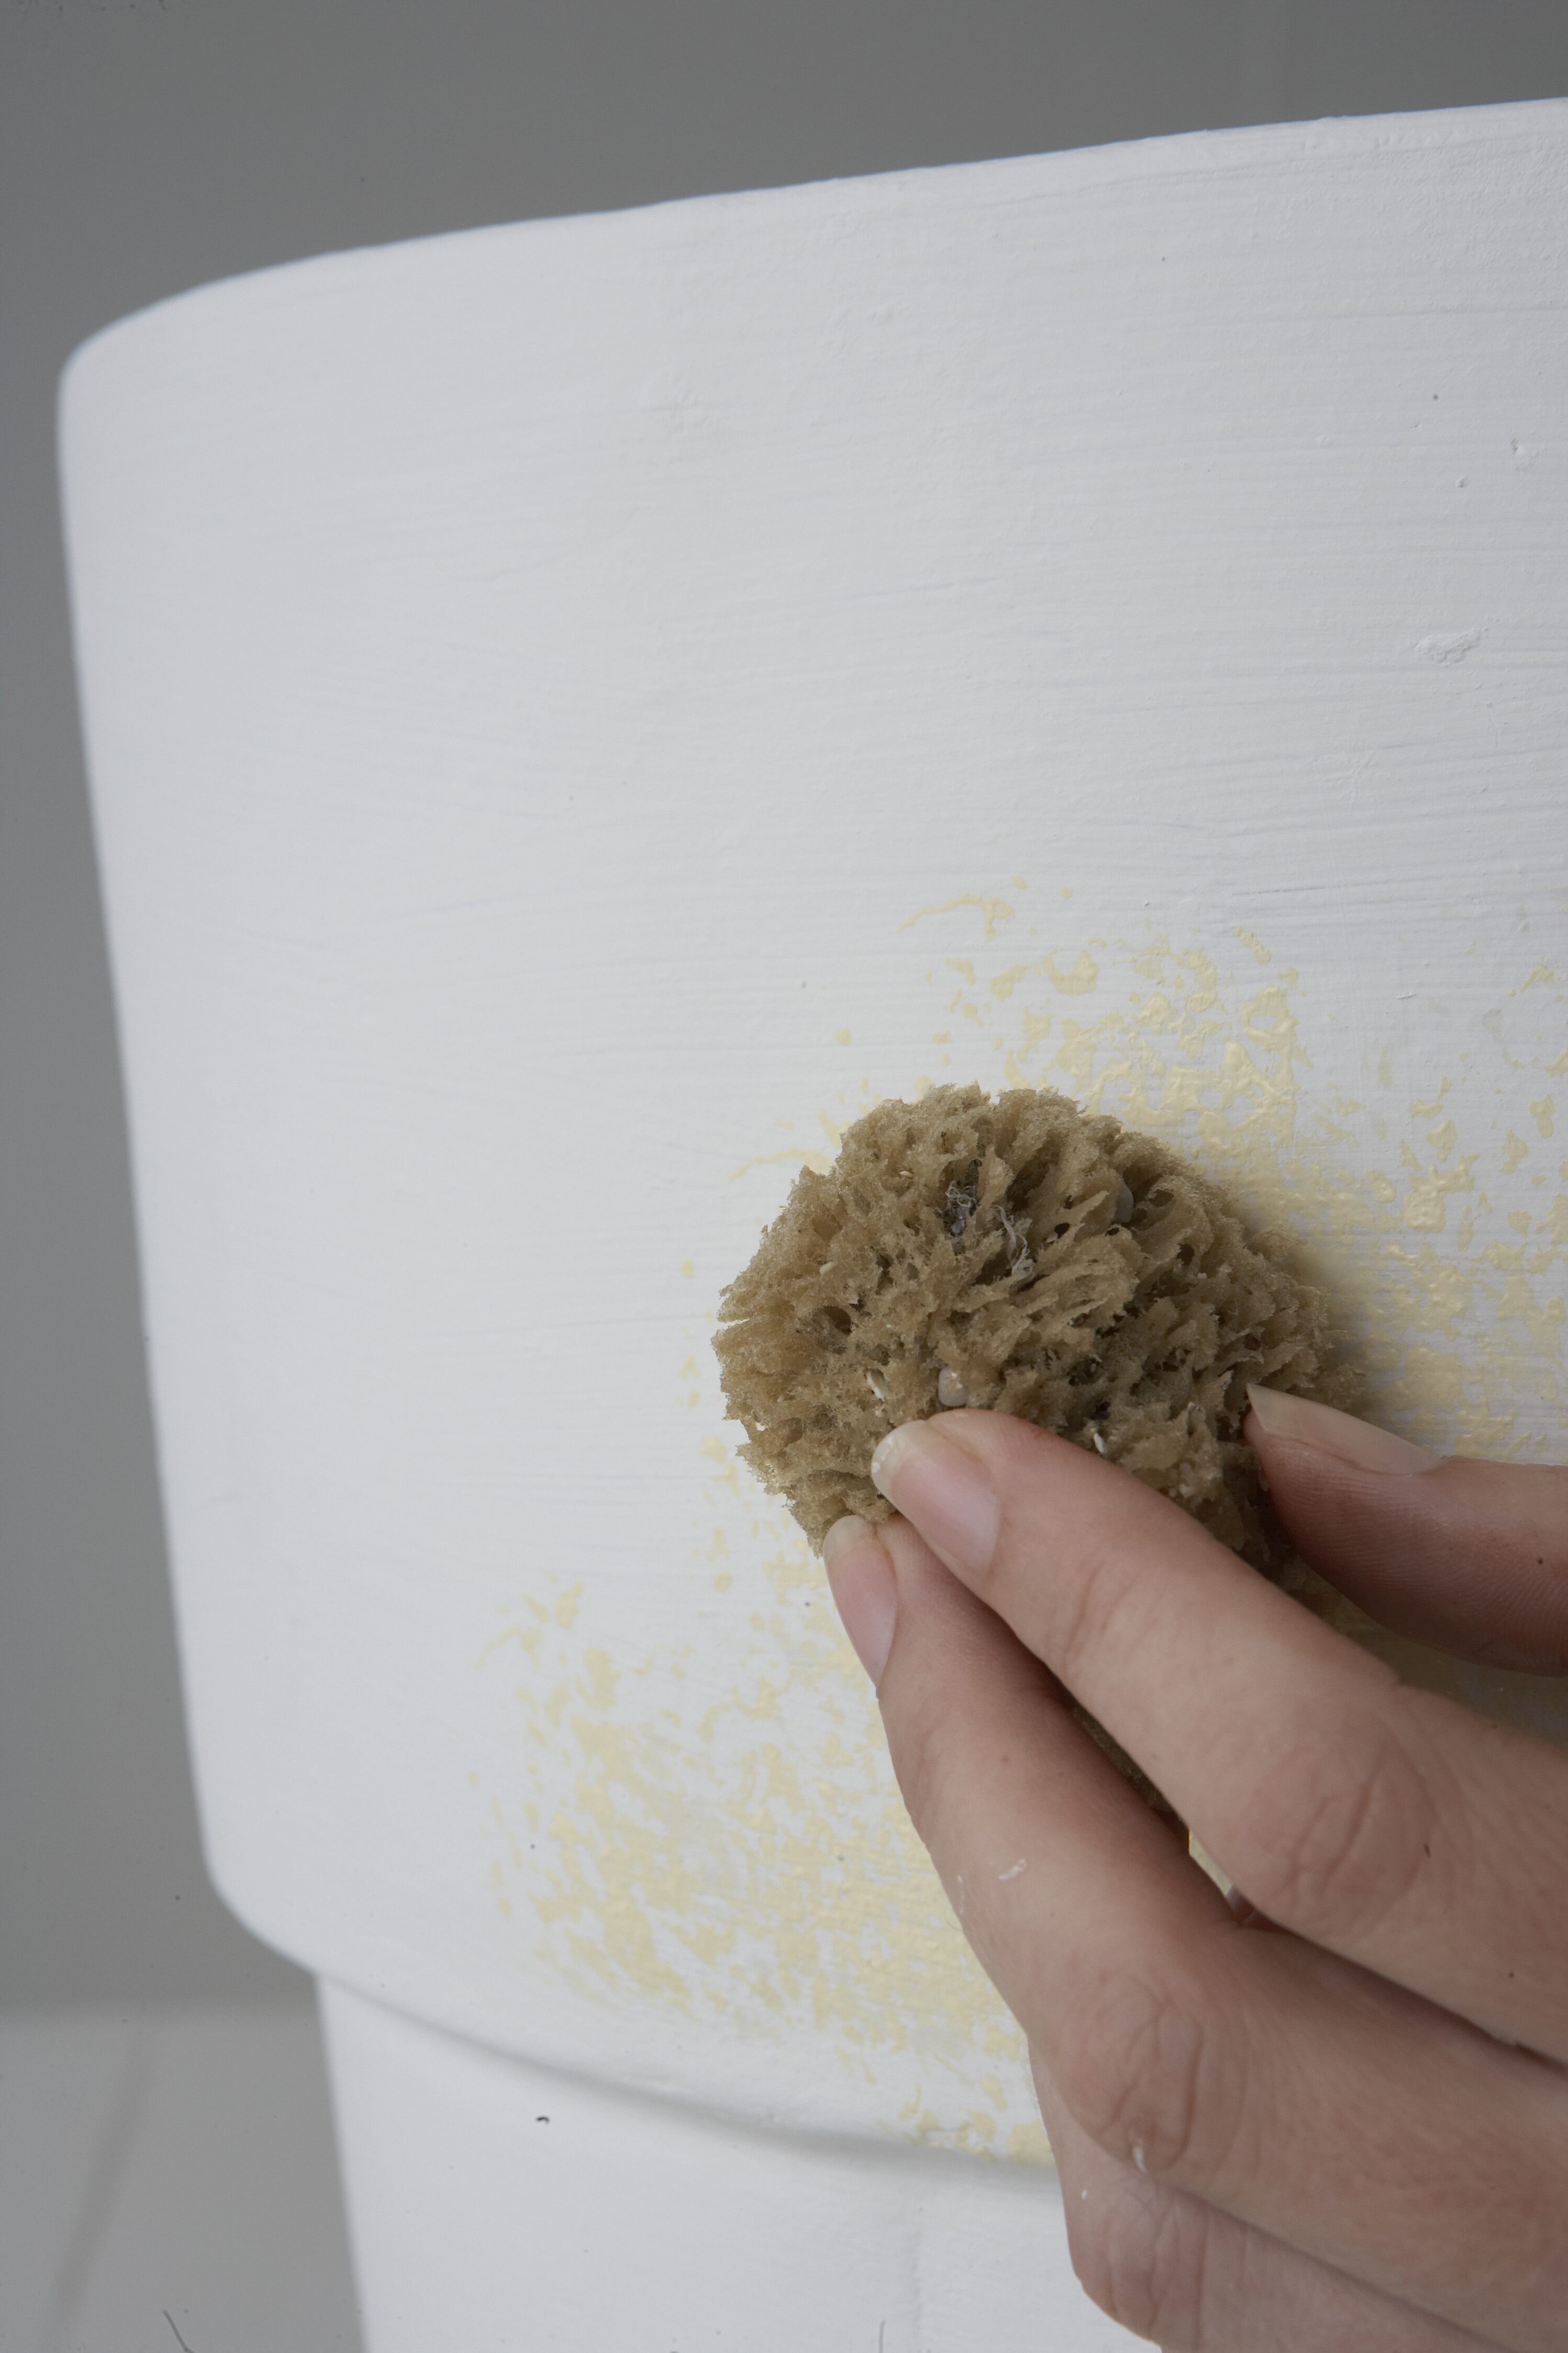
Use a damp sponge to dab on the light ochre paint. The off-white base coat should still be visible in places. Keep a paper plate handy and dab the sponge on it to remove any excess paint before you start.
Step 3
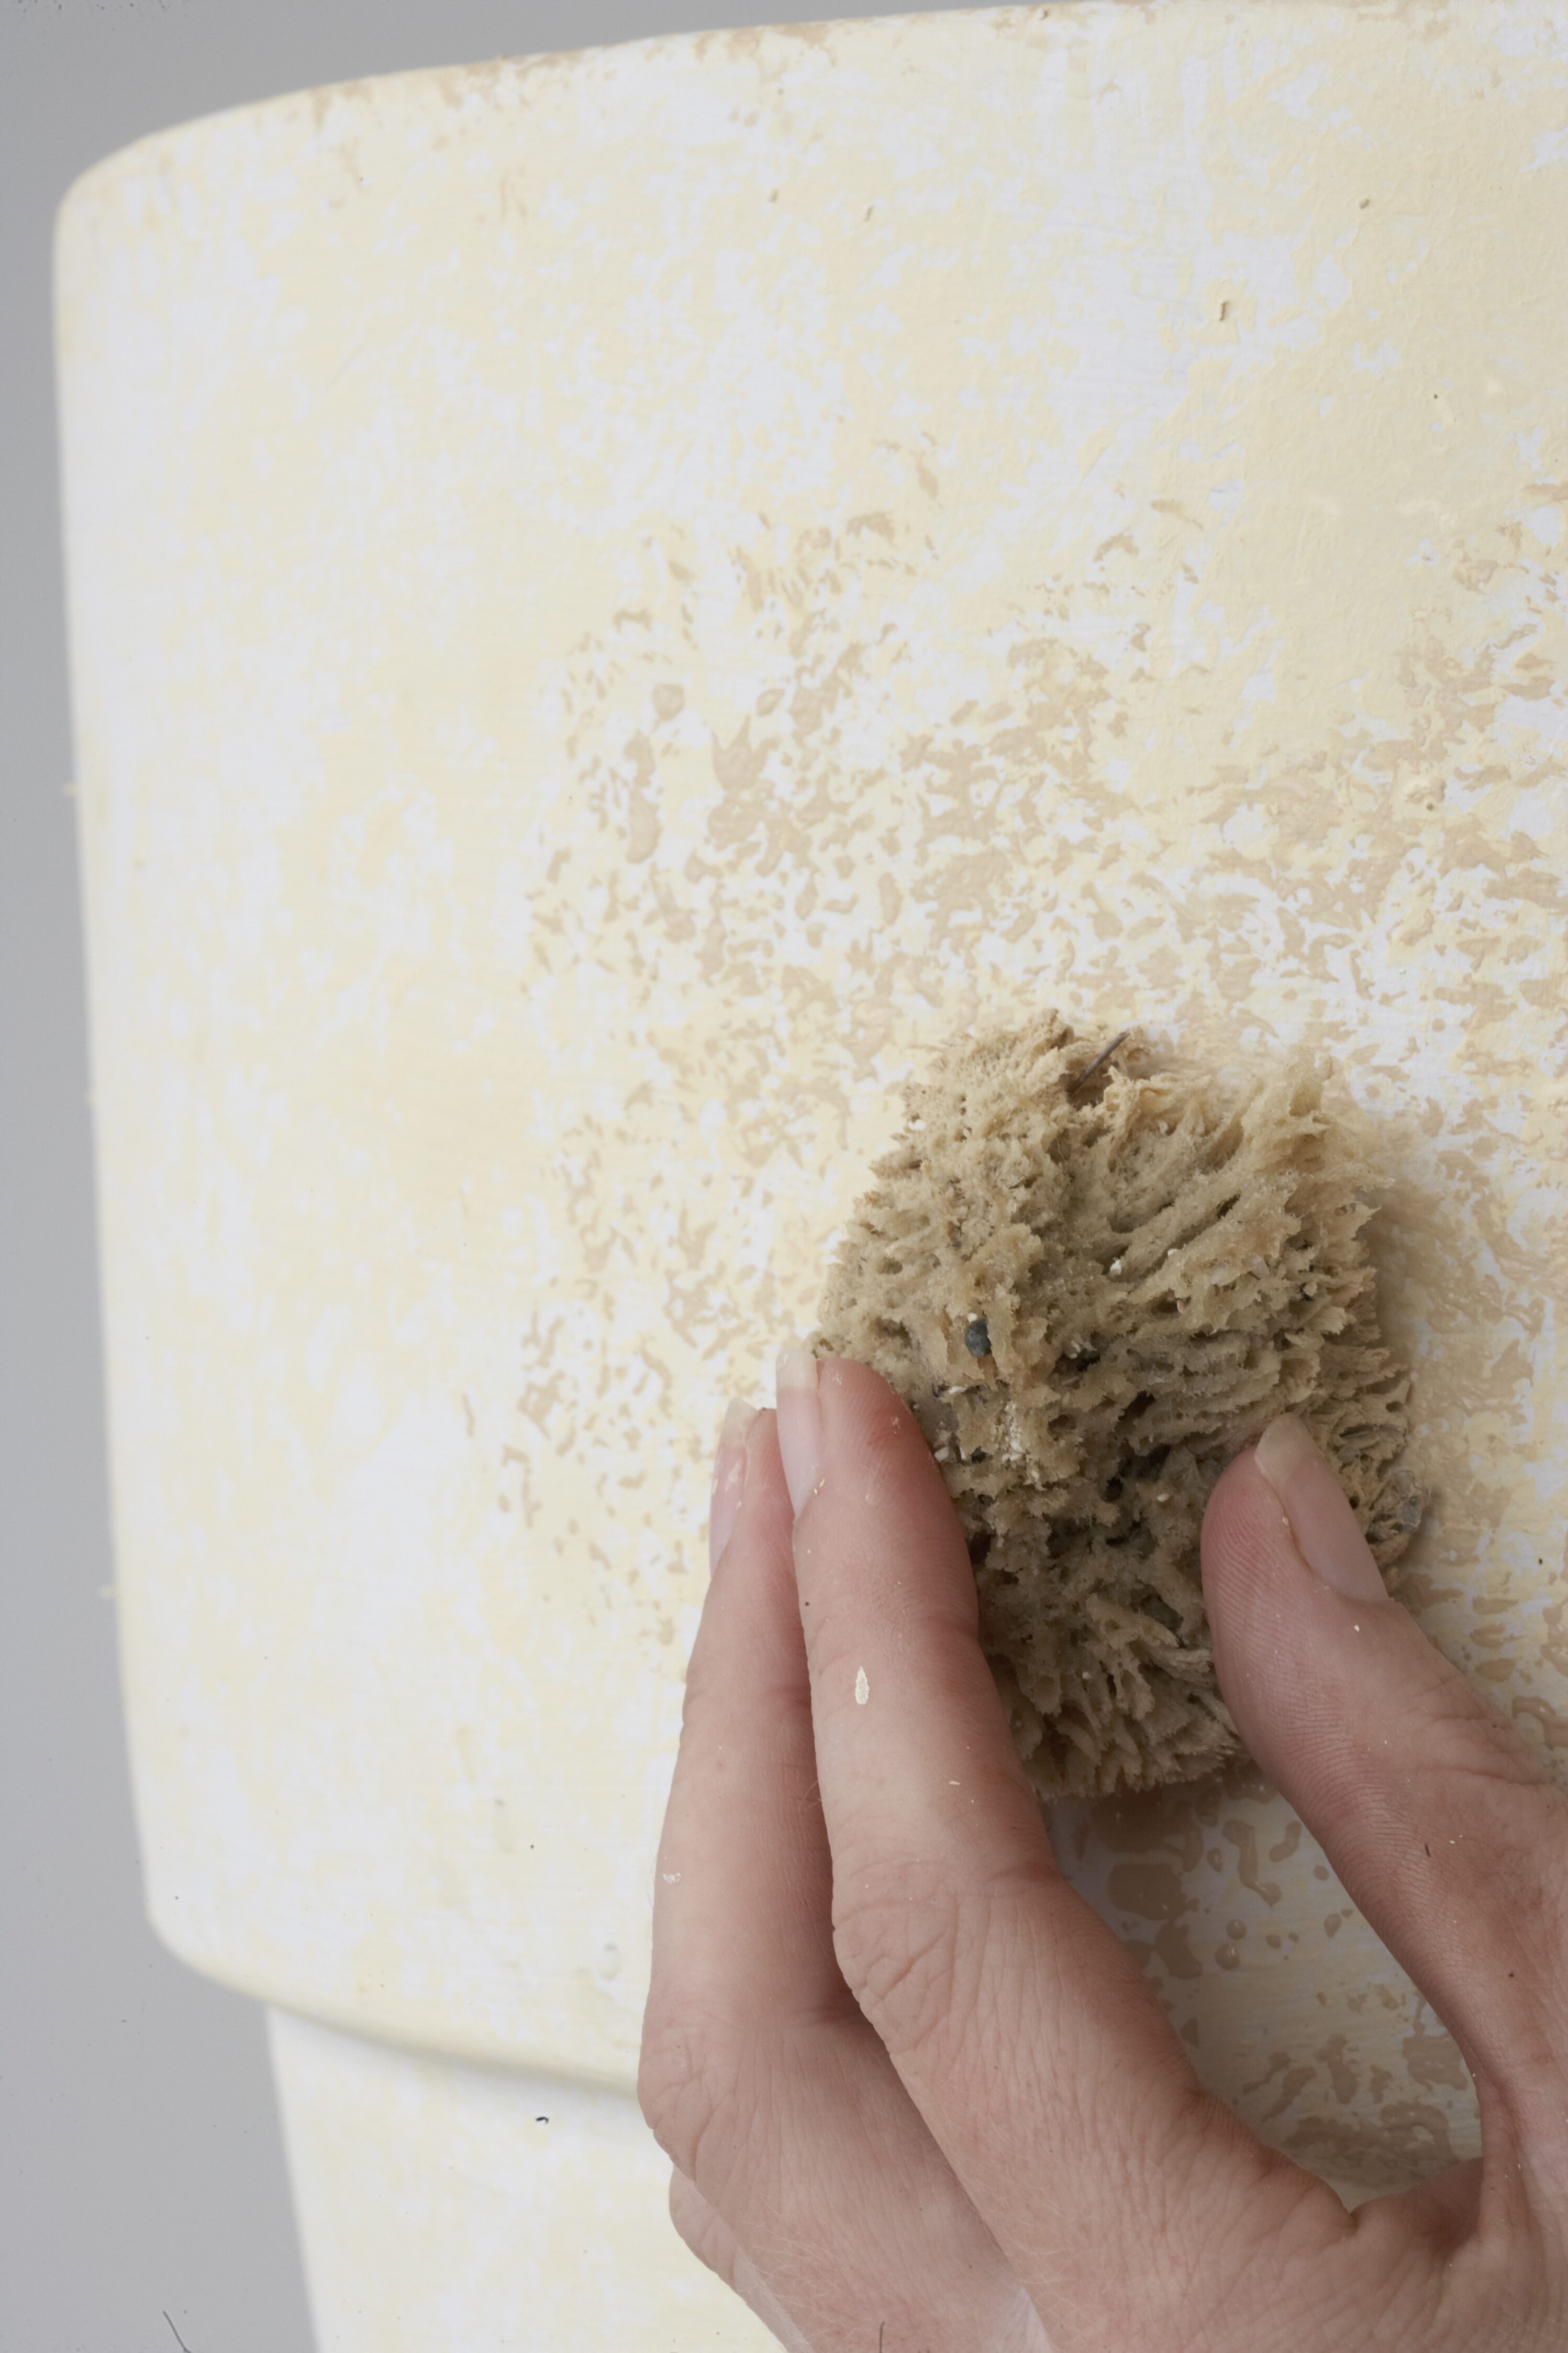
Repeat with dark ochre shade.
Step 4
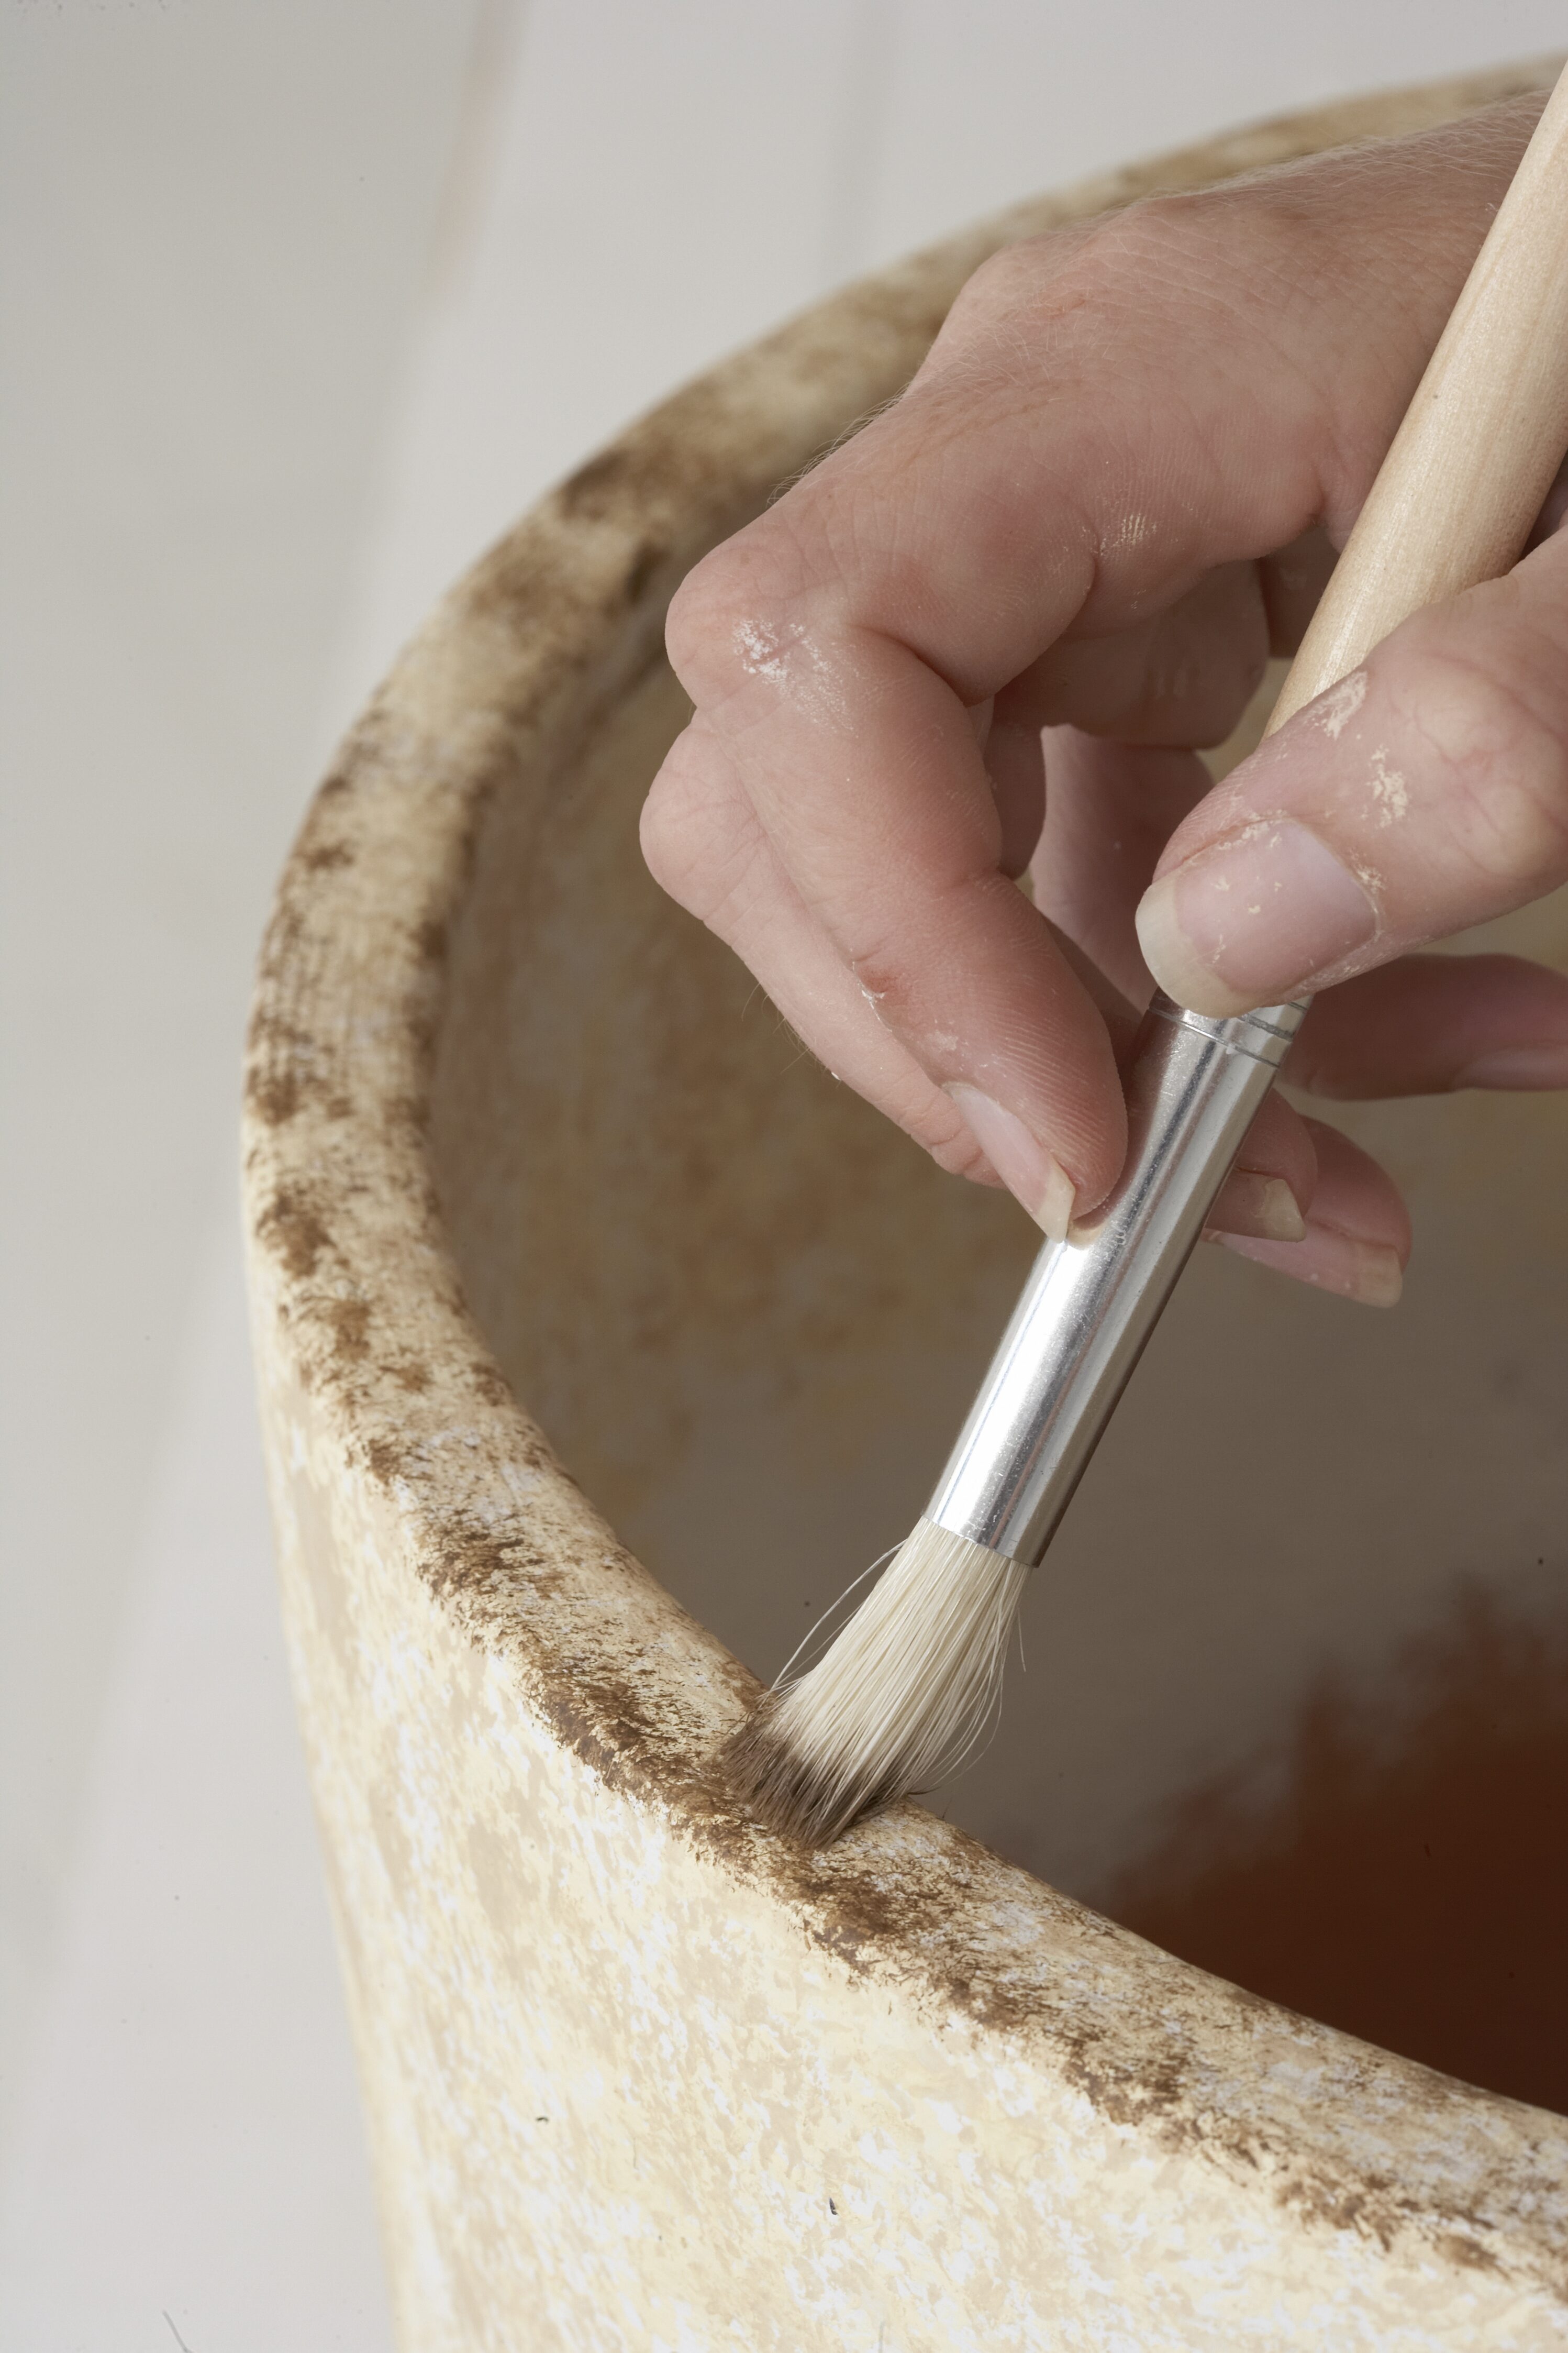
Use a dry artist’s paintbrush and a little dark brown acrylic paint to give the pot an aged appearance. Concentrate on the edges and lower part of the pot and dab on the colour, instead of painting it on.
Step 5
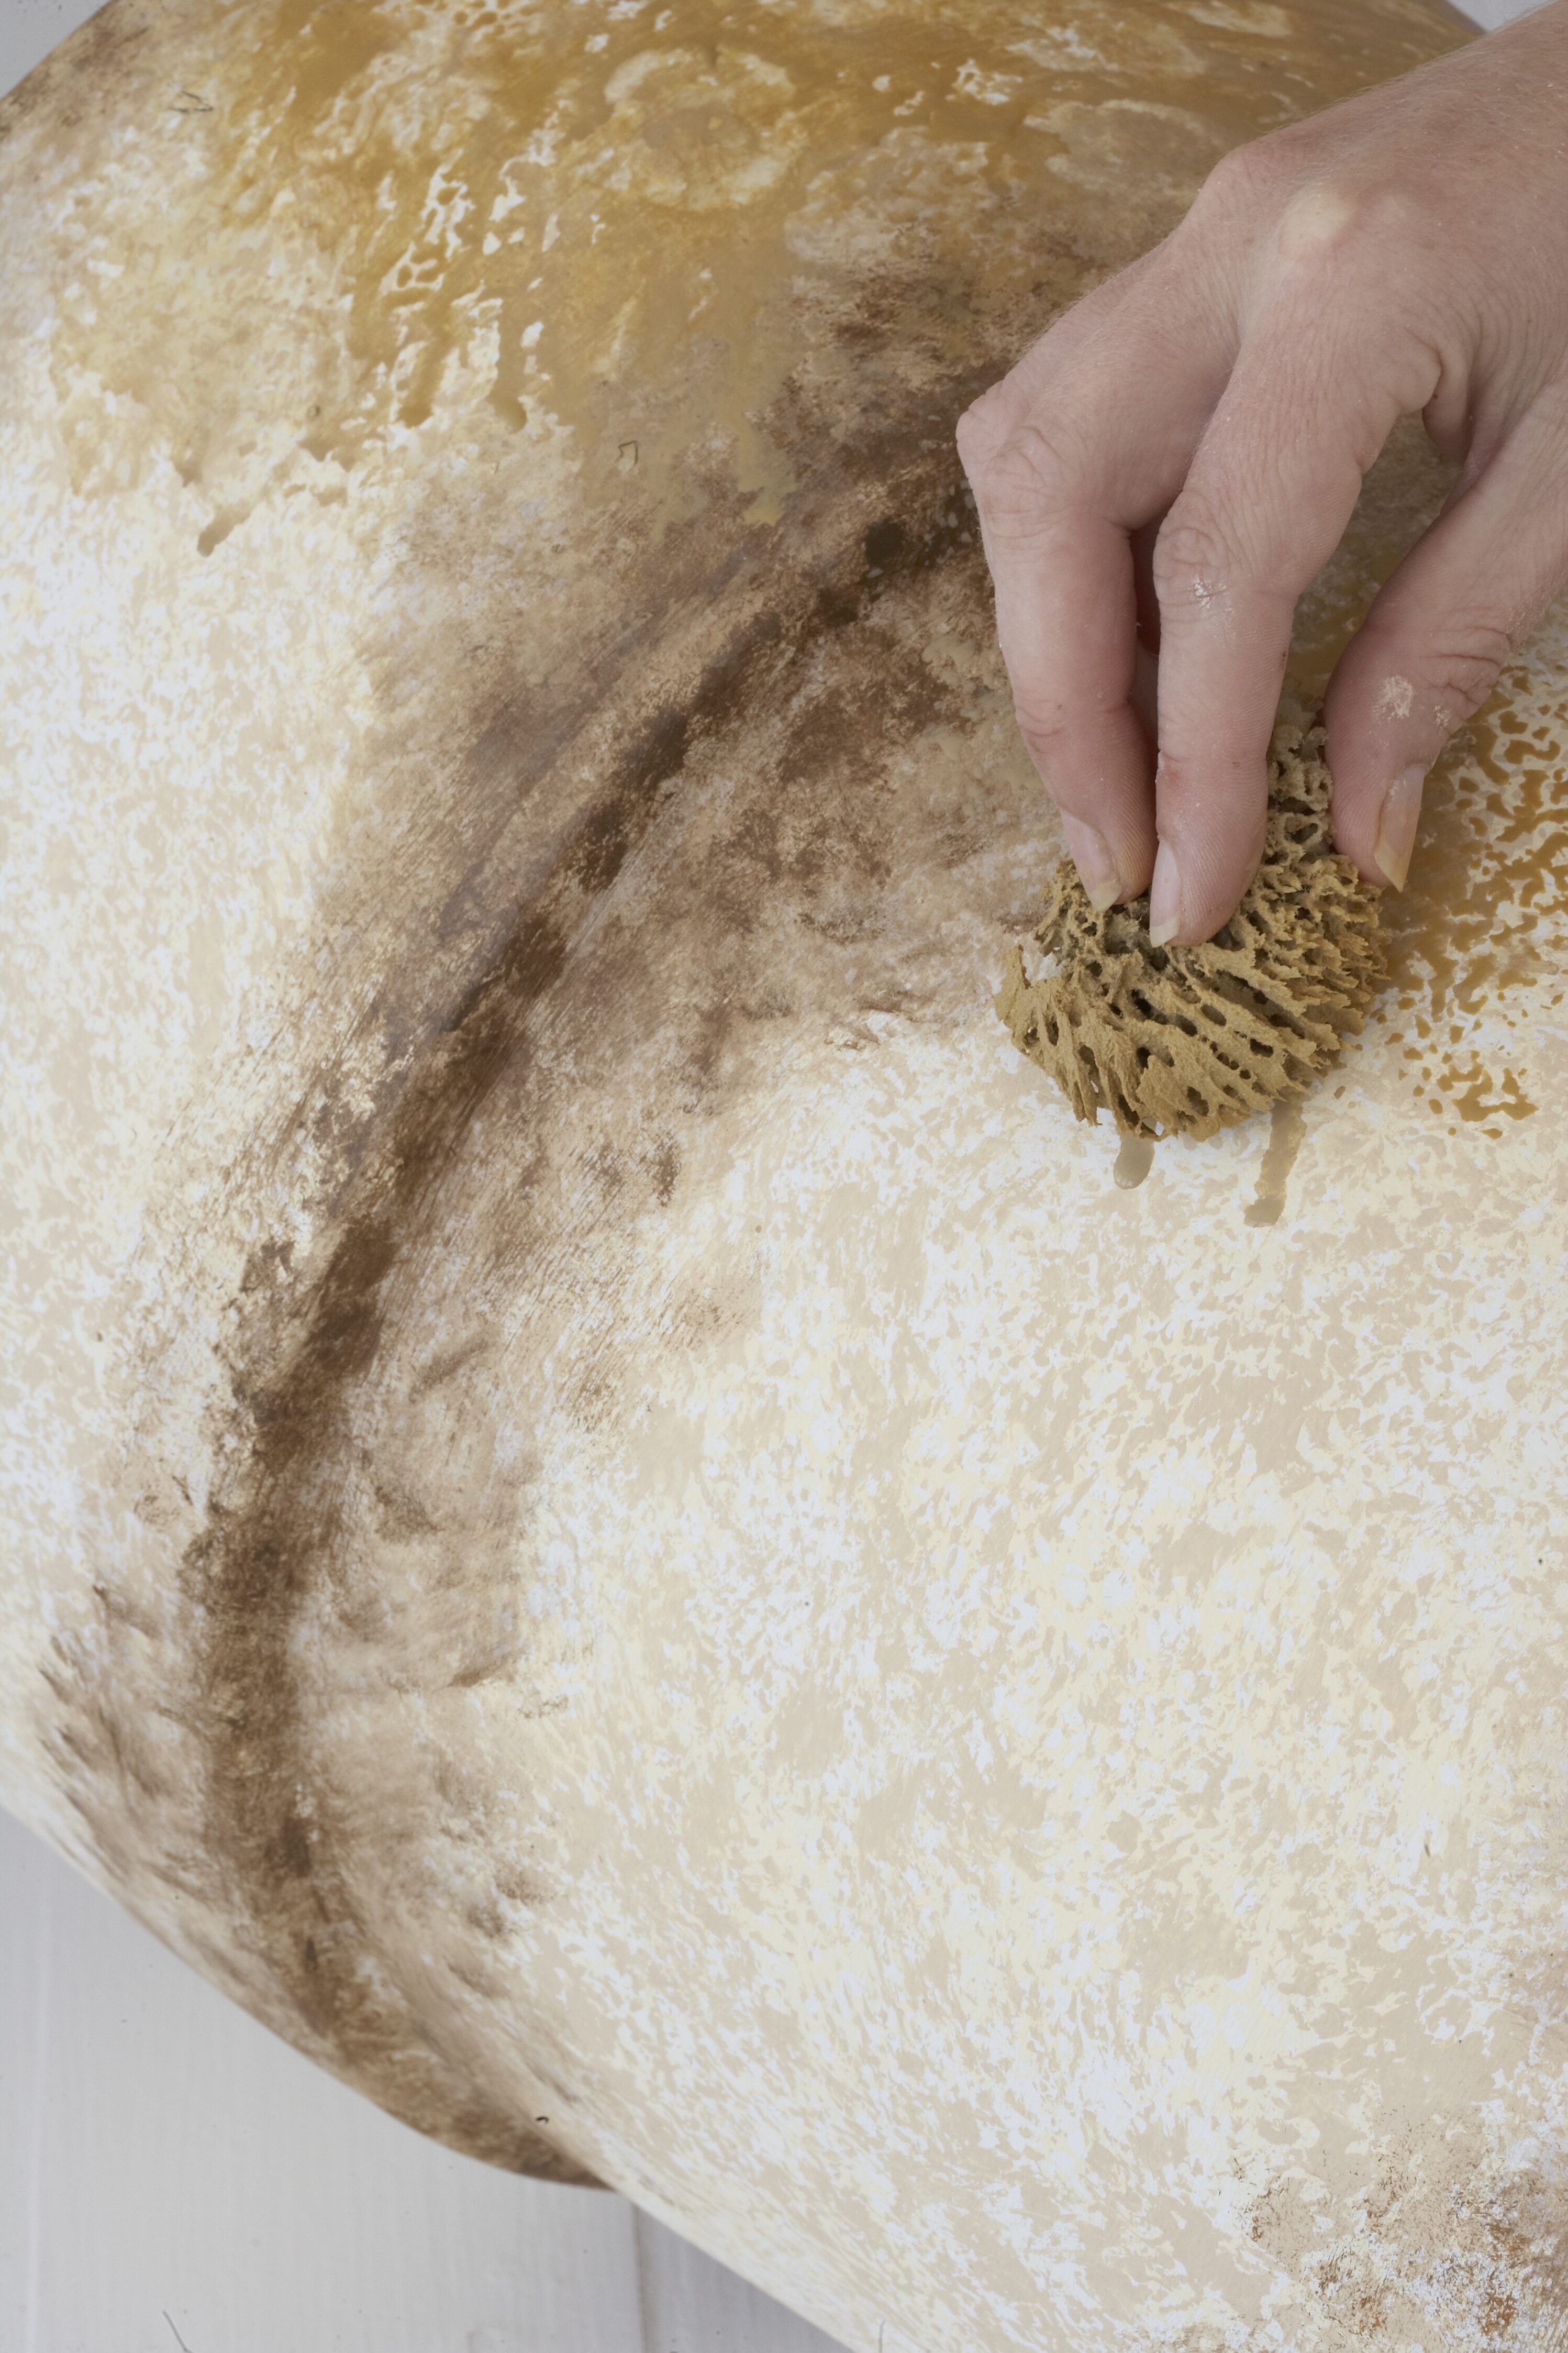
Lay the pot on its side and dab on the light brown paint, again using a damp sponge.
Step 6
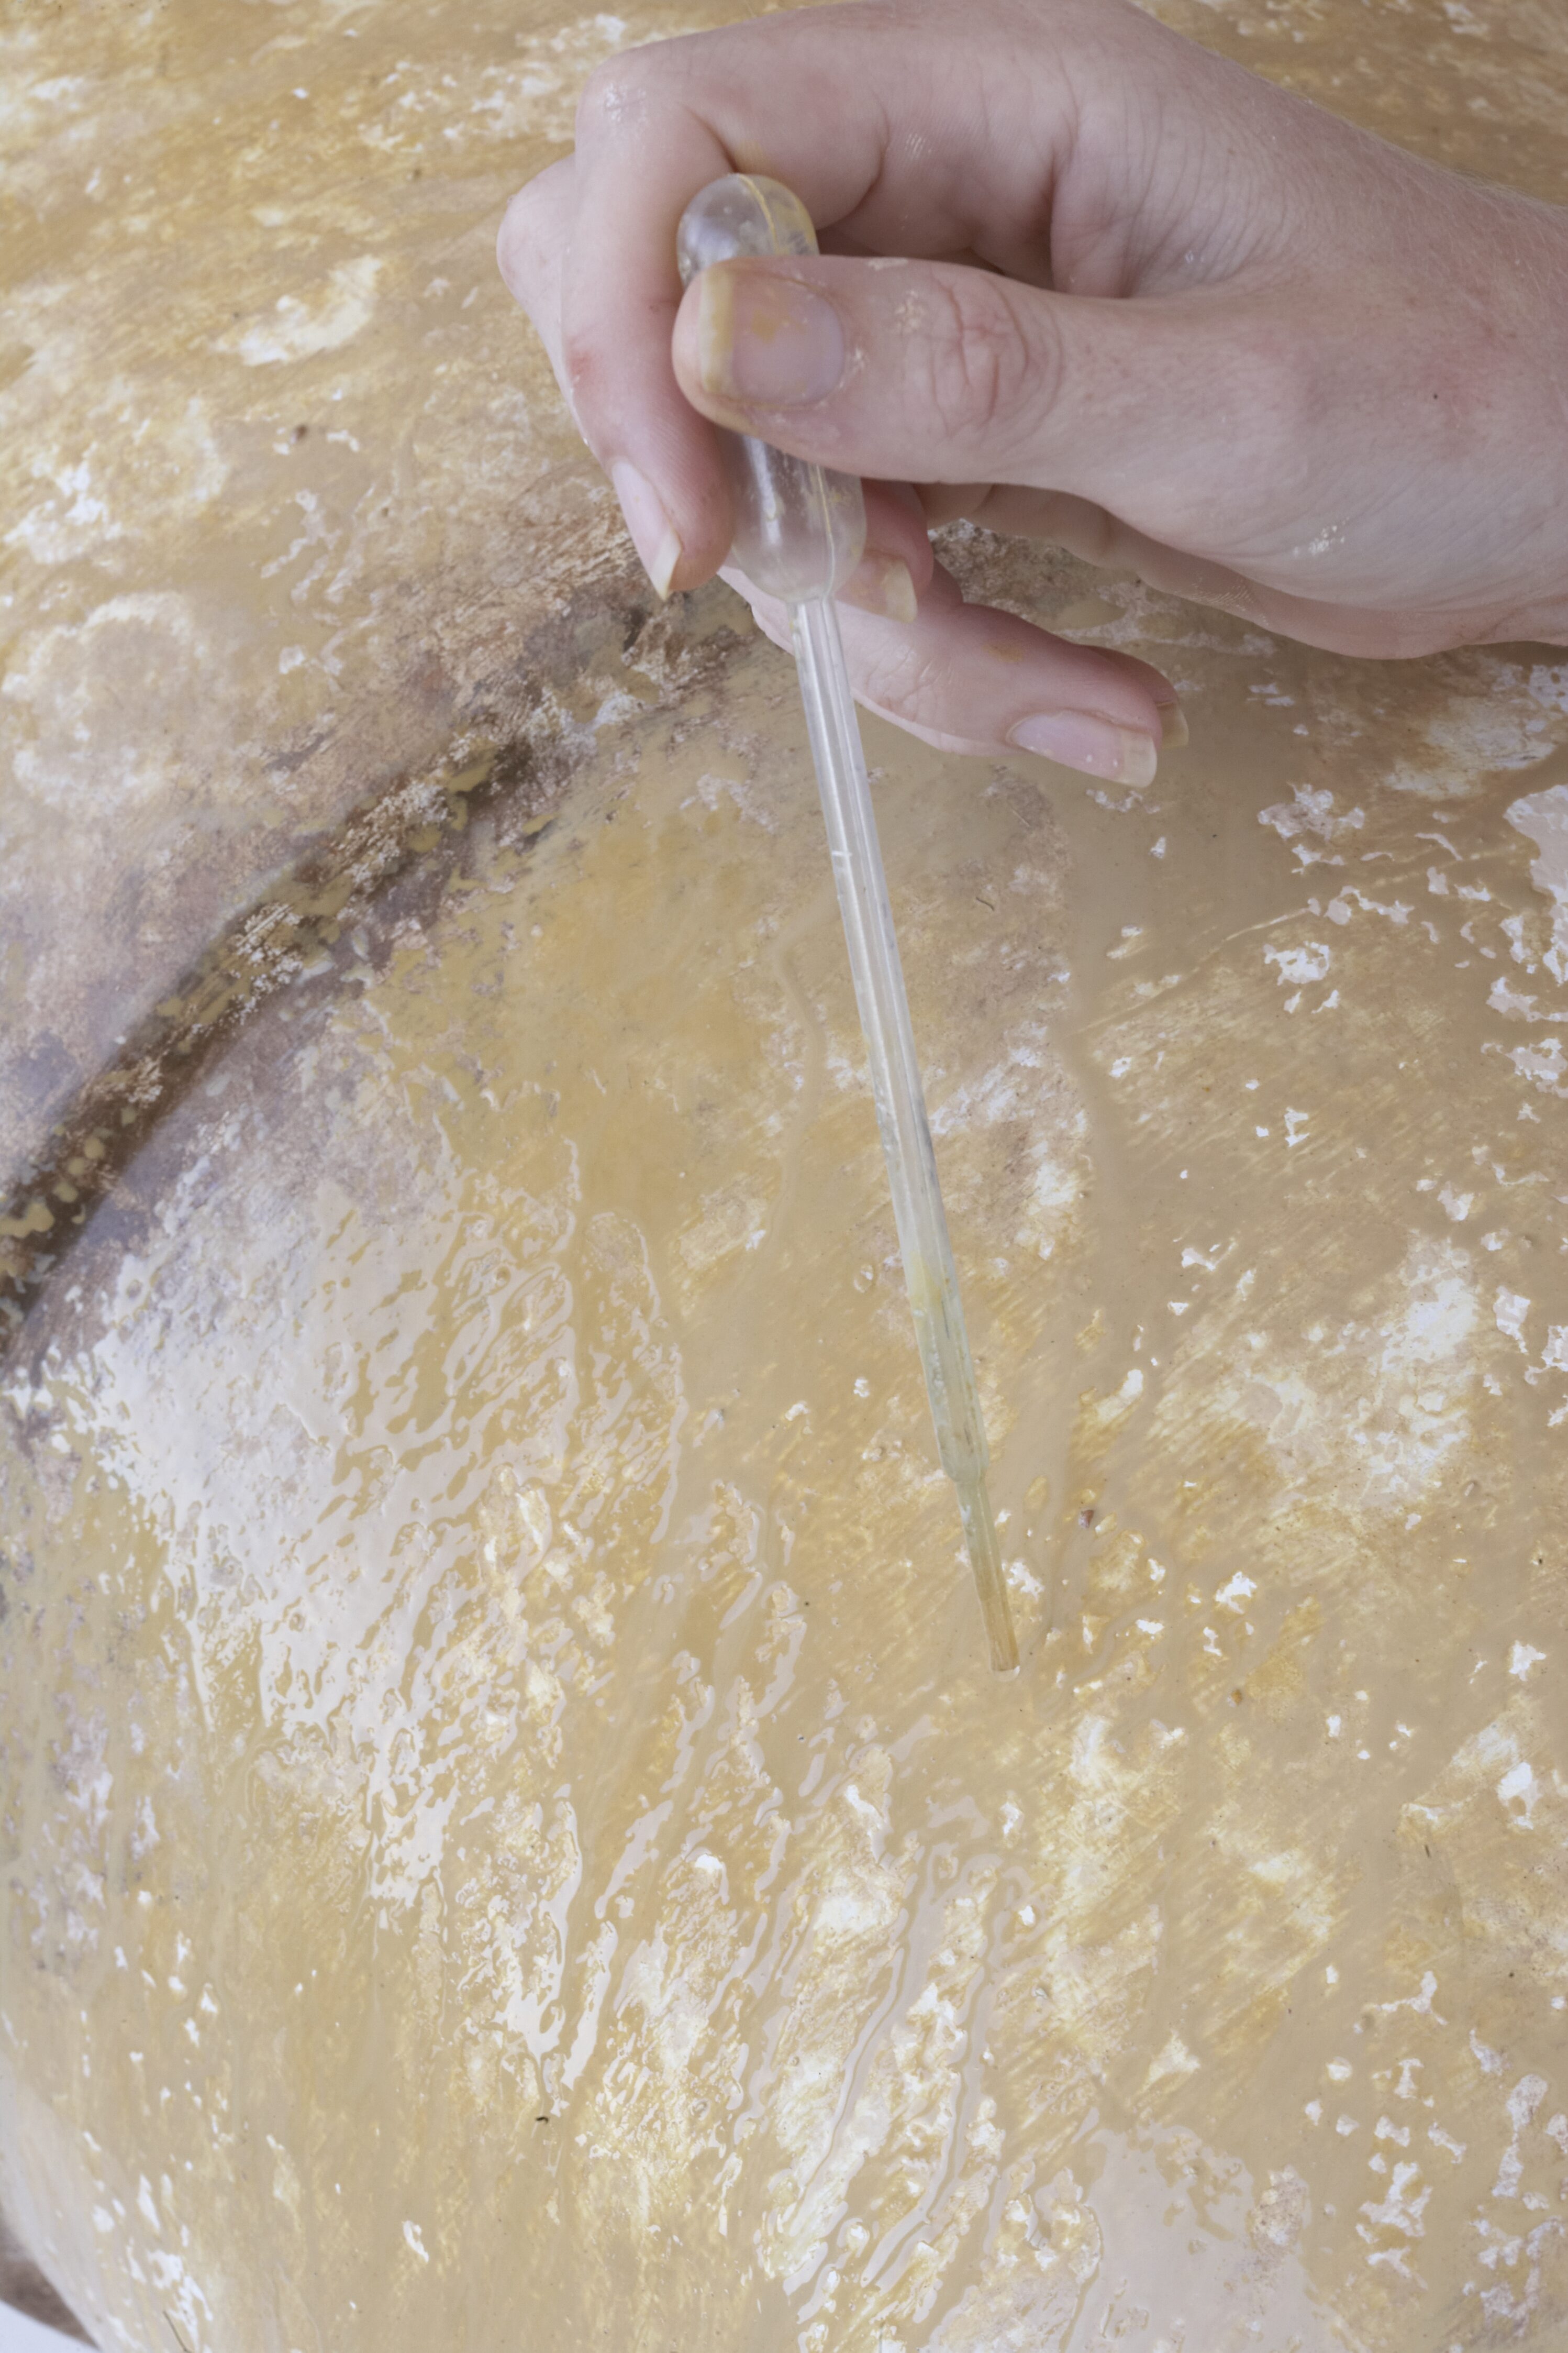
Concentrating on one area at a time, apply spirits to the wet paint using a medicine dropper. The spirits will react with the wet paint and form whorls that resemble the patterns on sandstone. leave to dry before you turn the pot and work on the next section, to prevent the paint from running. Continue until the entire pot has been covered, then leave to dry completely. If you are not satisfied with the result, you can dab more acrylic paint onto the pot in places.
Credits
Referenced from Gallo images / IDEAS Magazine

