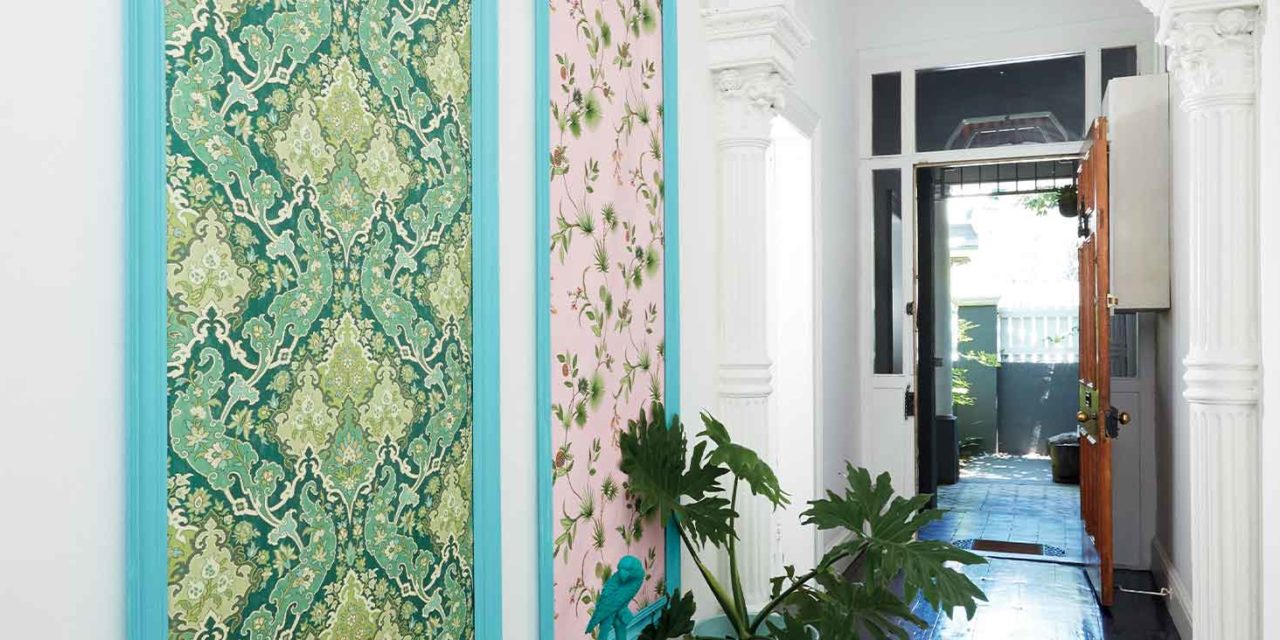
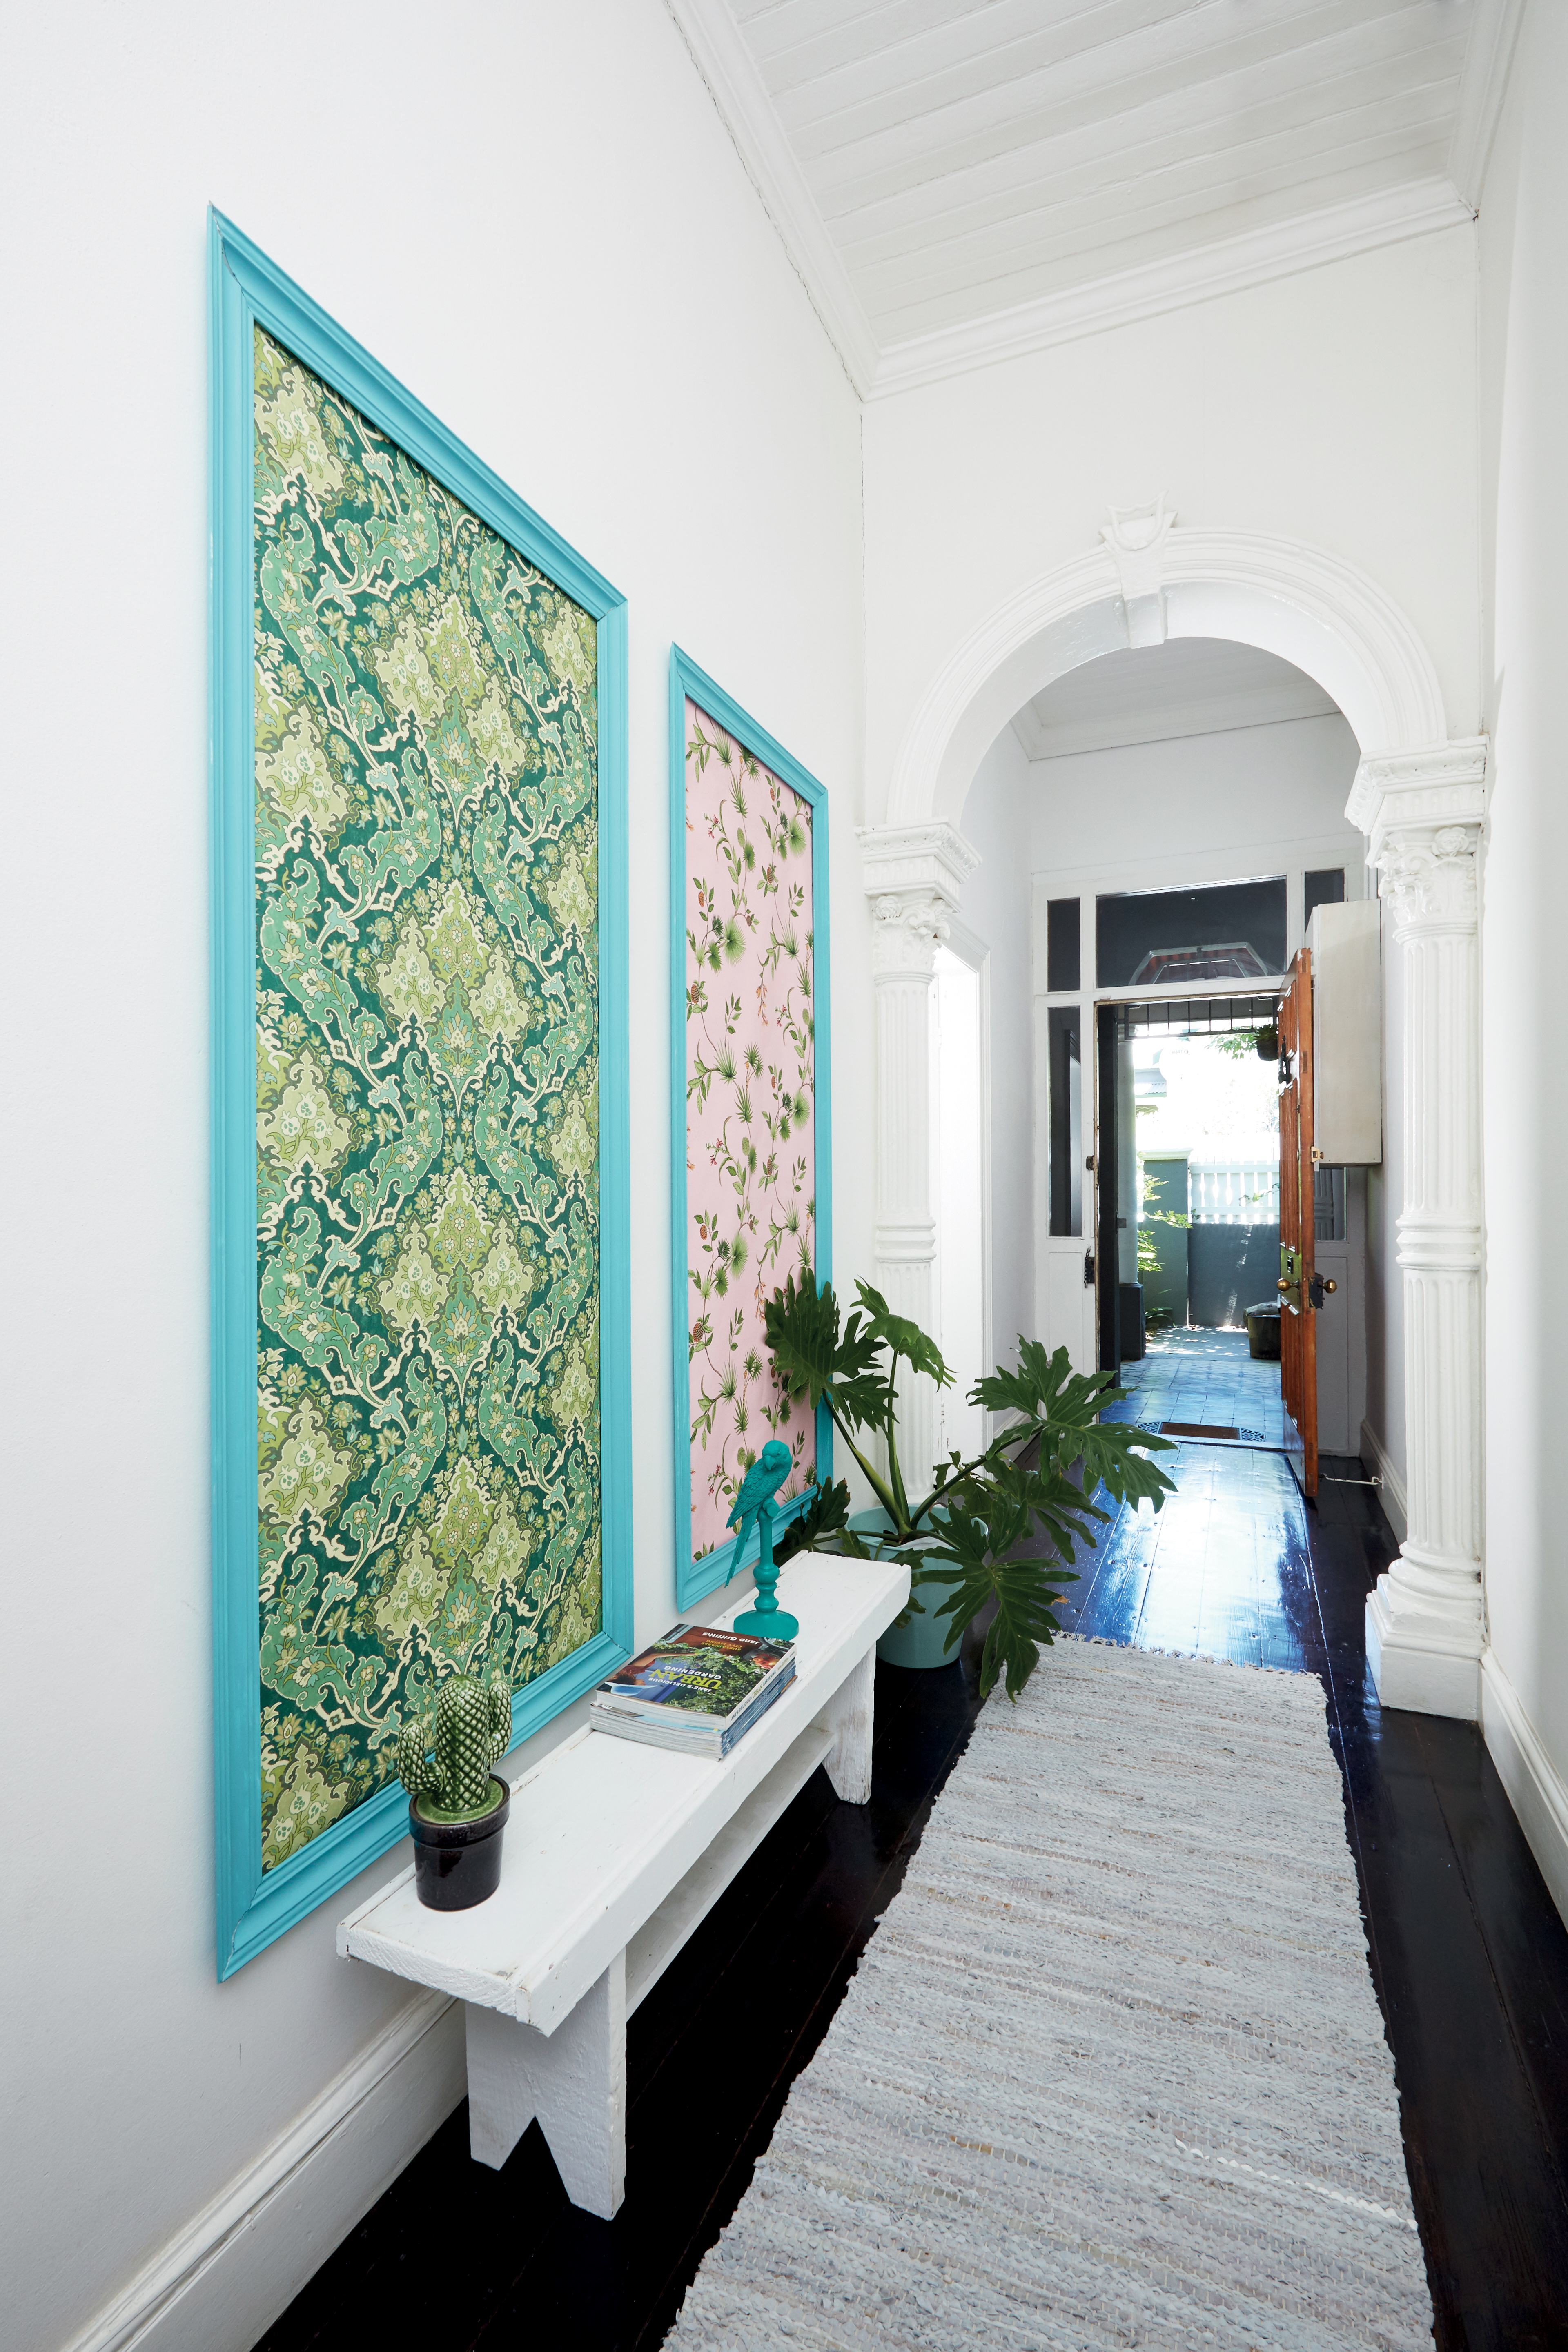
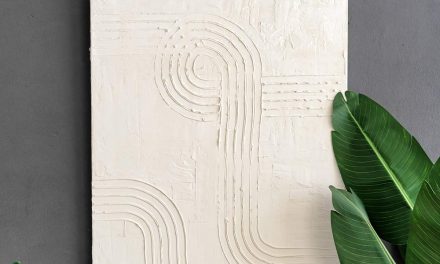
Spruce up your foyer with beautiful wall panels.
- spirit level
- tape measure
- L-square ruler
- saw and mitre box
- paintbrush
- scissors
- wallpaper (±1.8m per panel – we used leftover pieces)
- wallpaper adhesive
- 3 x polystyrene cornices (50mm x 2m) per panel
- cornice adhesive
- paint
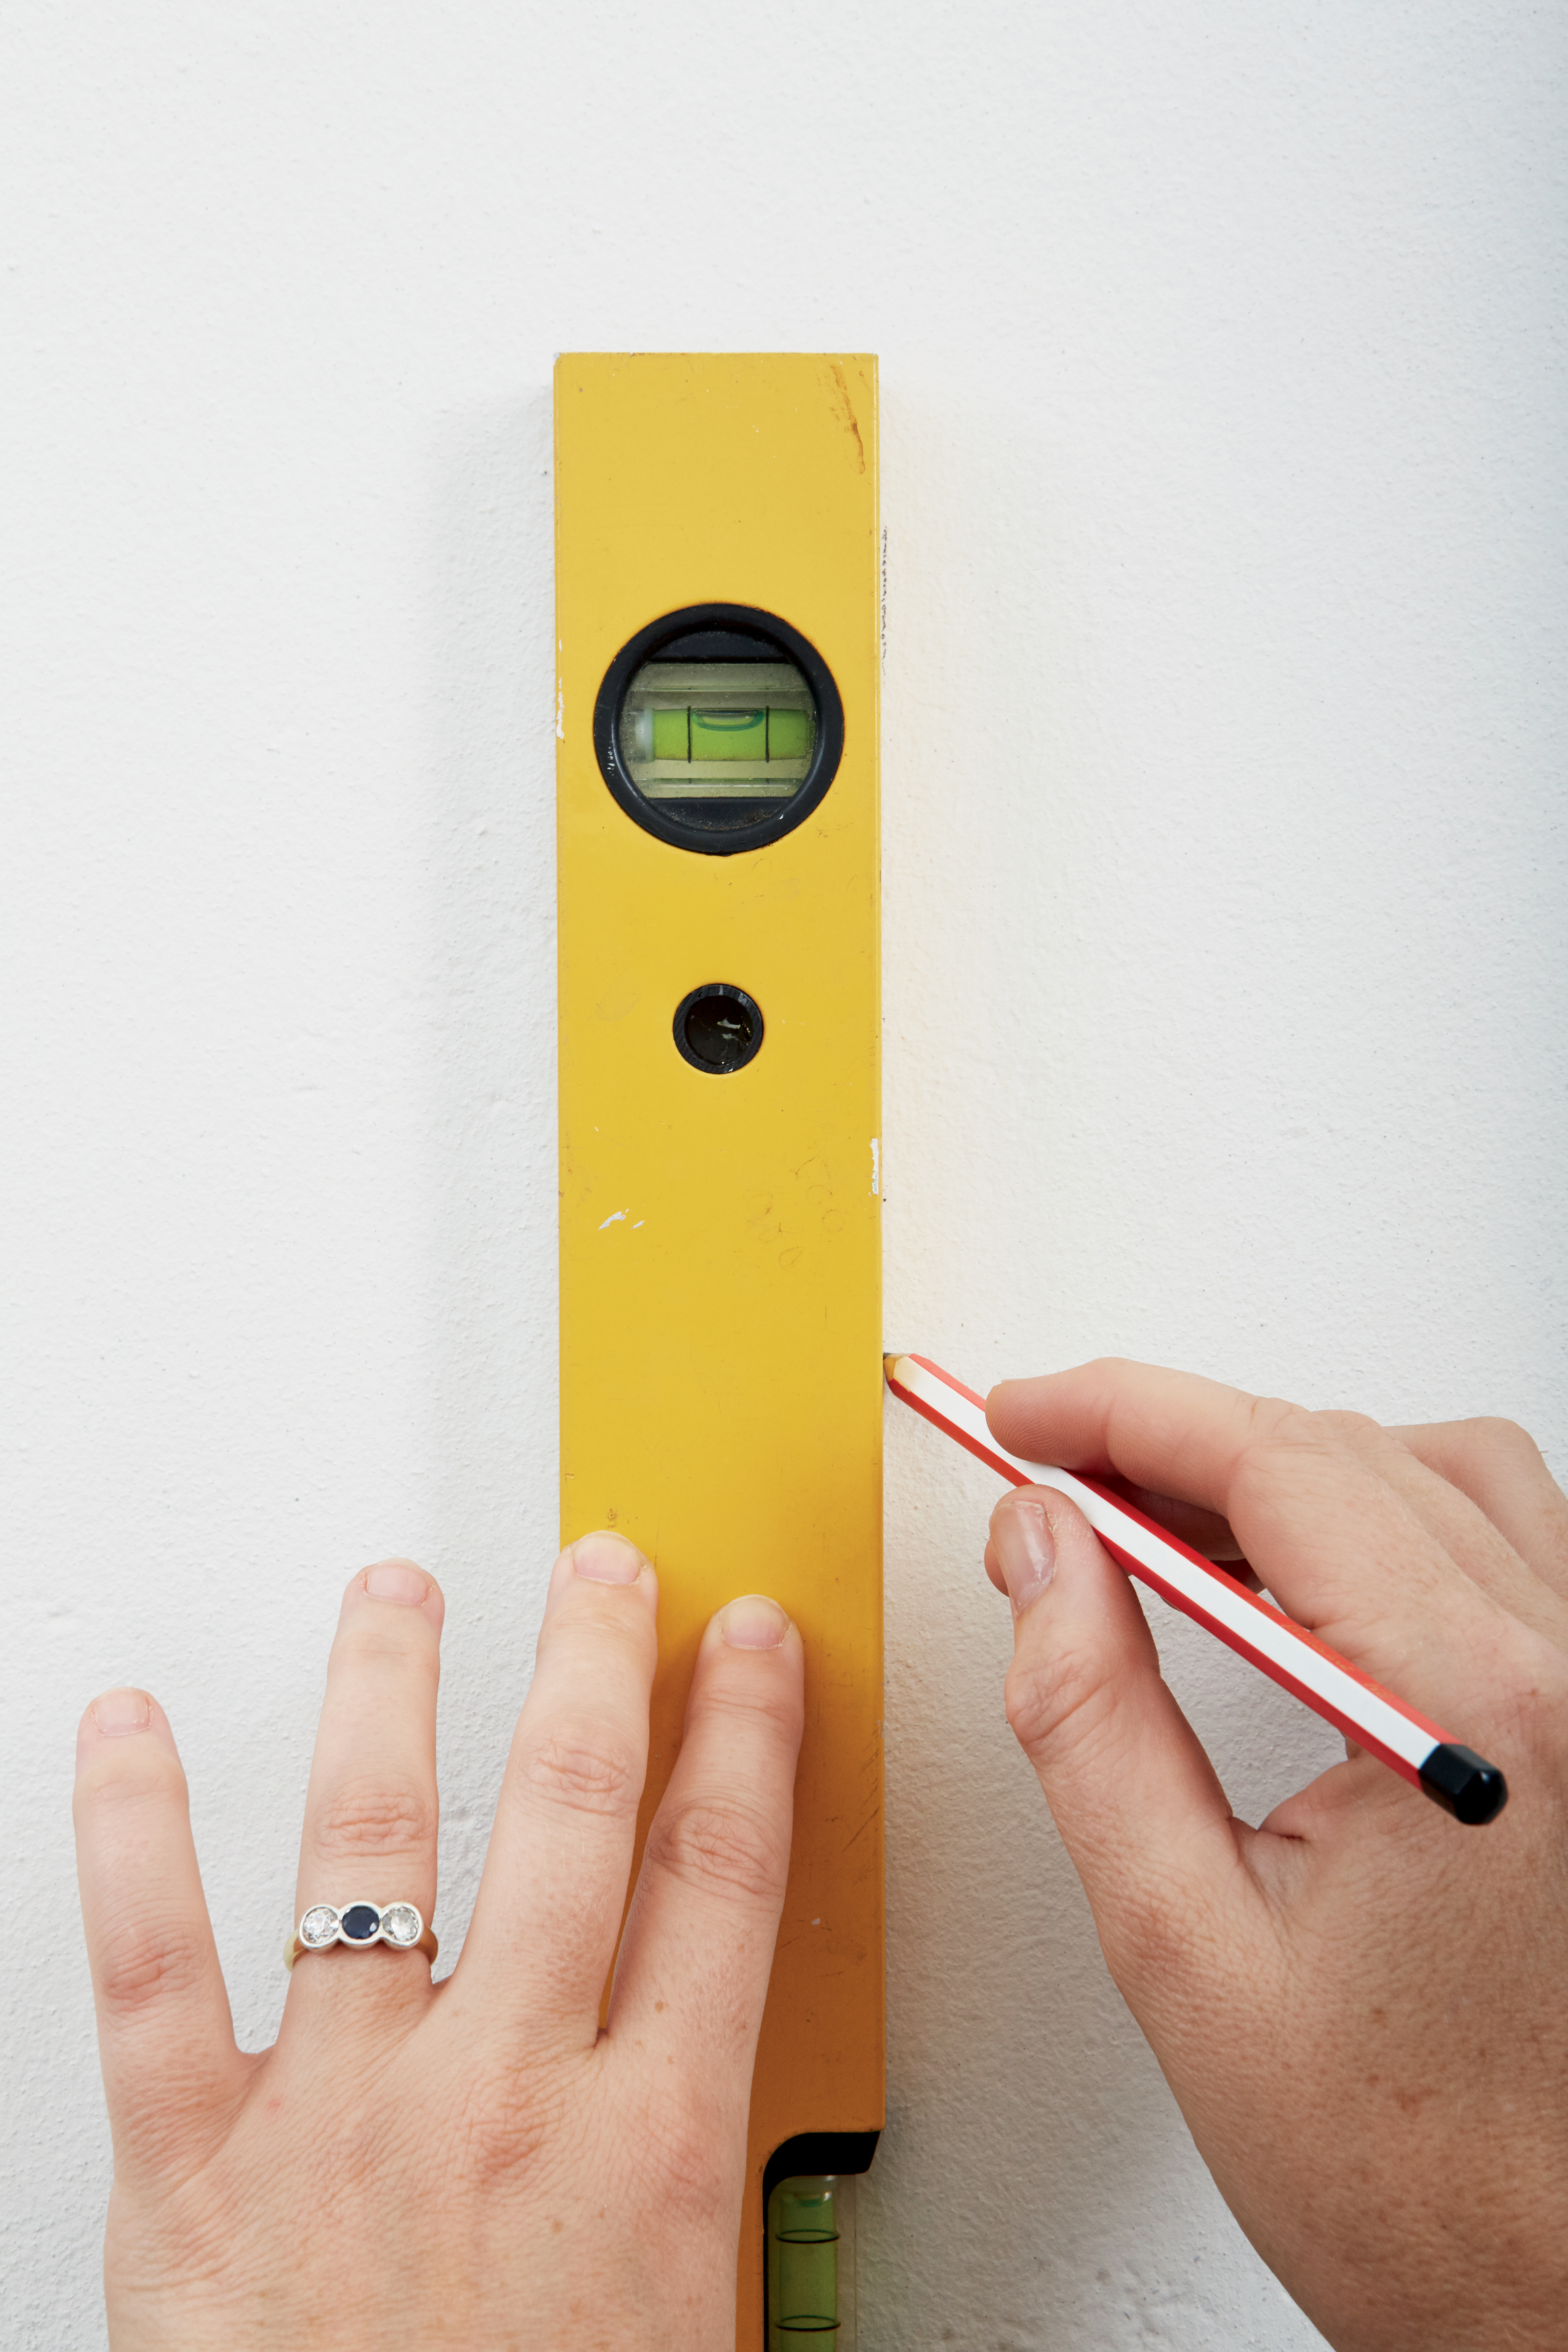
Step 1
Measure and mark where the panels will be positioned on the wall; use a spirit level to make sure everything is level and straight.

Step 2
Cut the wallpaper to the length of your panels.
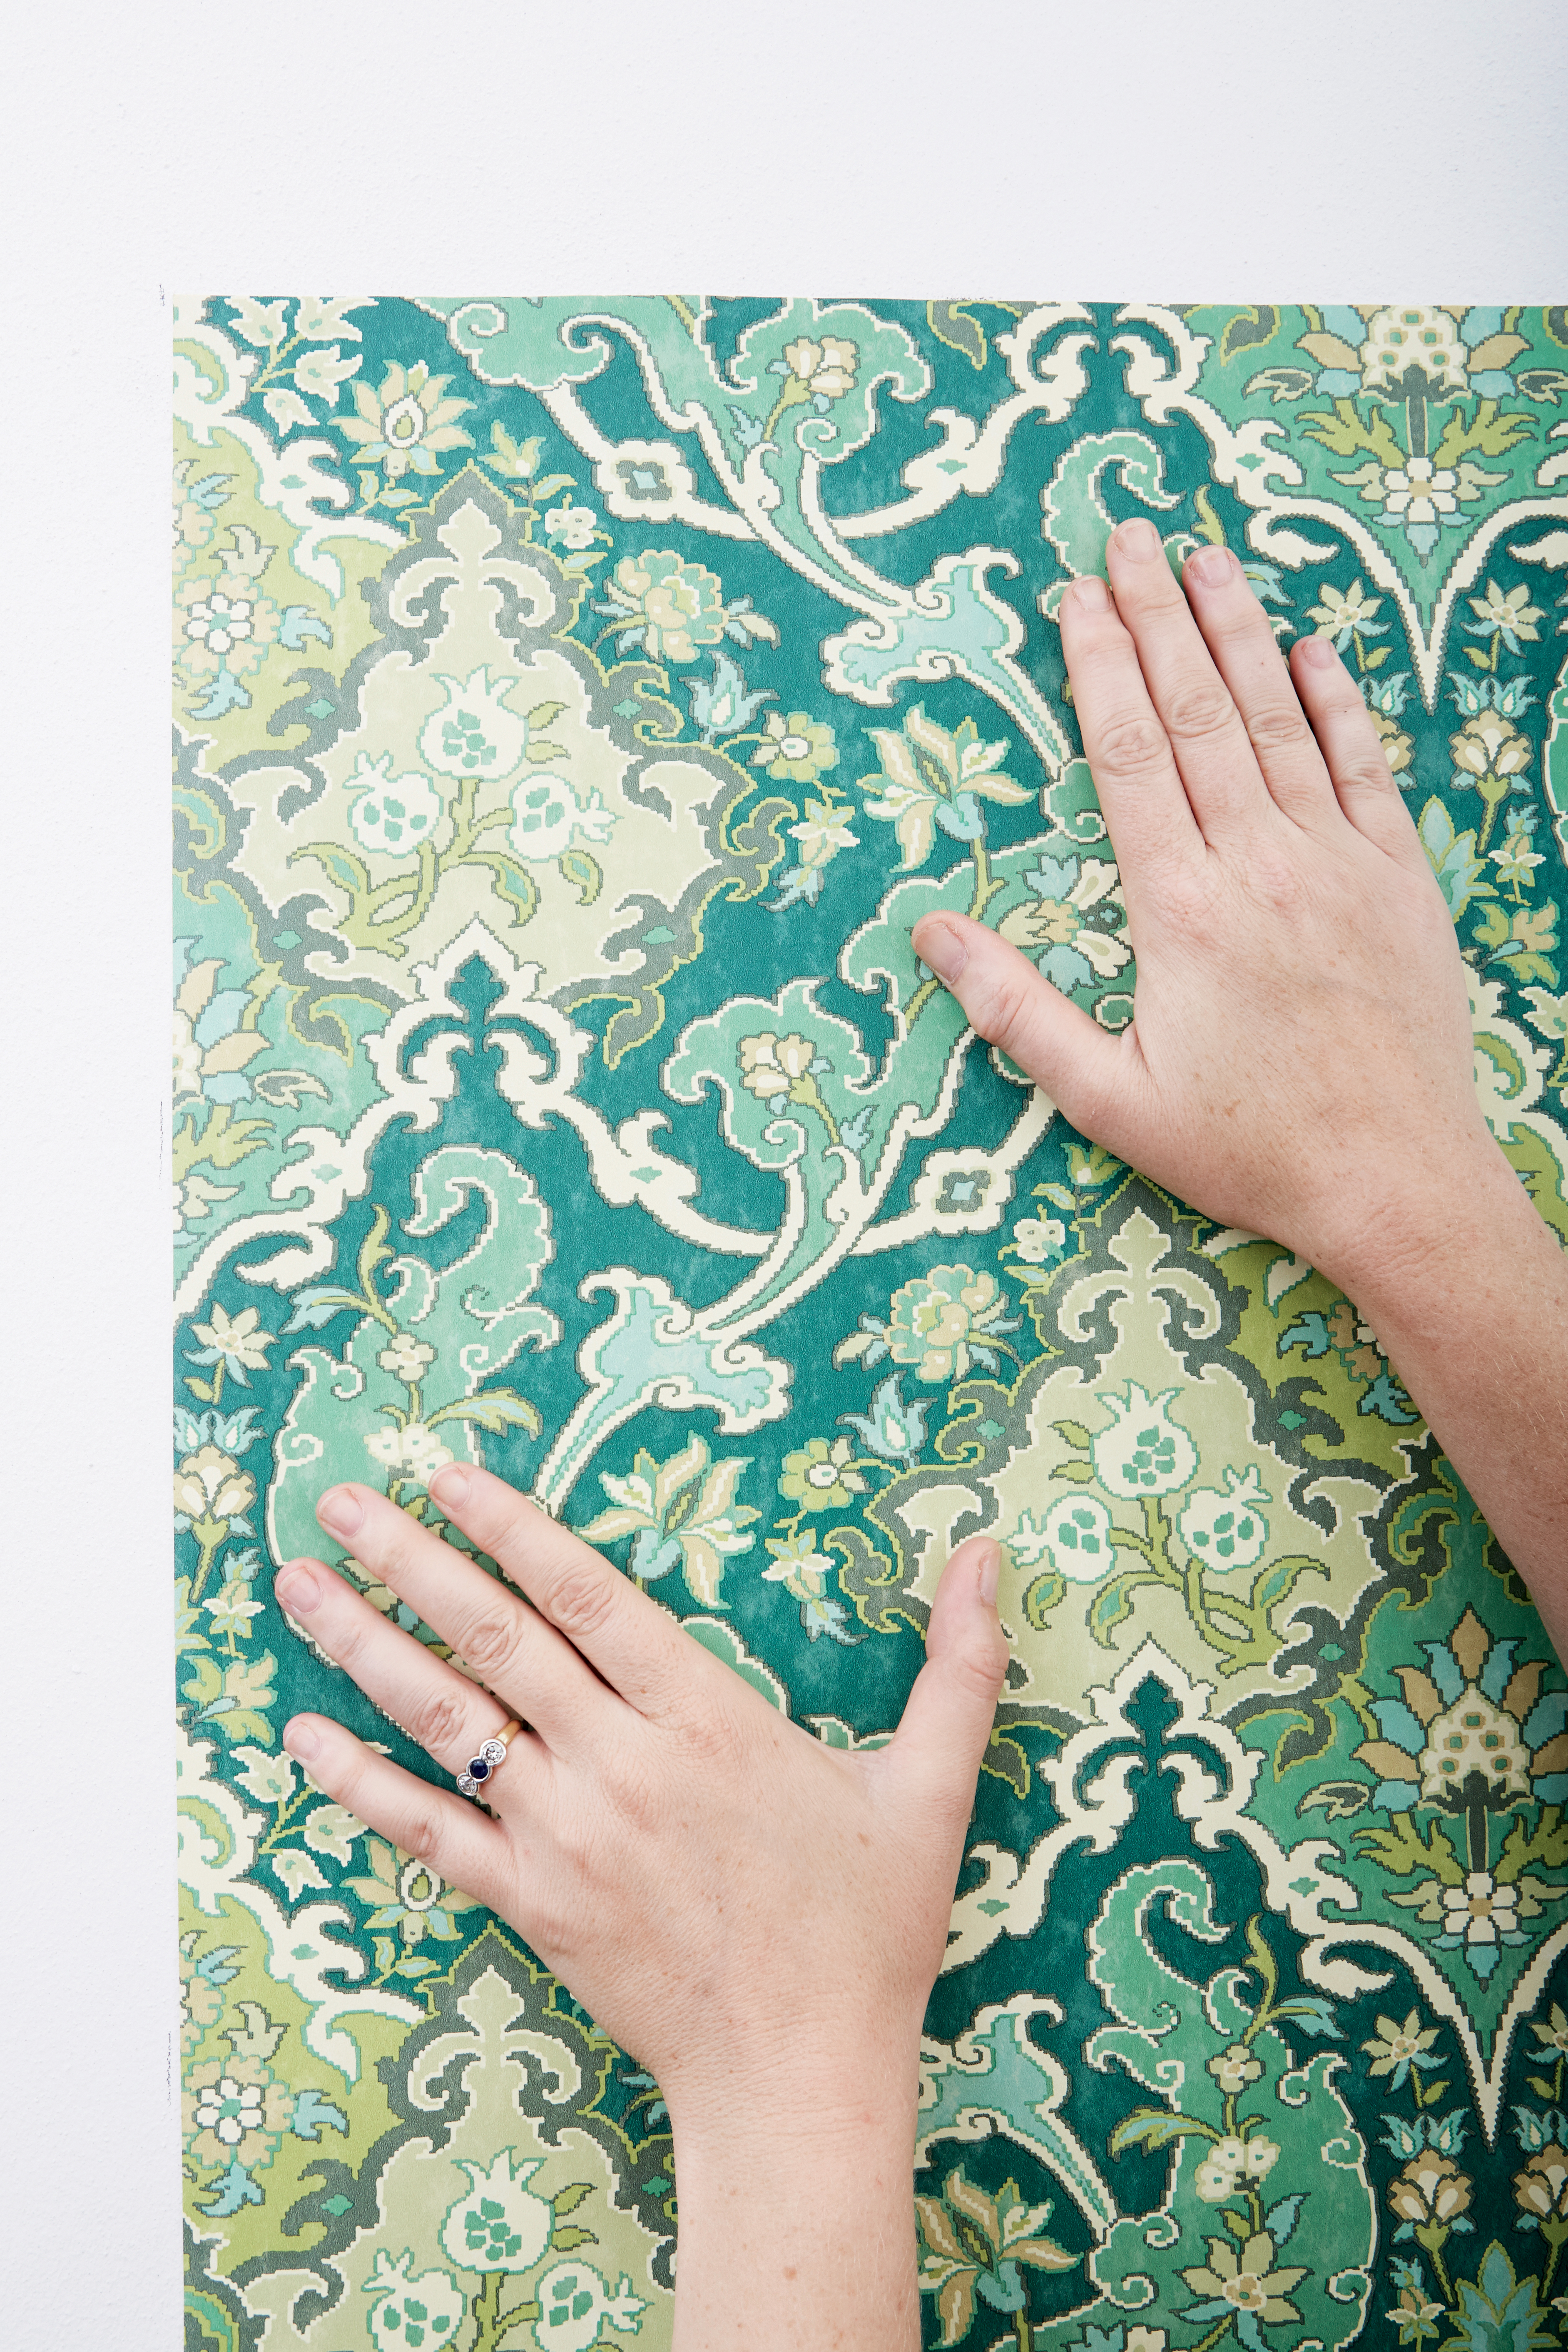
Step 3
Mix the wallpaper adhesive according to the package instructions, apply it to the back of the wallpaper with a brush, and hang the wallpaper on the marks you made in step 1. Smooth out any bubbles with your hands.
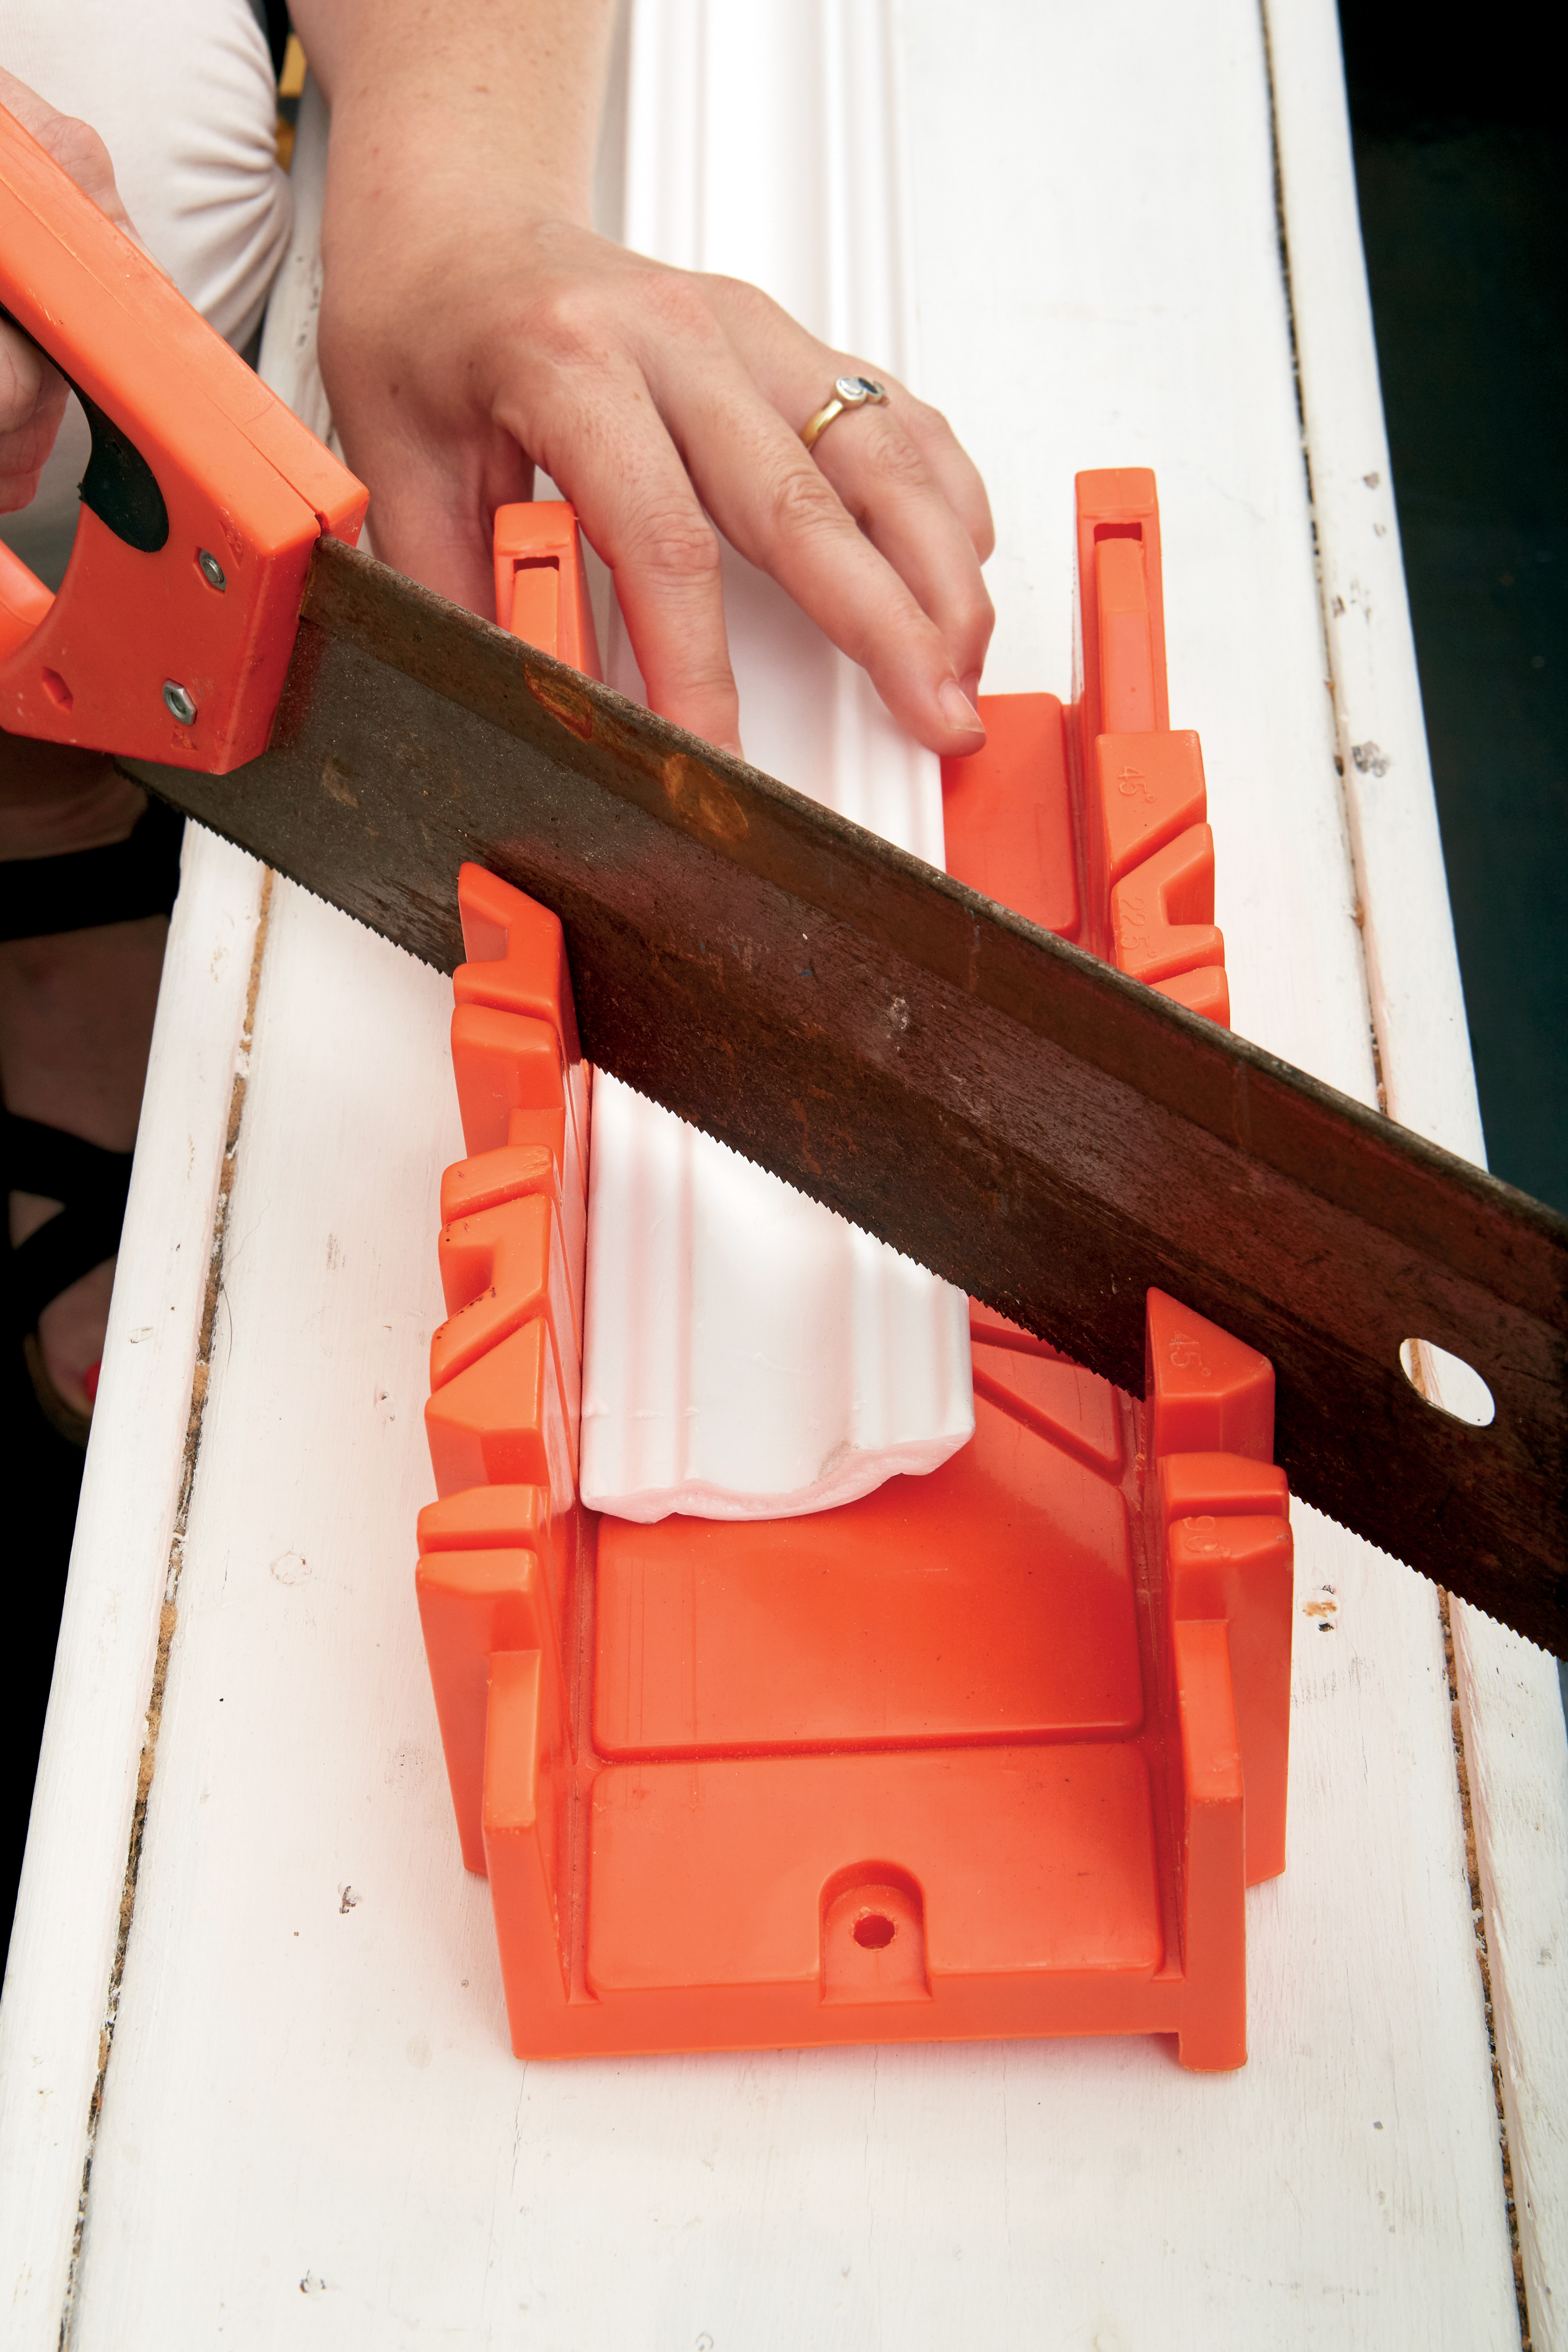
Step 4
Use the mitre box to cut the cornices according to the size of your panels. You will need two short sides and two long ones for each panel.
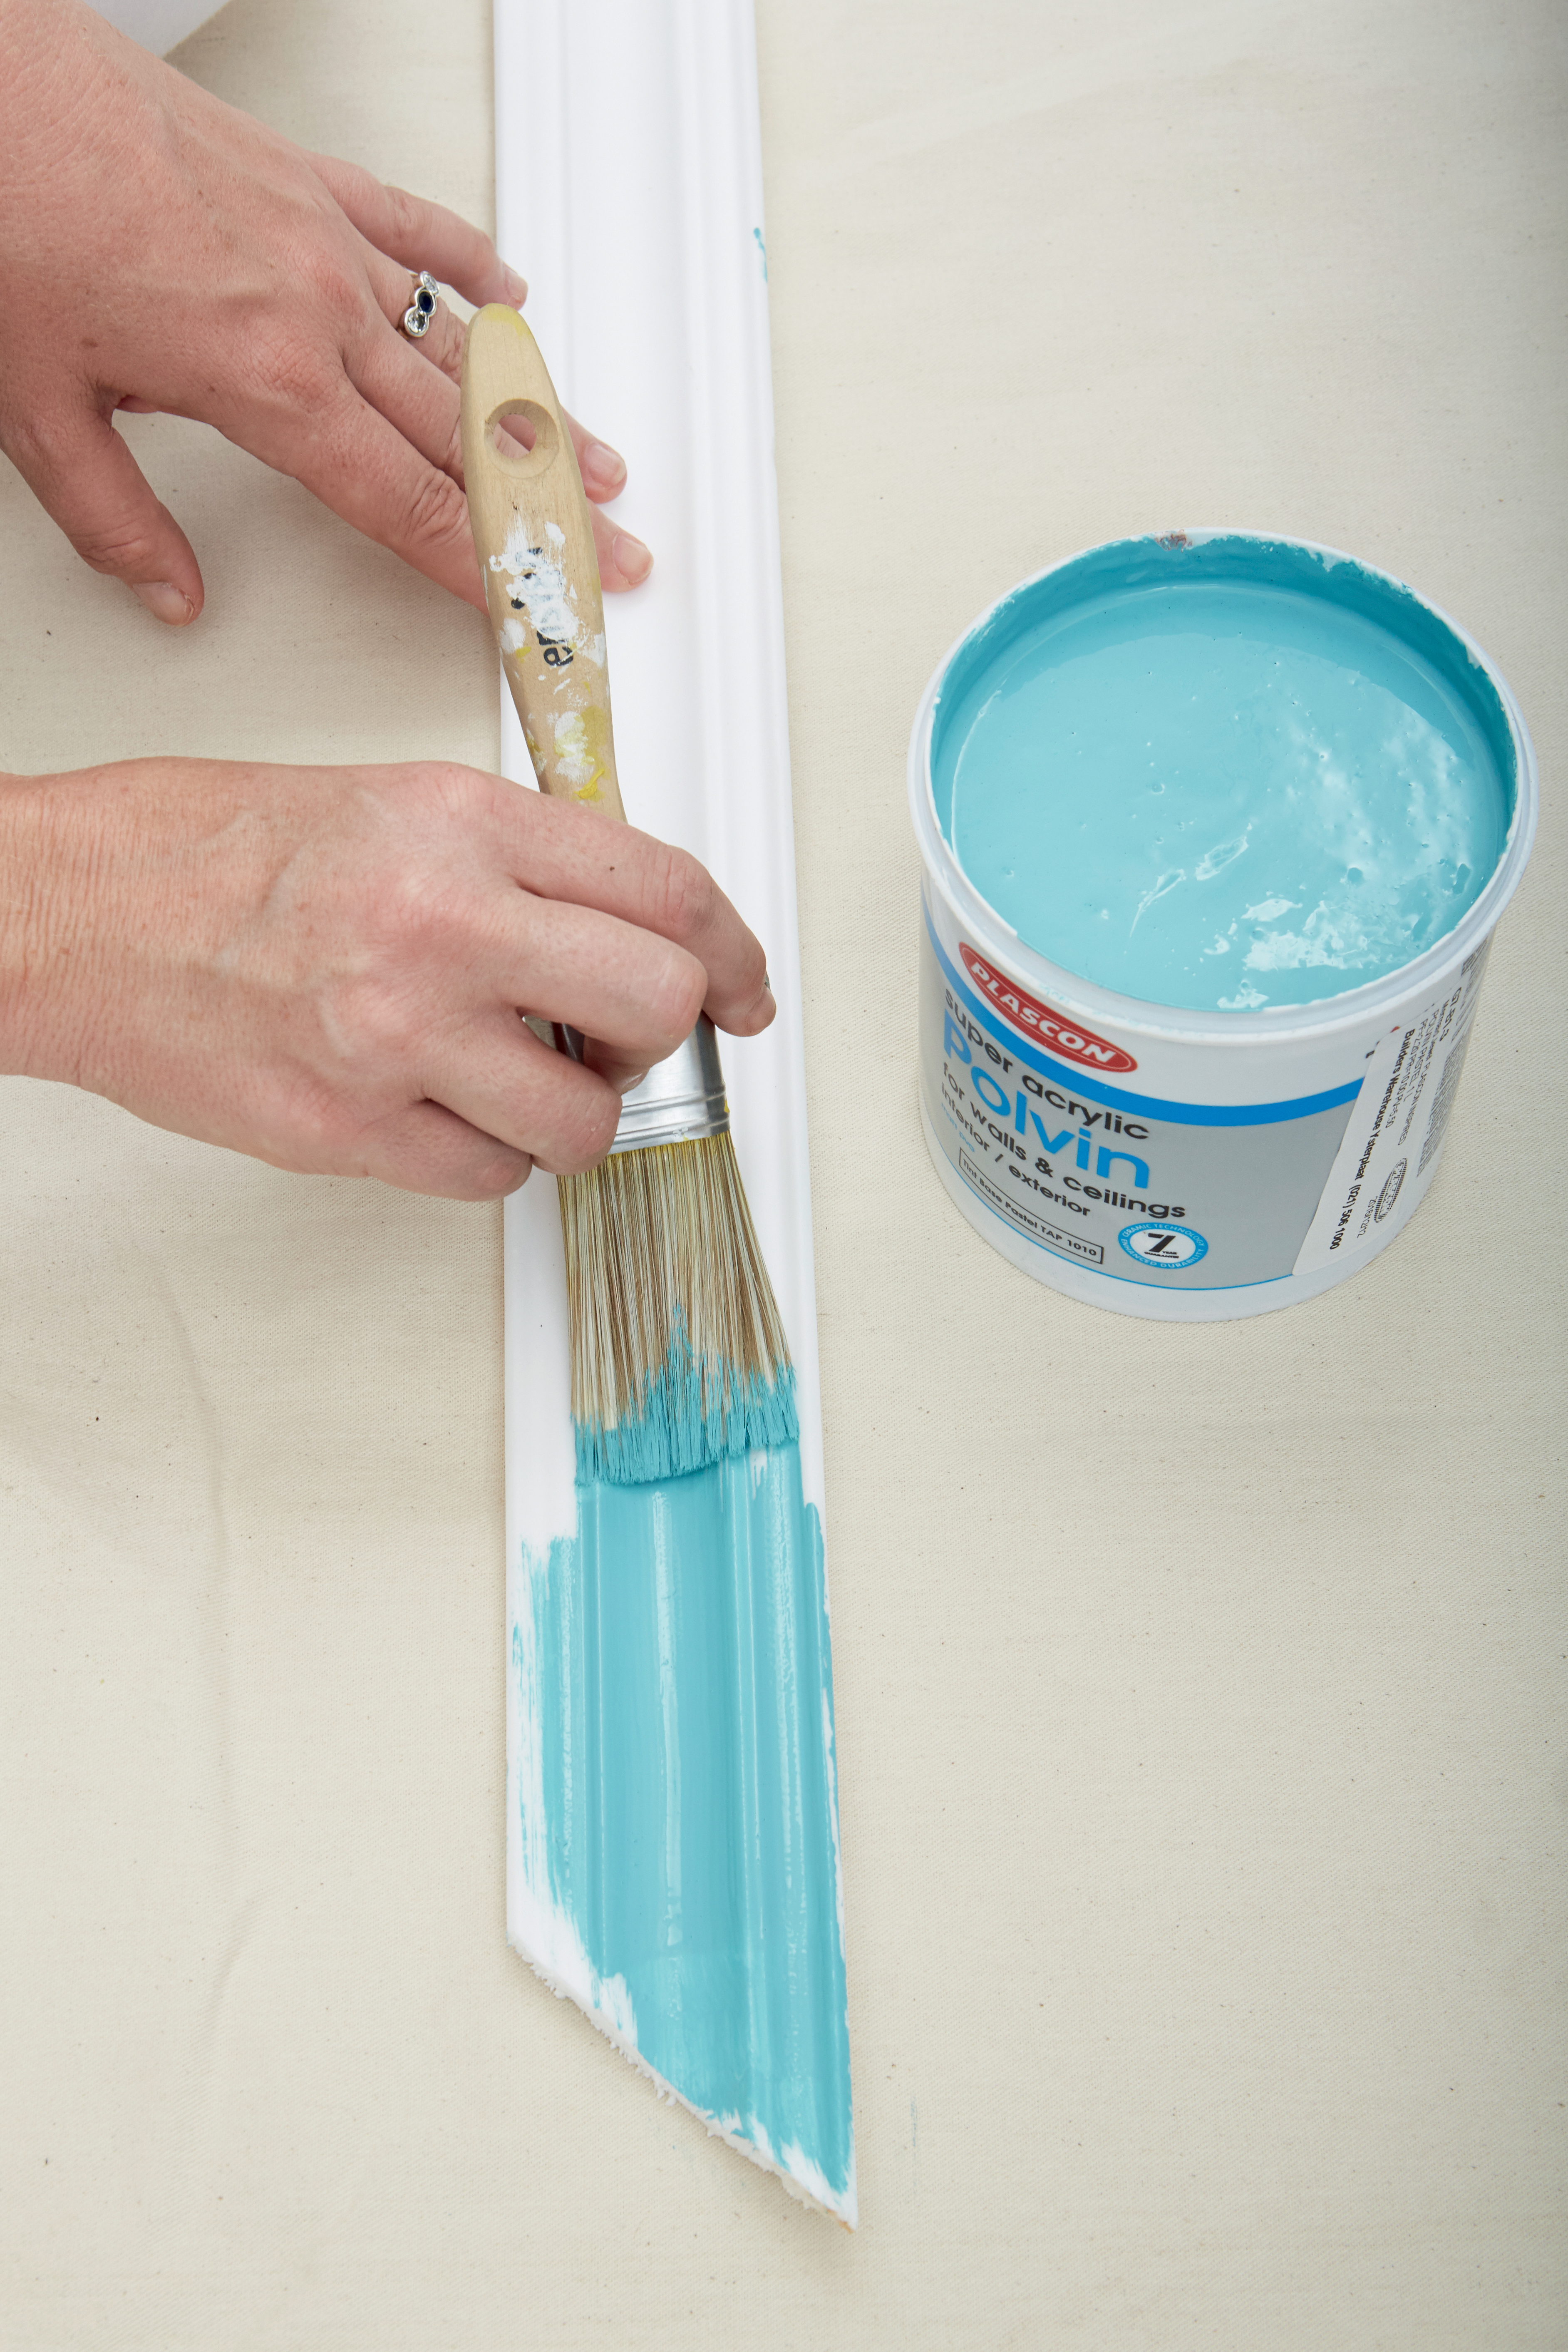
Step 5
Cover the cornices with two coats of paint. Also paint around the edges, as some of it will be visible when attached to the wall. Let the paint dry.
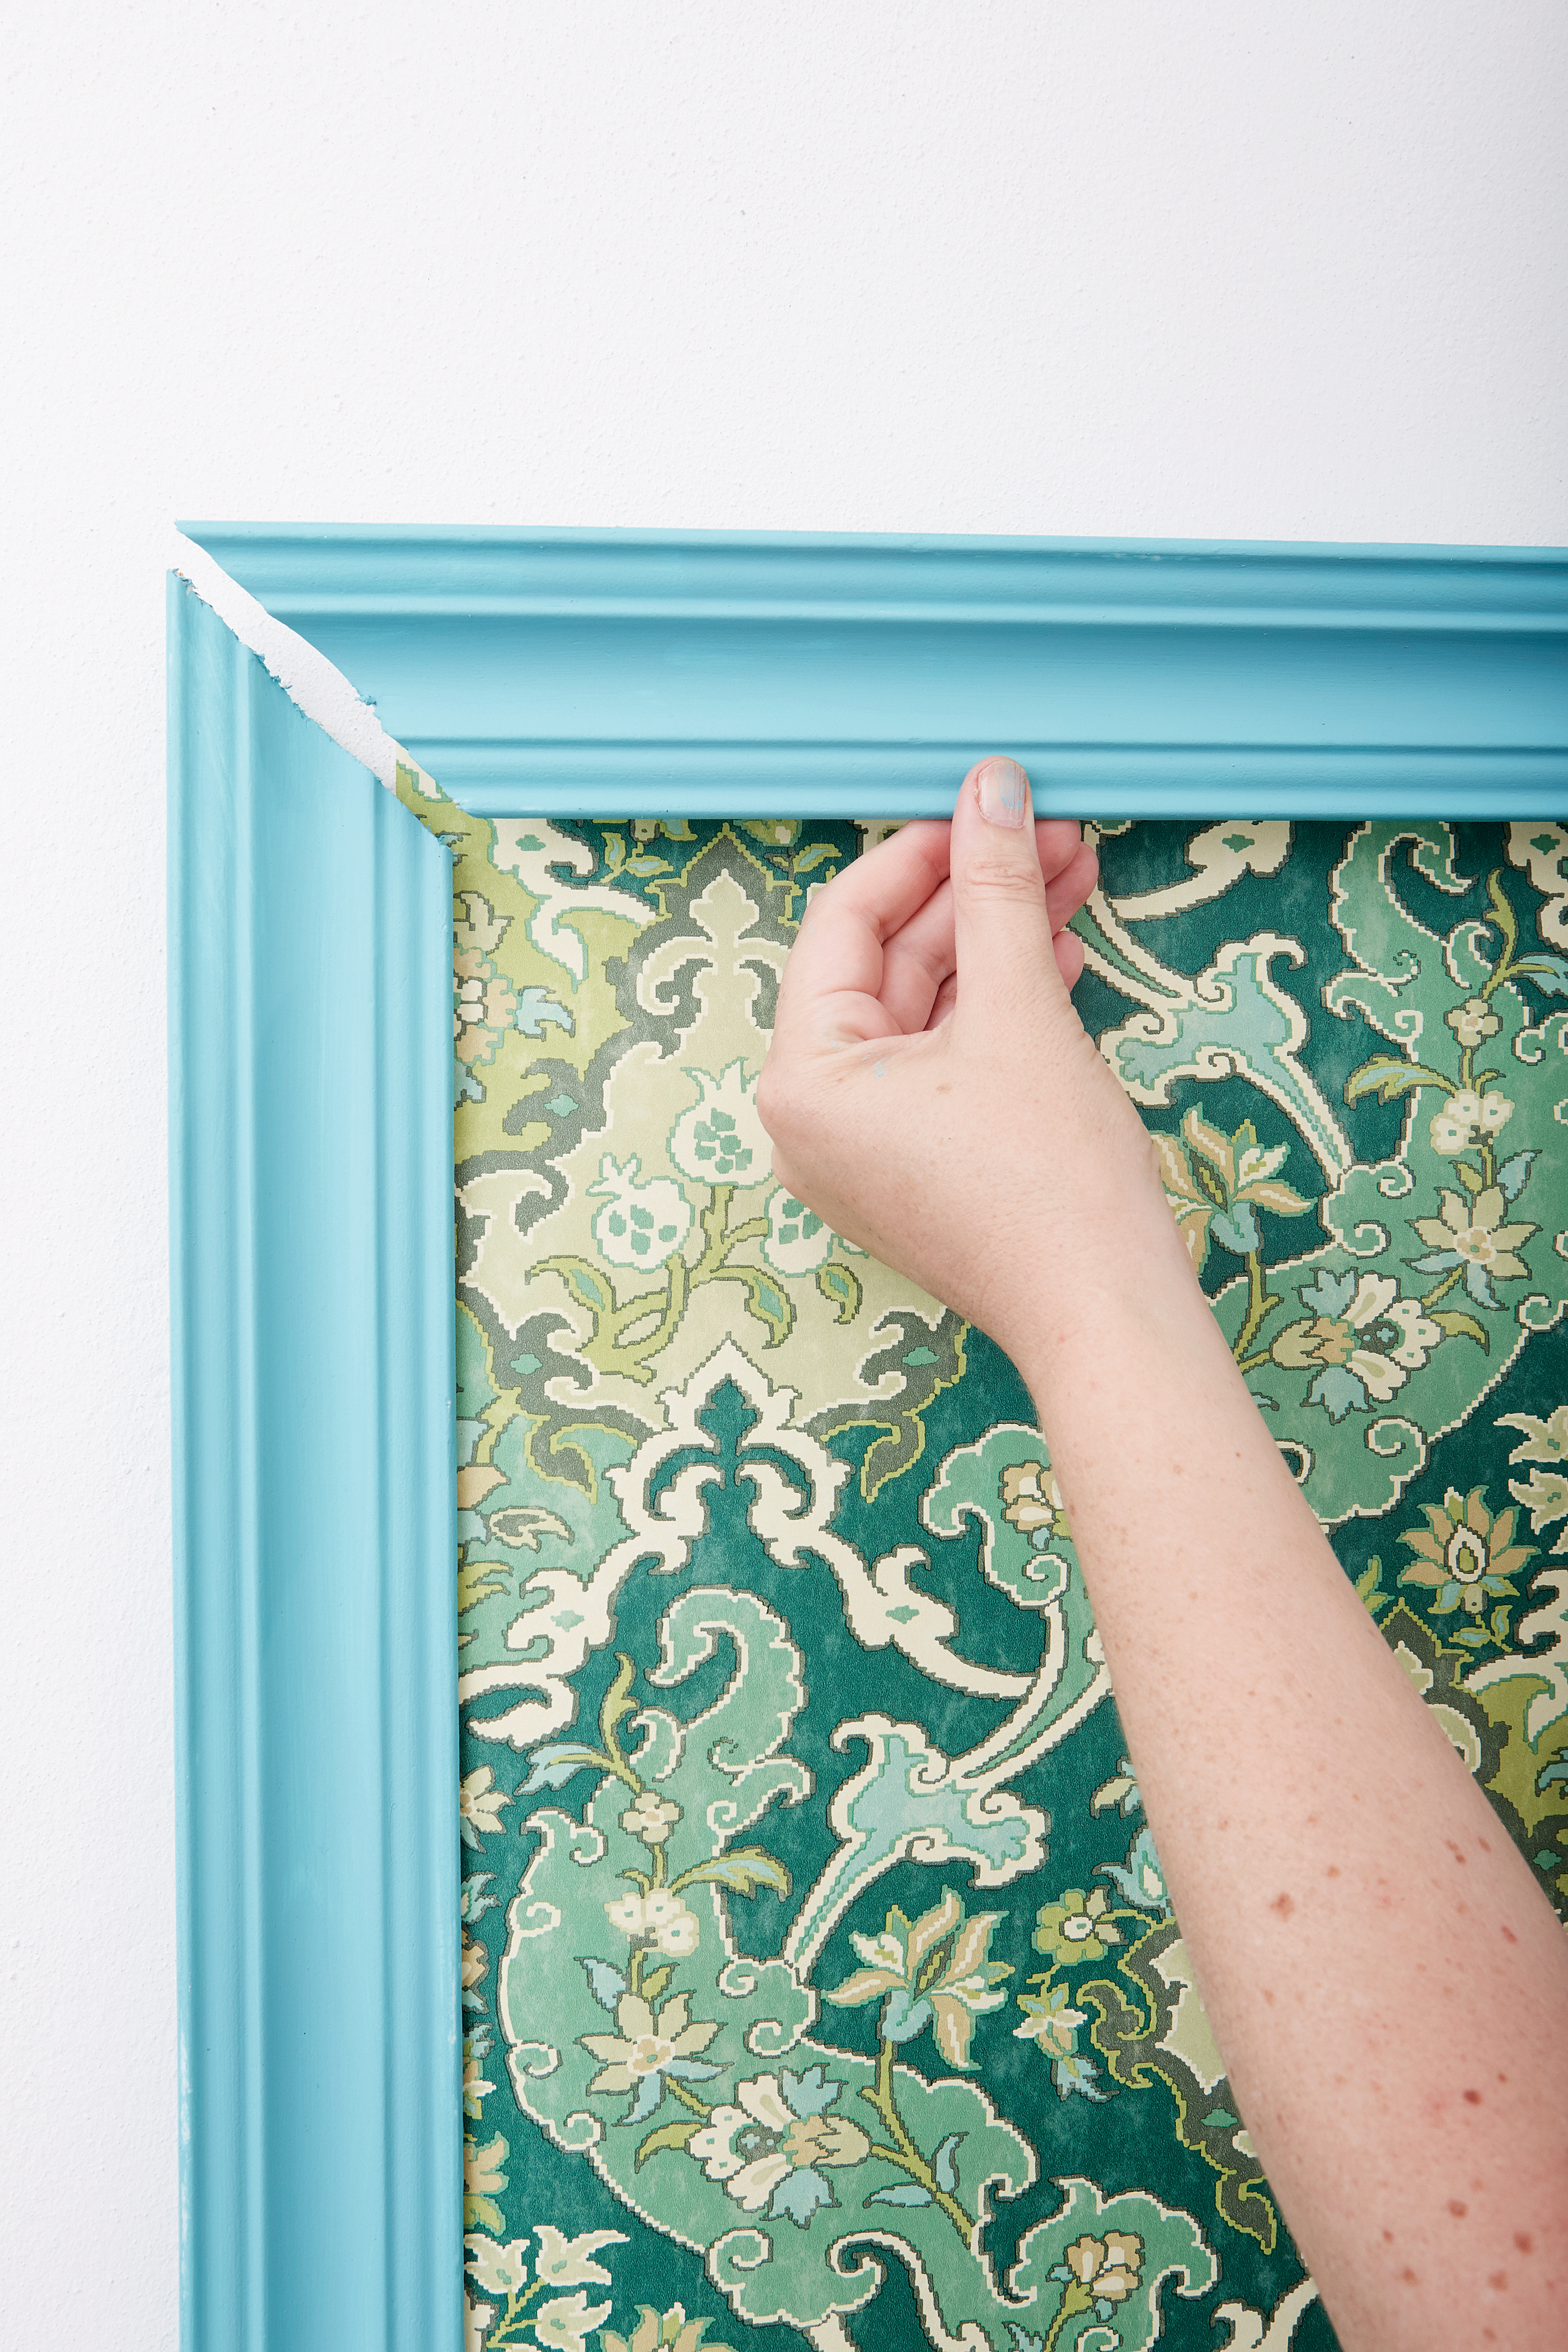
Step 6
Apply the cornice adhesive to the back of the cornices and attach to the wall. Fill the holes at the corners with the cornice adhesive. Wipe any excess away with a damp cloth. Let it dry and touch up with paint.
Credits
Referenced from Gallo images / Home Magazine
Browse 1000’s of products available to you. Select your country to Shop Online.


