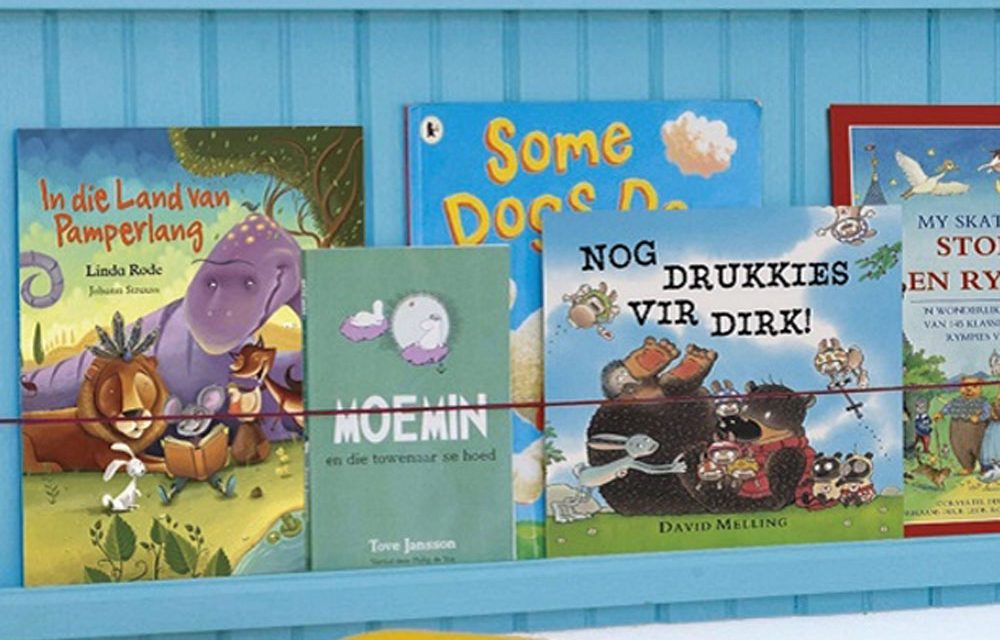
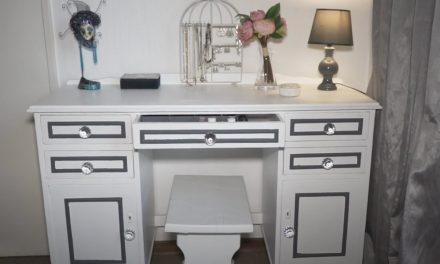
Make a cheerful shelf to display your children’s books! On this shelf, book covers are visible so it’s easy and fun for the kids to choose one.
- Hammer
- Measuring tape
- Pencil
- Screwdriver
- Paintbrush
- Staple gun
- 3 m elastic cord
- 16 x 1,5 mm panel pins
- 1 x 22 x 44 mm x 1,8 m pine plank
- 1 x 2,4 m hardwood beading
- 5 x 30 mm full-thread cut screws
- Alcolin fast-set glue 250 ml
- Leftover primer and enamel paint
- 2 x 3,6 m tongue and groove pine ceiling boards
Cutting list:
- P1 Cut the ceiling boards into 9 lengths of 710 mm
- P2 Cut the pine plank onto 2 lengths of 900 mm
- P3 Cut the beading into 2 lengths of 900 mm
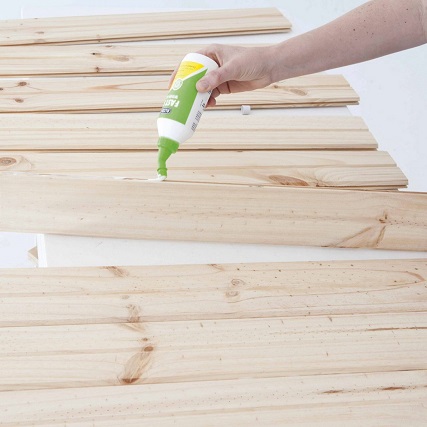
Step 1
Pour glue into the grooves of the P1s and slide the ceiling boards into each other to form one big board. Make sure the tops and bottoms line up. Set the board aside for 30 minutes for the glue to set.
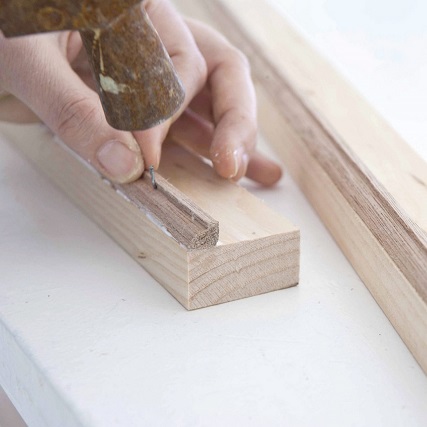
Step 2
Glue the P3s to the wide side of the P2s. Secure in place with the panel pins.
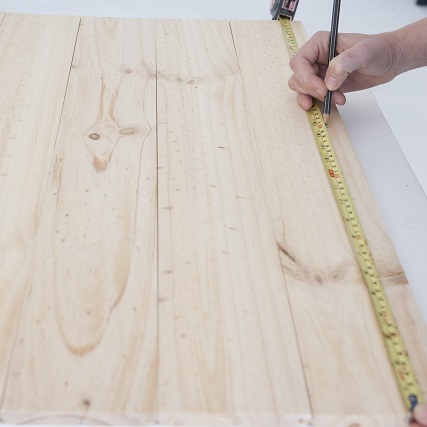
Step 3
On the back of the board made of P1s measure and mark 2 cm and 40 cm widthwise across the boards. Place the P2s on these marks and measure the width of the planks. Mark the same measurements on the other side of the board.
Step 4
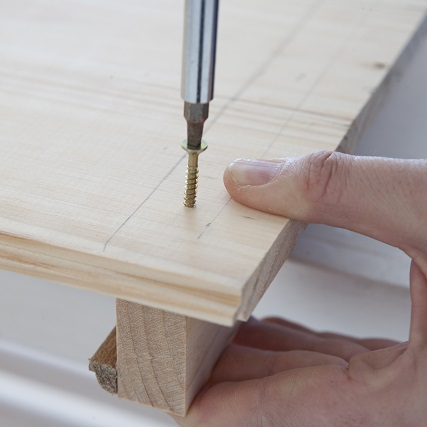
Place the P2s on your work surface with beading at the bottom edge. Now position the P1 board on top of the P2s, making sure the planks line up with the marks you’ve made. Screw the P2s in place.
Step 5
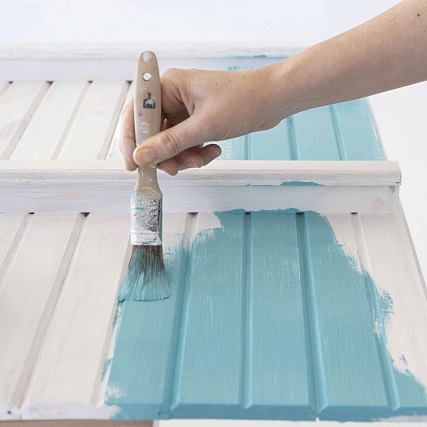
Prime the shelf then paint it with two coats of enamel paint, letting it dry between coats.
Step 6
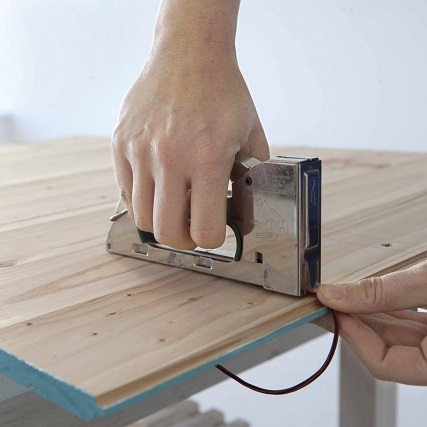
Measure 11 cm from the top of each shelf at the back. Cut the elastic cord in half and staple each half to the back of the shelf, letting it stretch across the front as shown.
Here’s a quick tip now that your DIY is done
A larger version of this shelf can be mounted on one of your kitchen walls to display the recipe books you’ve used most often in the past few months.
Credits
Referenced from Gallo images / YOU Magazine

