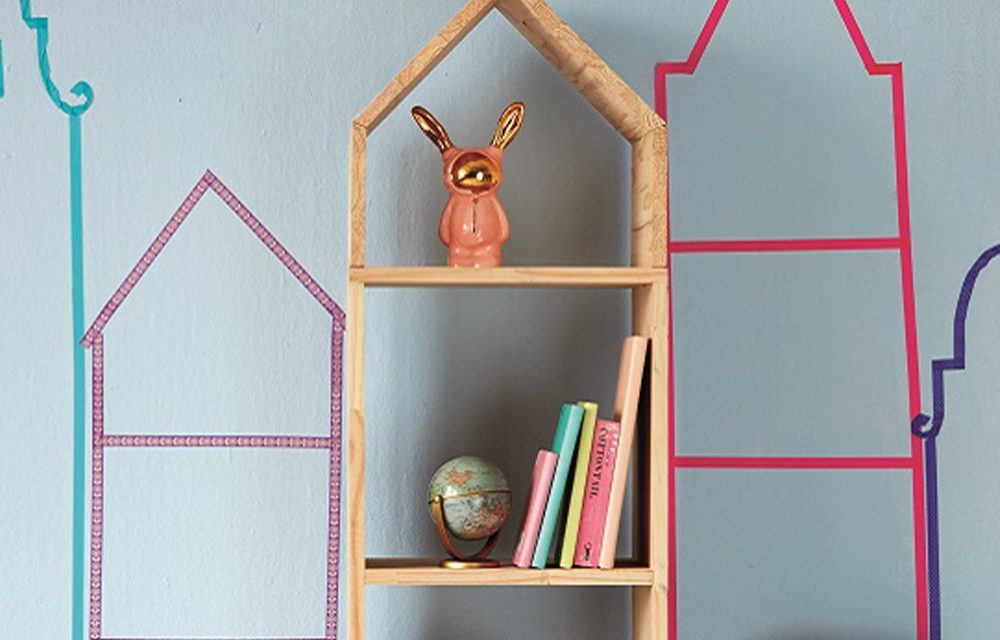
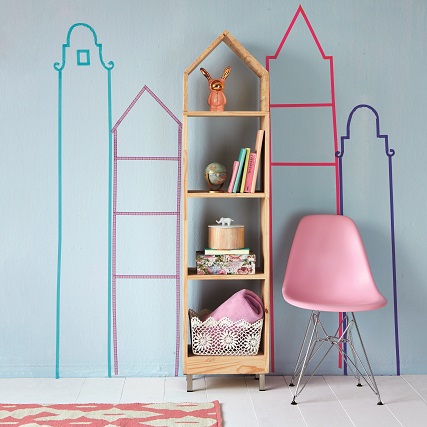
By screwing on a roof and legs you can transform an ordinary wooden bookcase into one that resembles a house.
- Panel pins
- Wood glue
- Wood filler
- Dowel pins
- Tools (hammer, drill etc.)
- Four metal feet with screws
- Tall wooden bookcase ( ours is 1200mm high, 400mm wide and 300mm deep)
- 18mm pine panels for the roof:
- two 300 x 180mm pieces (side panels)
- one 300 x 275mm piece (roof panel)
- one 300 x 265mm piece (roof panel)
Step 1
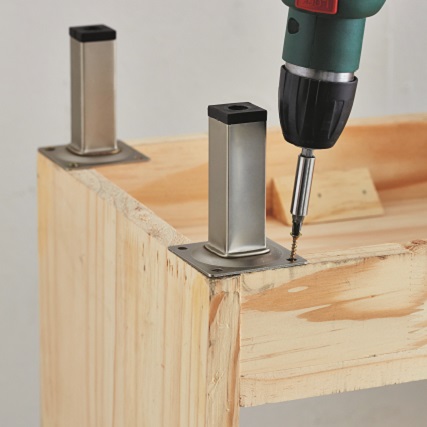
Turn the bookcase upside down and screw in the feet, one at each of the corners.
Step 2
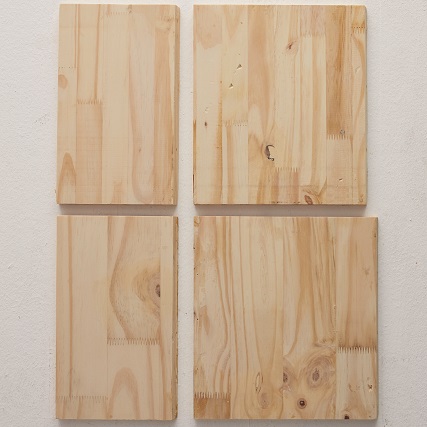
Cut the four panels for the roof.
Step 3
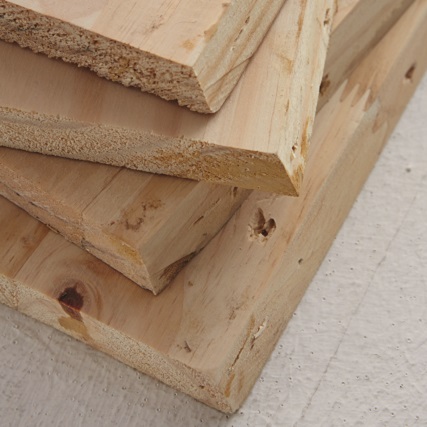
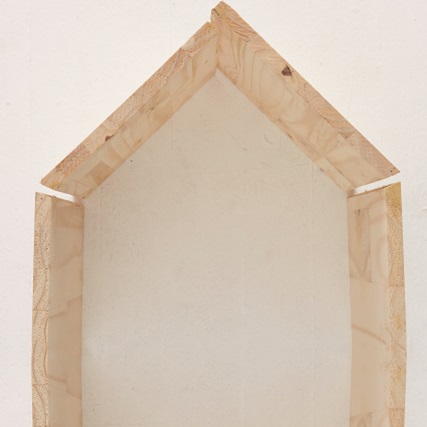
Cut one 300mm side on all four panels at an angle of 70 degrees.
Step 4
Lay out the four panel’s as they will fit together. The larger roof panel forms the top of the roof.
Step 5
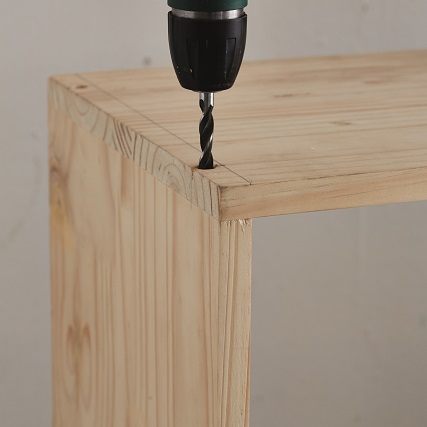
Now attach the roof to the top of the bookcase with the dowel pins. First mark two holes on both sides of the bookshelf and drill them enough so that the dowel pins fit in half way.
Step 6
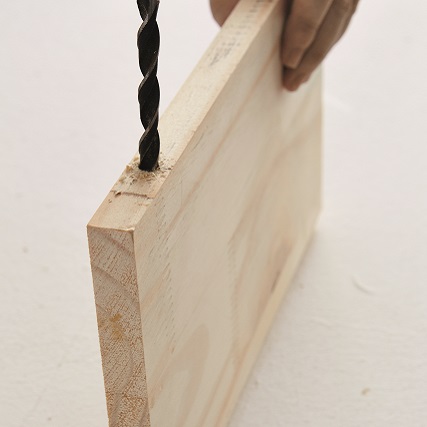
Mark two corresponding holes at the bottom of both side panels and drill them so that the other half of the dowel pin will fit inside.
Step 7
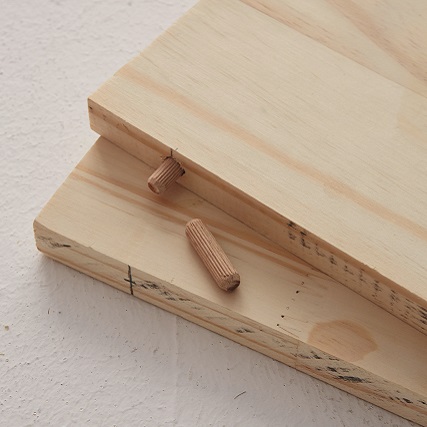
Squeeze wood glue into the holes in the side panels and push in the dowel pins. Put the two panels to one side.
Step 8
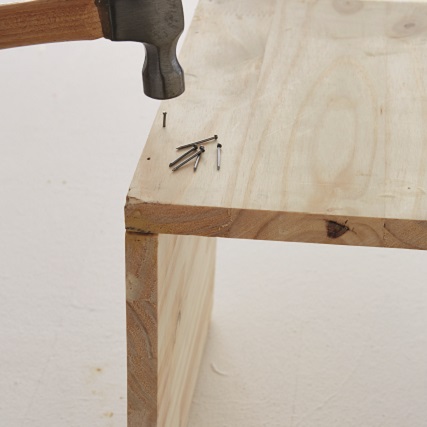
Glue and nail the two roof panels to each other at a 90 degree angle.
Step 9
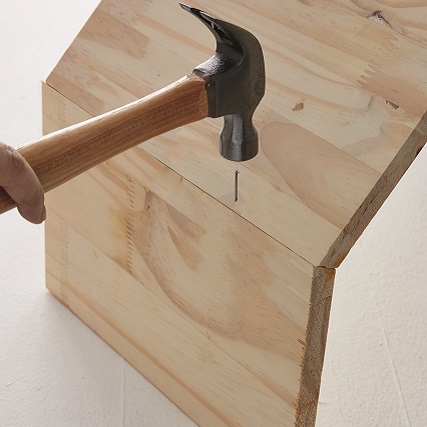
Glue and nail the two side panels to the roof panels with the 70 degree edges against each other. Fill any holes in the wood with wood filler.
Step 10
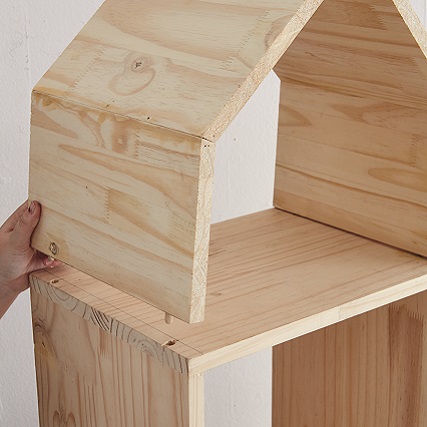
First test if your roof fits correctly. Then apply glue on the top edges of the bookcase and inside the holes for the dowel pins and press in the roof in place. Onto the bookcase. Use a damp cloth to wipe away any glue that seeps out at the sides and leave to dry. Paint the bookcase, if you prefer.

Another Idea
Paint more tall, narrow houses with some gables onto the wall where the bookcase will stand to create a focus point. You can also use washi tape to draw the houses on the wall.
Credits
Referenced from Gallo images / IDEAS Magazine

