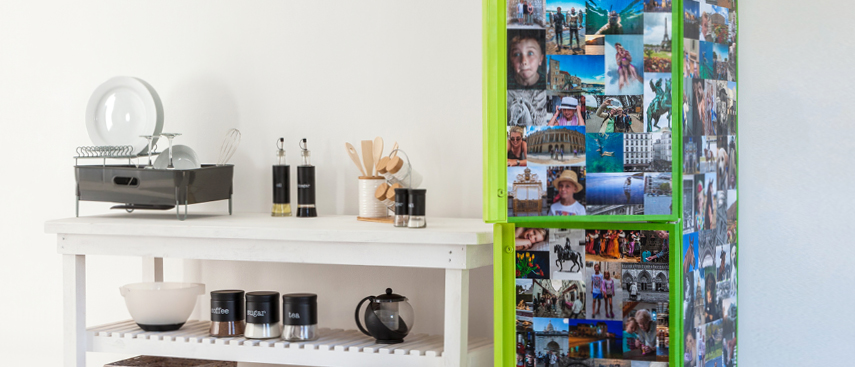
Instead of burying them on your hard drive, make a focal point with all your holiday photos by decoupaging them onto your fridge.
- Printed photos (jumbo, gloss or matt)
- Mod Podge glue
- Cutting knife
- Ruler
- 25mm paintbrush
- Cutting pad
- Pen
- Spray paint
- Gecko duct tape
- Drop cloth
- Painter’s tape
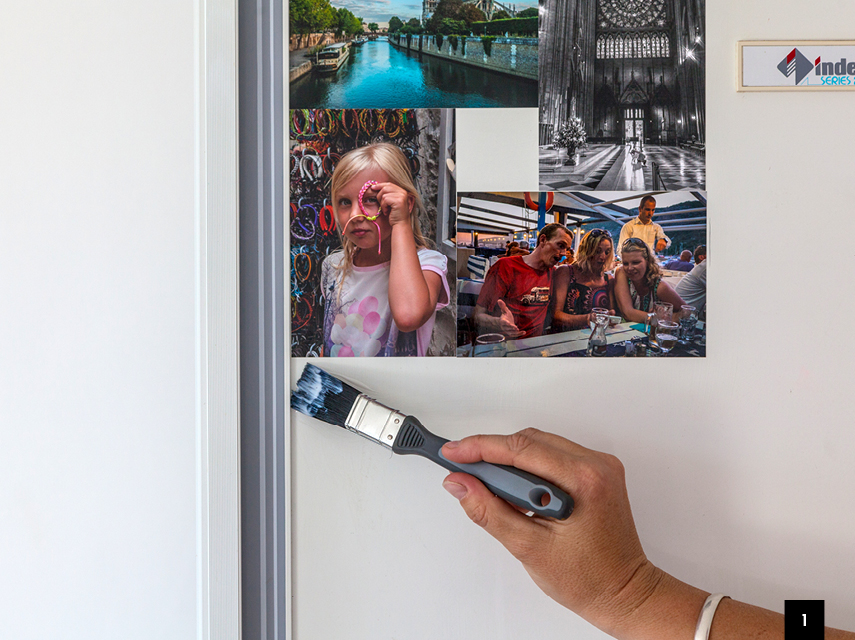
Step 1
Clean the fridge surface thoroughly. Then paint a layer of Mod Podge onto the surface using a no-bristle-loss brush, such as the one you get from Addis. The glue dries quickly so do small areas at a time.
Step 2
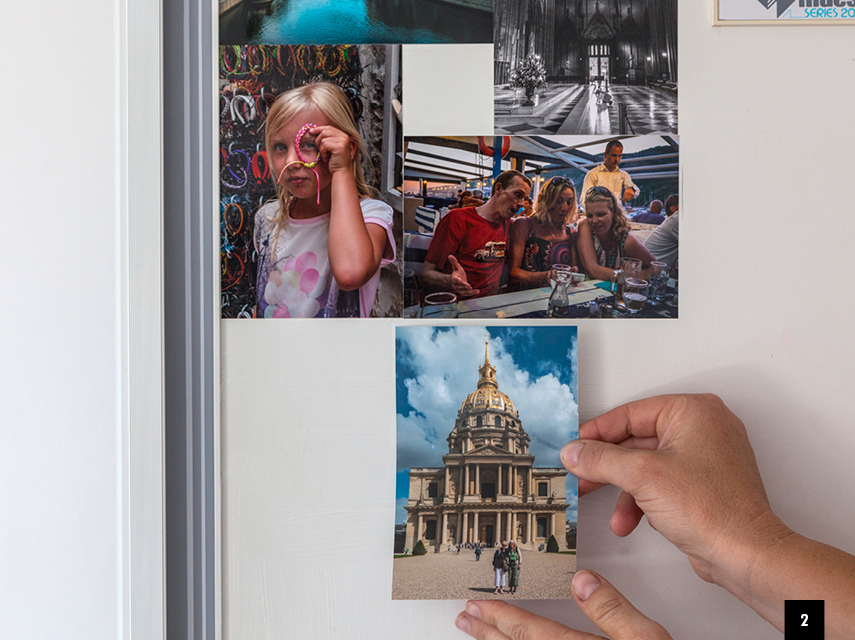
Paste the pictures in place using Mod Podge. You can create a checkerboard look as we’ve done, or paste the photos randomly at angles overlapping.
Step 3
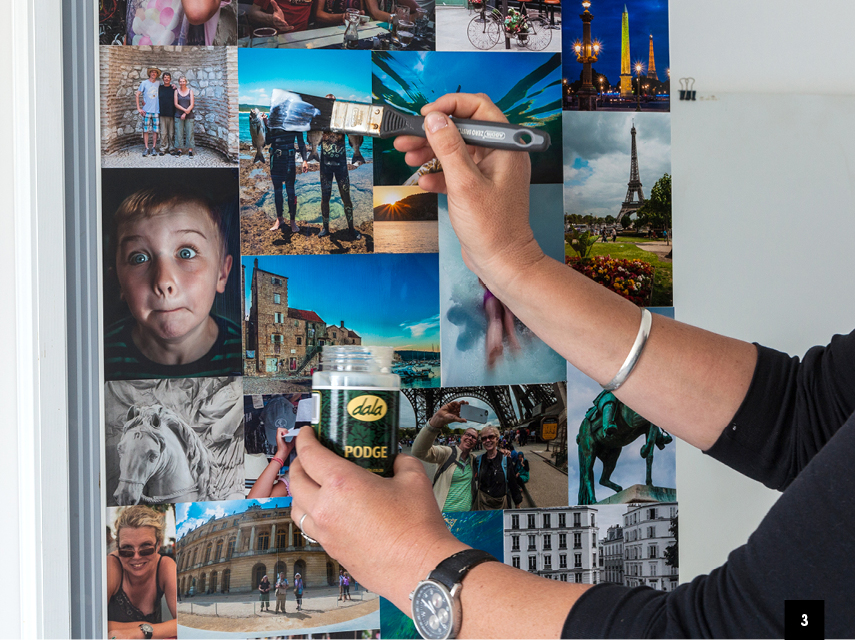
Once all the photos are in place, seal the project with three to five thin layers of Mod Podge. Paint each layer at right angles – either horizontally or vertically.
Step 4
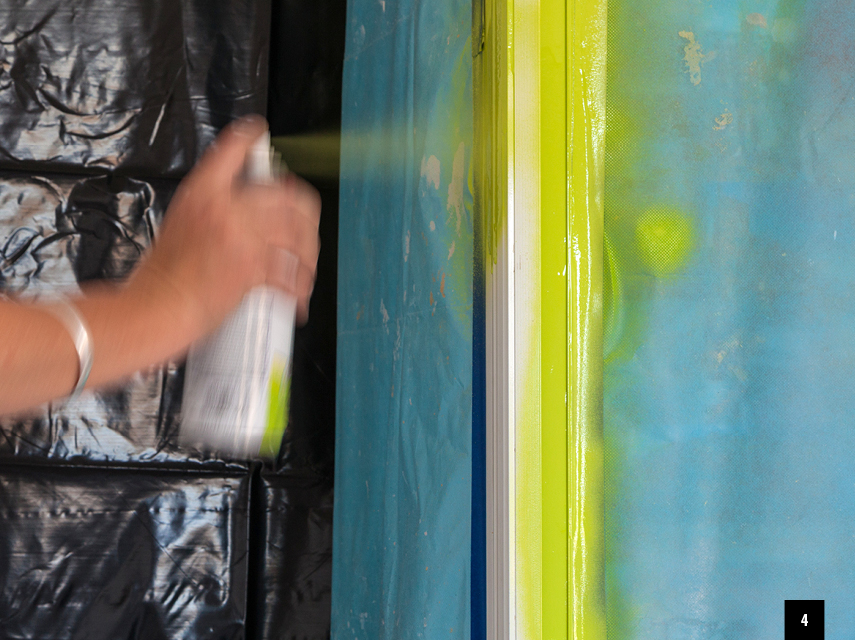
A great idea is to change the colour of the door handles. This you can do before starting the project or once all the layers are dry. Simply cover your artwork with drop cloths held in place with painter’s tape.
Step 5
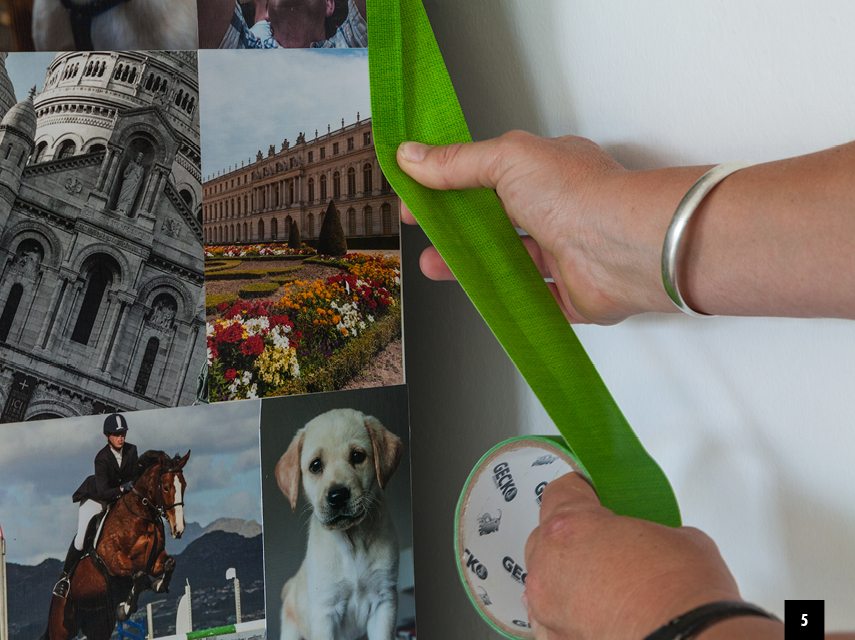
Add a vibrant edging using one of the many colourful duct tapes available.

