This season, bring a little winter warmth into your living space with the rich glow of copper. Here are three projects that you can try yourself to make something modern and contemporary for your home.
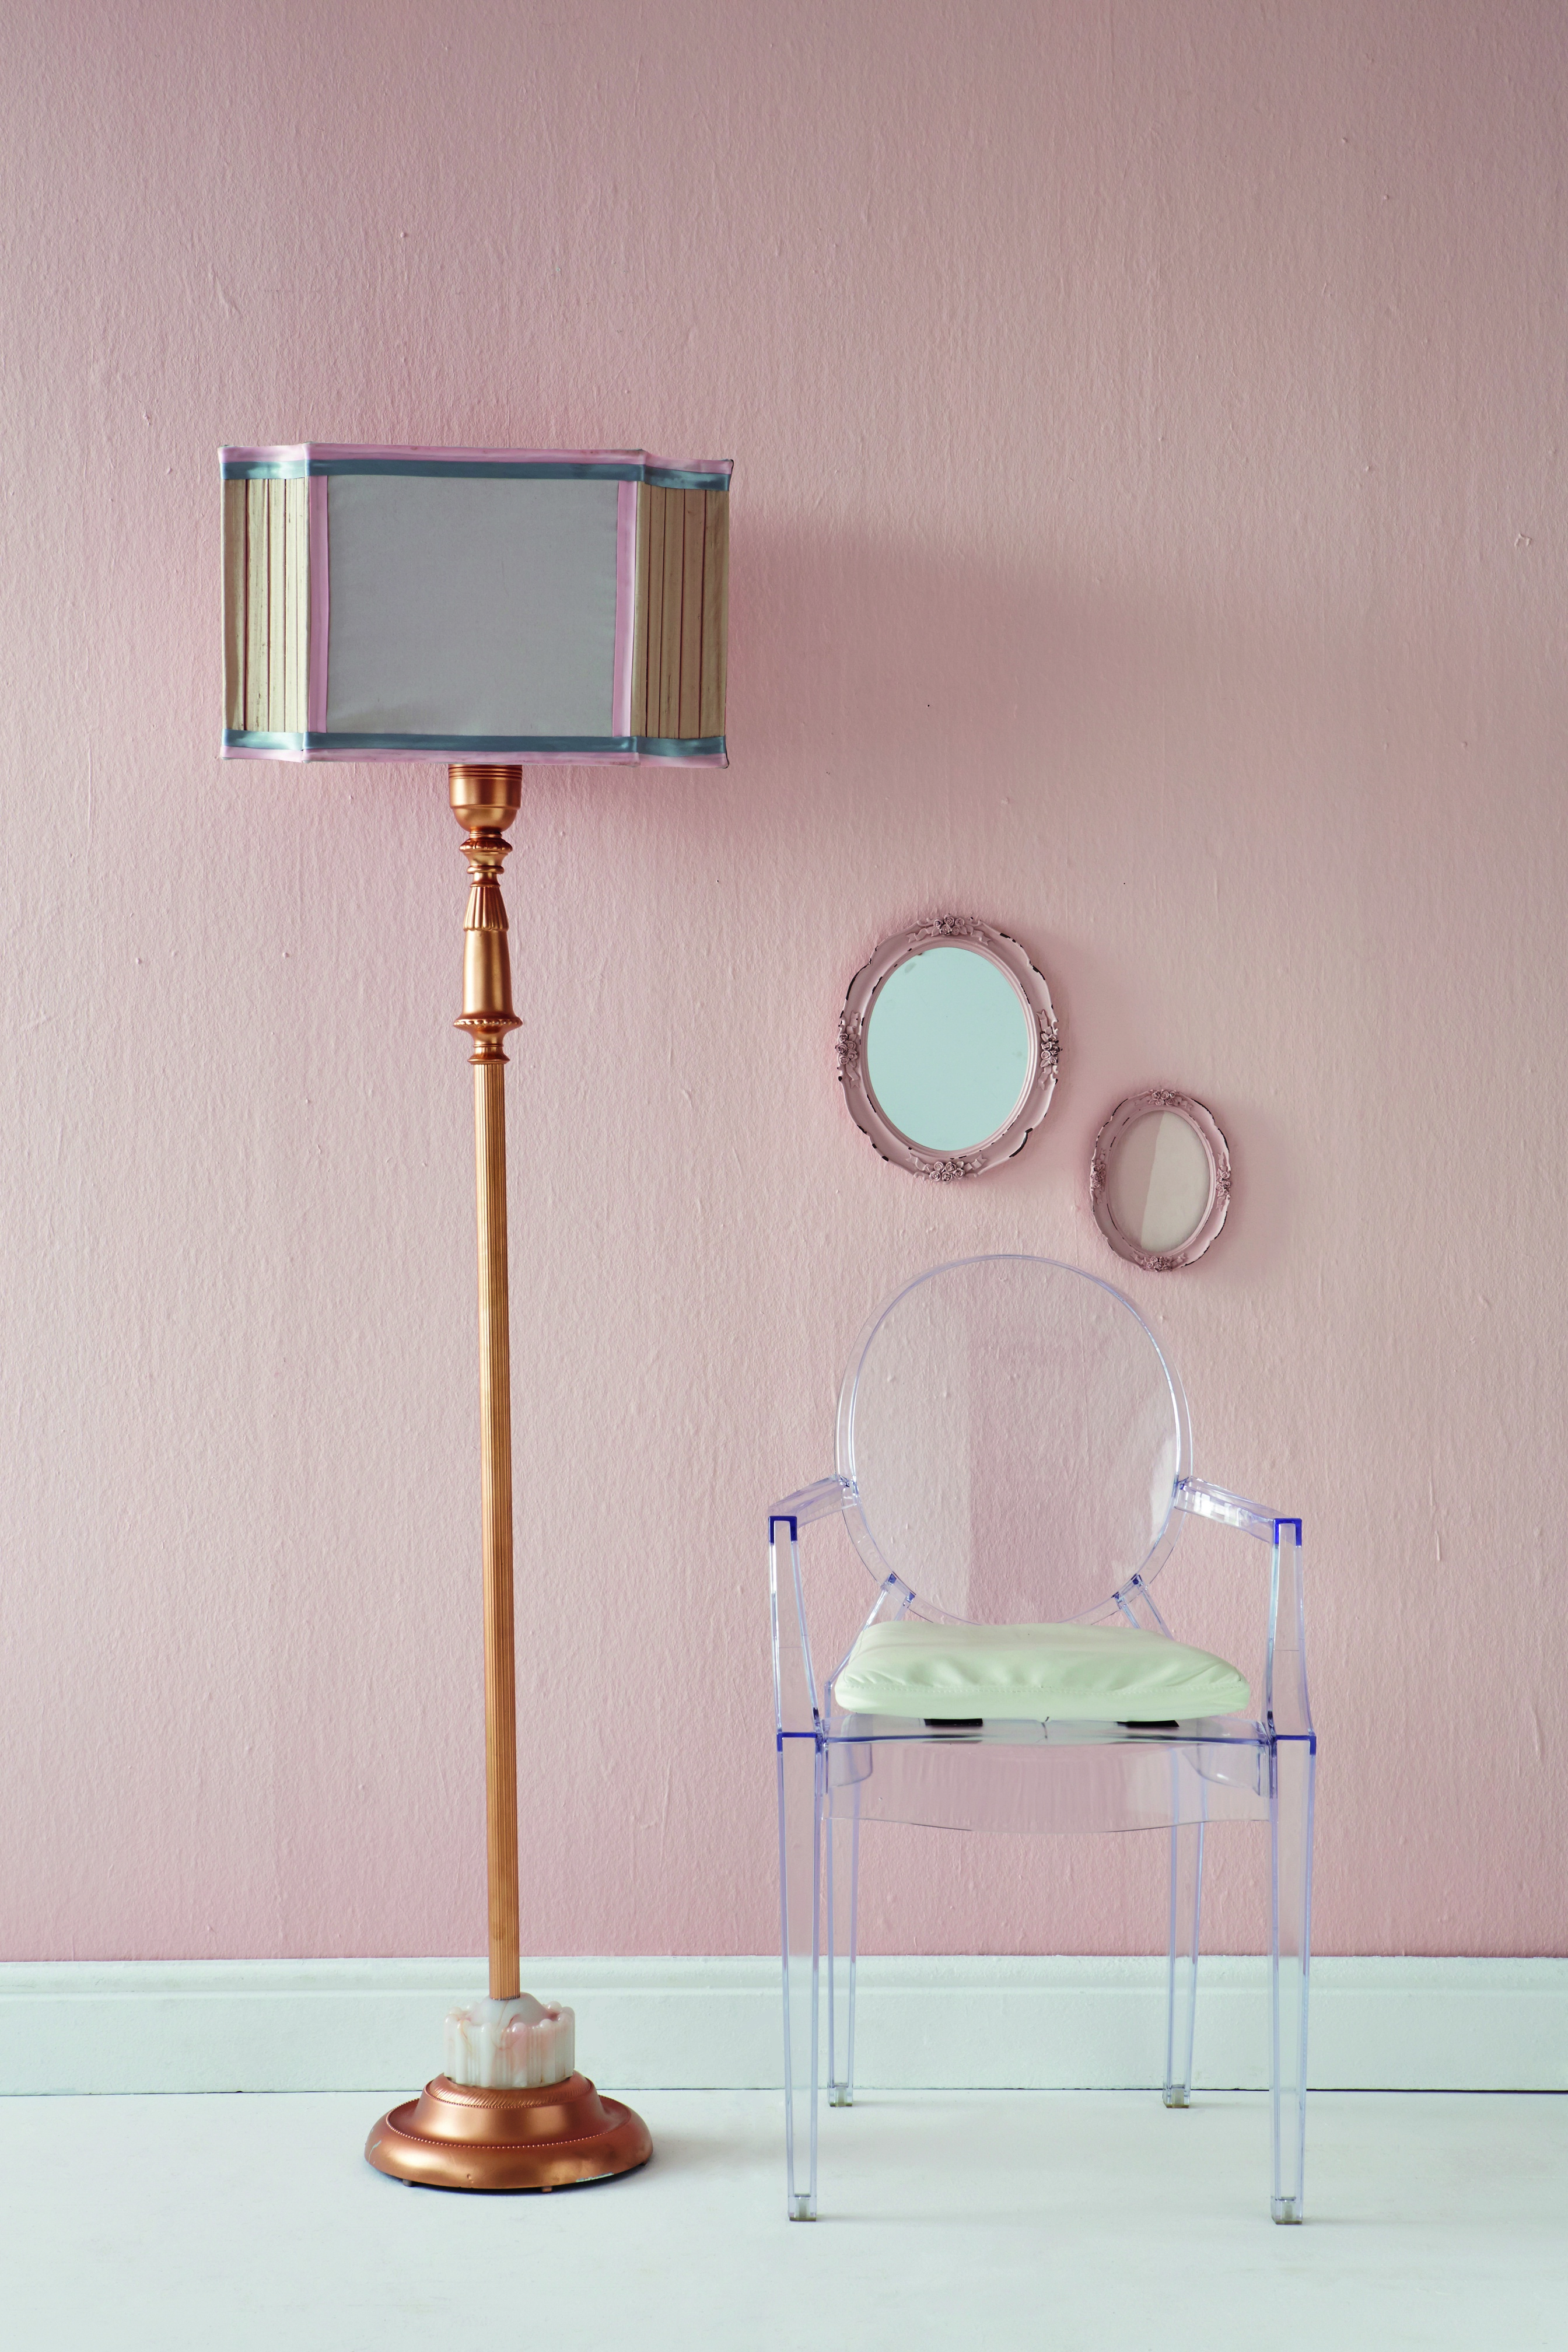
1. Standing Lamp with copper spray-paint detail
- lamp stand or other furniture item
- grey undercoat spray paint
- copper spray paint
- fine grit sandpaper
- masking tape
Step 1
Wash down the lamp stand with lukewarm soapy water and leave to dry completely.
Step 2
Use masking tape to cover the areas that you don’t want to spray paint, such as the electric cable and the light-bulb socket. Use a sheet of old newspaper to cover larger areas.
Step 3
Lightly sand the areas that you’re going to spray paint – to make the spray paint adhere better – then wipe down with a damp cloth to make sure the surface is completely dust free.
Step 4
Work outside if possible, or work indoors in a well-ventilated area. Place the lamp stand on sheets of old newspaper or a large plastic sheet. Spray two light coats of grey undercoat, leaving the first coat to dry properly before spraying on the next layer.
Top Tip: It’s important to spray very lightly, otherwise the spray paint will form ‘teardrops’.
Step 5
Apply the copper spray paint once the universal undercoat has dried. We used Spraymate in metallic Bronze. Spray two to three coats, leaving each one to dry before spraying the next. Always follow the manufacturer’s instructions carefully. Follow with a varnish, if you prefer.
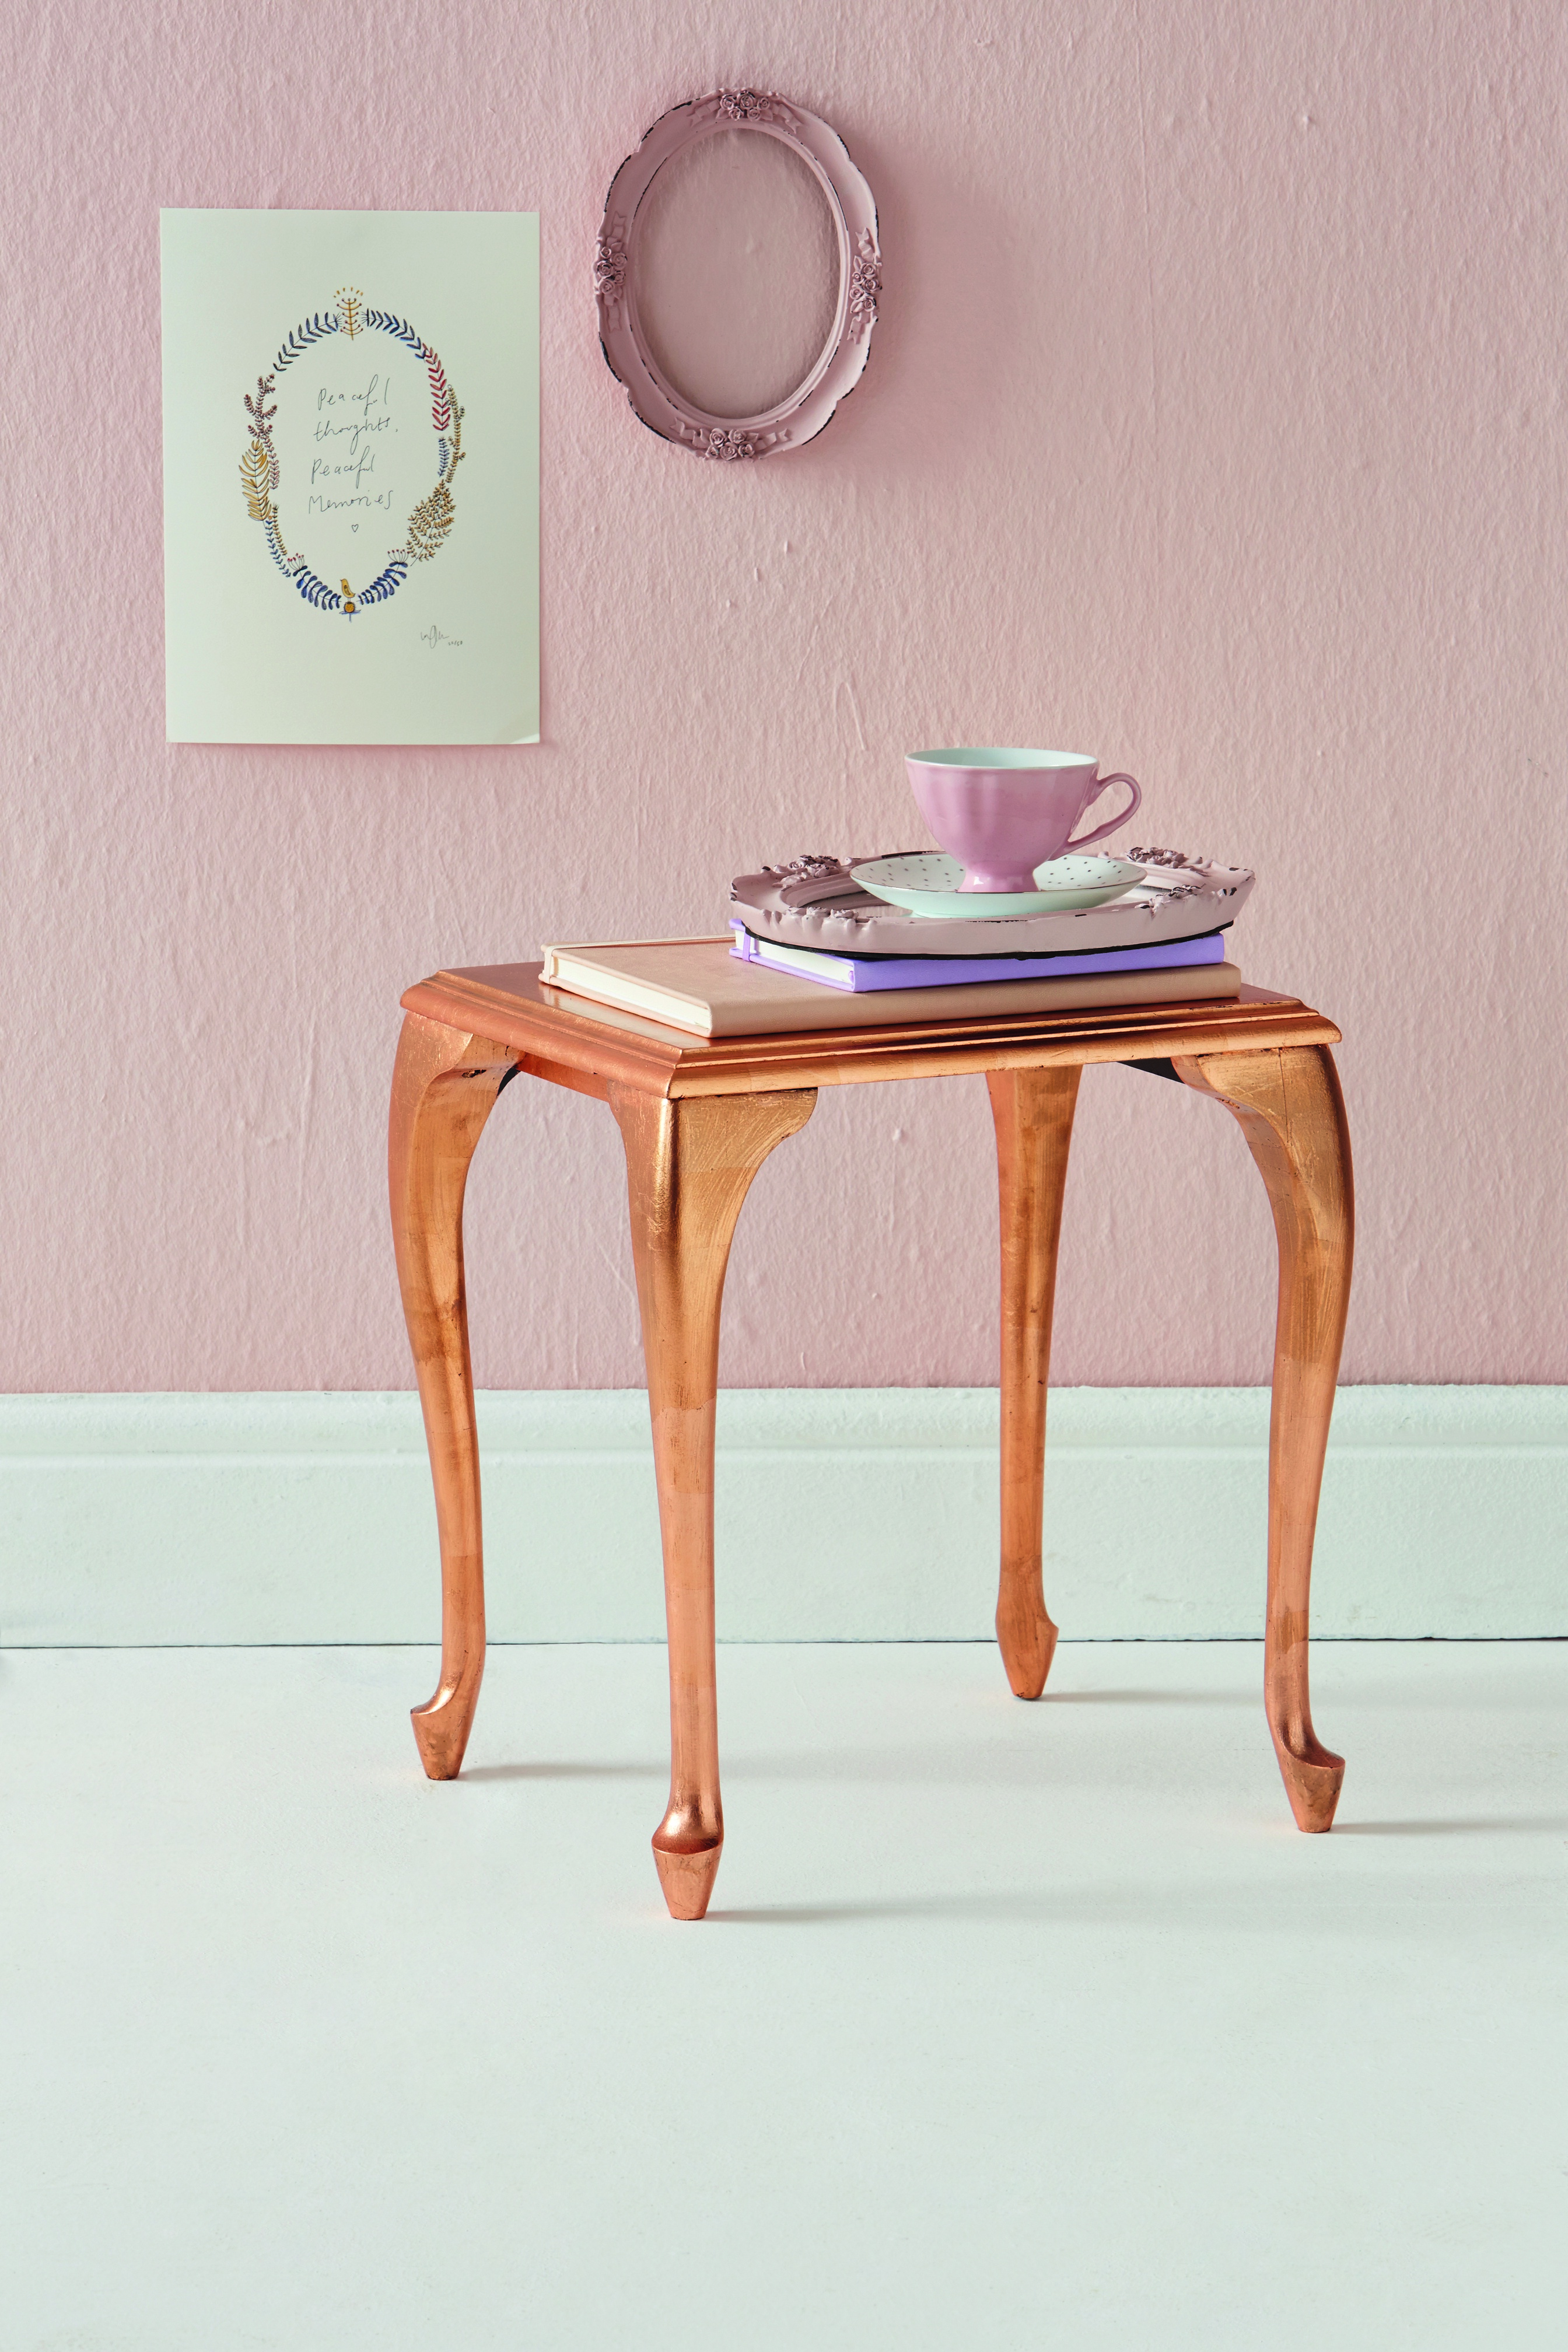
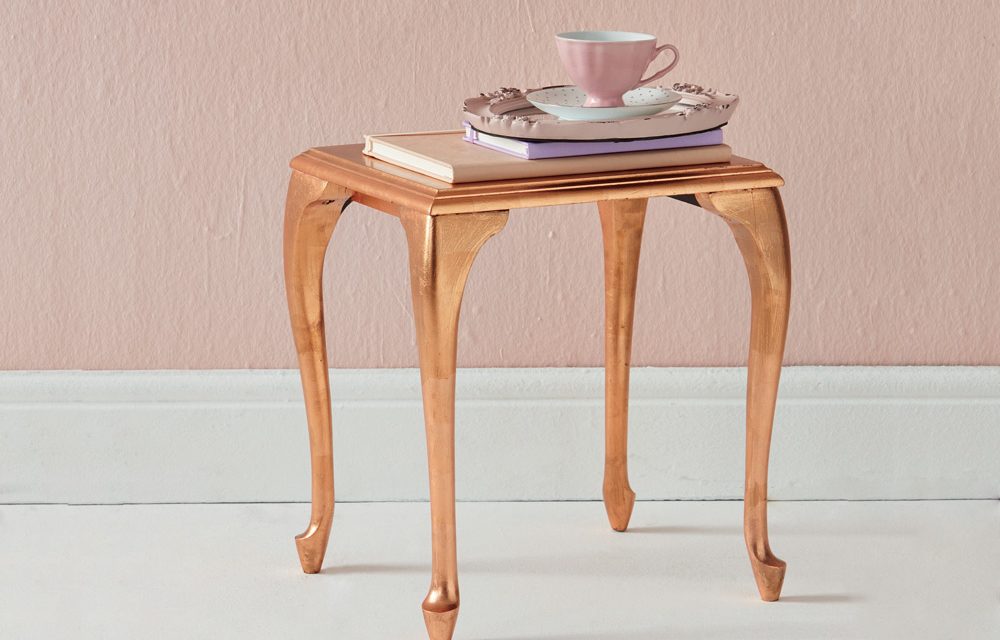
2. Copper-leaf Table
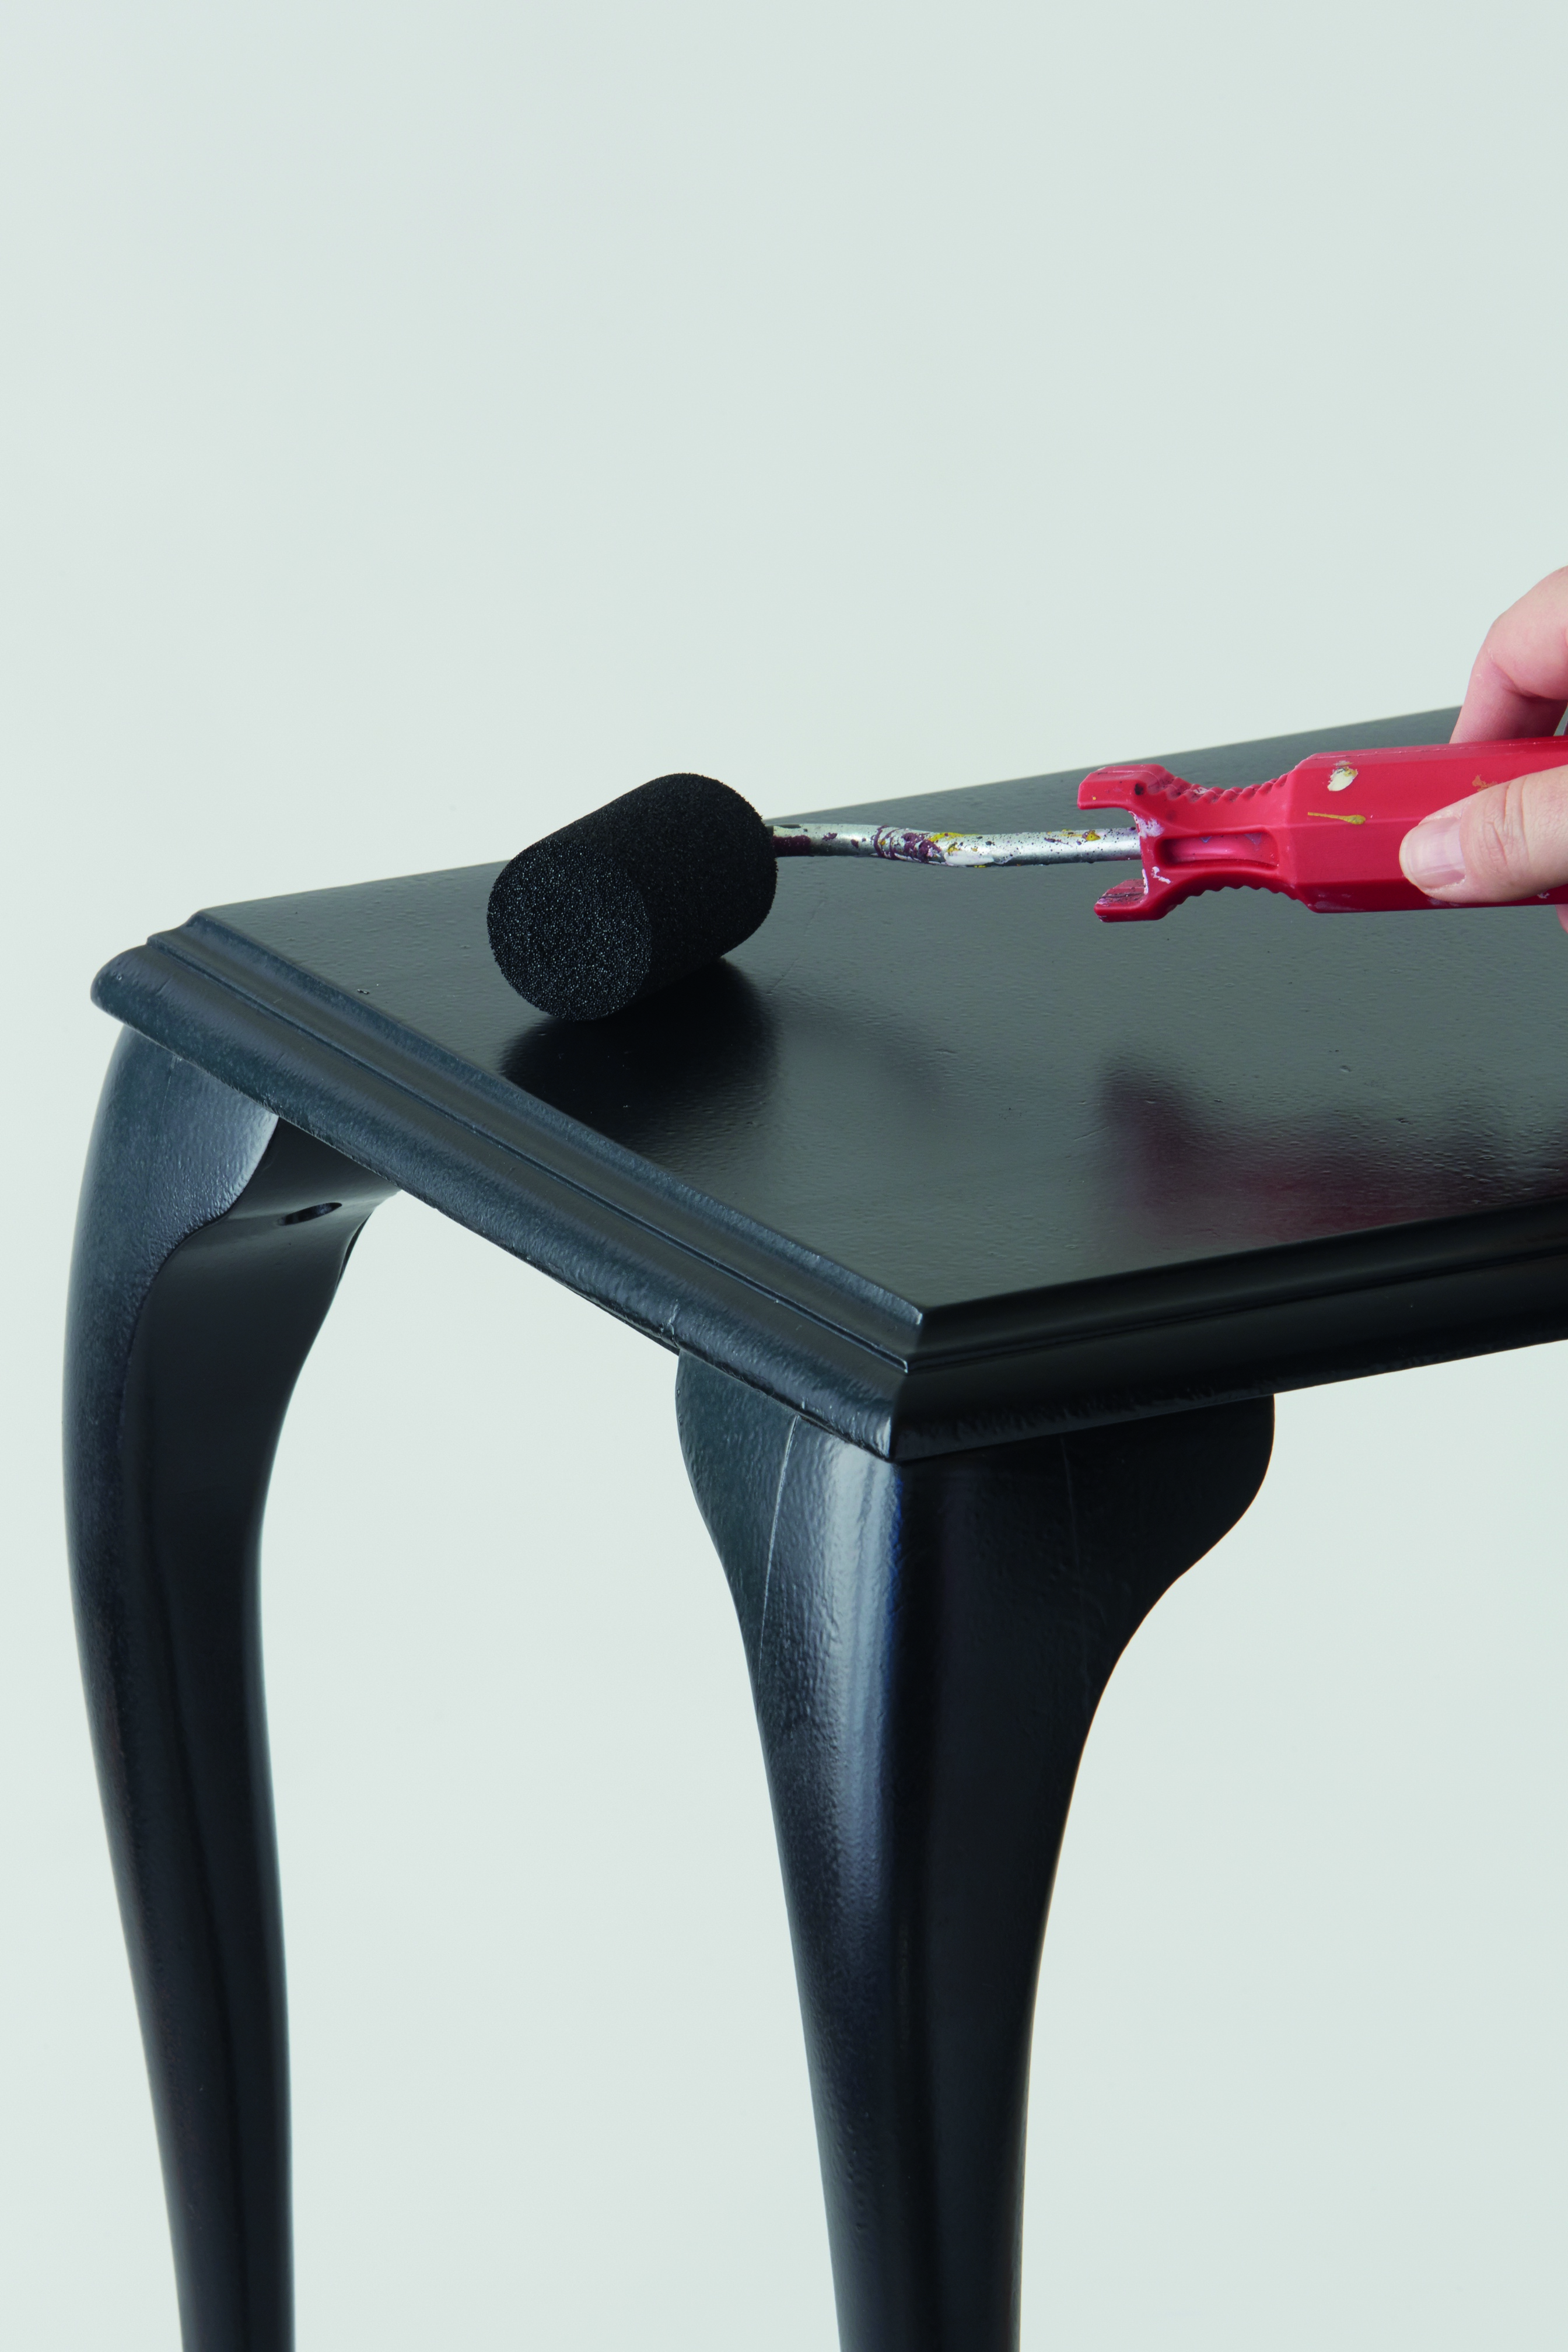
Step 1
Clean the table, then paint it with universal undercoat and leave it to dry overnight. Apply two coats of enamel paint, leaving the first one to dry before painting the next.
Note: You can use any colour enamel paint – it won’t make a difference to the appearance of the copper foil.
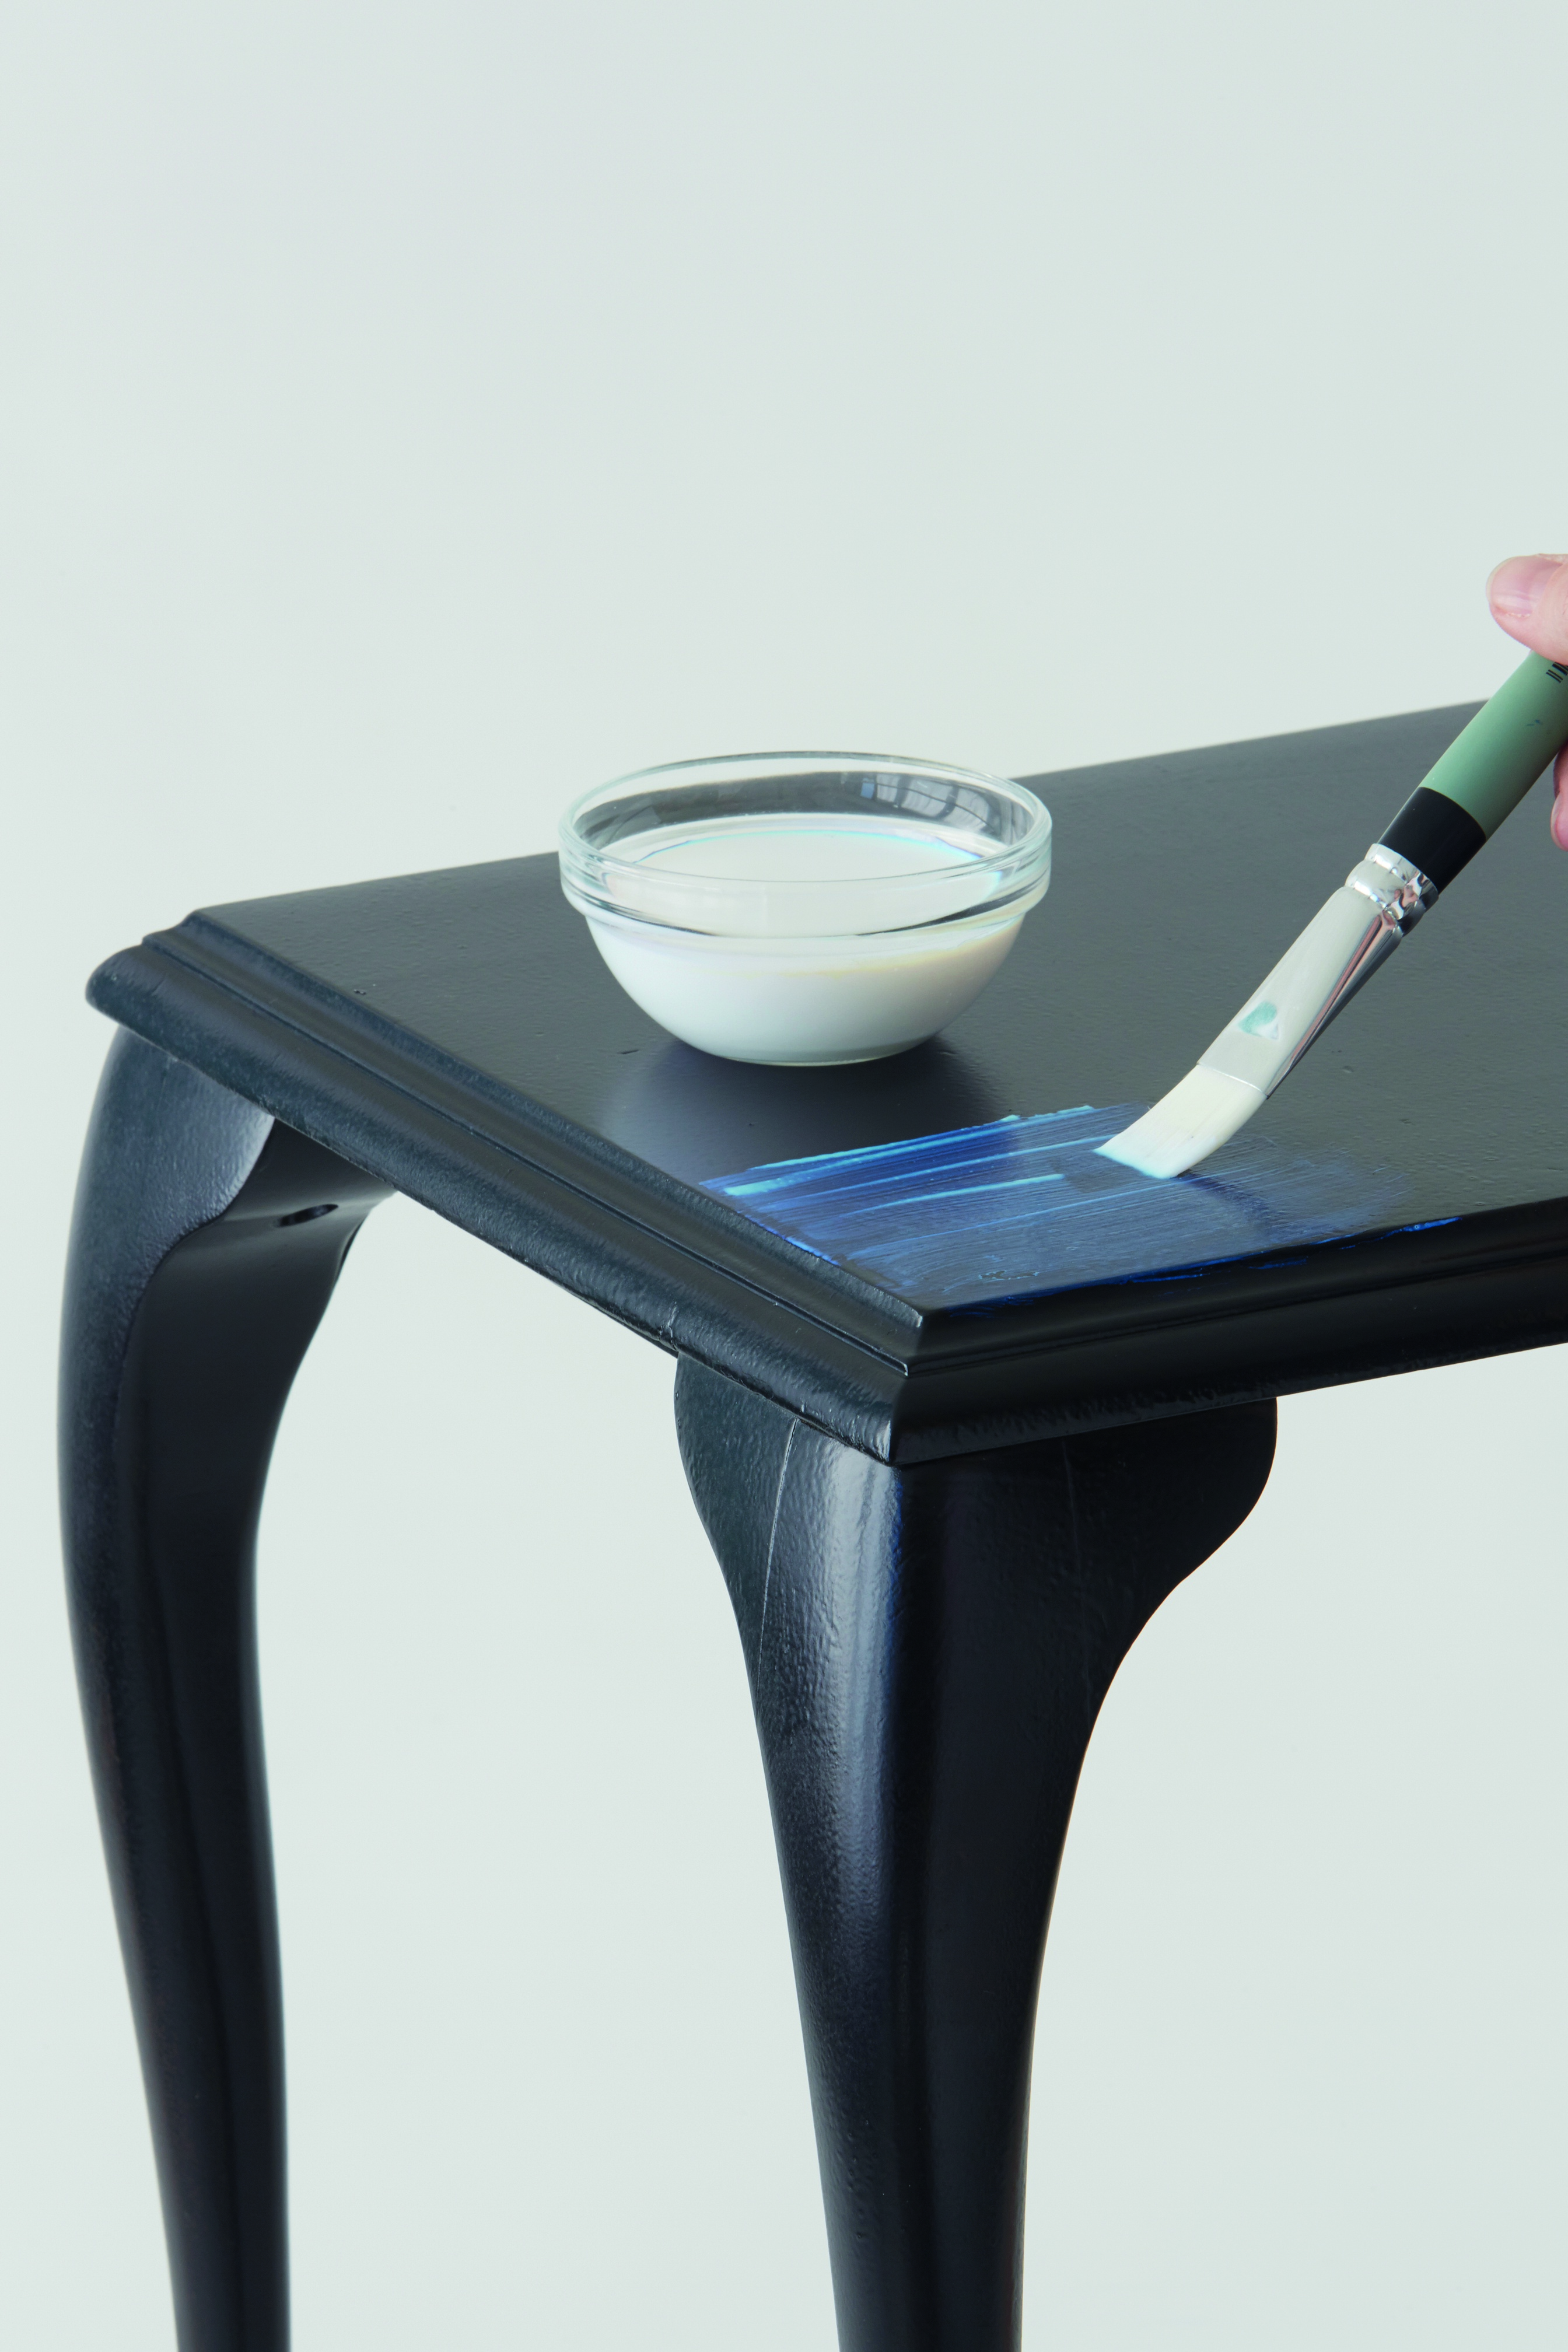
Step 2
Use a flat artist’s paintbrush to apply a thin, even coat of size to a corner area of the table. Leave to dry for 20 minutes or until it feels tacky.
Top Tip: Use your knuckles to check if it is tacky, not your fingertips, to avoid leaving marks that will be visible through the copper foil.
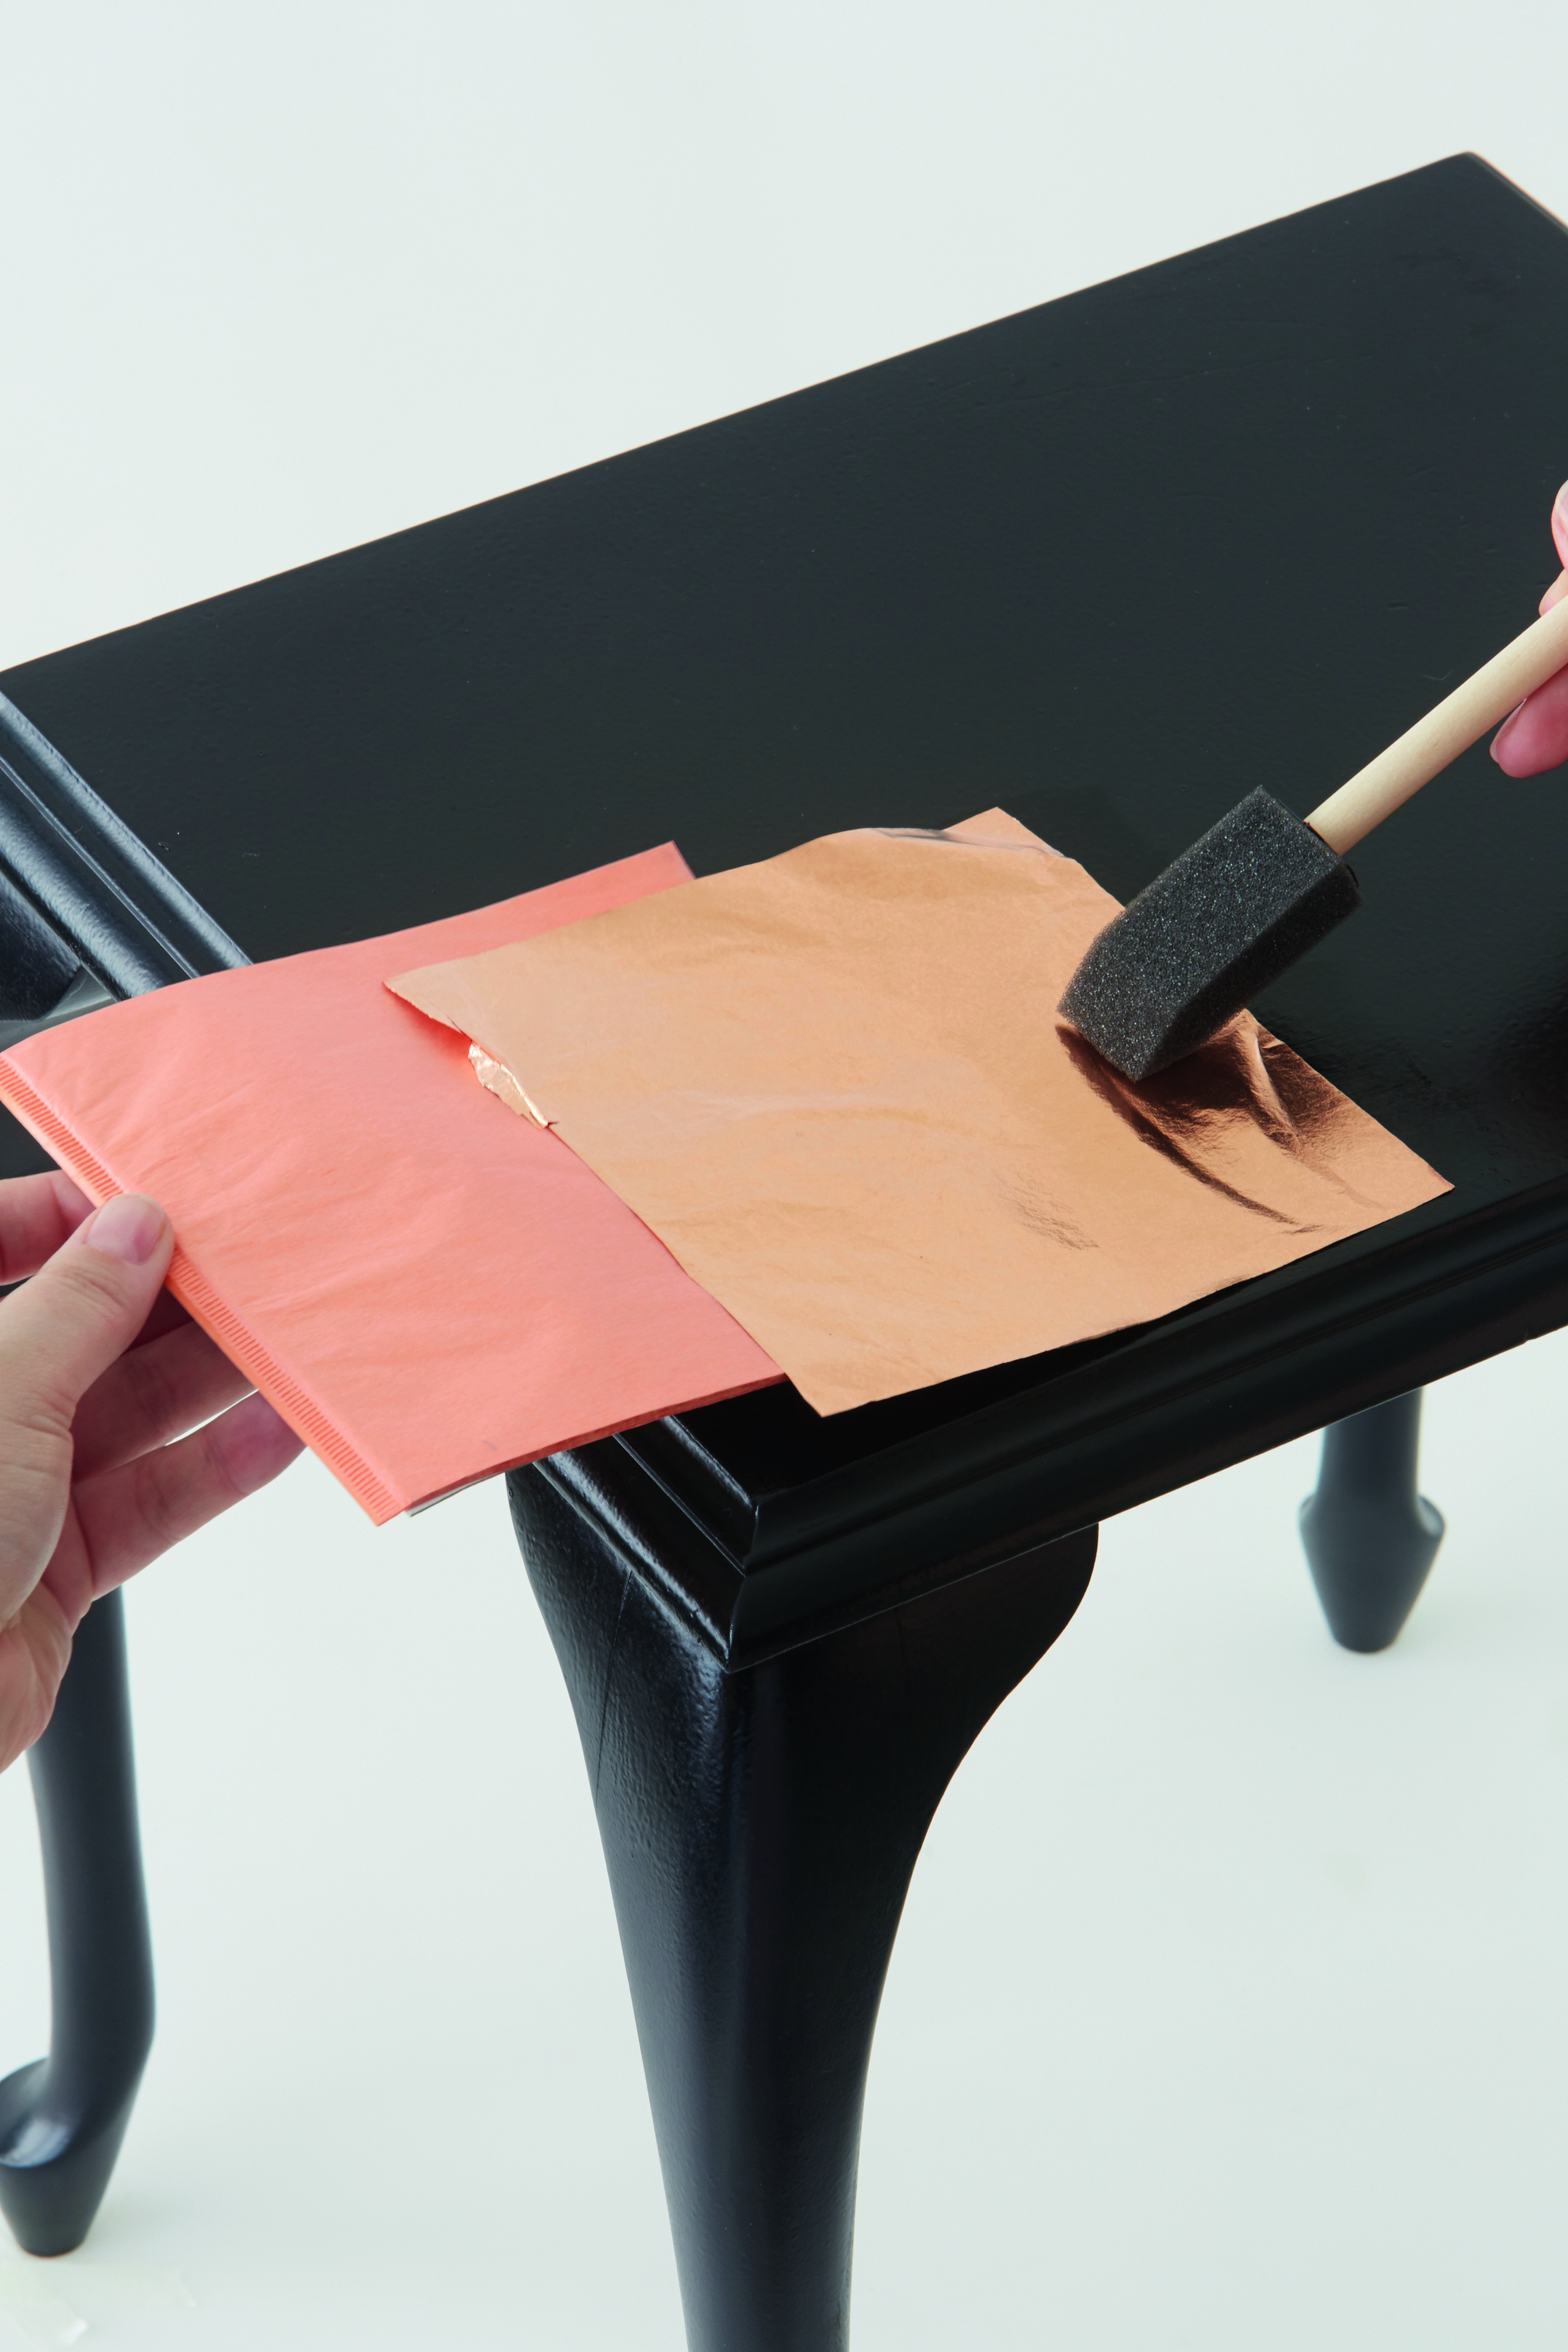
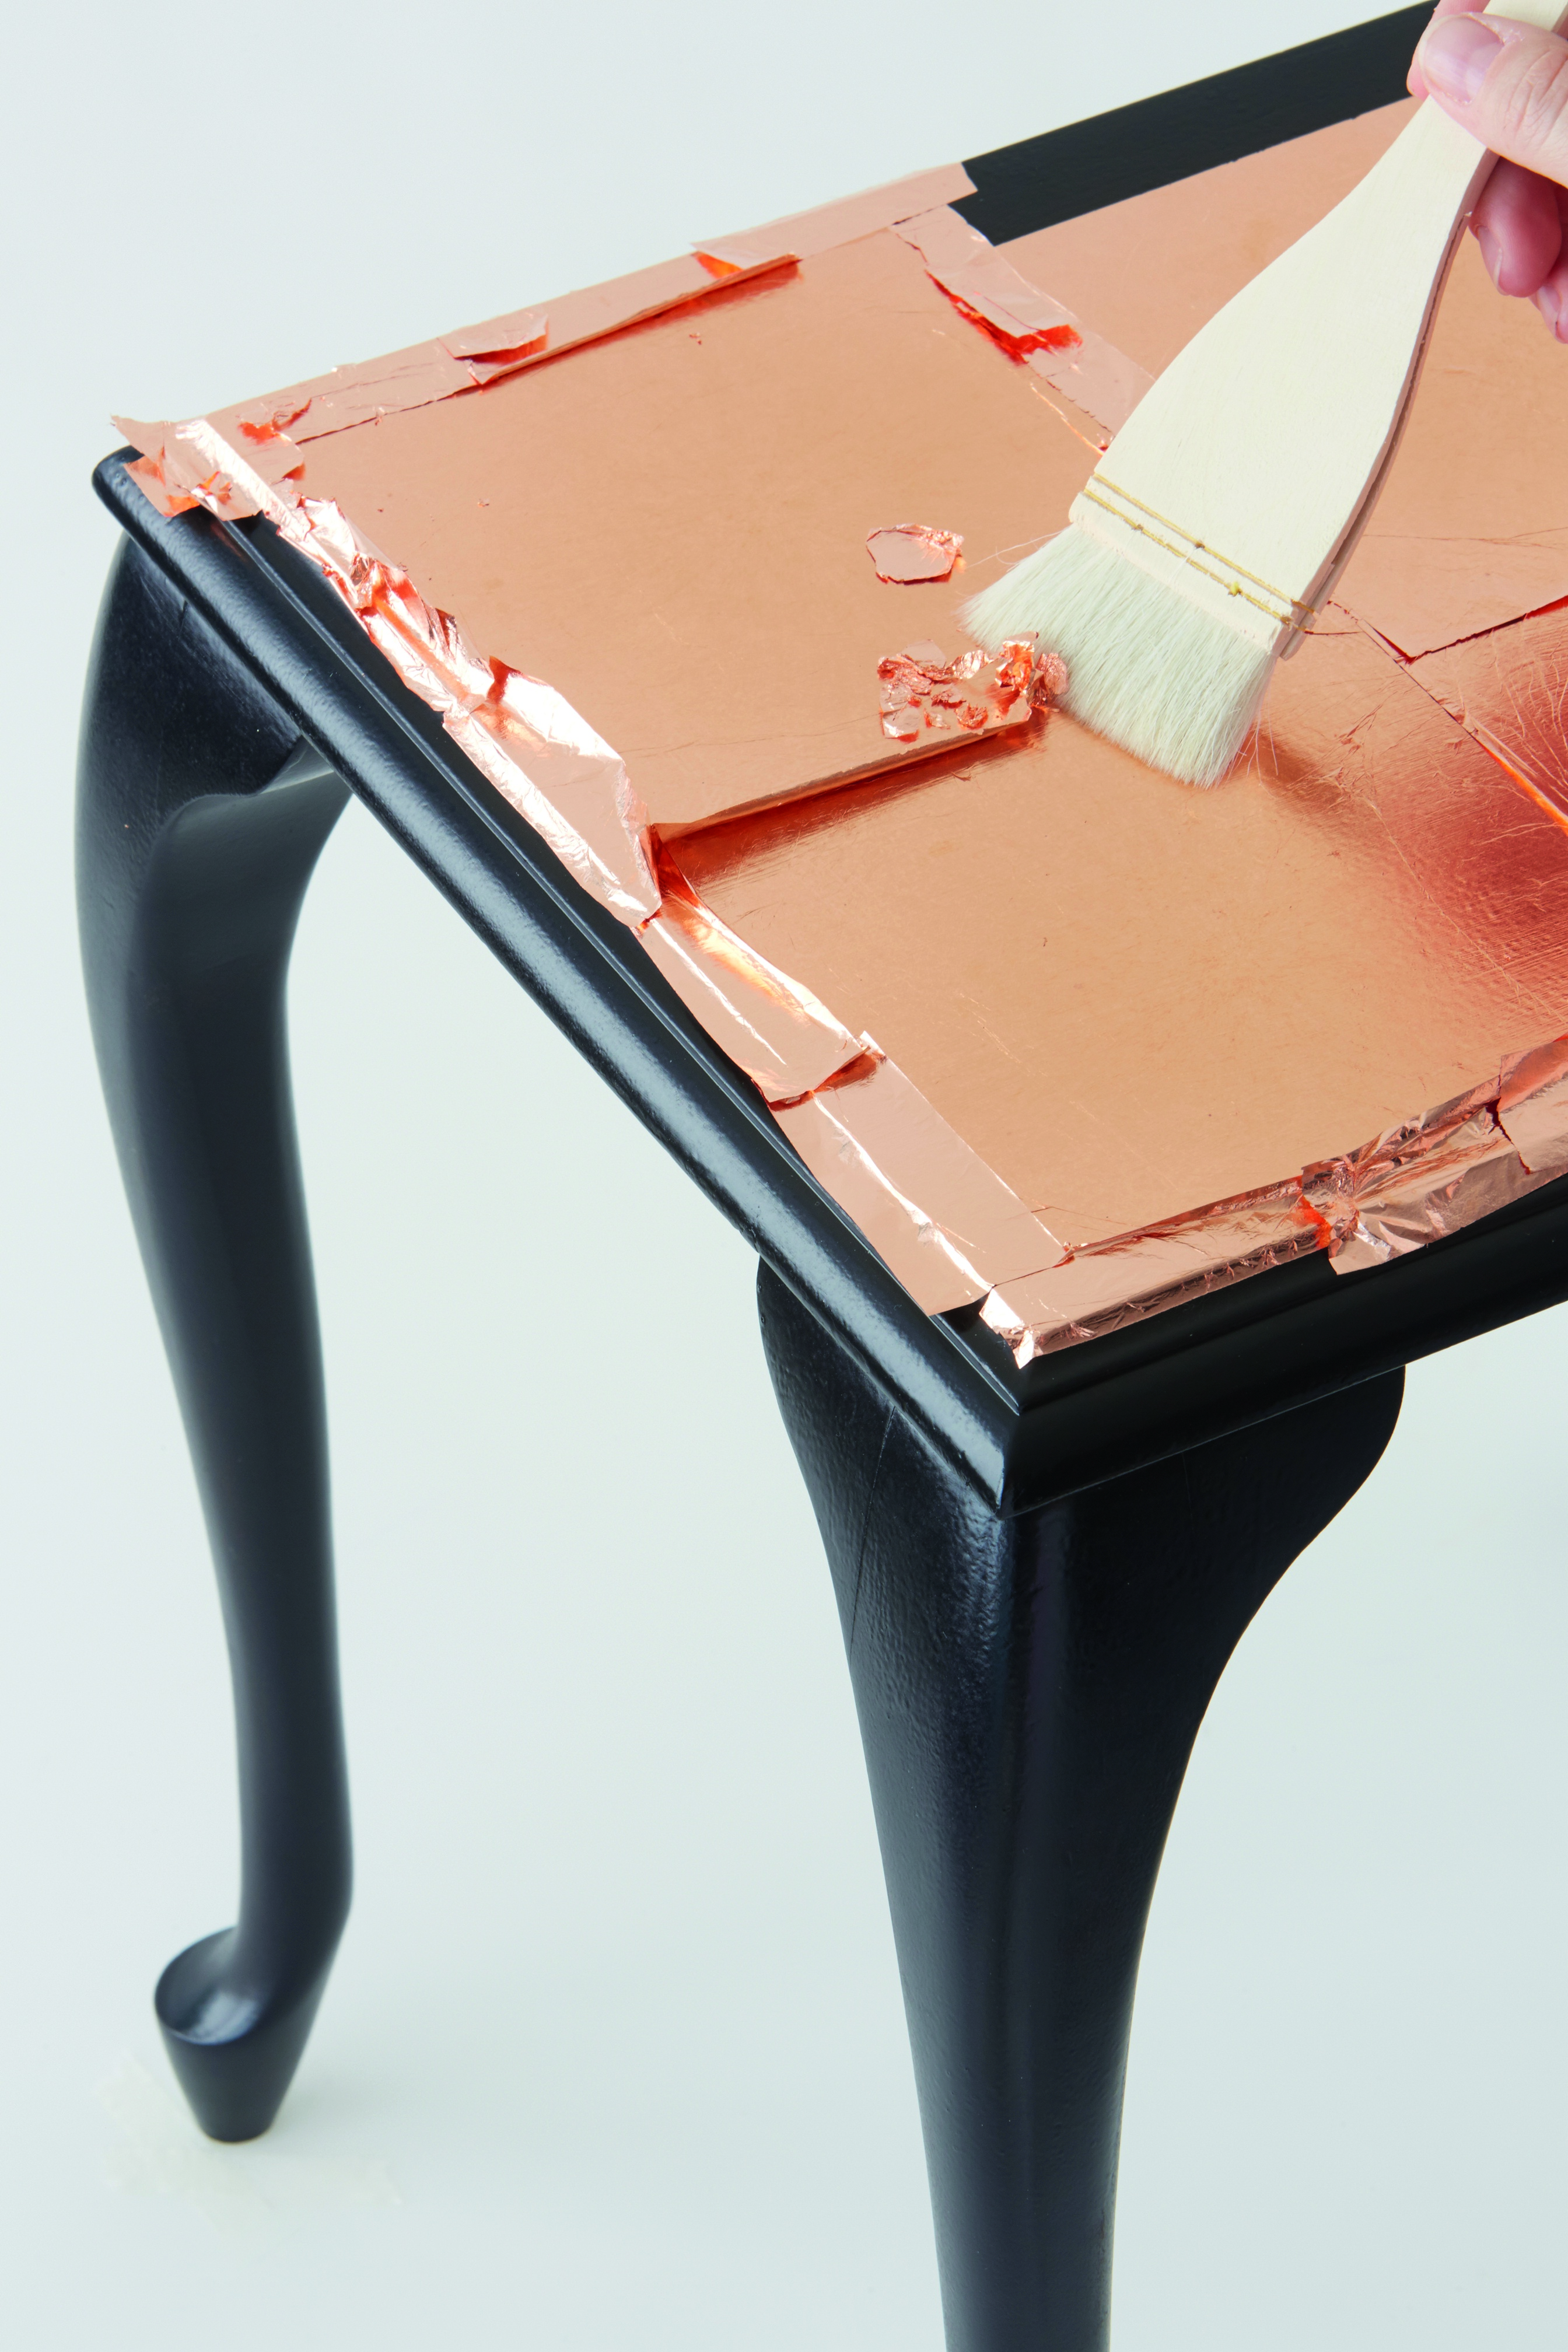
Step 3
Use a sponge paintbrush to place a single sheet of copper leaf on the size. Work with care because once the copper leaf has touched the size you can’t reposition it.
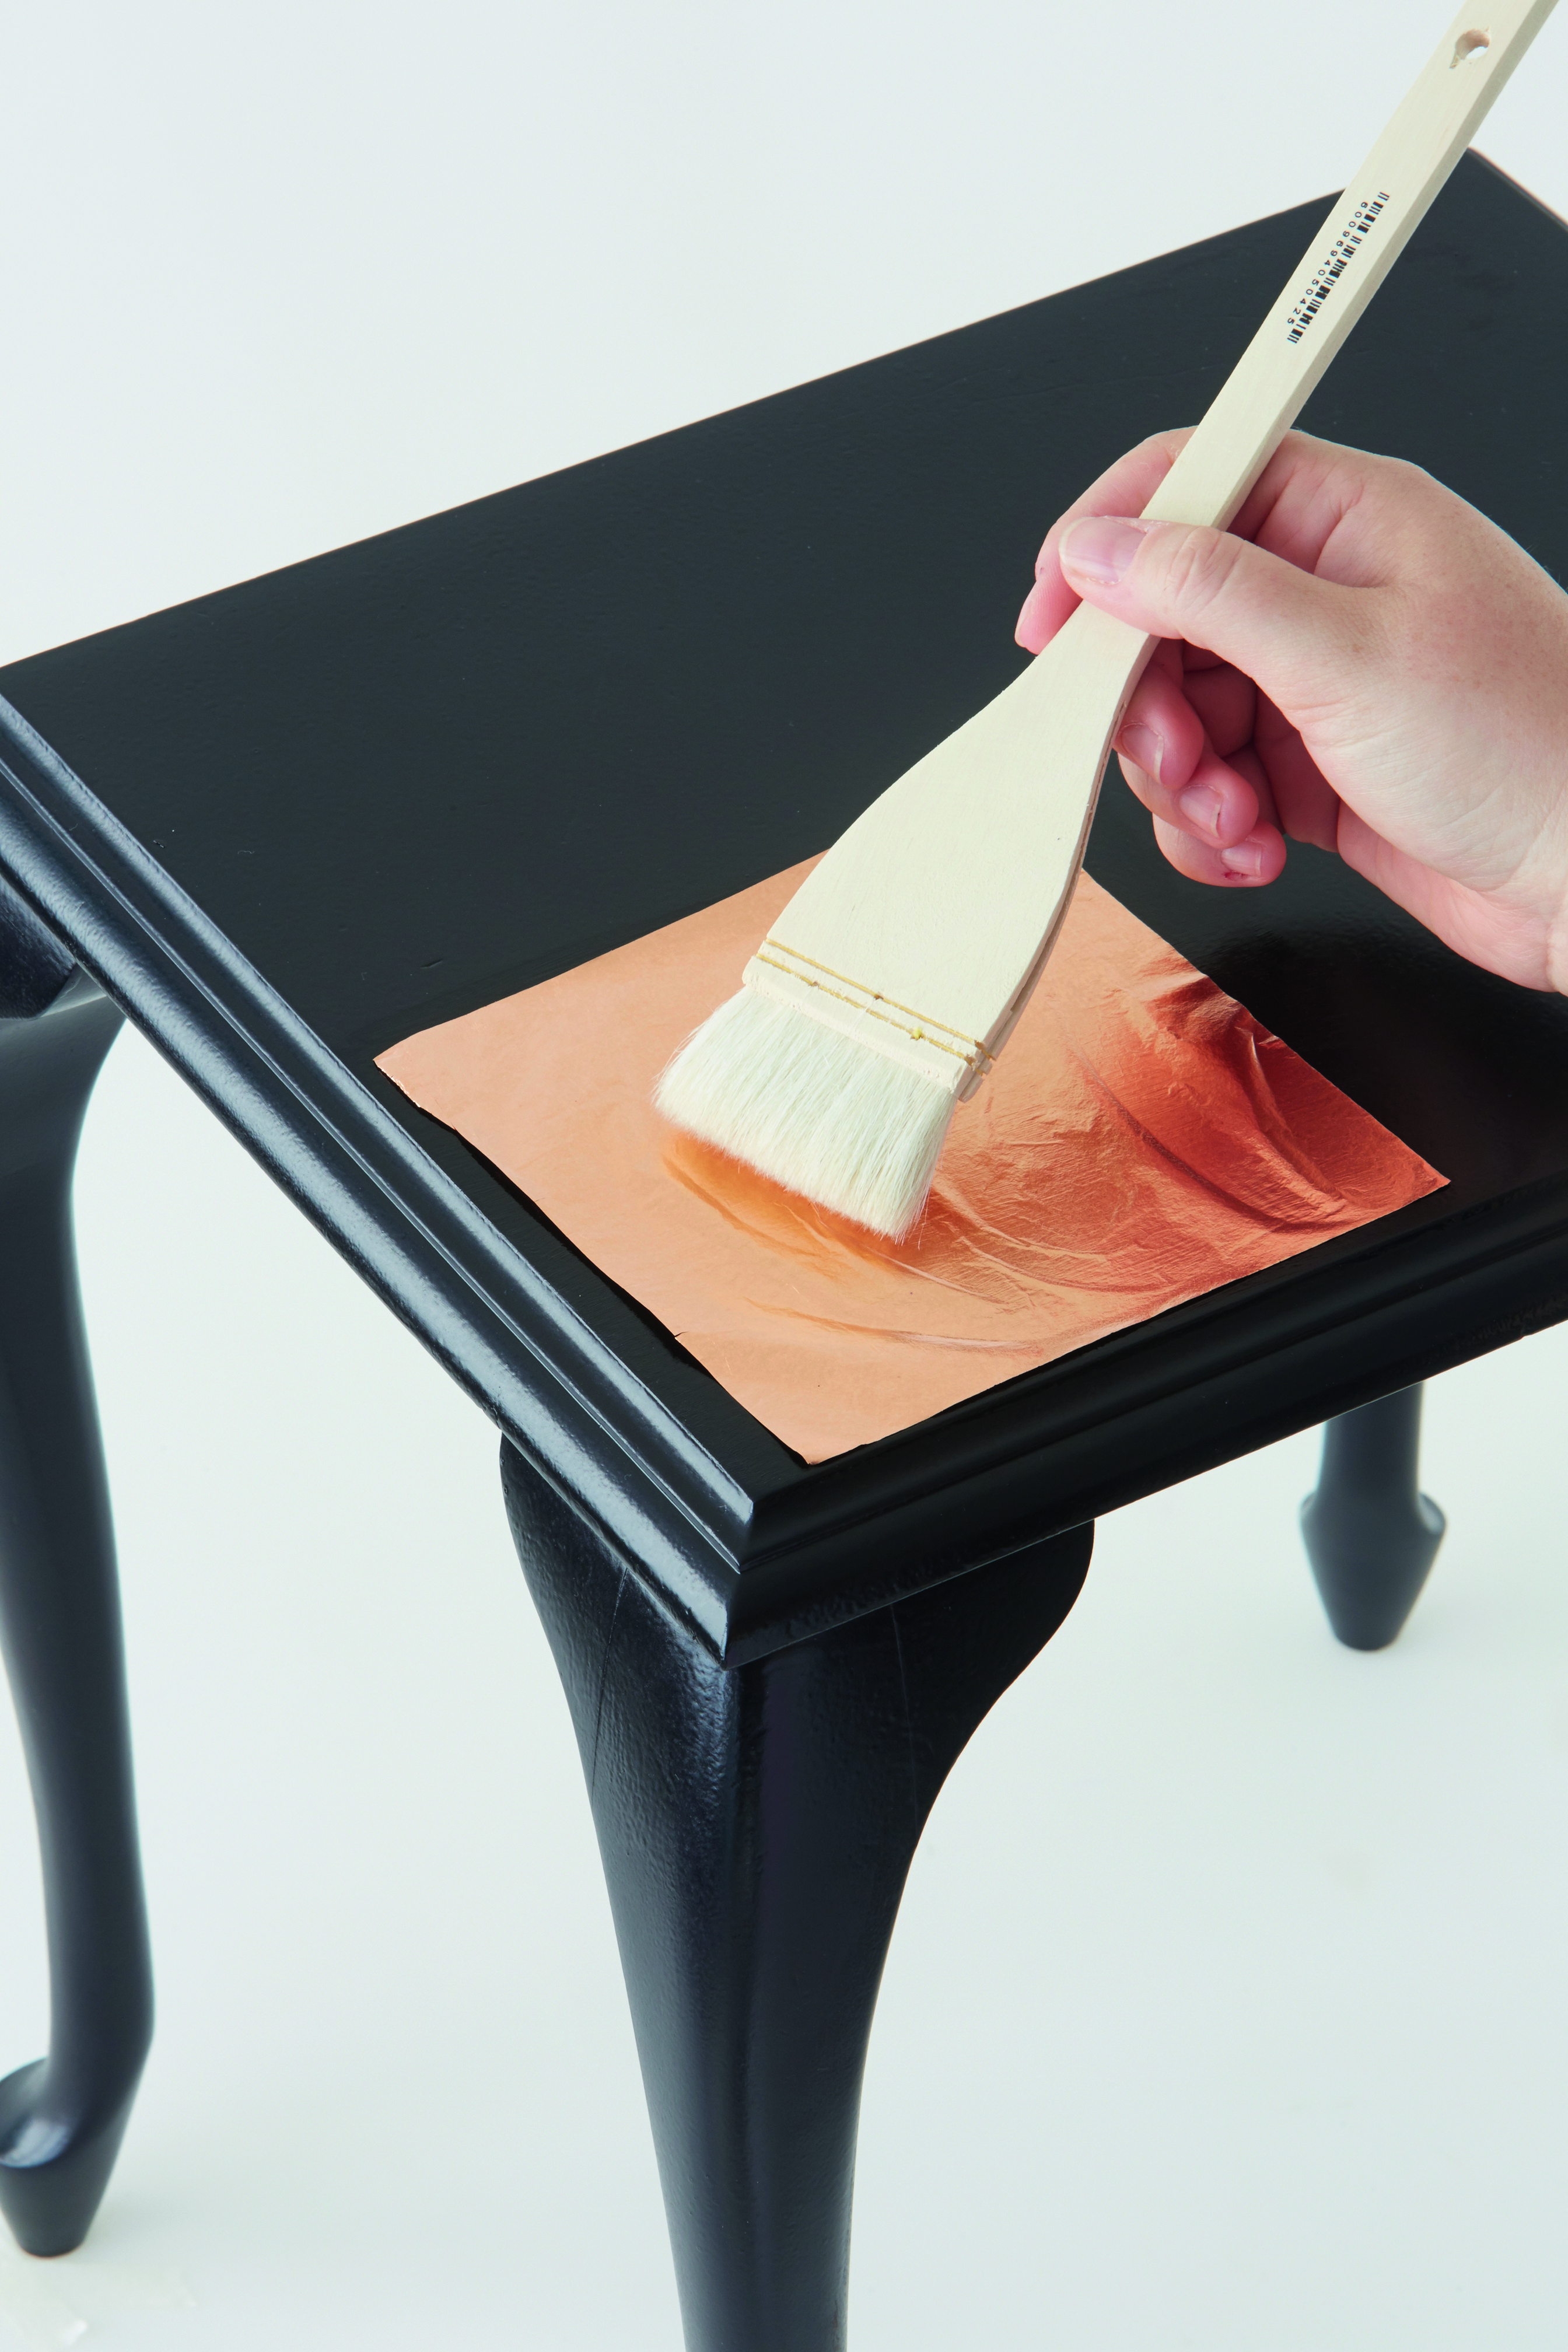
Step 4
Smooth out the copper lead with a soft, wide paintbrush.
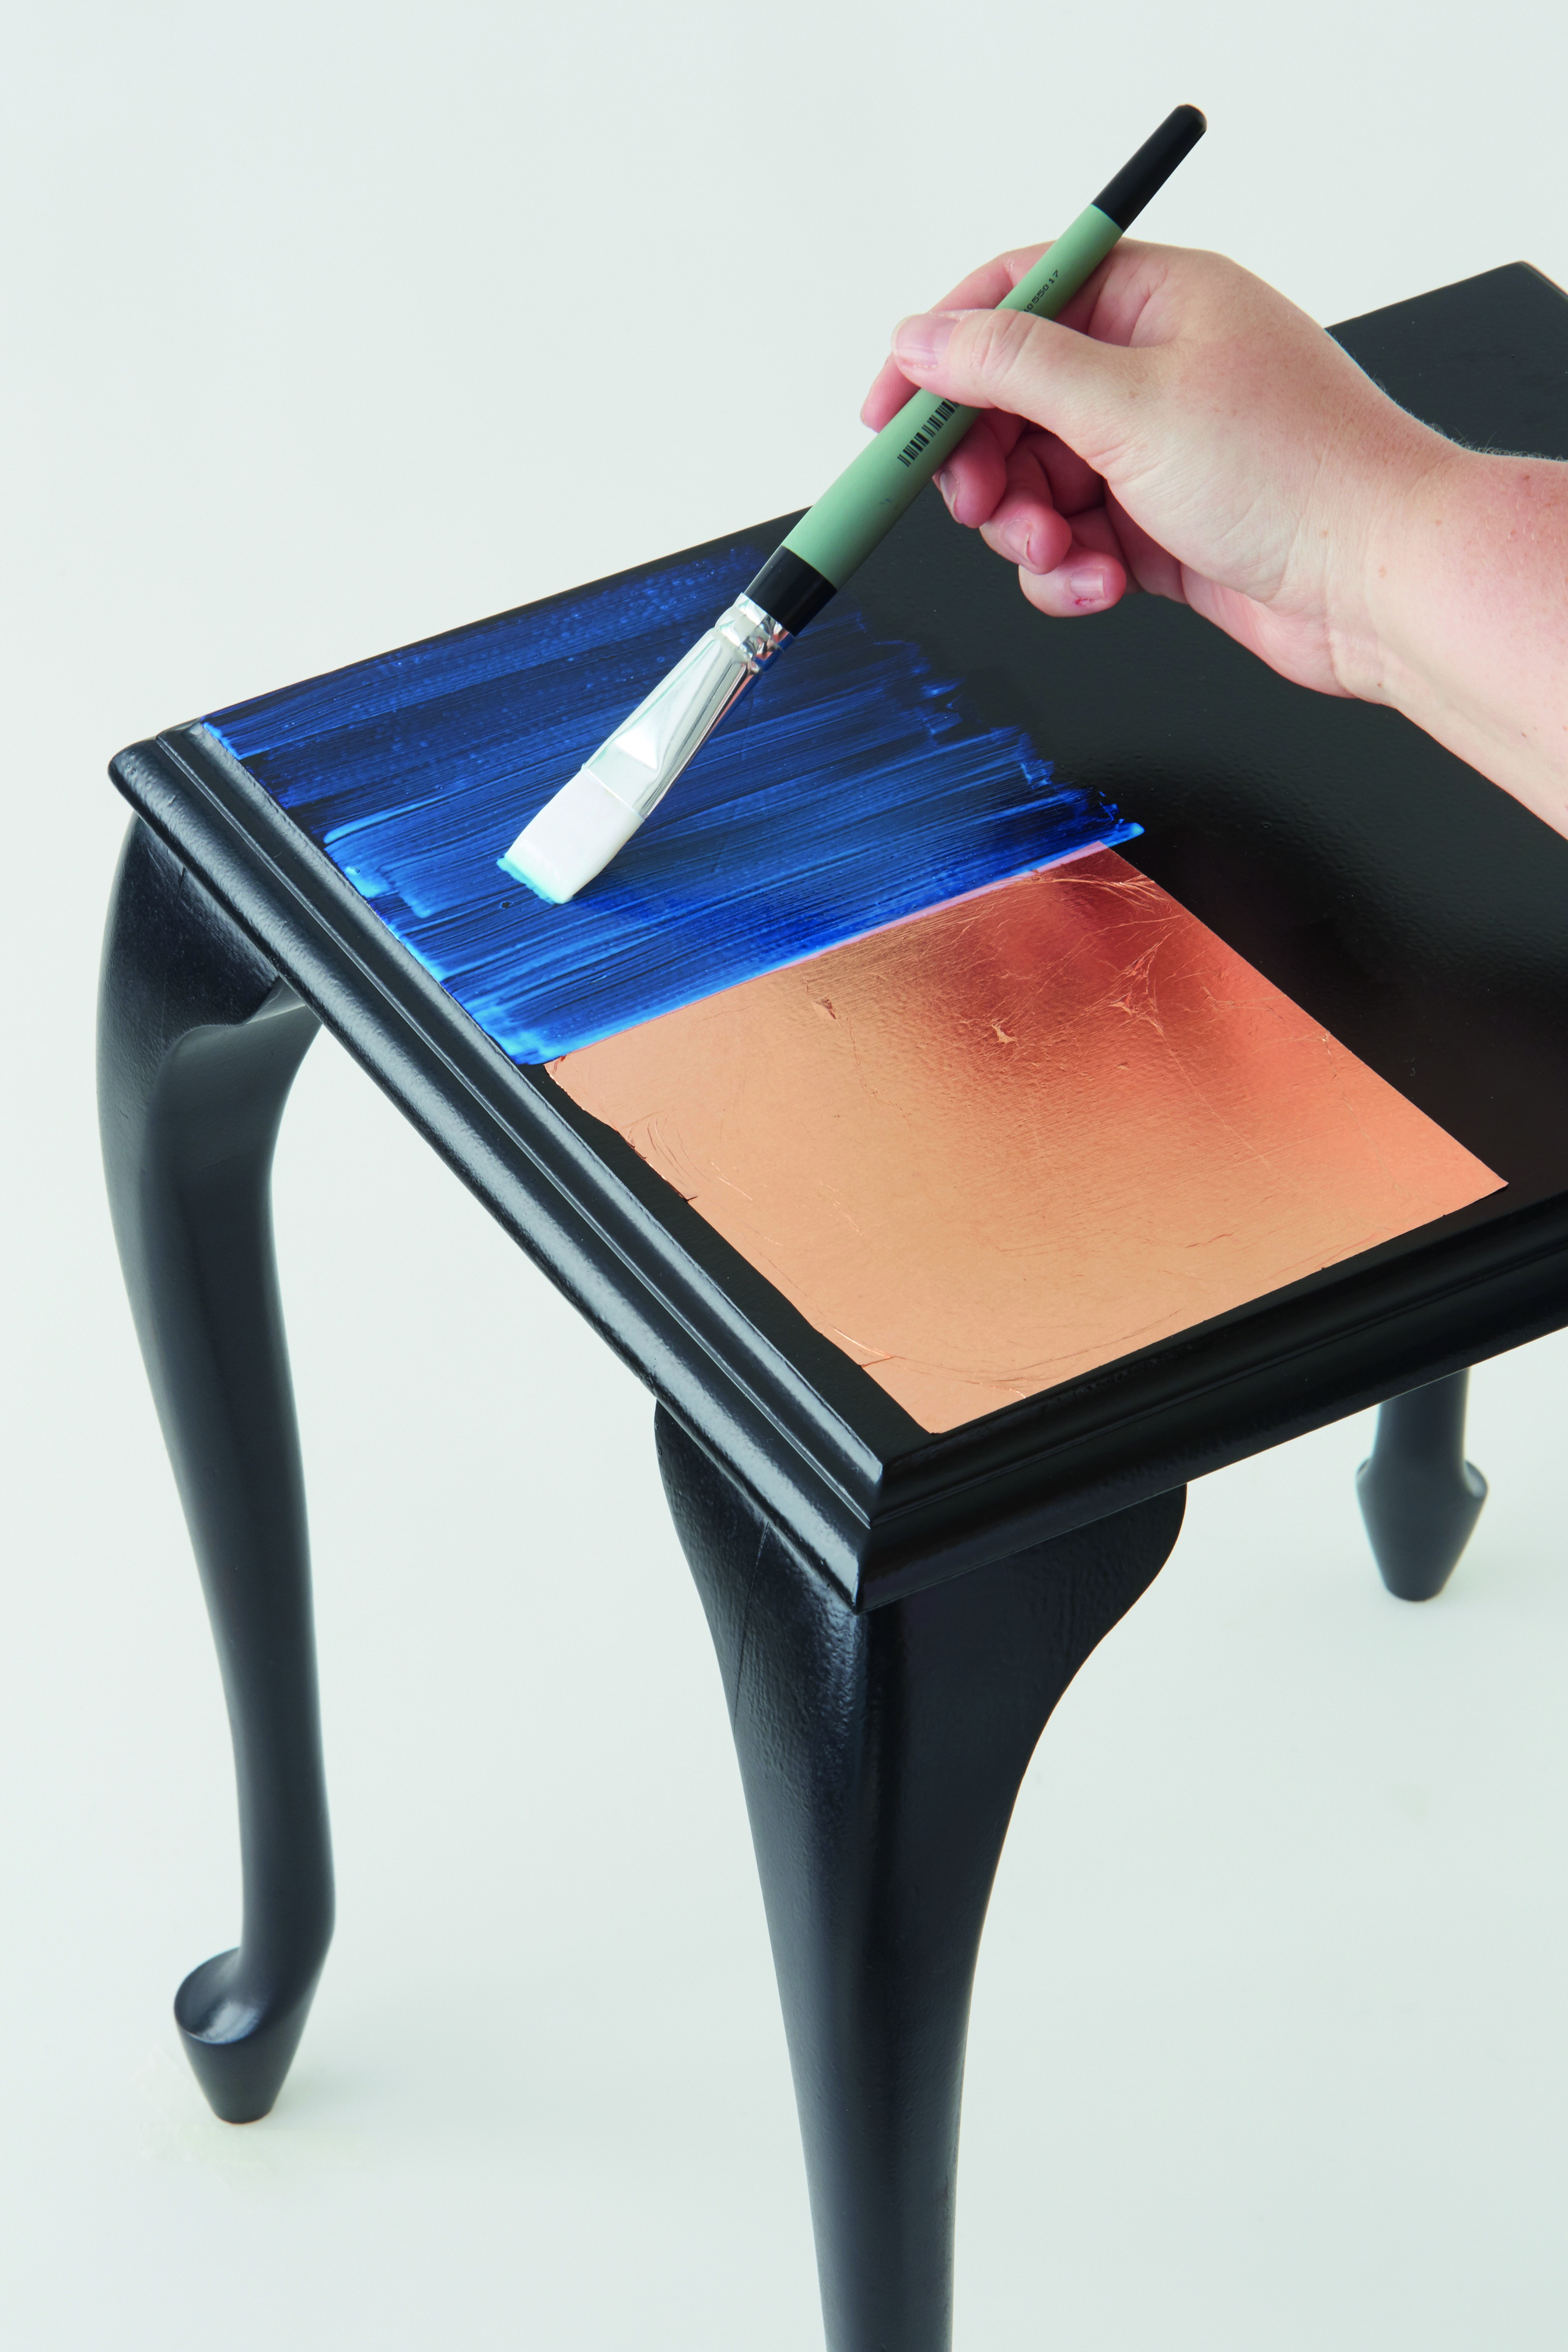
Step 5
Repeat to cover the rest of the table top, letting the individual sheets of copper leaf overlap.
Step 6
Carefully wipe off any loose bits of copper leaf for a neat finish.
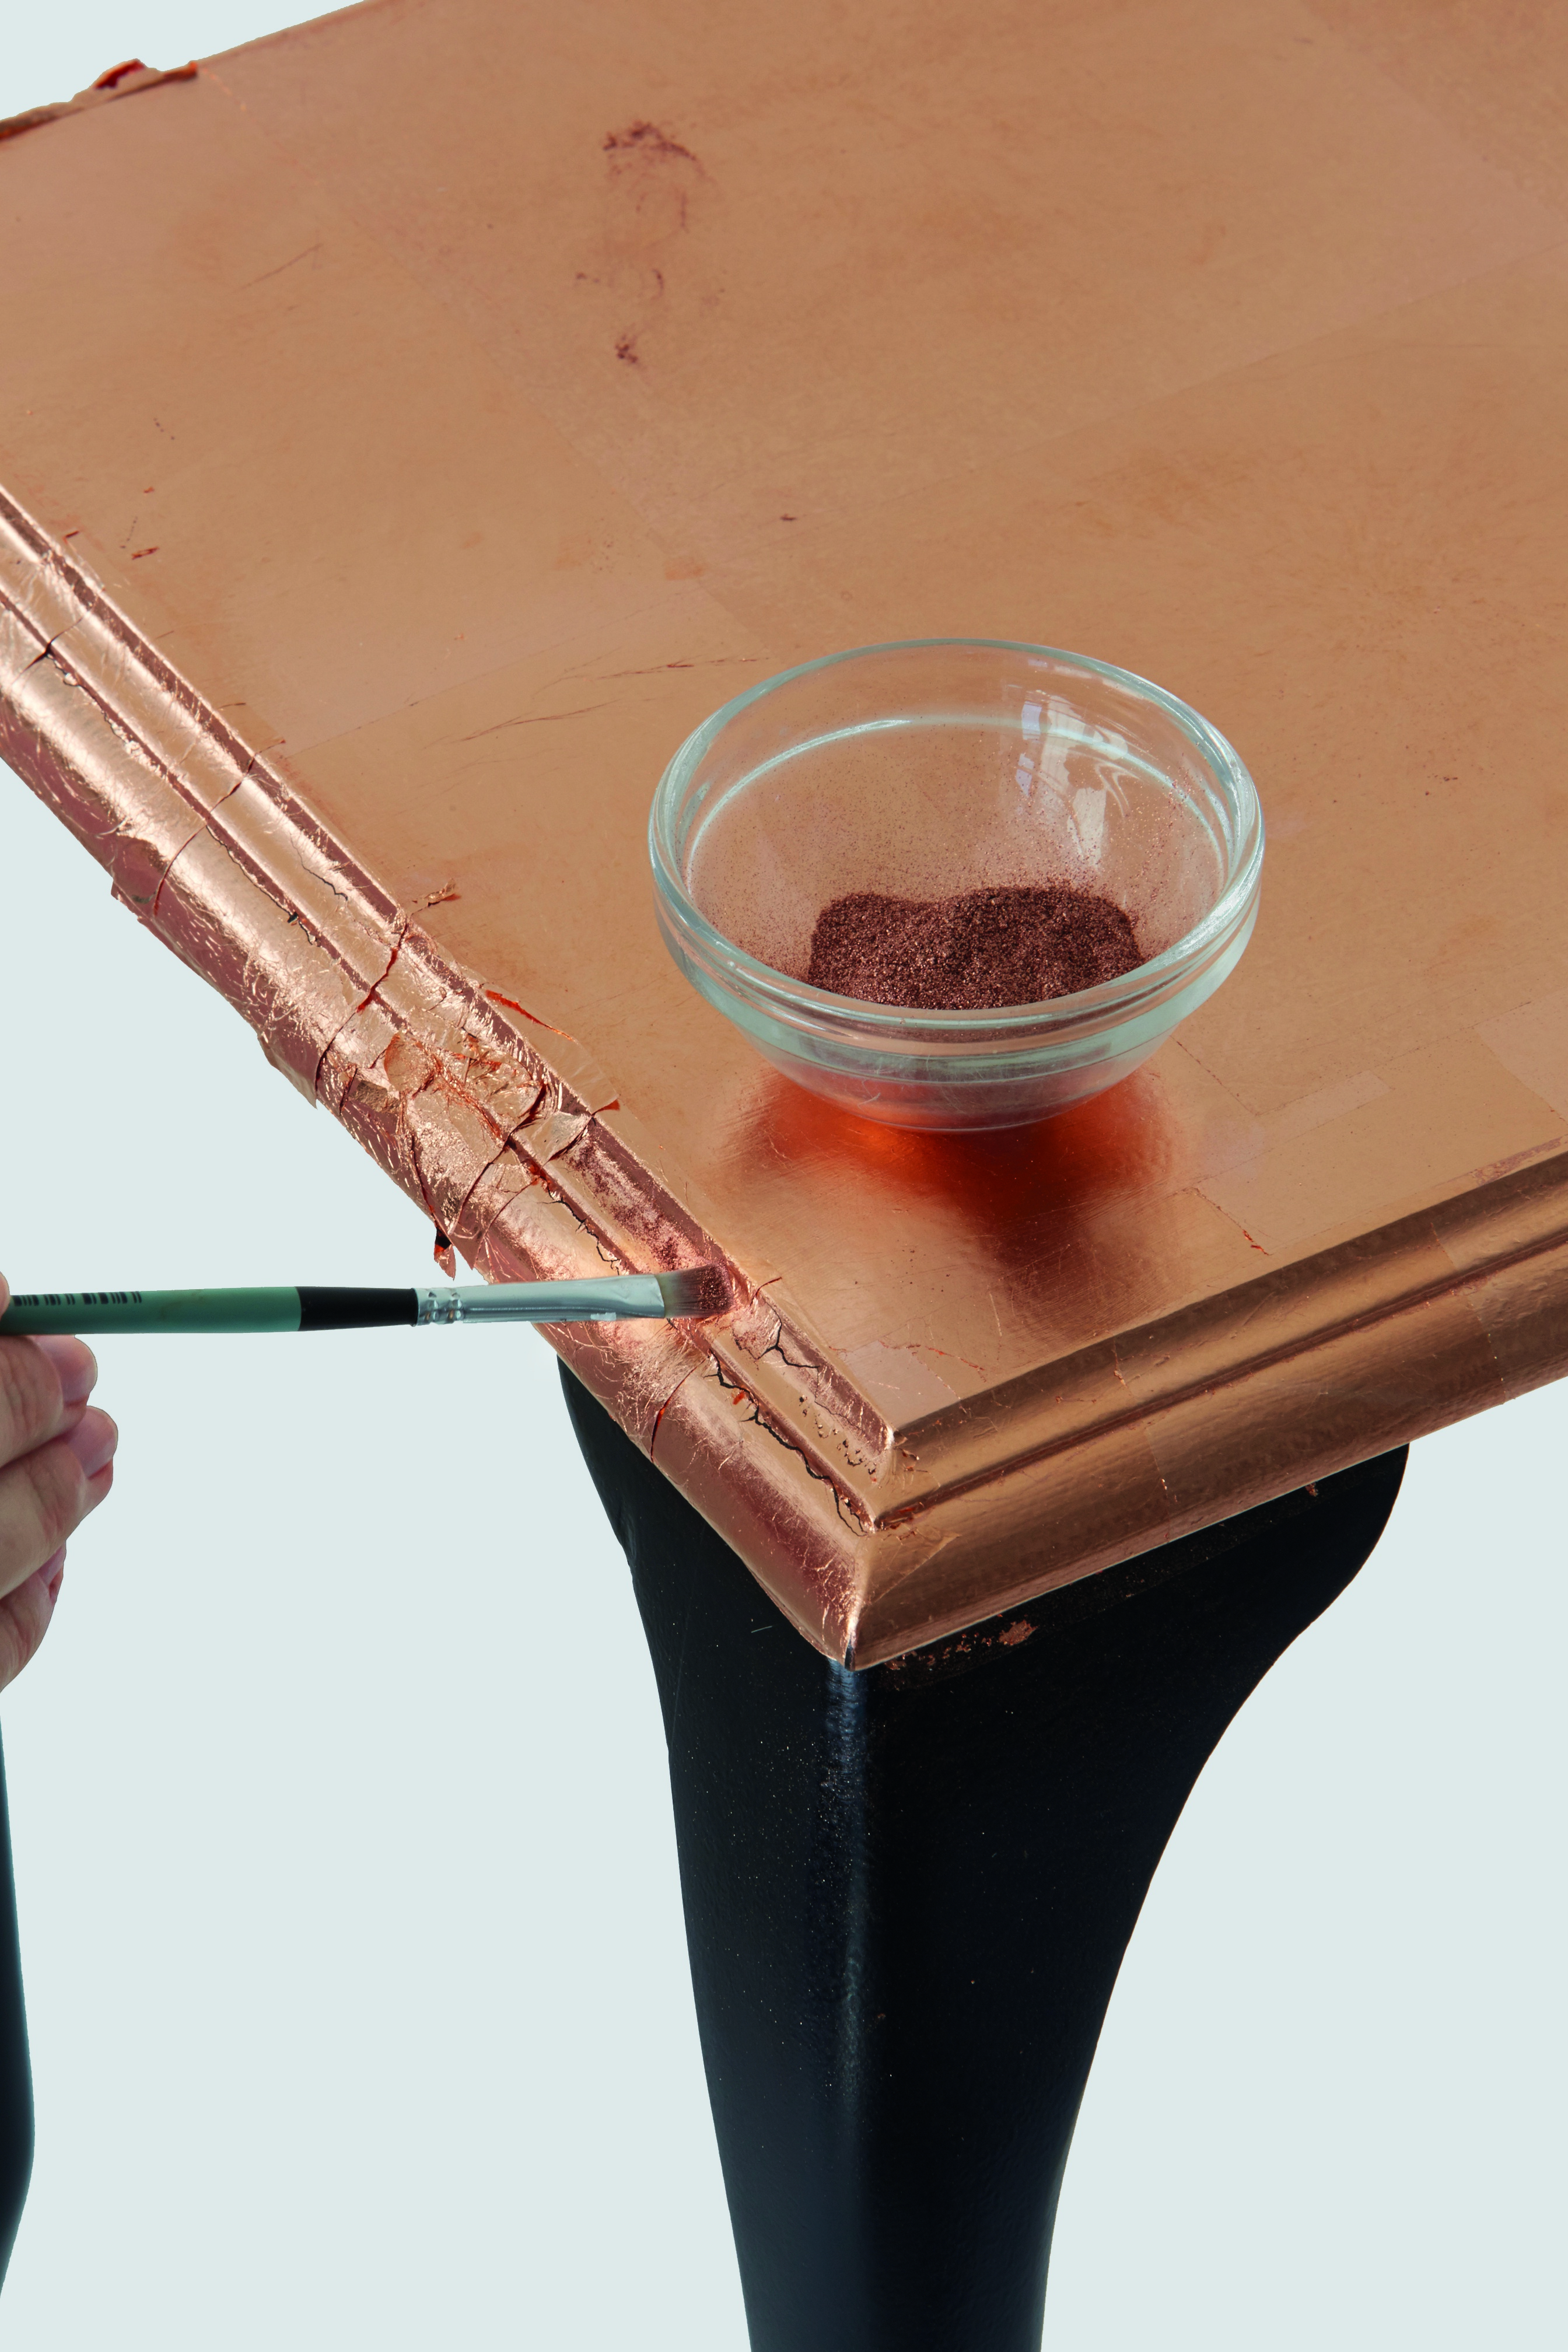
Step 7
Repeat to cover the edges and the top half of each table leg, filling in any gaps with copper powder.
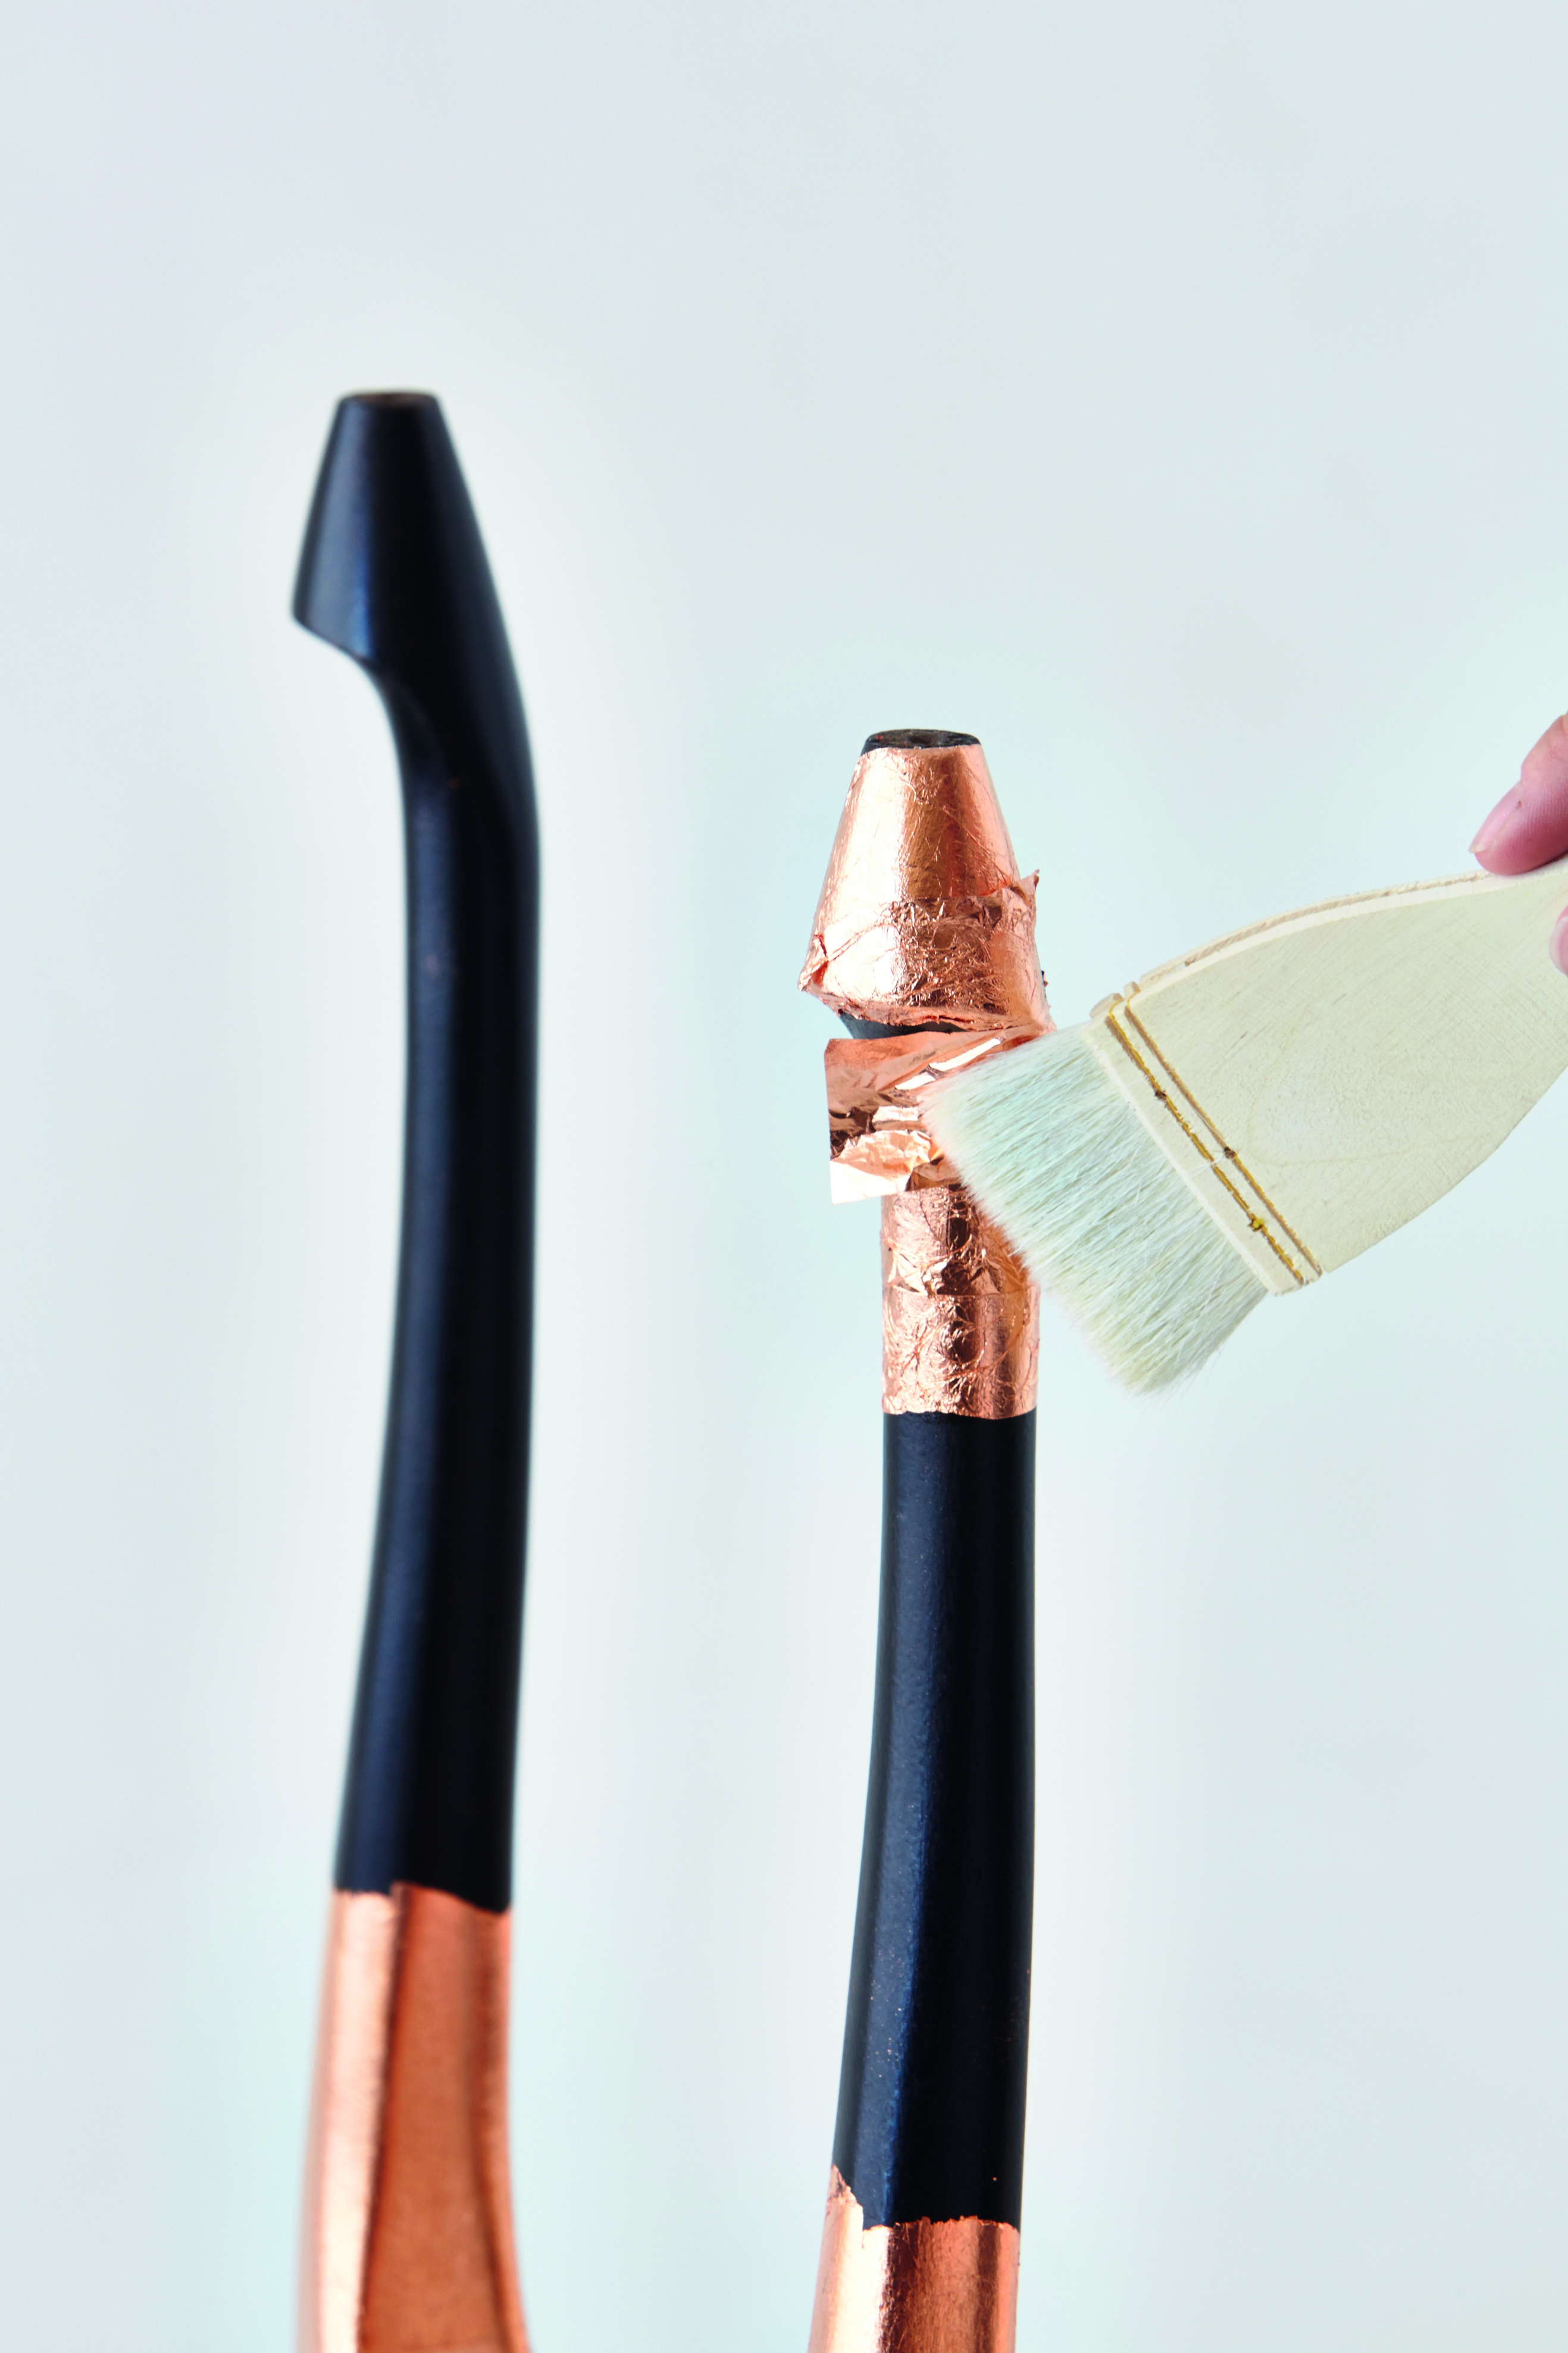
Step 8
Turn the table upside down onto a soft towel before applying the size to the rest of the legs. Start at the bottom of the legs. Cut the book of copper foil sheets while you wait for the size to become tacky. Repeat the process as before to cover the remainder of the table.

Step 9
Paint with a suitable varnish to seal and protect the copper leaf. We used Plascon Paint Effects Glazecoat Gloss Varnish.
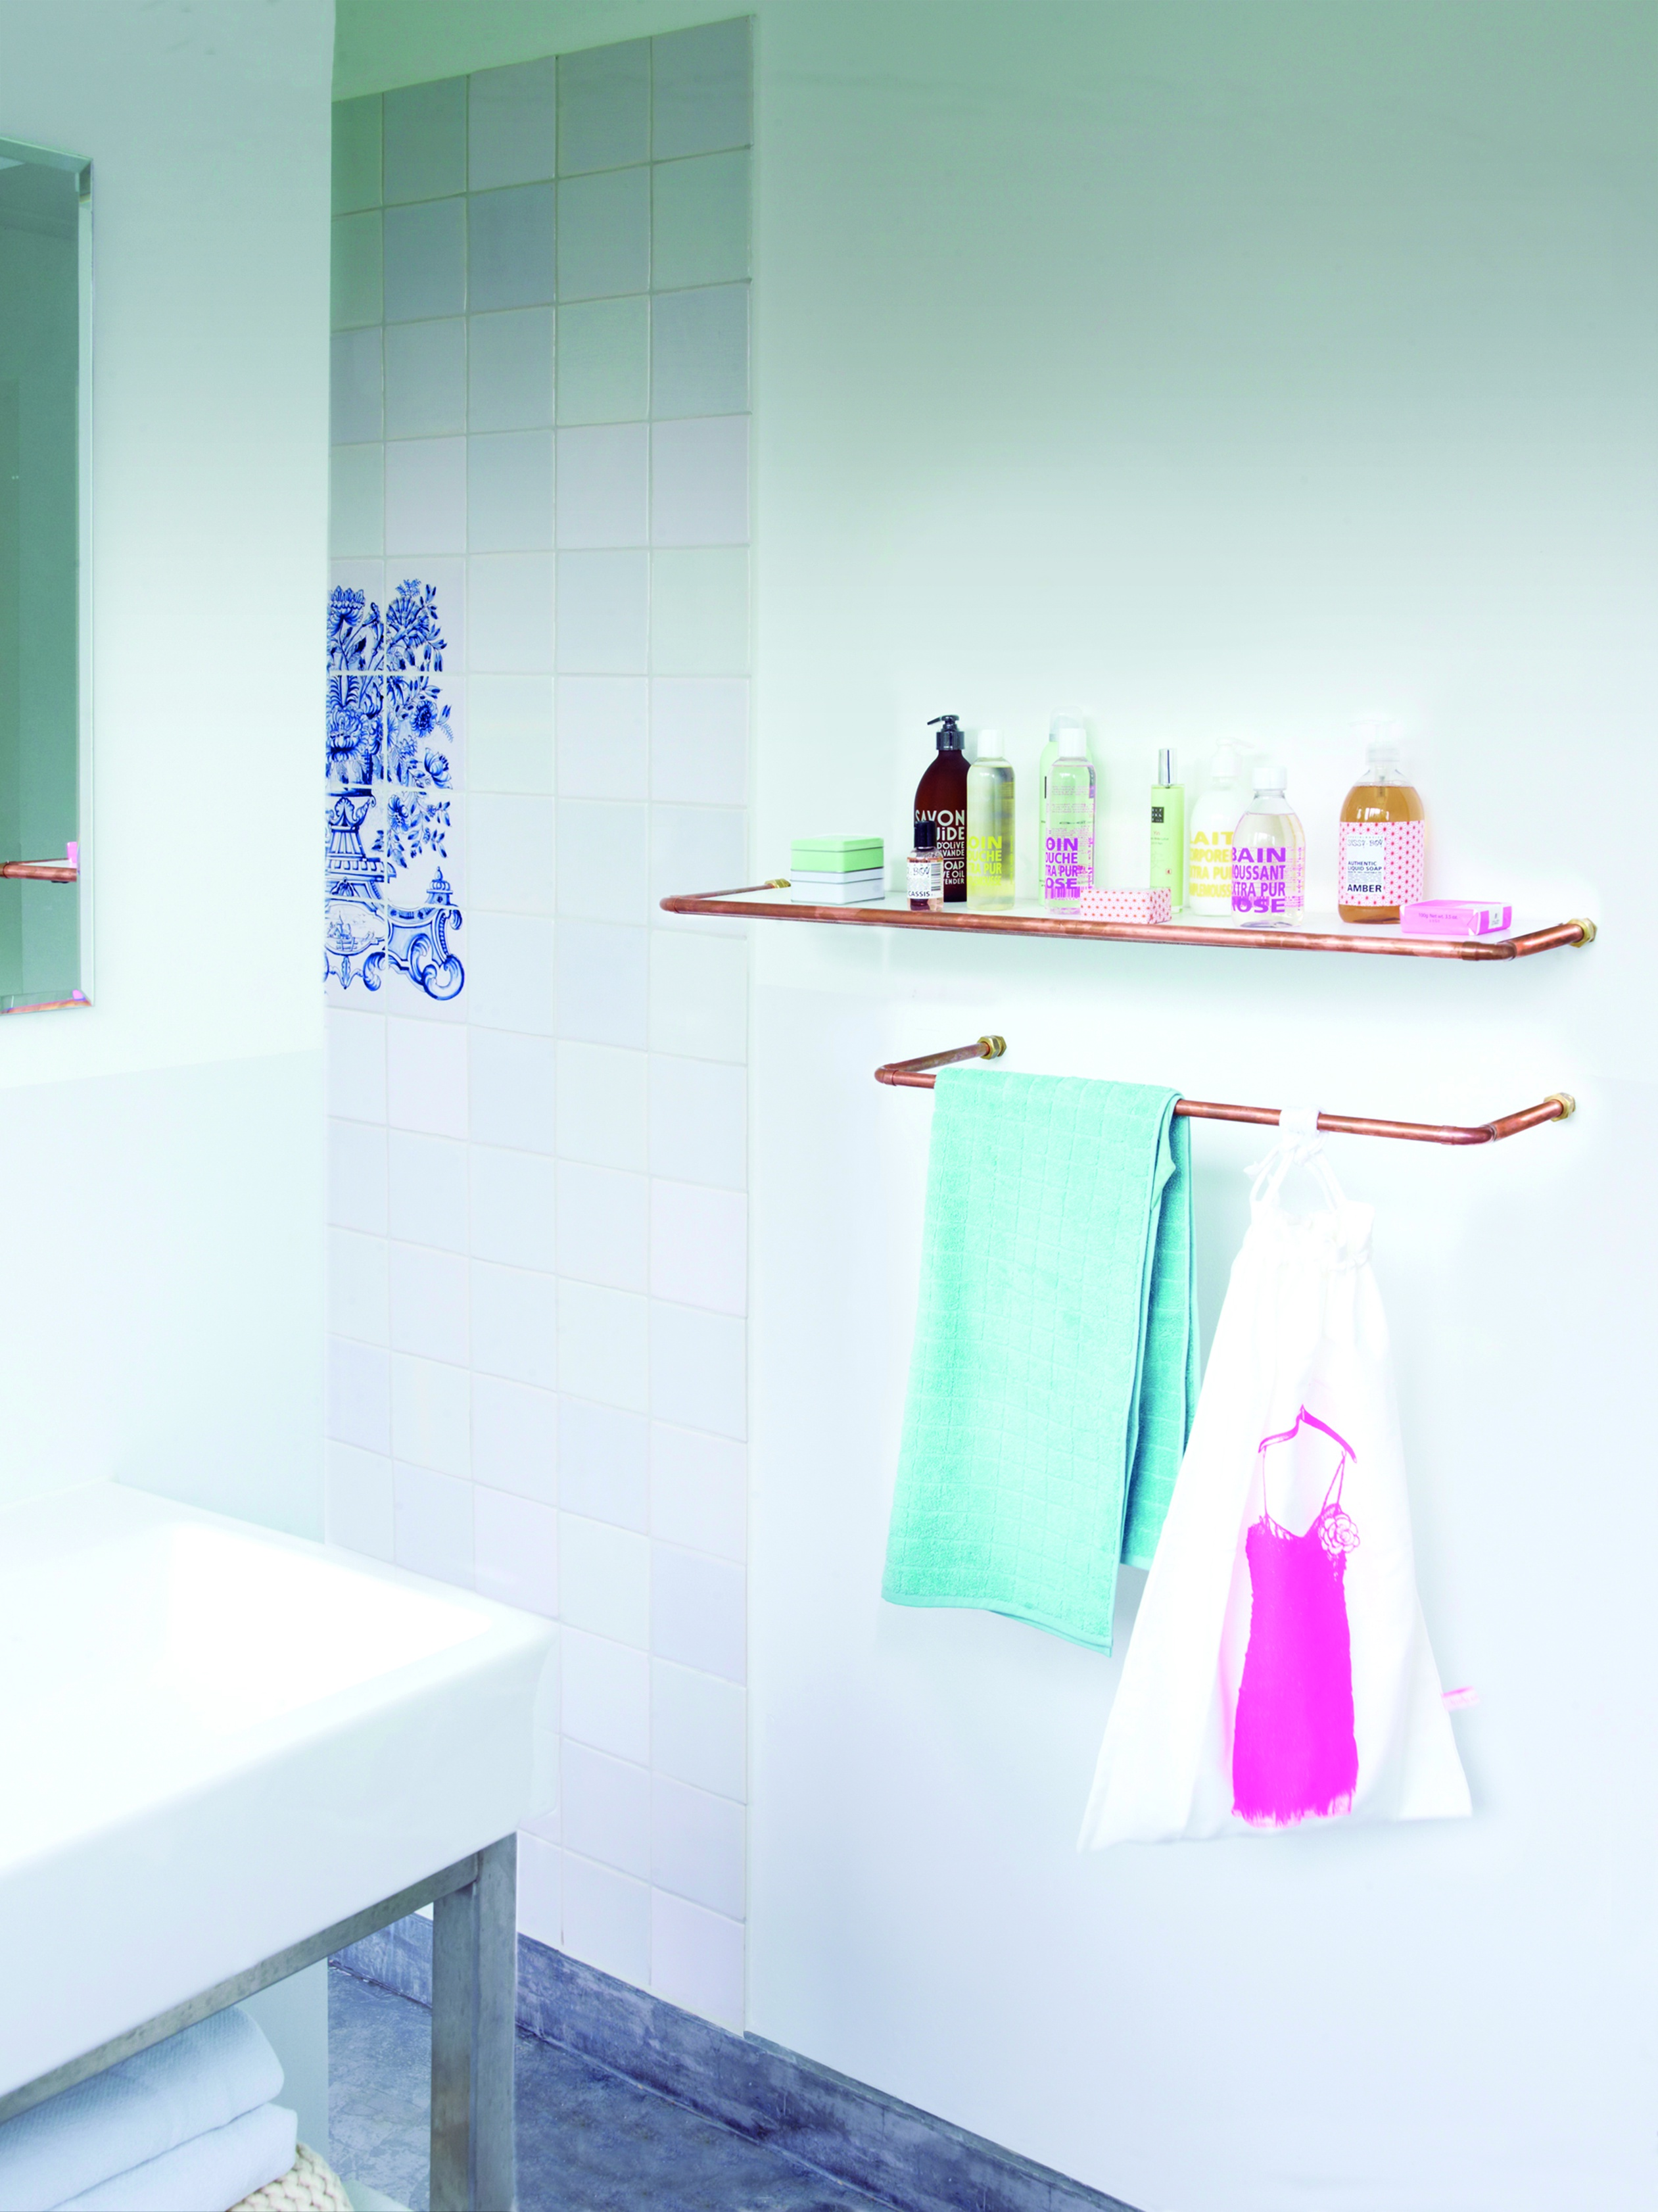
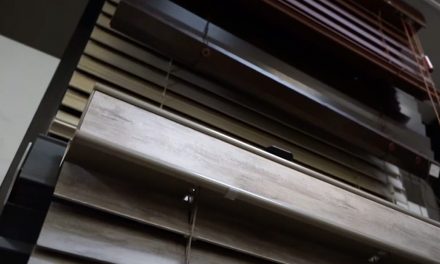
3. Copper Pipe shelf and towel rail
Add functional touches of copper to your bathroom with these beautiful coopper pipes that serve as a shelf and a towel rail.
- 15mm copper pipe (we used about 3m in total)
- 4 copper copcal elbows, each with a diameter of 15mm
- 4 copper stop ends, each with a diameter of 15mm
- 12mm plywood for the shelf
- white enamel paint
- paintbrush
- nails and screws
- sandpaper
- hammer
- drill and drill bits
- metal saw
- regular wood saw
Step 1
Decide on the size of your shelf and your towel rail. Our shelf measures 900 x 200mm so we used on 900mm piece and two 200mm pieces. For the towel rail we used one 600mm piece and two 200mm pieces.
Step 2
Attach the copper pipes for the shelf using the copcal elbows and cut the plywood to fit.
Step 3
Lightly sand the shelf, then wipe down with a damp cloth. Paint with two coats of enamel paint, leaving the first coat to dry before painting on the next.
Step 4
Use a hammer to insert two nails into each short side of the shel, then mark the corresponding spot on the copper pipes. Unscrew the copper pipes from the copcal elbows and drill neat holes to fit the top of each nail. Take care not to drill right through the pipes.
Step 5
Screw the stop ends to the wall by drilling a hole in the closed side of each one. Use strong screws and wall plugs to make sure your shelf will be sturdy.
Step 6
Press the copper pipes into place over the nails in the shelf.
Step 7
Re-attach the copcal elbows to the pipes and screw in place the copper pipe that forms the front section.
Step 8
Press the shelf onto the stop ends and tighten securely.
Step 9
Repeat these steps to make the towel rail, but without the shelf.
Credits
Referenced from Gallo images / IDEAS Magazine
Browse 1000’s of products available to you. Select your country to Shop Online.


