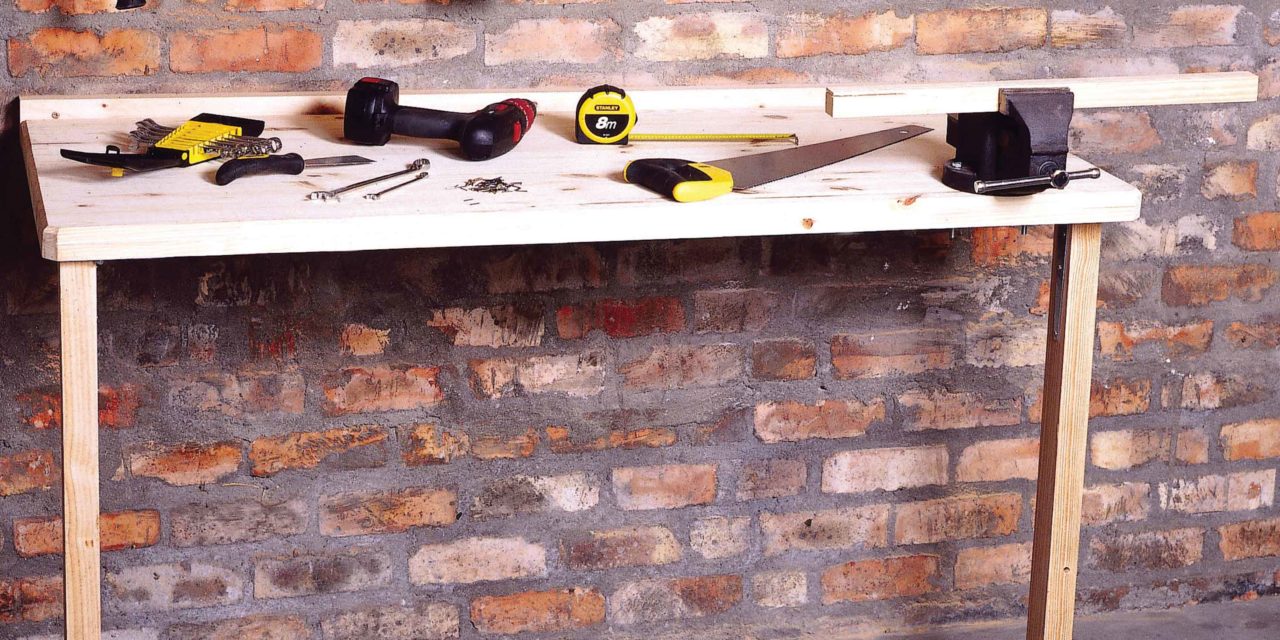
As our living spaces have become smaller, so have our garages, leaving little or no space for anything more than the car. So where does one put the workbench? Our DIY team designed a foldaway bench that is perfect for a single garage.
- wood glue
- 40mm chipboard screws
- two butt hinges
- two T-hinges
- two angle brackets (for the tool shelf)
- Hilti wall anchors
- G-clamps
- jigsaw
- router (with round bit) – optional
- cordless drill (with 3mm drill bit and screwdriver bit)
- electric drill (with masonry drill bit)
- tape measure
- pencil
- spirit level
- hammer
Cutting list (wood)
- two 1 500 x 600 x 22mm laminated pine pieces (top)
- one 1 500 x 76 x 44mm pine piece (brace)
- two 800 x 76 x 22mm pine pieces (legs)
- one 1 200 x 220 x 38mm piece (tool shelf) – optional
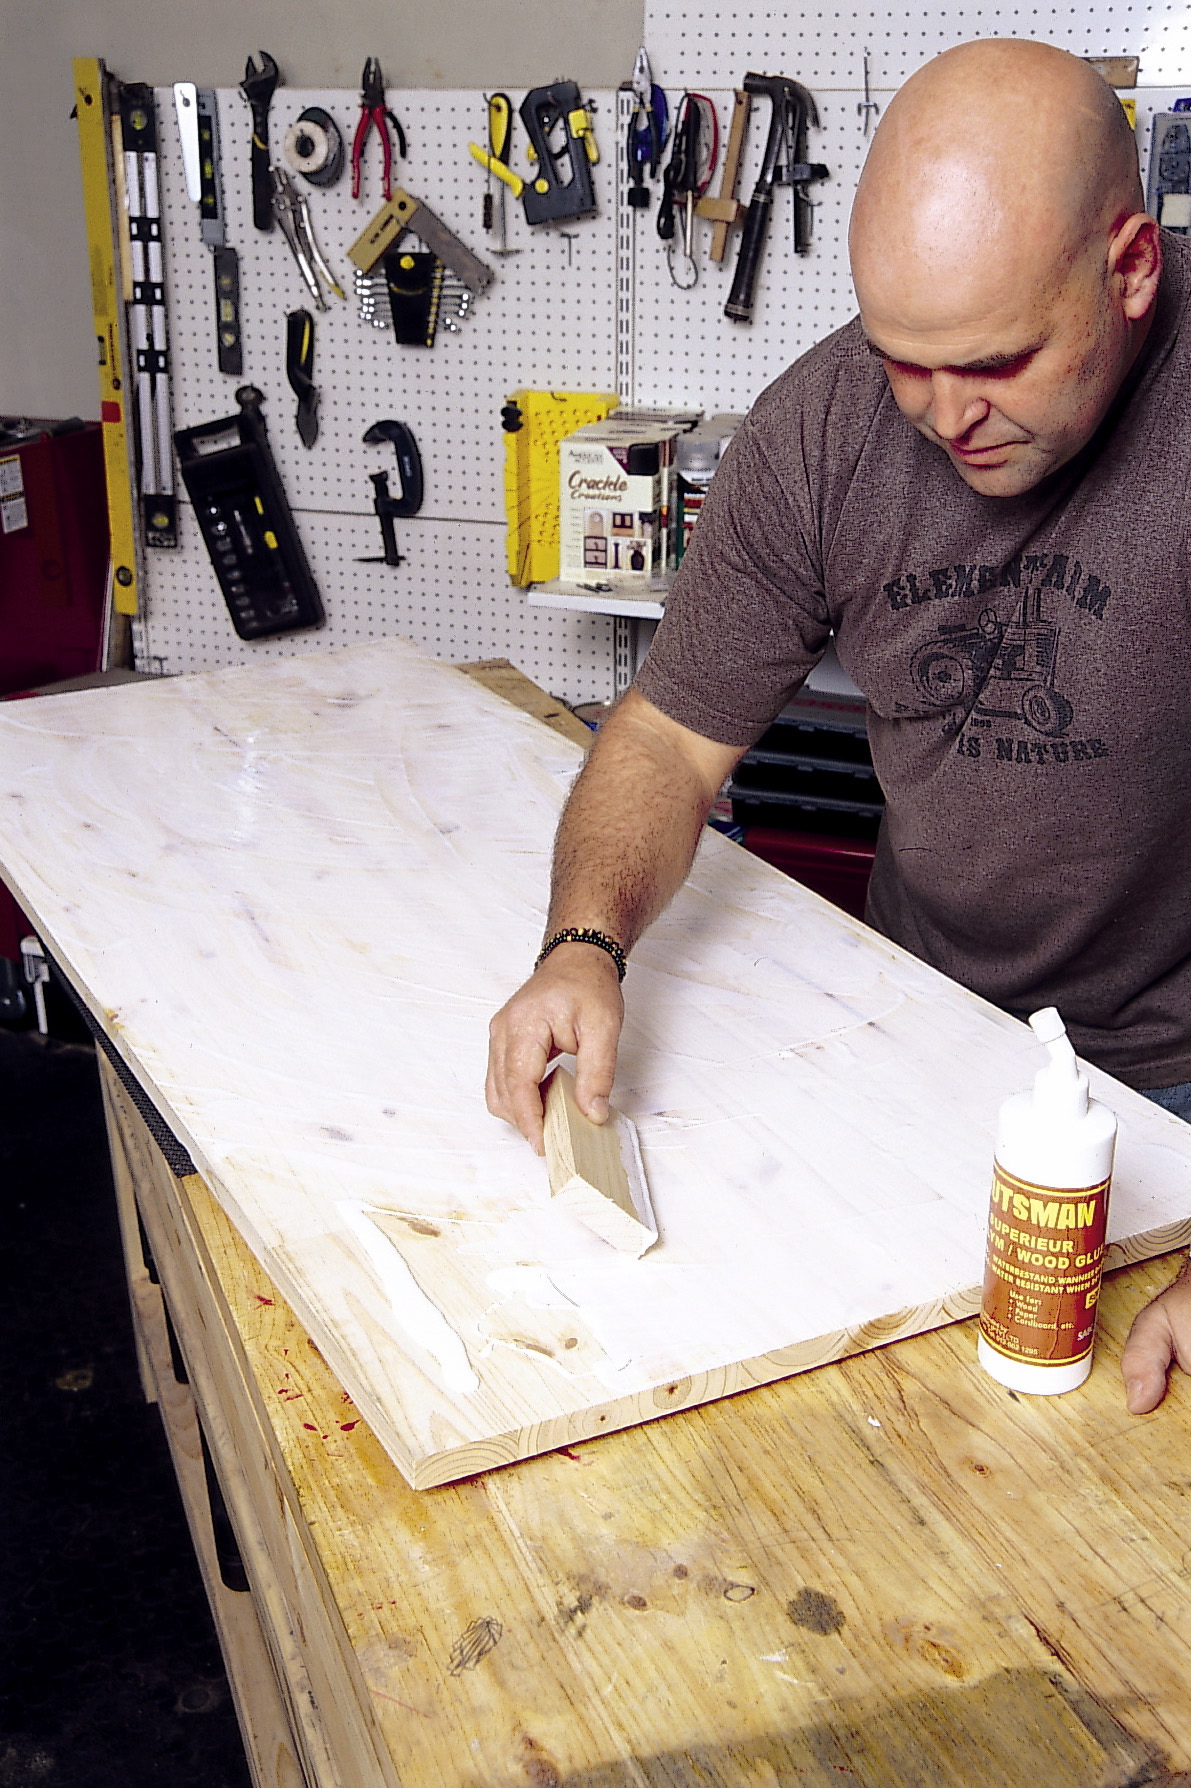
Step 1
Spread glue onto one of the 1 500 x 600 x 22mm pieces of laminated pine, then place the other one on top.
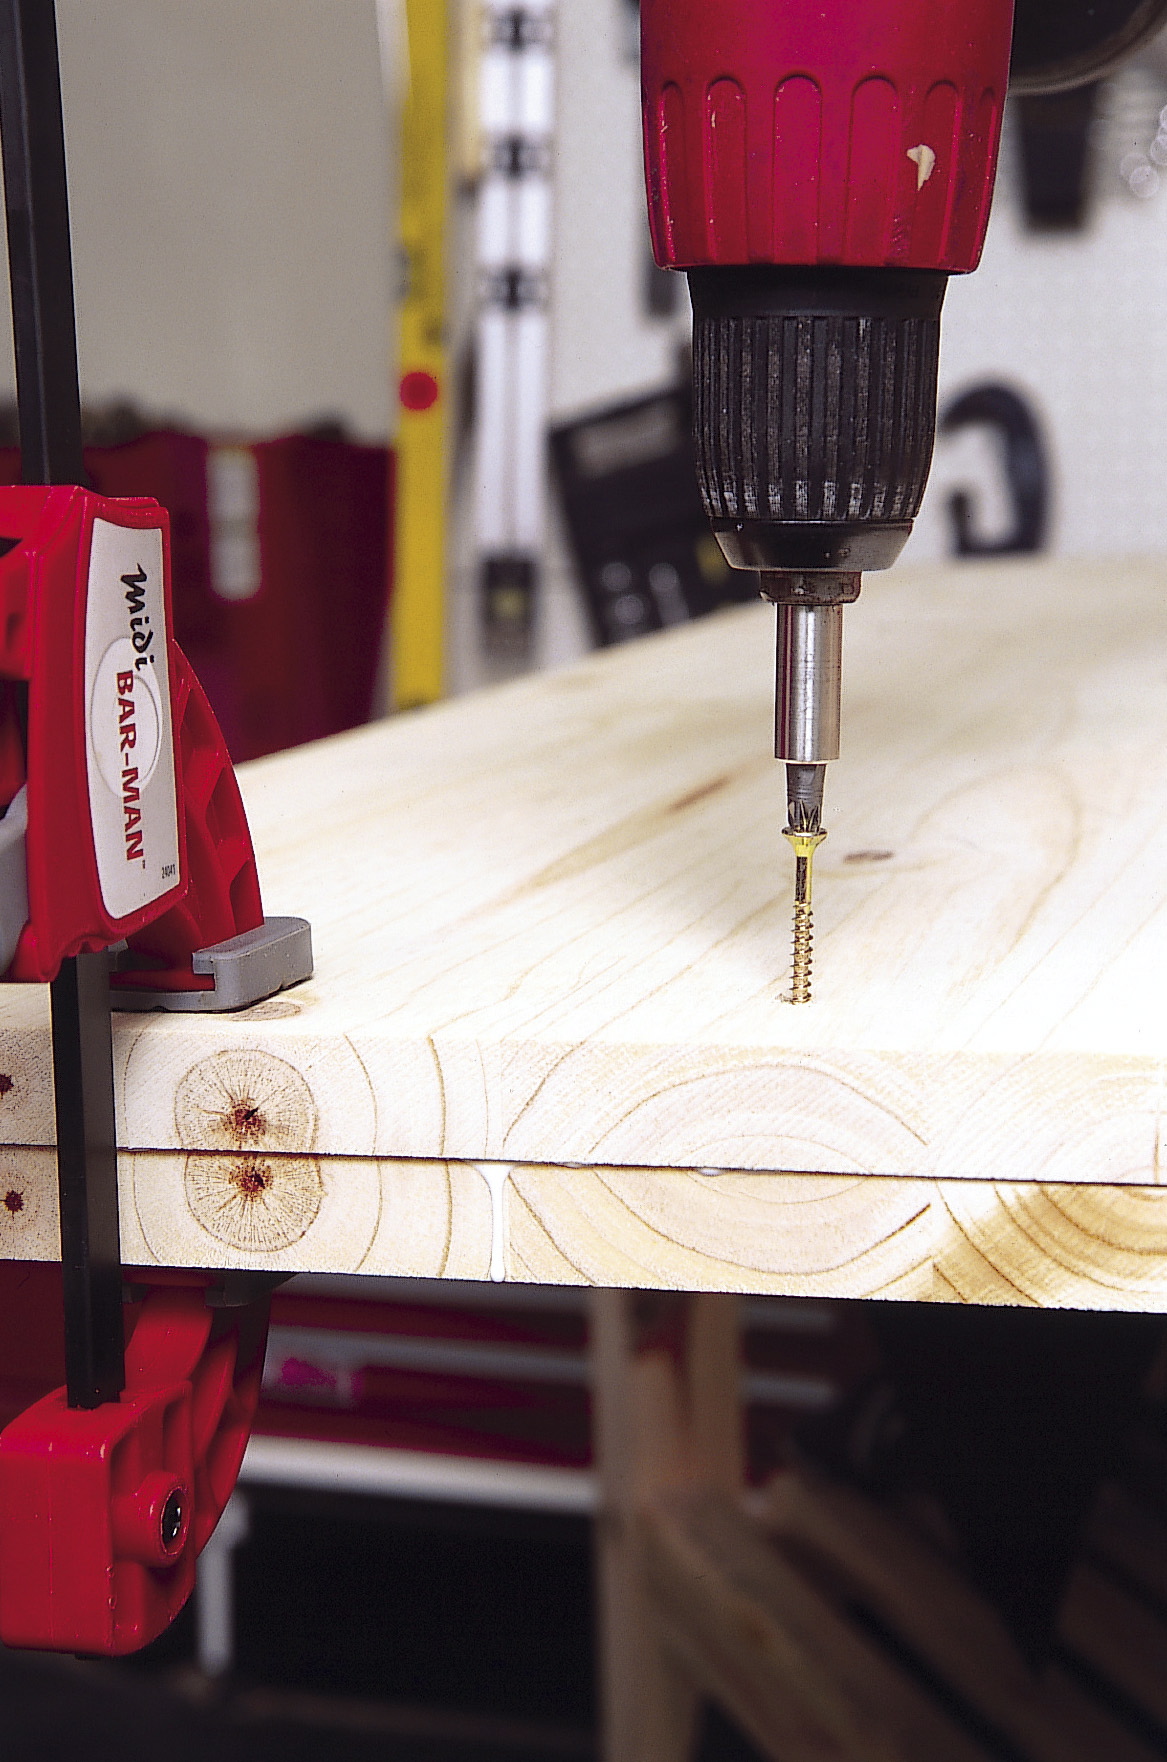
Step 2
Clamp the tops together tightly using the G-clamps and use 40mm chipboard screws to fix the worktop together.
Step 3
Use the jigsaw to round the two front corners, as shown. Use a router with a round bit to edge the worktop (optional).

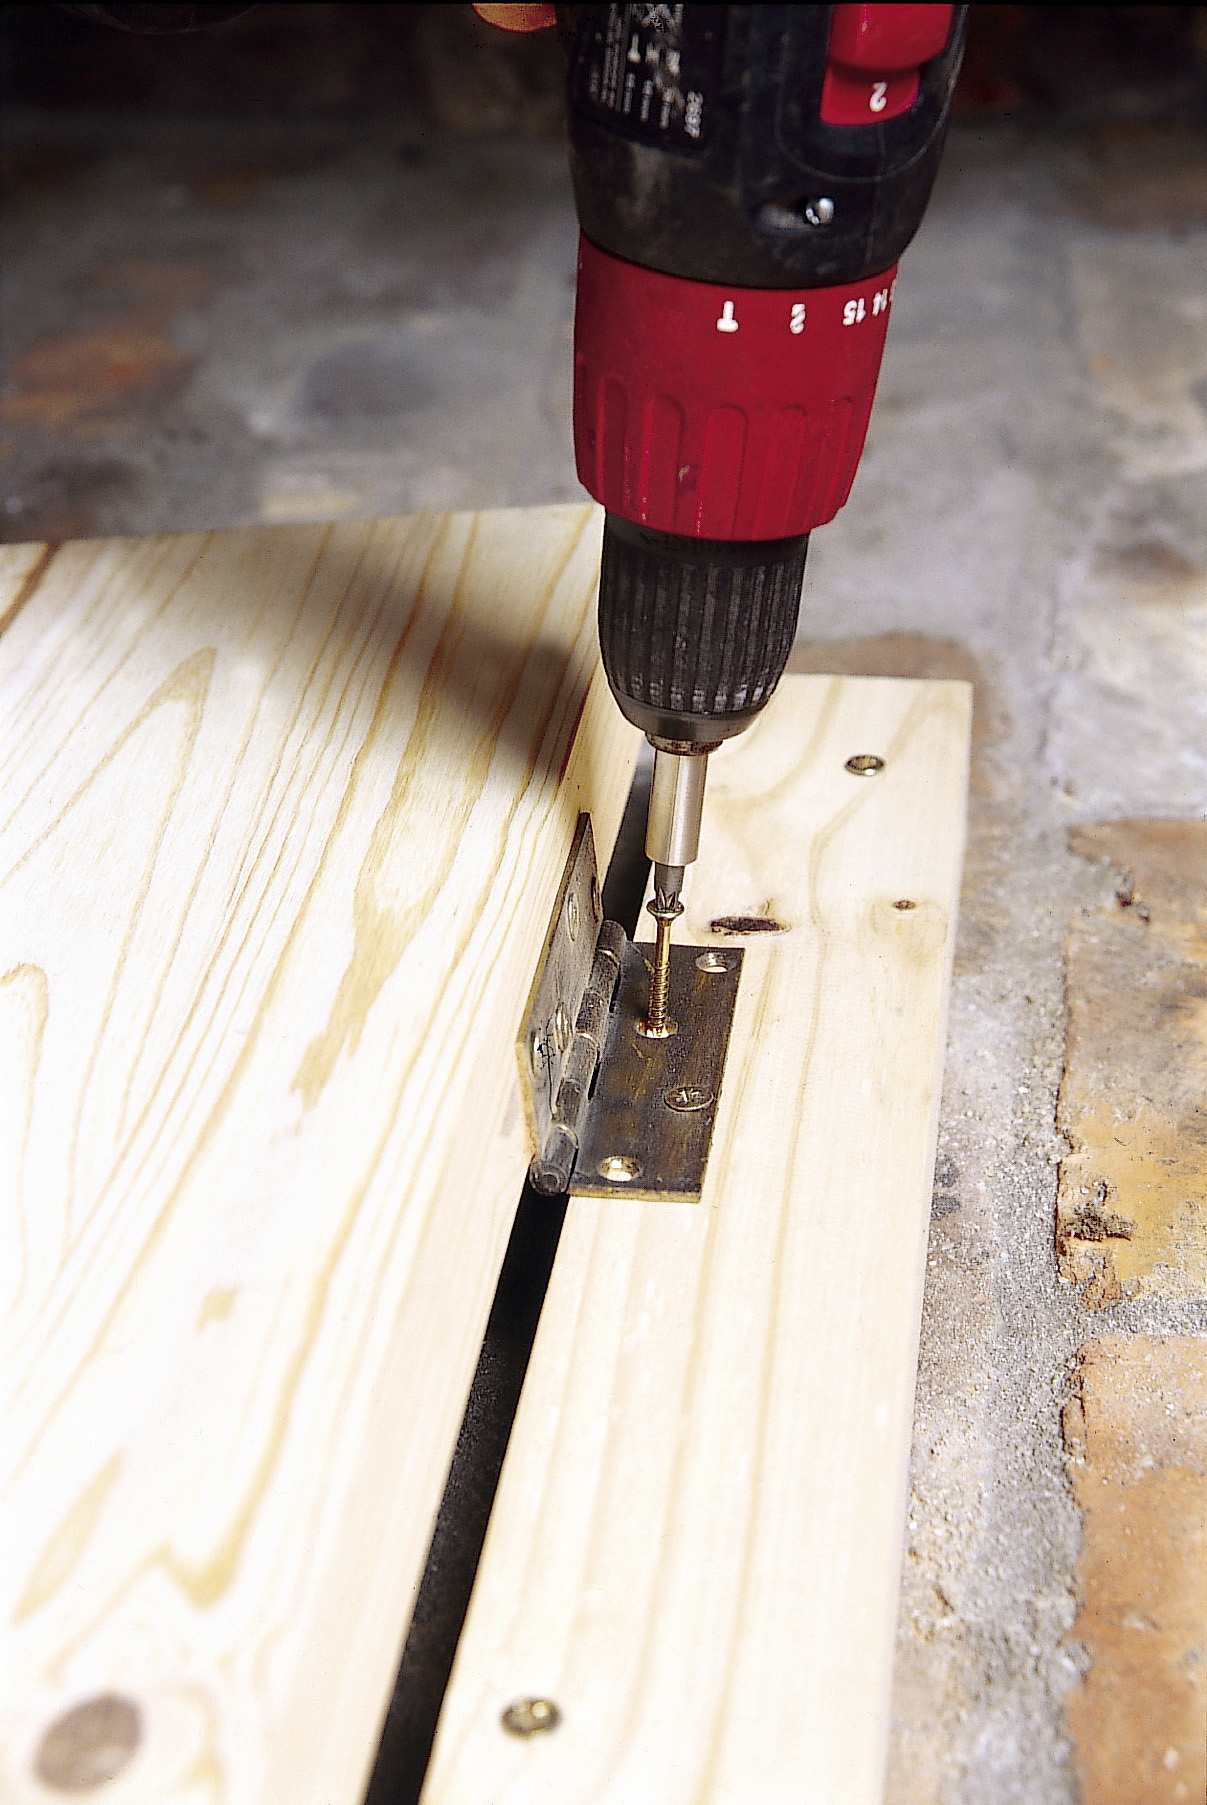
Step 4
Screw the butt hinges in place along the back edge of the new worktop.
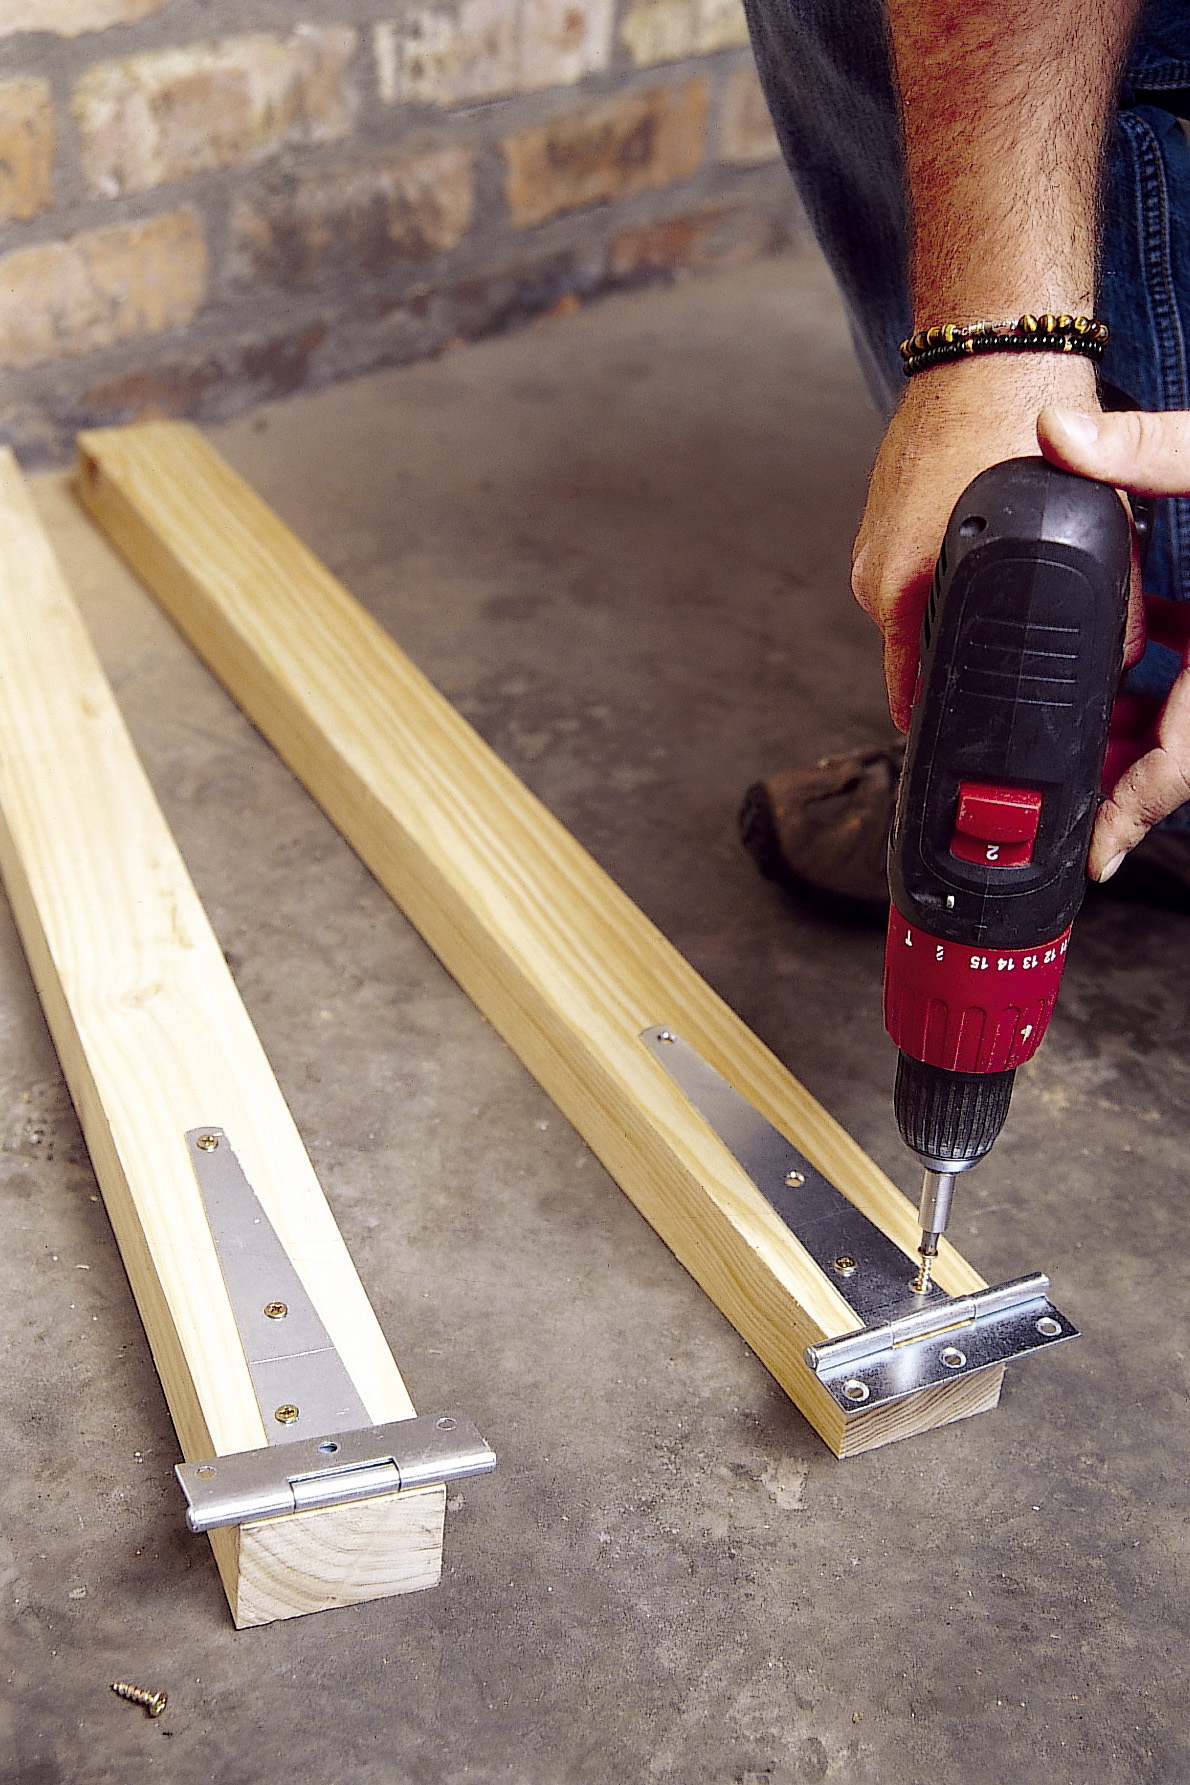
Step 5
Fix the T-hinges to the two 800 x 76 x 22mm leg pieces, as shown.
Step 6
Fix the leg-piece hinges to the underside of the worktop. Fix one hinge 76mm further back so that the legs won’t overlap when you fold the workbench away after using it.
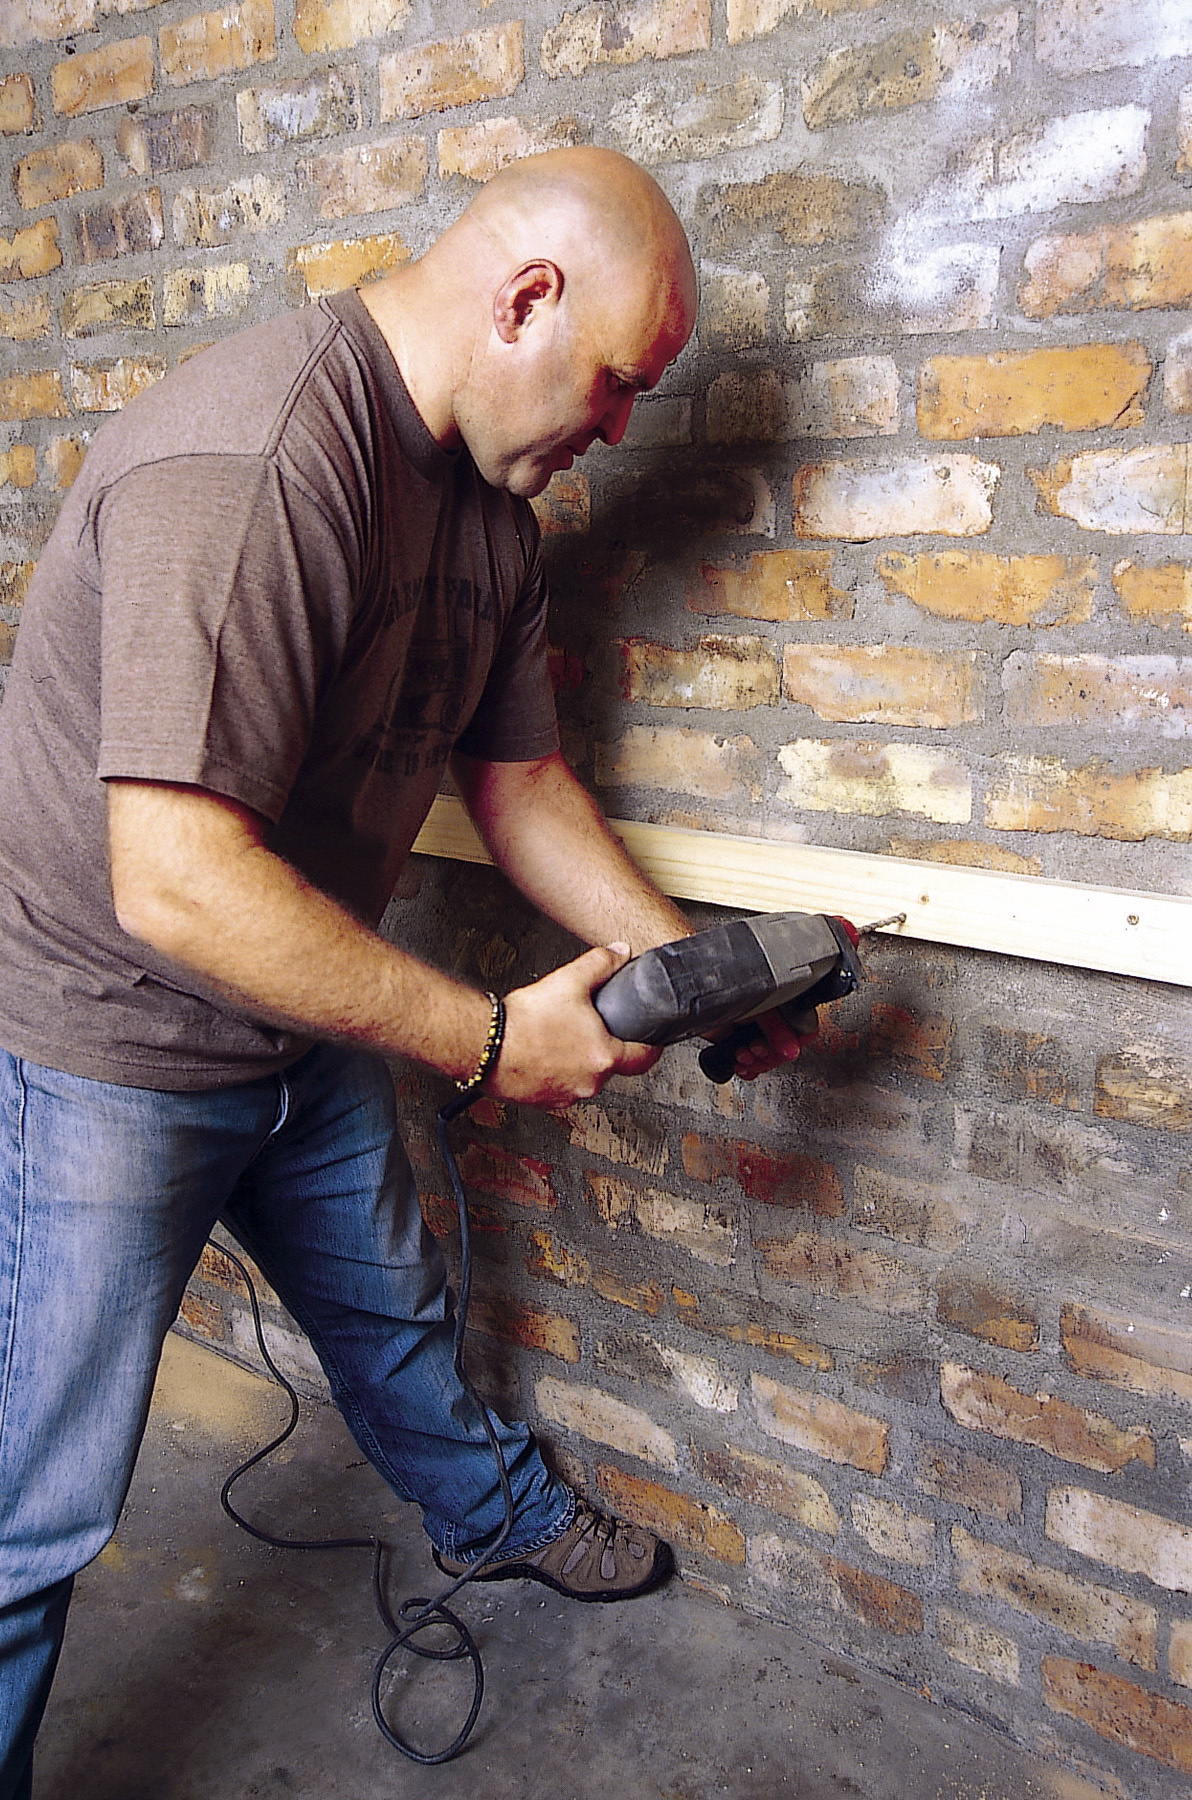
Step 7
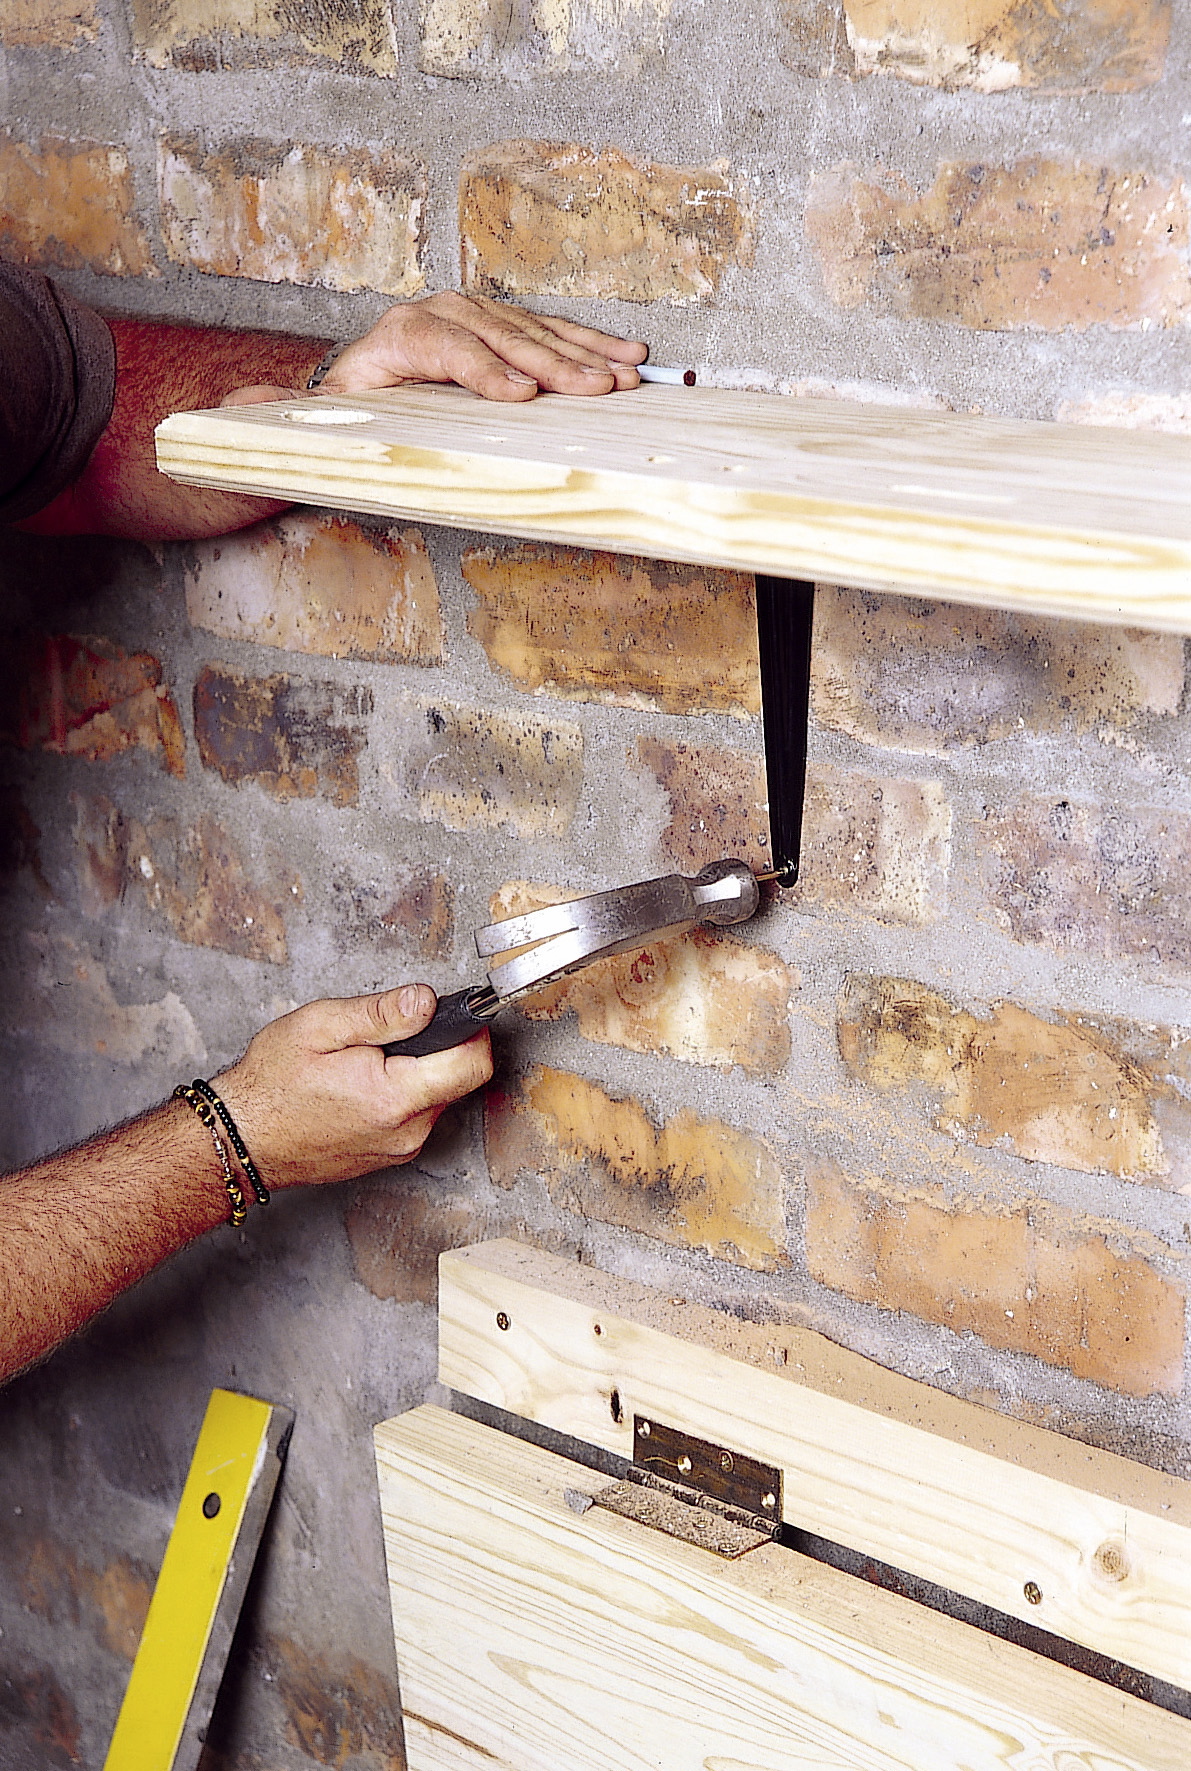
Measure 800mm from the fl oor to fi nd the height of the new work surface. Use the drill and masonry bits to drill holes where the brace is to be attached to the wall.
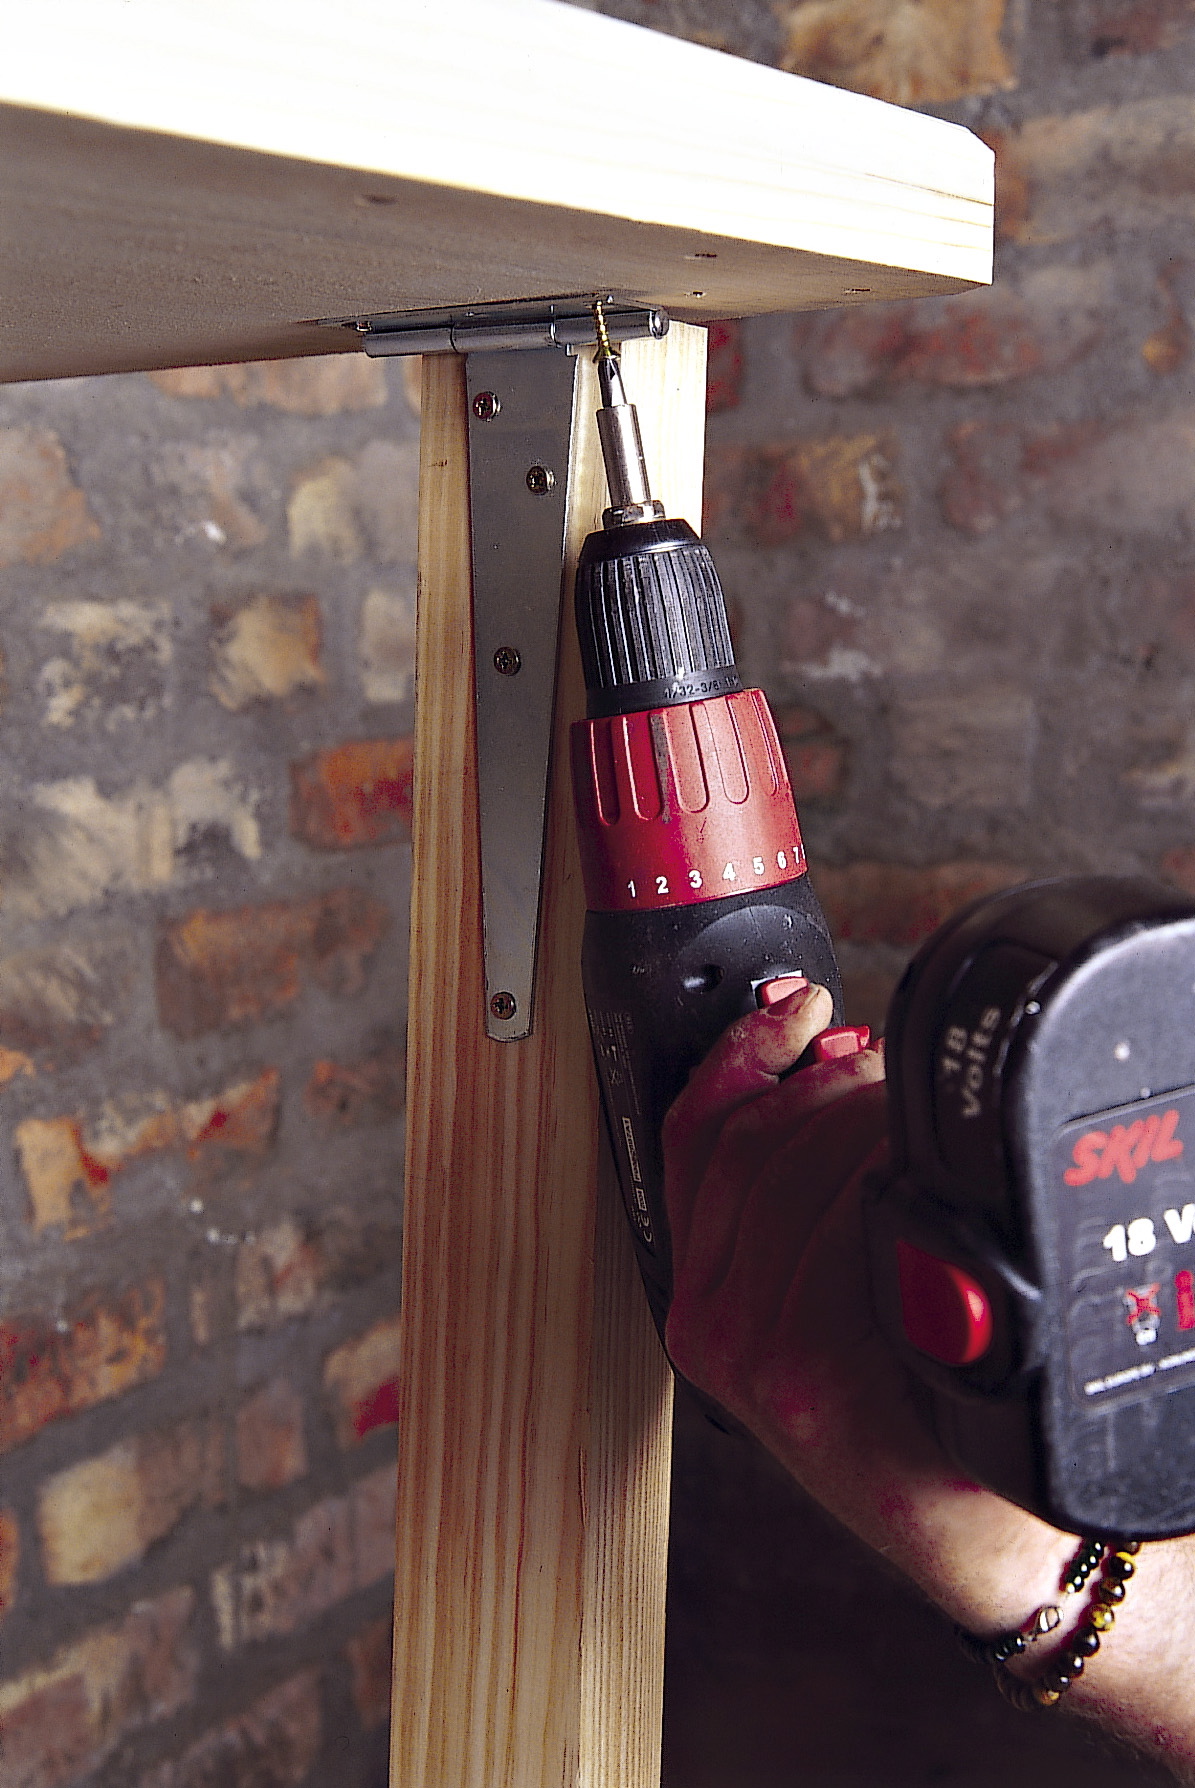
Step 8
Attach the worktop to the brace, as shown.
Tool Shelf steps (optional)
Step 9
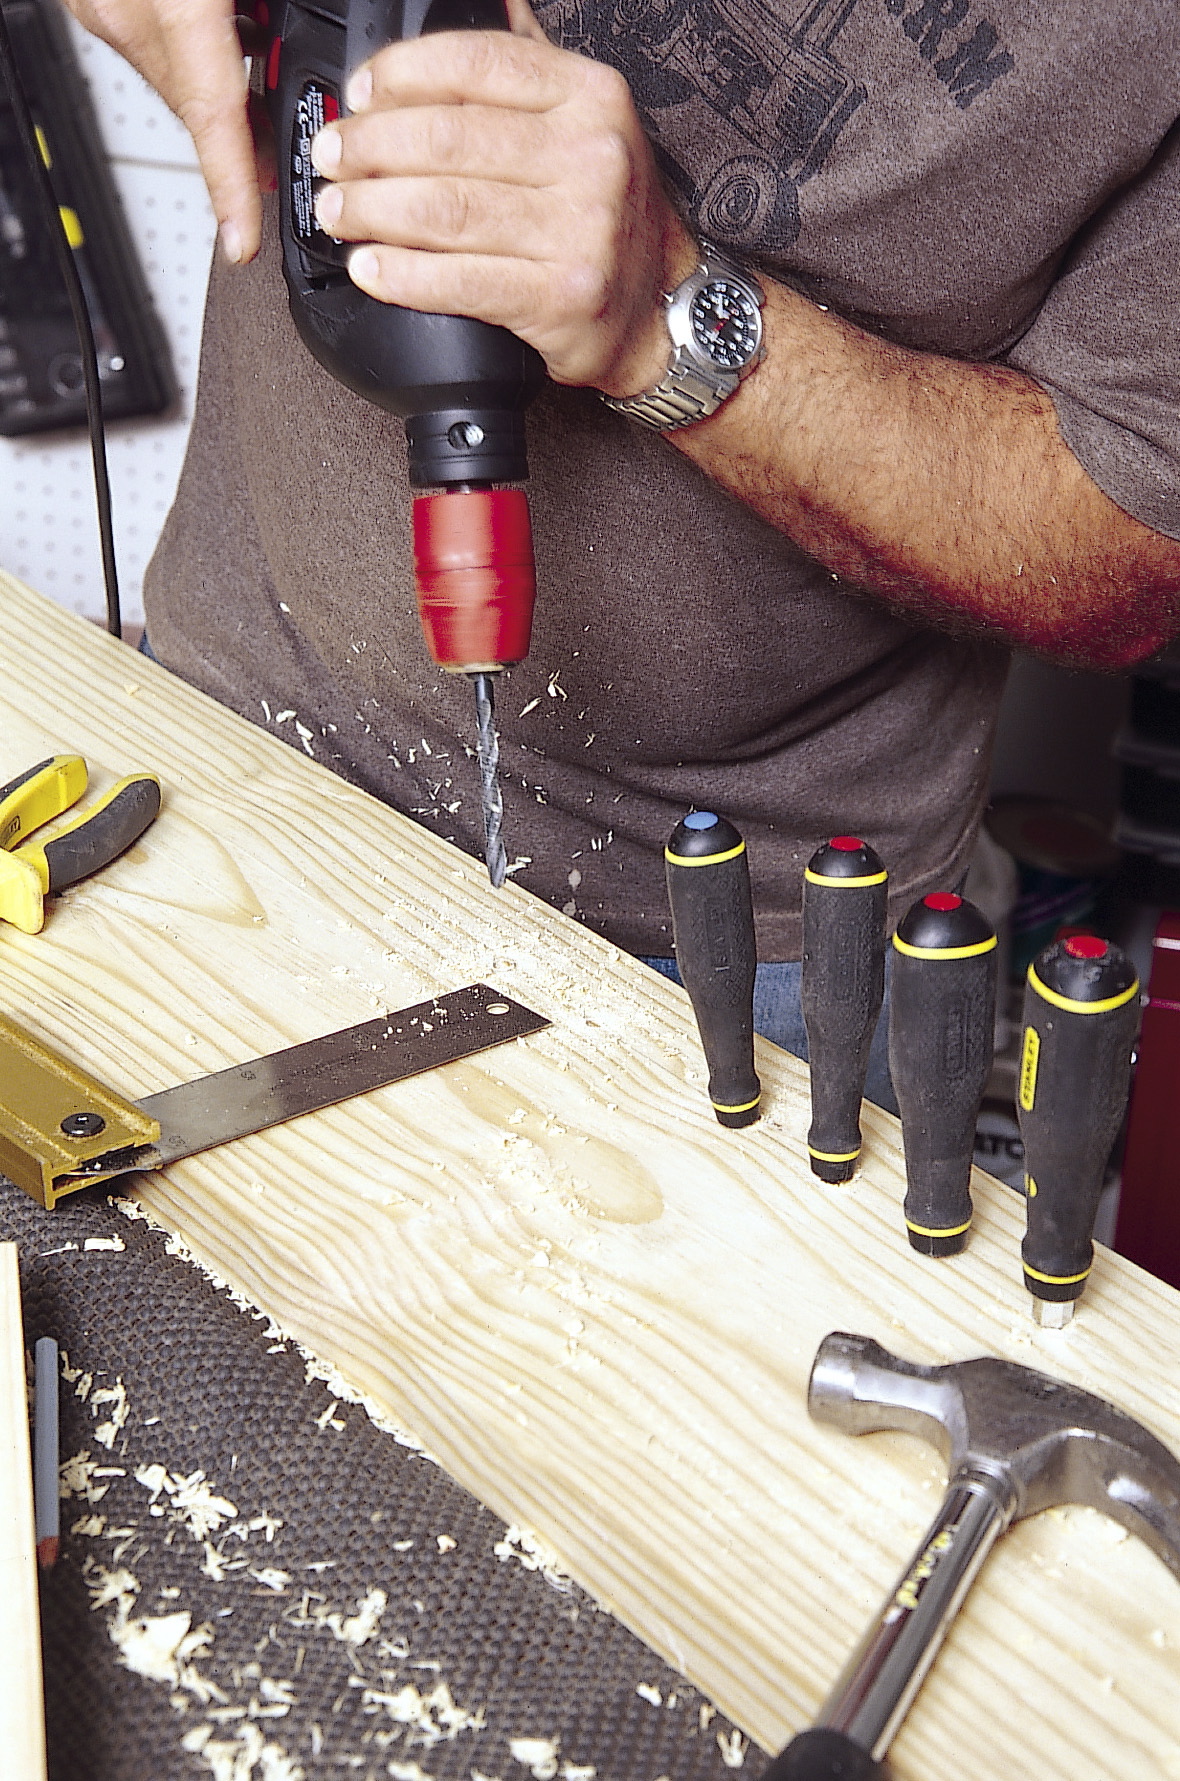
Place a selection of tools that you are likely to use the most along the length of the 1 200 x 220 x 38mm shelf. Mark the outlines of these tools using a pencil.

Step 10
If it is necessary to cut shapes, drill 10mm holes to allow for the jigsaw blade. For screwdrivers and chisels, use various sizes of speed bits to drill holes of corresponding sizes.

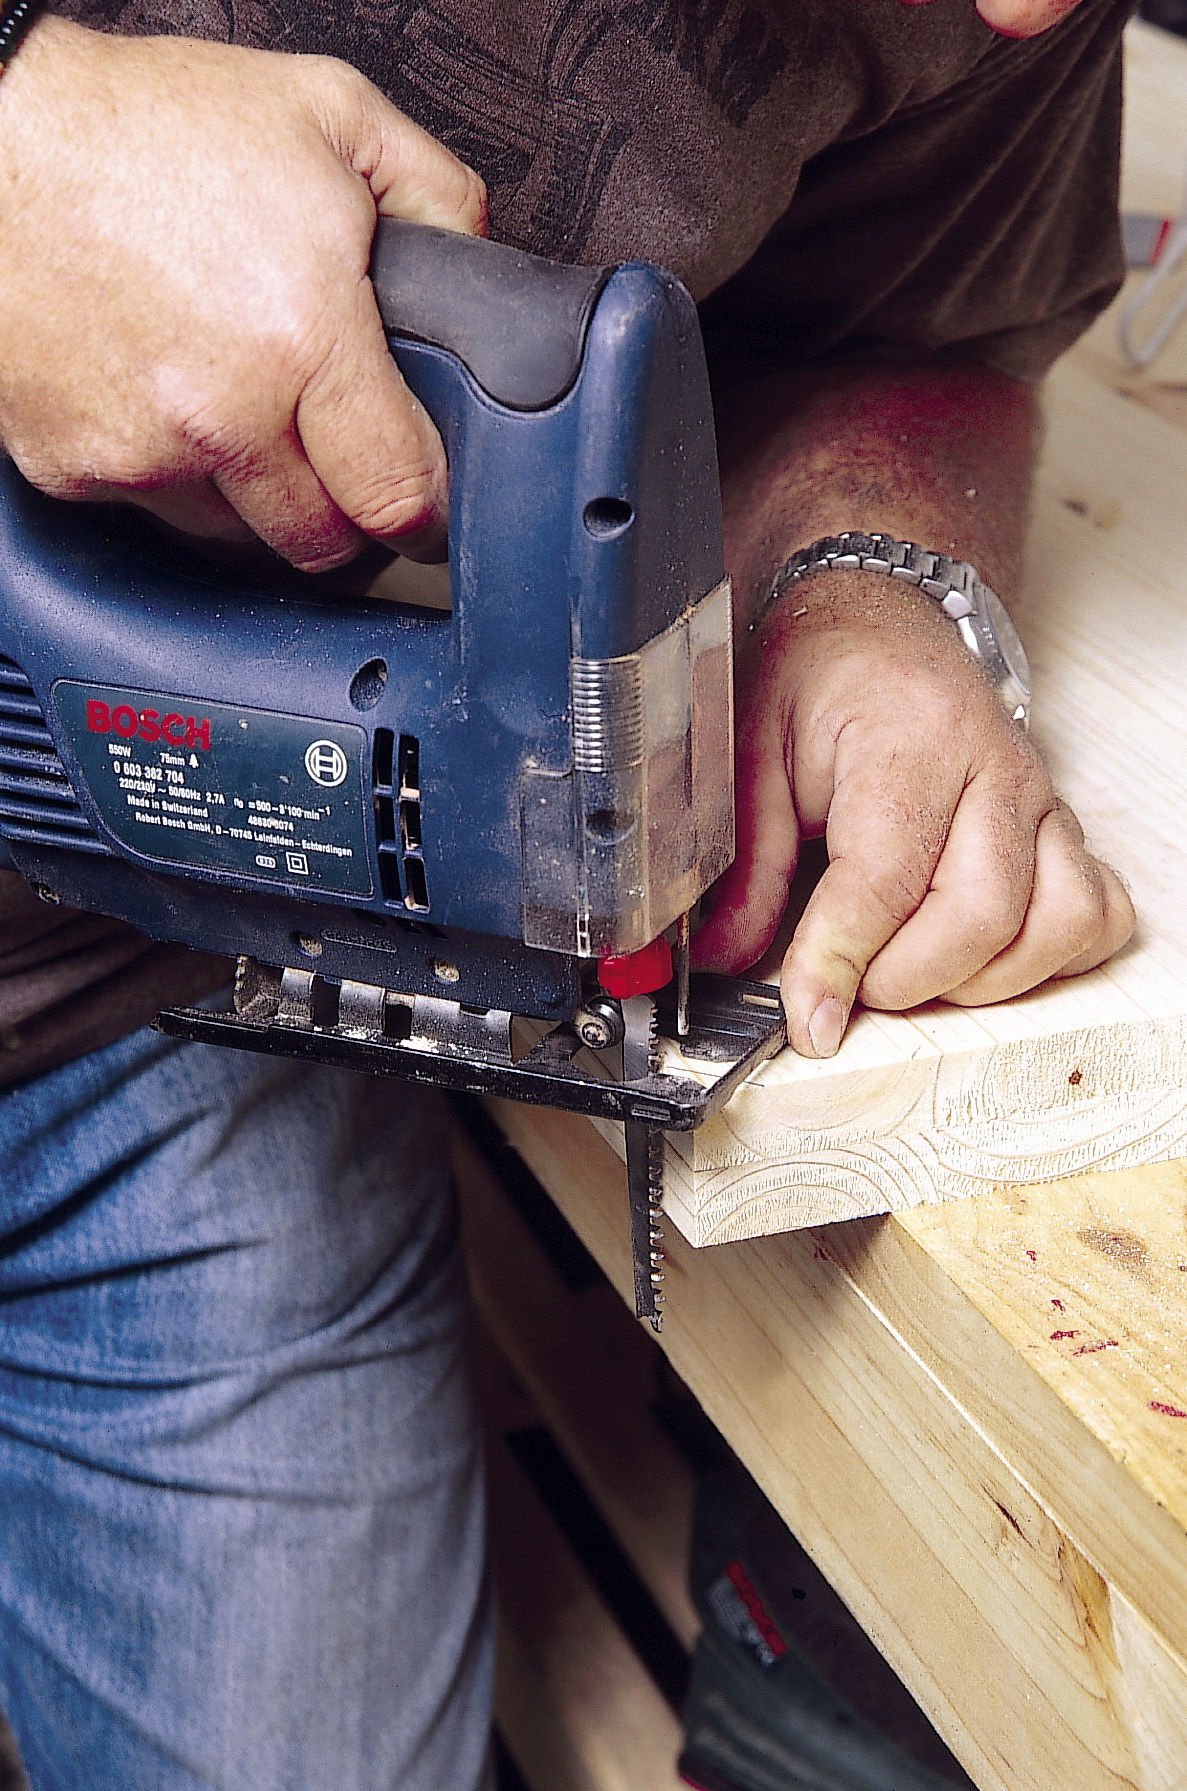
Step 11
Use the jigsaw and cut out bigger sections (for tools such as saws and T-squares), as shown.
Step 12
Mark the position of the tool shelf above the workbench and fi x it in place, as shown.
Credits
Referenced from Gallo images / Home Magazine
Browse 1000’s of products available to you. Select your country to Shop Online.


