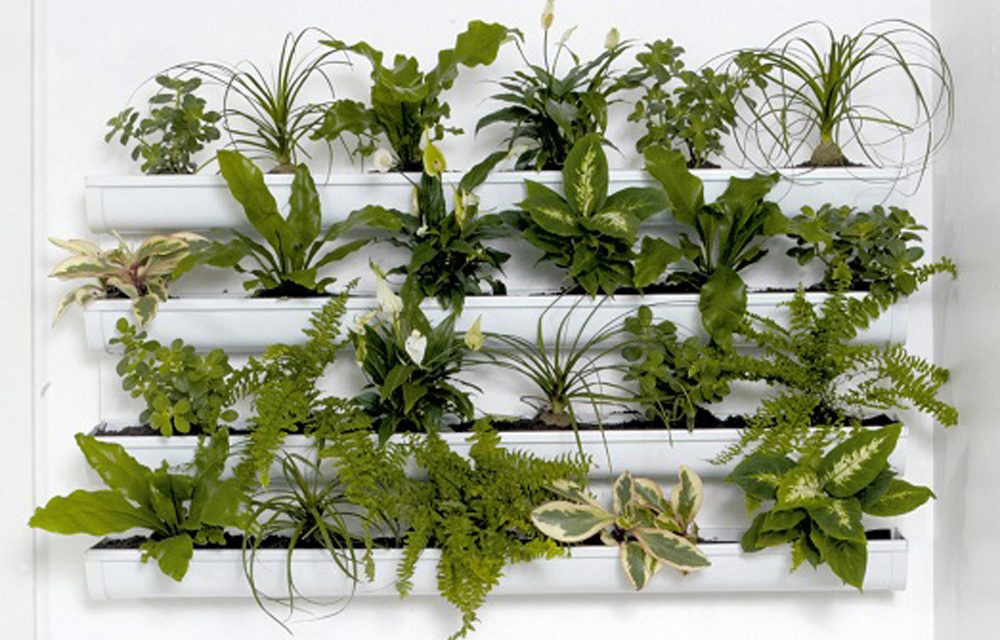
Create a living wall feature by building your own indoor plant panel and enjoy the outdoors, indoors – all year round.
- half sheet 18mm plywood cut to 1200 x 600mm x 18mm
- 1800 x 44 x 22mm pine cut to three 1100mm lengths
- 6000mm standard PVC gutter cut to four 1200mm lengths
- PVC weld
- 30mm chipboard screws
- washers
- wall anchors or plugs and small coach screws
- PVC gutter ends
- drill
- pencil
- measuring tape
- spirit level
- hacksaw
- mitre box (optional)
- foam roller and paint tray

Step 1
Measure, mark out and then cut the PVC gutter into 1200mm lengths using a hacksaw.
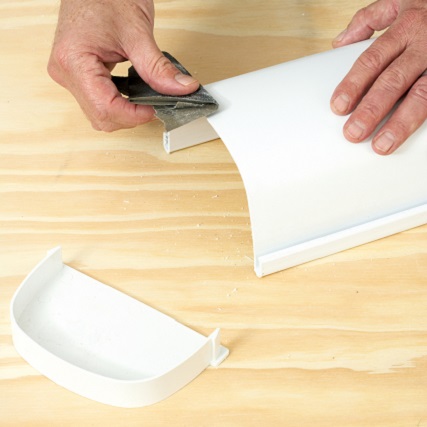
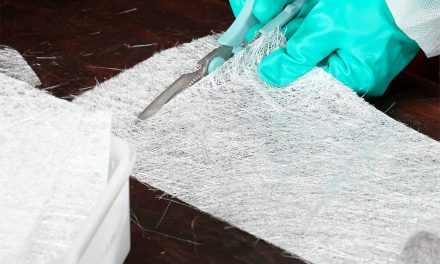
Step 2
Use sandpaper to clean the edges and then to roughen the surfaces close to the edges to provide a key for the adhesive.
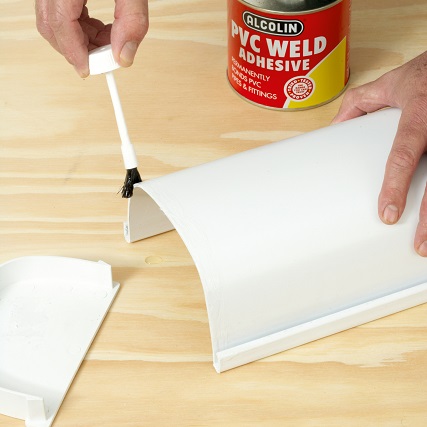
Step 3
Apply PVC weld to the gutter ends and insides, using the brush supplied.
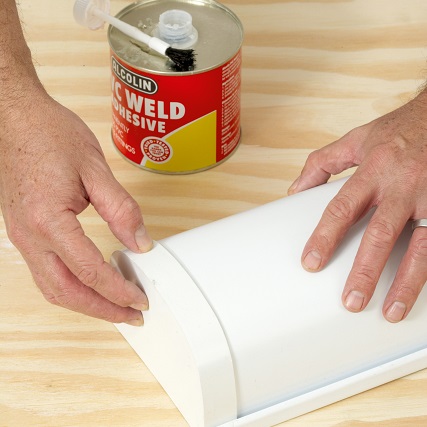
Step 4
Then press the parts firmly together for a few seconds.
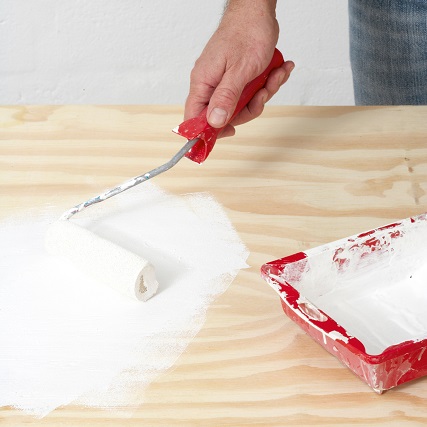
Step 5
Apply a coat of primer followed by two coats of waterbased enamel to your plywood, allowing adequate drying time in-between coats.
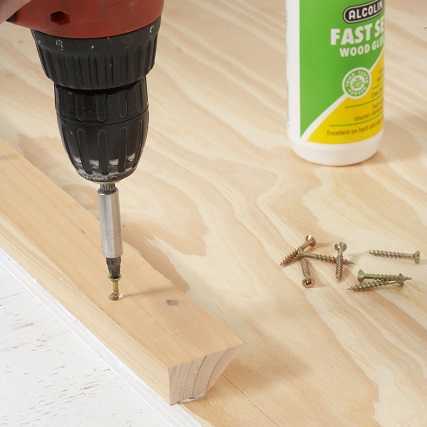
Step 6
Now cut the pine to the required lengths. To create an easy hanging ‘bracket’ you will need to remove one corner by ‘ripping’ two lengths at 45º along their lengths; use a table saw, or ask your timber merchant for assistance. These will be fixed to the wall and back of the panel (along the top) respectively – the one on the board simply slots into the one on the wall – to provide a sturdy hanging solution. You can then remove the panel to water it outside, re-pot plants or just give them some sun. The third pine length, situated at the lower end of the panel, acts as a spacer. First glue and then use the 30mm screws to fix the lengths to the back of the plywood panel.
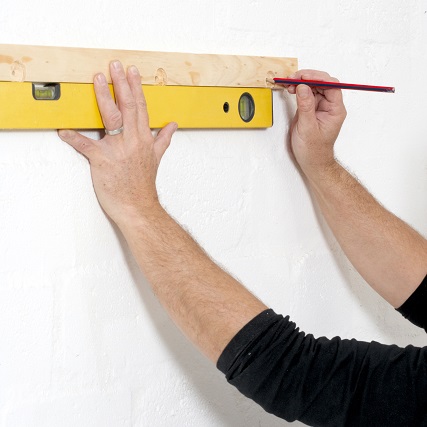
Step 7
Drill five equally-spaced 5mm holes along the length of the plank to be fixed to the wall. Note: These holes will need to be countersunk in order to hold the head of the coach screw as the ‘matching’ piece fixed to the back of the panel will need to sit flush against it. Decide on the height and position of your panel and use a spirit level to mark a line roughly 1100mm in length. Place the plank (with angled edge facing upwards) on the line and mark the positions of the holes on the wall.
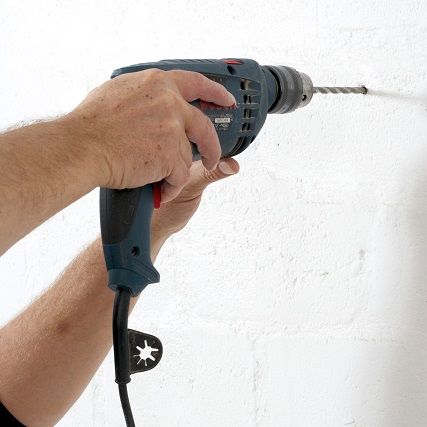
Step 8
Then use an impact drill and masonry drill bit to drill your holes for the wall plugs.
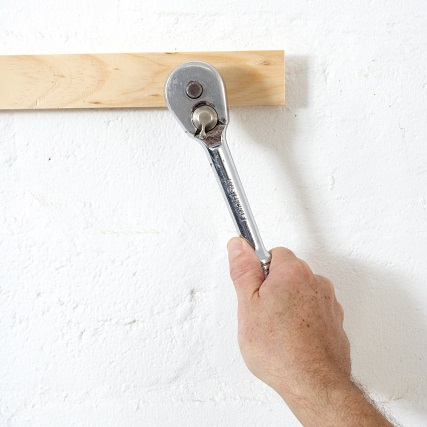
Step 9
Tap the wall plugs into the holes then fix the plank to the wall using the coach screws; a ratchet spanner will speed this up.
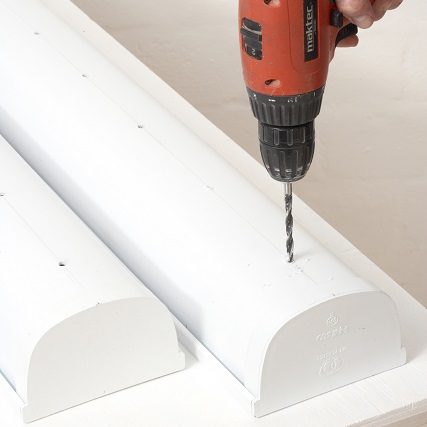
Step 10
Mark a line down the centre of the gutters, then use the 5mm drill bit to drill drainage holes into the bottom of three of the four gutter lengths.
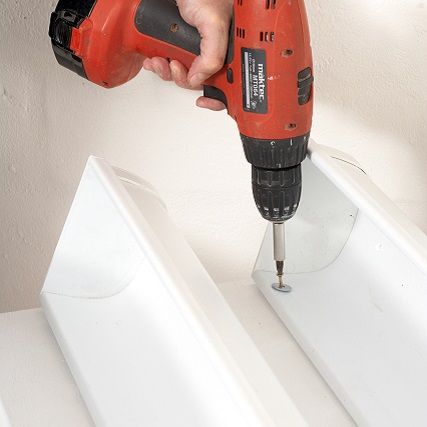
Step 11
Now use the 30mm chipboard screws and washers to fix the gutter lengths to the plywood. Remember to place the length without the drainage holes at the bottom of the plywood panel.
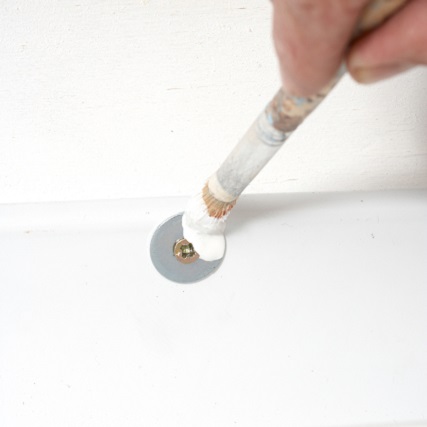
Step 12
Touch up the washers with a small brush and the remaining enamel paint.
Now your DIY is complete
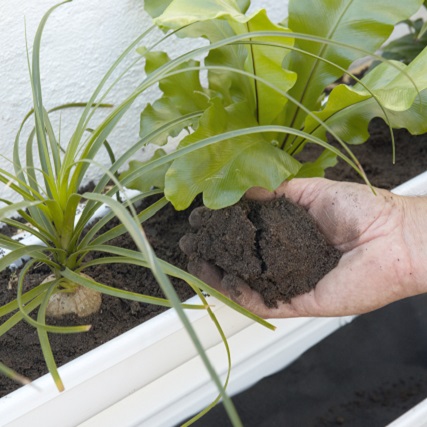
An indoor vertical garden not only adds visual interest, it also improves the air quality! Ask your local nursery for advice on choosing the ideal plants for your indoor wall garden.
Credits
Referenced from Gallo images / Home Magazine
Browse 1000’s of products available to you. Select your country to Shop Online.


