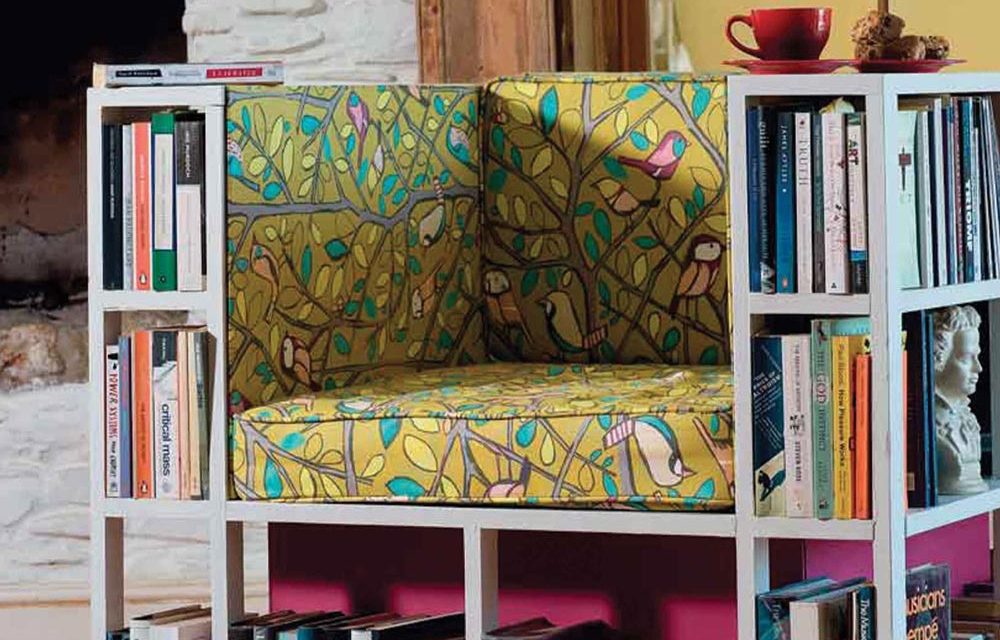
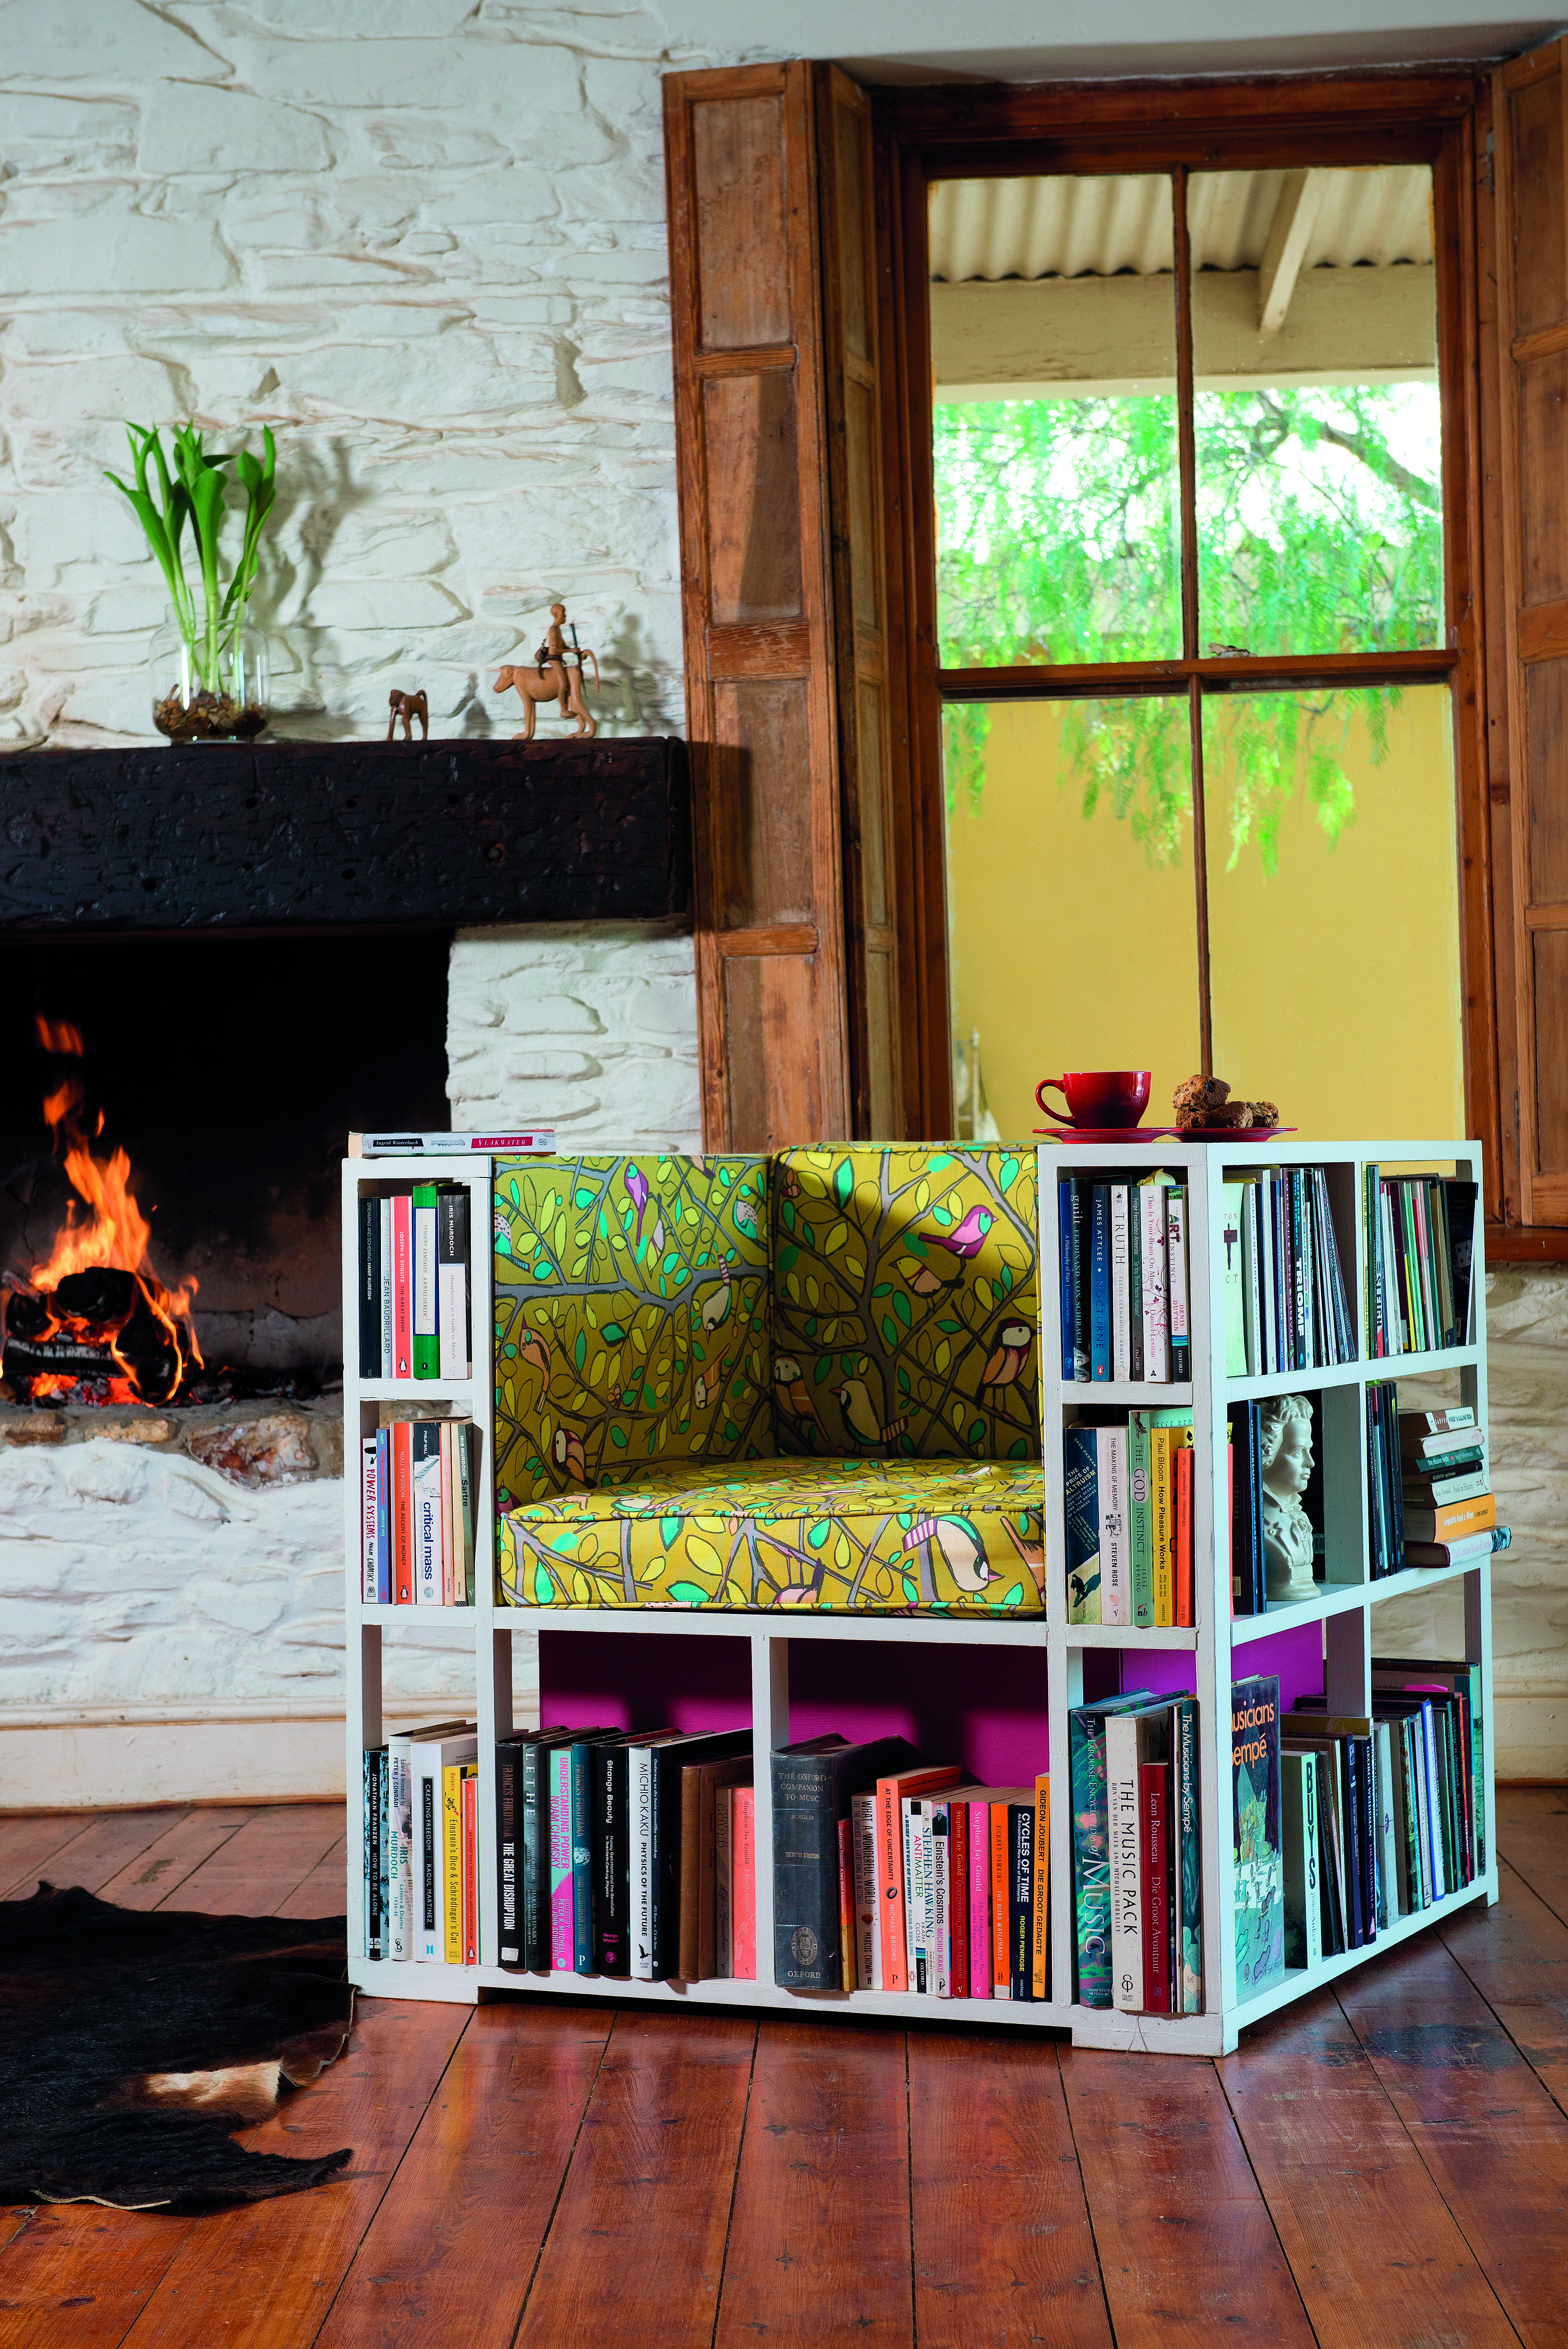
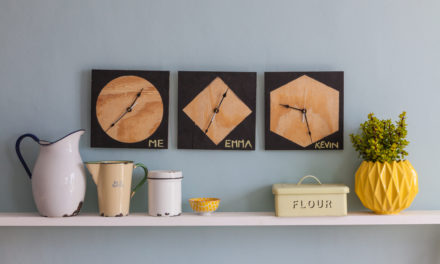
In winter when it’s icy cold and gardening is not a priority, you have more time to settle in front of the fireplace with a good book. In this chair you can curl up comfortably and have your books close in your own little library.
- measuring tape
- pencil
- saw
- electric drill with 3mm drill bit
- corner clamp
- wood clamps
- fret saw
- wood glue
- screwdriver
- try square
- sandpaper
Cutting List
- 10 lengths (1,8m) pine planks of 22mm x 44mm
- 1 SupaWood board of 1,8m x 2,7m (thickness 22mm),
cut into the following pieces: - 2 pieces of 1 000mm x 1 000mm – base and seat
- 2 pieces of 160mm x 1 000mm – upper shelves along the sides
- 2 pieces of 180mm x 1 000mm – armrests
- 2 pieces of 462mm x 796mm – sides of seat
- 1 piece of 462mm x 636mm – backrest of seat
- 1 piece of 160mm x 636mm – back upper shelf
- 1 piece of 180mm x 636mm – top back
- 3 pieces of hardboard of 595mm x 845mm
- 40 wood screws of 8mm x 40mm
- 50 wood screws of 8mm x 50mm
- 20 wood screws of 8mm x 70mm
- a handful of panel pins
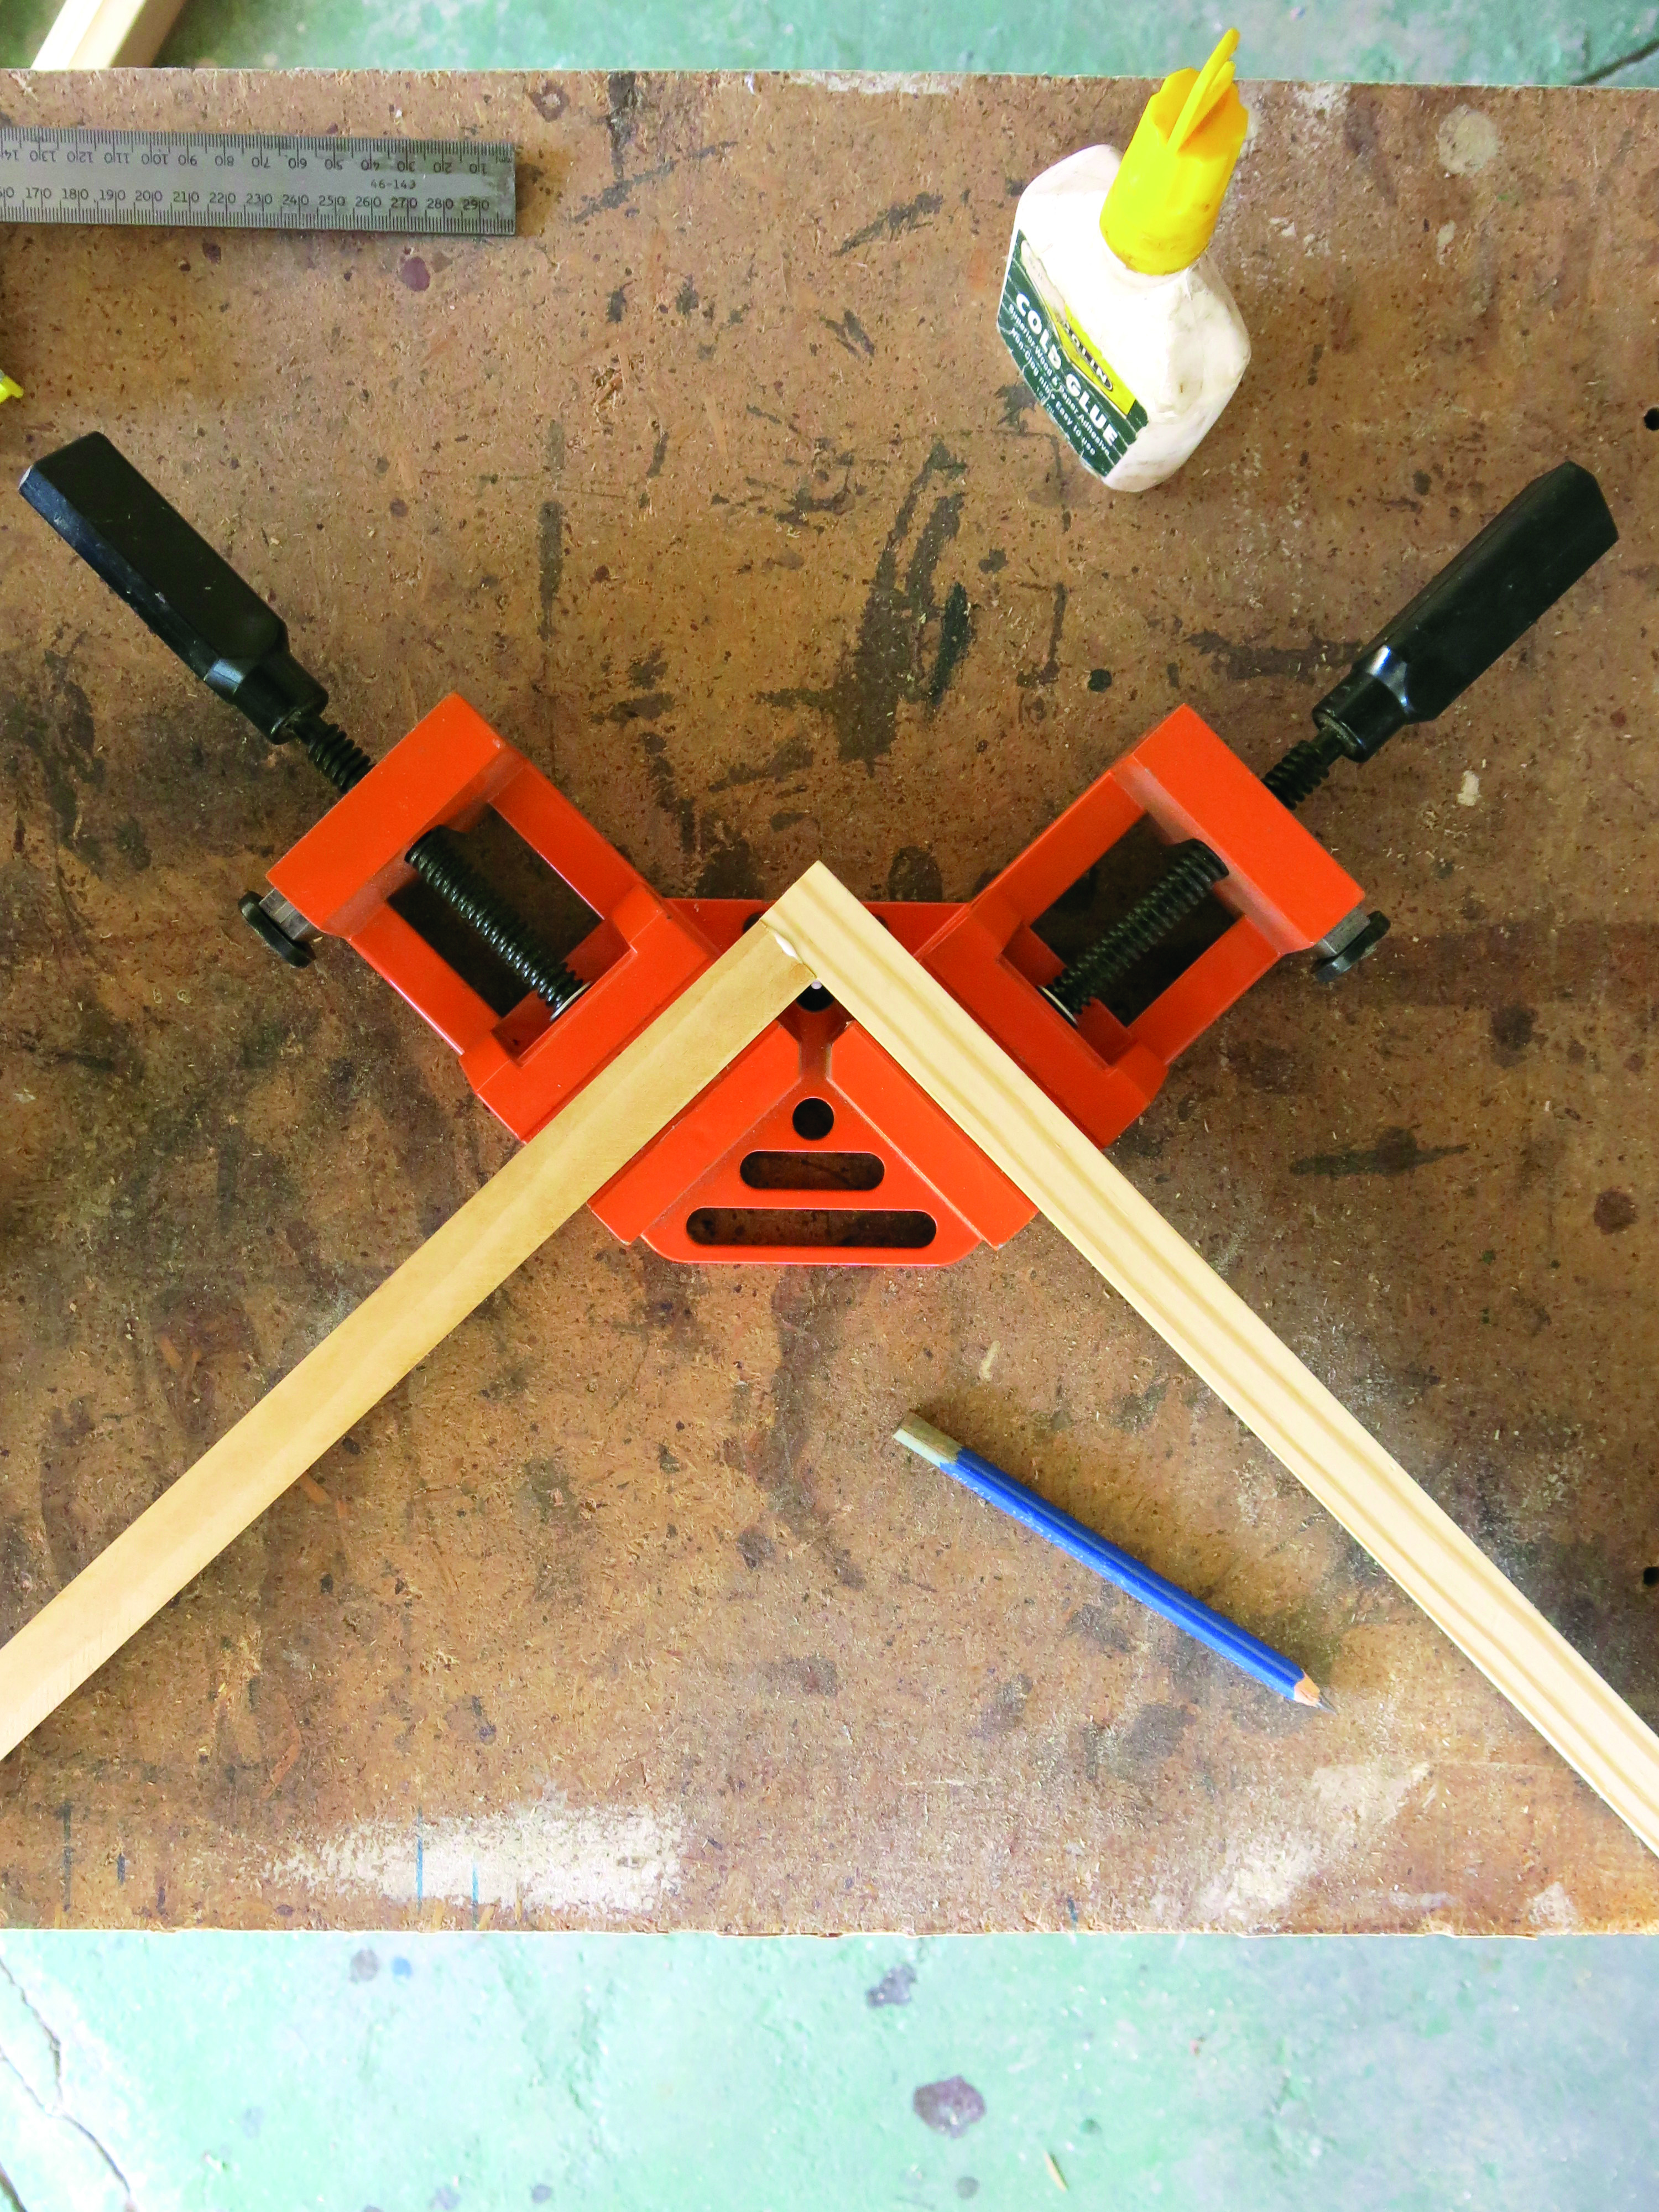
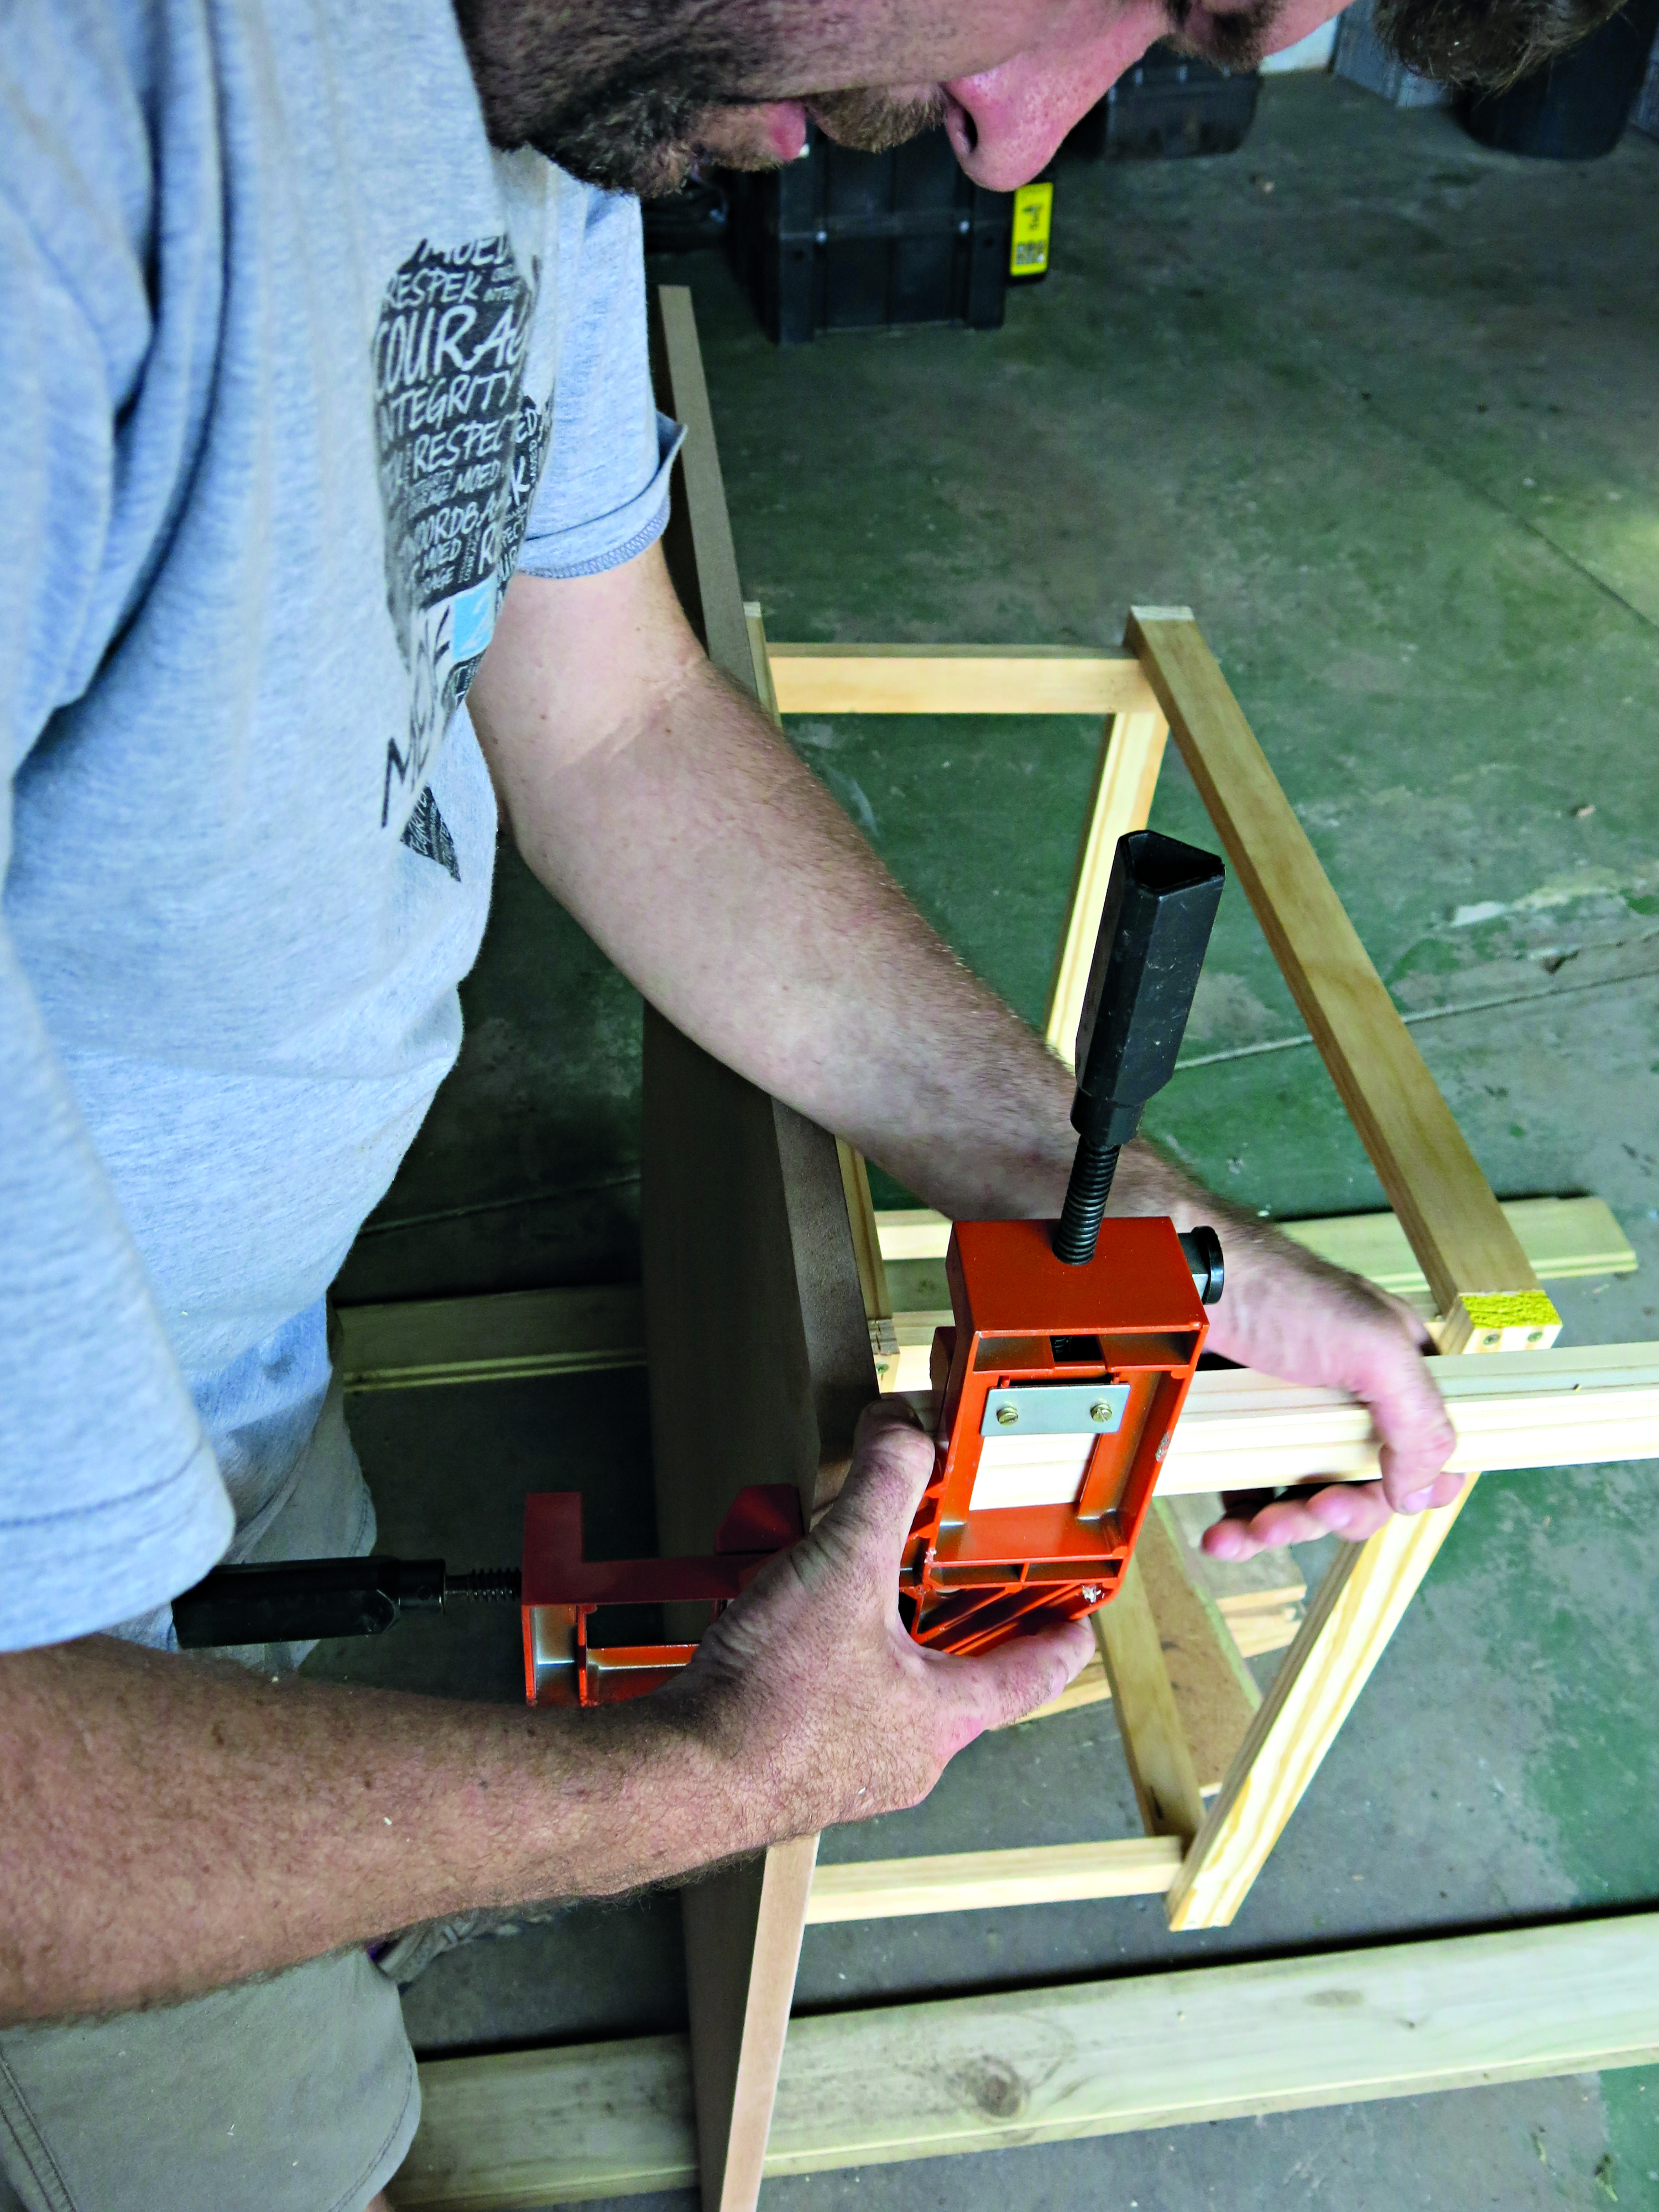
Step 1
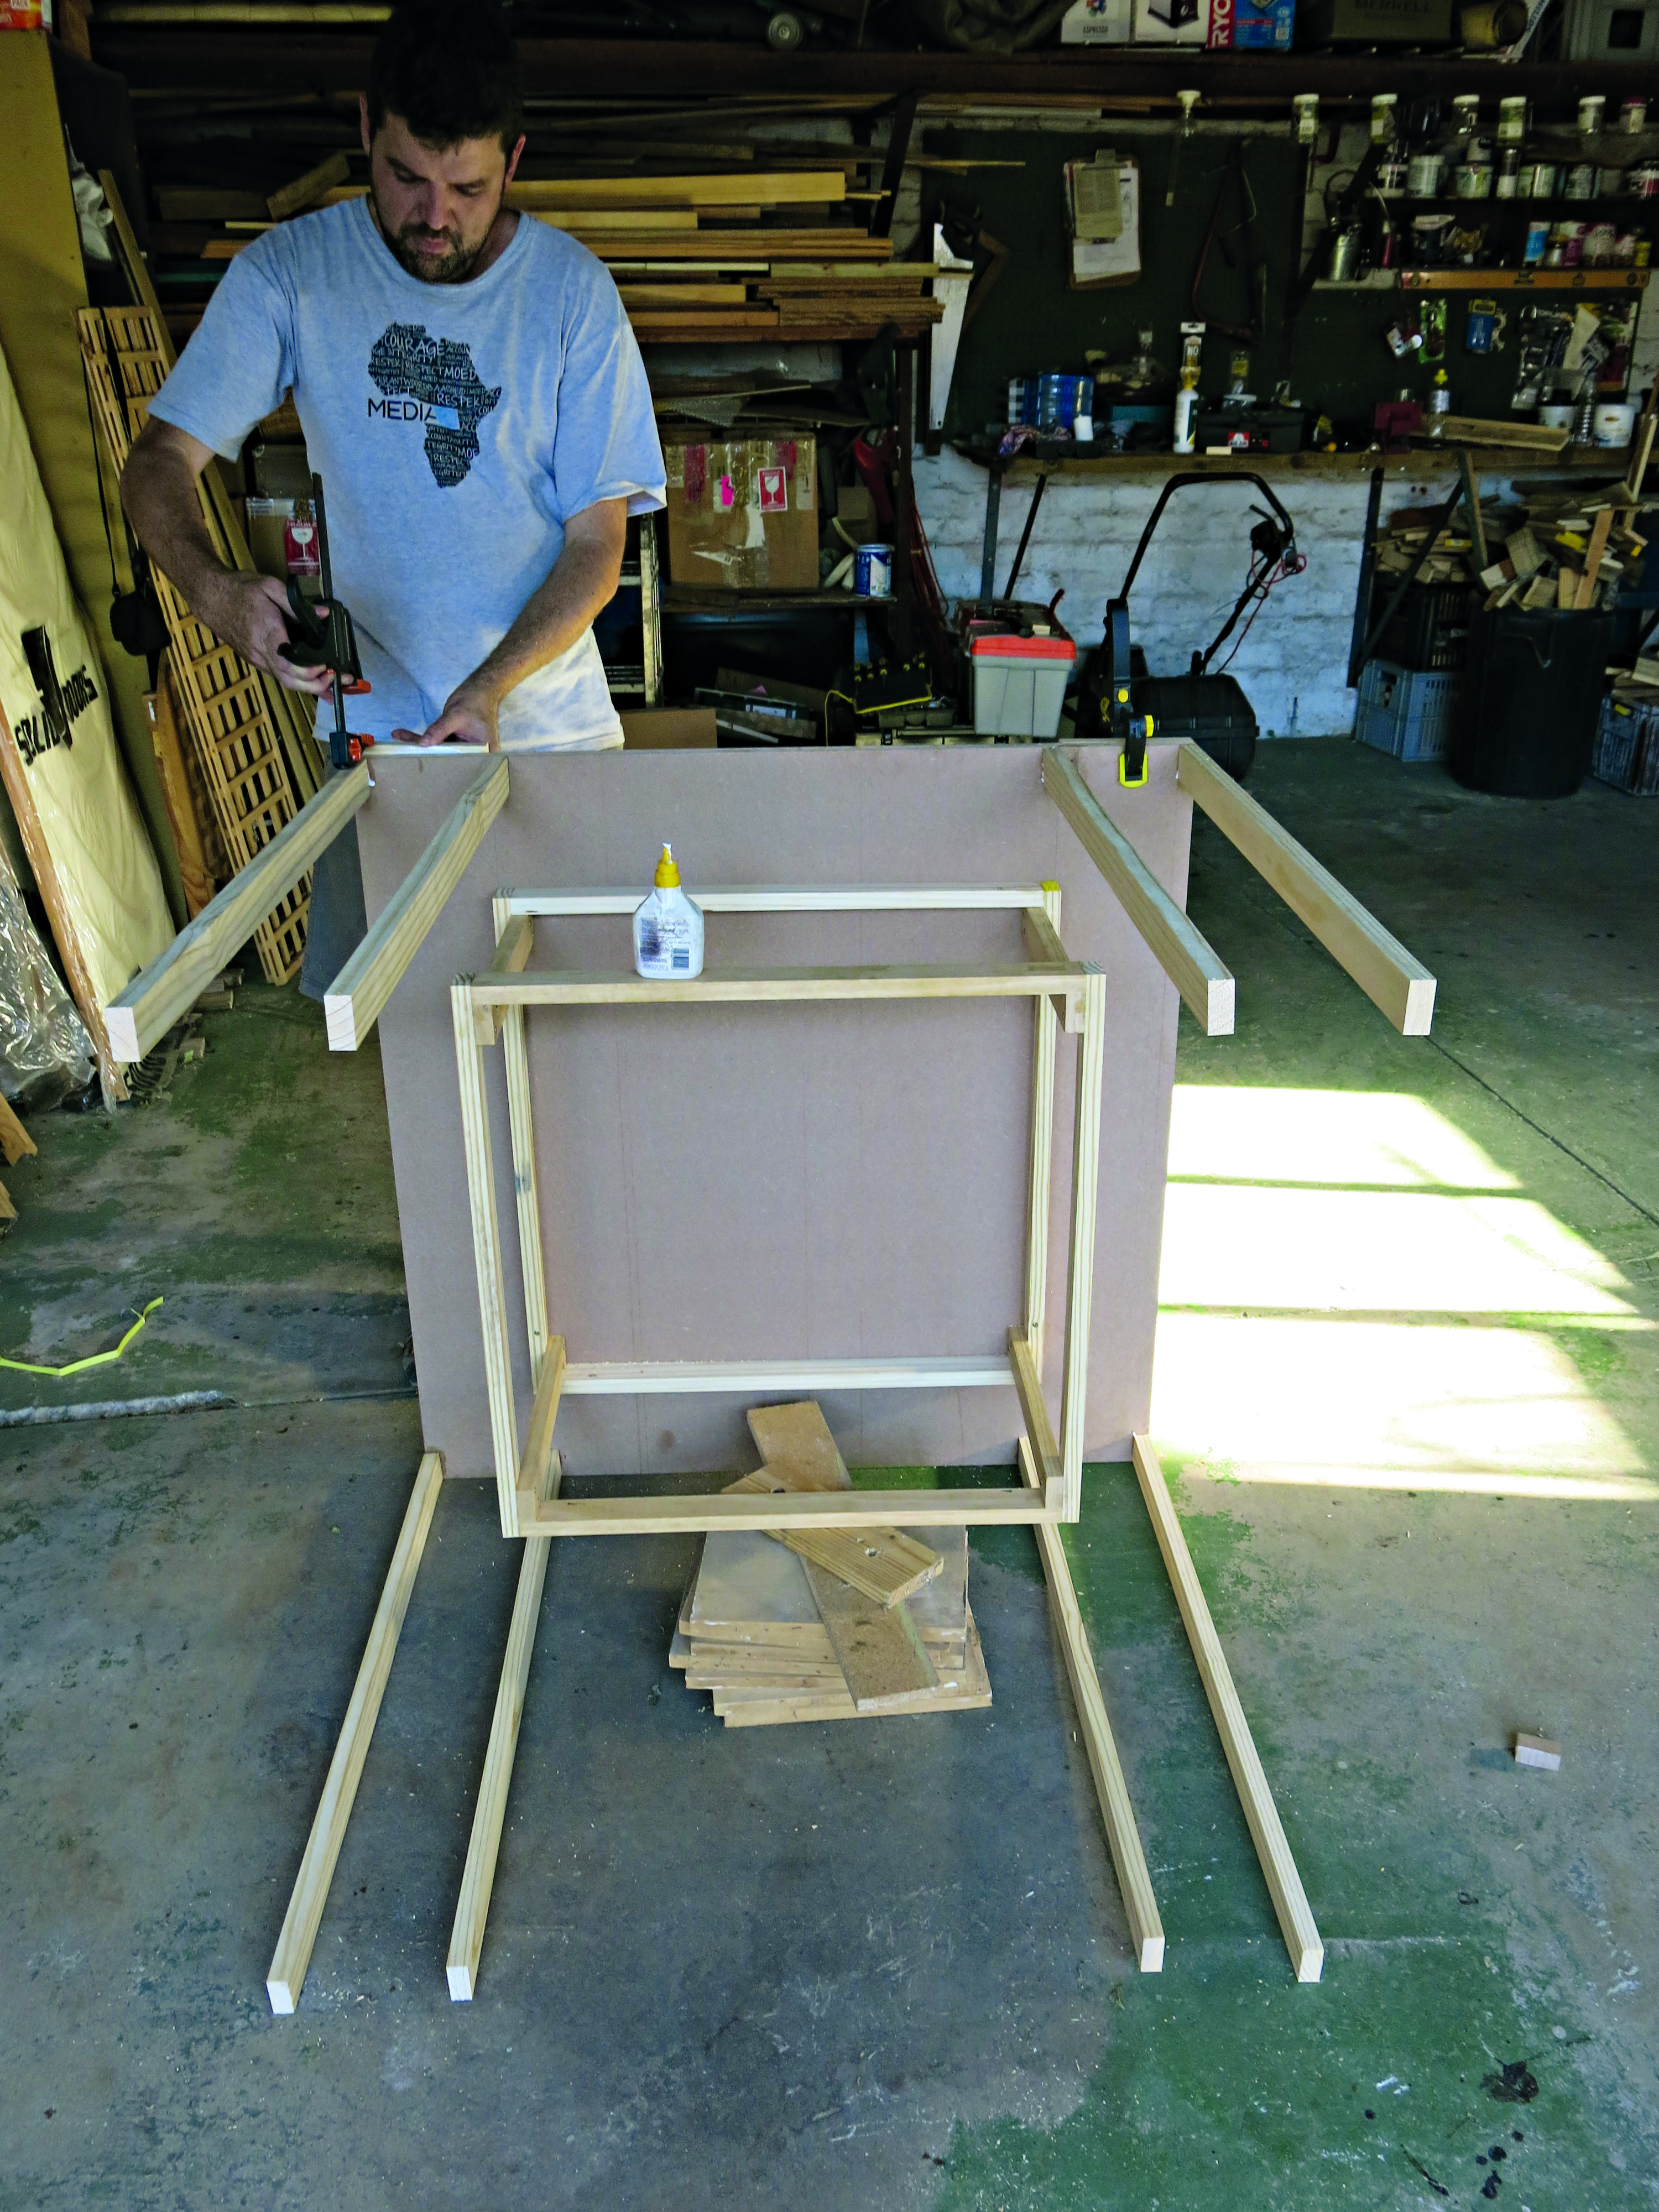
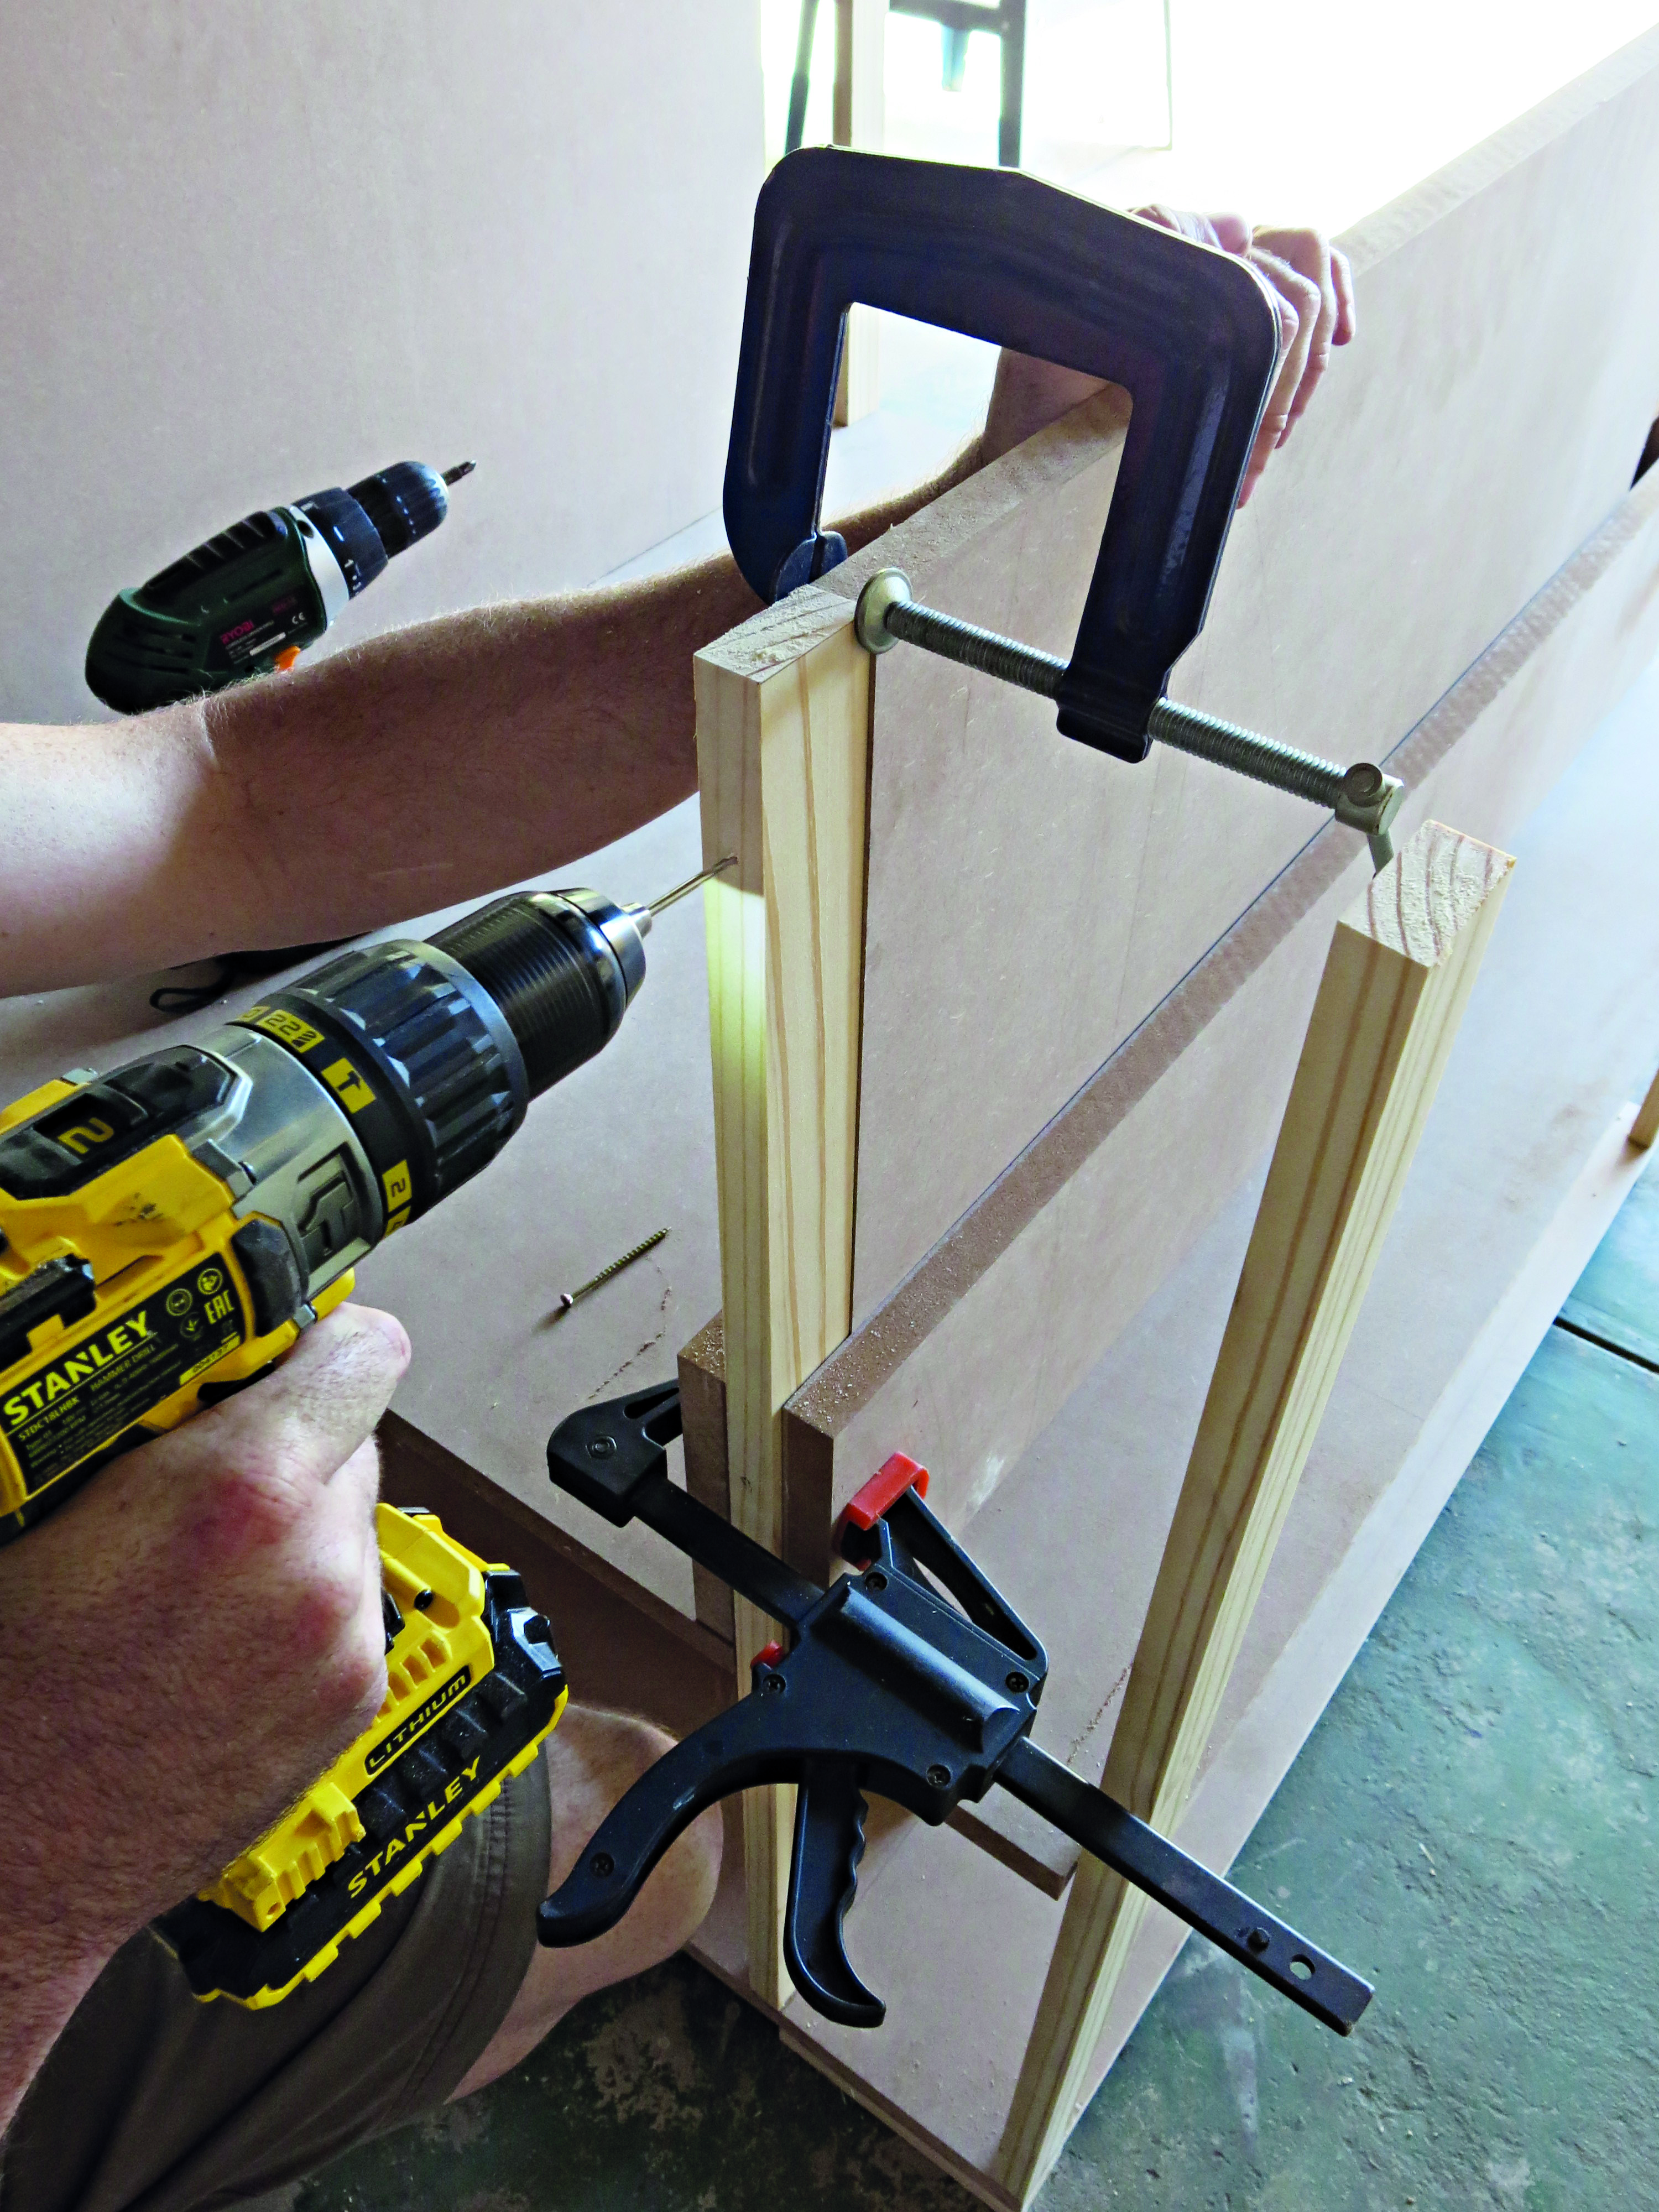
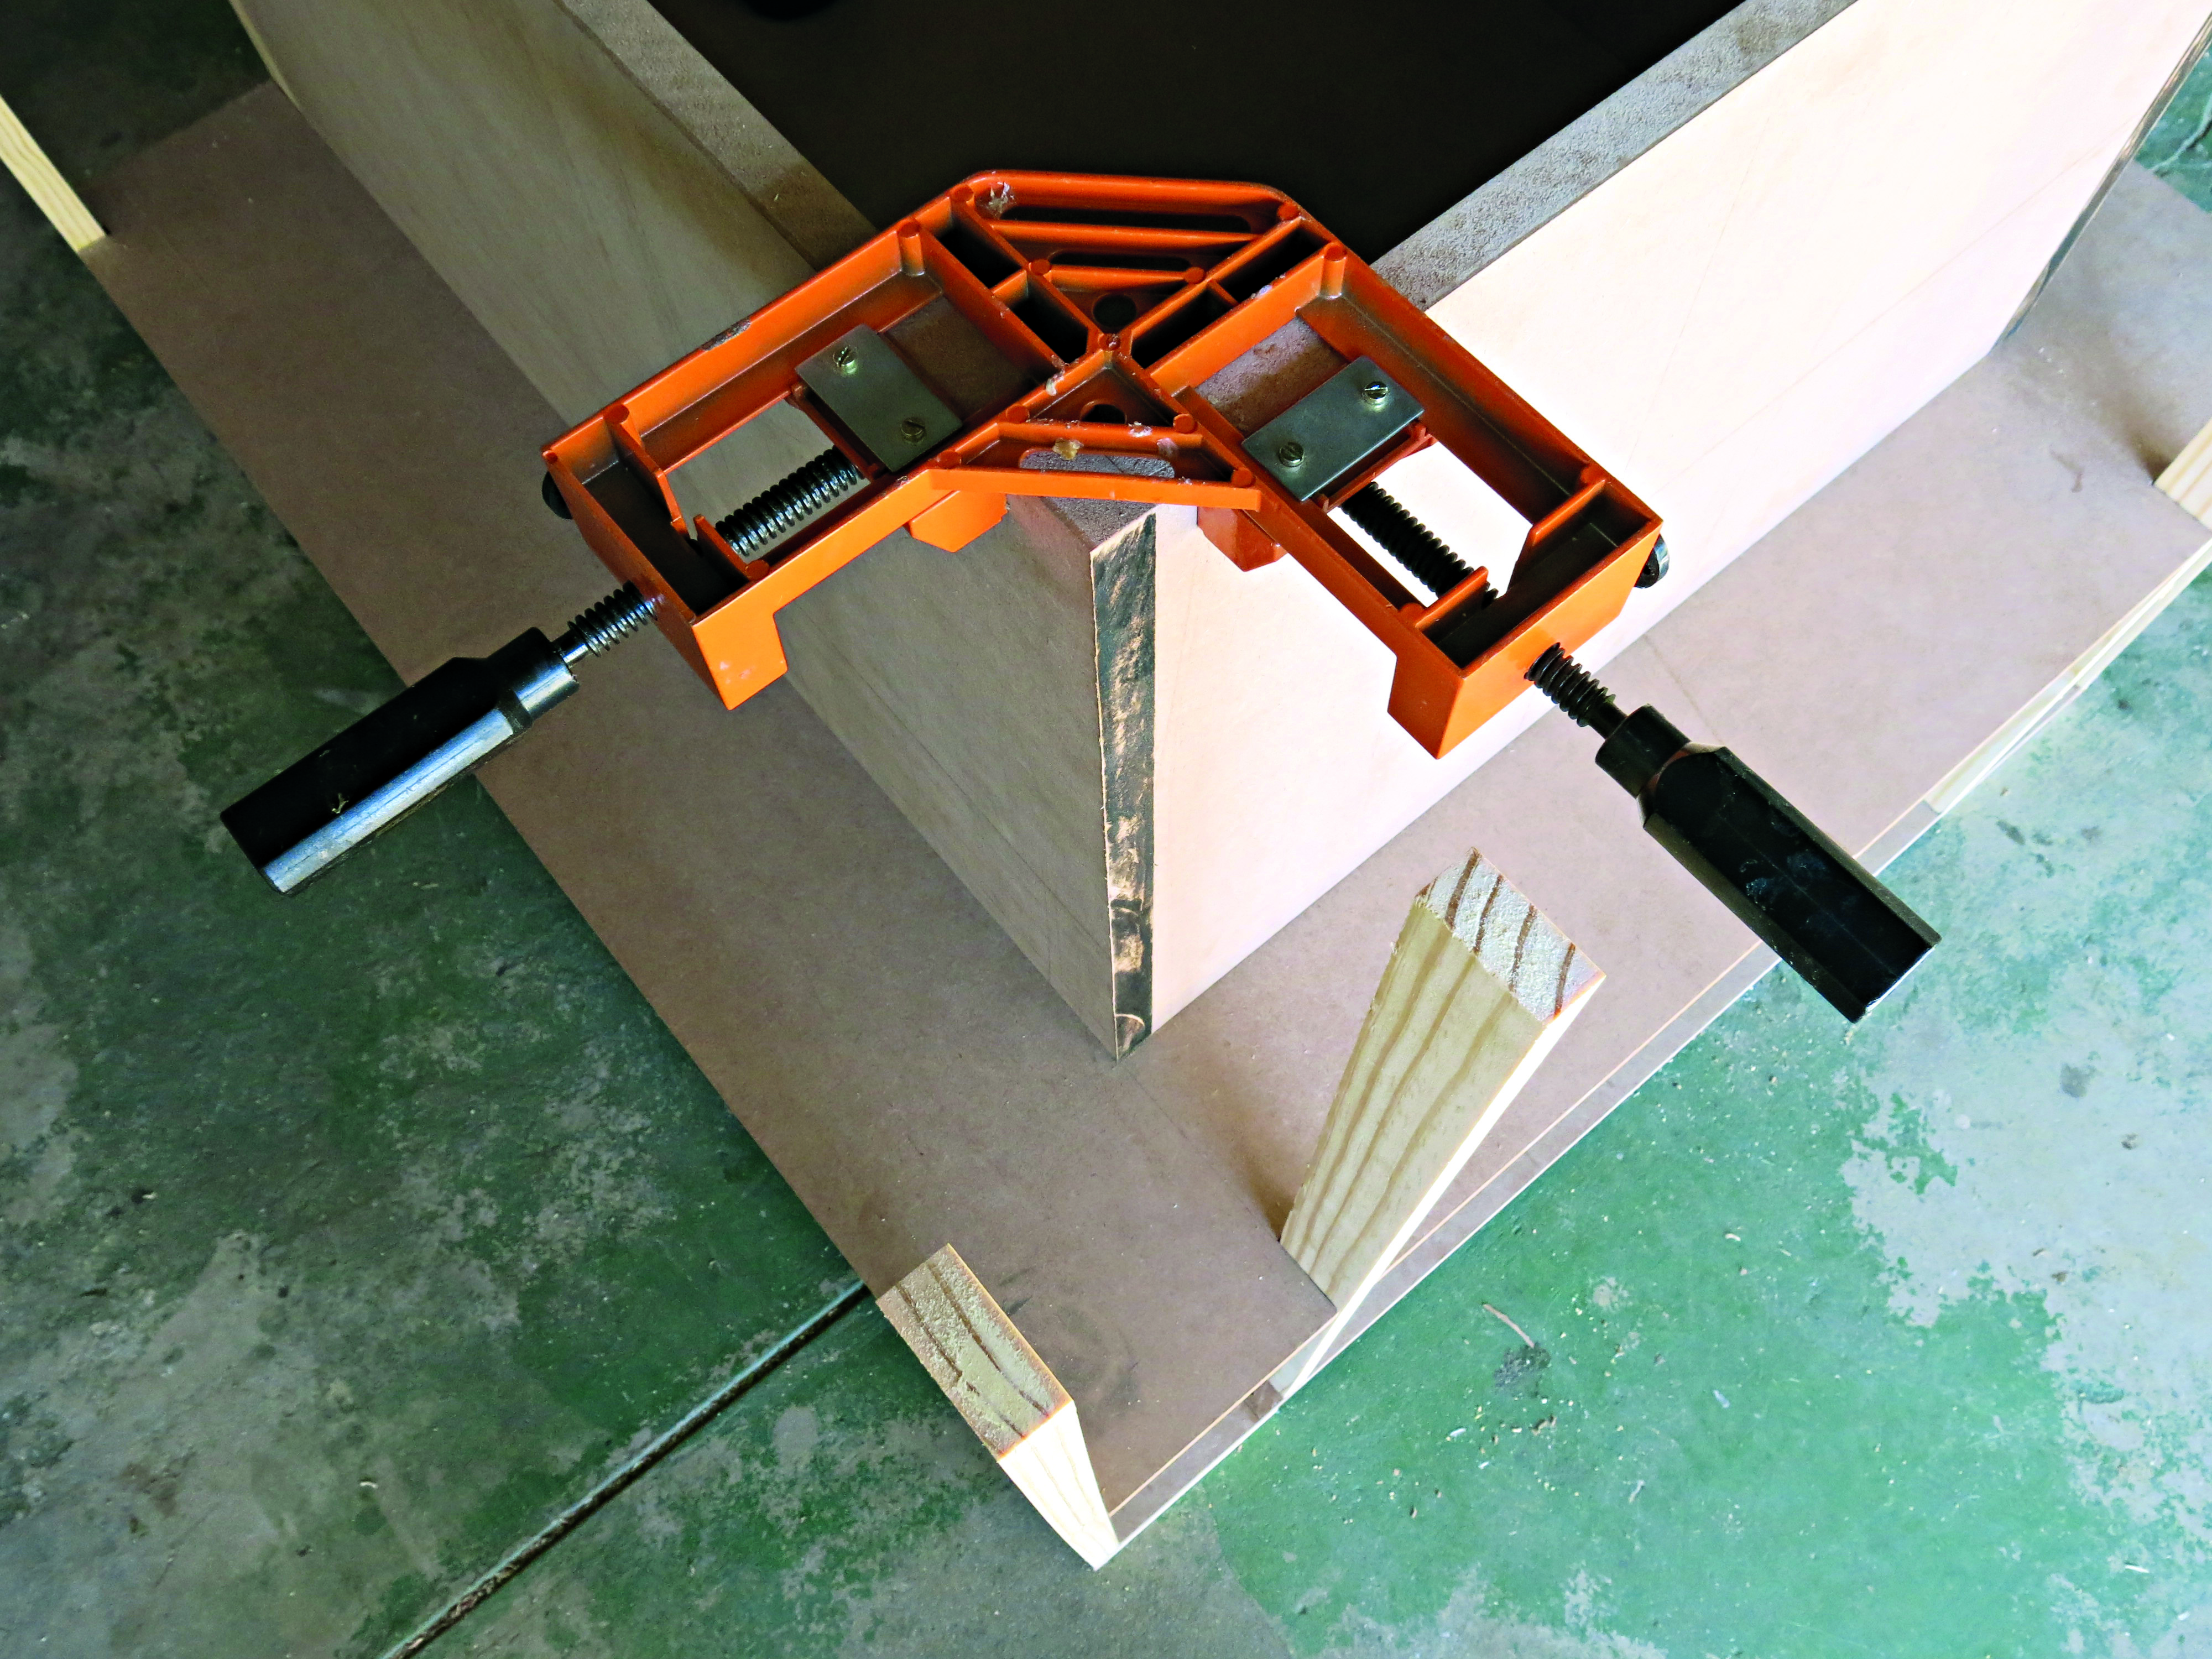
Cut four 636mm lengths and four 680mm lengths of pine. Use a corner clamp and glue, and screw the end of one short piece onto one long piece at a 90º angle using 50mm screws. 1 (If you do not have a corner clamp, ask someone to assist you.) Be sure to screw the broader side of the longer piece to the narrow end of the short piece. Screw another short piece in the same way to the other end. Cut four 360mm lengths of pine. Glue and screw them to the inside corners of your two frames to build a crate without sides.
Step 2
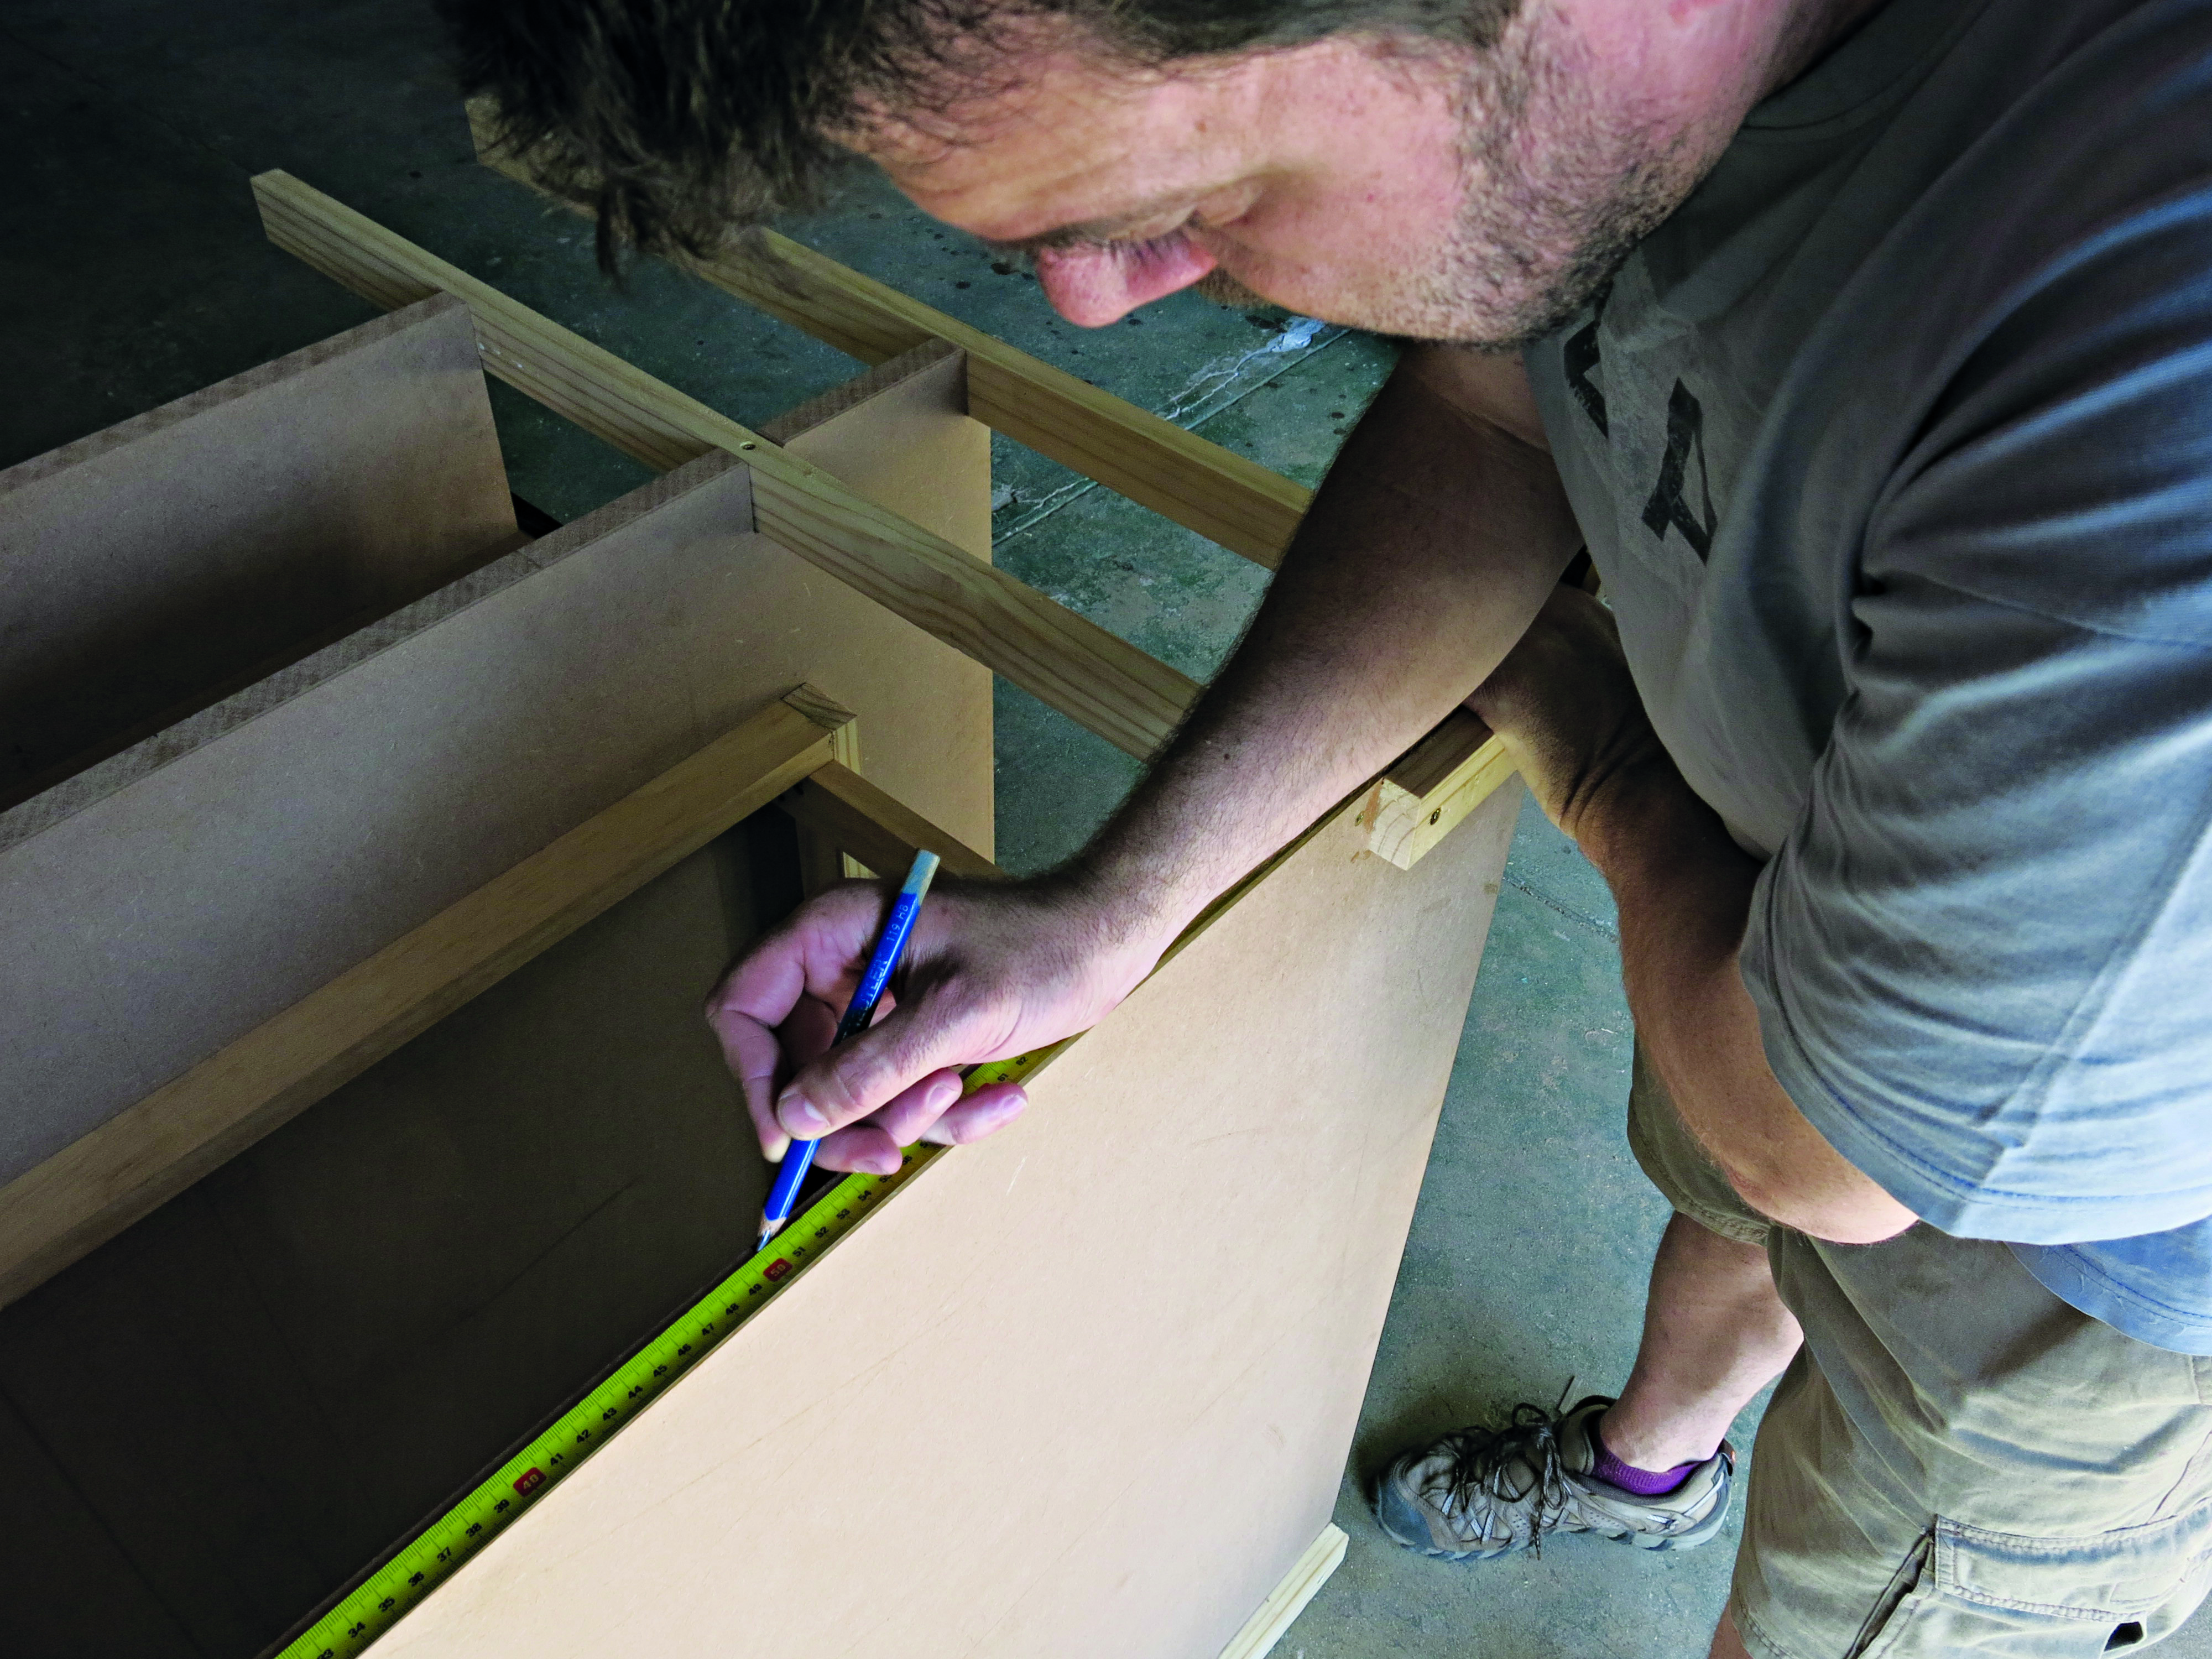
(Attach the broad sides of the 360mm pieces to the broader [680mm] sides of your two frames so the new screws don’t make contact with the screws holding the frame together.) Taking the two 1 000mm x 1 000mm pieces of SupaWood, measure and draw pencil lines 160mm in from the four edges (with the lines crossing in the corners). You should have a pencilled square in the centre of each SupaWood piece. Glue and screw the frame you built onto the square on one SupaWood piece using 50mm screws.
Step 3
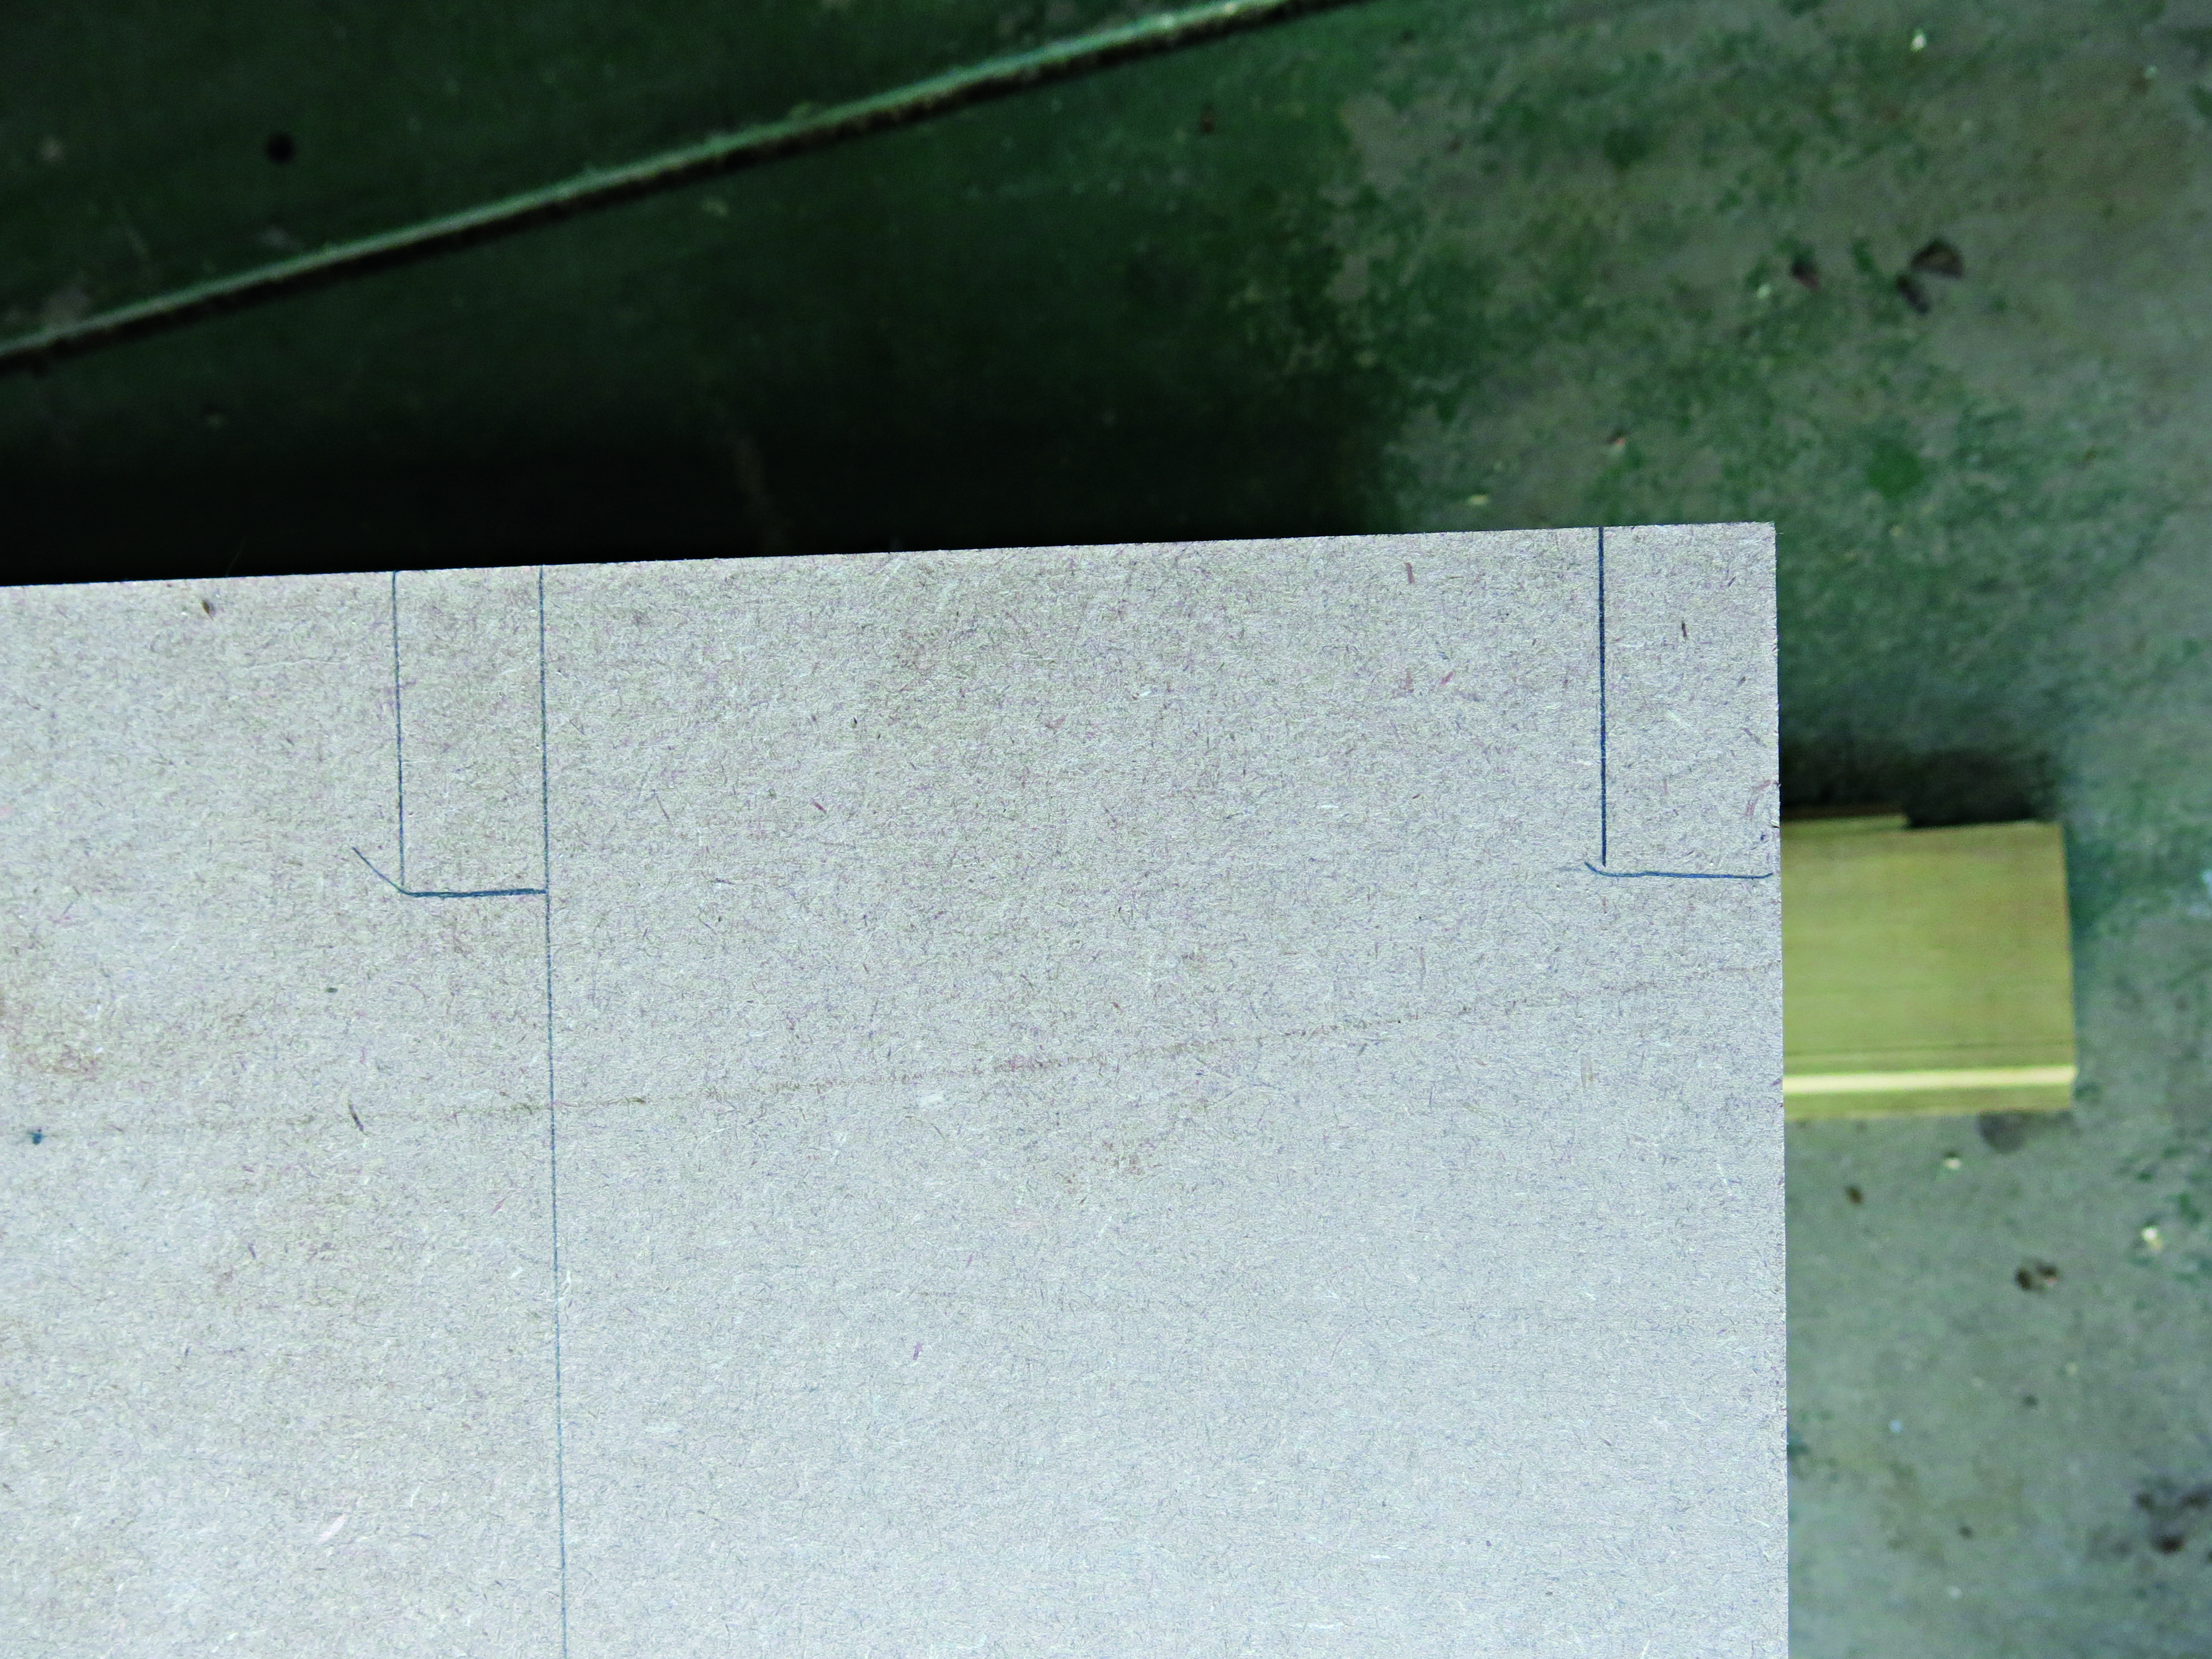
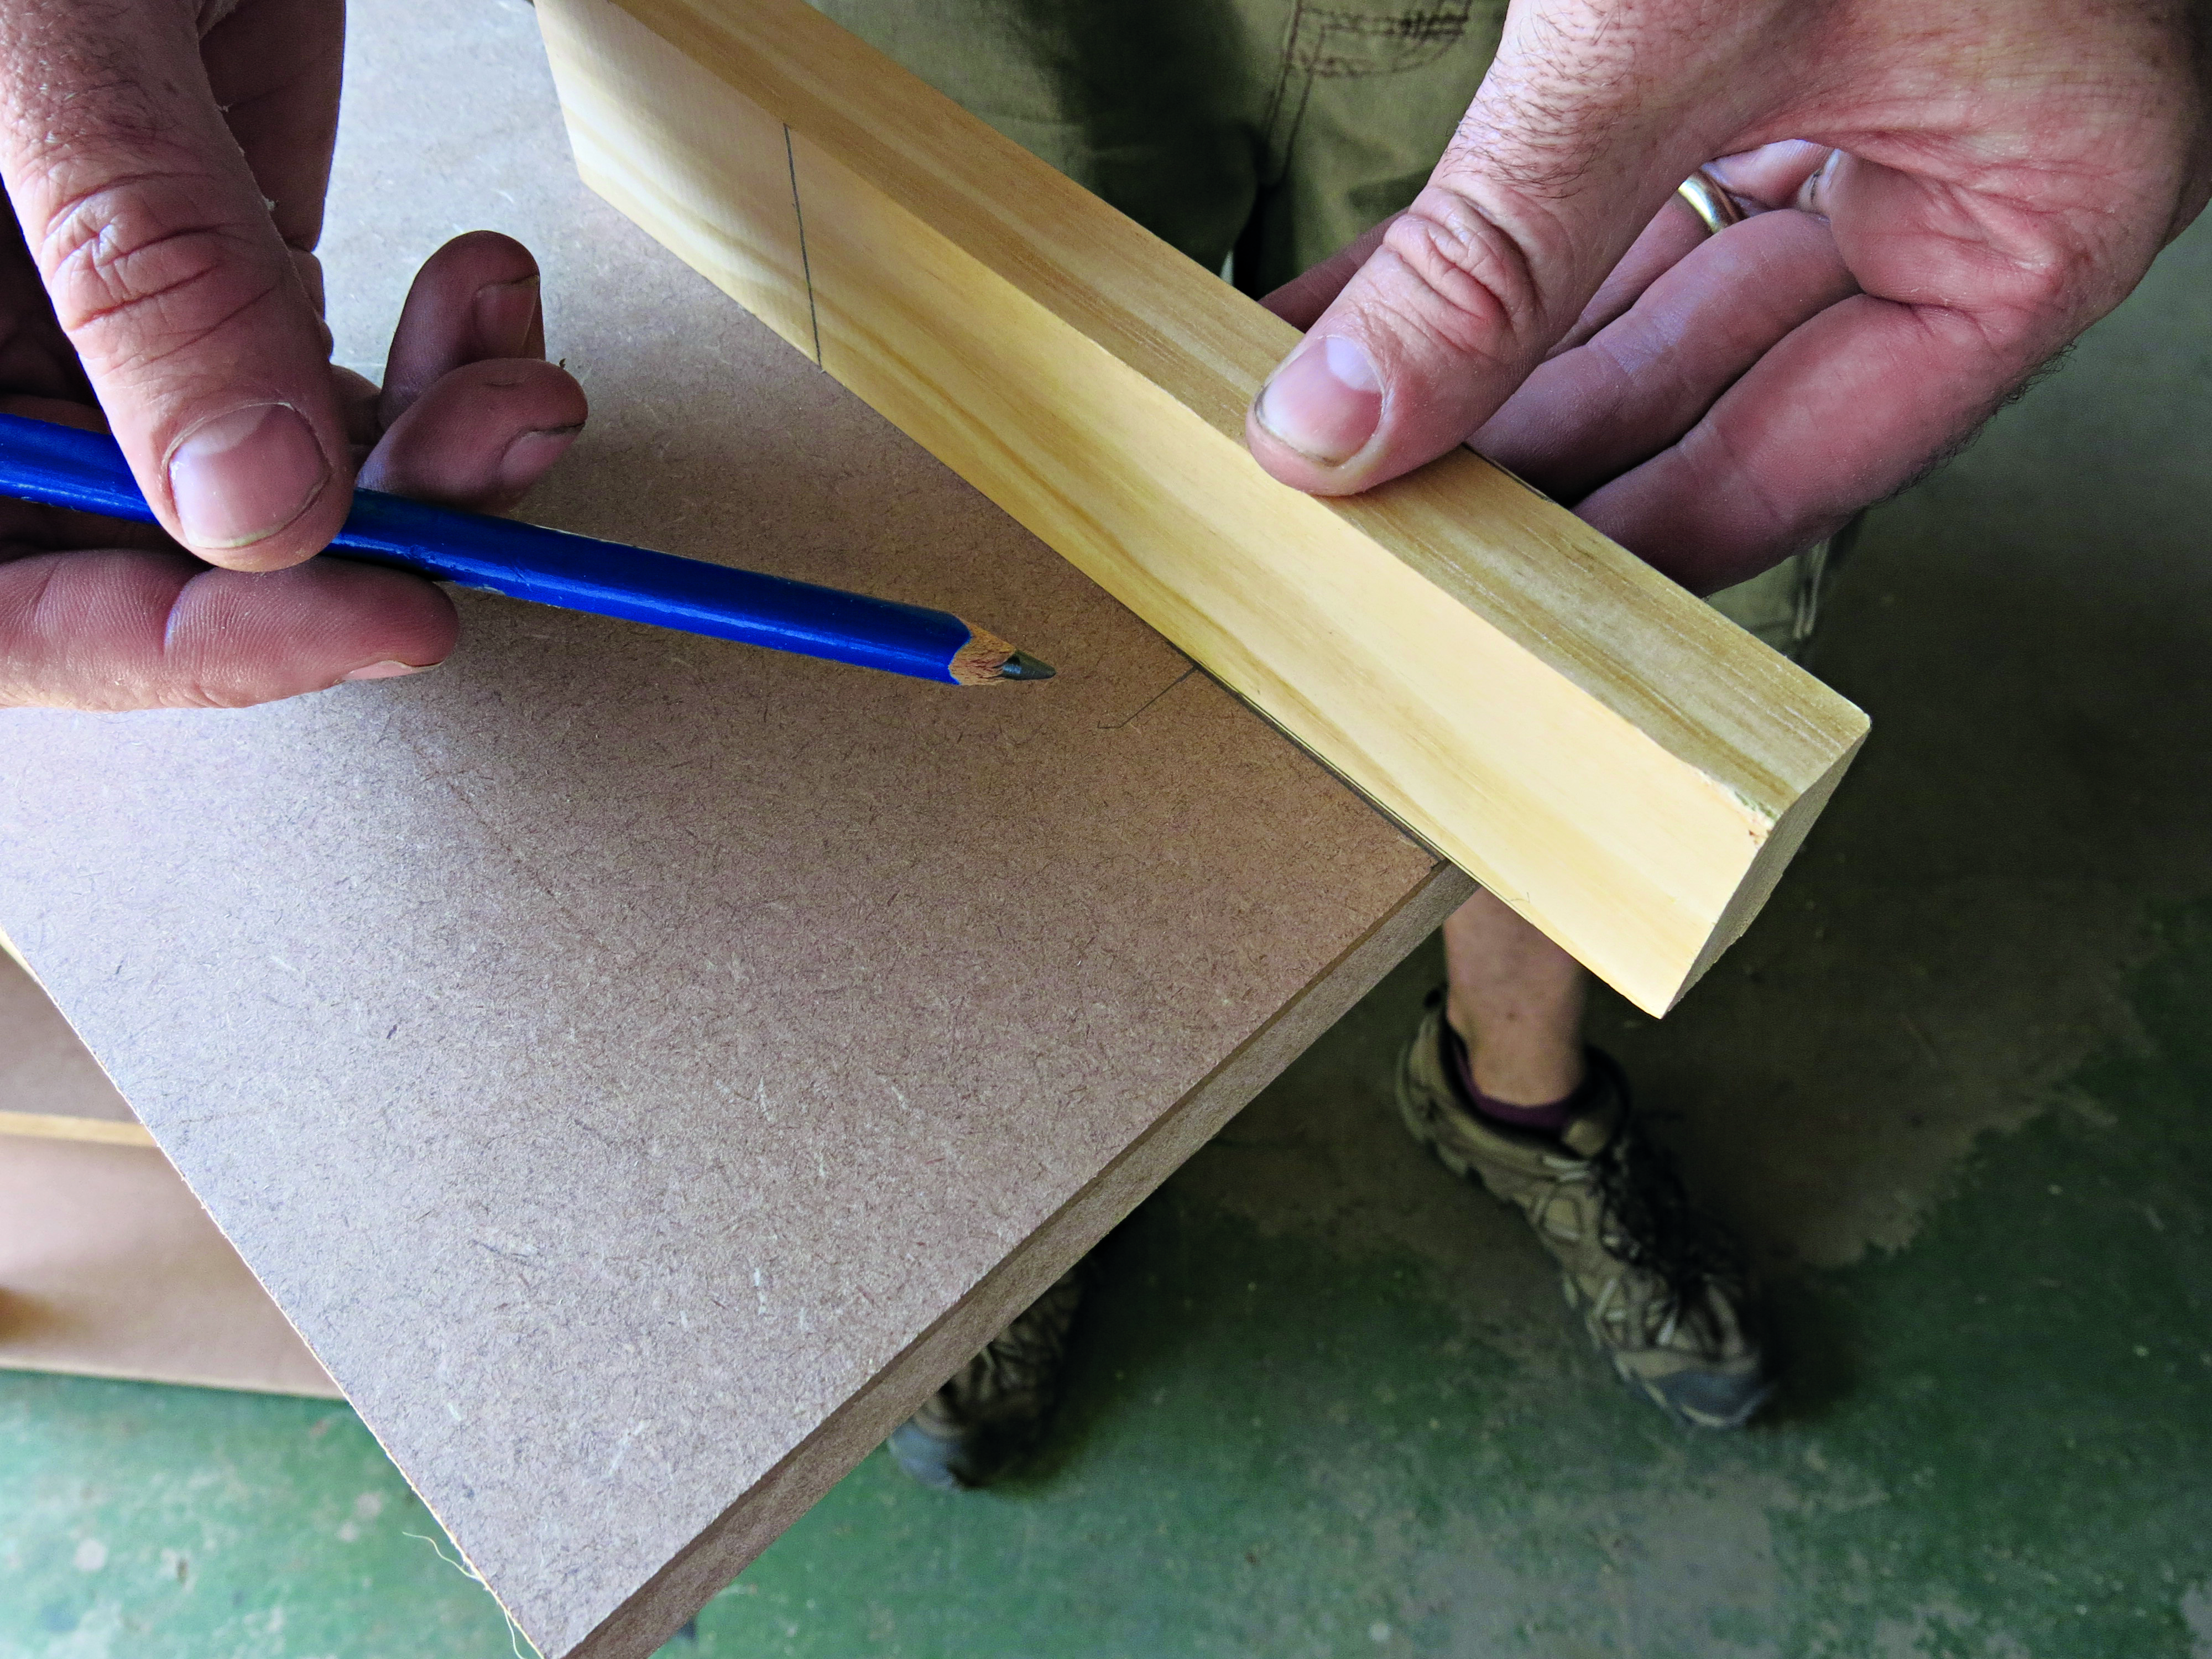
Use a scrap of your pine and draw the outline of its narrow side (22mm x 44mm) onto the edge of the other large piece of SupaWood – on the “inside” of the pencil line you drew earlier.
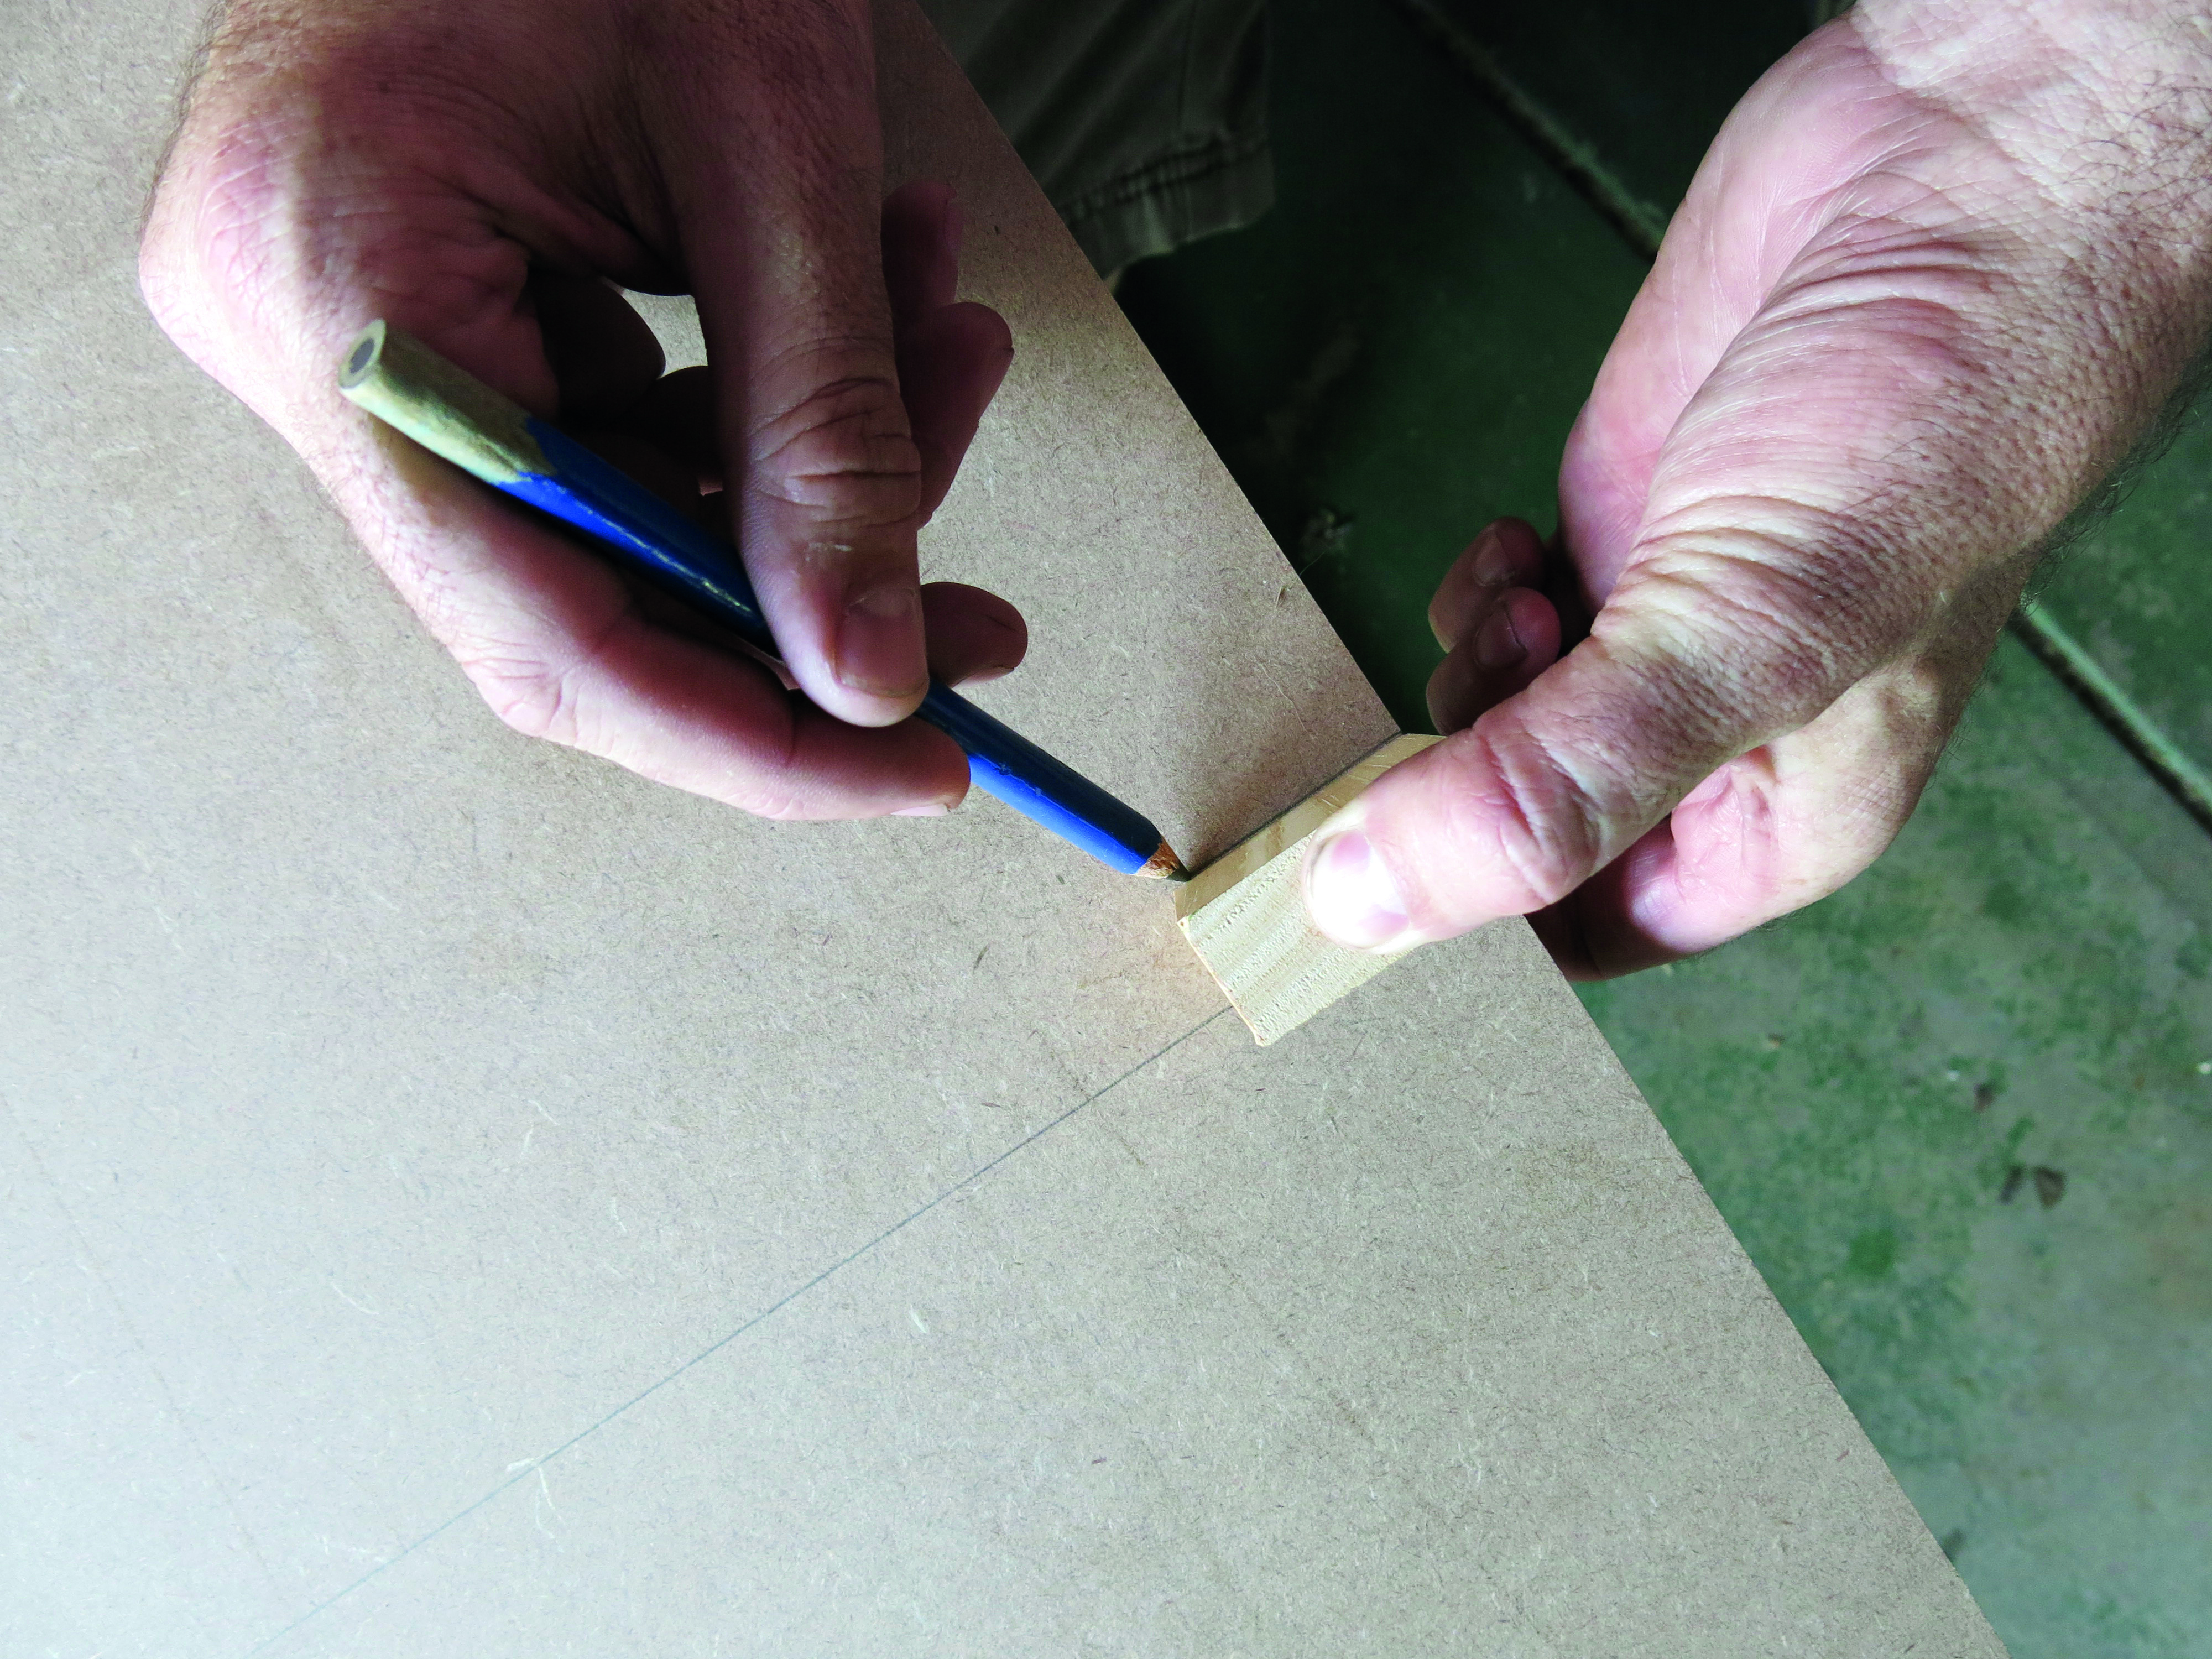
Step 4
Do the same with the other pencil line on the same side, as well as the other ends of these pencil lines on the opposite edge and also in all four corresponding corners.
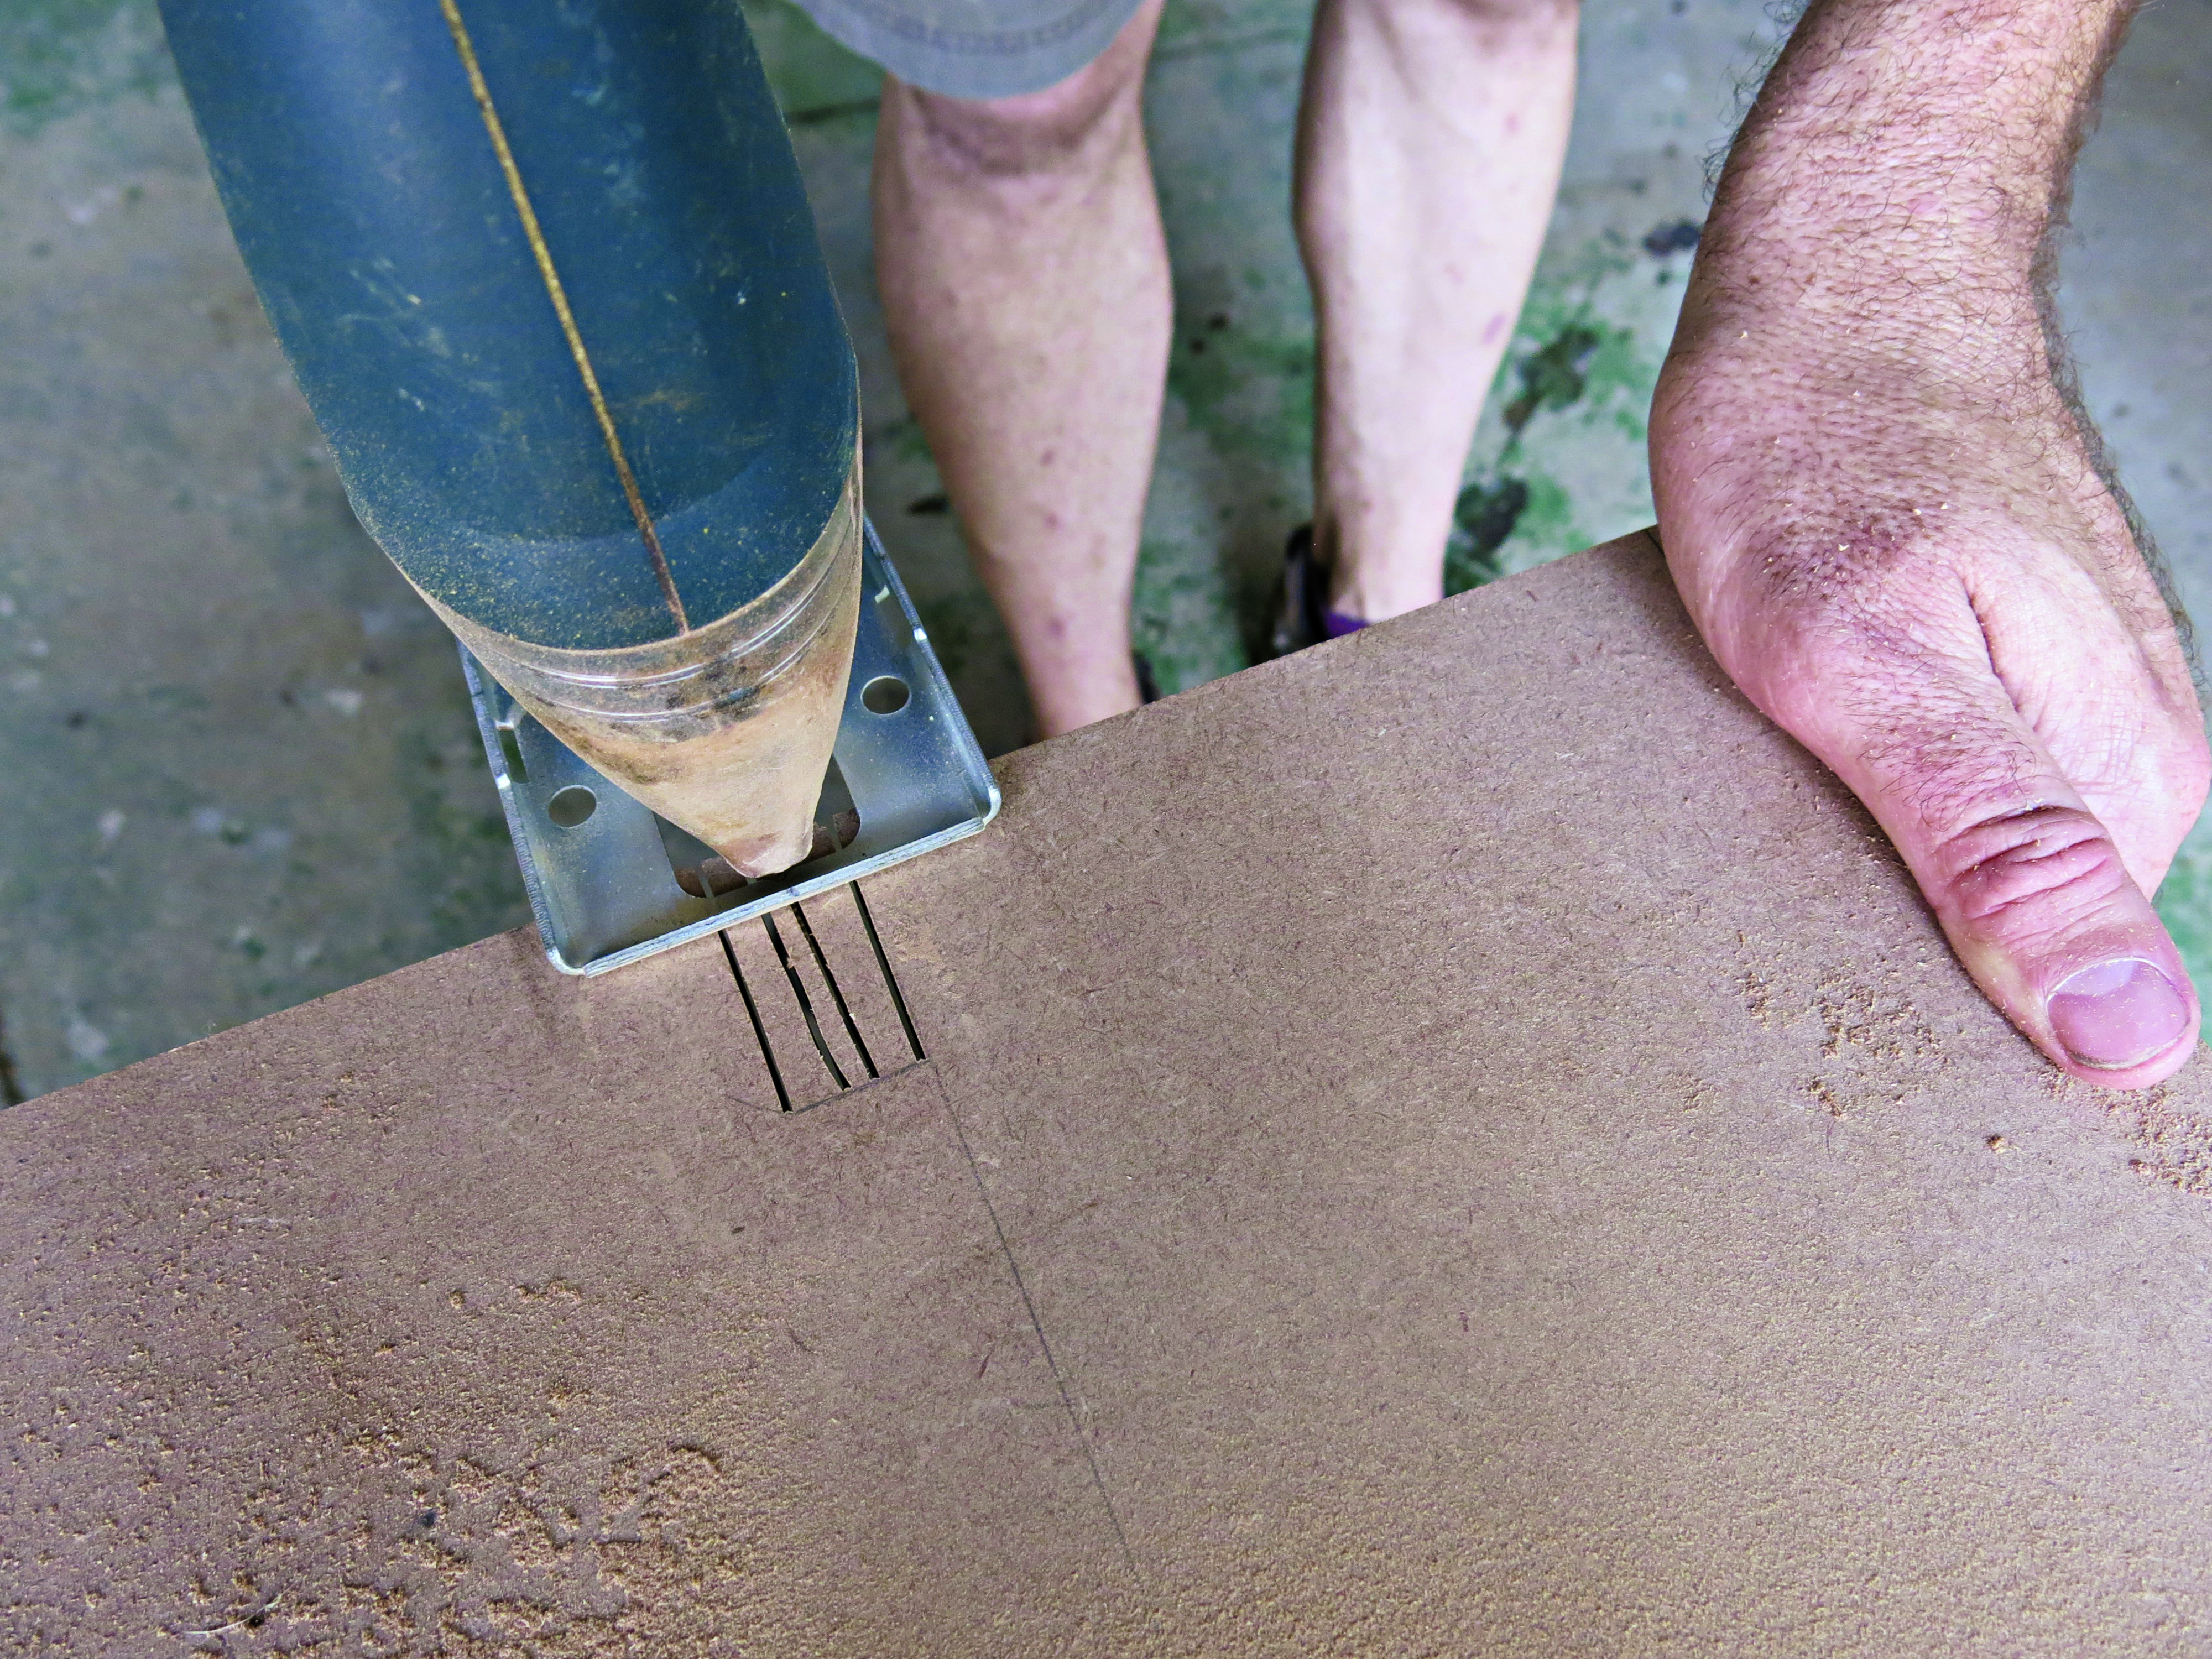
Step 5
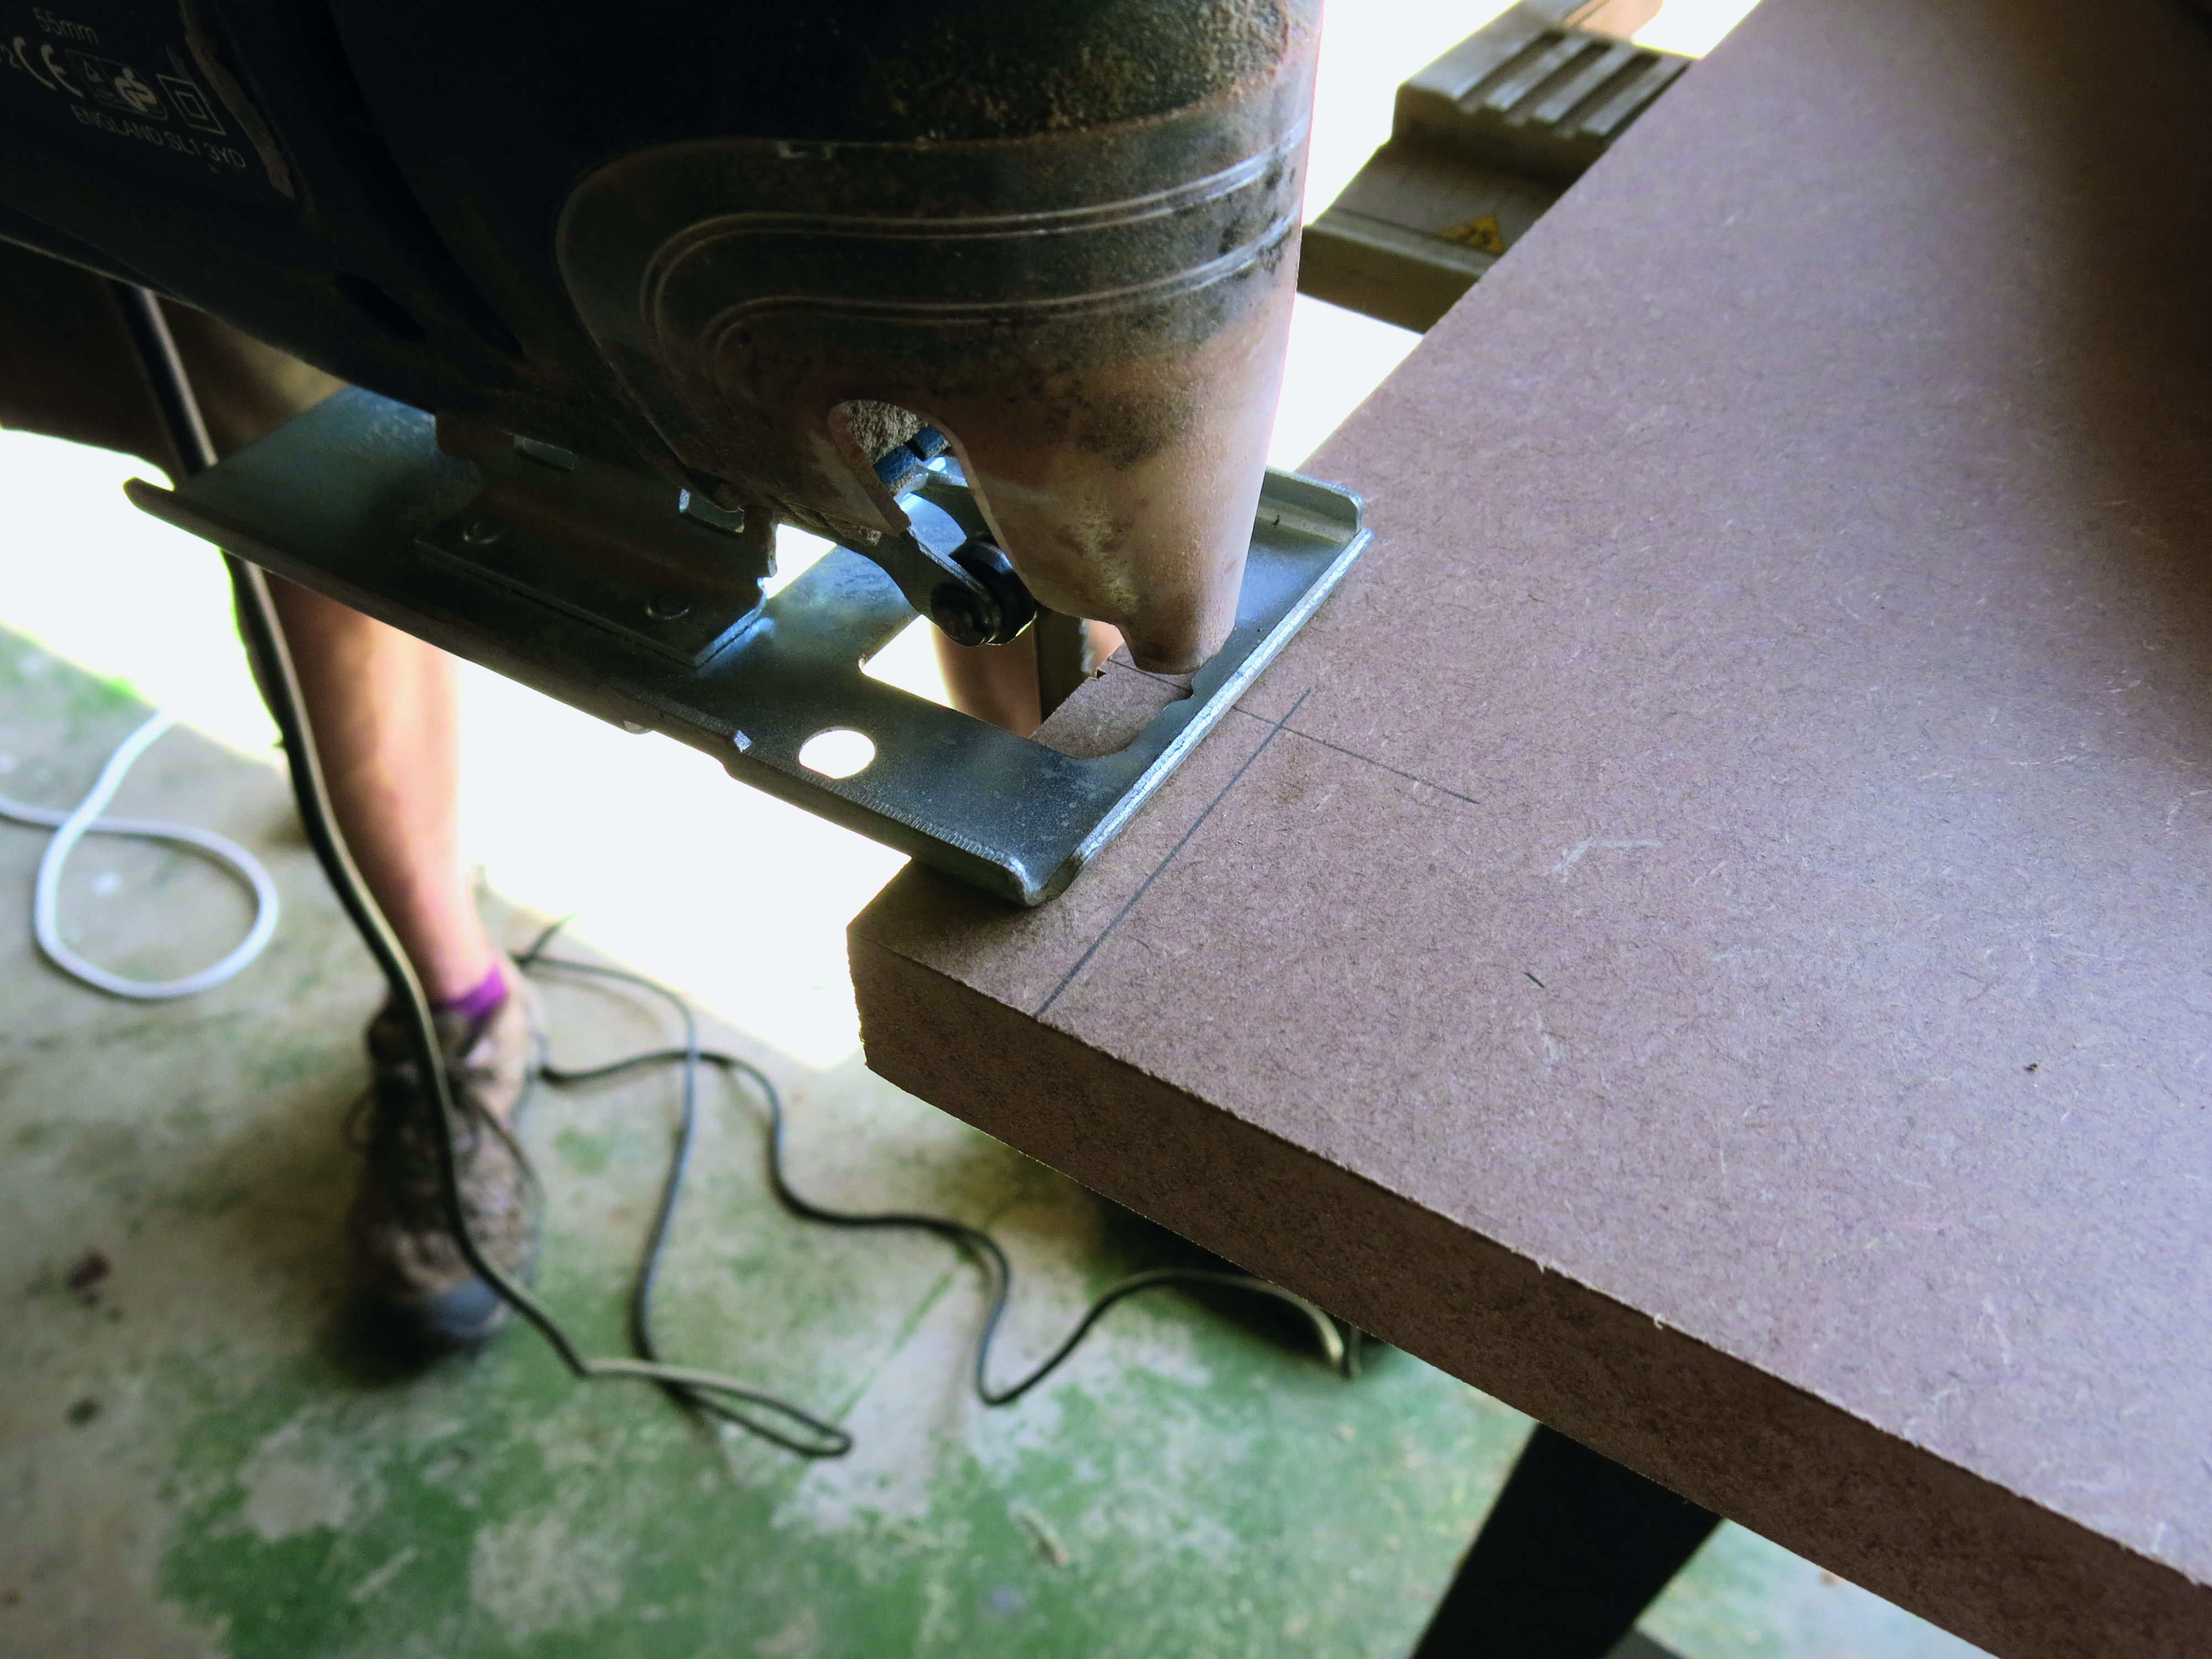
Cut out each of the eight blocks you drew using the fret saw.
Step 6
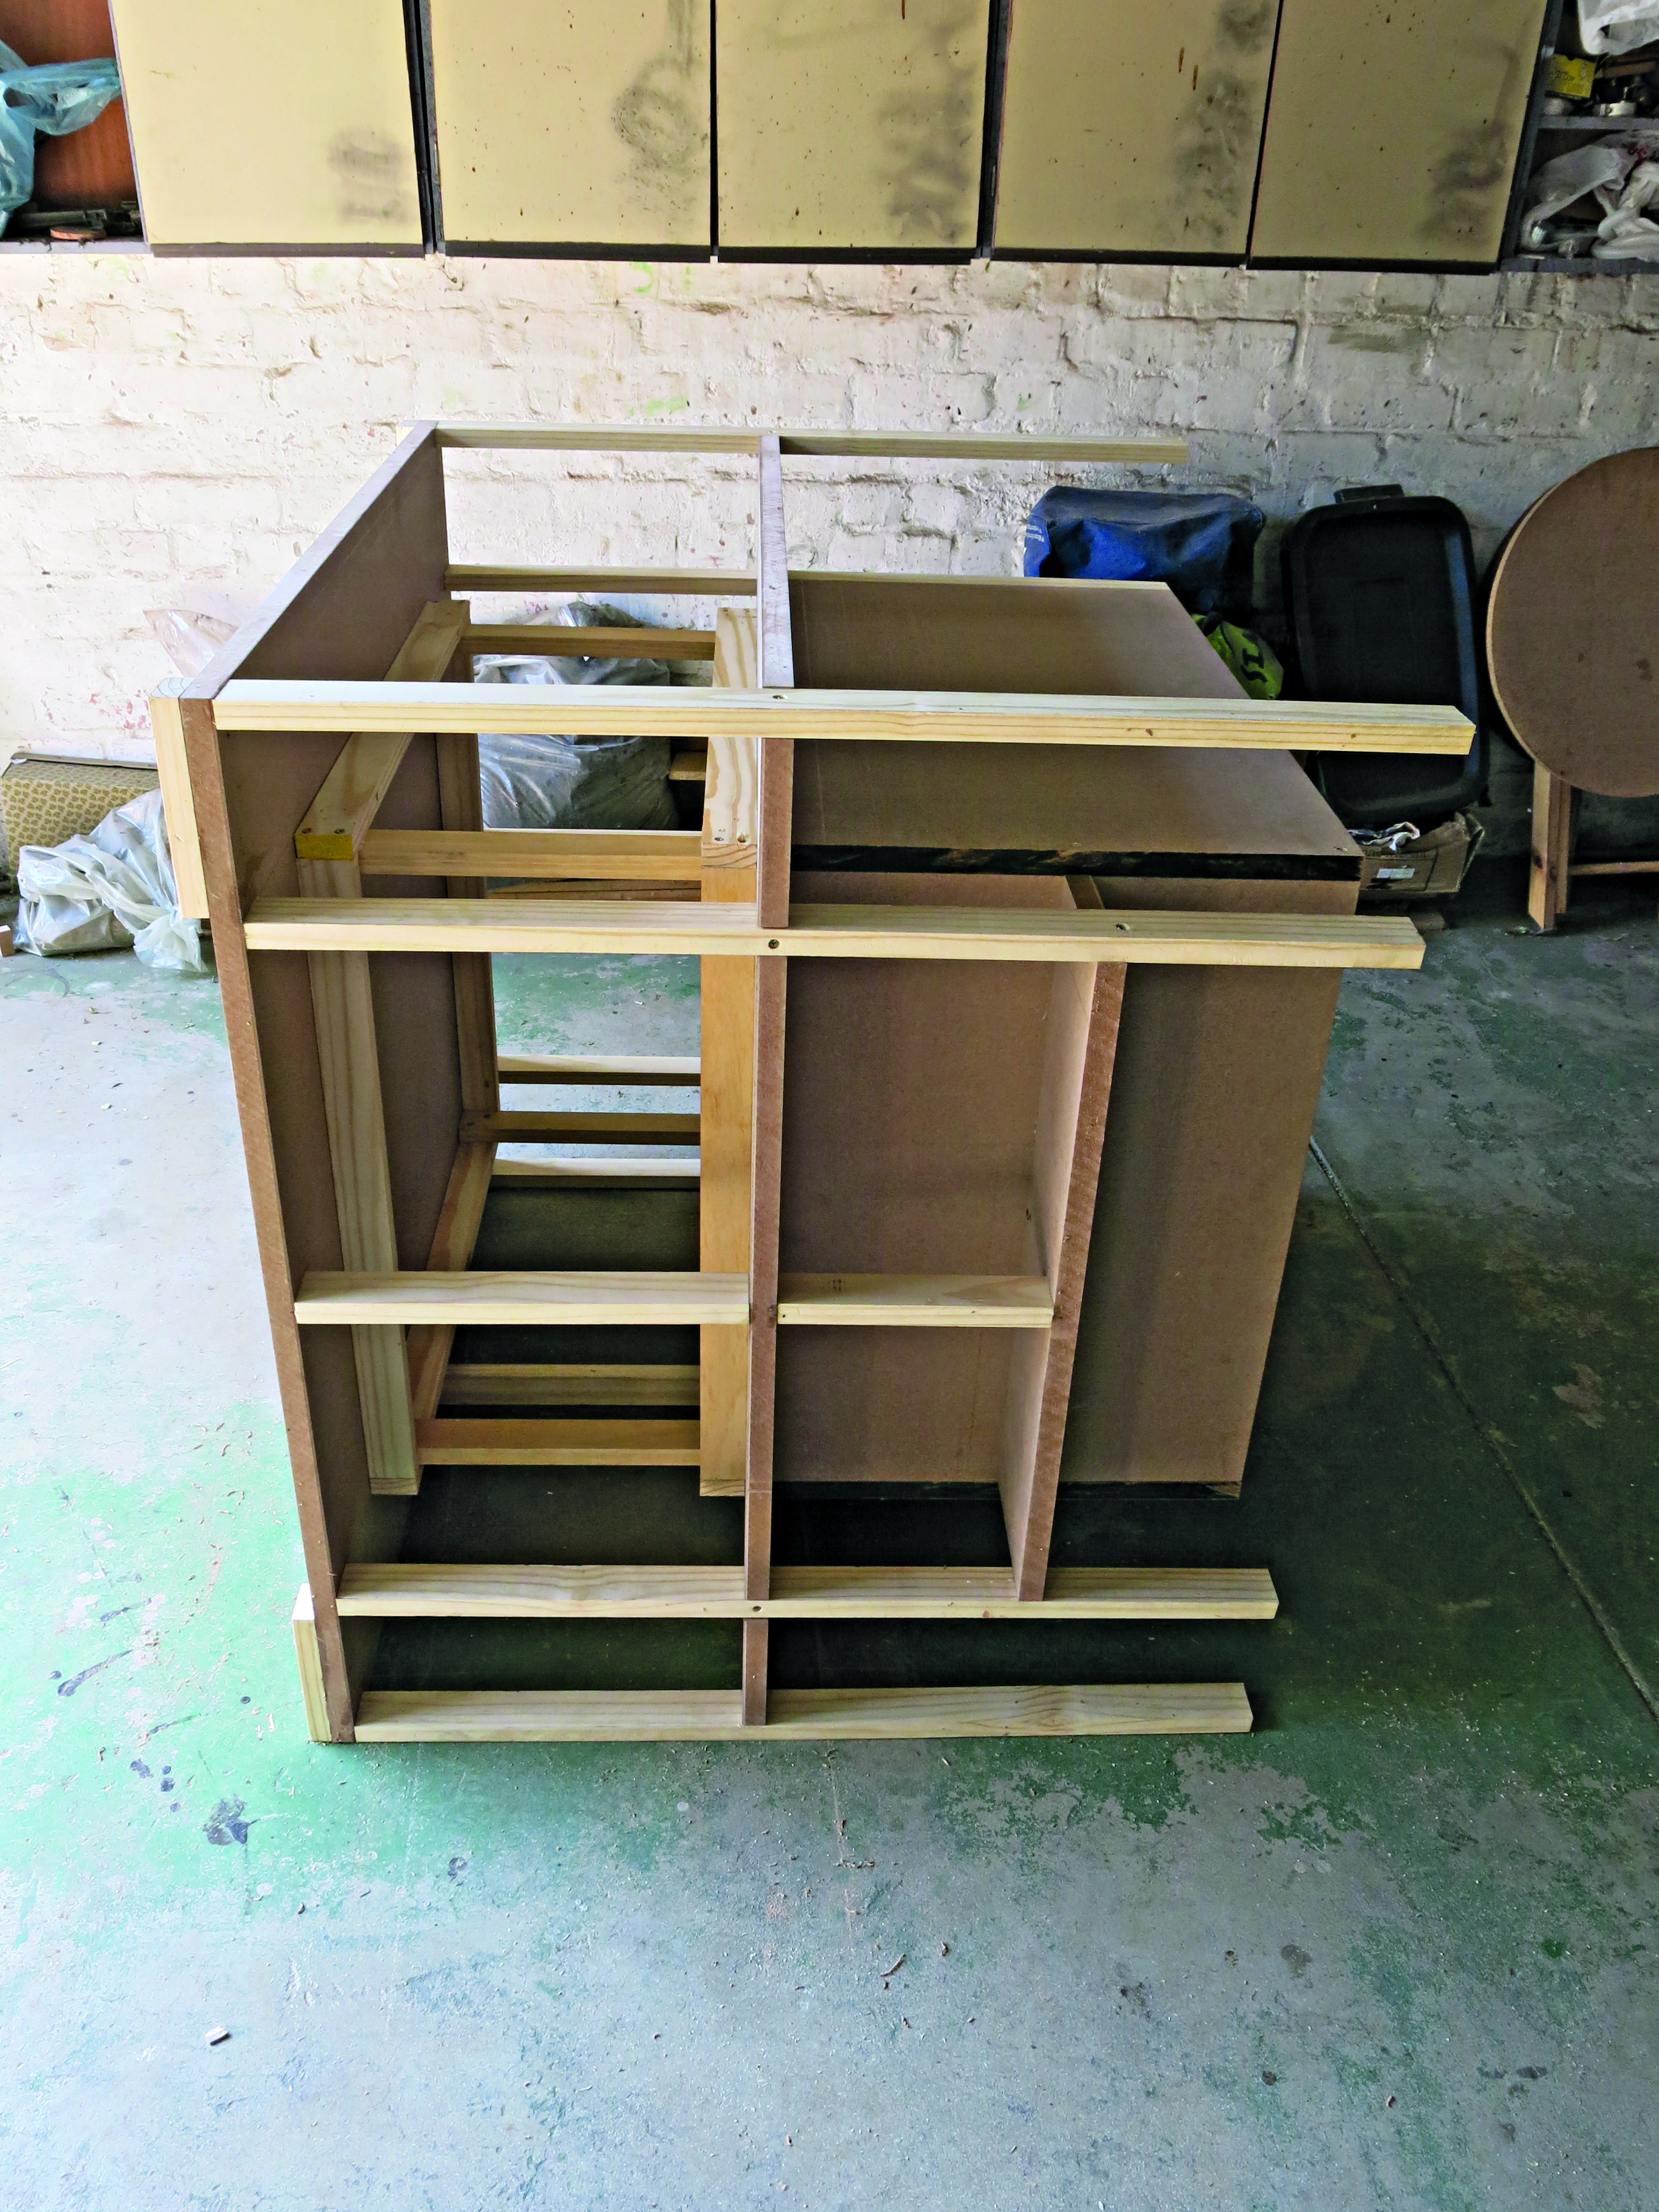
Draw corresponding blocks on the base onto which you attached the frame, but do not cut them out. Cut eight 845mm lengths of the pine planks. Turn the frame on its side, and glue and screw these pieces onto the markings you made using 70mm screws. Use the corner clamp to keep them in position.
Step 7
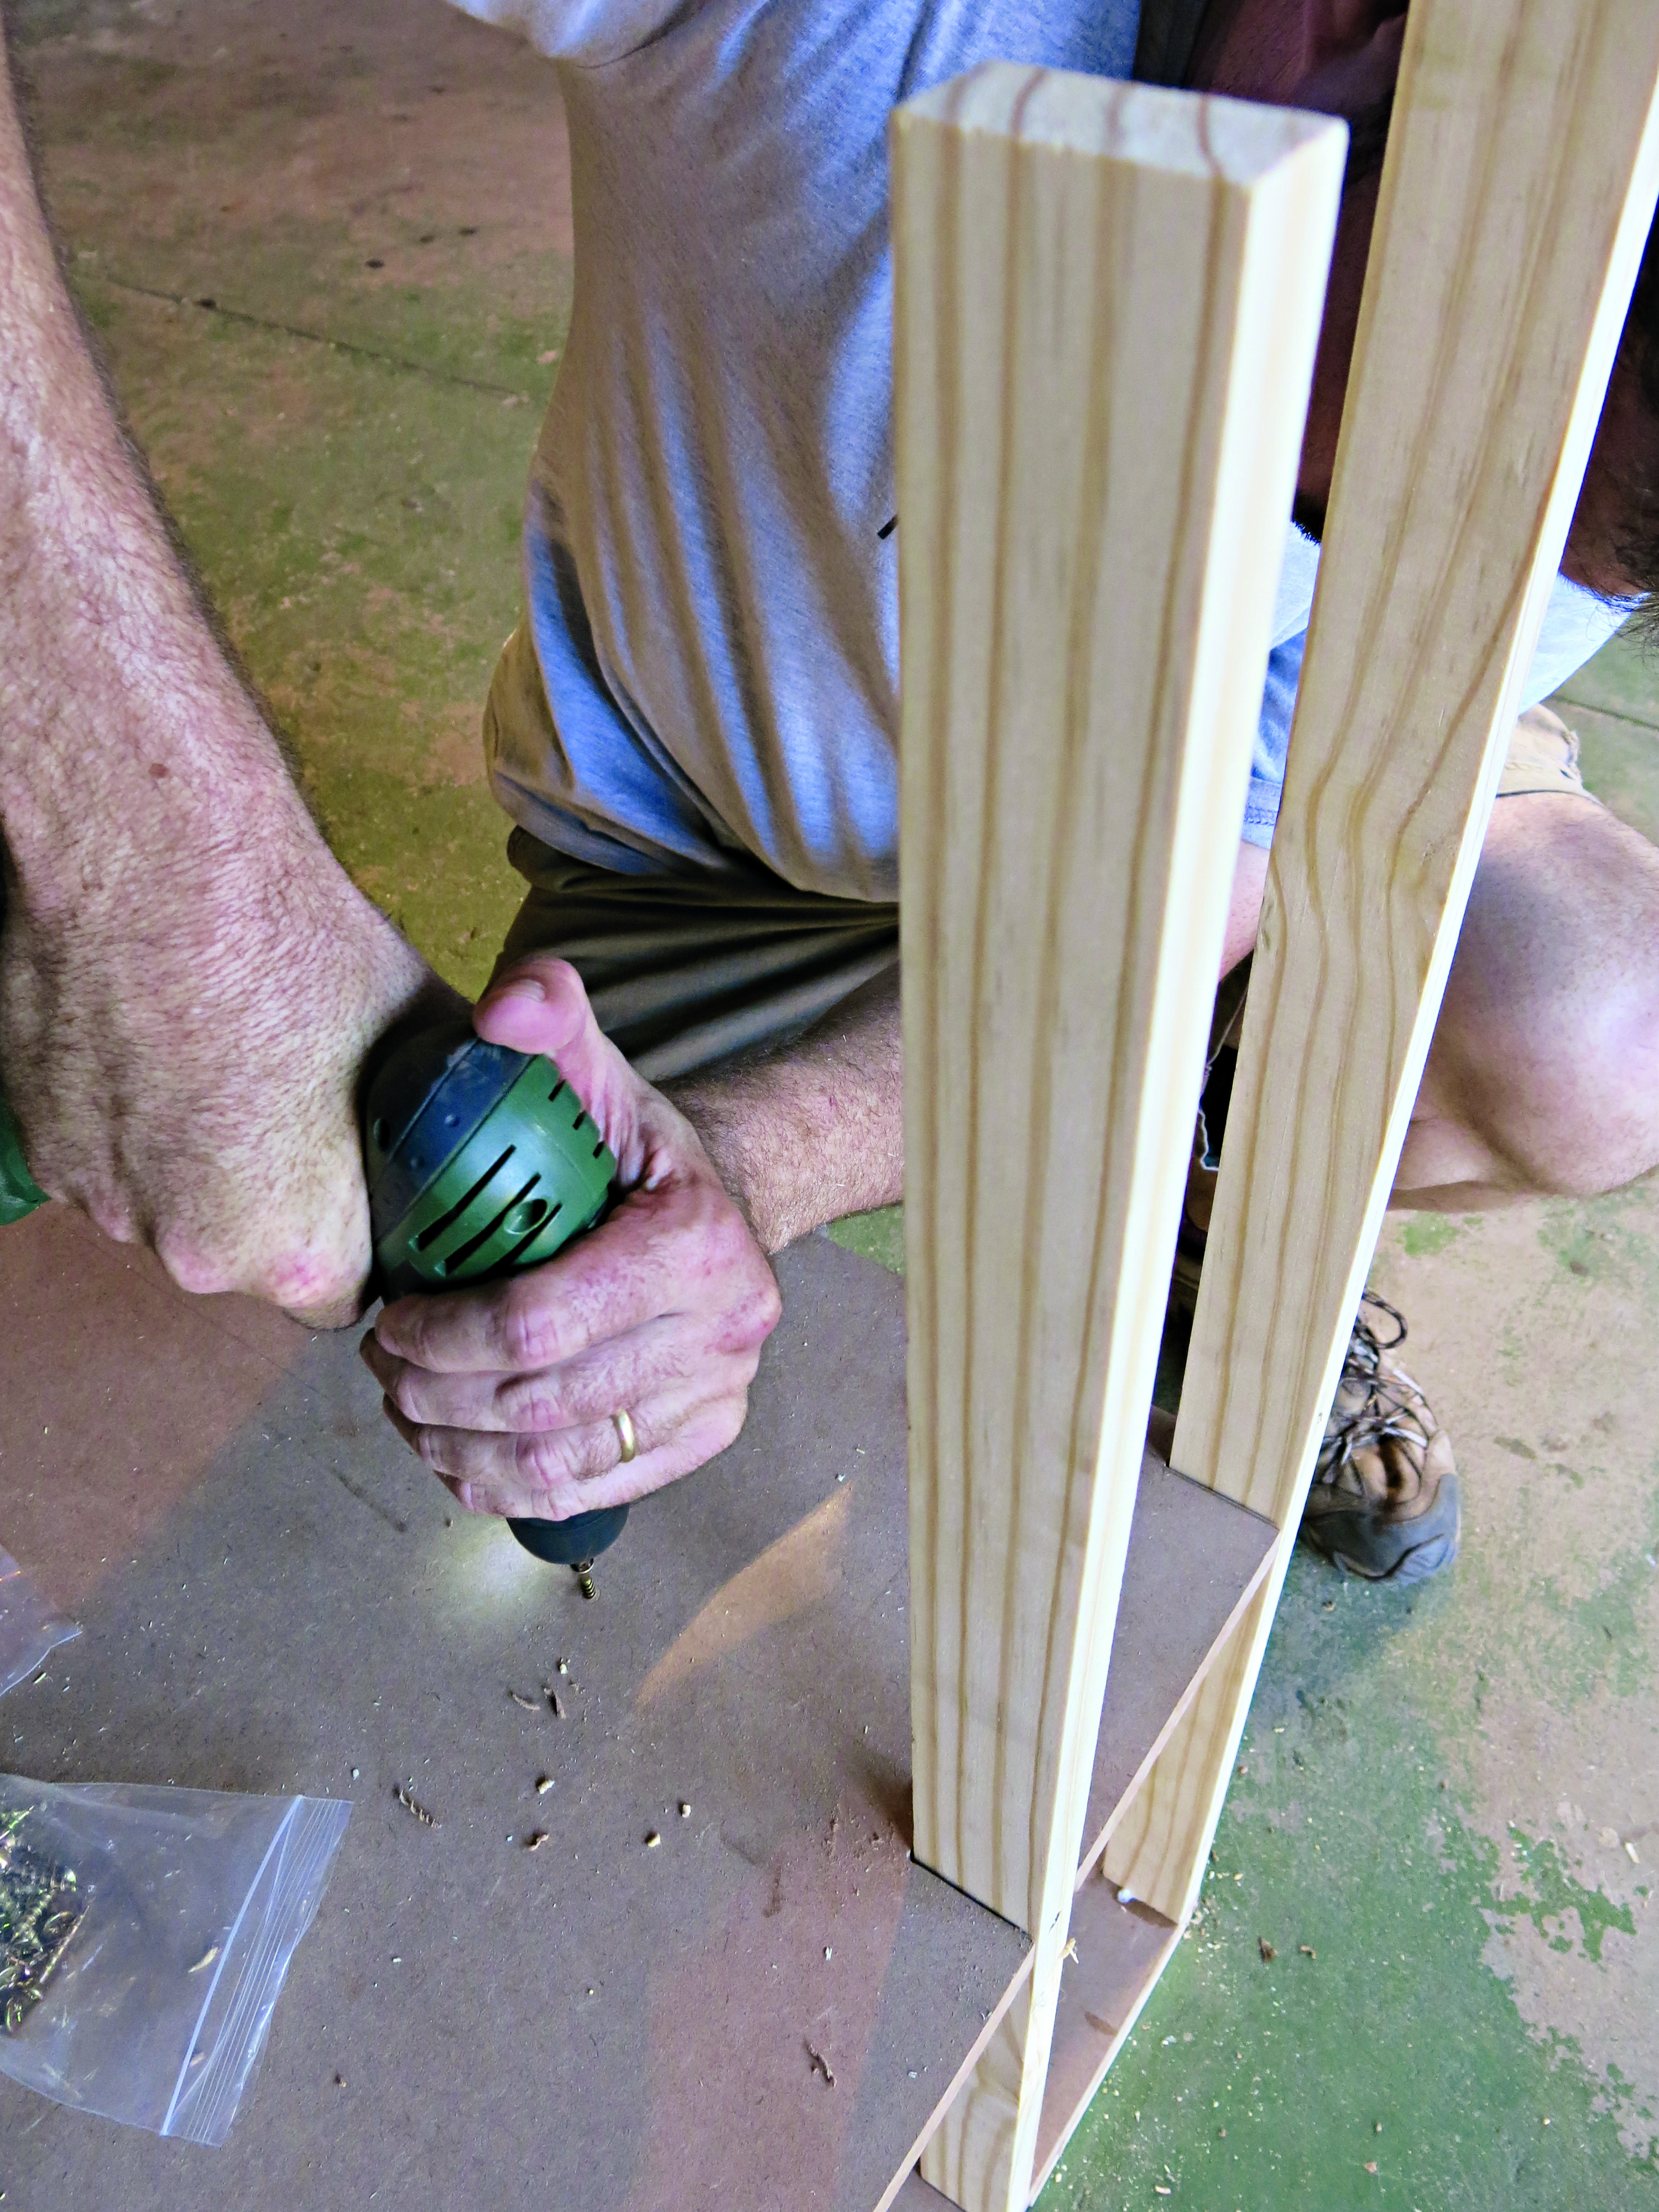
Take care to support the frame so that the weight of the base does not rest on the long planks. While the base of the chair is on its side, cut four 180mm lengths of pine, and glue and screw them into the corners to the underside of the chair base using 40mm screws – these will be the feet.
Step 8
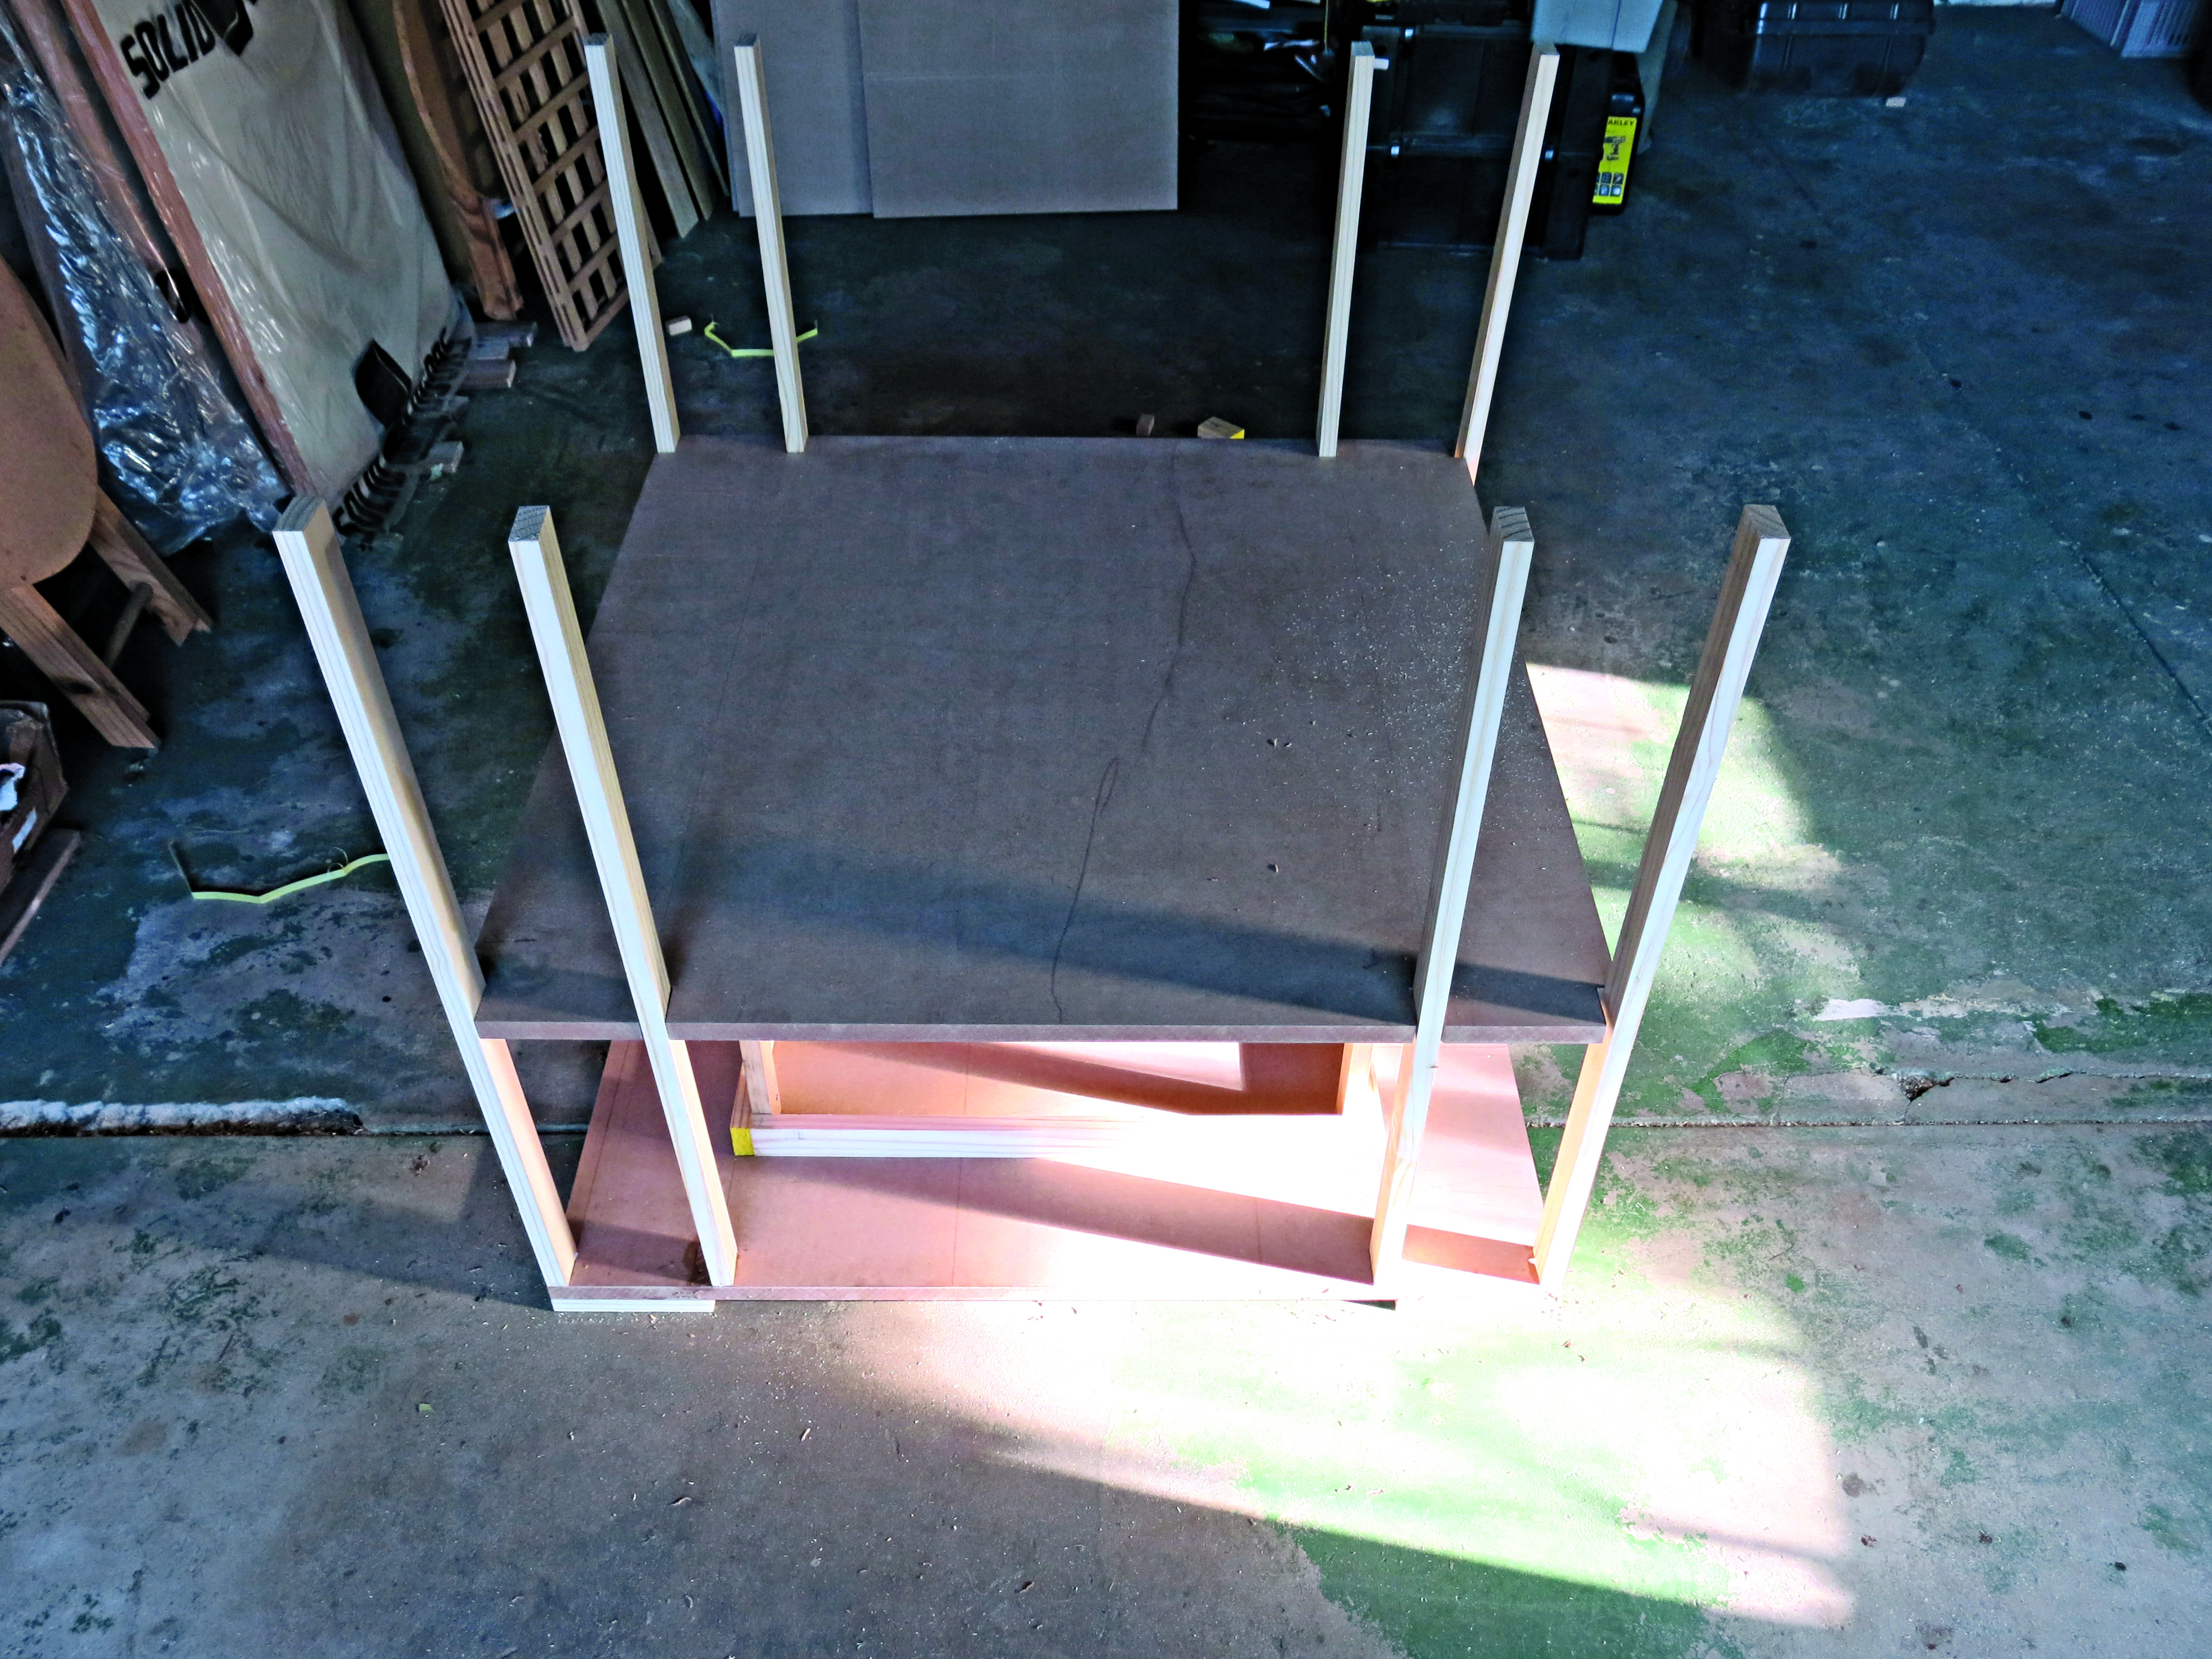
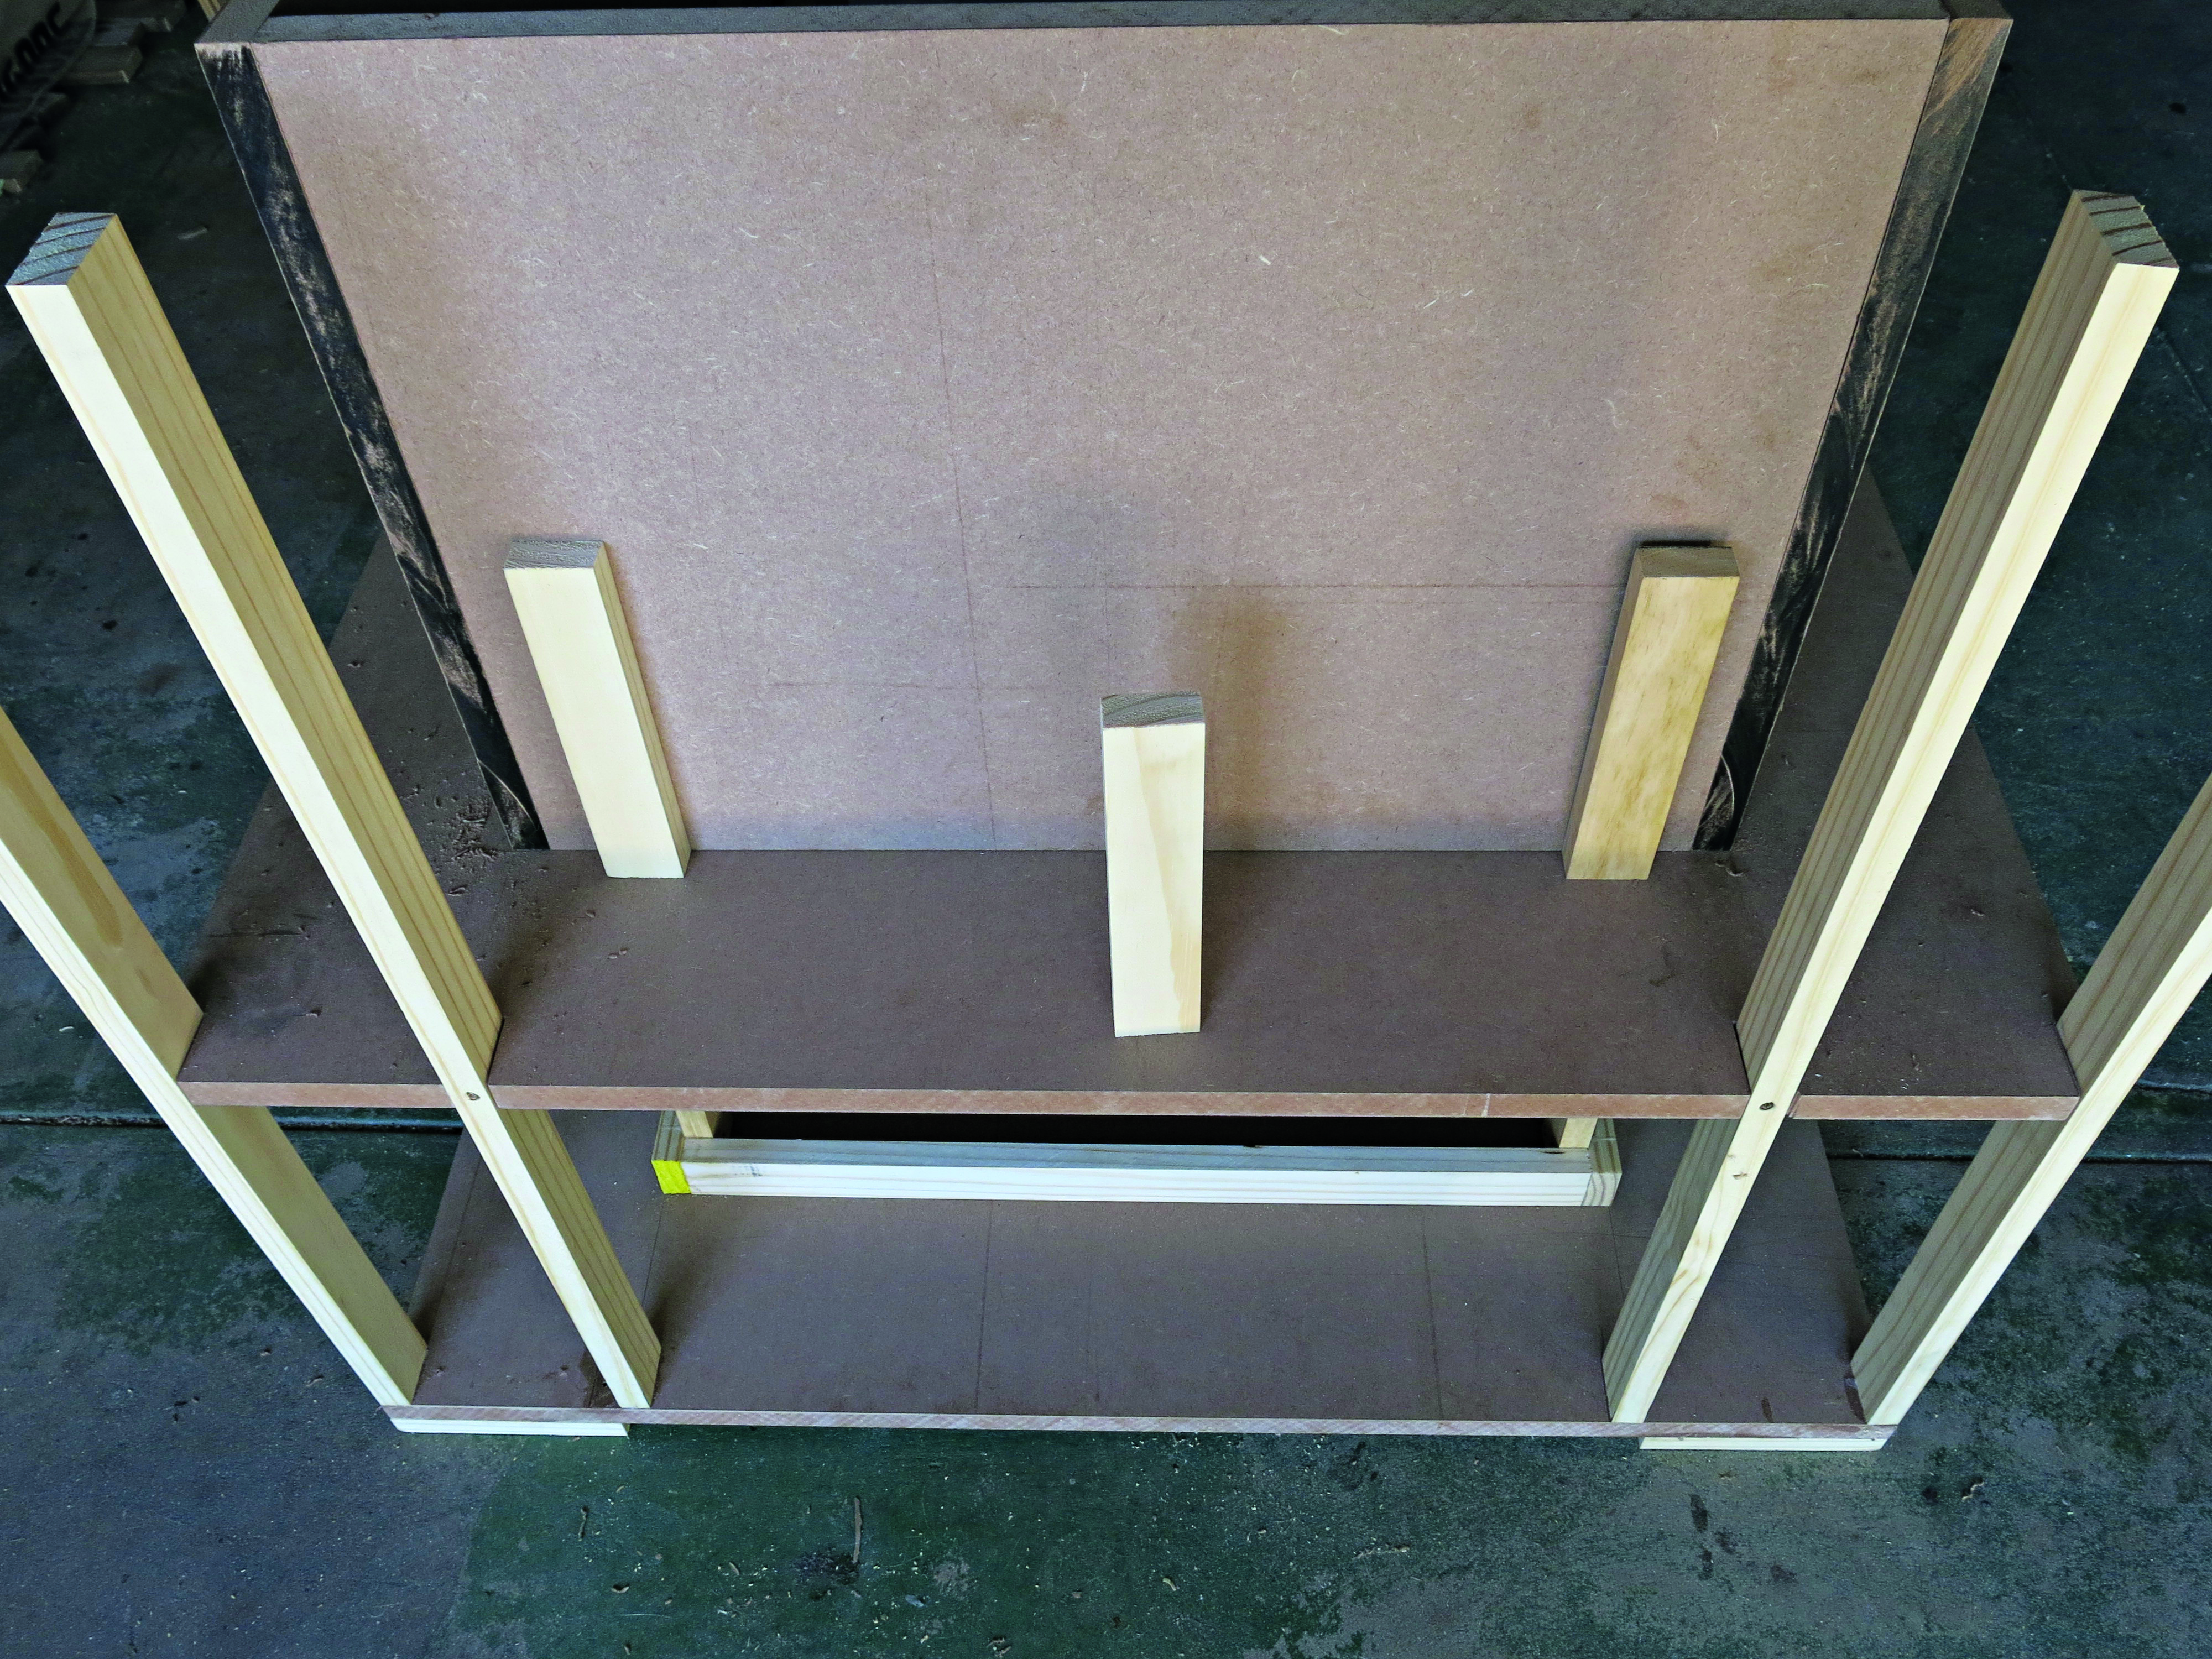
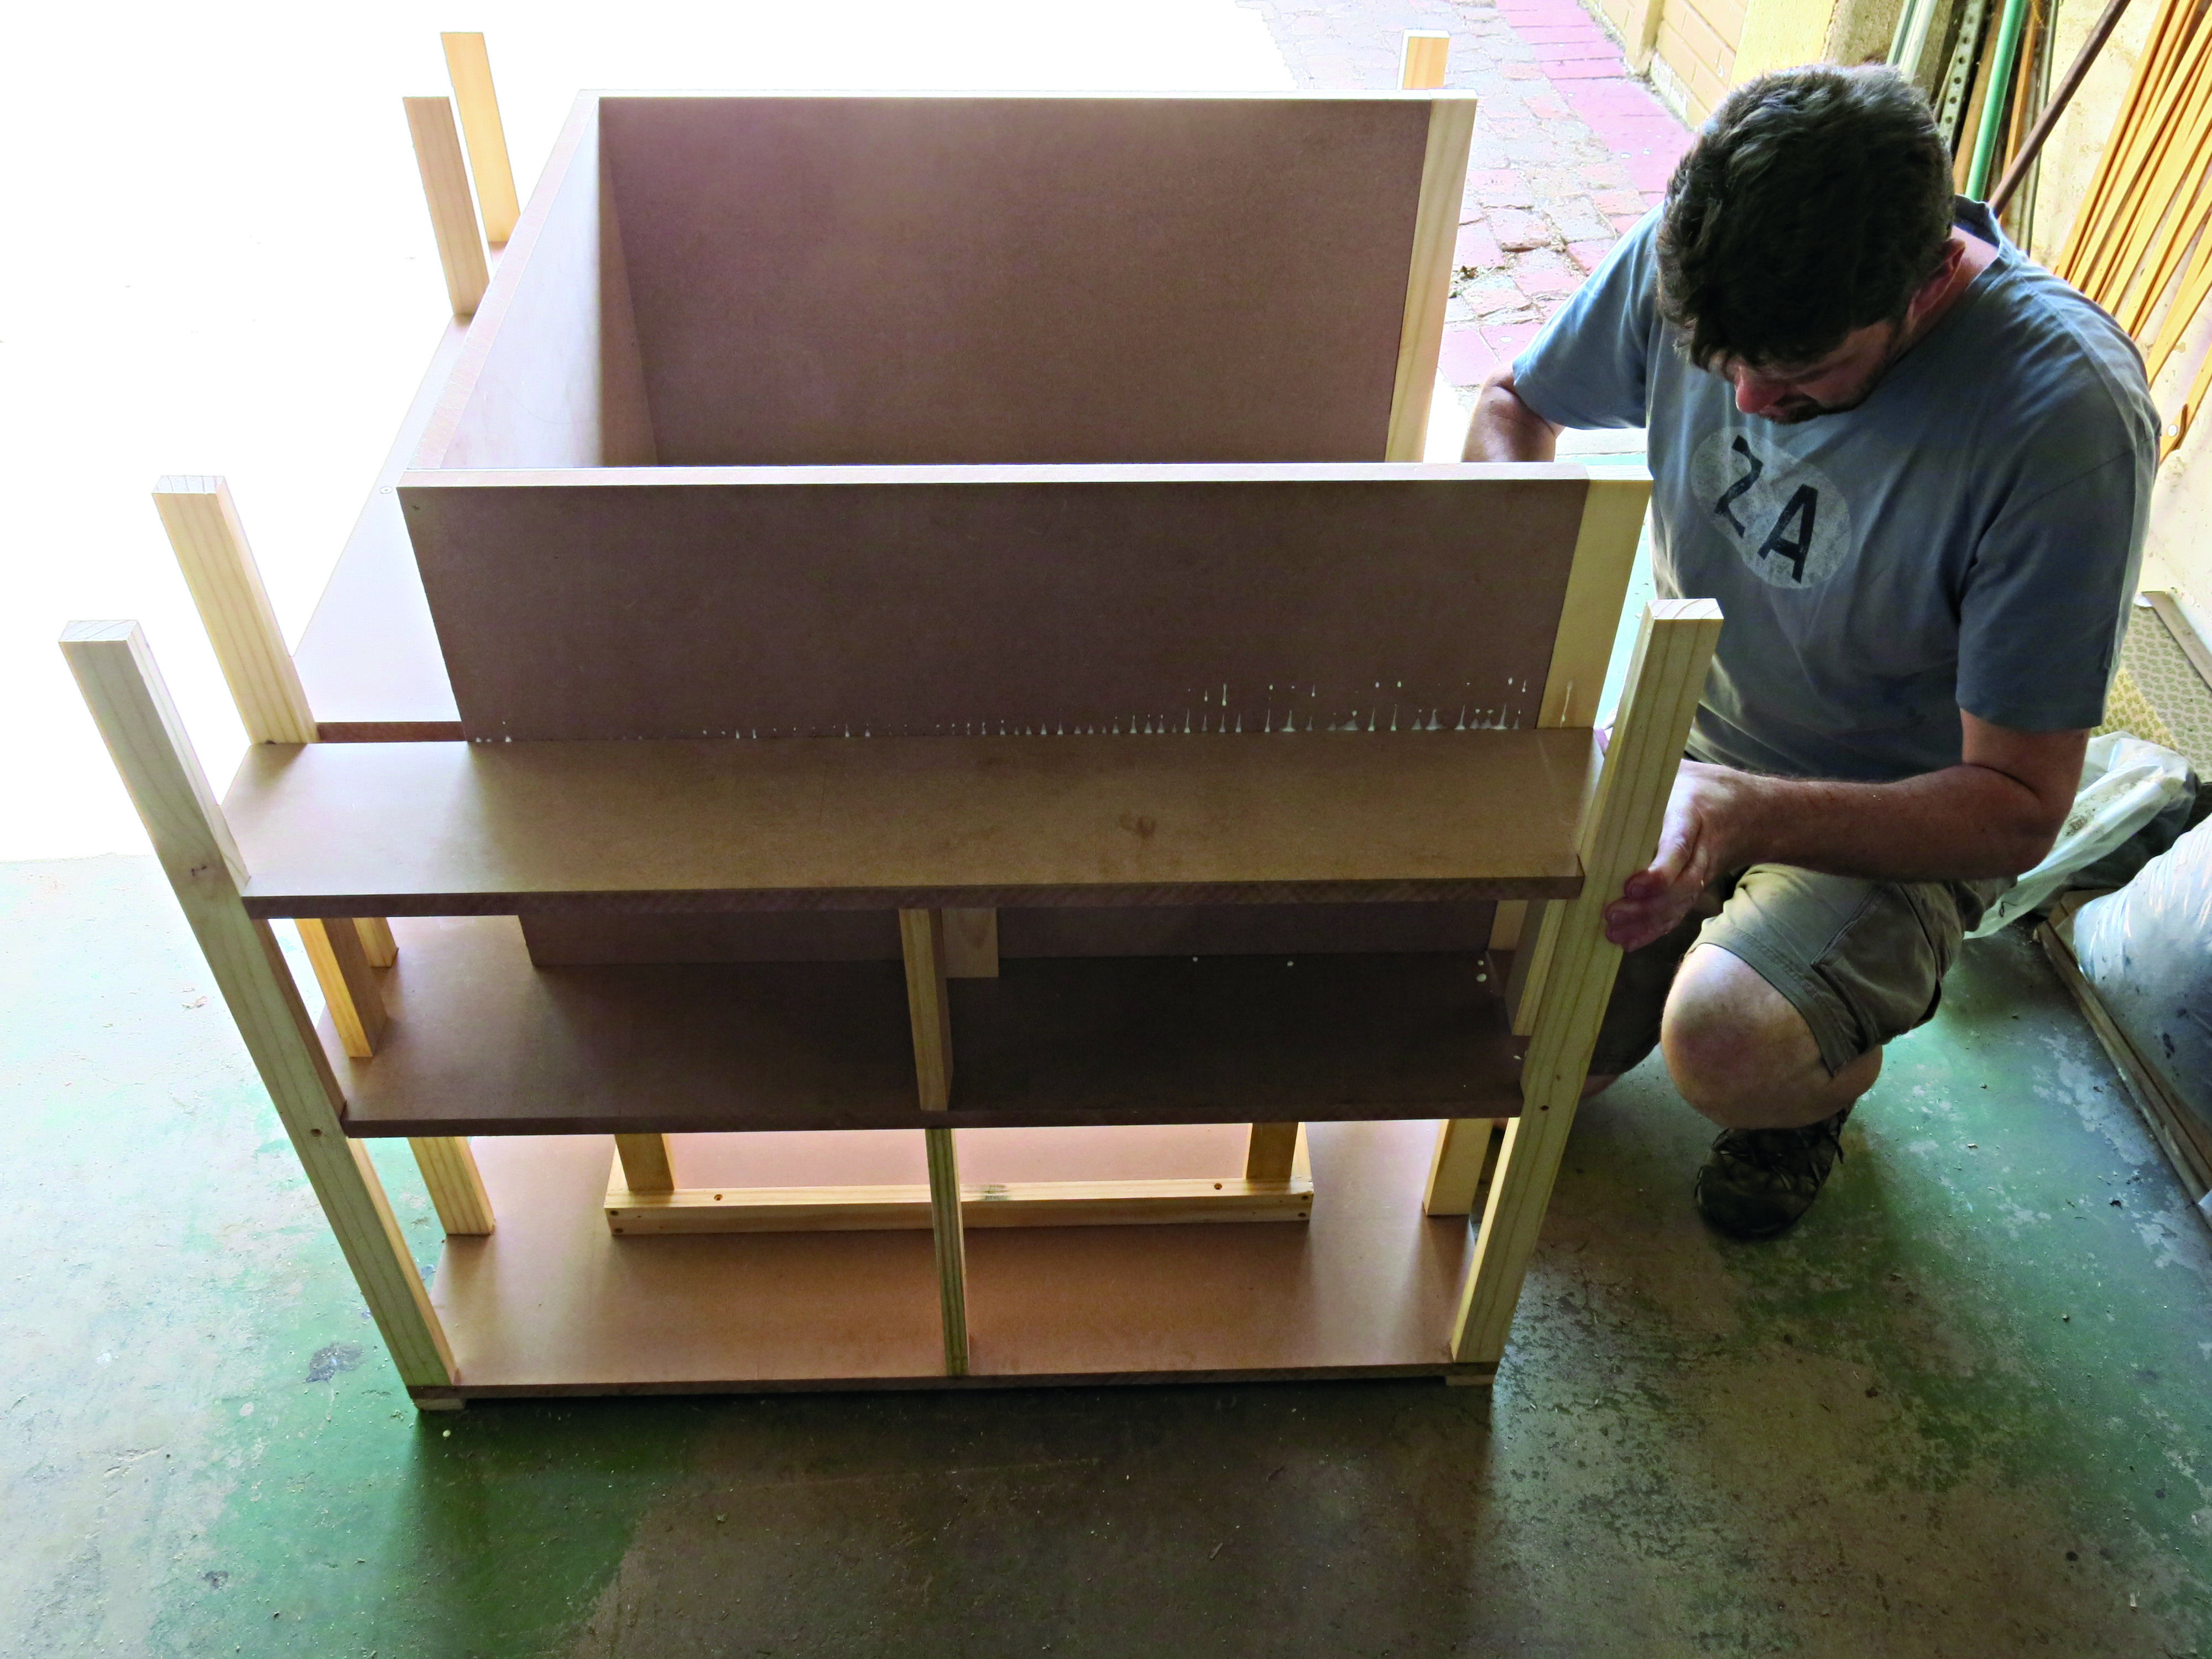
Now turn the base over onto the feet and place the seat piece in position so that the uprights fit into the slots you cut out.
Step 9
Make sure the edges of the seat correspond with the edges of the base before you glue and screw the uprights in position with 70mm screws.
Step 10
Attach the seat to the frame using 40mm screws
Step 11
Place one of the side pieces (462mm x 796mm) on its long, narrow side so the front aligns with one of the inner uprights.
Step 12
Place the backrest between the two sides so it aligns with their back edges. Use the corner clamp to keep everything in place.
Step 13
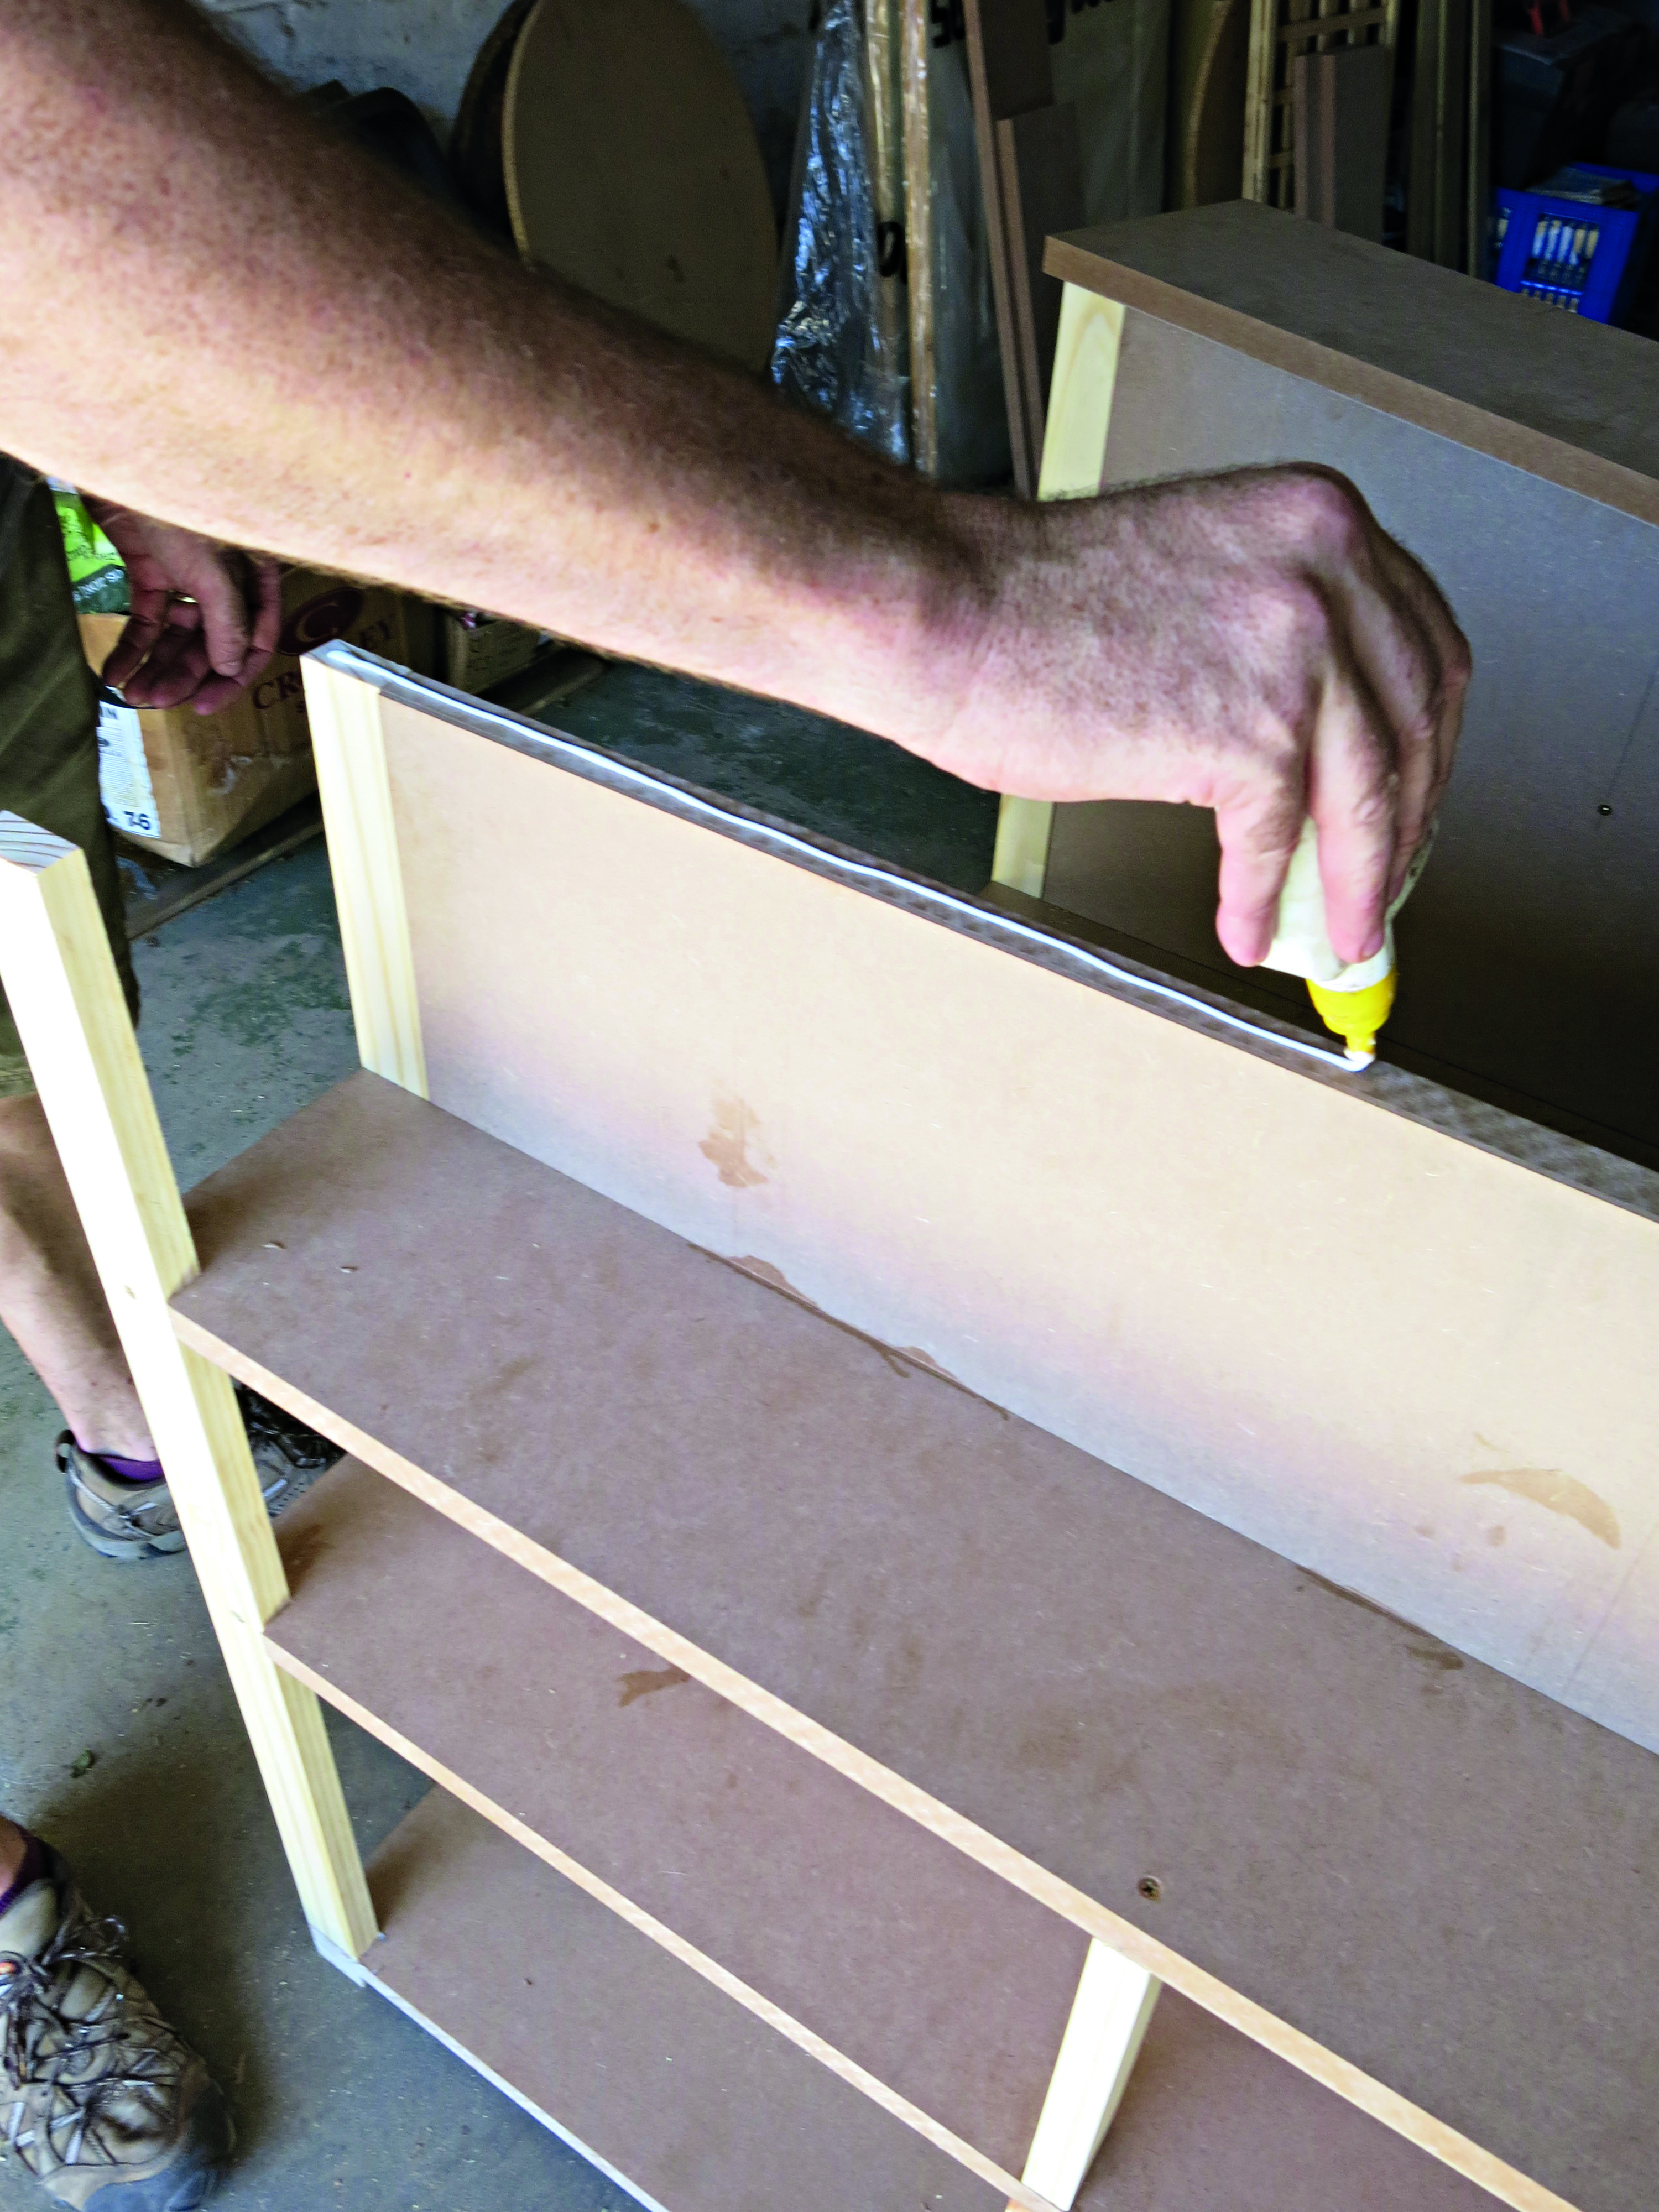
Glue and screw the backrest to the sides using 50mm screws. Cut six 220mm lengths and four 360mm lengths from the remaining pine planks. Measure on the inside of the backrest 230mm from the seat and draw a line across it. Apply glue to the long, narrow side of the 160mm x 636mm piece of SupaWood and use three of the 220mm lengths of pine as temporary supports. Place your piece of SupaWood at the back side of the seat onto them, between the two inner uprights.
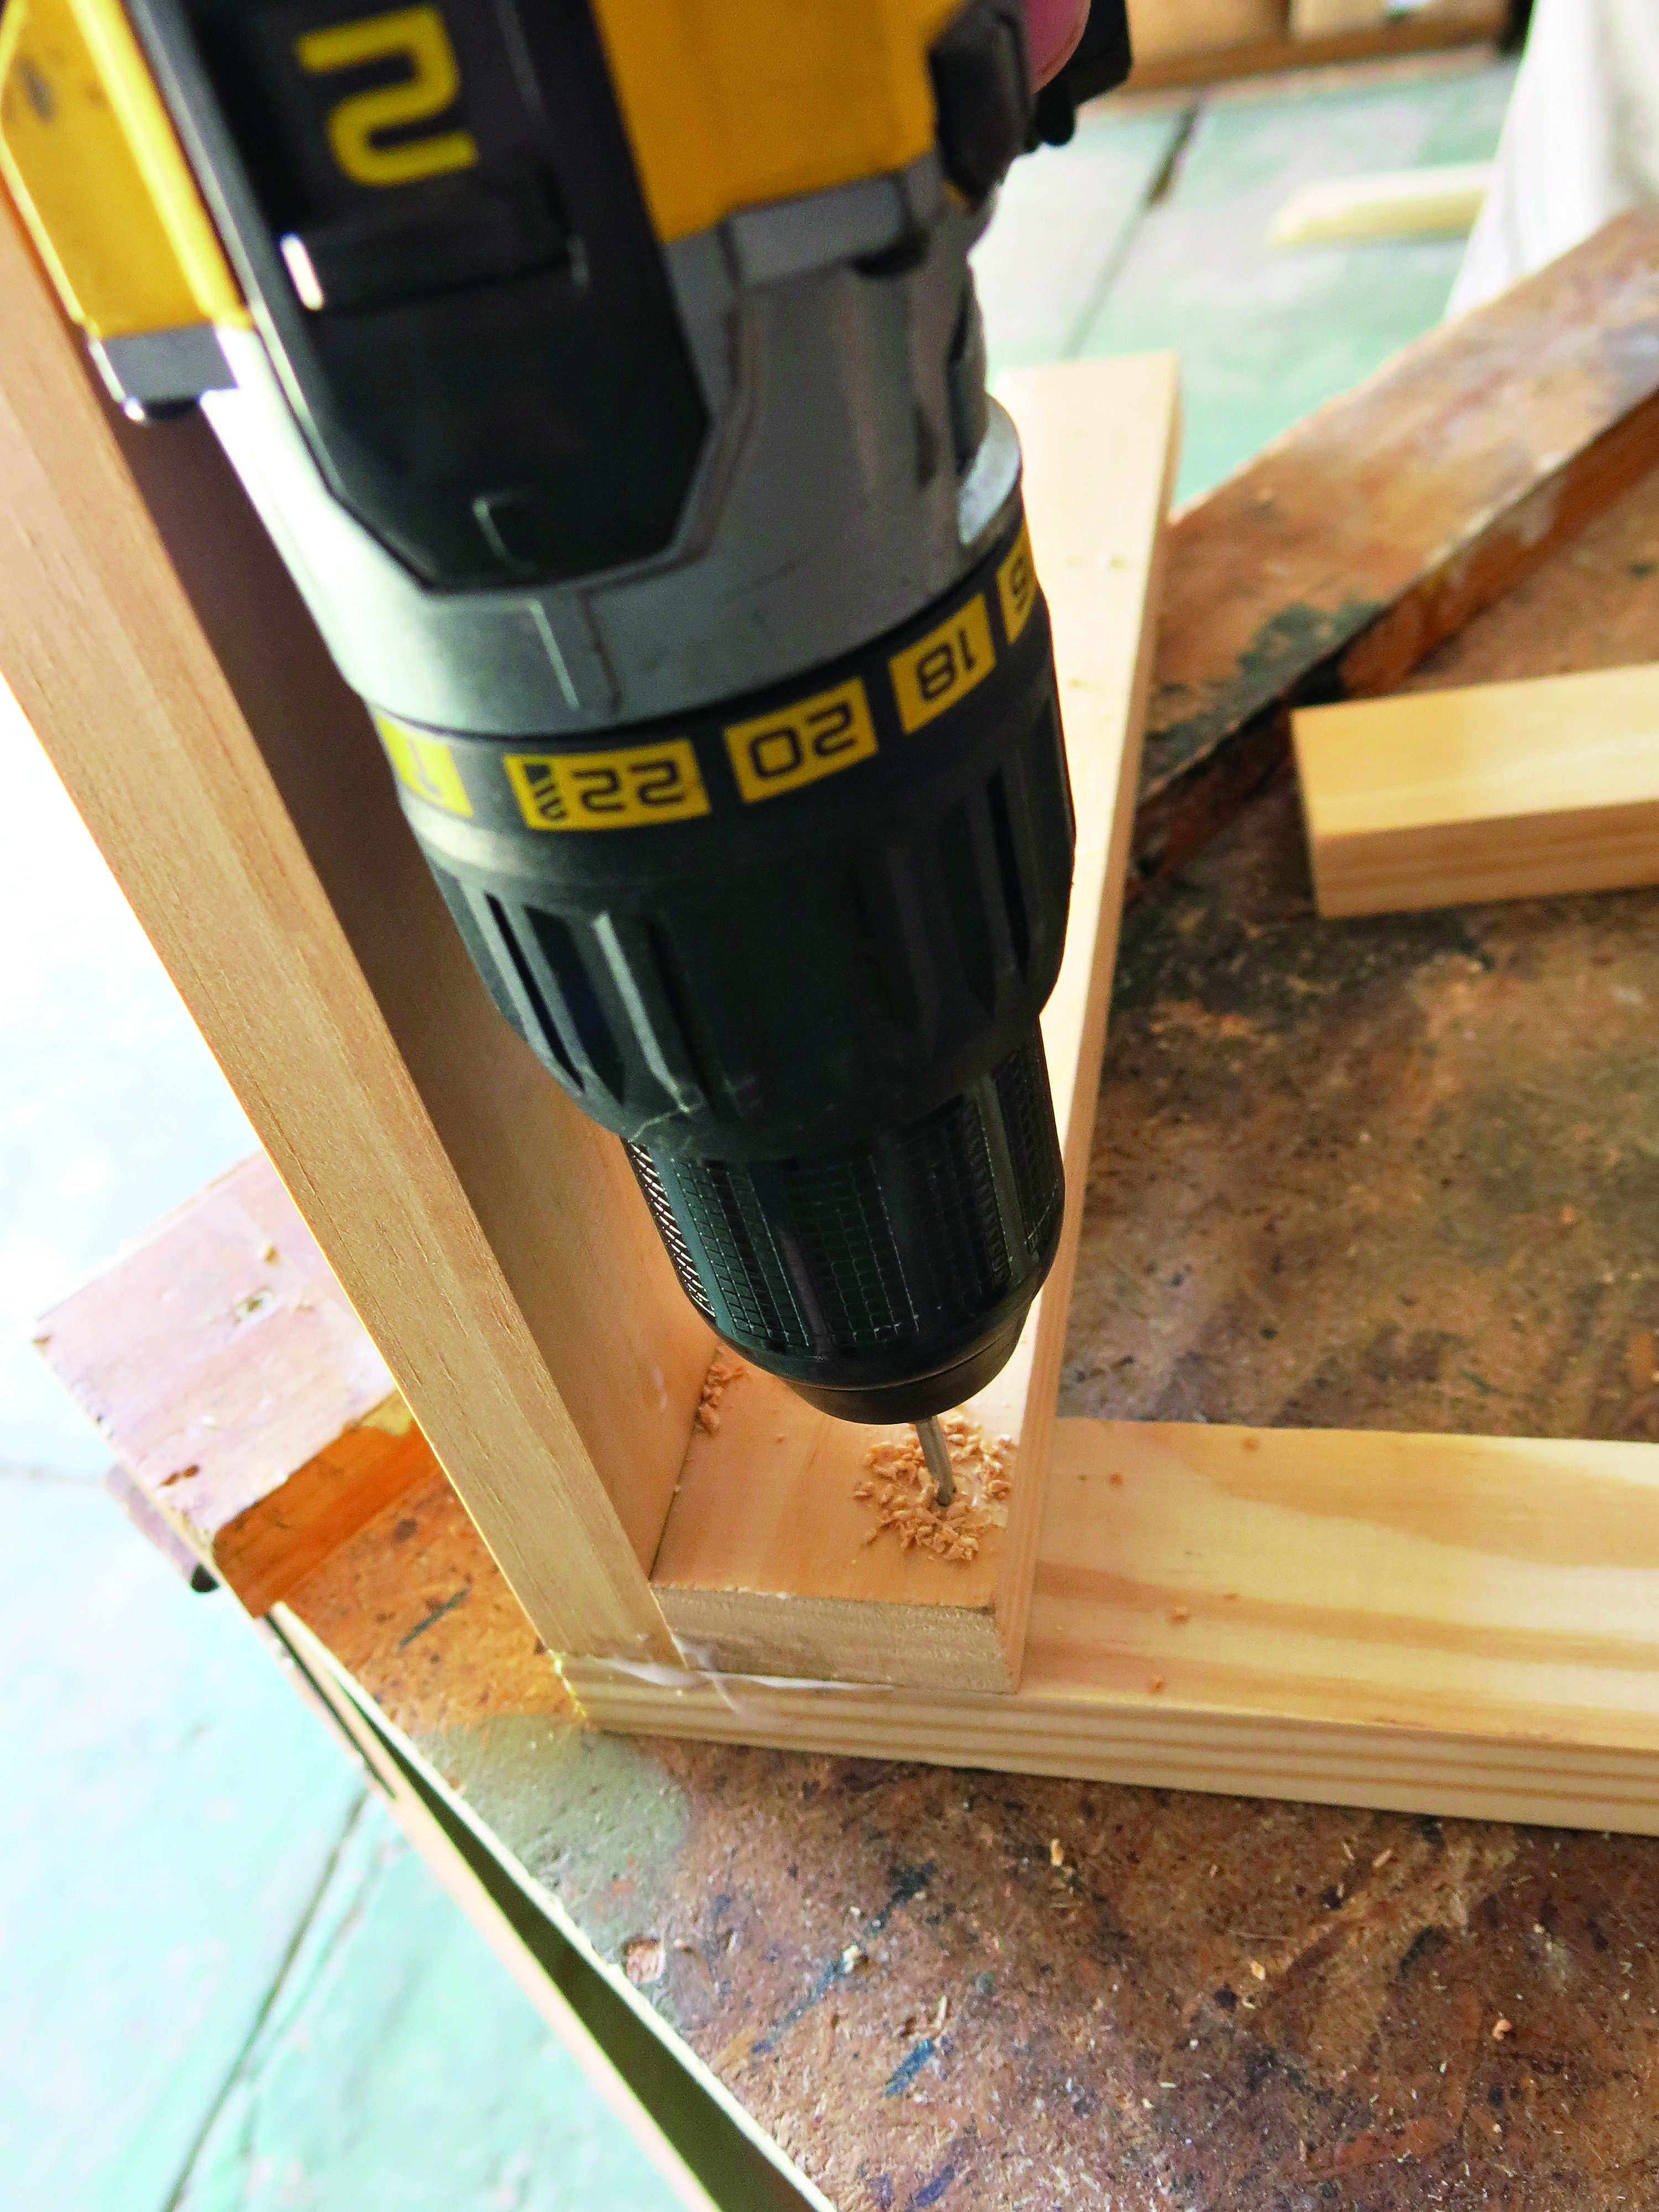
Step 14
Now drill pilot holes on the line you drew on the inside of the backrest and attach the shelf at the back with 50mm screws. Also use 50mm screws to attach the shelf to the two uprights. You can now remove the temporary supports.
Step 15
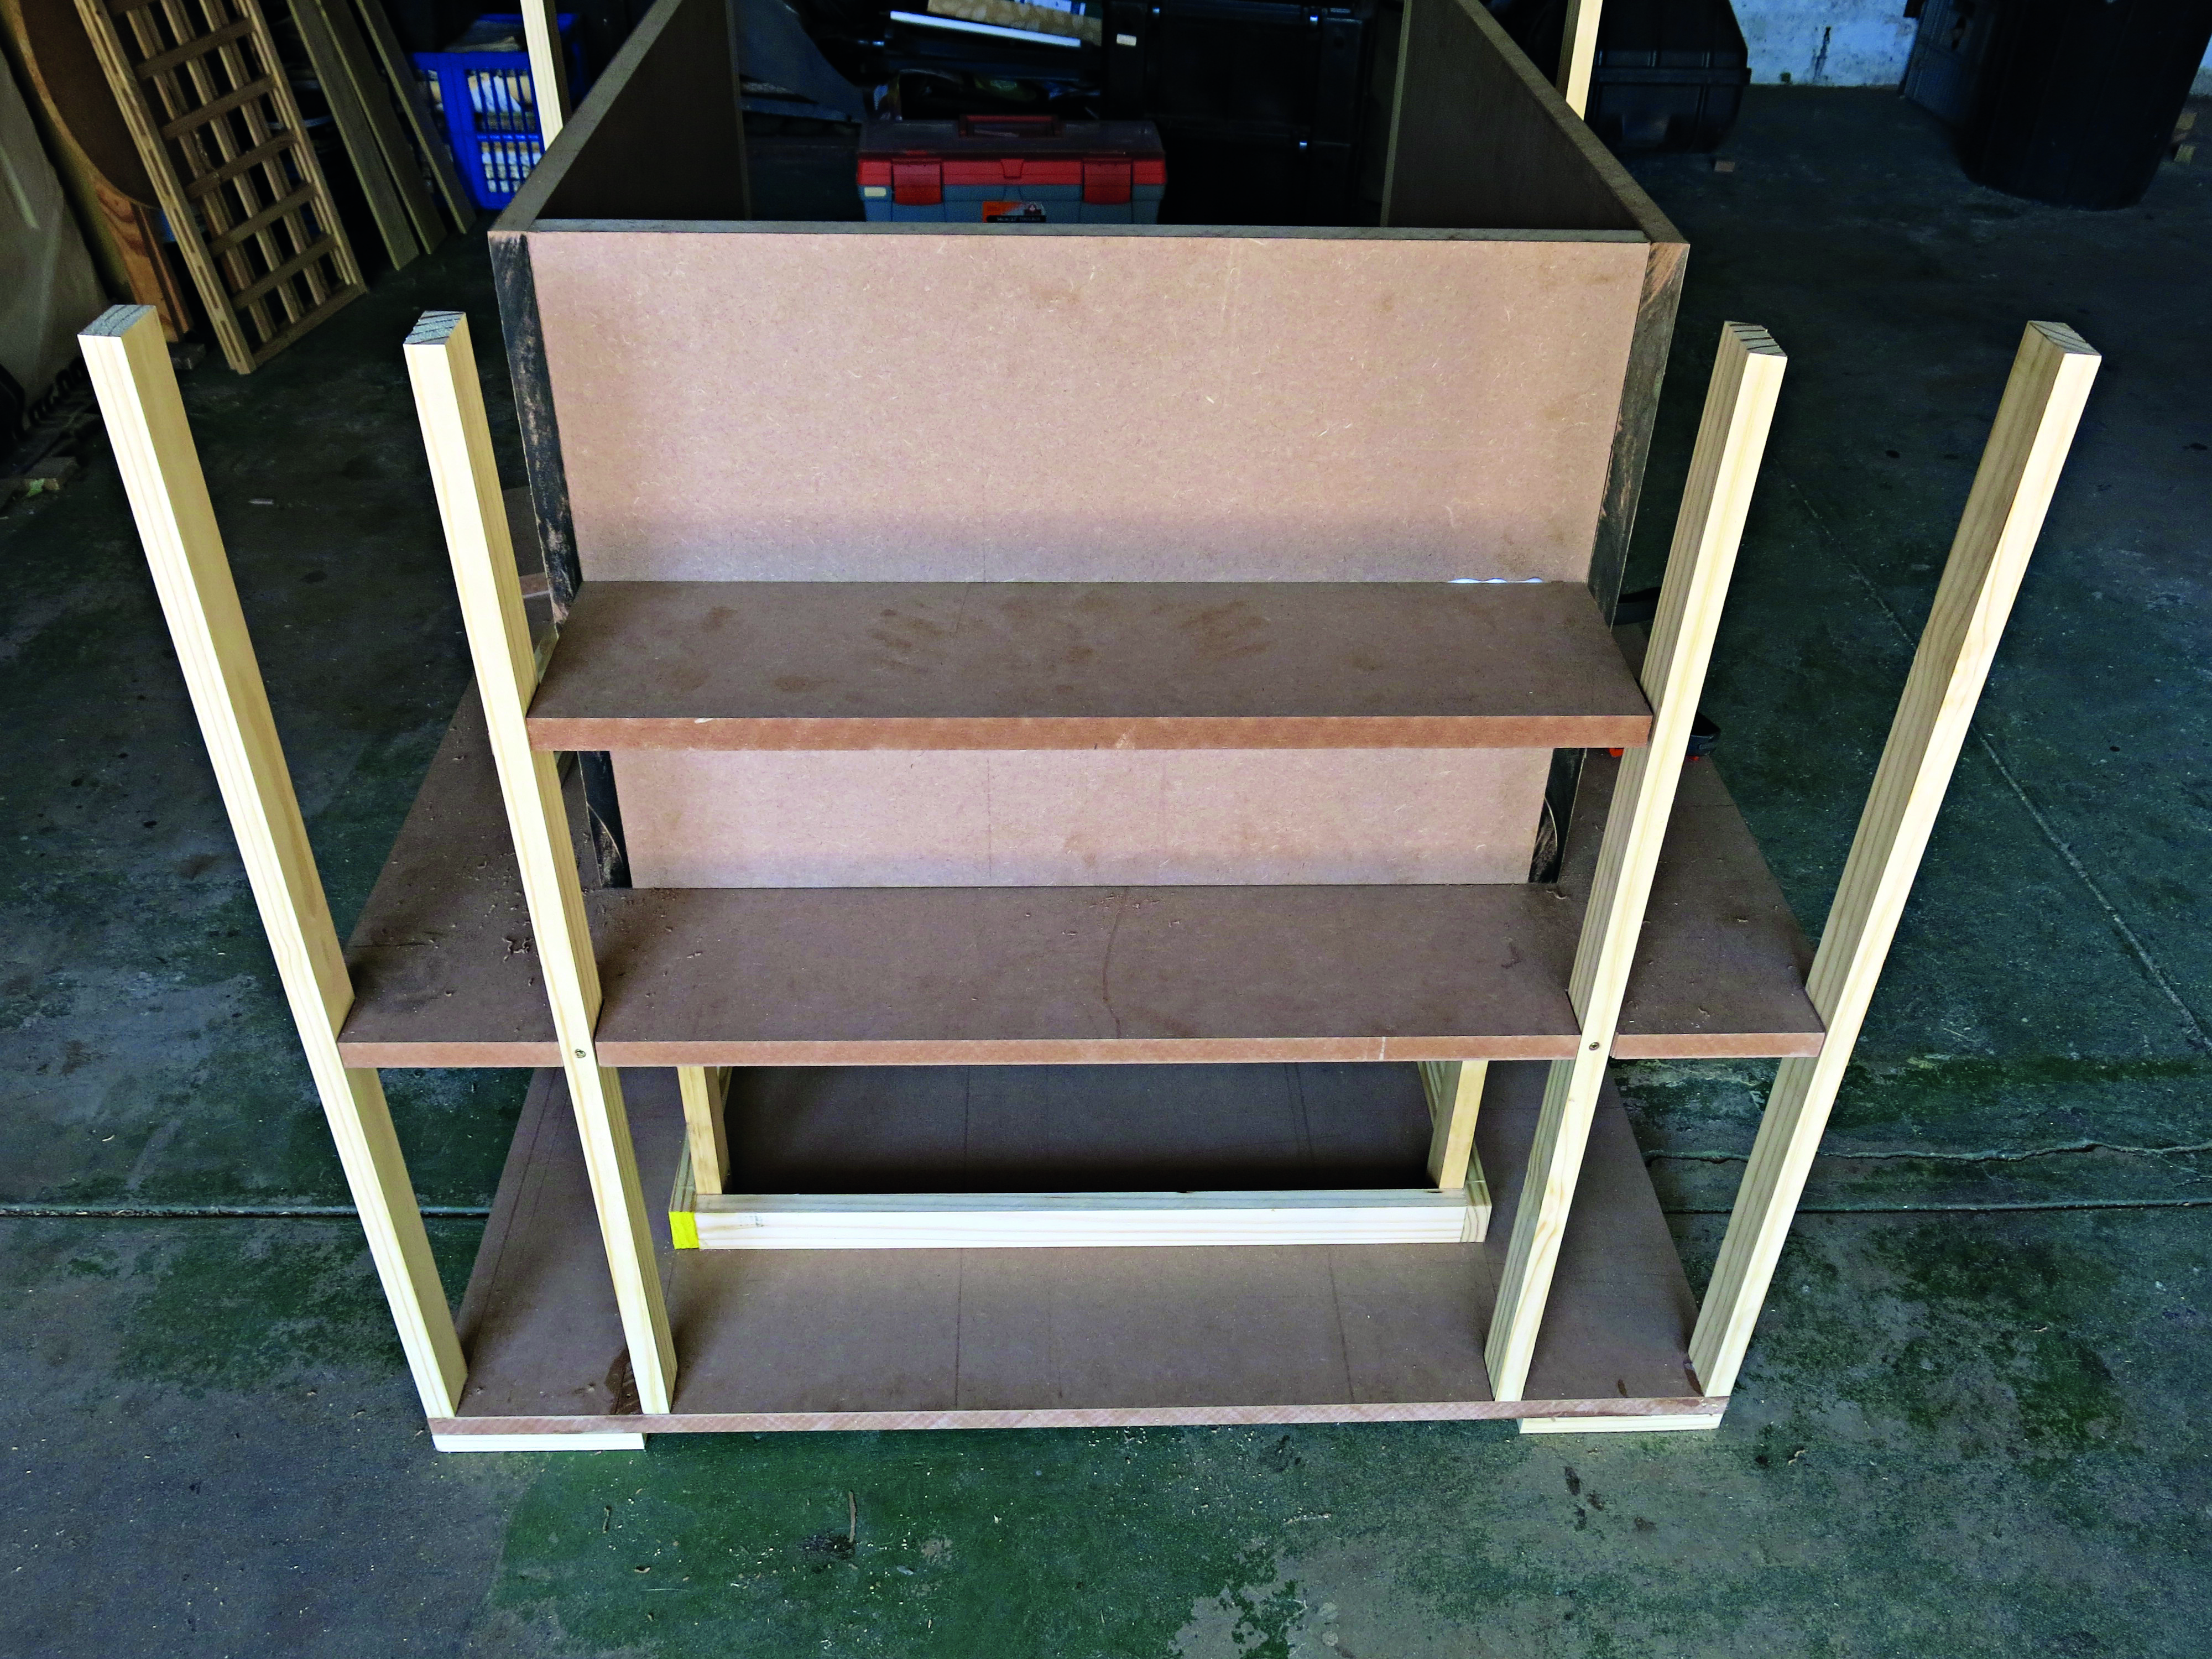
Turn your chair onto its side again and measure on each side on the base and on the middle shelf 500mm from the corner.
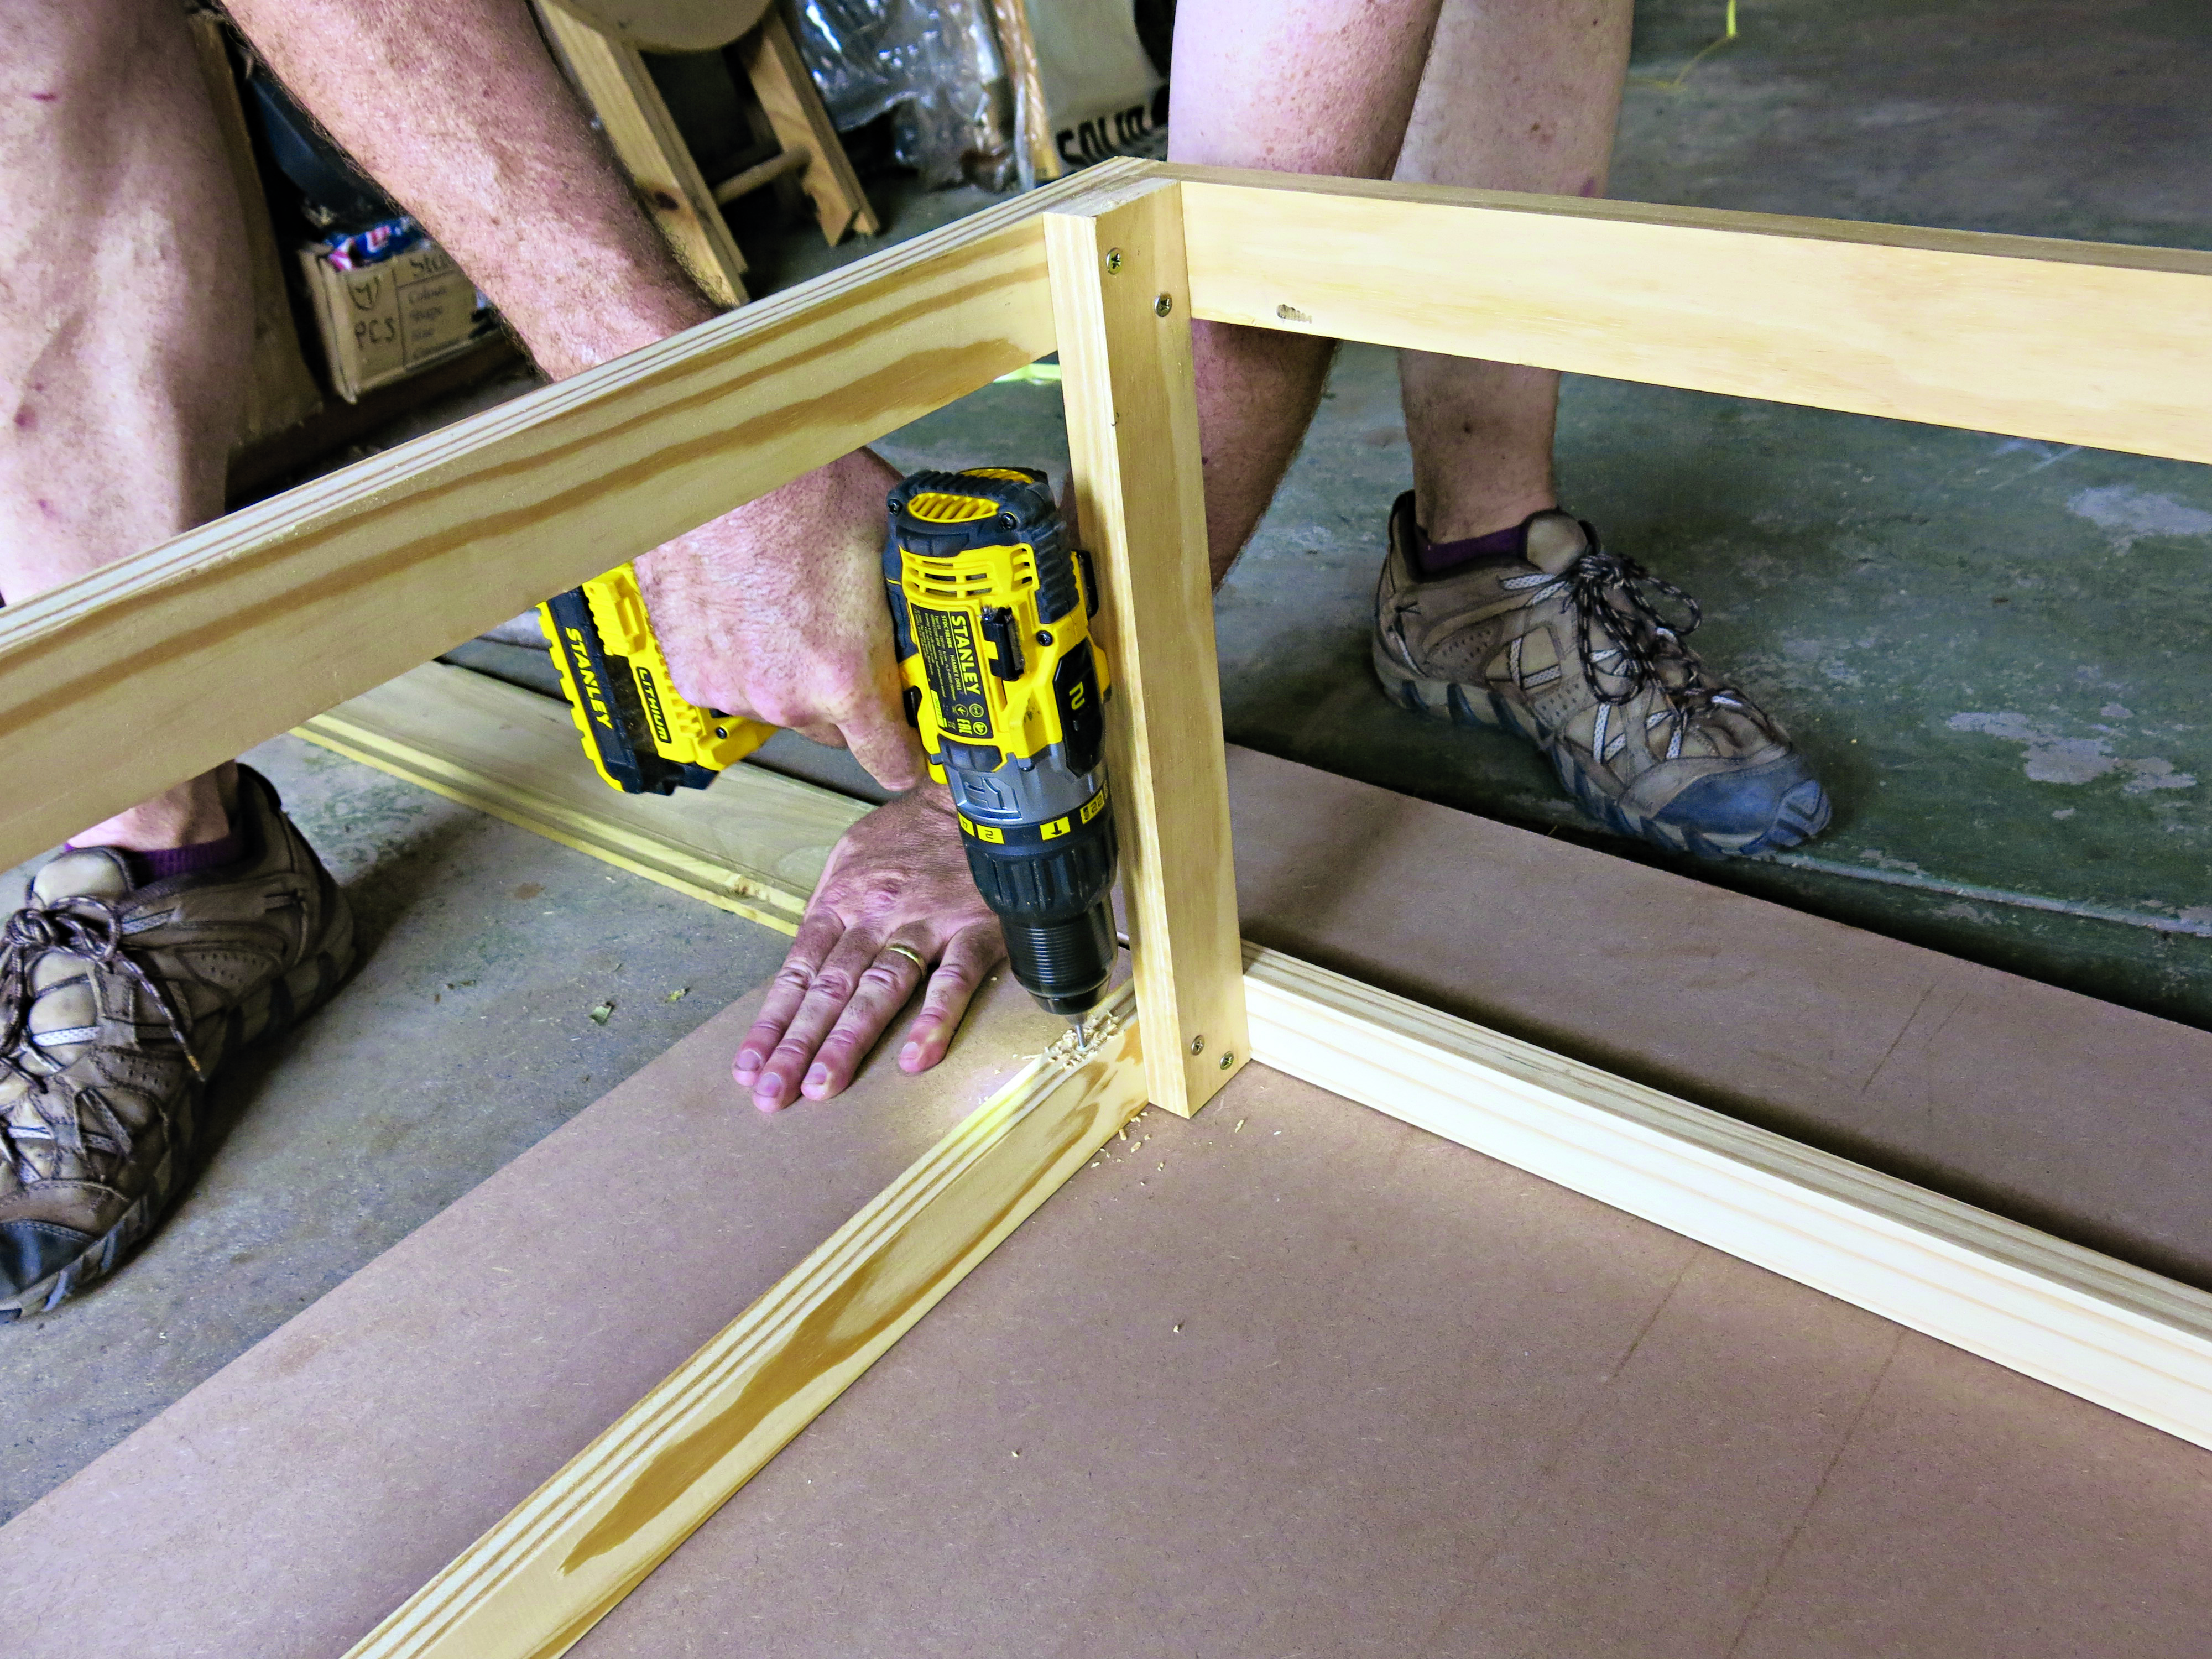
Step 16
Glue and screw the four 360mm pine pieces between the base and the seat/middle shelf onto these markings.
Step 17
On two of the corners of each of the shelves, draw a 22mm x 44mm block as you did with the seat.
Step 18
You can again draw the outline of a scrap block onto it or you can mark it by first marking the wide, flat side of the plank onto the wood and then the narrow side.
Step 19
Cut out the corners with the fret saw.
Step 20
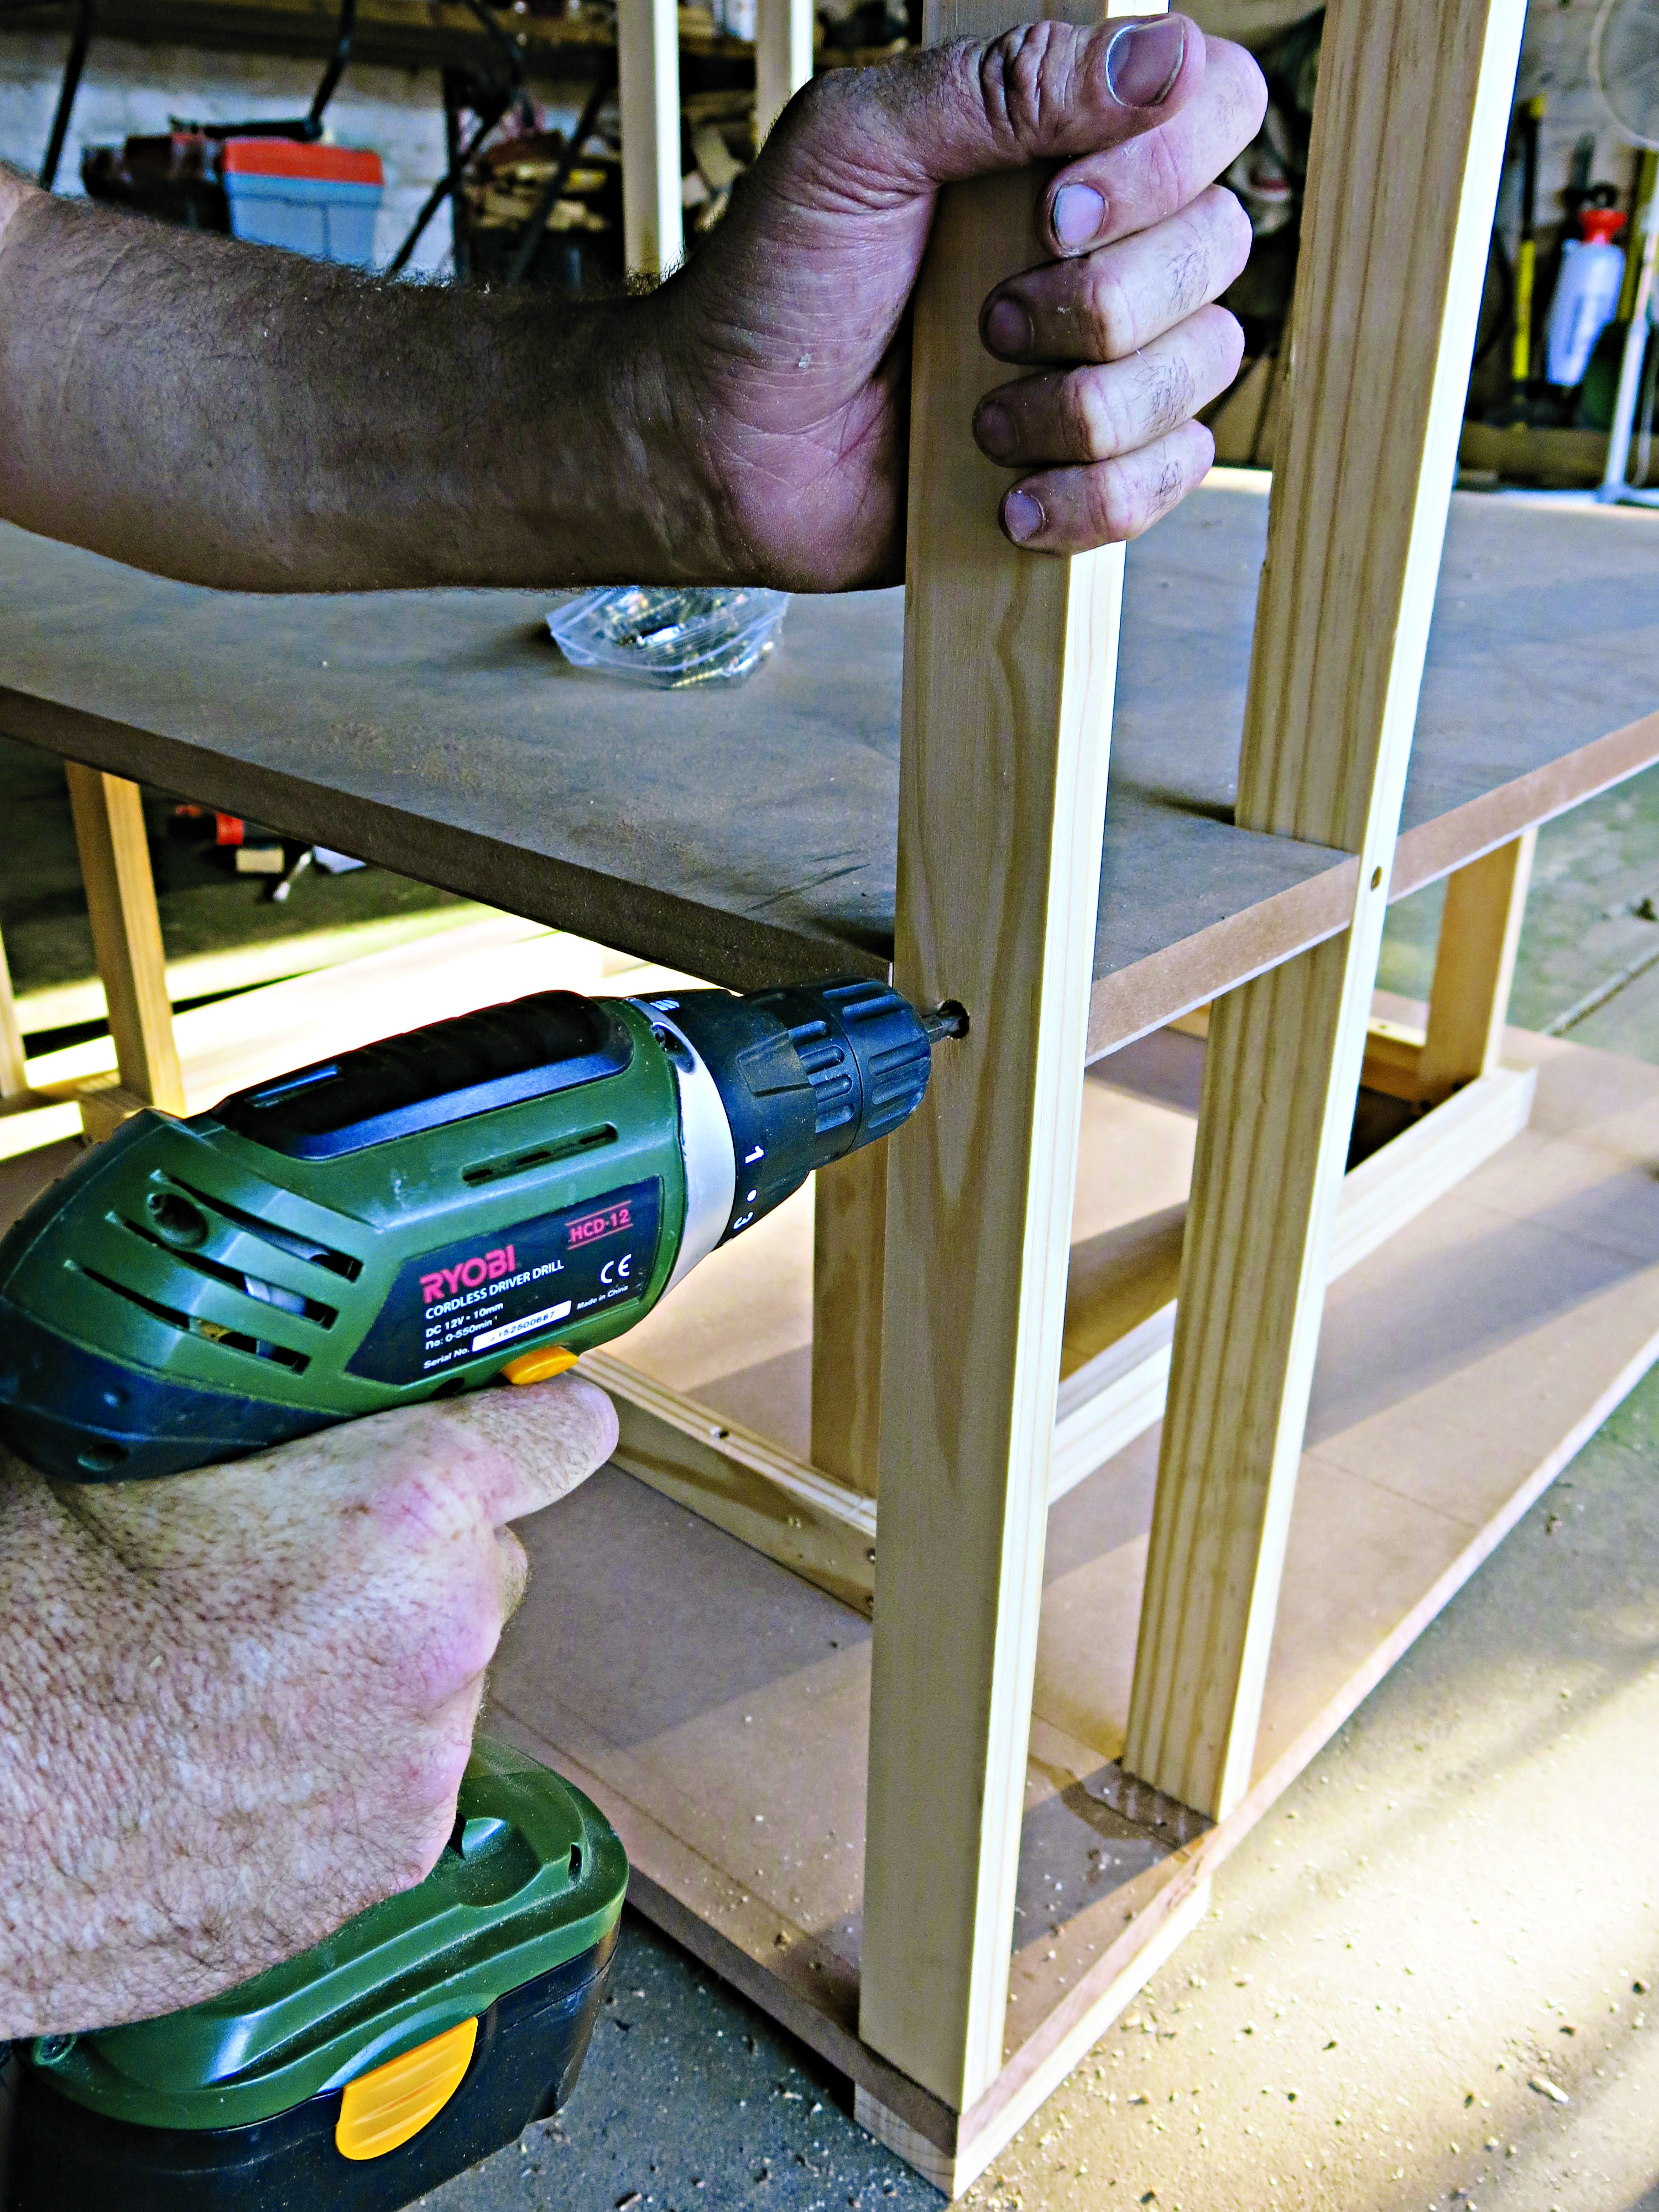
Place the shelves in position, and glue and screw them from the inside as you did with the back upper shelf. Also attach the shelves to the uprights with 50mm screws.
Step 21
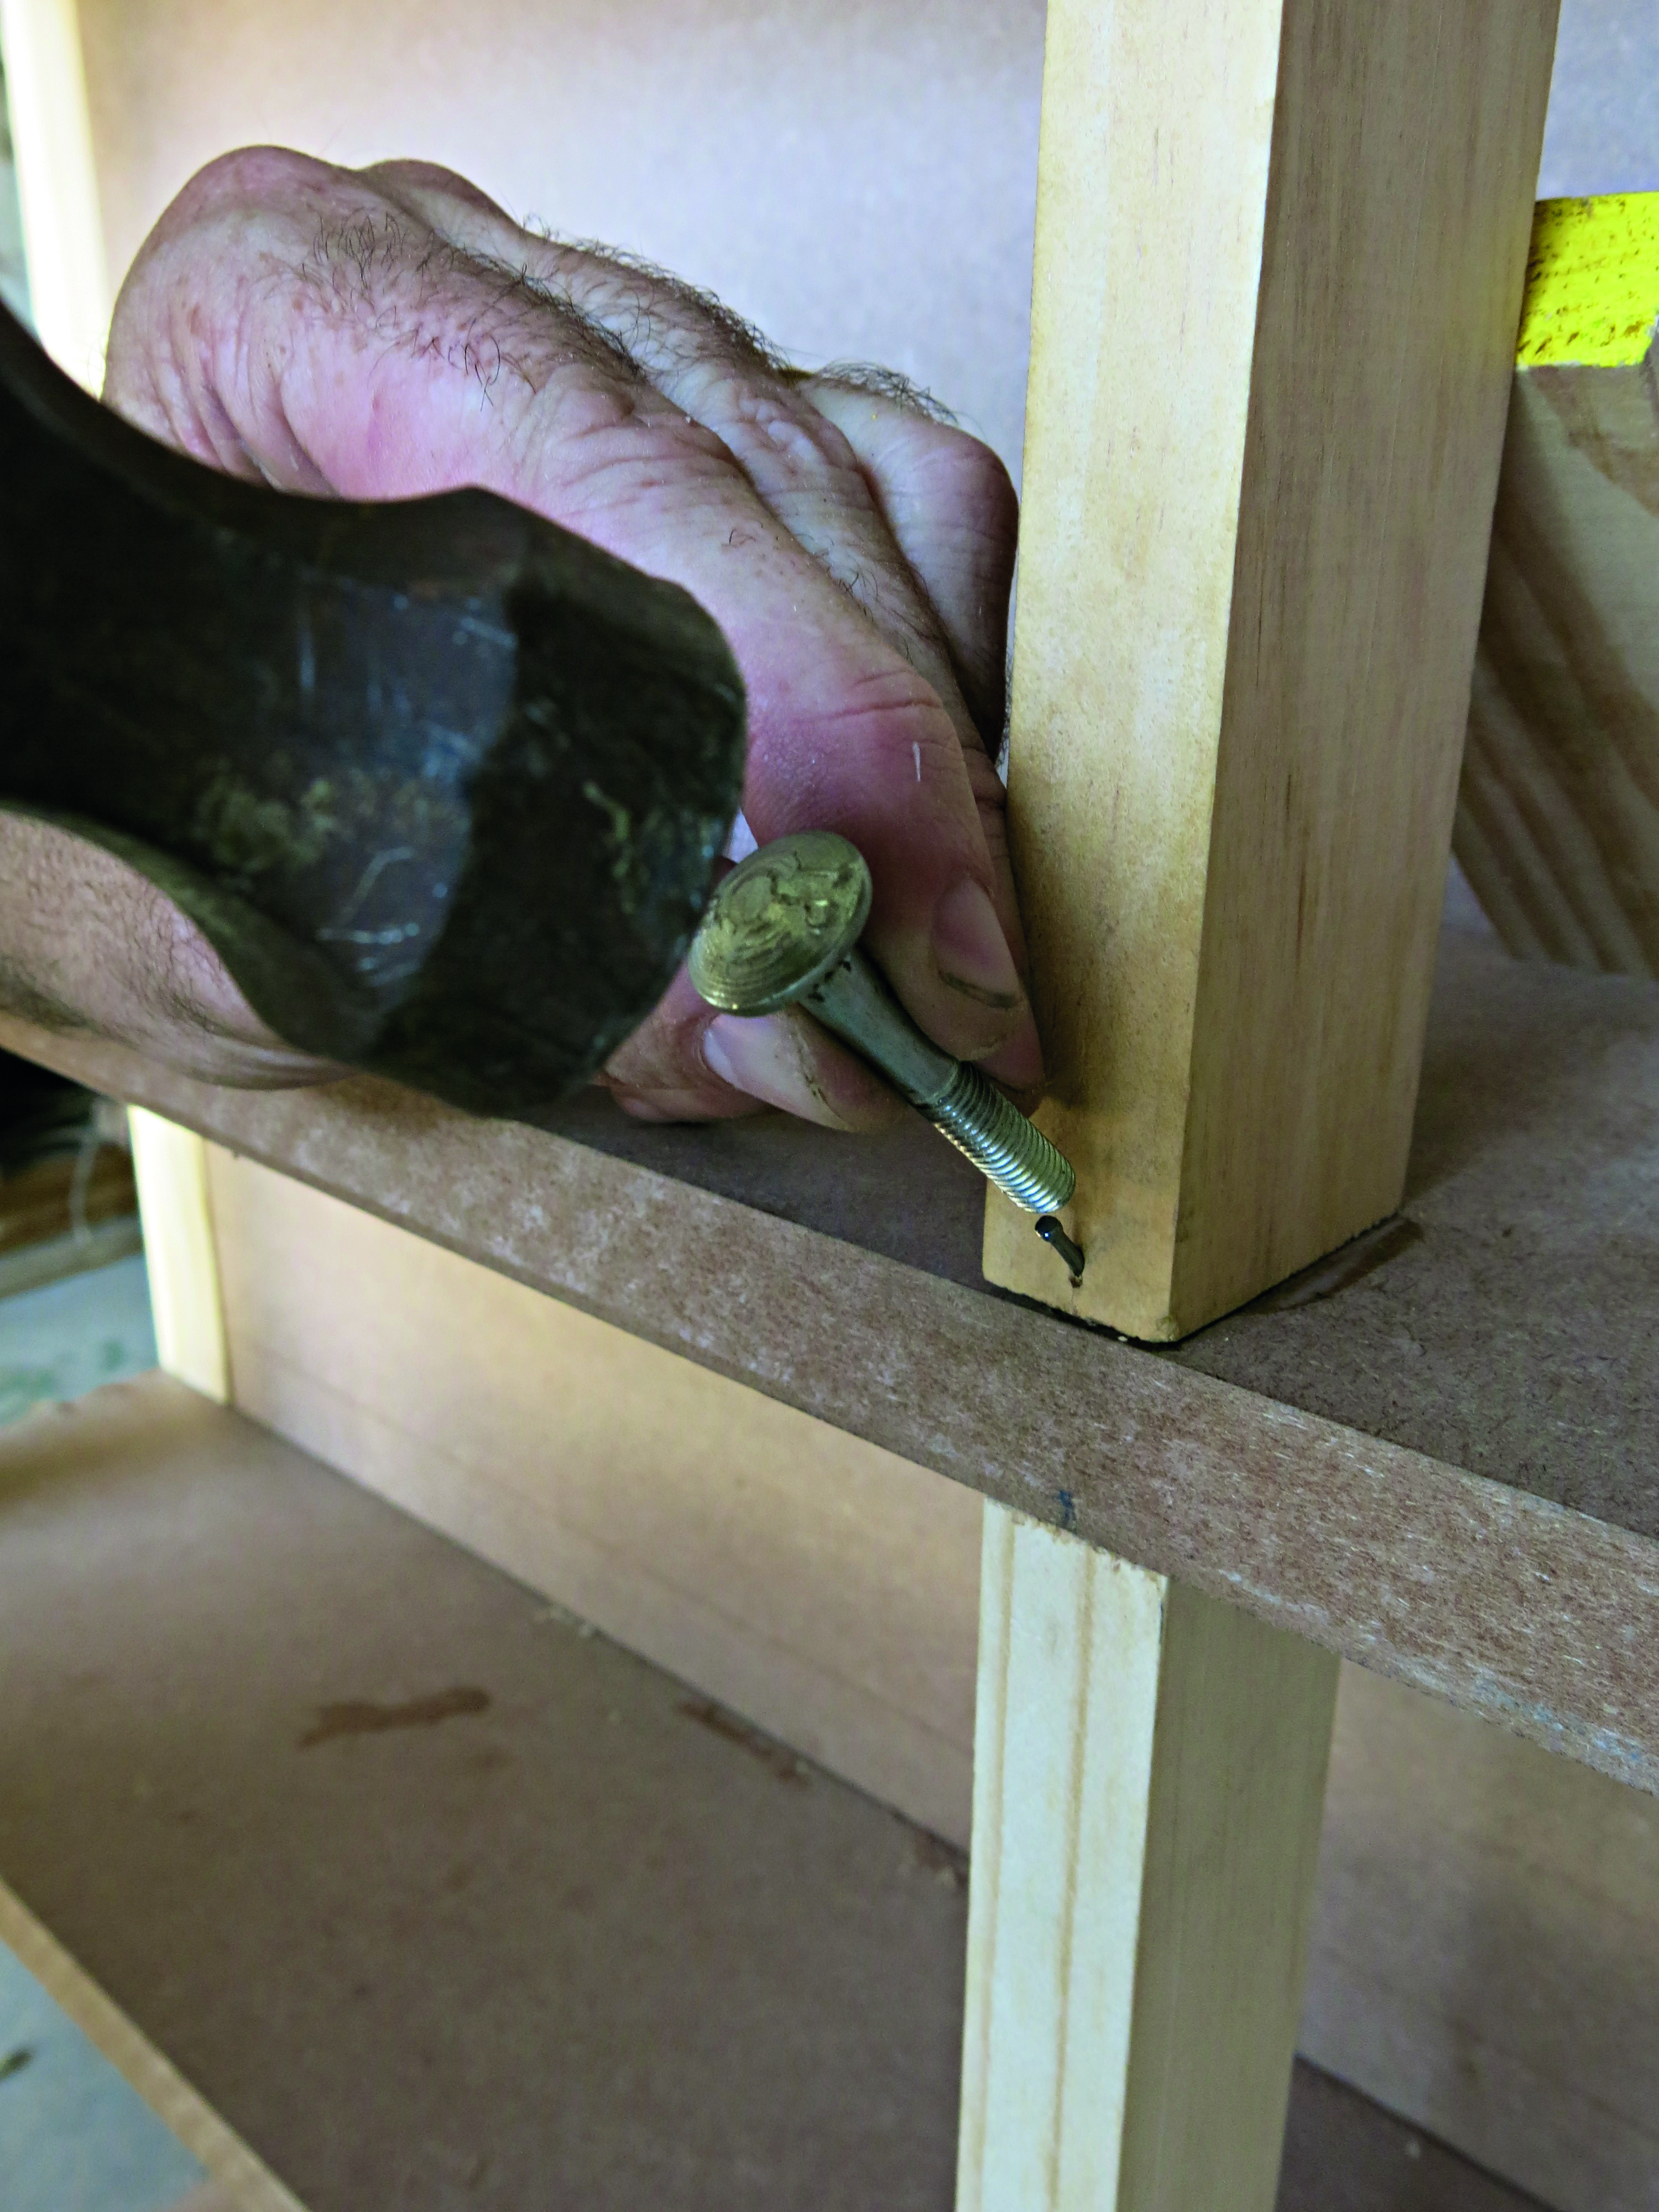
Now place the 220mm pine pieces at the two sides and at the back between the middle shelf and the top shelf. Take care to keep them in line with the longer pieces you’ve used below. Apply glue to the undersides of these pieces and screw them down from above. Hammer in panel pins diagonally at the bottom edge to keep it in place to allow the glue to dry thoroughly.
Step 22
(If the hammer head is too big, use a bolt to hammer in the panel pins.) Apply glue to the top edges of the sides and backrest and the top of the uprights.

Step 23
Place the armrests on top and screw them down. Attach the remaining piece of SupaWood to the top edge of the backrest between the two armrests and use panel pins to keep it in place. Cut each of the three pieces of hardboard to 360mm x 680mm, and turn your chair over onto its side. Glue and hammer the hardboard to the front and sides of the frame between the base and seat using panel pins.
Credits
Referenced from Gallo images / go! Platteland
Browse 1000’s of products available to you. Select your country to Shop Online.


