We show you how to paint a forest and create a treetop bed.
- Paint in the colour of your choice; we used black and white
- painter’s tape
- paintbrushes (medium and small)
- chalk
- ladder
Step 1
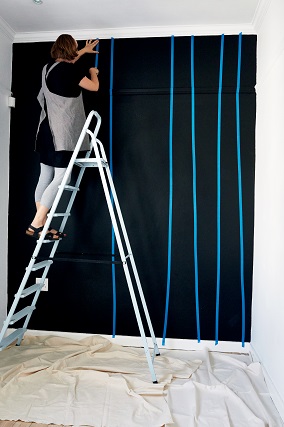
Cover the designated wall with two coats of black paint. Once the paint has dried completely, mask the tree trunks out using blue painter’s masking tape. Remember that trees don’t grow perfectly straight, so your lines should be a bit organic.
Step 2
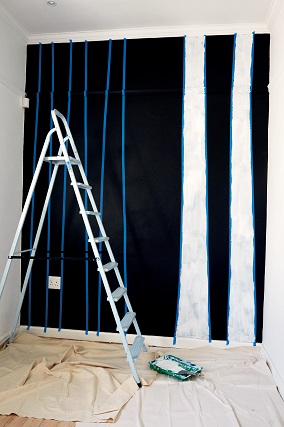
Paint the tree trunks with 2–3 coats of white then let it dry and remove the painter’s tape.
Step 3
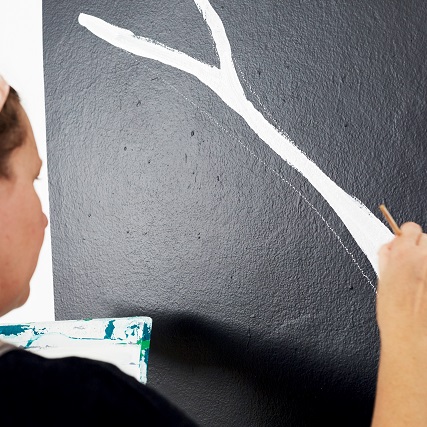
Use the chalk to draw your branches. When you’re happy with their position, paint them with a small brush and wipe off the chalk lines.

Step 4
Dab the end of a dry brush in the black paint and make marks on the tree trunks.
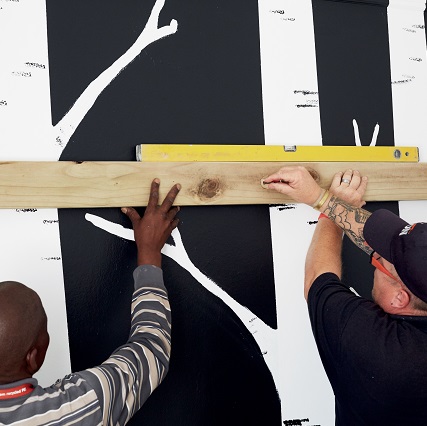
Step 5
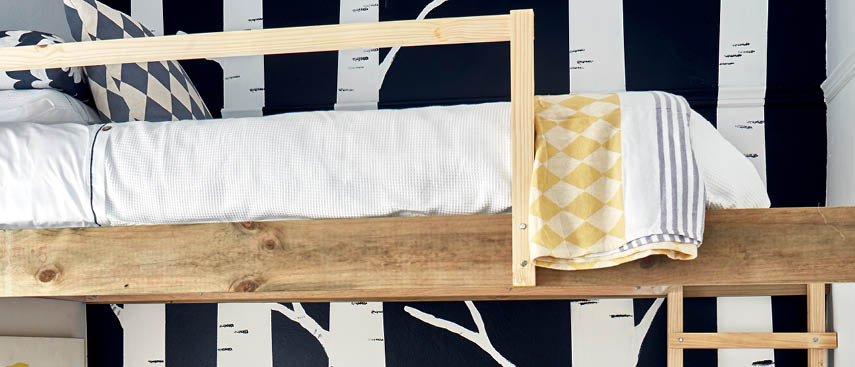
The bed was professionally installed against the wall with roof trusses. The room is narrow, so only two trusses were needed to fix the original pine bed frame to the wall.
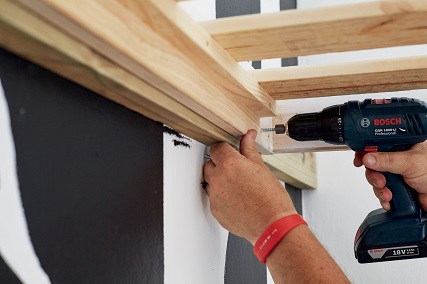
Step 6
The legs of the bed were removed, then the frame was screwed into the trusses. A ladder provides easy access!

Quick tip
For safety’s sake, make sure the bed has a side railing.
Credits
Referenced from Gallo images / Home Magazine
Browse 1000’s of products available to you. Select your country to Shop Online.


