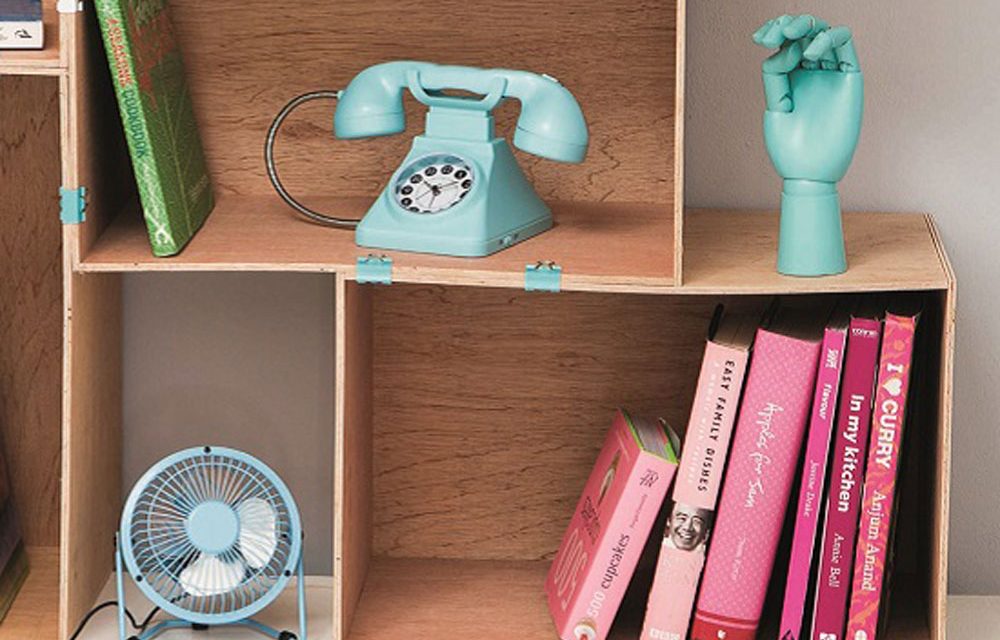
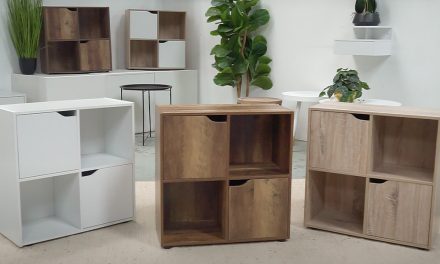
Organise your home office with this novel bookcase. You will only need a few materials for this DIY!
Materials you will need:
- Sandpaper
- Nail gun with 14mm nails
- 19 x 1 220 x 2 440 mm commercial plywood (makes 4 boxes)
- 6-8 fold back clips
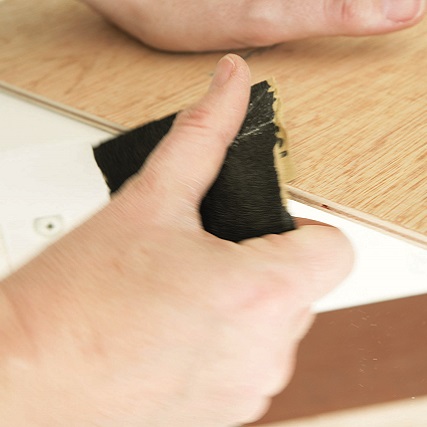
Step 1
Sand all the edges smooth.
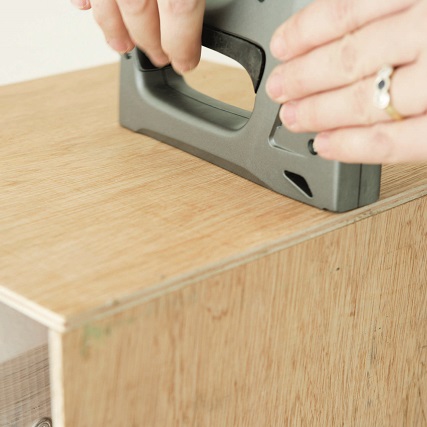
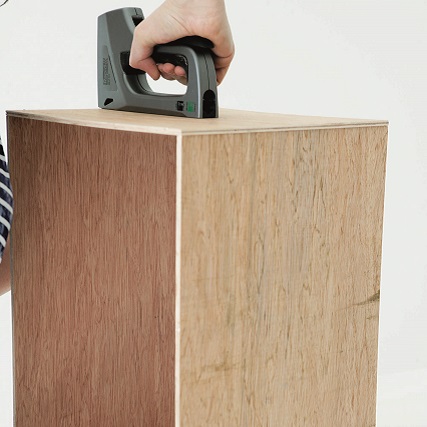
Step 2
Place a P1 at right angles against a P2 and nail in place with the nail gun.
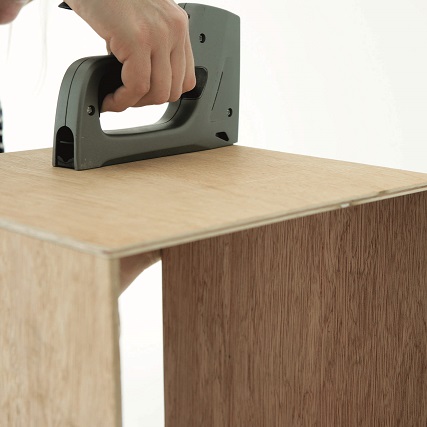
Step 3
Place another P2 on the opposite edge of the P1 you used in step 2 and nail in place.
Step 4
Attach another P1 to the opposite side of the P2s
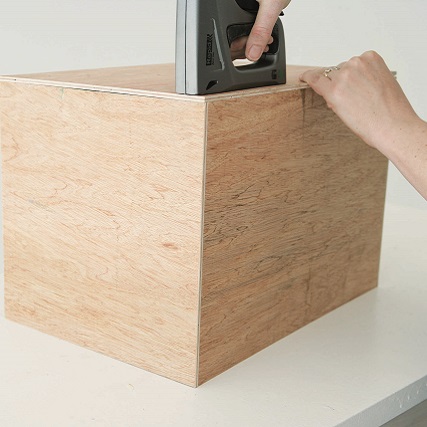
Step 5
Nail a P3 at the base of the box
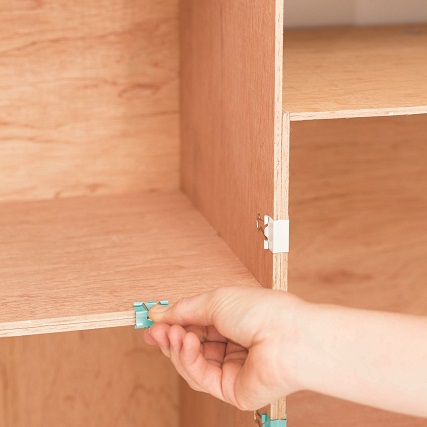
Step 6
Arrange the boxes on top of one another in an interesting way, creating smaller spaces in between. Secure the boxes in place with the fold back clips.
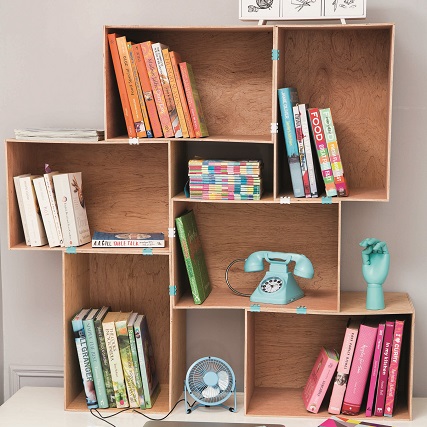
Quick tip
Paint the bases of the boxes in various pastel colours to create an eye-catching pattern.
Credits
Referenced from Gallo images / YOU Magazine
Browse 1000’s of products available to you. Select your country to Shop Online.


