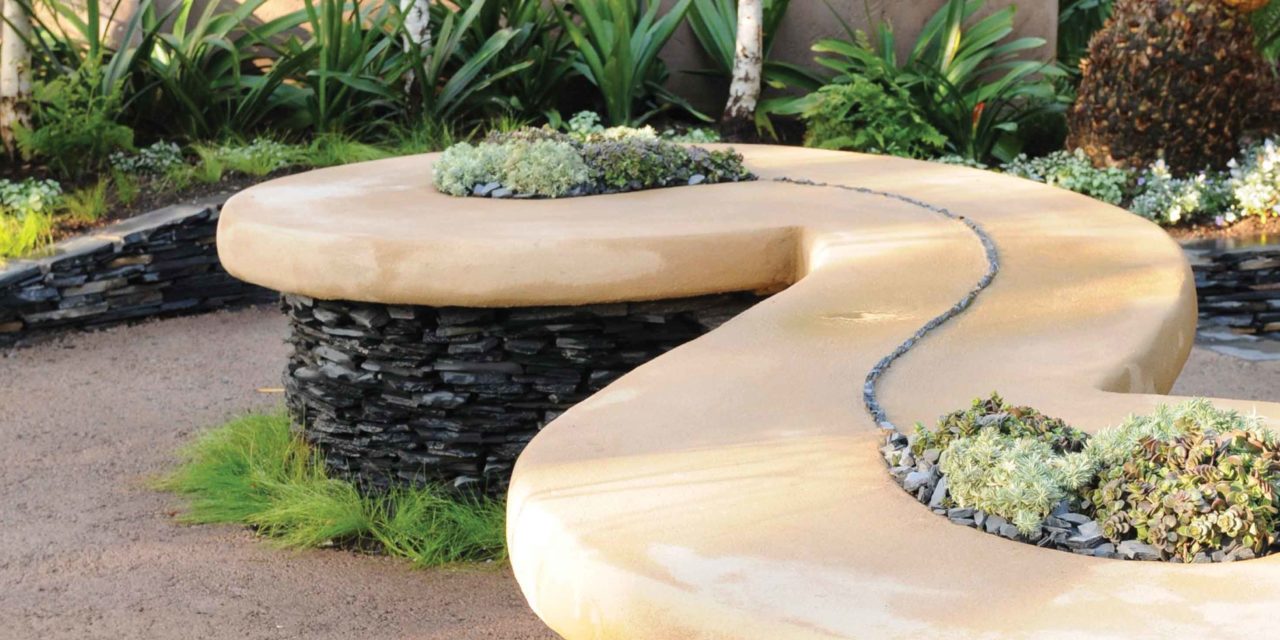
Use your imagination to create your own moulded concrete seating in your garden.
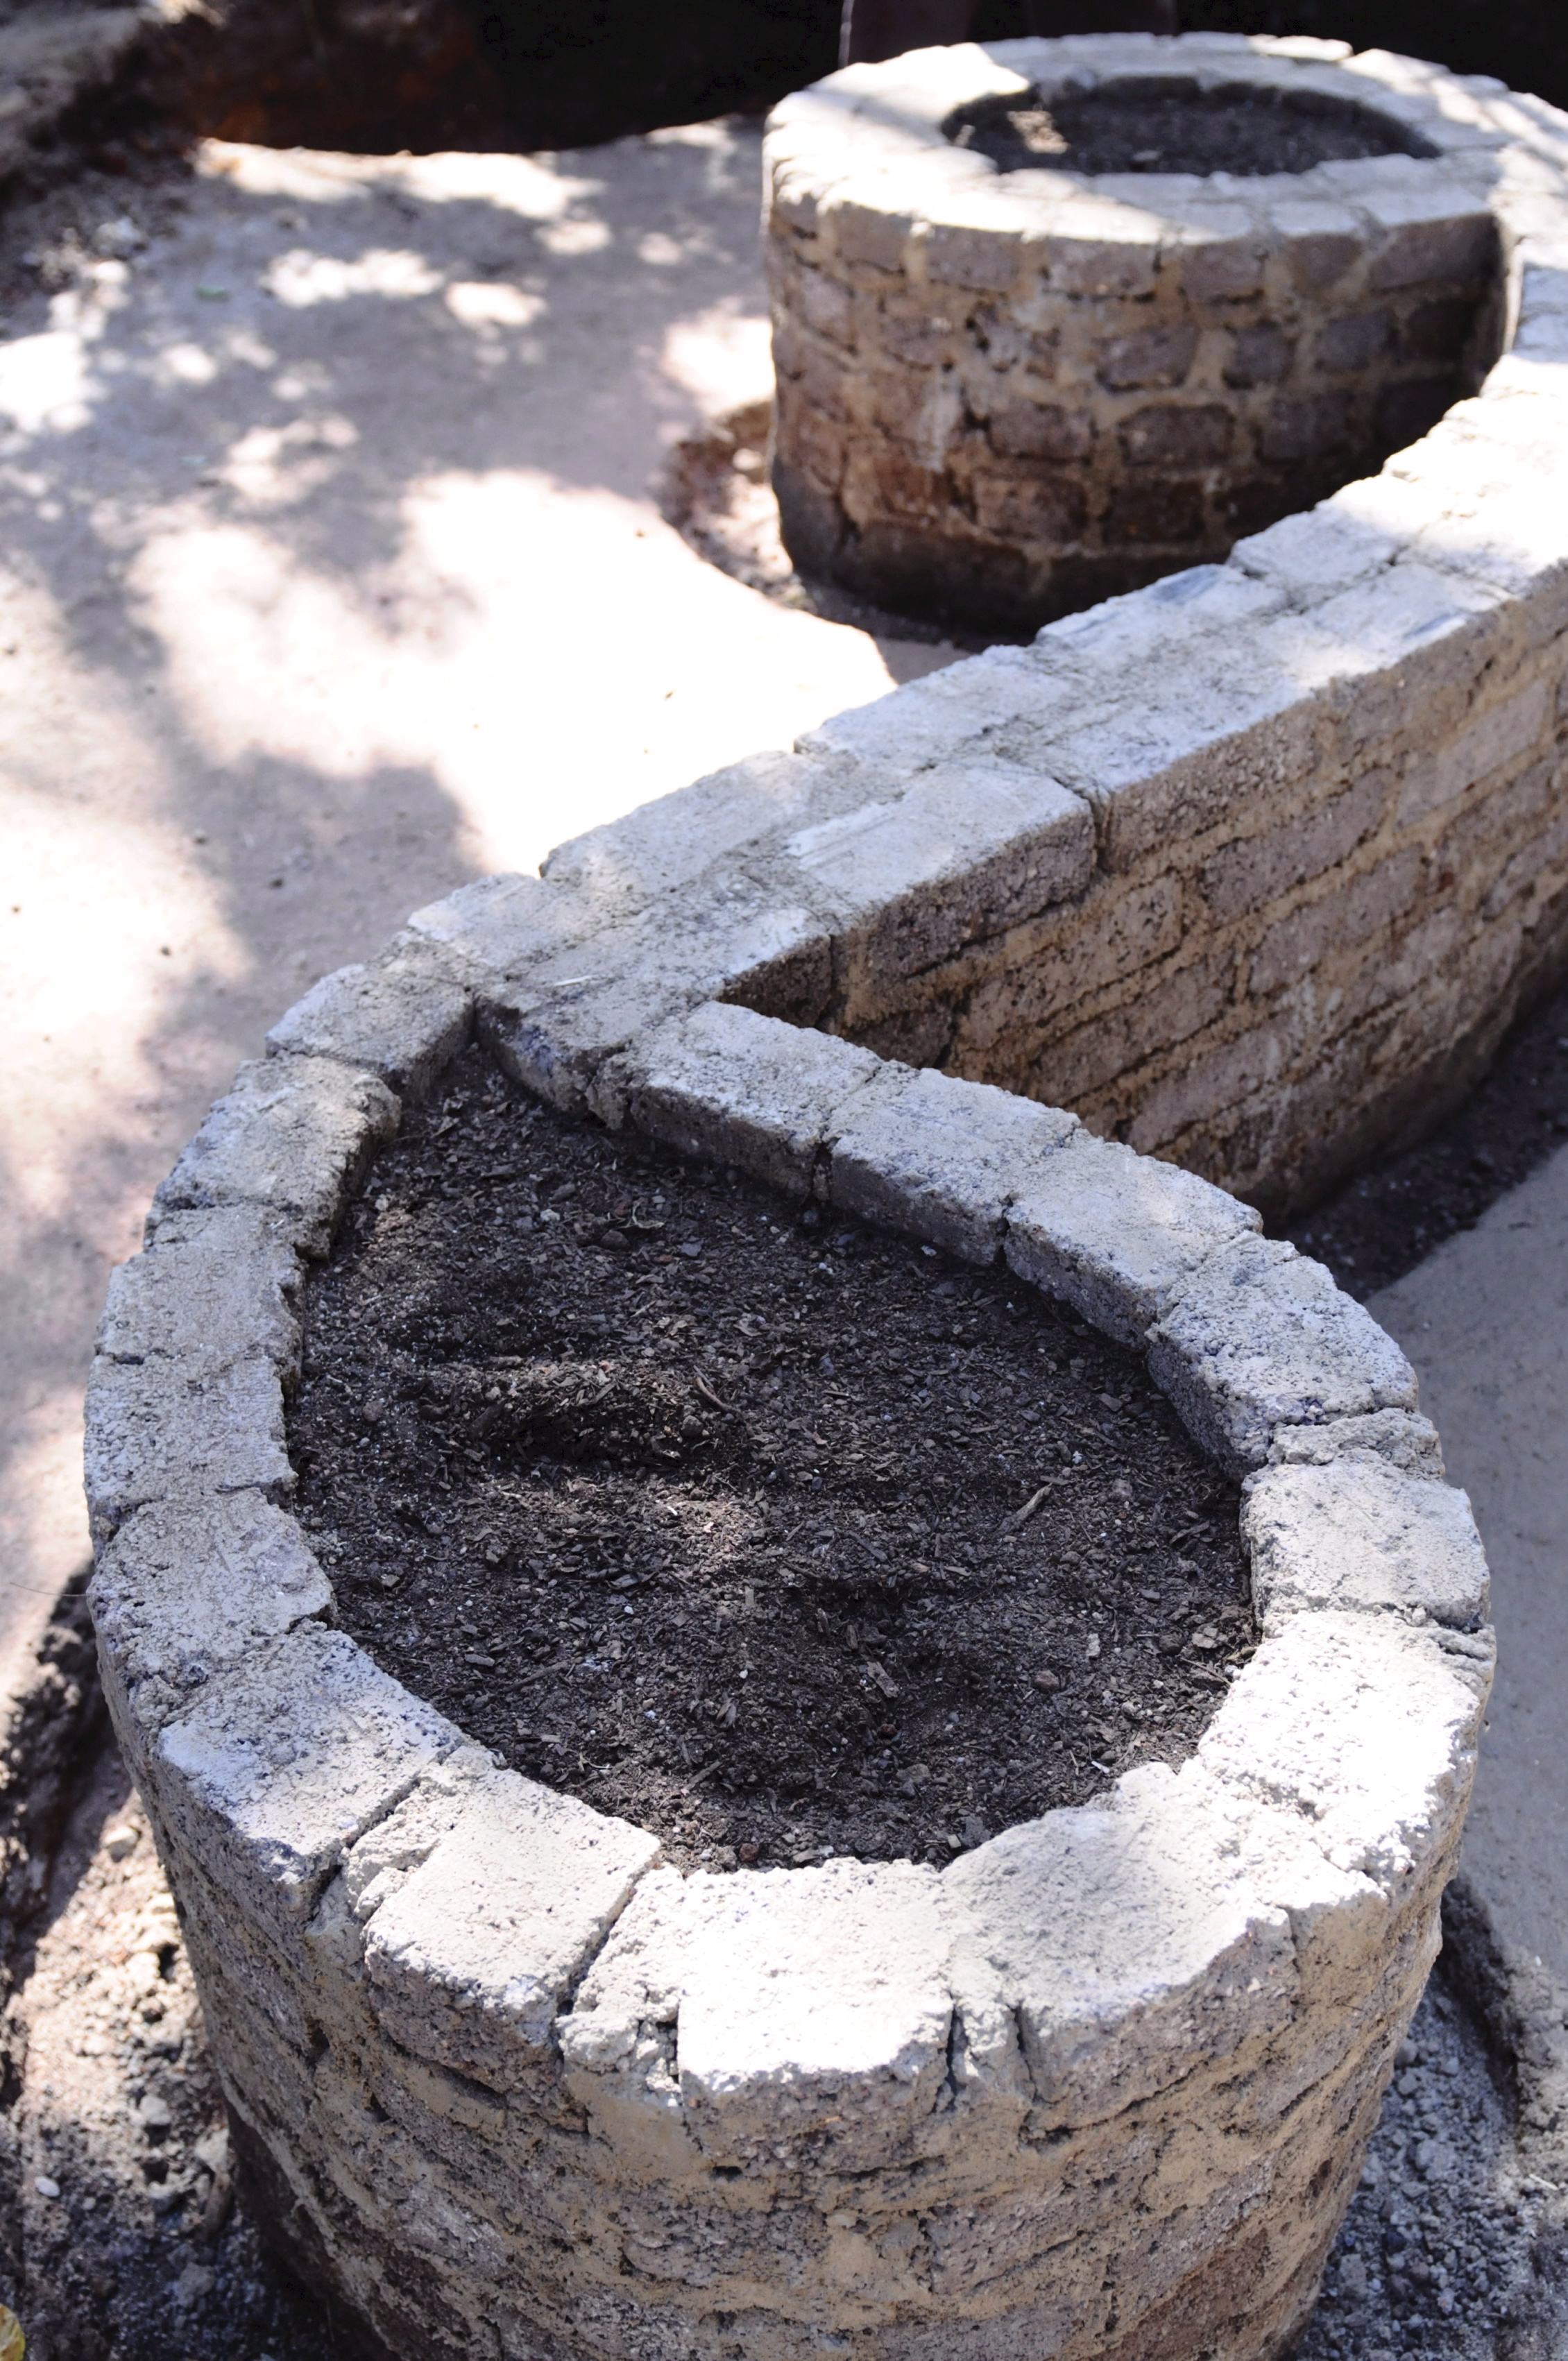
Step 1
Build a curved wall with two teardrop or paisley ends. Start by digging a proper foundation after demarcating the area. Use concrete with a ratio of three wheelbarrows of river sand, one wheelbarrow of crushed stone and one bag of cement for the foundation. Let the foundation set and then build the wall with cement bricks. Do not plaster. Fill the teardrop flower boxes with potting soil and compost.
Step 2
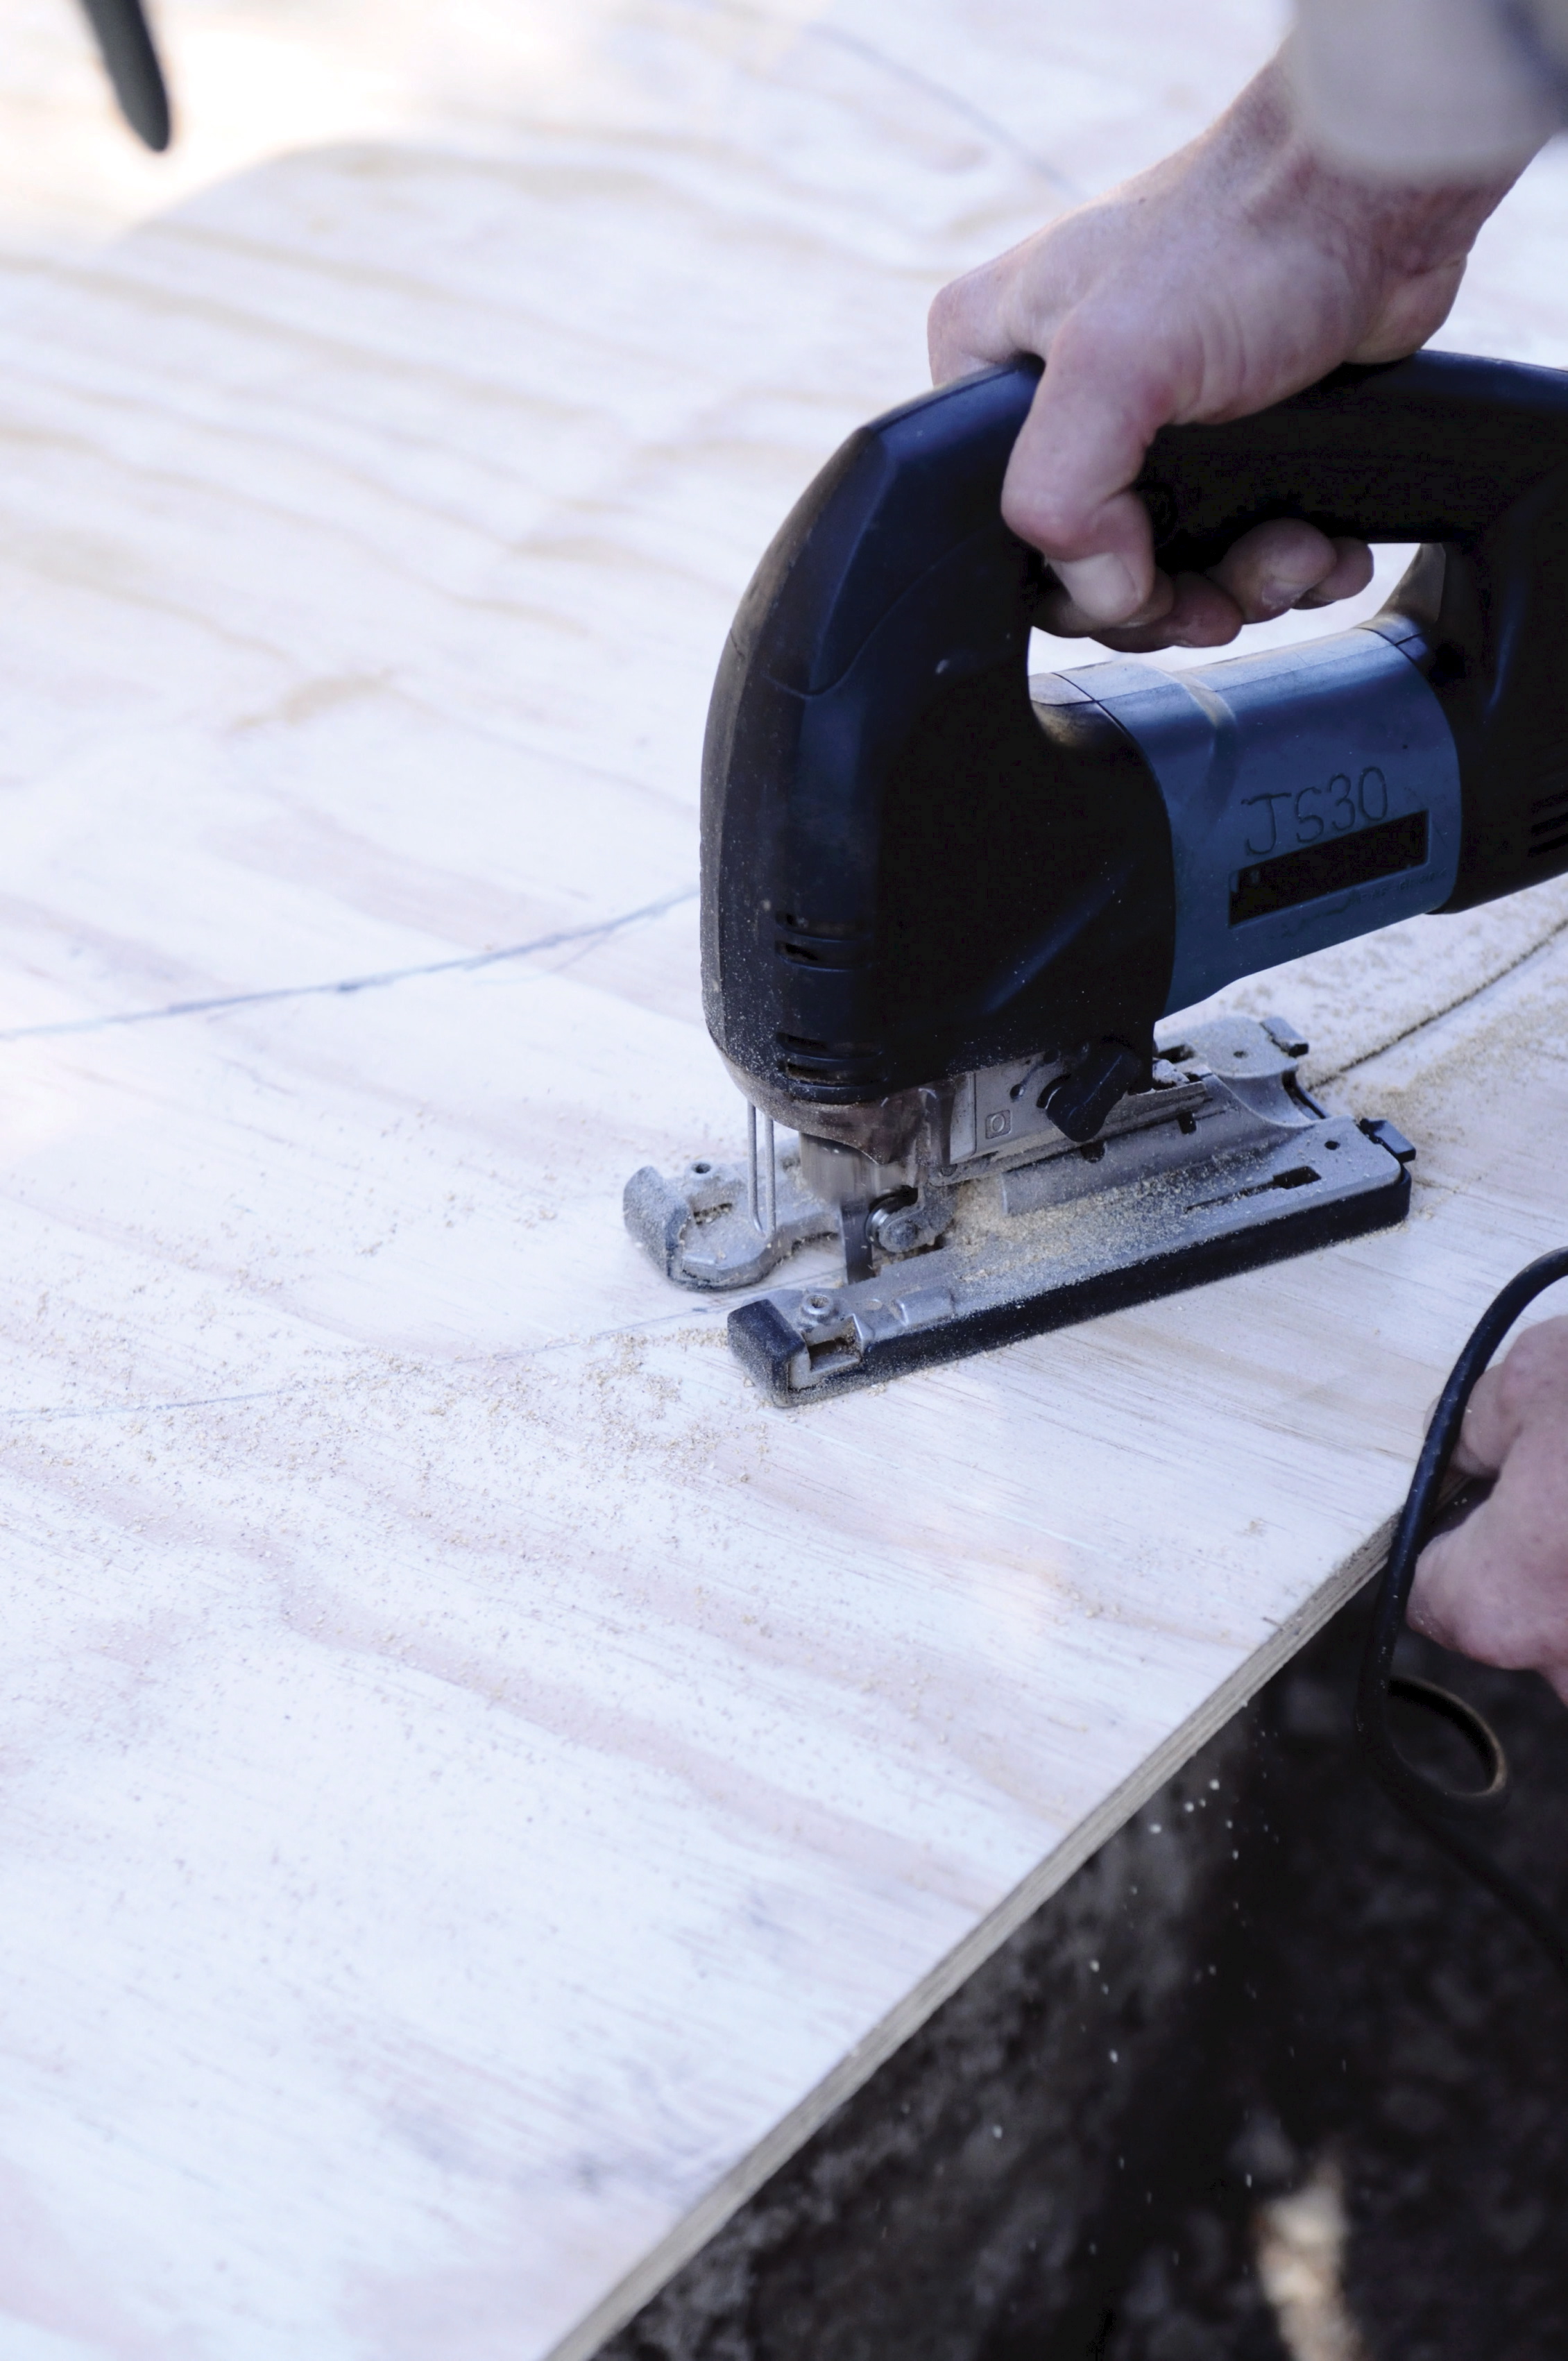
Cut the exact shape of the wall, including the end, out of newspaper, and lay the newspaper shapes on top of a sheet of Shutterply plywood. Mark the shape on the plywood and draw a second but bigger shape on the plywood – allow 200 mm around the wall for the bench’s overhang. A big design like this will not fit on one sheet of plywood, so you will have to draw it over different sheets. Cut out the outline with a jigsaw.
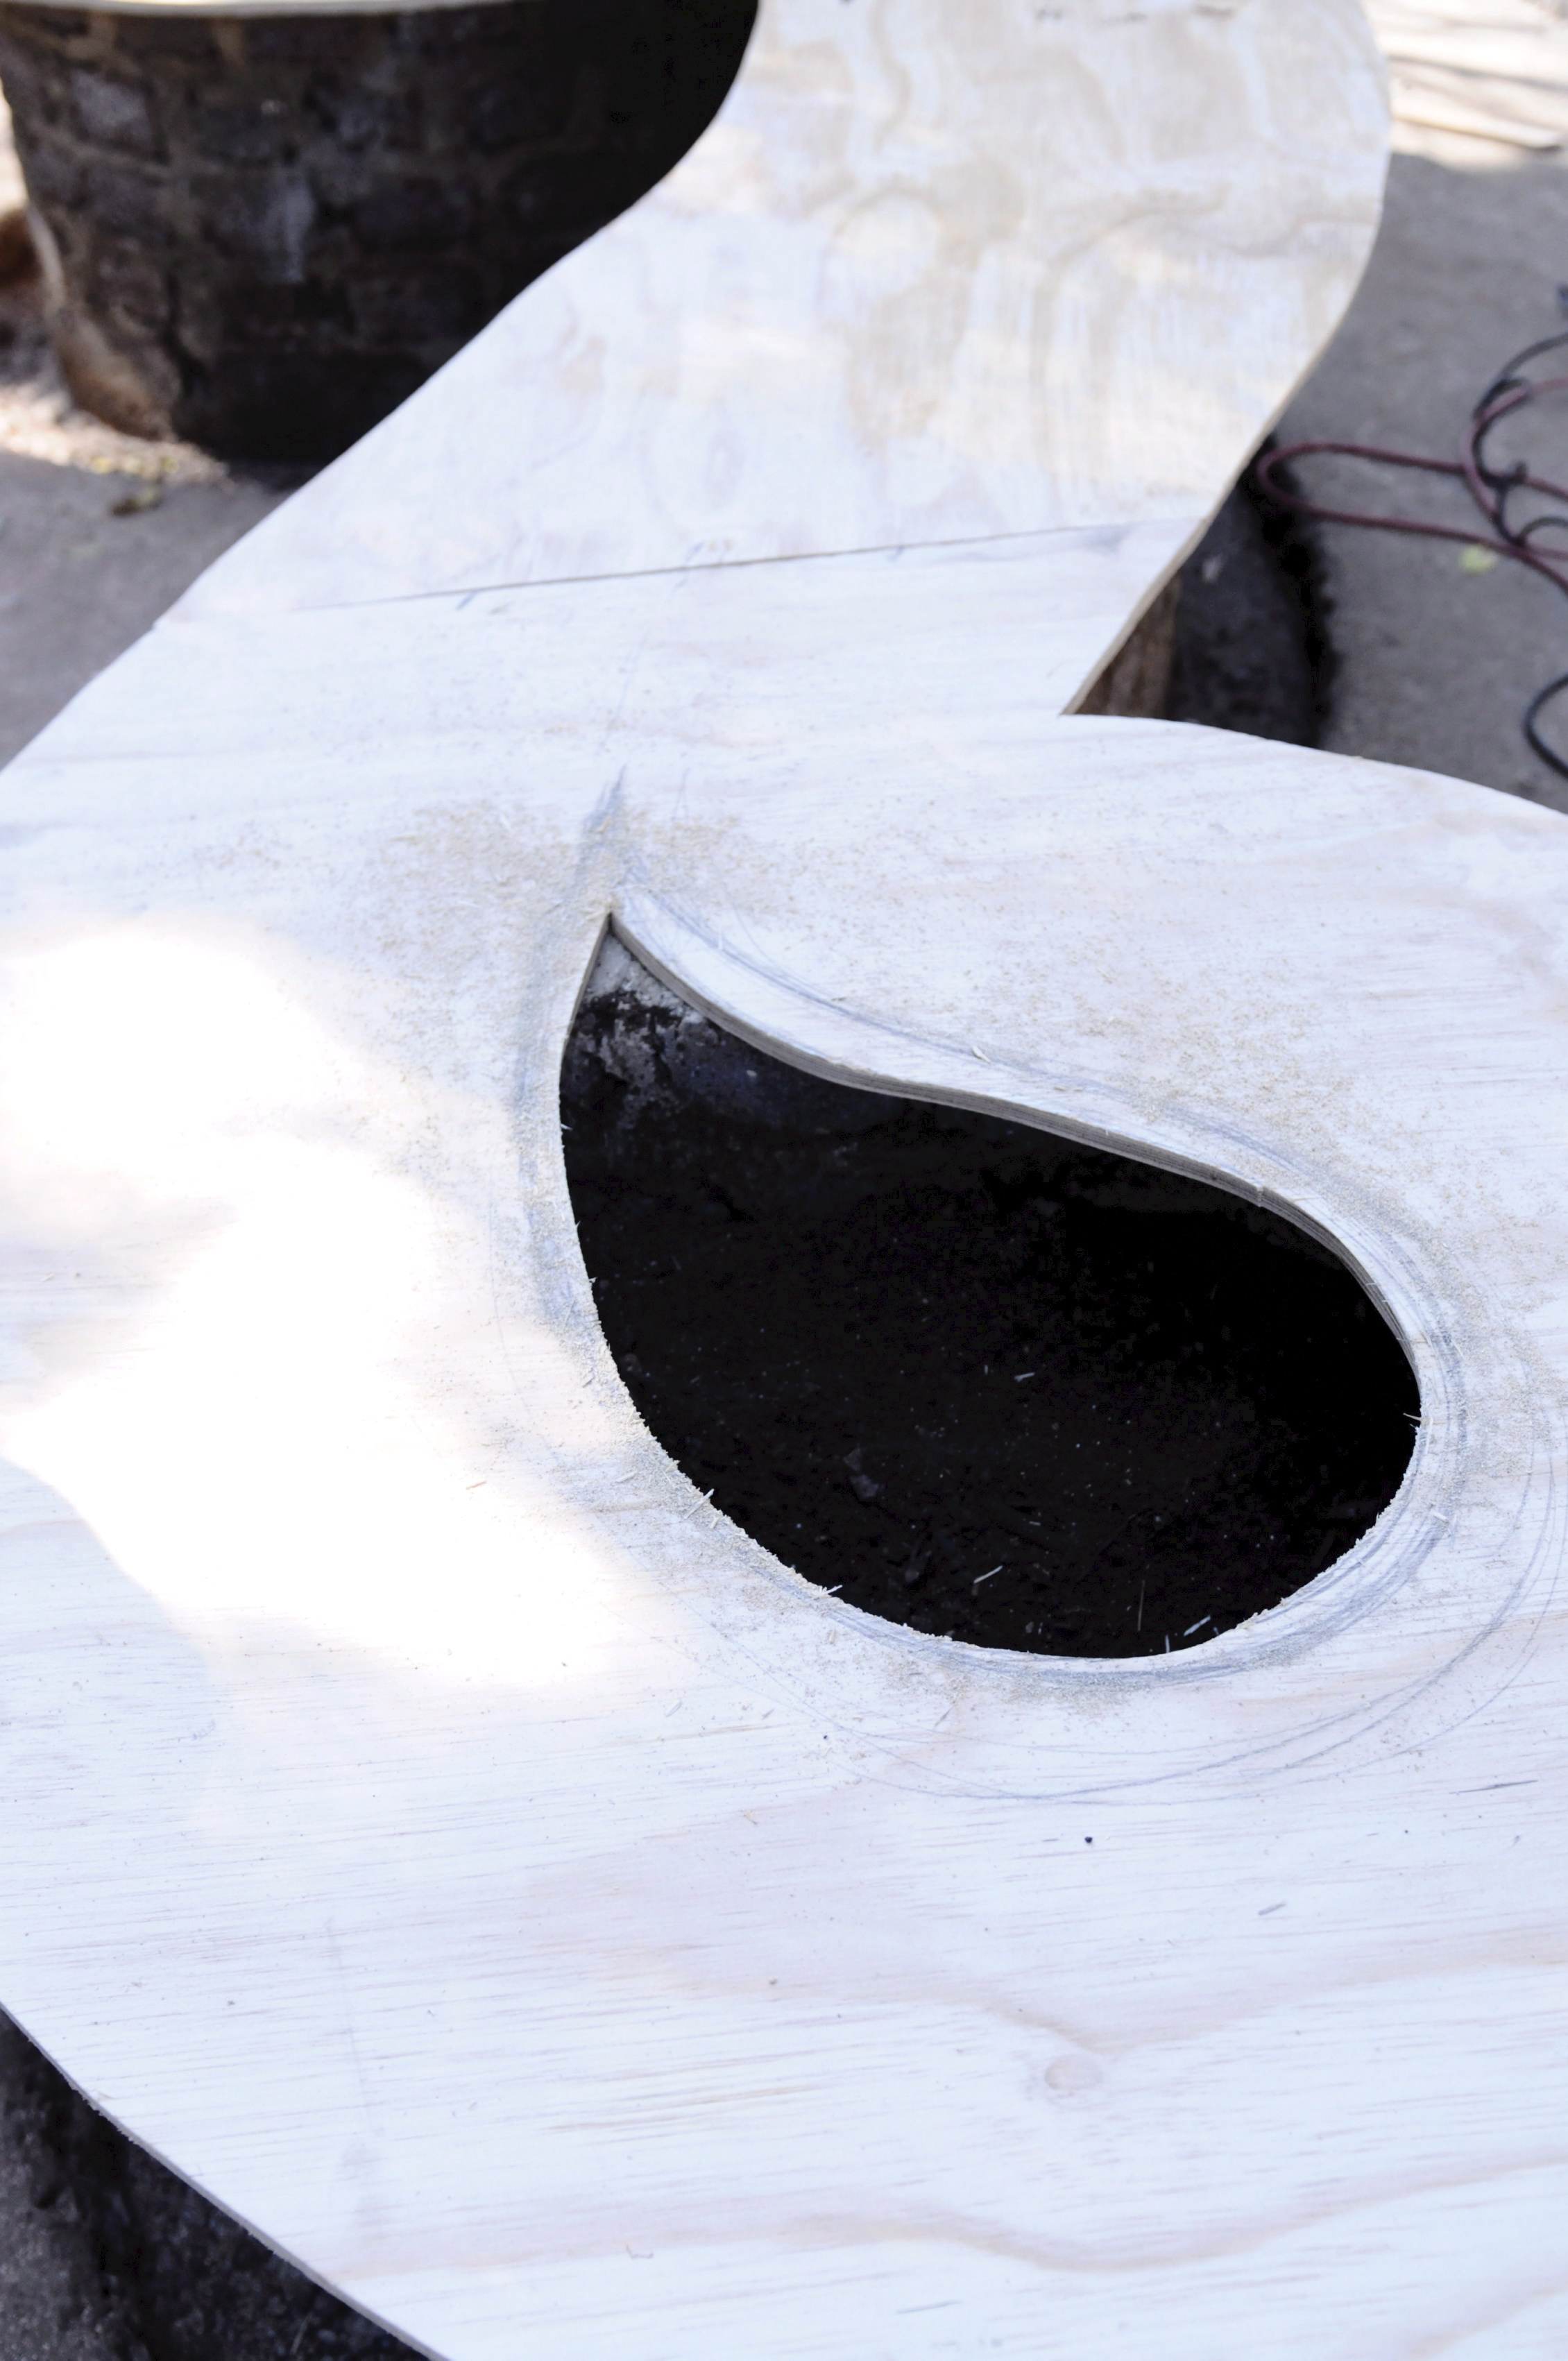
Step 3
Cut the teardrop or paisley shapes out of the wood.
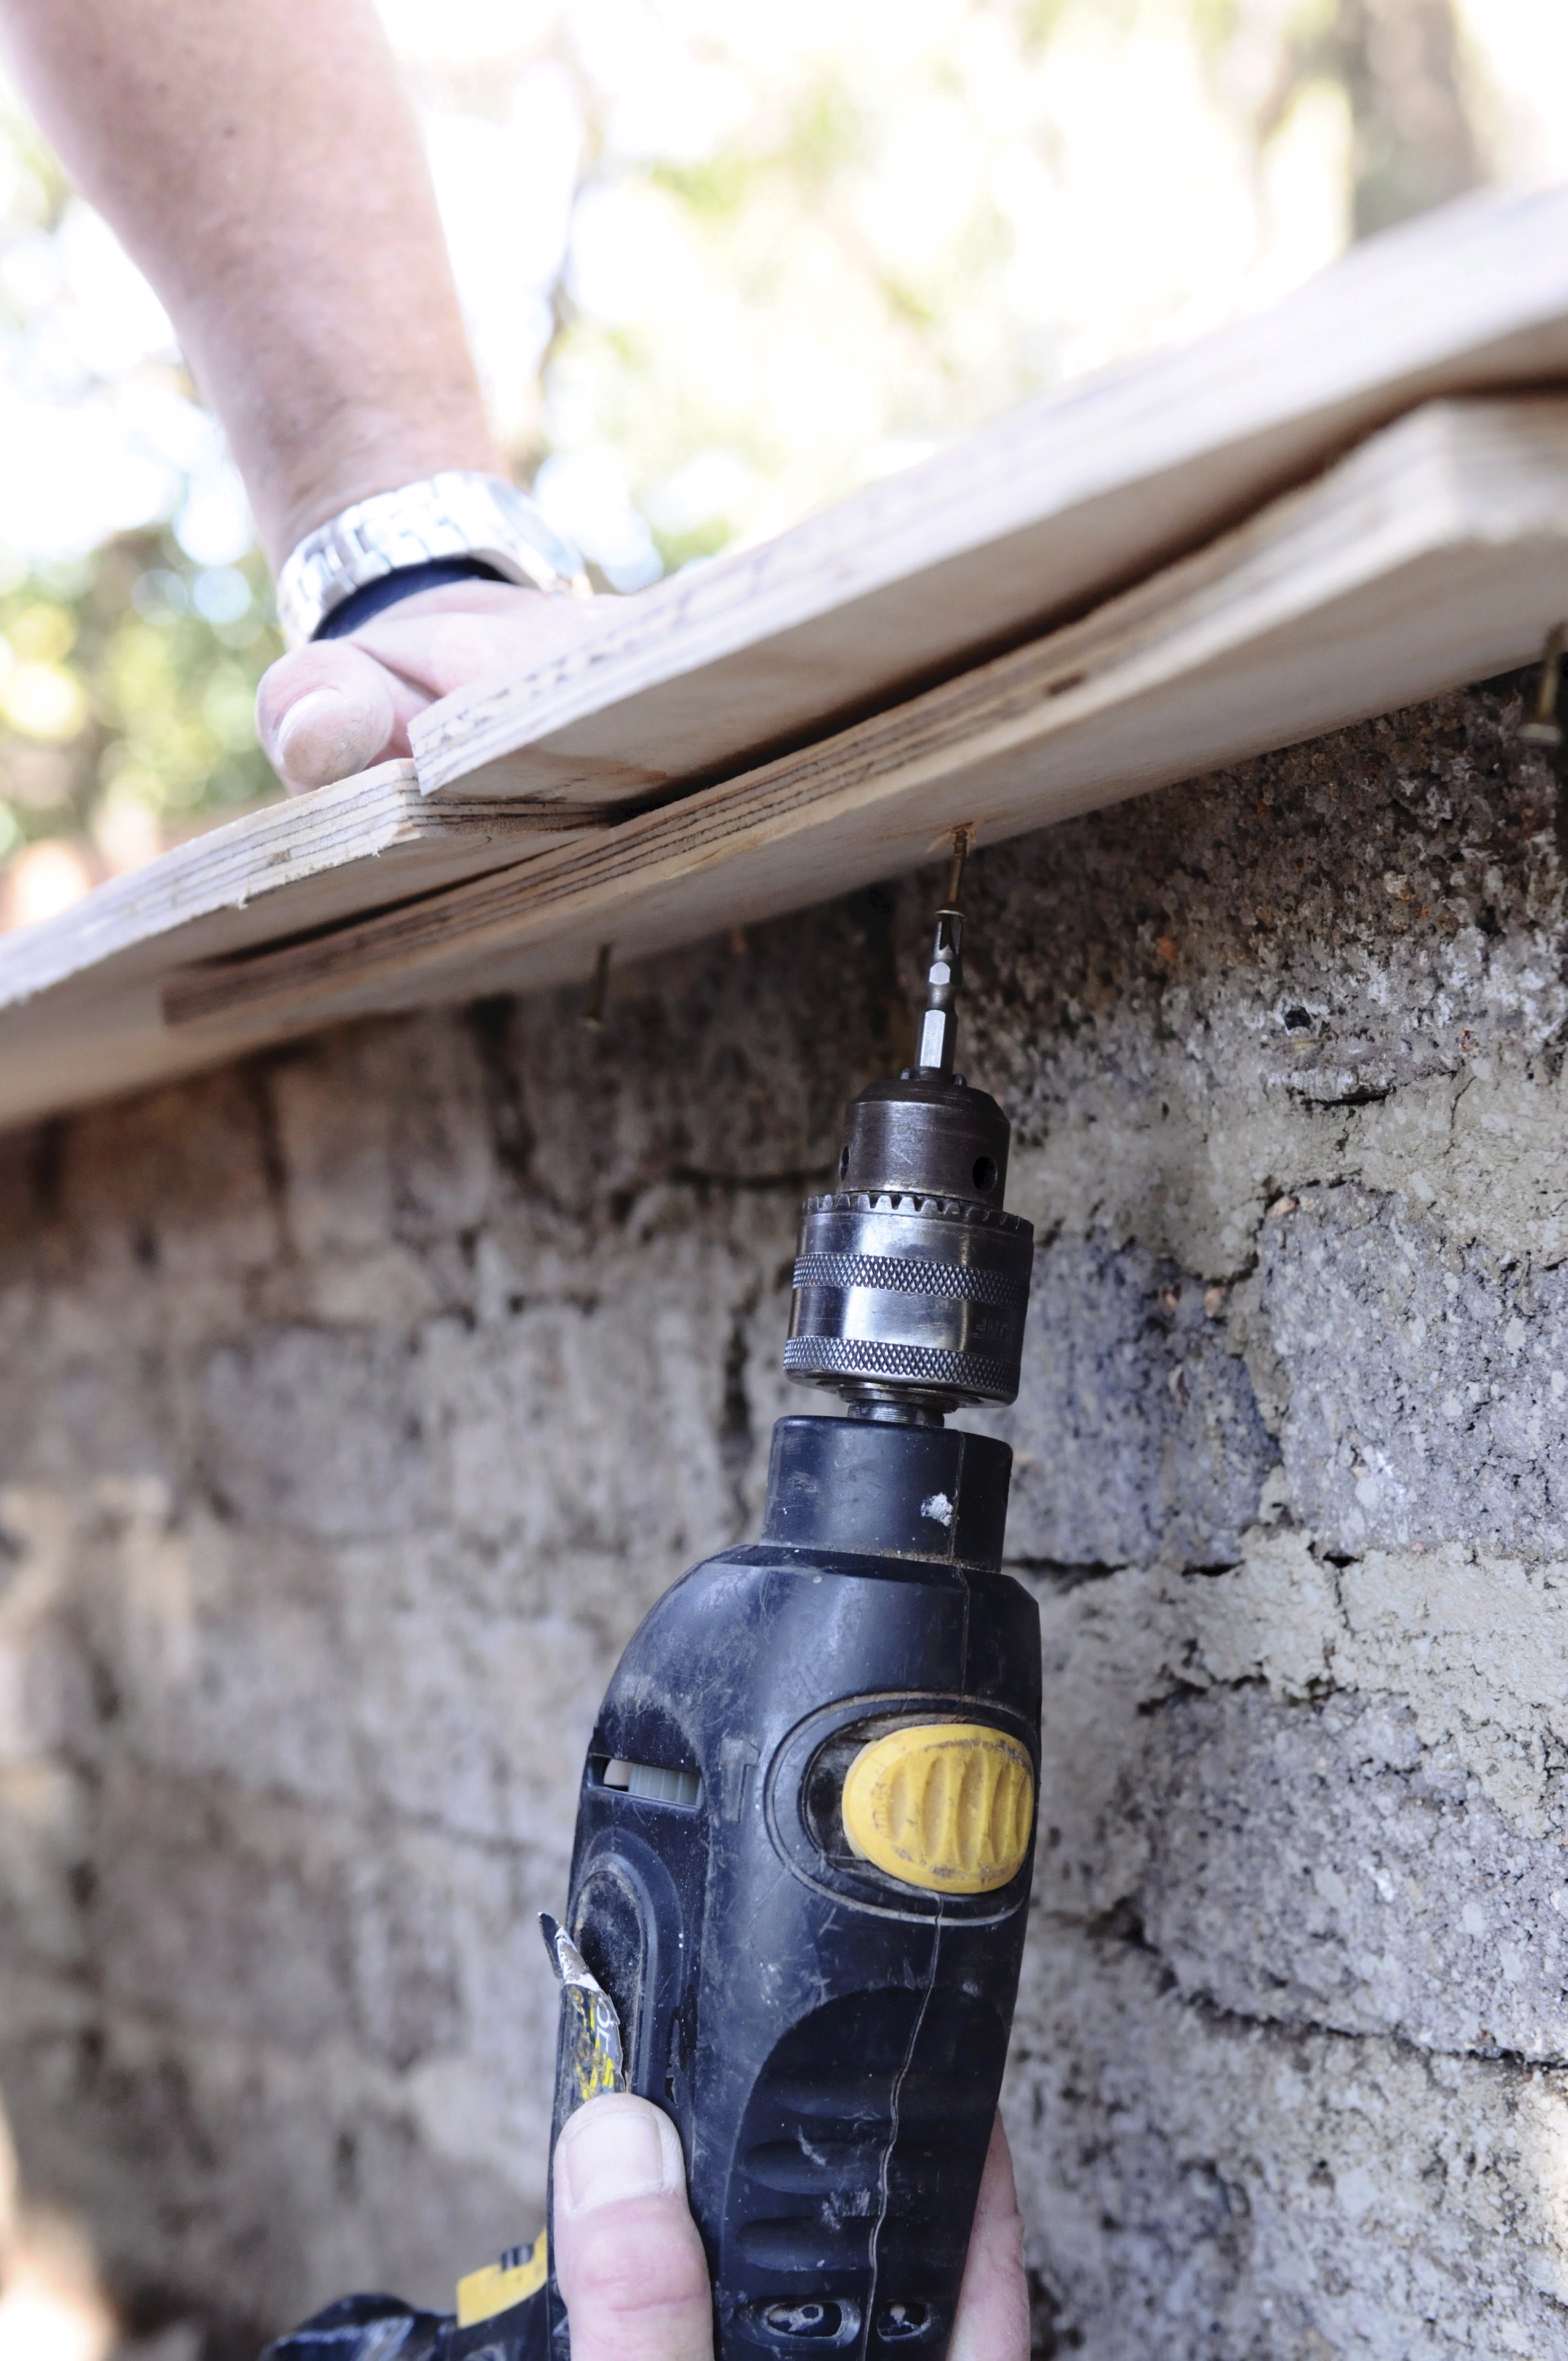
Step 4
Join the different pieces of the mould base by screwing them together at the bottom with small lengths of wood.
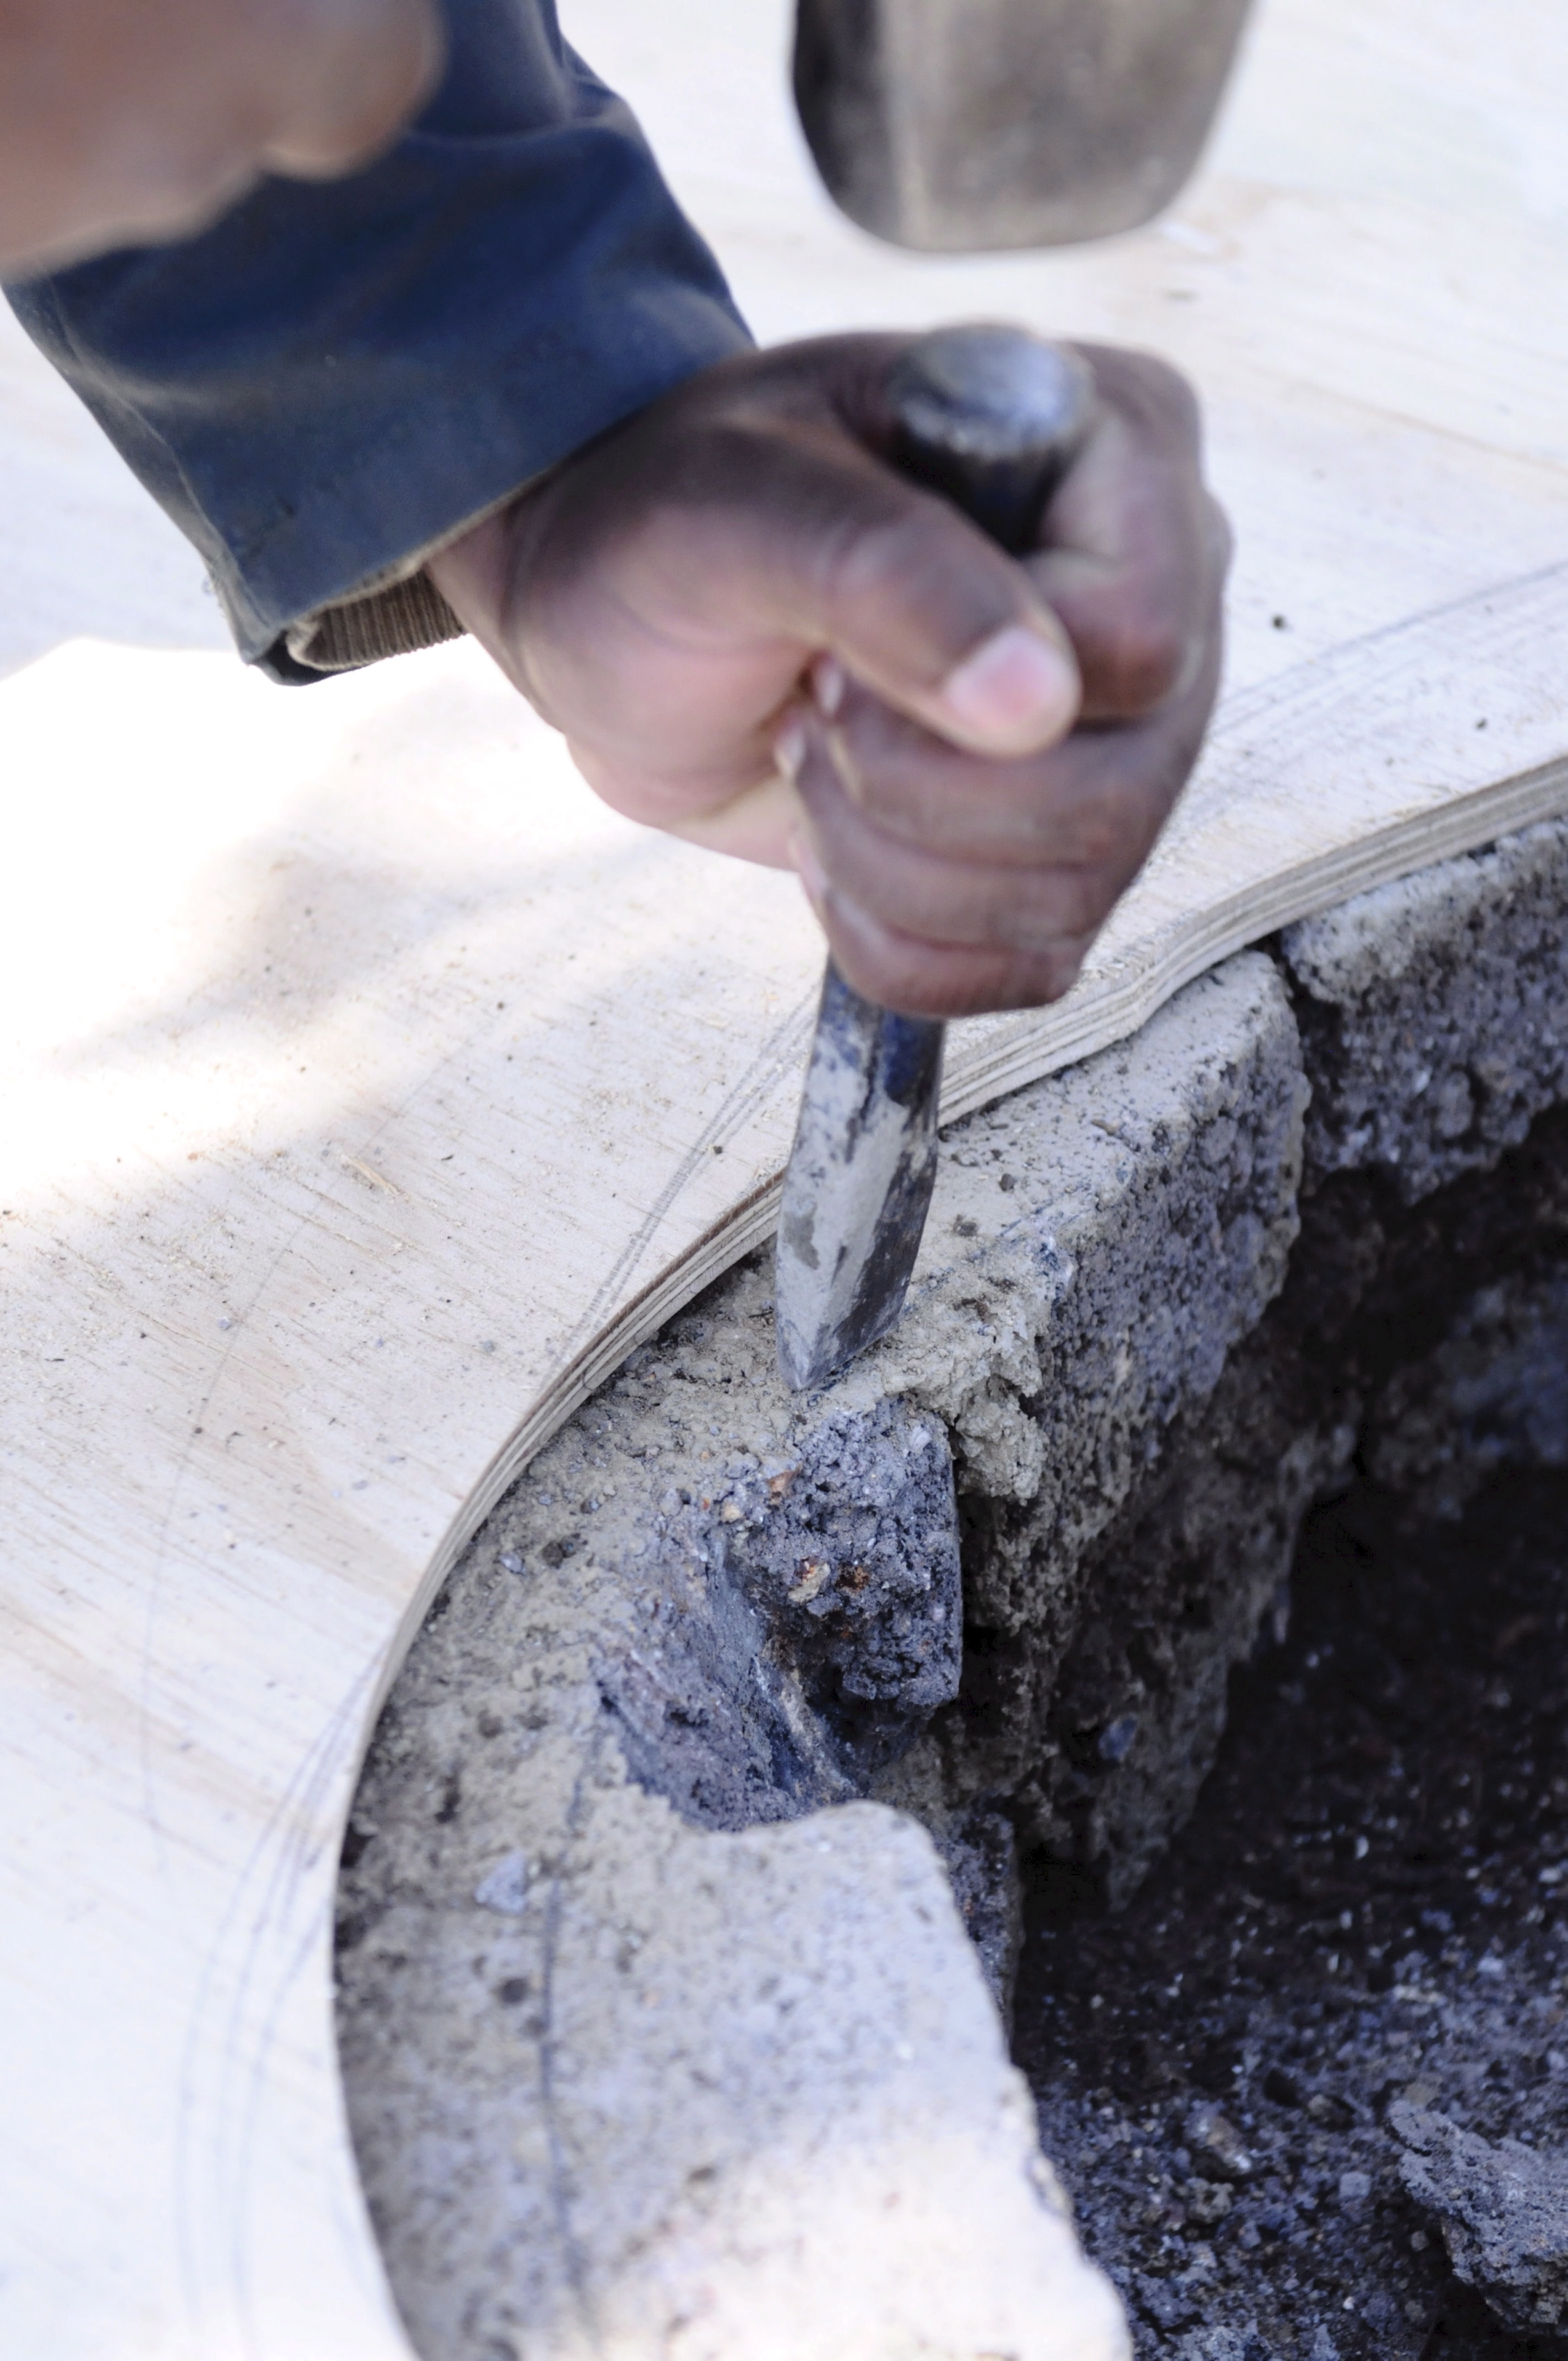
Step 5
Adjust the inside shape of the teardrop or paisley shape if you have miscalculated the opening of the bricks by chipping away some of the bricks, or parts of them, until the bricks and mould are aligned.
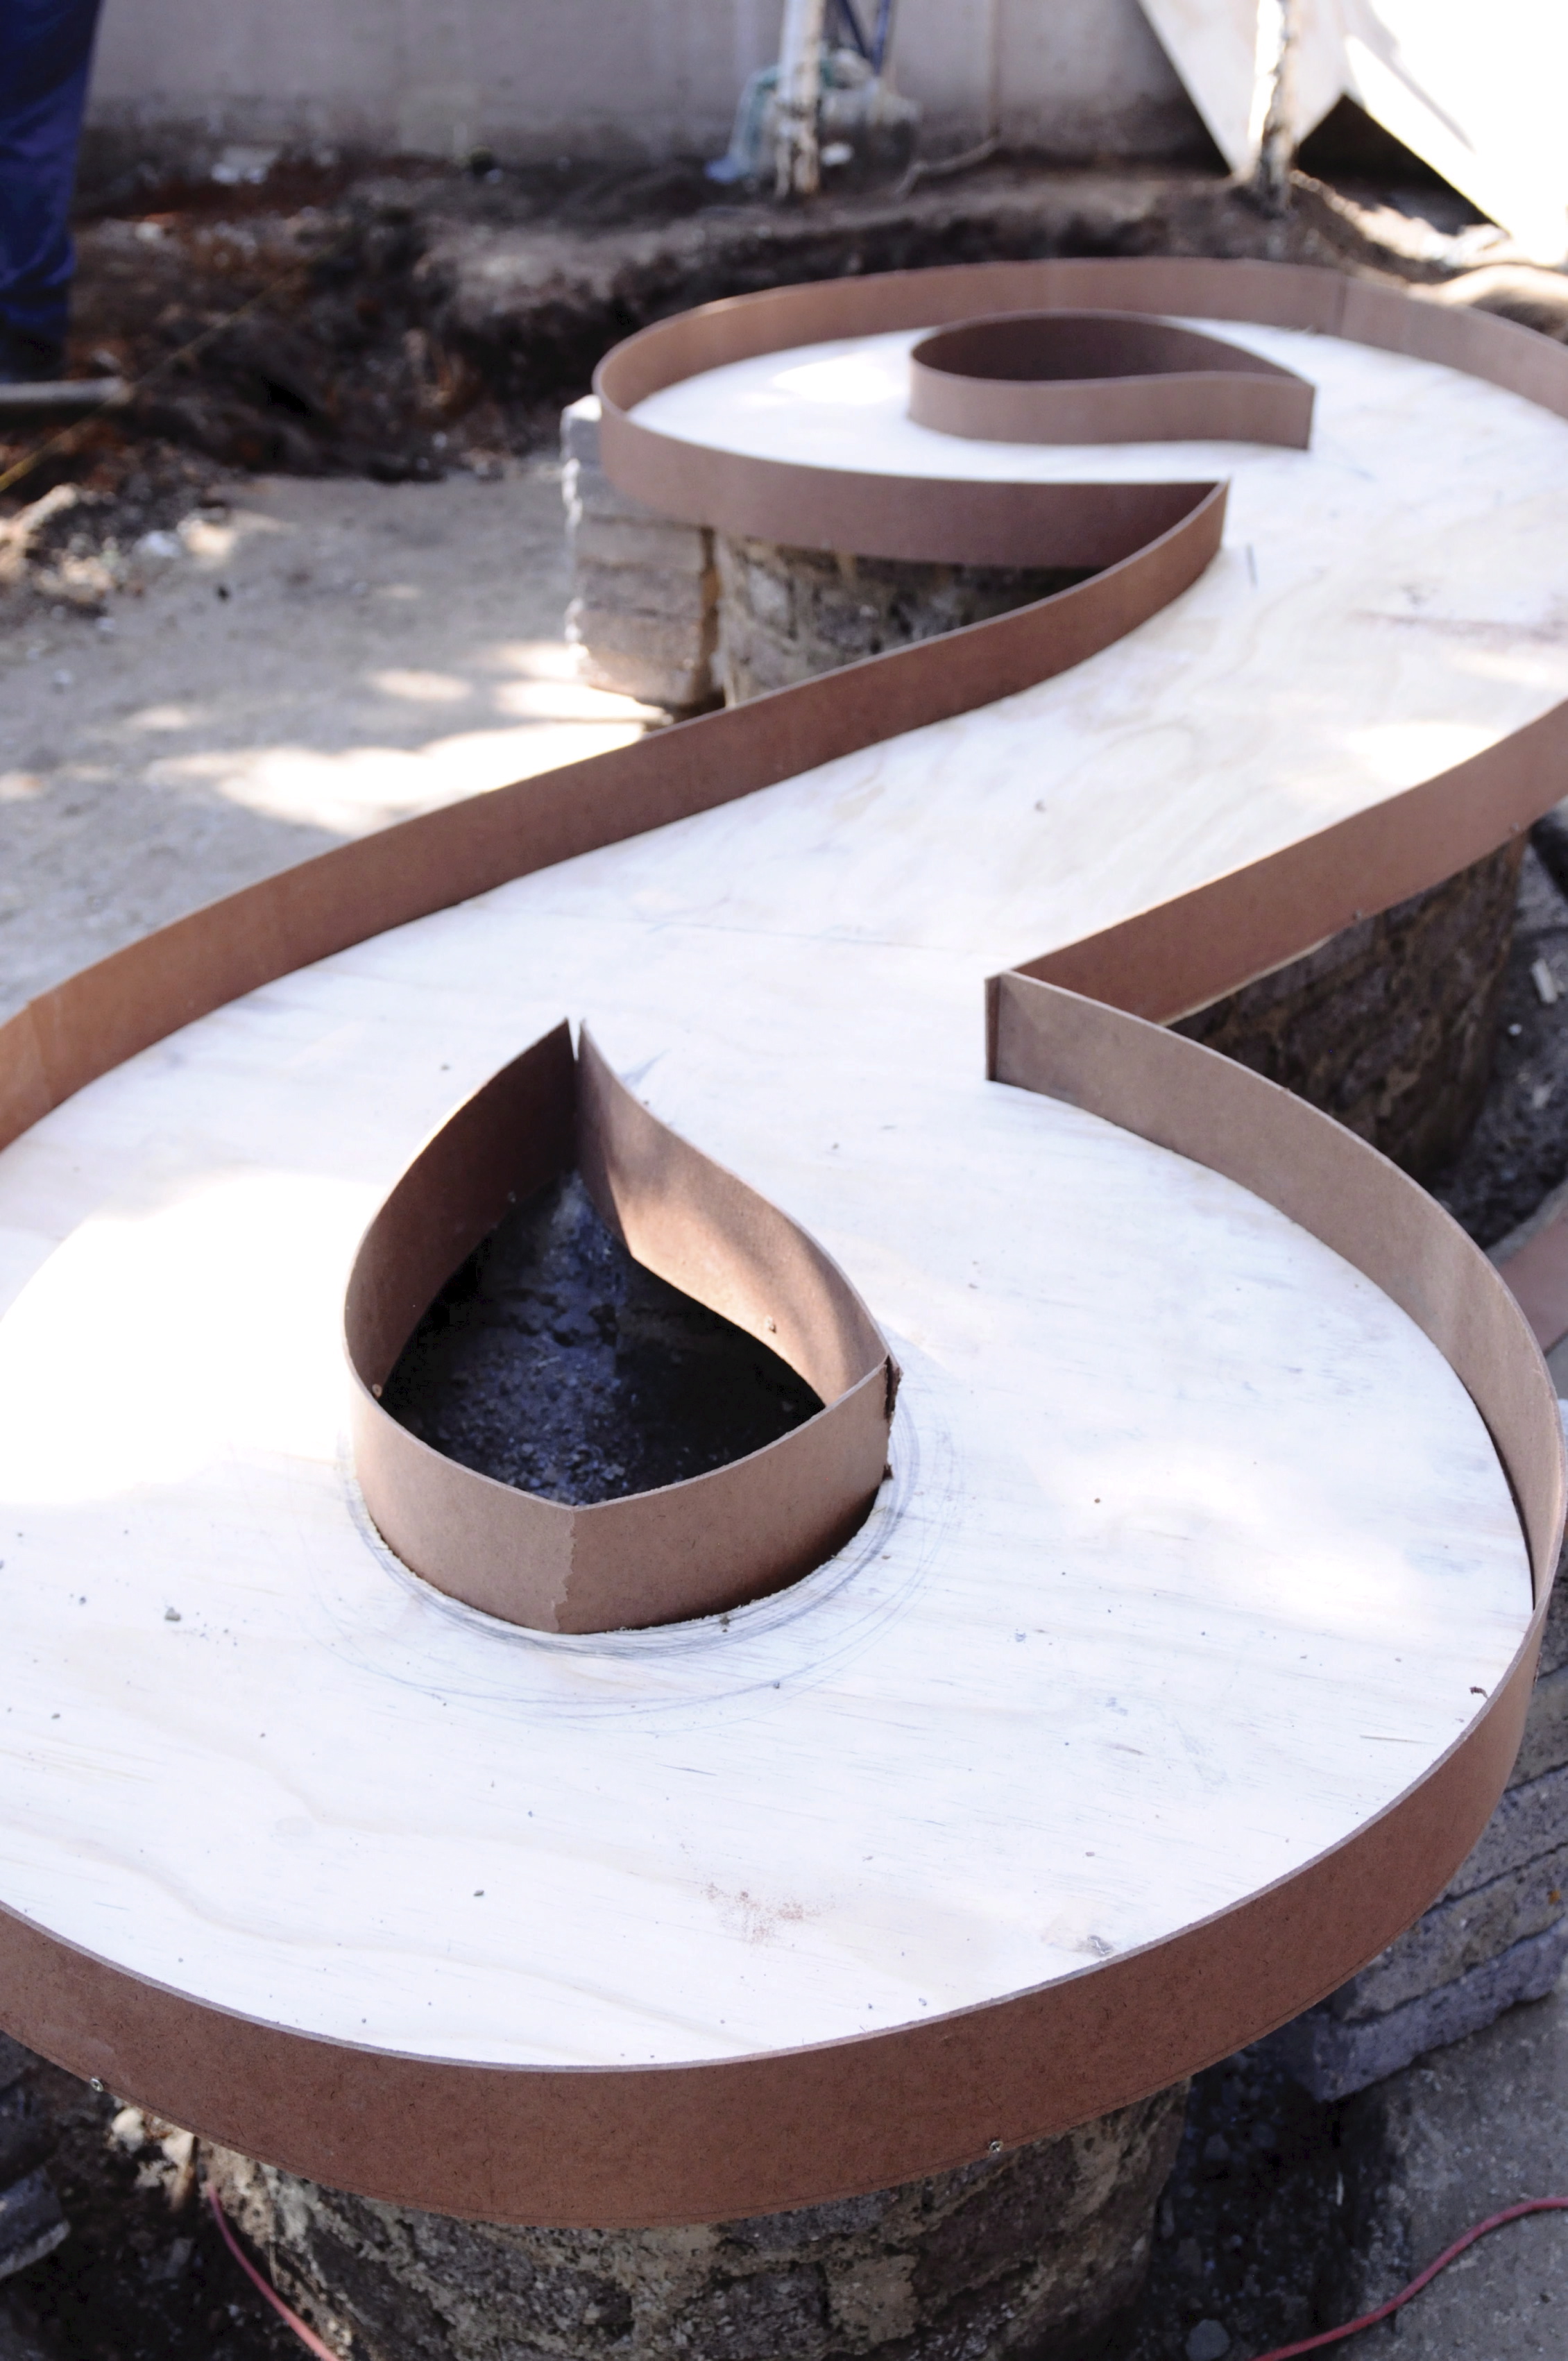
Step 6
Cut 100 mm strips of Masonite and nail them onto the sides of the mould base to finish the mould. Ensure that there are no gaps between the Masonite strips.
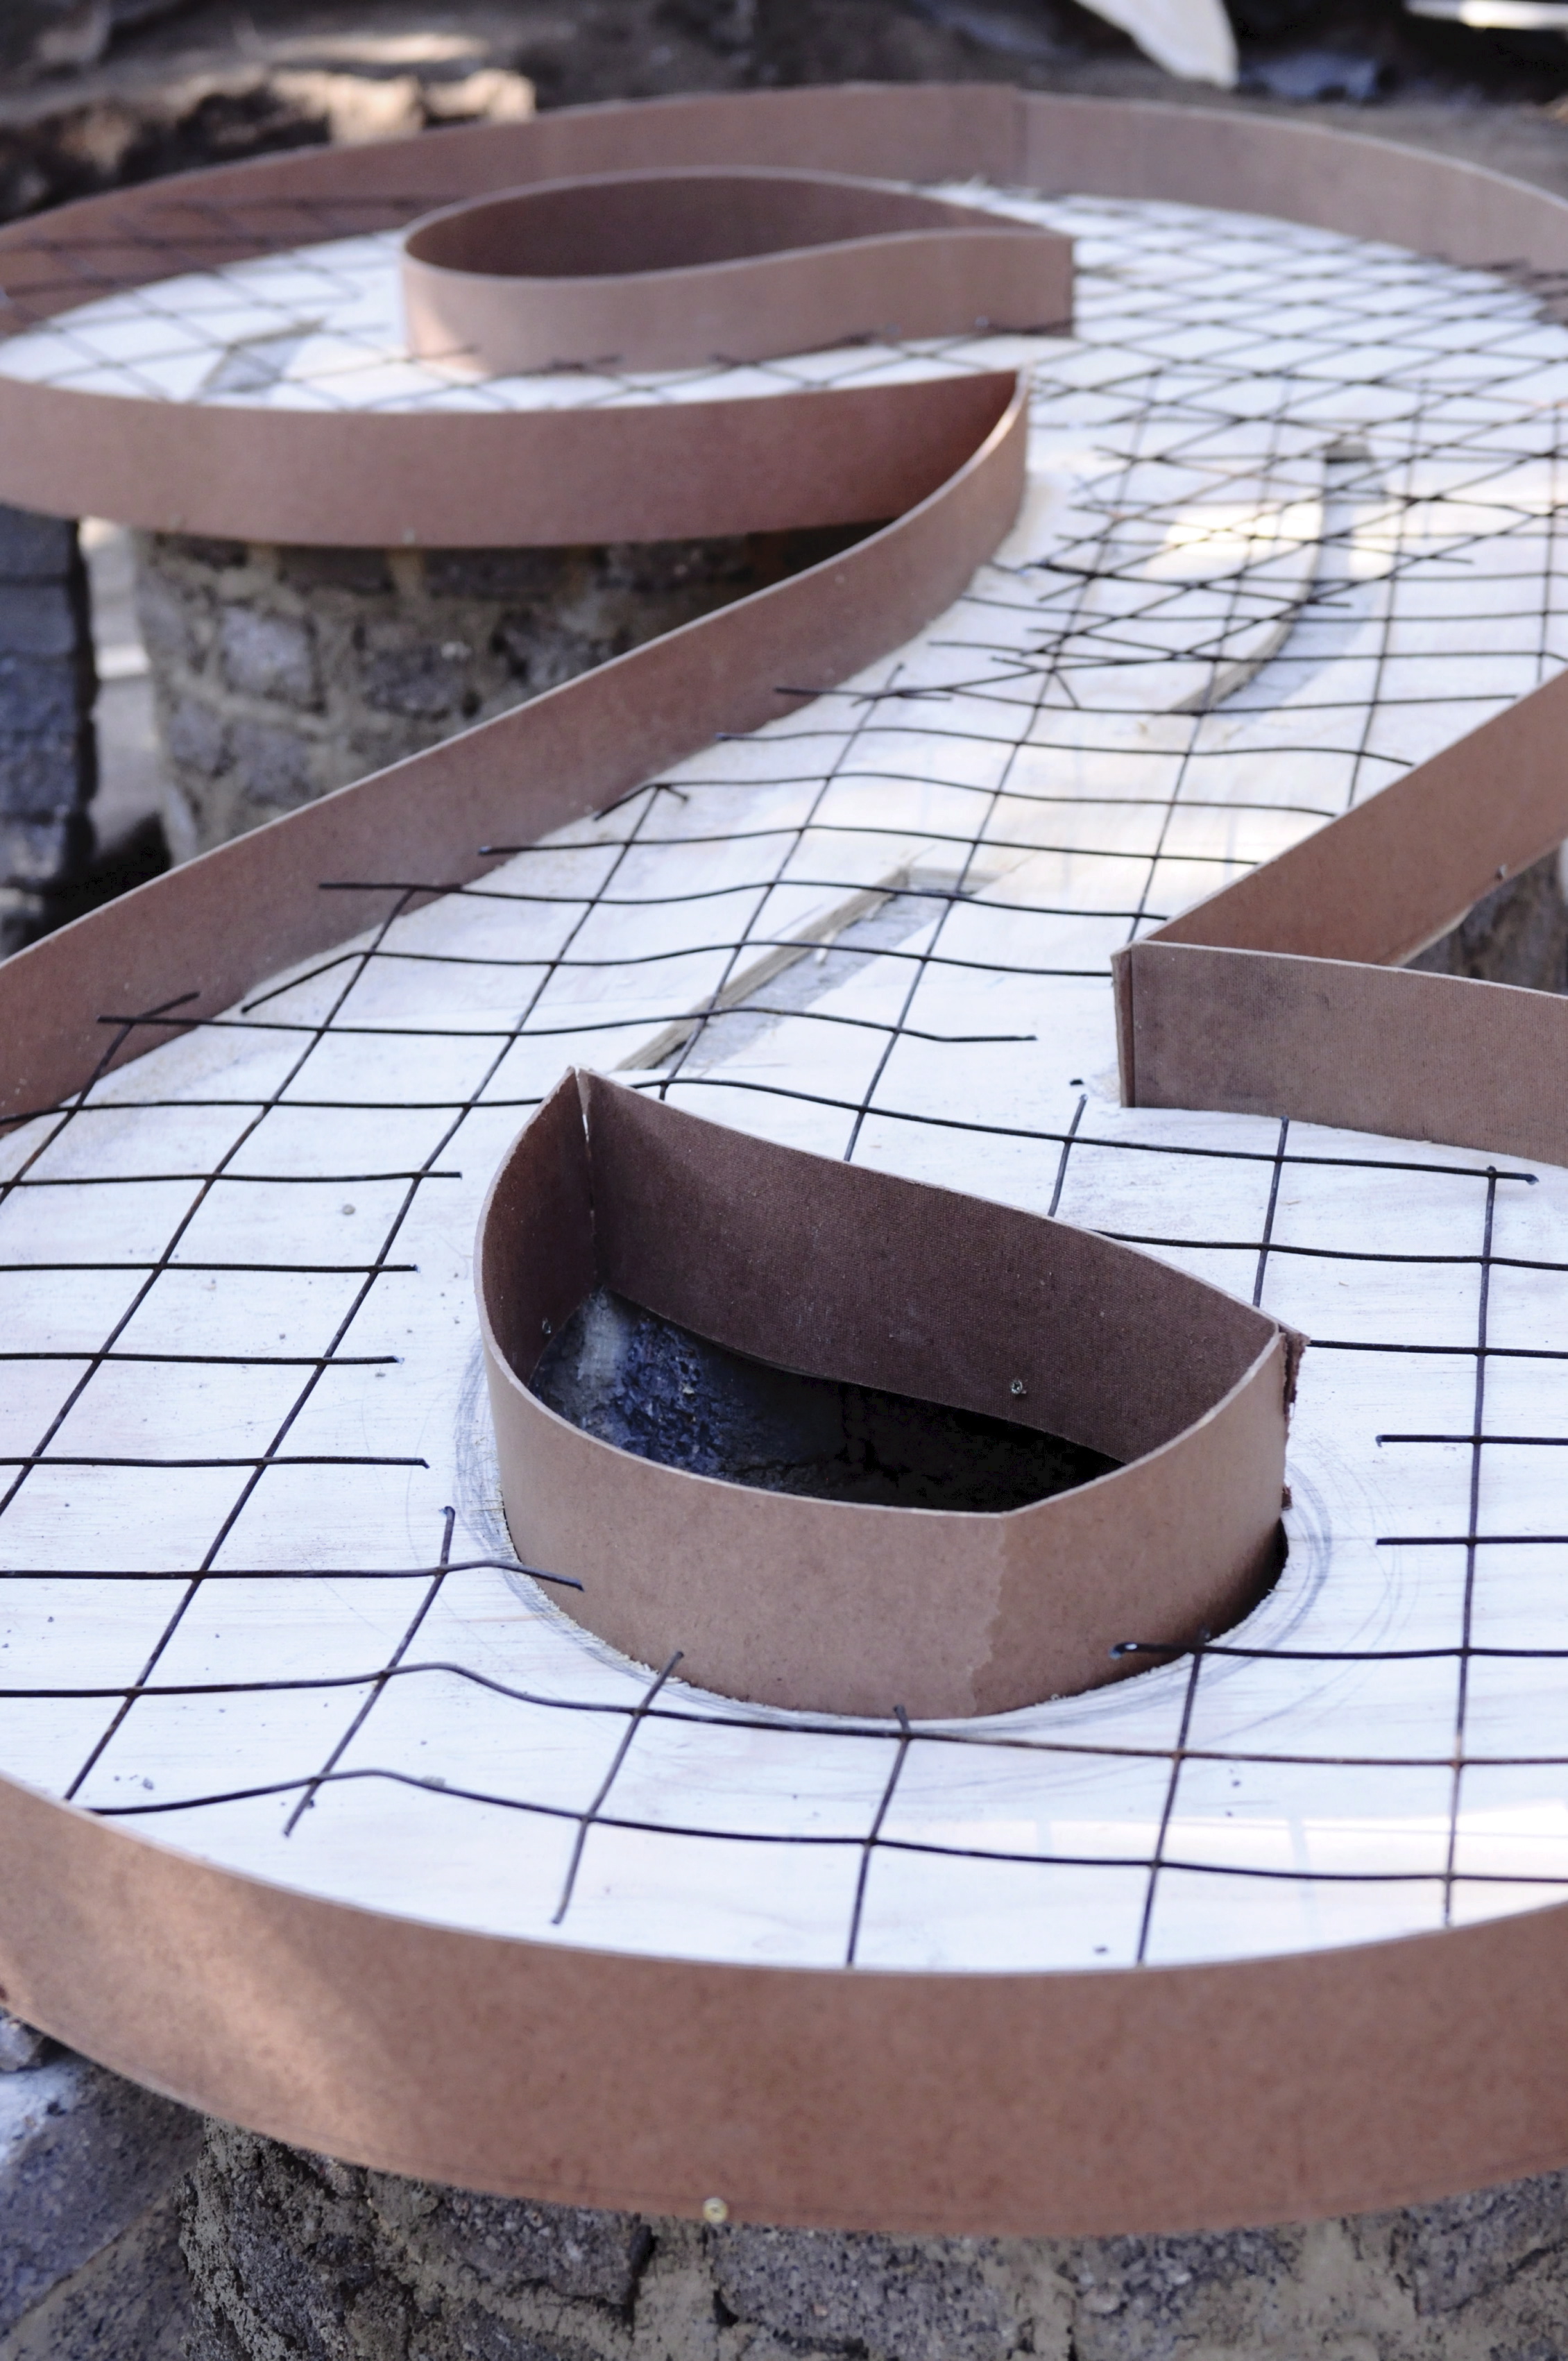
Step 7
Fix the mould to the wall: Cut narrow strips into the plywood base, approximately 50 x 150 mm, where the concrete will be allowed to go through onto the brick wall. Also insert masonry screws through the mould into the brick wall in a few places. Using an angle grinder cut steel reinforcing mesh to fit into the mould.

Step 8
Using the same ratio of river sand, crushed stone and cement as was used for the foundation (previous page), mix the concrete and pack it into the mould using a spade. Use a brick to pat the concrete until you have a flat, smooth surface.
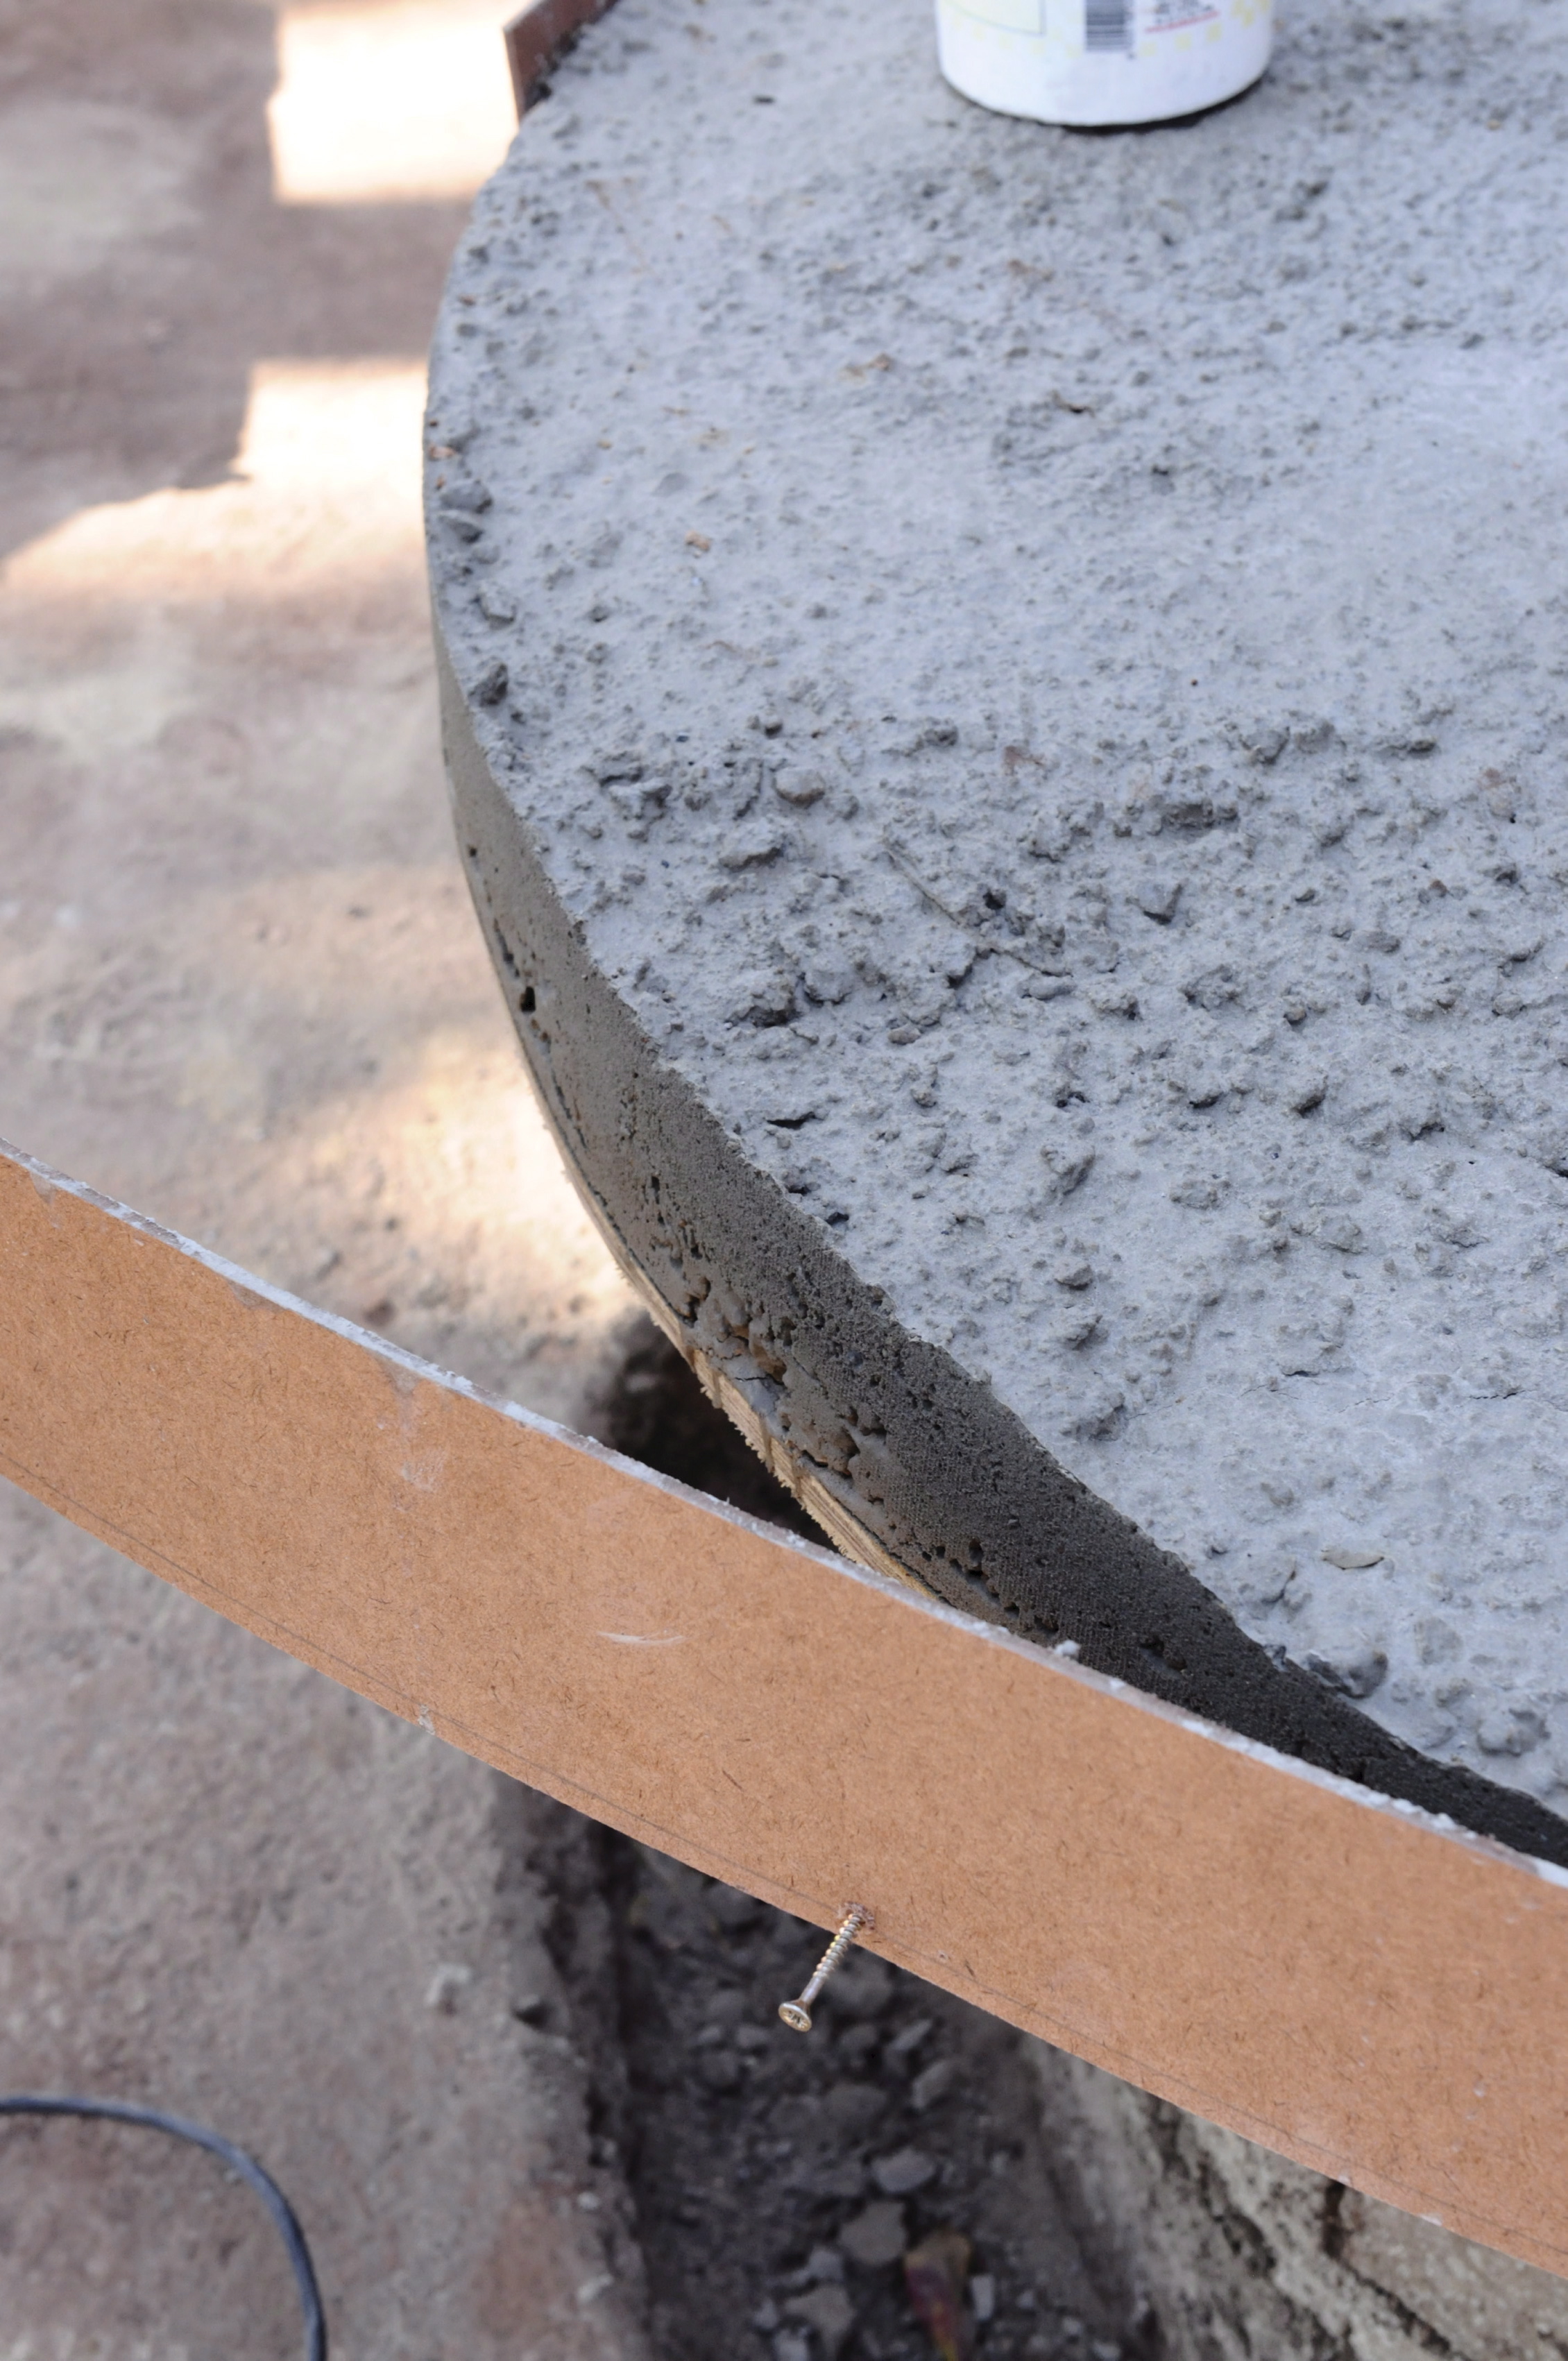
Step 9
Let the concrete cure for 24 hours. Remove the Masonite side panels and allow to cure for another 24 hours.
Step 10
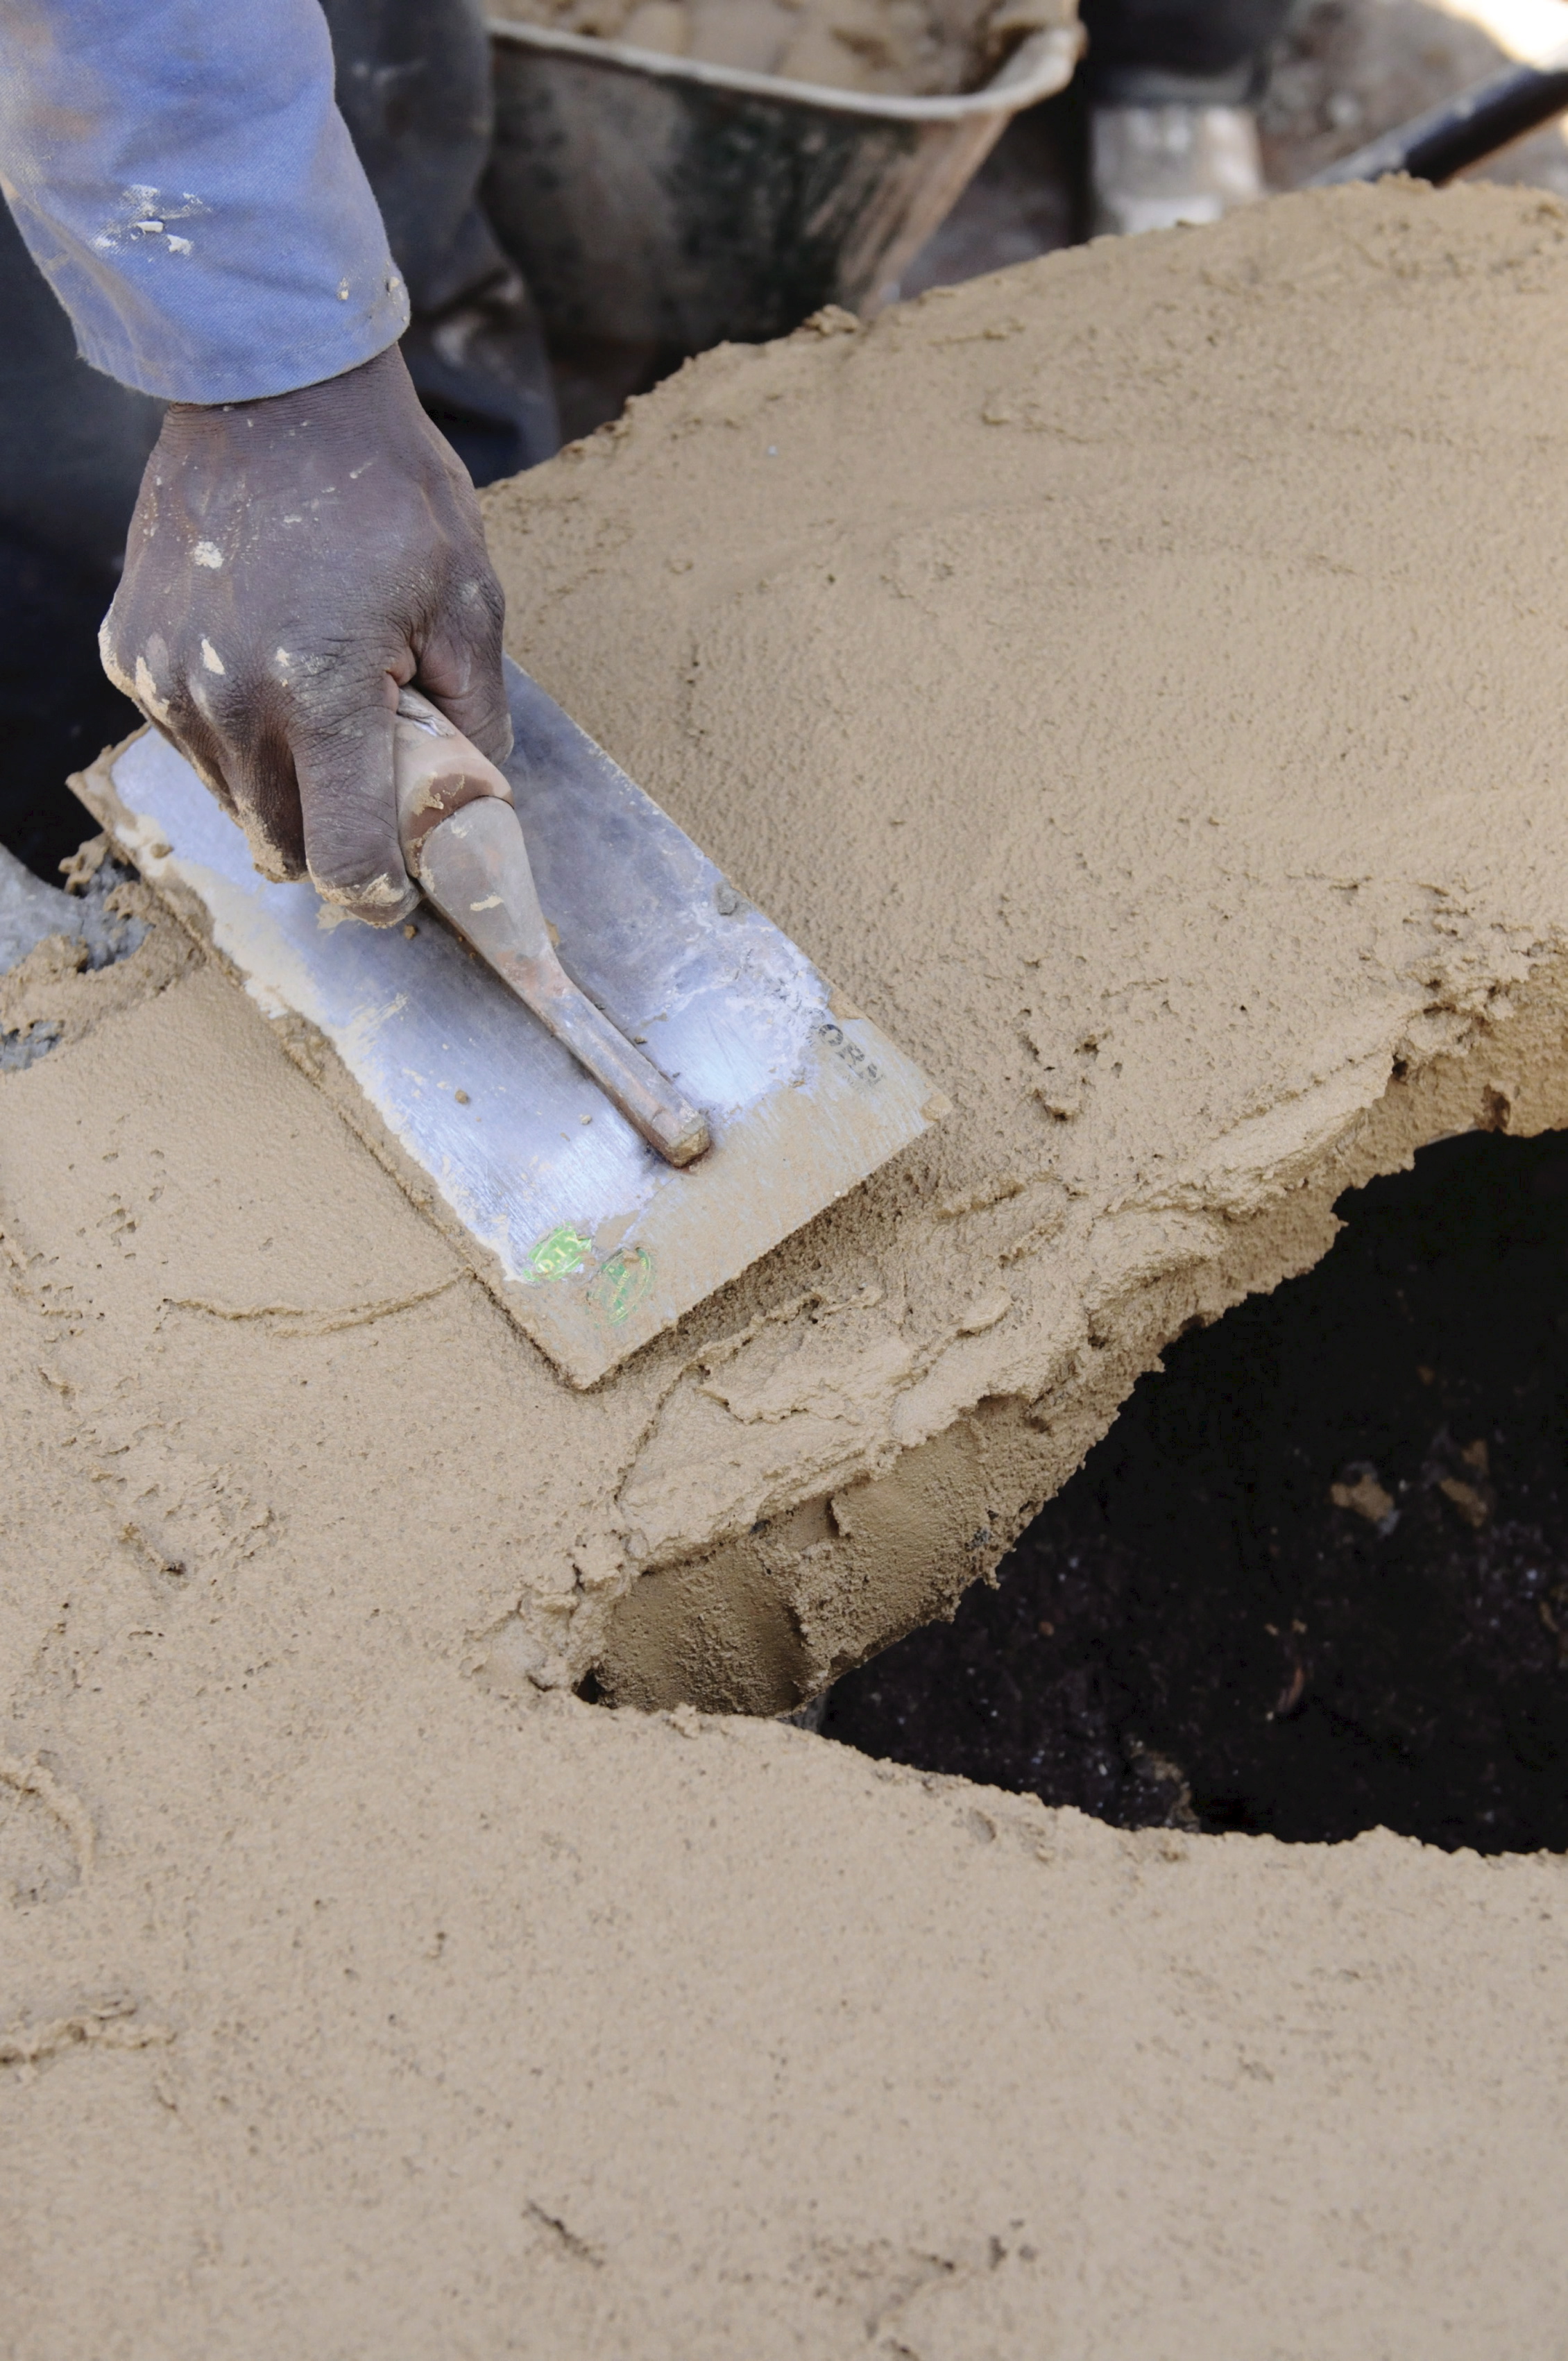
Plaster the moulded concrete seat top with a steel trowel using Decocrete, a Cemcrete product (www.cemcrete.co.za). Mix the product with water to form a stiff paste – a mix of two colours, Camel and Brown, was used to achieve the colour of this bench top. Shape the sides with the steel trowel until they become rounded.
Step 11
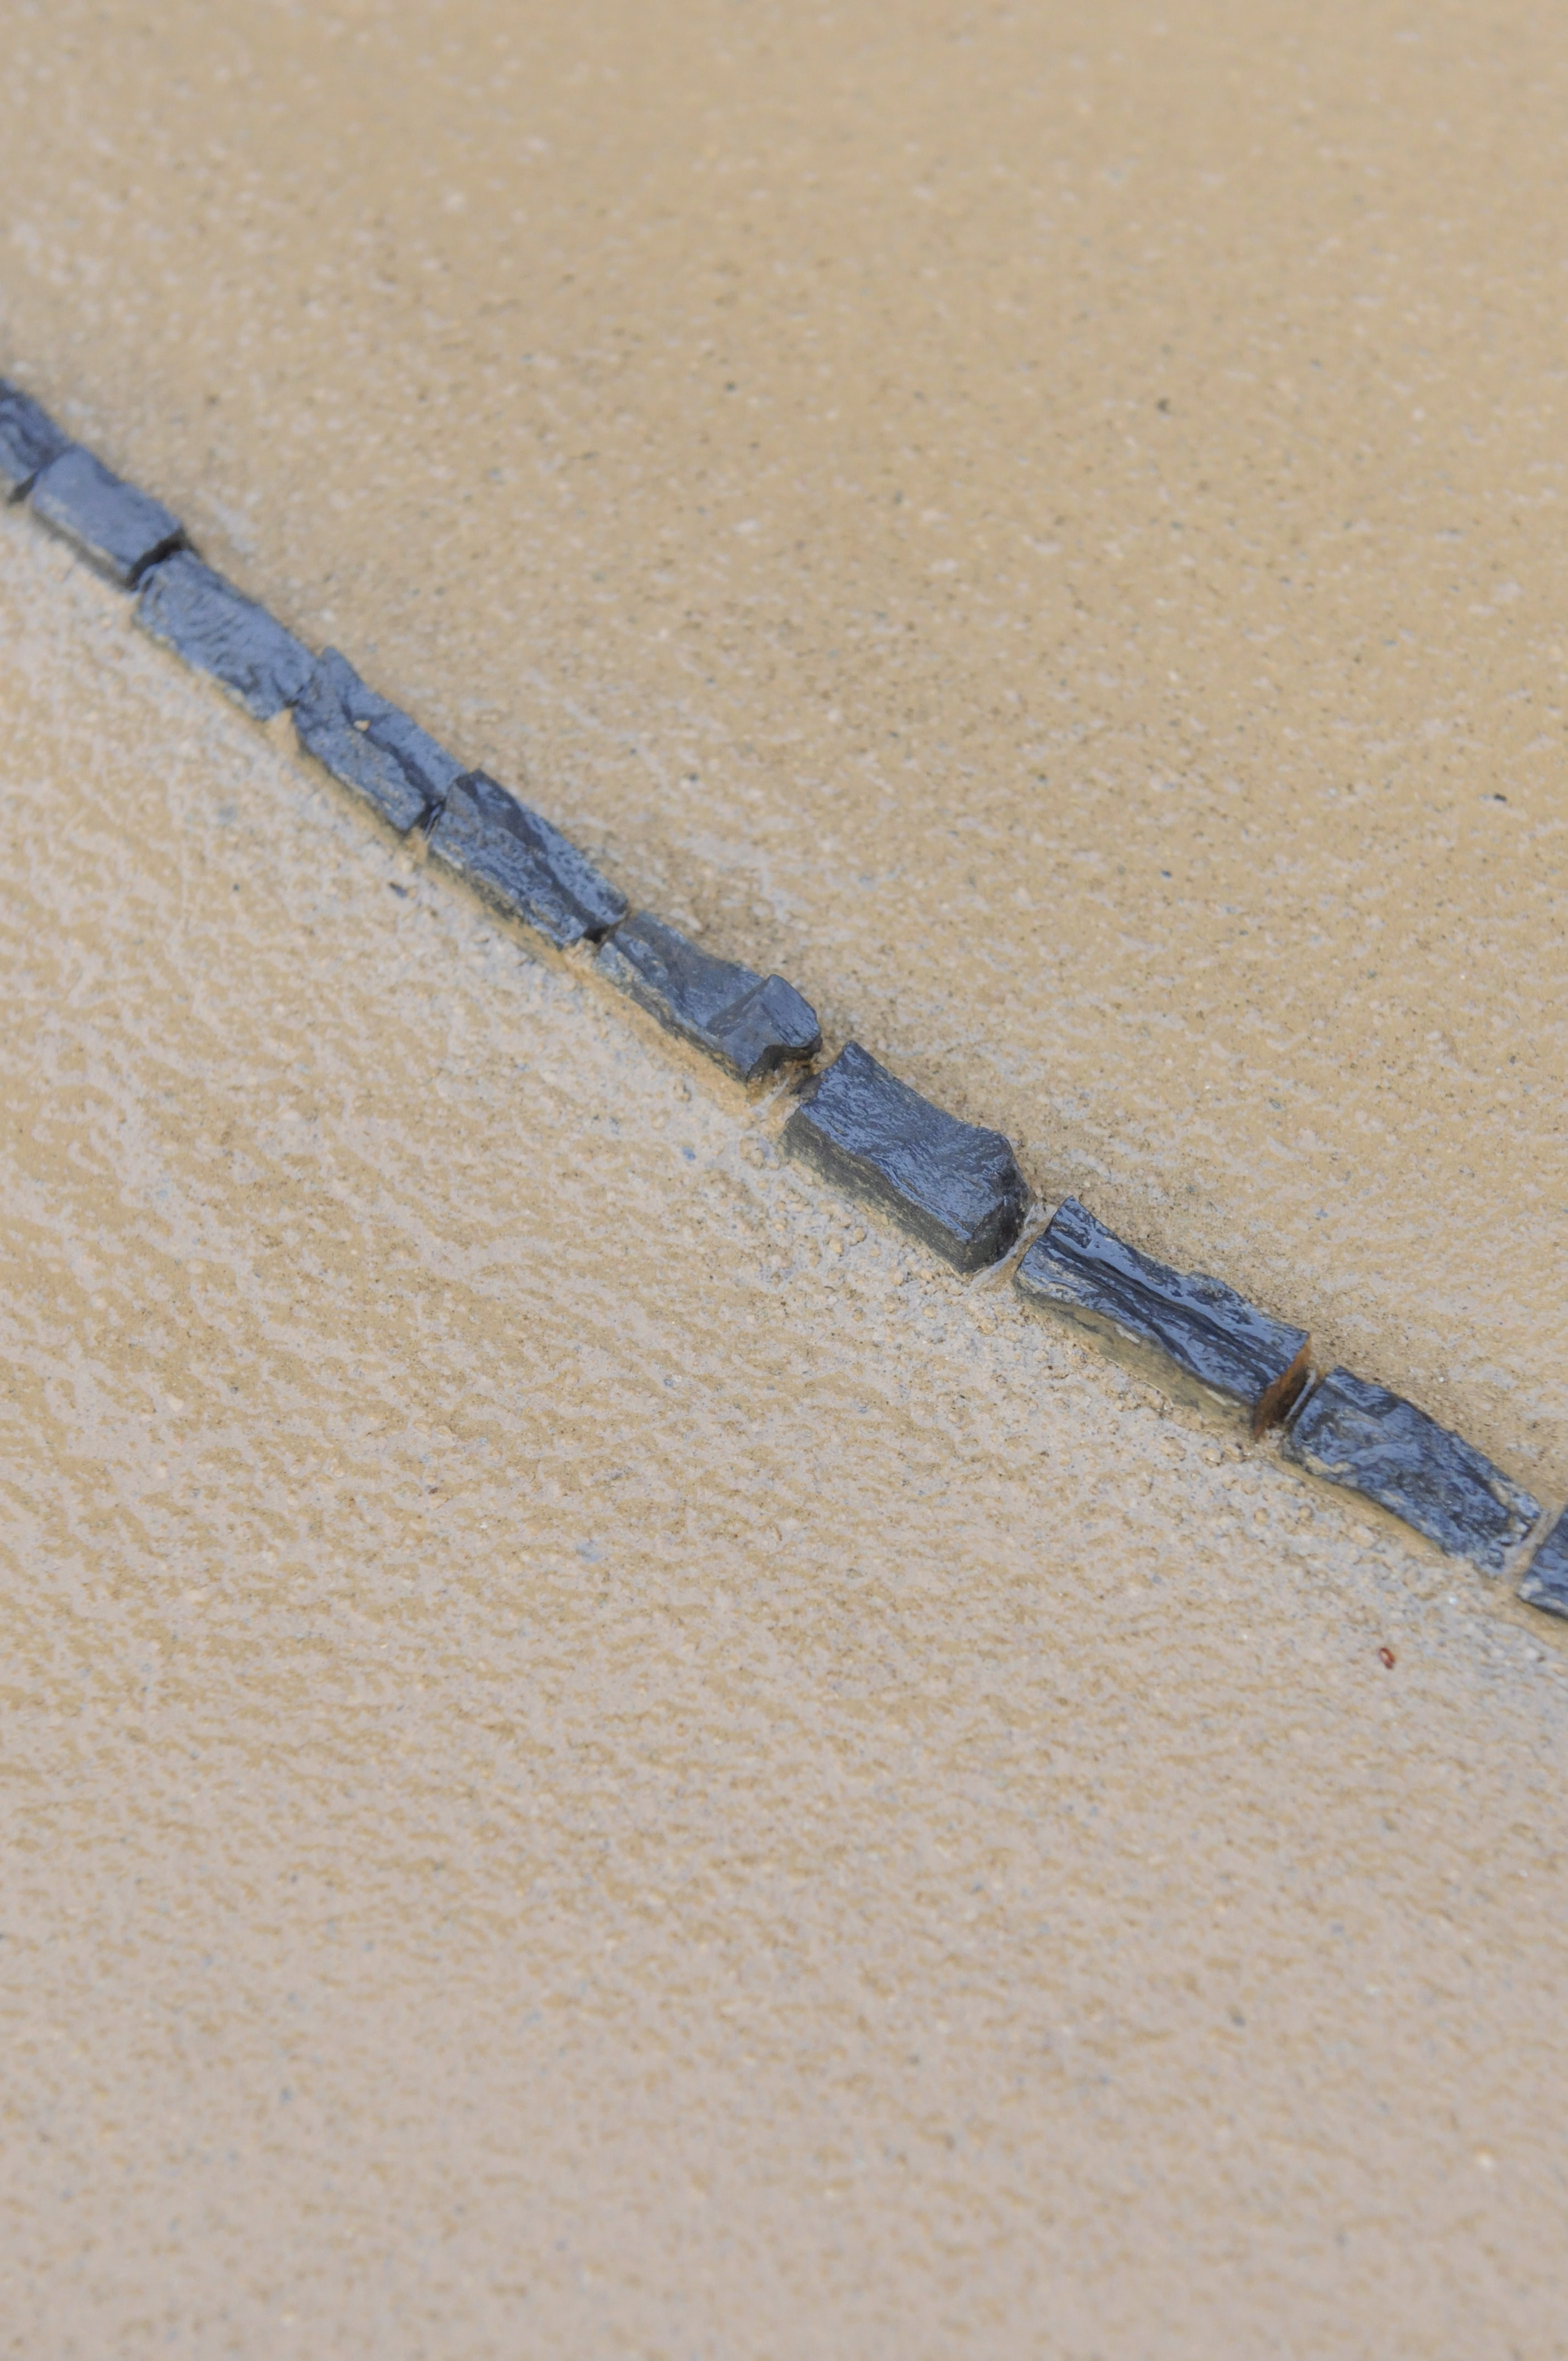
Insert small pieces of slate into the wet plaster to follow the curve of the bench. Let the plaster cure for 24 hours and wet with clean water three times during the curing time. Seal the bench top with Cemcrete Colour Hardener Sealer.
To finish: Clad the bottom part of the wall with dark slate and plant grasses around it.
Credits
Referenced from Gallo images / SA Garden Magazine
Browse 1000’s of products available to you. Select your country to Shop Online.


