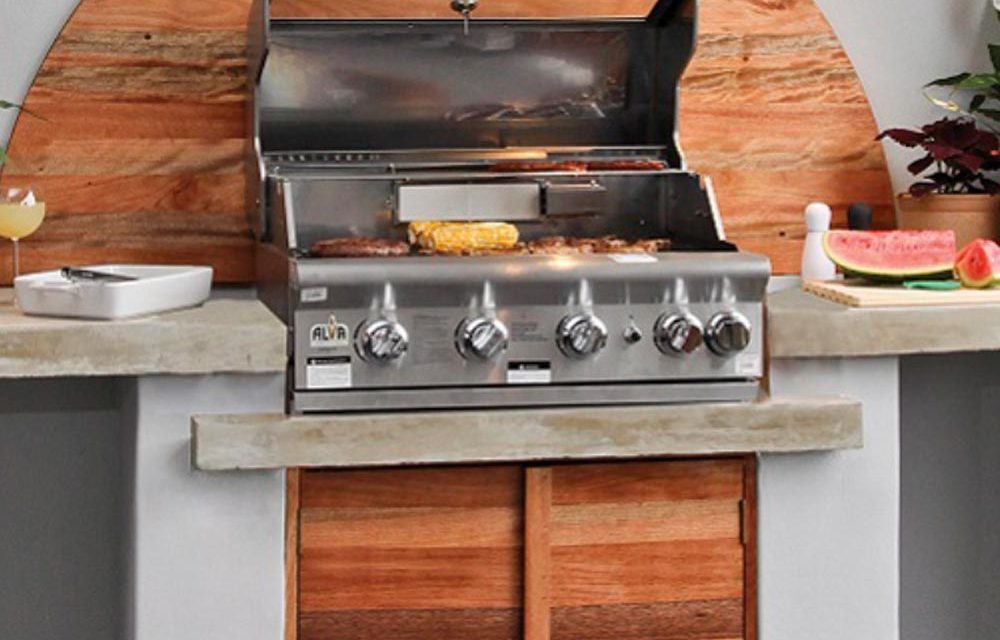
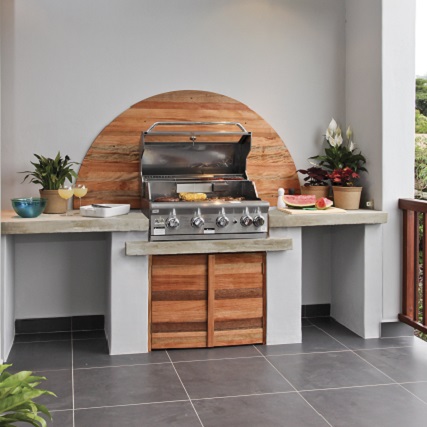
Install a built in braai with adjacent counters that give you plenty of working space. It will make entertaining on the patio a breeze and add value to your property too.
Materials you will need:
- 1 x built-in gas braai unit
- 126 x common bricks
- 5 x bags building sand
- 5 x bags plaster sand
- 3 x bags cement
- 5 x bags stones
- 5 x bags river sand
- Planks for supports (scrap)
- 6 m x 6 mm length of steel reinforcing rod, cut in lengths Wire (to bind the reinforcing rods)
- 1 x 1220 x 2440 x 18 mm sheet of shutterboard (for the counter moulds)
- For the door frame:
- 1 x 800 x 70 x 22 mm, 2 x 595 x 70 x 22 mm
- For the cupboard doors:
- 18 x 380 x 70 x 22 mm
- For the cleats on the inner door margins:
- 4 x 300 x 40 x 22 mm, 4 x 575 x 40 x 22 mm
- For the spashback:
- 13 x 1760 x 70 x 22 mm
- Wood glue
- Woodoc polywax sealer
- 18 x Hilti screws (6 x 50 mm)
- 35 x full-thread cut screws (4 x 40 mm)
- 4 x 70 mm recess door hinges
- Spade (for mixing)
- Wooden or plastic float
- Plaster trowel
- Spirit level tape
- Measure
- Cordless screwdriver
- Hammer
- Drill
- 6 mm masonry drill bit
- Jigsaw
- Sandpaper and long clamps (sash clamps)
Prepping for the project
Choose the spot where you want to install the braai unit. Preferably, there should be room for at least one counter alongside the braai, where you can prepare and serve food. The size of the braai unit will be the starting point for your measurements, particularly its width and depth (when the lid is in the open position), which will determine the dimensions of the support walls. Likewise, the space you have avaliable for counters will determine the dimensions of the counter support walls and slabs for the counter tops – measure this first and then ask your Builders consultant to help you estimate the quantities of building material you need.Step 1
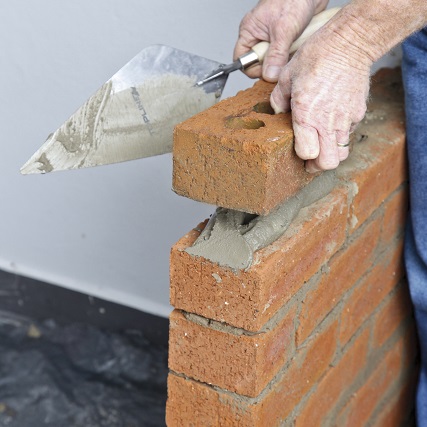
Build the support walls for the counters and the braai unit, using the common bricks. For the mortar, take four parts of building sand and one part of cement, slowly add water and mix until it attains the consistency of thick yoghurt. The standard height for counters is 900 mm (make allowance for the concrete counter top slabs, which will be 75 mm deep). The walls to support the braai unit should be 80 mm lower than the adjacent counters, and should allow, when plastered, for a 5 mm gap on either side of the braai unit.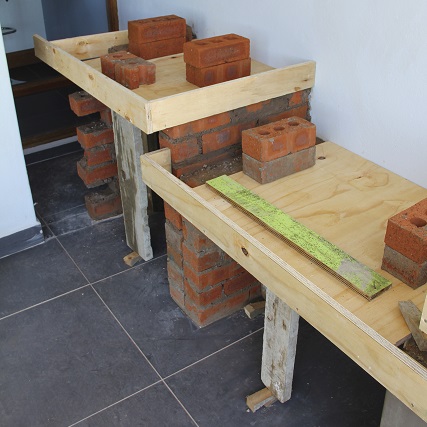
Step 2
To make the counter tops and braai support slab, first build shutterboard boxes, open on one side and held together with screws. (Ensure that the boxes are at least 75 mm deep.) Make allowance behind the braai unit support slab for the pipes that will be connected to the gas bottle, which must be sited in a safe and legal place.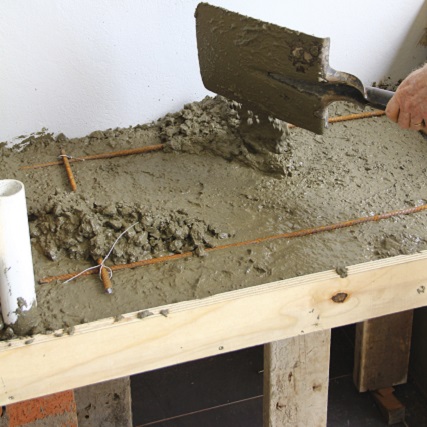
Step 3
Place the shutterboard boxes in position on top of the support walls, supporting them with sturdy scrap planks. Then take three parts of stone, two parts of river sand and one part of cement, and mix concrete, slowly adding water until it attains the consistency of thick yoghurt. Pour the concrete into the shutterboard boxes to the halfway mark. Then place the reinforcing rod, cut into lengths, in a grid pattern on top of the concrete. Bind the rods with wire. Then pour the rest of the concrete into the boxes, agitating it with a builder’s trowel to remove any air bubbles. Allow it to settle before running a float across the surface to give it a smooth finish (a plaster trowel will also be useful for this). Let the concrete cure for at least a week before you remove the shutterboards.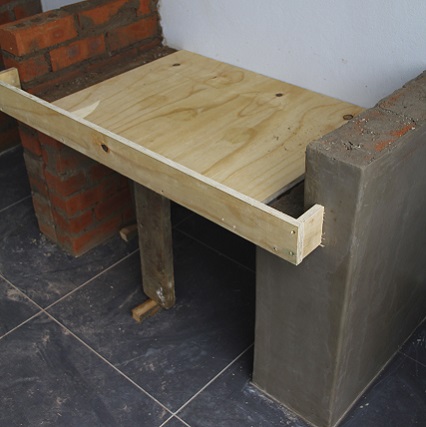
Step 4
Plaster the support walls, using a plaster mix of four parts plaster sand and one part cement, to which water has slowly been added until the mixture attains the consistency of thick yoghurt.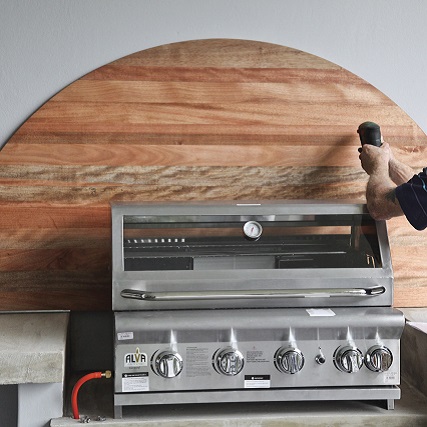
Step 5
Build a splashback, which will then be screwed to the wall behind the braai unit to collect any fat that spatters. Take the 1760 mm lengths of meranti and use a jigsaw to cut them to size to make the pattern you desire (we chose a half-moon). Glue them together and clamp them for a day unti the glue has dried. Sand the splashback until it is smooth, then seal it with the polywax sealer.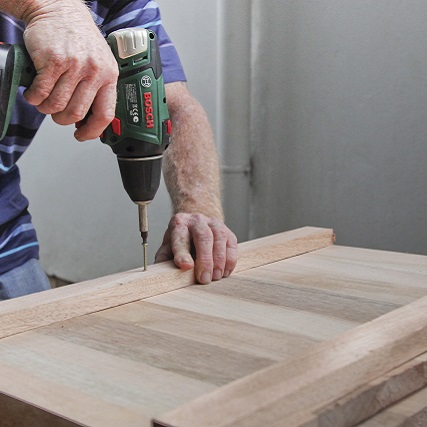
Step 6
Build two doors for a storage cupboard underneath the braai unit, using the same method as you used for the spashback. To give them additional strength and prevent them from warping, screw the cleats to the back margins of the doors.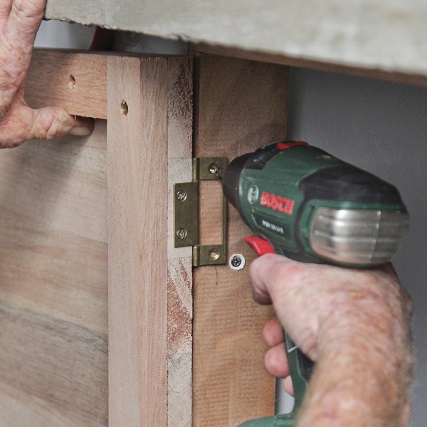
Step 7
For the door frame, glue and screw the three cut lengths together. Then fit the frame to the plastered support walls underneath the braai unit, 5 mm back from the front, using four of the Hilti screws. Screw the hinges to the door and then attach them to the frame.Your DIY is complete
To complete the installation, place the braai unit on top of its support slab. Note: we embedded conduit for the gas supply in the concrete floor, leading to a place outside where the gas bottles were sited. Stringent legal safety provisions govern where you may site the gas bottles and it is not permitted to install them undercover in your home. Please seek advice before you begin this part of the project.Credits
Referenced from Gallo images / www.thegardener.co.za
Browse 1000’s of products available to you. Select your country to Shop Online.


