
Without adequate protection your gorgeous wood will eventually deteriorate – especially if it’s used outdoors. Here’s how to give it that special treatment to ensure it lasts a lifetime.
Why varnish or treat wood?
Wood basically starts to dry out and decompose as soon as a tree is cut down and turned into lumber. As the natural oils and moisture in wood are released it becomes dry and brittle. Moisture from dew or rainwater is quickly absorbed by unprotected (especially dry) wood, causing it to soften and swell. Exposure to the sun will dry the wood, shrinking it – while constant exposure to UV rays will dull the surface. Continuous wet and dry cycles (both seasonal and from day to night) cause wood to swell and shrink, warp, split and crack – all of which lead to premature deterioration. Persistent moisture exposure also creates conditions for the growth of mildew, mould, algae and other fungal organisms that feed on wood, eventually spreading across and staining the surface causing wood rot and decay. Termites and other woodboring insects will also use wood as a food source. So, the day you finish installing your deck, pergola or fascia (or consider using wooden outdoor furniture) is the day to consider a good quality finish and a regular maintenance programme.
Can I treat weathered woods?
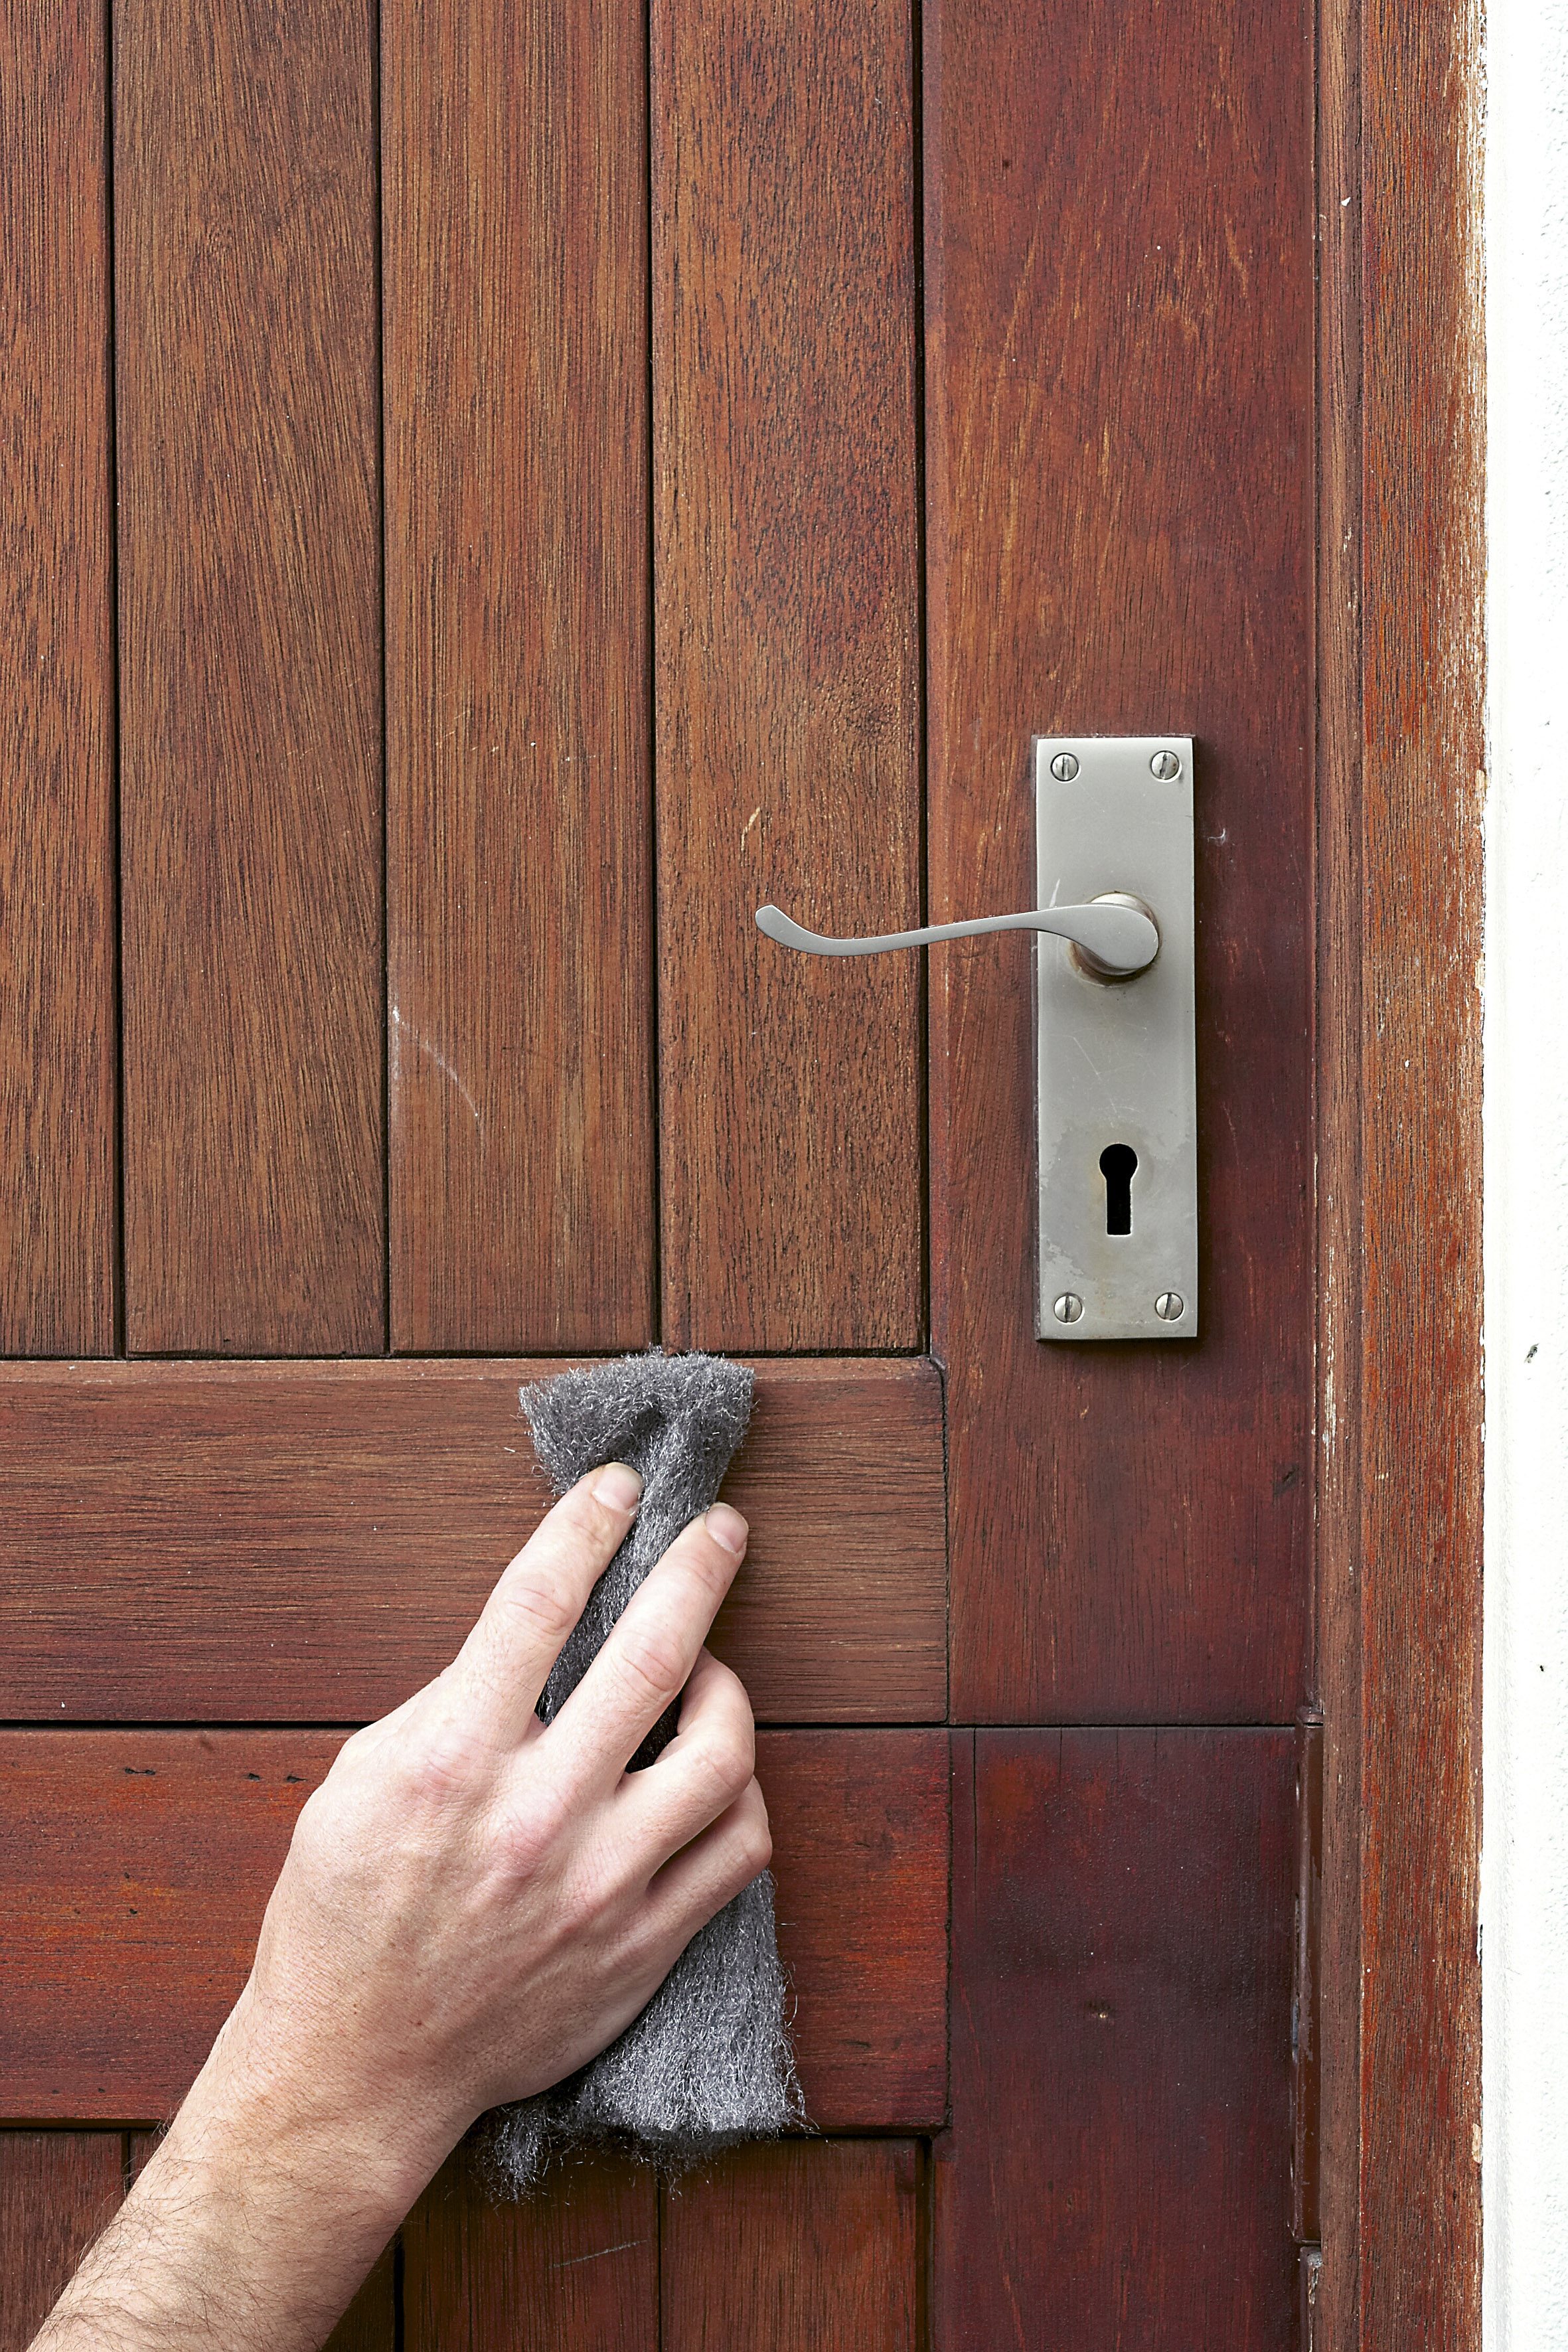
If left untreated and allowed to weather, hardwoods will turn a light silvery-grey colour over time. As they contain natural oils in these woods, they do not generally need extra treatment and are therefore ideal for outdoor use. However, they can benefit from certain treatments to preserve their natural colour. This can either be a water- or oil-based product that soaks in and feeds the wood, but doesn’t leave a surface coating like varnish or paint. Weathered wood generally needs to be sanded before treatment to remove the old ‘dead’ top layer. However, new products on the market make life easier as they are designed to remove this grey layer by scrubbing alone!
Filming products
Similar to solvent-based or water-based varnish finishes and provide a barrier between wood and the elements. Depending on its formulation, these can leave a gloss, semi-gloss or satin finish. But they can be subject to flaking and cracking over time. A film finish is susceptible to cracking when wood expands and contracts or when water gets underneath the finish and deteriorates the wood – although some newer water-based coatings have excellent flexibility and better penetration.
Penetrating wood finishes
(oil or water-based products) saturate wood pores to prevent water penetration. New water-based products offer excellent penetration and perform as well as or better than oil-based products. Penetrating finishes provide longterm water repellence and unlike film forming products, they don’t trap moisture in the wood nor do they peel and blister. Better still, reapplying these products as part of your regular maintenance program is easier as little or no preparation is needed.
Proper preparation is key
1. Get it clean
There are various paintstripping products and techniques available, so make sure you choose what works best for you and the wood. It is best to remove old paint or peeling varnish by brushing on a water-based paint remover.Leave the product to react for a few minutes then use a scraper to remove all loose and peeling, bubbling paint. Be careful not to damage the wood and to work along the grain.
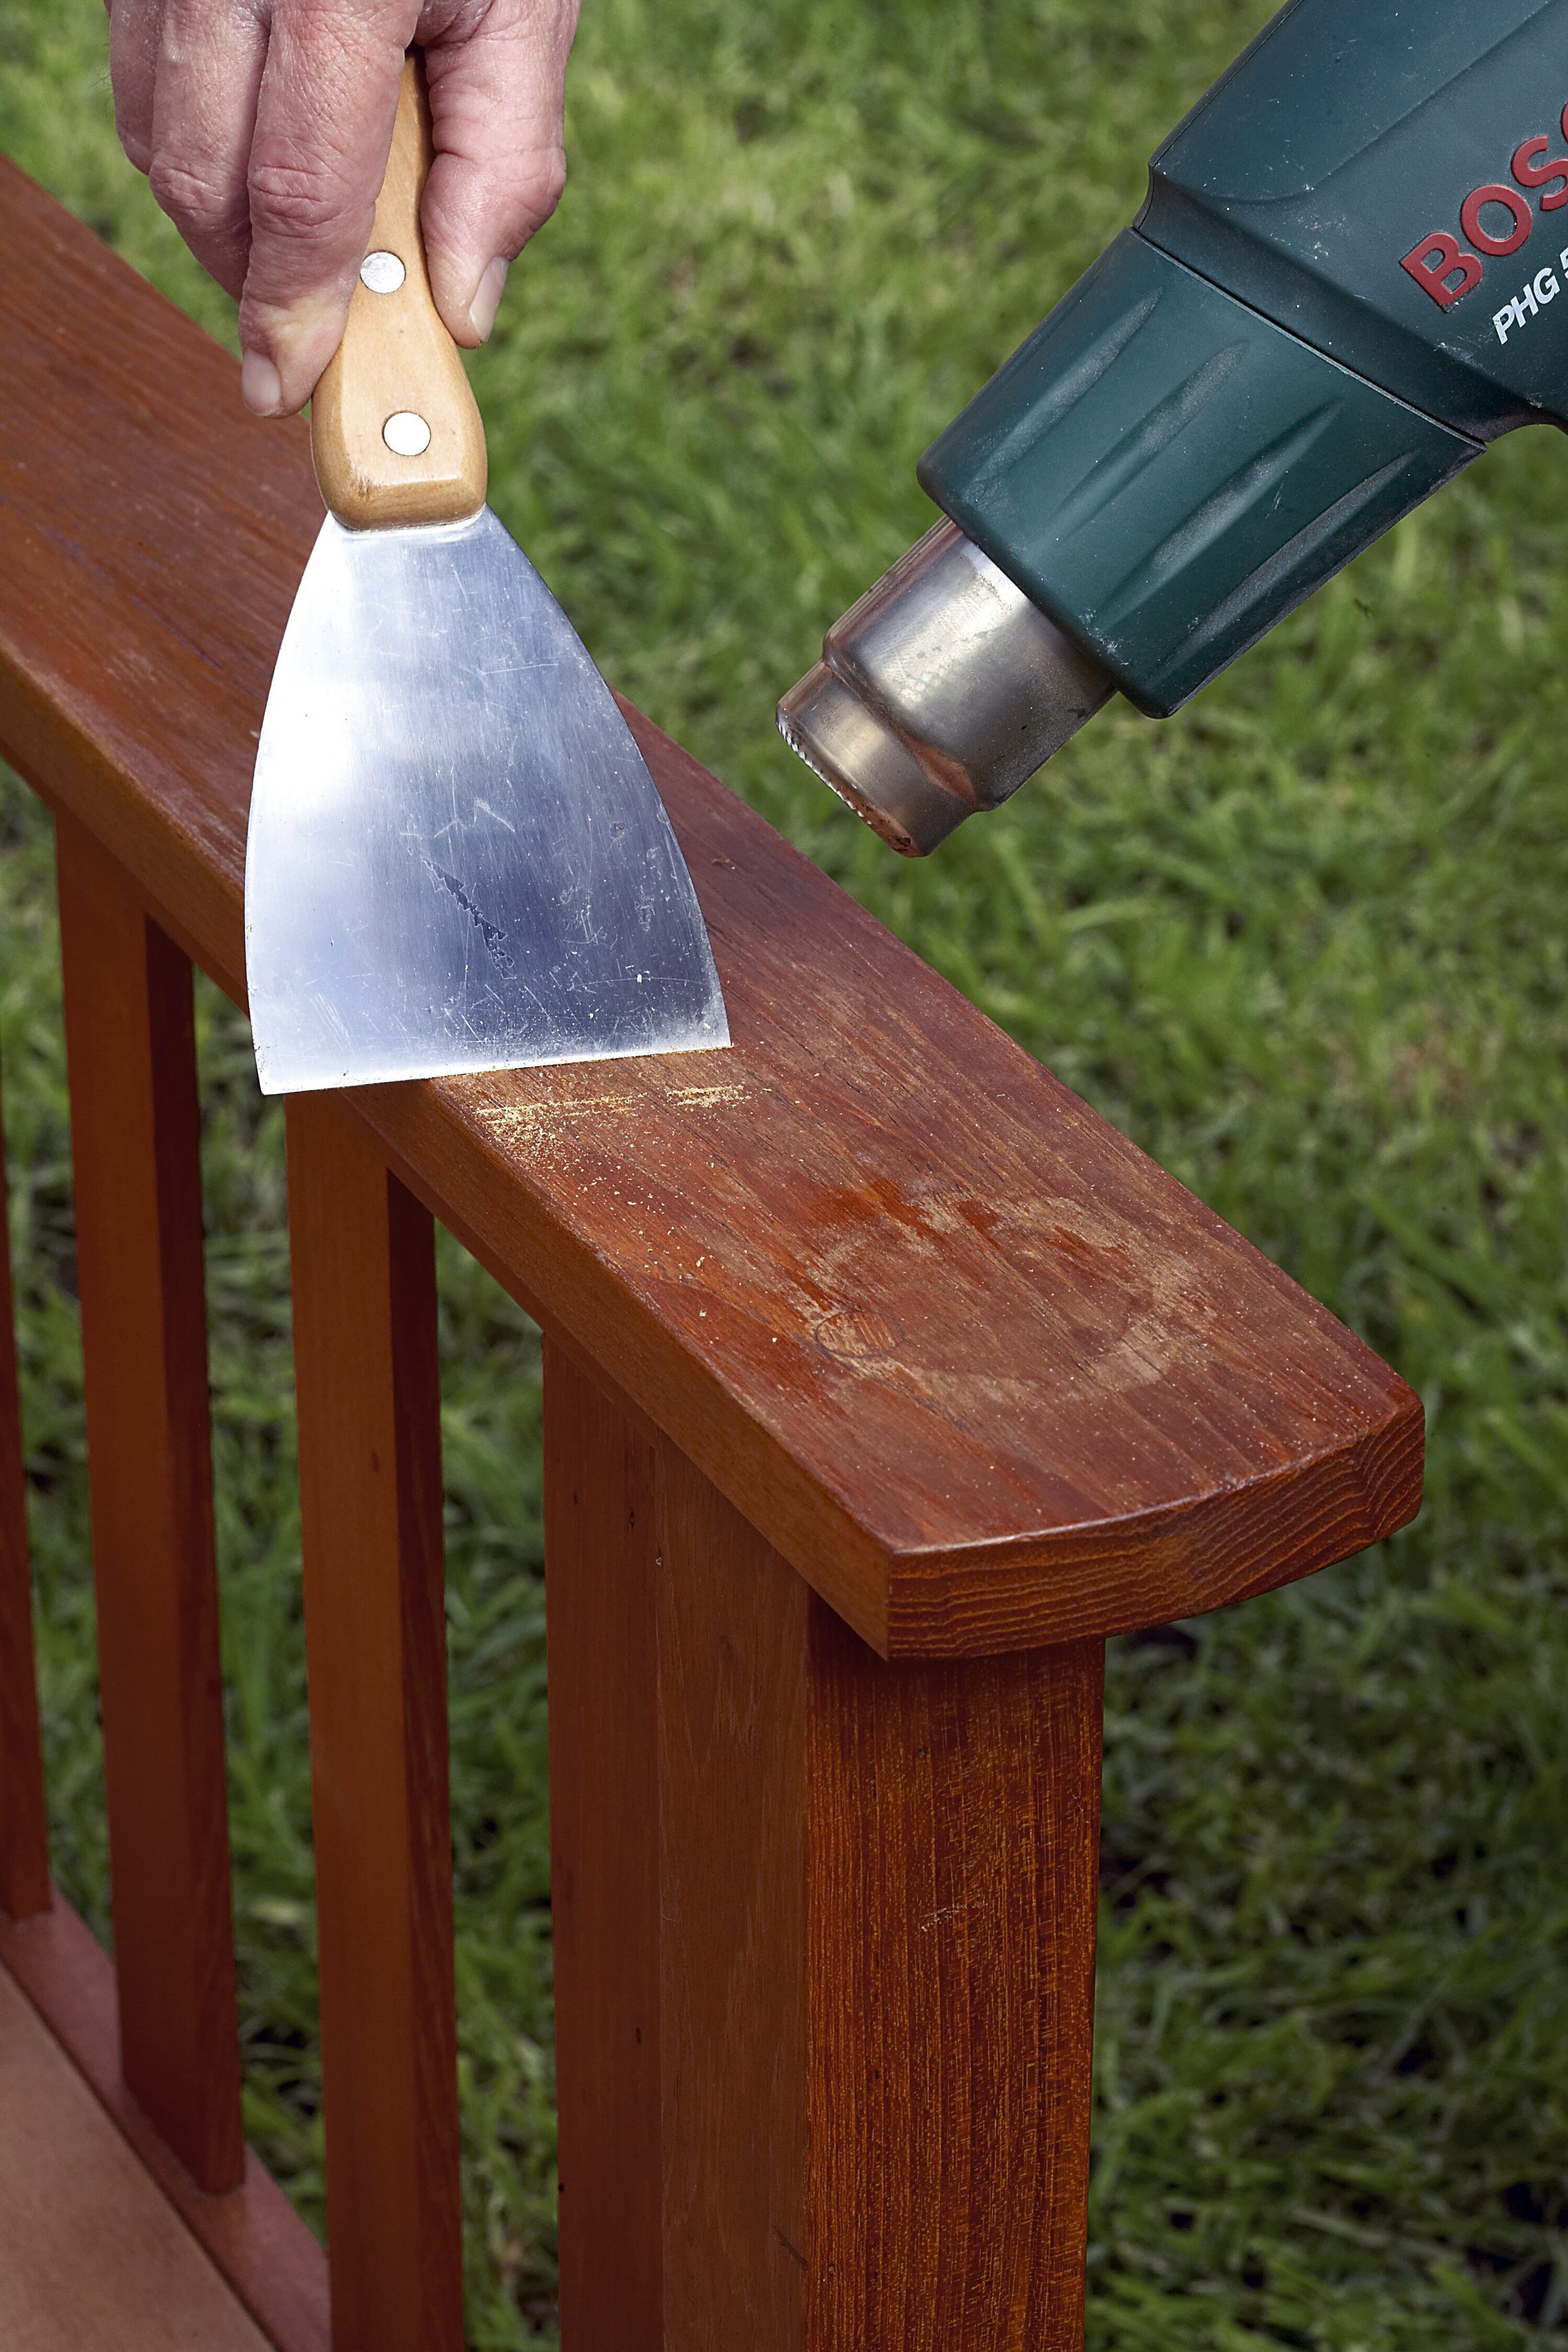
With so many paint removal products on the market, heat is generally the last resort to removing a finish, as you could easily burn the wood. Heat can be applied to flat or slightly curved surfaces, so that a scraper can be used to remove the softened finish.
2. Sand it down
You should sand surfaces by hand rather than with a sander so you can work with the grain. Machine sanders can create tiny swirls on the surface if left in one position too long and sanding against the grain can also scratch the wood permanently. Use a sanding block (on flat surfaces) and a foam block (on curves). Sand round sections gently with the paper alone. To produce really smooth surfaces the material should go through at least three ‘sandings’ with successively finer grit sandpaper. The last fine-grit sanding should adequately prepare the wood for the finishing process. If you don’t think the wood is smooth enough at this point, finish up the job with a very fine grit sandpaper or steelwool.
Remember: Regardless of how fine a grade you use, sandpaper works by scratching the wood surface. The final scratches are usually so tiny you can’t see them when the wood is varnished – but by keeping this ‘scratching’ idea in mind, it will prevent you from sanding too much.
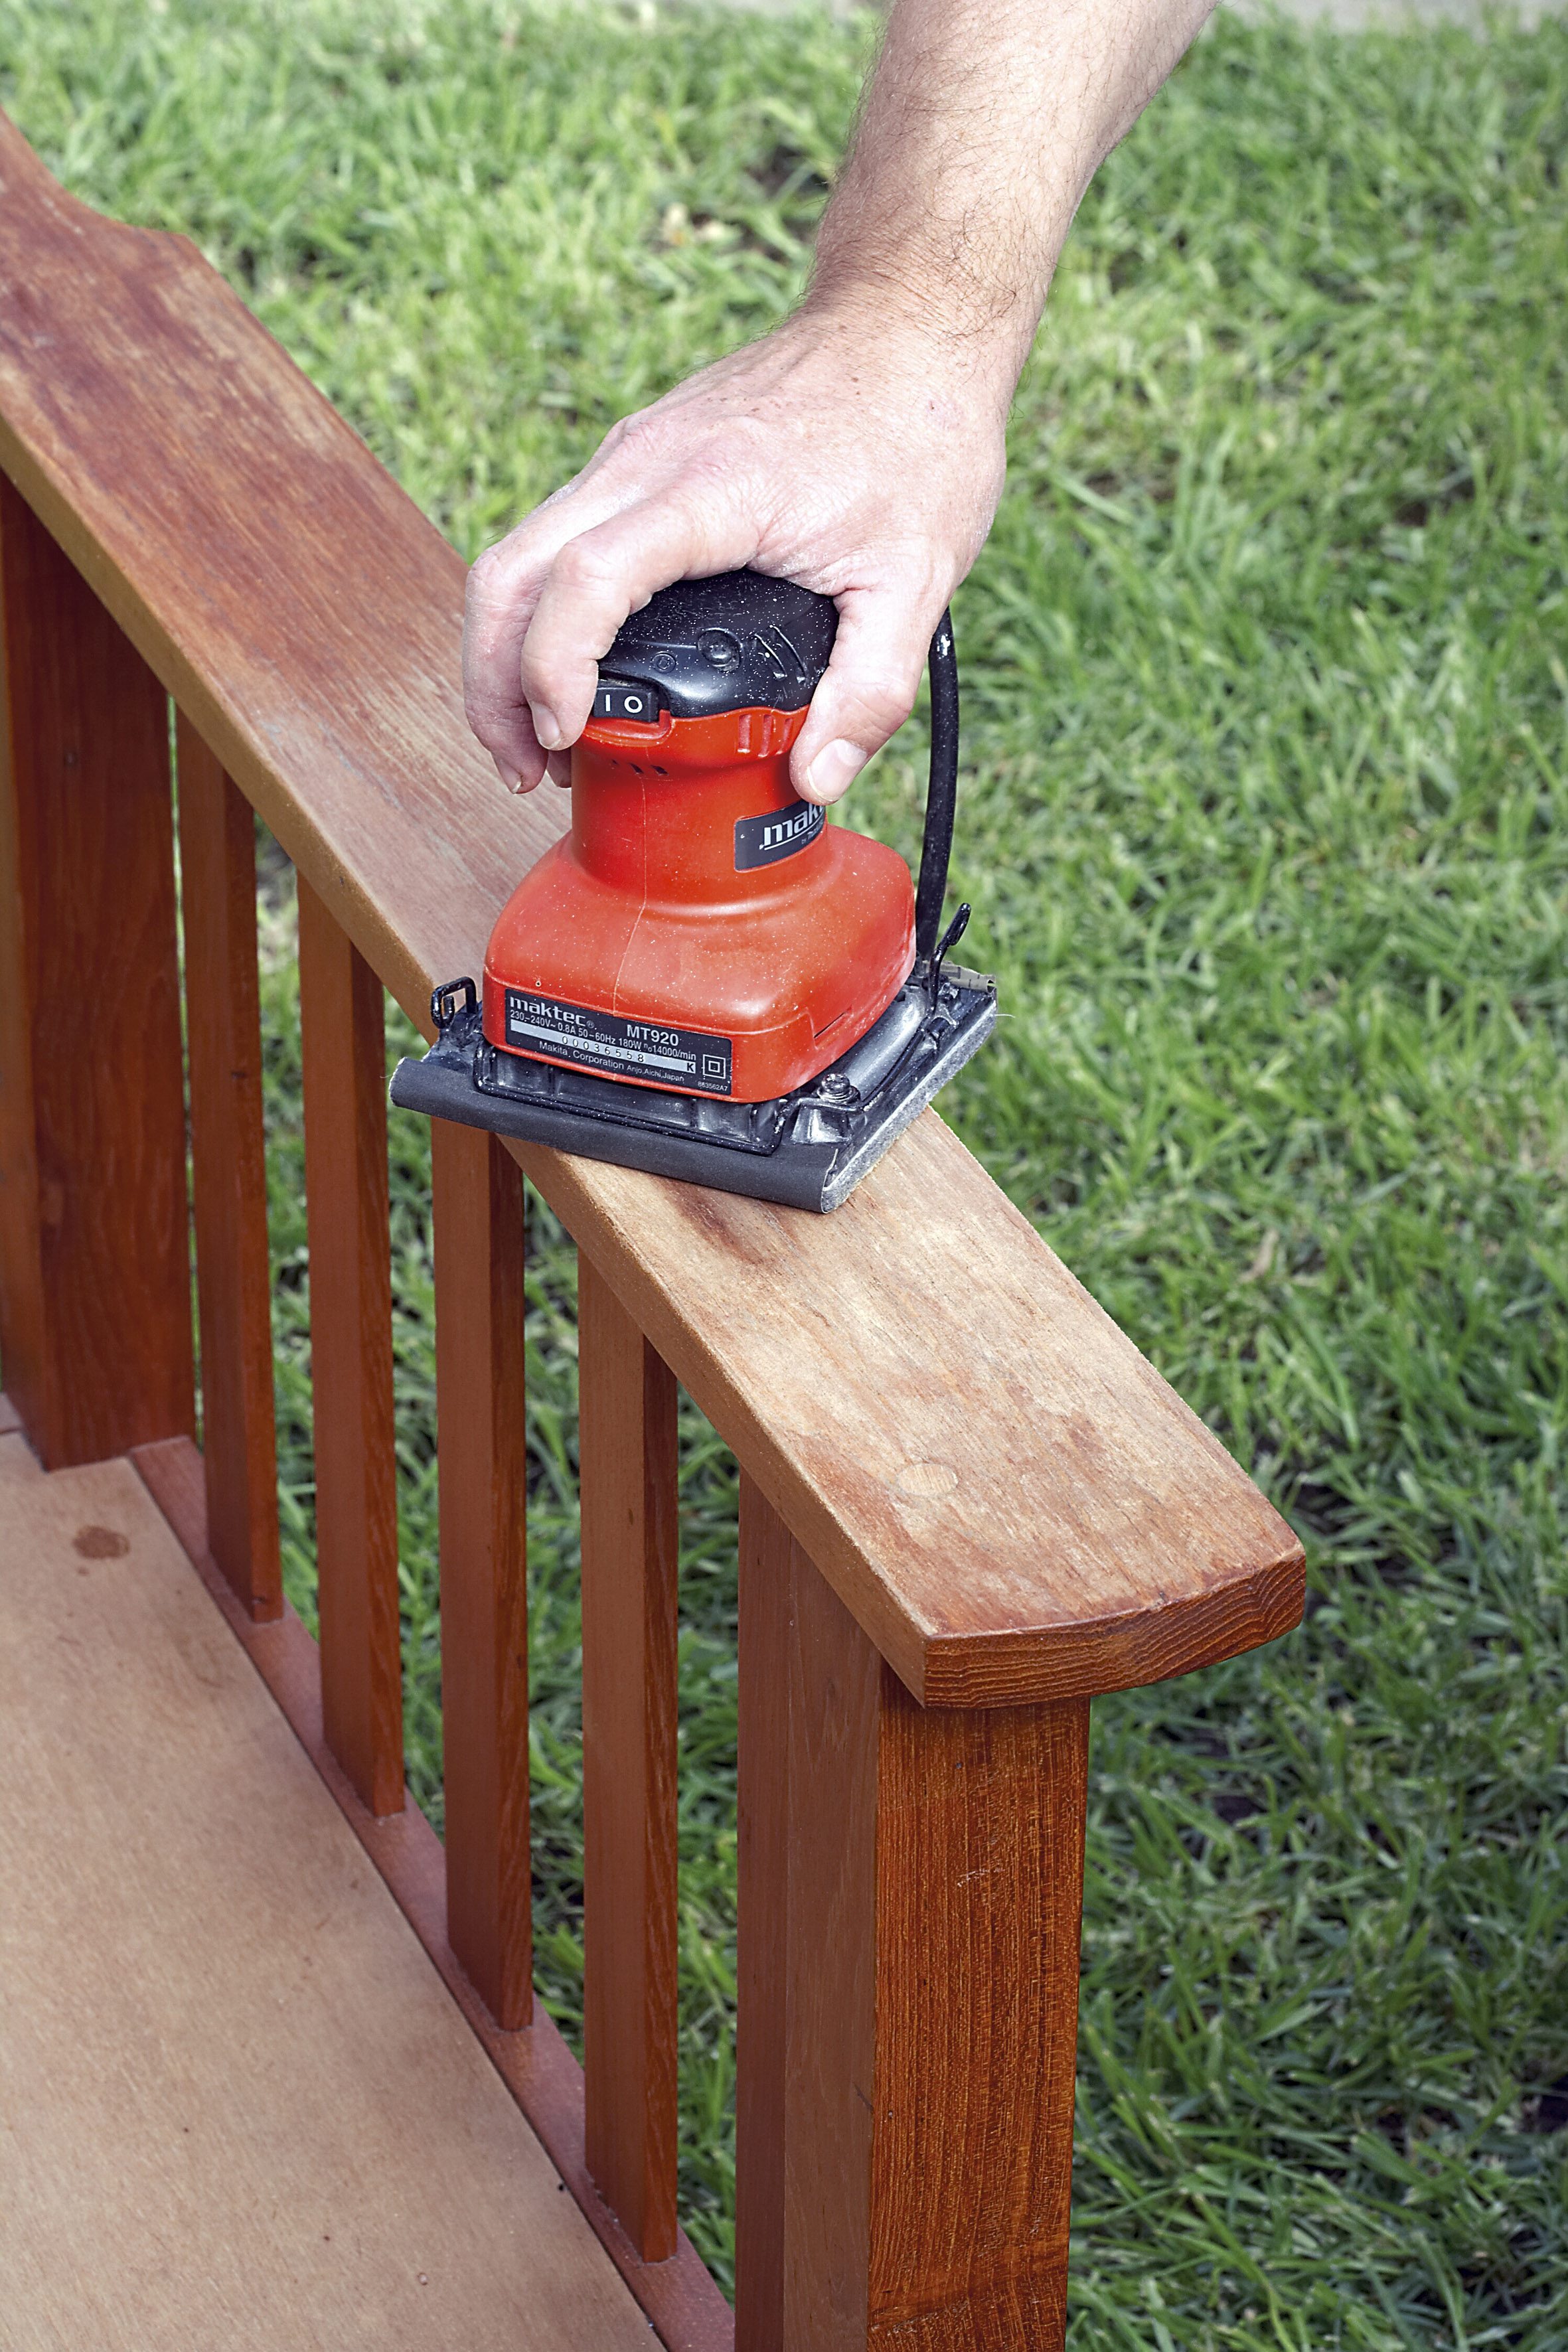
Power sanding
There are different kinds power sanders, but only one should be considered when doing fine finishing work: the orbital or random orbital sander. Correctly used, with controlled pressure, it poses little danger of damaging the wood surface. In the hands of a novice, a sander can leave tiny swirls in the wood surface, regardless of the ‘fineness’ of the sandpaper – all it takes is clogged paper and a little too much pressure.
Remember: Sanders will remove surface layers faster – which is often the ideal. However, if you are new to refinishing (or the furniture piece is valuable) it is strongly recommended that you not use a power sander.

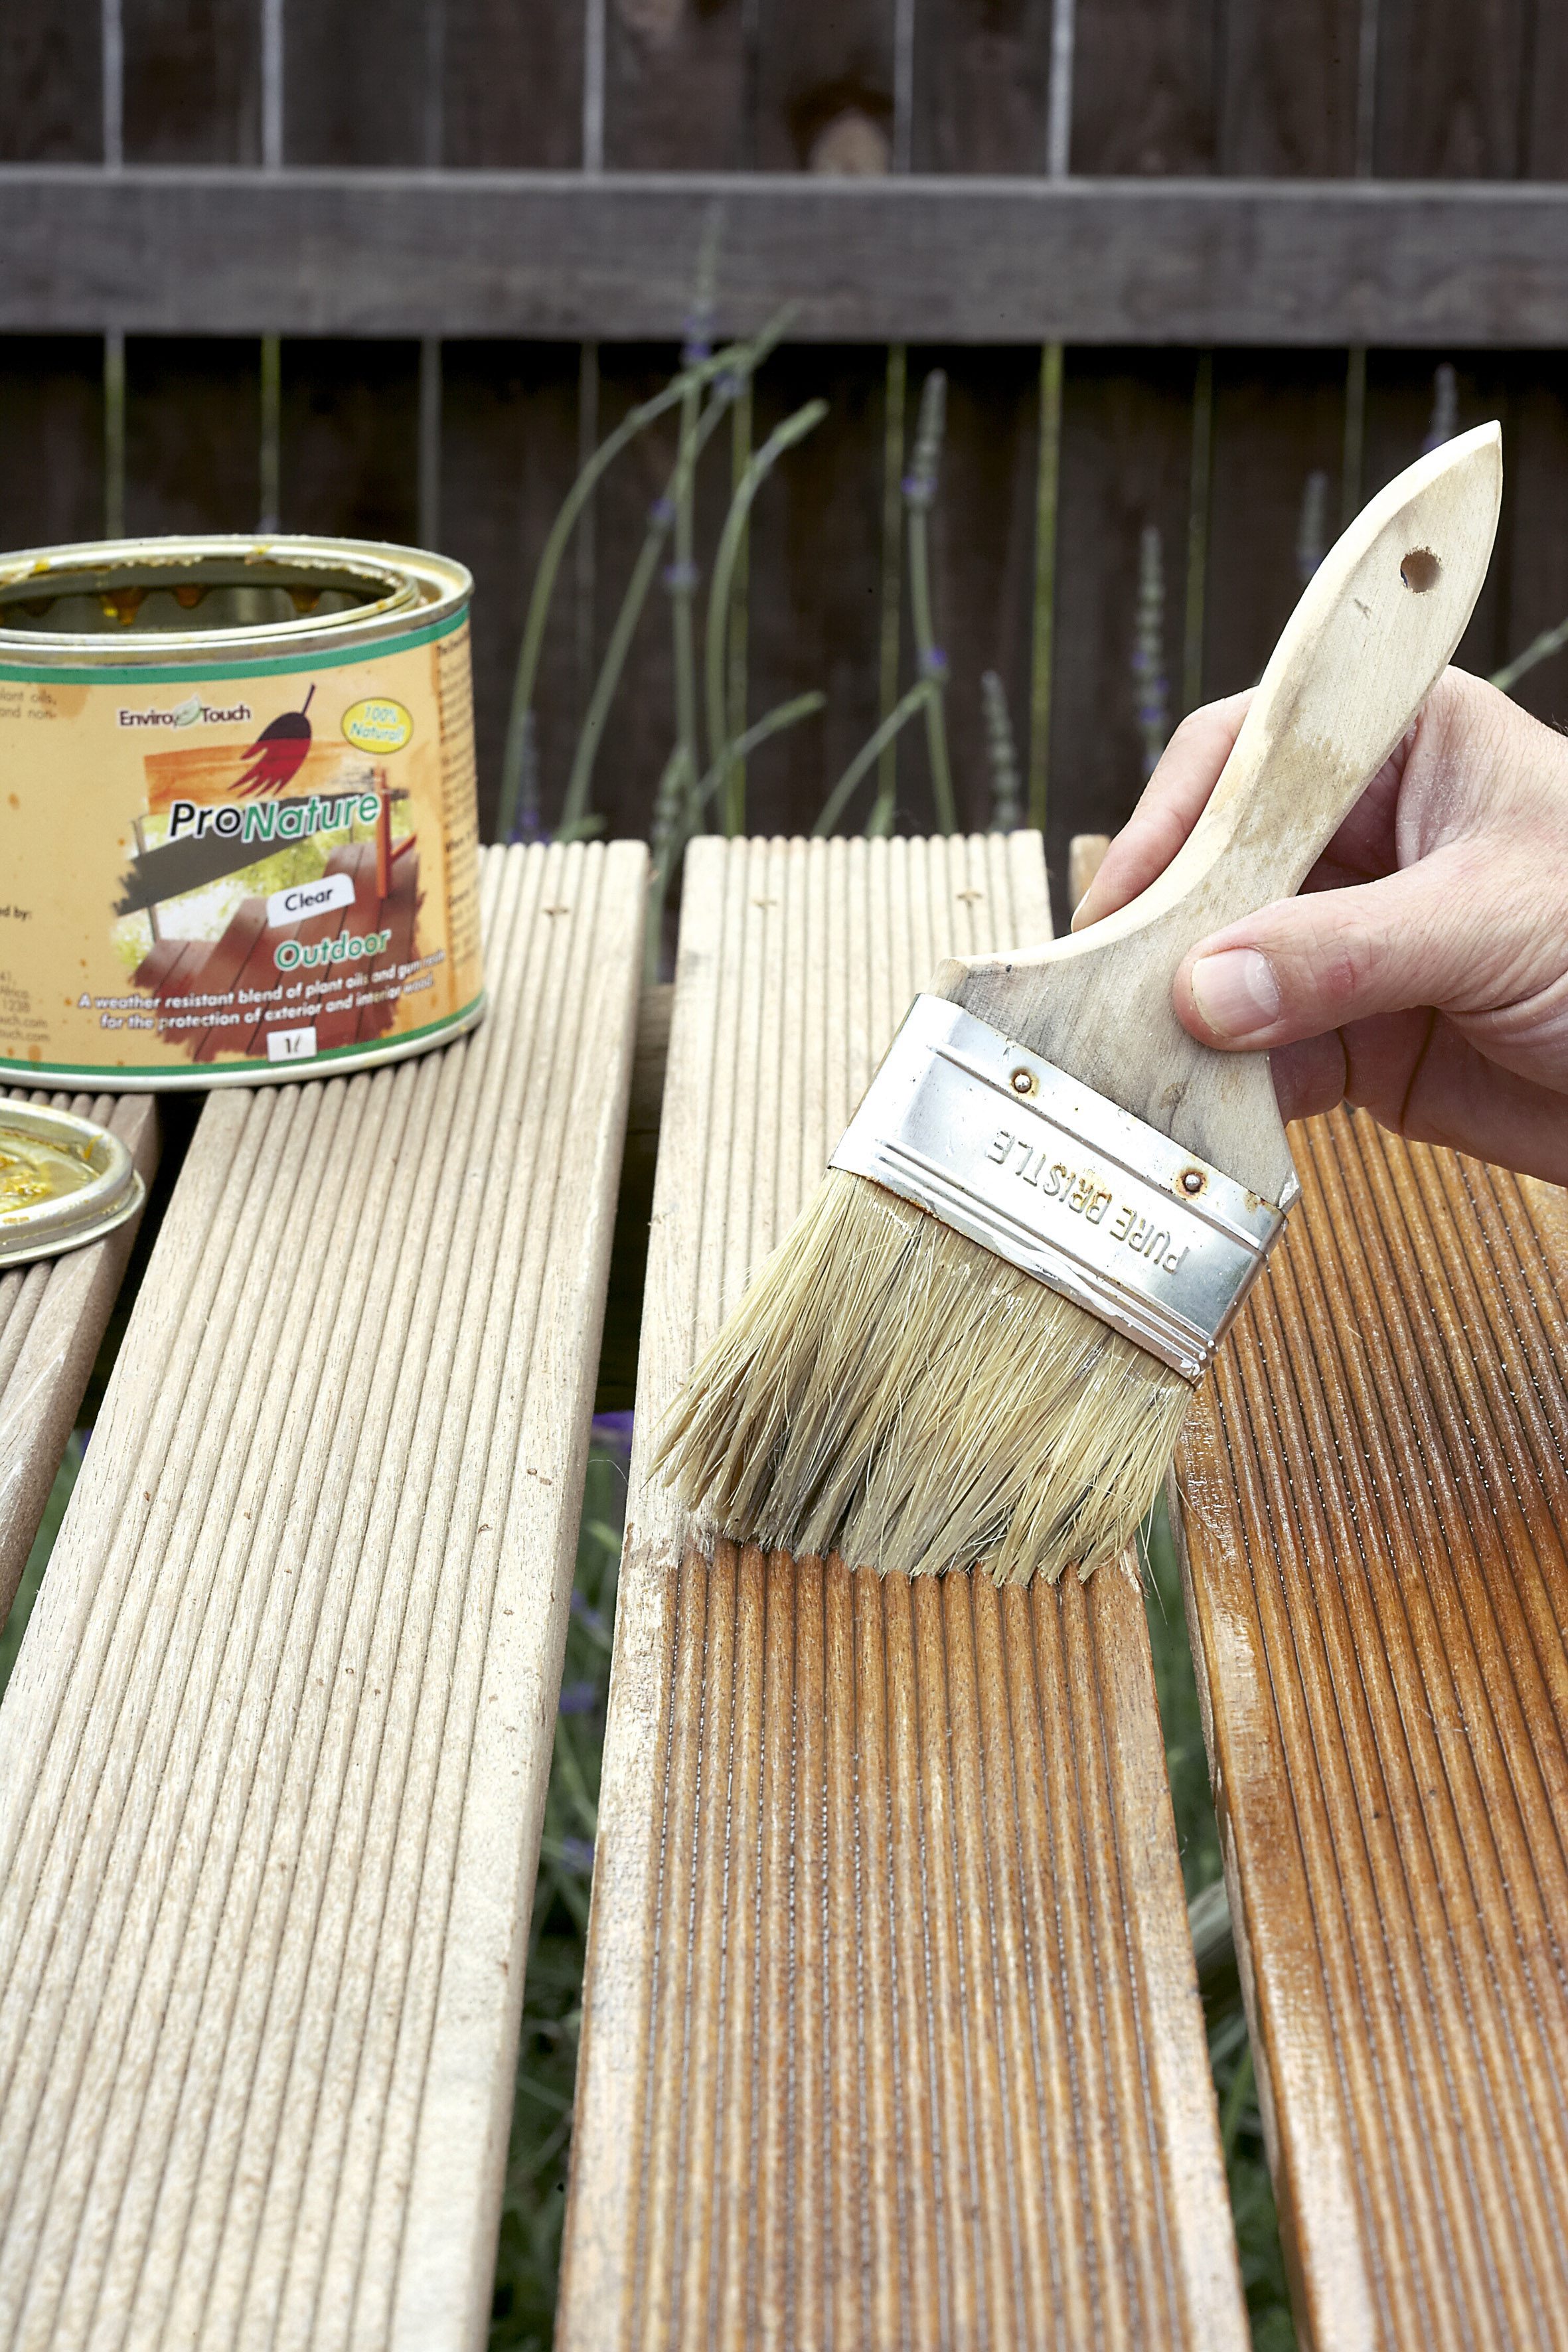
3. Seal it carefully
Apply varnish to the prepared wood with long, smooth, even strokes, laying the varnish along the grain in strips the width of the brush. It also needs to be brushed lightly but remember that overdoing it can leave a streaky, lined finish. It is better to apply a few thin coats rather than one thick coat. The varnish should flow onto the surface of the wood, with no drag. If the brush starts to pull or if you see small missed or thin spots, thin the varnish slightly. For natural varnish, use turpentine or mineral spirits. For polyurethane varnish, use the thinner recommended by the manufacturer. Make sure to gently stir varnish and never shake it or it will develop air bubbles that cannot be removed. Do not wipe your brush on the inside of the tin as this adds air bubbles and can spoil the finish, rather shake or tap off excess varnish inside the container. You will need to allow this first coat to dry overnight before you proceed on to the next step. Once the surface is completely dry, you will need to use a fine sandpaper to lightly smooth the surface.
To test if the varnish is completely dry, sand the surface lightly. If sanding produces dust, then the varnish is ready to sand. If, however, rubbing the sandpaper across the surface produces tiny balls of varnish, then it is not dry yet. After sanding, wipe away any dust with a soft, clean cloth. Then, repeat the process with one or two more coats of varnish.
Wood oil leaves a clear, satin finish that is extremely durable. Apply a liberal coat of oil over the wood surface with a brush or a cotton cloth and leave for a few minutes, apply a second coat of oil, working with the grain. Leave it to dry and apply a third coat if necessary. On new furniture it is recommended that you apply oil once a week for the first month and thereafter once every six months.

How to apply a wood stain
Wood stain will not take on previously painted or varnished surfaces, so sand any surface to be stained back to bare wood. Remove any traces of glue, which will act as a barrier and result in lighter patches. Fill all cracks and gaps with a wood filler which will absorb the stain. Note that some epoxy-based fillers are unsuitable for staining. If you’re using a water-based stain, first apply clean water to the wood to raise the grain. Then lightly sand the surface until it is smooth. If you’re using a solvent-based stain, simply sand the wood surface smooth. Apply the stain liberally, quickly and evenly over the surface. Work in the direction of the grain. Let the area dry before applying a second coat. If the wood surface feels rough to the touch when the stain has dried, sand it lightly with fine sandpaper.
Otherwise, wipe the surface with a clean cloth. Finish off with wax or varnish – bearing in mind that these will also darken the finish.
Get your fill
When working with wood, Alcolin Woodfiller is the ideal product for filling holes, cracks and surface defects in and around the house. Perfect for a variety of tasks, here’s why it’s the preferred choice for cabinetmakers, woodworkers, decorators and DIY enthusiasts nationwide:
- It’s great for covering up imperfections, surface defects, holes and cracks in your woodwork.
- It’s available in a wide range of wood colours to match most woods.
- It’s conveniently ready-mixed and can be over-coated with varnish or paint.
- It’s water-based, non-toxic, and manufactured in South Africa making it the perfect product for local conditions.
Credits
Referenced from Gallo images / Home Magazine
Browse 1000’s of products available to you. Select your country to Shop Online.


