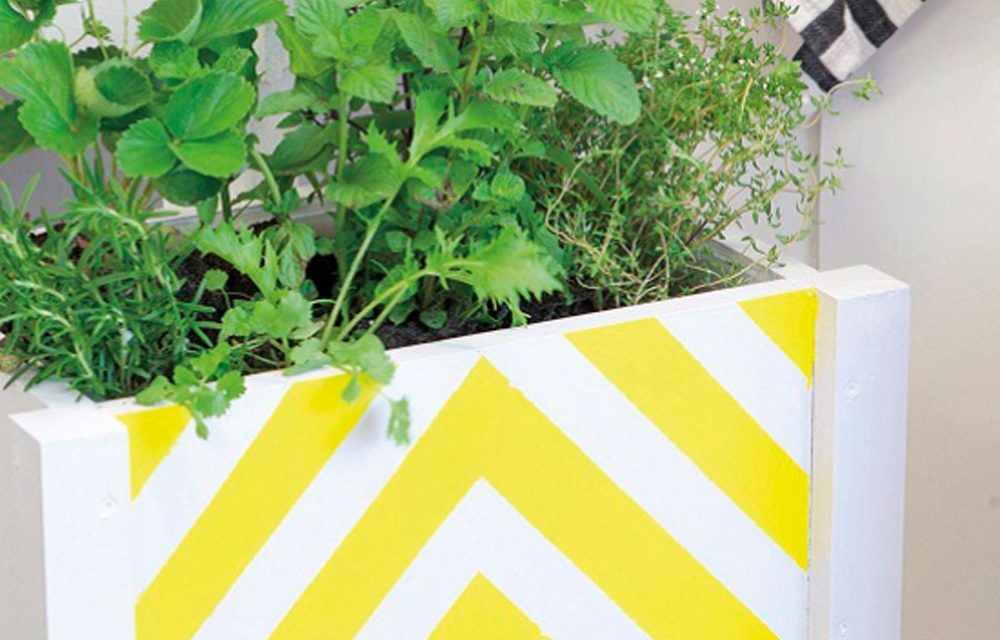
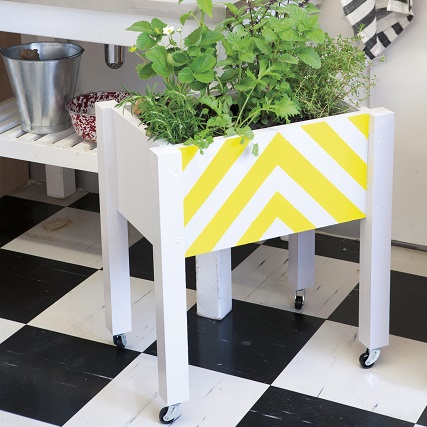
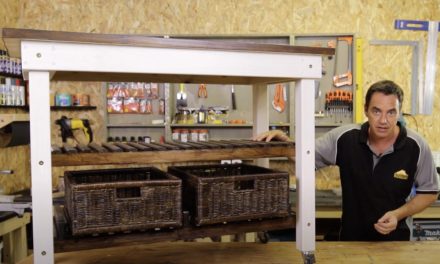
Make this DIY herb trolley! Push this herb trolley into the morning sun, then into the afternoon shade.
- Pencil
- Drill with 3,8 mm and 10 mm drill bits
- Screwdriver
- Hammer
- Sponge roller and tray
- Paintbrush
- Masking tape, 36 mm wide
- 22 x 220 x 1 800 mm pine plank
- 44 x 44 x 2 400 mm pine batten
- 4 pin-type casters and sockets (4 in pack)
- Full thread cut screws 4 x 40 mm (75 in pack)
- Cut screws 5 x 60 mm (25 in pack)
- Leftover primer
- Leftover enamel paint in 2 colours of your choice
- Plastic storage box 25 x 40 x 15 cm
- Potting soil
- Assorted herbs
- 22 x 220 x 1 800 mm:
- P1 – two 400 mm lengths
- P2 – two 250 mm lengths
- P3 – two 400 x 50 mm lengths
- P4 – three 250 x 50 mm lengths
- 44 x 44 x 2 400 mm: P5 – four 500 mm lengths
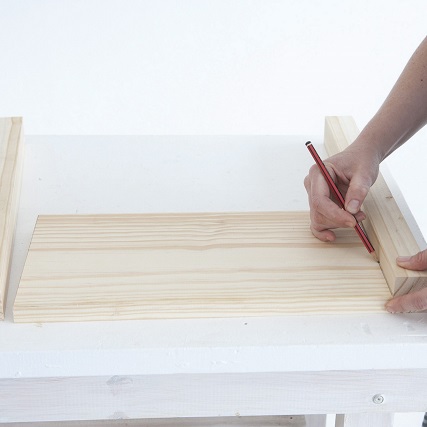
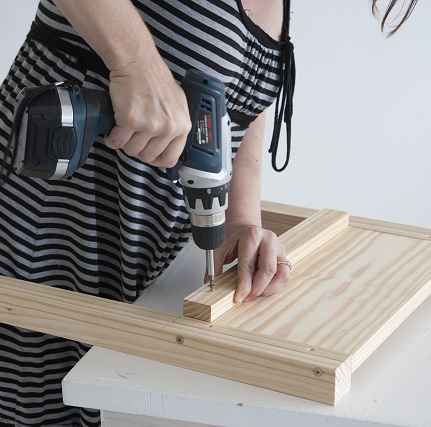
Step 1
Put a P5 against a P1 with top ends flush. Mark the P1’s position on P5. Repeat with all four P5s. Make sure two P5s are on opposite sides of each P1 (in mirror positions). Using the 3,8 mm drill bit, drill 2 pilot holes right through the P5s in the marked area.
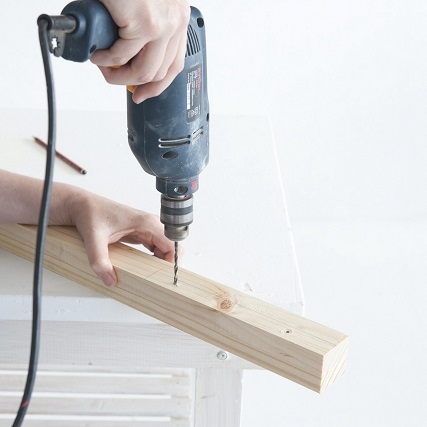
Step 2
On the same corner of each P5 batten but on the adjoin side, mark again the position of the P1, as in Step 1. Then drill 2 pilot holes right through the P5 battens in the marked area, making sure you don’t cross the holes you made in Step 2. Each batten should now have 4 holes.
Step 3
Use the long screws to attach a P5 to either side of a P1. Make two.
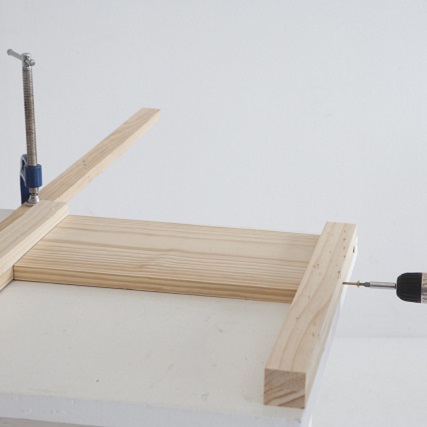
Step 4
Using the shorter screws, attach a P3 to a P1, flush with the bottom side. Repeat with the other P3 and P1.
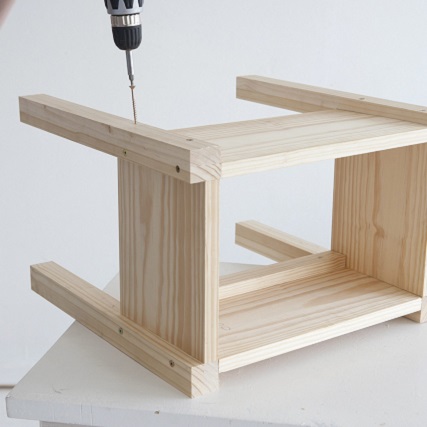
Step 5
Put the P2s at right angles on one of the box fronts made in Step 3. Attach with long screws. Attach the other box front.
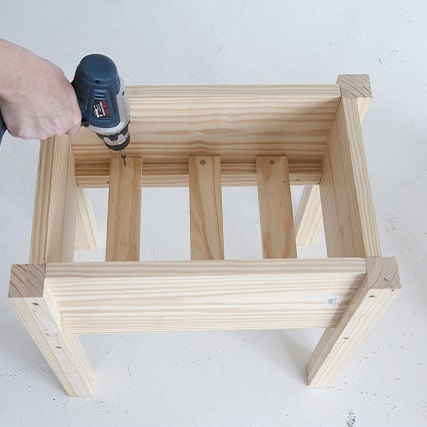
Step 6
Put the P4s equally spaced in the base of the box and secure with the shorter screws.
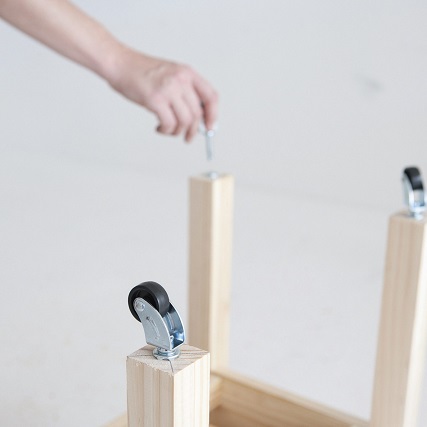
Step 7
Mark the centre at the base of each leg and drill a hole with the 10 mm drill bit. The hole should be about 40 mm deep for the socket of the caster to fit. Hammer the socket in place, and insert the pin caster.
Step 8
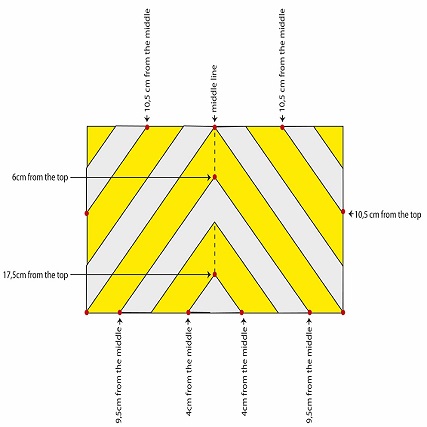
Prime the entire box, let it dry, then paint with 2 coats of enamel paint, allowing to dry between coats. When the paint has dried completely, download the template for the chevron patter. Transfer the measurements to the side of the box with a pencil and ruler. Mask the lines and paint 2 coats in contrasting colour, letting it dry between coats. When the last coat has dried, remove the tape.
Step 9
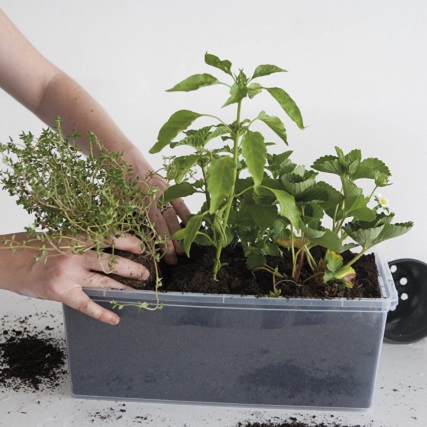
Drill holes in the bottom of the plastic box, fill it with potting soil and plant the herbs. Put the plastic box inside the planter you’ve made.
Step 10
Now your DI is complete. The plastic box we used measures 25 x 40 x 15 cm. Adjust the dimensions of P1 and P2 to fit the size of the box you use.
Credits
Referenced from Gallo images / YOU Magazine
Browse 1000’s of products available to you. Select your country to Shop Online.


