- 18mm plywood cut to:
- four 500 x 400mm (box sides)
- two 364 x 400mm (bottom and shelf, small box)
- two 764 x 400mm (bottom and shelf, large box)
- four 364 x 70mm (struts, small box), four 764 x 70mm (struts, large box)
- one 500 x 1200mm (back), two 500 x 440mm (sides, outer frame)
- two 1 240 x 440mm (top and bottom, outer frame)
- three 492 x 392mm (doors)
- one packet 6mm x 50mm chipboard screws
- one packet 8mm x 30mm chipboard screws
- one packet 6mm x 16mm chipboard screws
- six cabinet hinges
- four legs
- 120-grit sandpaper
- paint or varnish
- one packet shelf nails
- cordless drill and 3mm drill bit
- pencil
- tape measure
- multi-square
- wood clamps
- 8mm drill bit
- 24mm spade bit
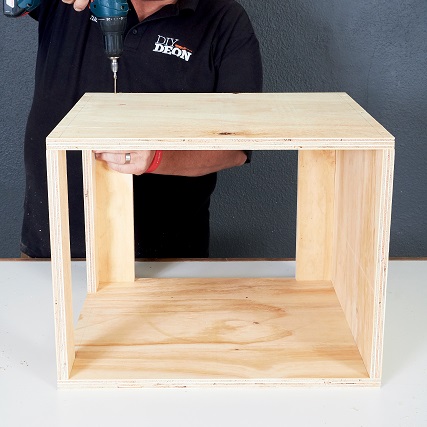
Step 1
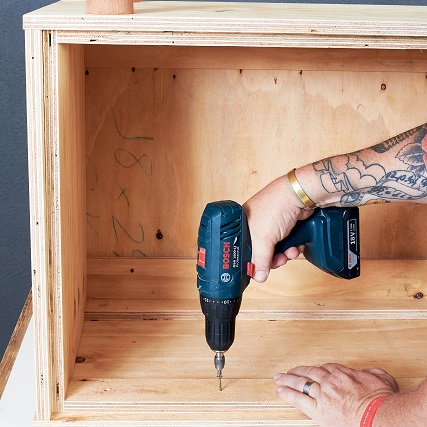
Make the smaller box by screwing the 364 x 400mm bottom between the short sides of two 500 x 400mm box sides. Screw two of the 364 x 70mm struts between the other short sides (the top) and the other two at the back. (Use the 6mm x 50mm chipboard screws and 3mm drill bit.)
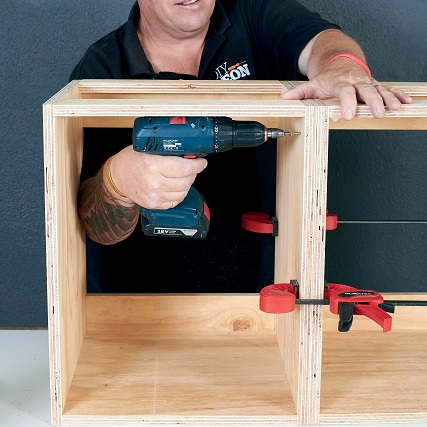
Step 2
Use the same method to make the larger box, but use the 764mm pieces. Screw the two boxes together with the 8mm x 30mm screws. Use the wood clamps to keep the boxes in position while screwing them together.
Step 3
Position the sideboard with its back facing upwards. Screw on the 500 x 1 200mm back piece to keep the sideboard square and sturdy.
Step 4
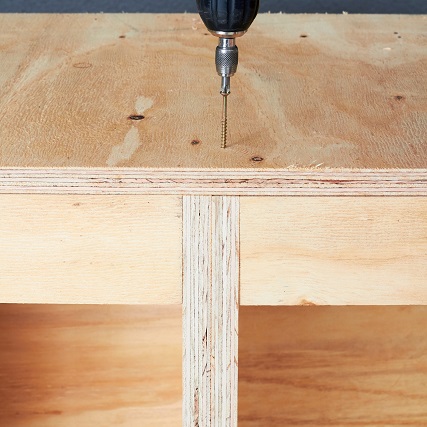
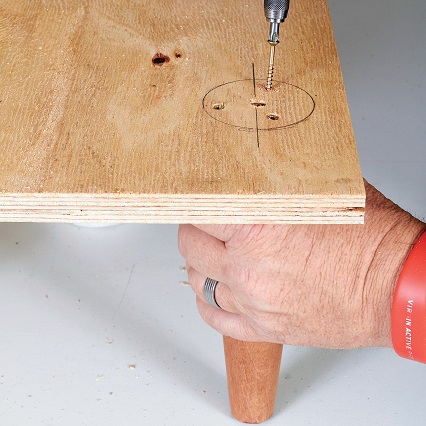
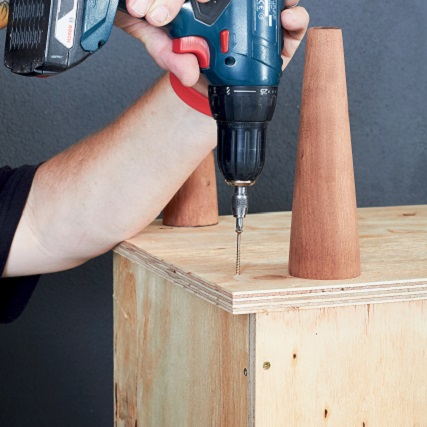
Measure and mark where the four legs should be positioned at the corners of the 1 240 x 440mm bottom of the outer frame; drill pilot holes and attach the legs with 6mm x 50mm screws.
Step 5
Stand the sideboard upside down and screw the base in position with its rear edge flush with the back.
Step 6
Screw the two 500 x 440mm sides of the outer frame to the box sides from the inside. Place the sideboard upside down on the remaining 1 240 x 440mm piece and screw together from inside – this forms the top of the sideboard
Step 7
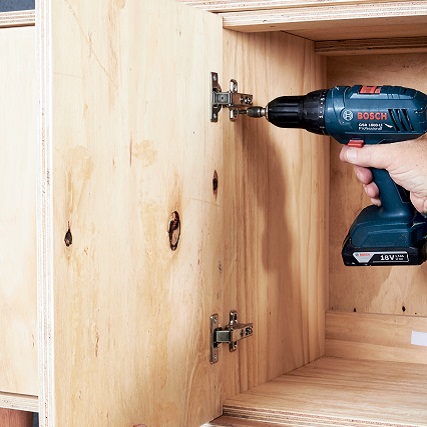
Screw the hinges to the door with the 6mm x 16mm screws and then use a 3mm spacer to hold the doors in place before you screw them to the sideboard. Measure and mark 60mm from the top and side of each door and drill a hole with the 24mm spade bit – this serves as a handle. Decide how high you want the shelves in each section and tap the shelf nails in where they will rest. Sand the entire sideboard thoroughly with 120-grit sandpaper and paint or varnish the wood in the finish of your choice.
Project Notes
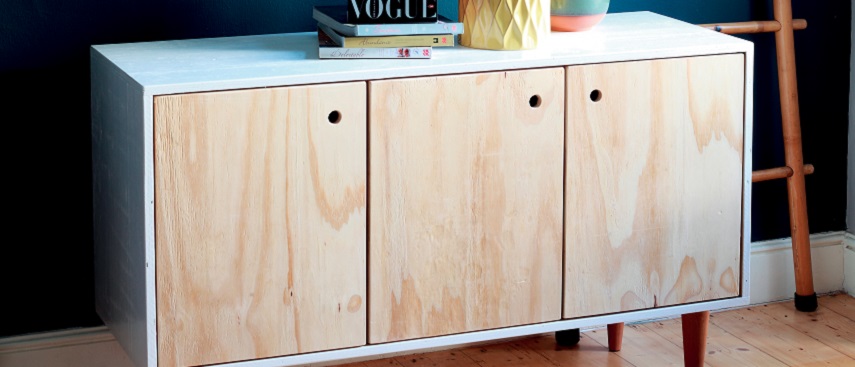
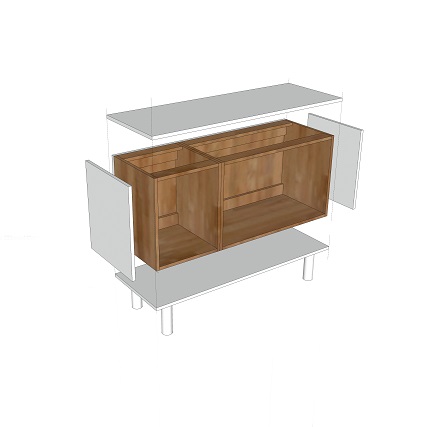
- Our sideboard consists of a small box and a larger box that were screwed together; they were strengthened with a frame around the outside and finished off with a top, legs and doors.
- Ask your timber merchant to cut the wood to size – it will make your task so much easier.
- Also ask your timber merchant to cut the recesses in the doors for the hinges.
- Sand the pieces of wood before joining them together.
- Remember to drill pilot holes.
- Look out for legs at secondhand shops or flea markets; or choose castors for a trendy new look.
Credits
Referenced from Gallo images / Home Magazine
Browse 1000’s of products available to you. Select your country to Shop Online.


