A splashback is essential if you want to prevent your kitchen walls – especially those above countertops – becoming greasy and grimy; and tiles, even mosaics, are as easy to apply as they are to keep clean.
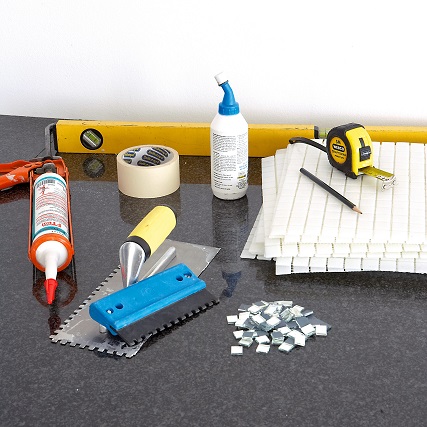
- Sheets of mosaic tiles needed to cover the required area; we used sheets of ‘offwhite’ riverglass mosaic tiles from Mosaic Works, which retail for about R22 per sheet, though costs can vary from R95 to R500 per square metre.
- 130g of 12mm x 12mm mirror mosaic tiles, which cost about R24 for 130g bag or R75 per kg.
- tile cement or adhesive (we used premixed Alcolin Flexi Tiler)
- grout
- latex bonding liquid
- masking tape
- silicone
- wood glue (optional)
- pencil
- measuring tape
- spirit level
- tiling trowel with 5mm notches
- scissors
- caulking gun
- bucket and painters tray
- sponge and/or squeegee
- tile cutter (not shown)
- tile spacers (not shown)
- tile nippers (not shown)
Project Notes
- Calculate the number of tiles you will need by measuring the dimensions of the splashback area and working out the square meterage. Take this total along to your tile supplier when selecting your tiles, as the cost per square metre may affect your final decision.
- Acquire additional tiles or tile sheets to allow for breakages.
- Tile adhesives vary from one manufacturer to the next. Pre-mixed varieties cost slightly more, but reduce hassle; they are ideal for smaller surface areas.
- Ceramic tiles are practical, durable and waterproof – and therefore ideal as wall coverings for kitchens and bathrooms. There are a huge variety of tiles available and costs vary for different ranges. Mosaic tiles are not only highly popular, they’re also easy to apply.
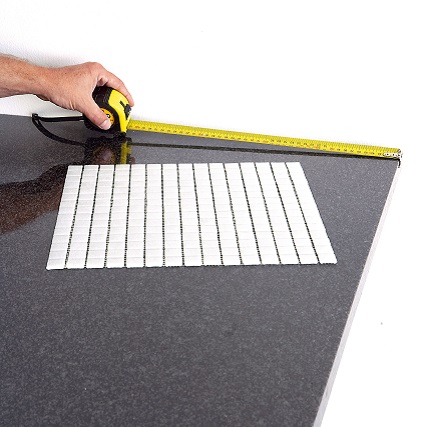
Step 1
Use a measuring tape to calculate the quantity of tiles you will need by measuring the dimensions of the splashback area and working out the square meterage. Accurate setting out is important to successful tiling; take structural features into account as tiling often needs to start from these points and work outwards. Plan out any patterns or details at this point. Check that all reference lines and borderlines are plumb, by using a spirit level. Use masking tape to mask along all the borders and along the work surface. TIP We decided on a simple layout comprising a single row of mosaic tile sheets applied above the countertop, interspersed with nine mirror mosaic tiles replacing four mosaic tiles at random intervals.

Step 2
Use a pair of scissors to cut mosaic tile sheets to fit around structural elements. Use a tile cutter and tile nipper to cut and trimtiles to fit around taps and other fittings or structural elements.
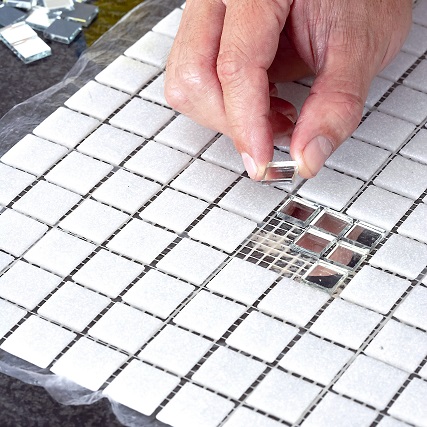
Step 3
Remove selected tiles from the sheet mesh, then use wood glue to adhere the mirror mosaics to the mesh, as a replacement. Allow glue to dry before applying the sheets to the wall.
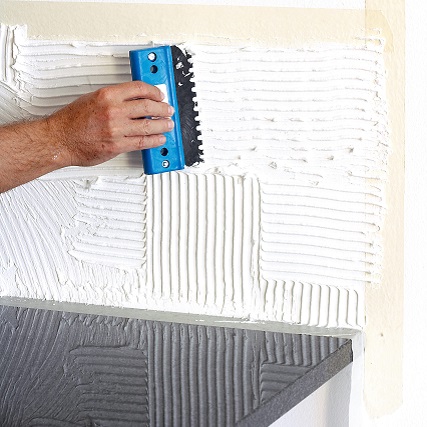
Step 4
Apply tile adhesive. Start in bottom corner and, using the tiling trowel, spread the adhesive over approximately 1m² at a time.
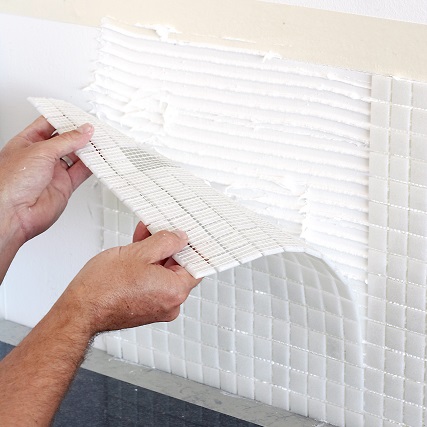
Step 5
Apply the tiles or tile sheets from the bottom upwards. Press the tiles lightly into the adhesive, so that the adhesive is not pushed completely through the gaps. For individual tiles, use a slightly twisting motion and ensure that they are lined up with those to either side. It’s a good idea to use tile spacers when tiling with tiles on vertical surfaces, as these may move.
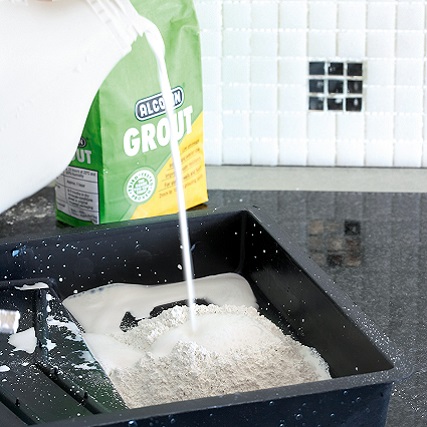
Step 6
Once all the tiles have been fixed in place, it’s time to grout. Mix latex bonding liquid with the tile grout instead of water, to make your grouting water resistant. Once you have a smooth, slightly liquid paste, you are ready to apply the grout.
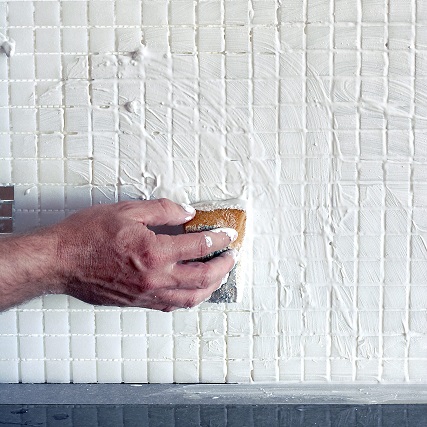
Step 7
Use a sponge or a squeegee to work the grout into all the gaps. Allow the grout to set slightly and then begin wiping any excess from the tile surface(s) with a wet sponge. When the grout has dried, polish the entire surface with a dry cloth. Apply a bead of silicone between the tiles and the countertop and remove all masking tape.
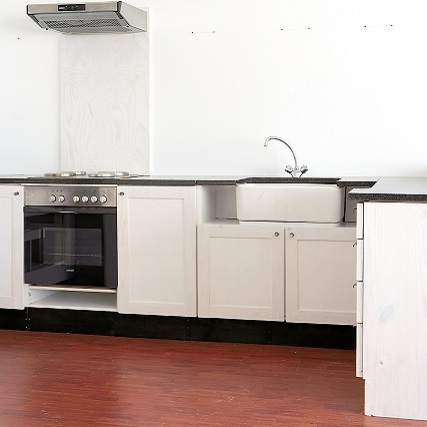
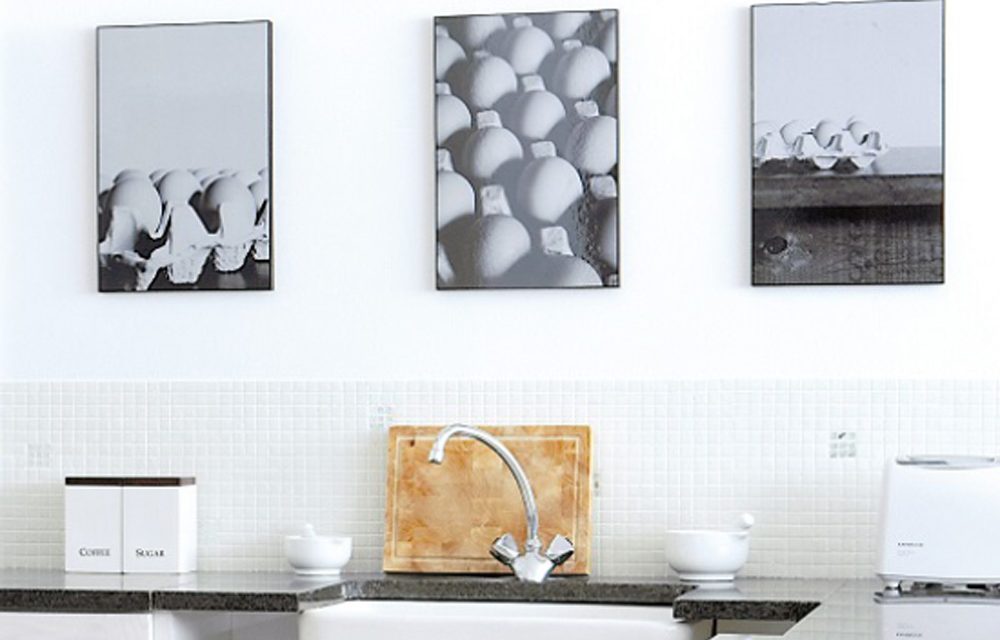
Before
This new kitchen will not remain clean and white unless it has a tiled splashback to protect the walls.
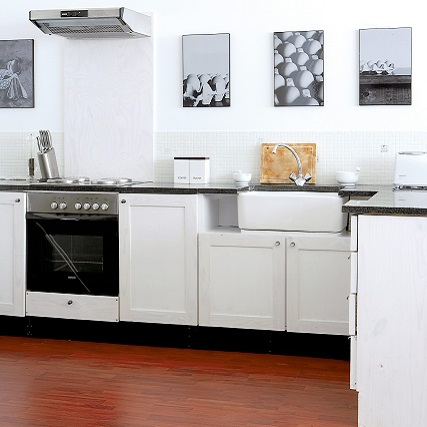
After
The final touches have been added to the kitchen – and the mosaic splashback beautifully completes the picture.
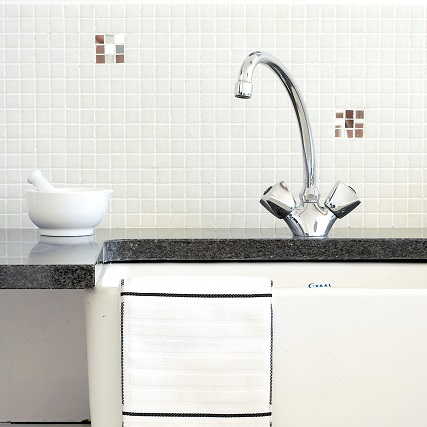
Mirror
The touches of mirror mosaic complement the stainless steel fittings and appliances.
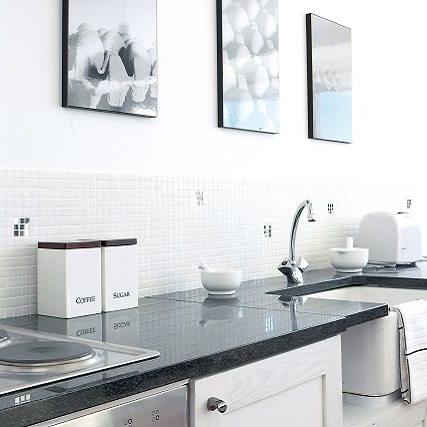
Add some glam
The random touches of mirror mosaic add an elegant quirkiness to this kitchen. You could use a narrow strip of mosaic tiles in a different colour, or use a line of narrow tiles with a pattern along the top edge to define the splashback or to ‘separate’ it from the wall colour.
Credits
Referenced from Gallo Images / Home Magazine
Browse 1000’s of products available to you. Select your country to Shop Online.


