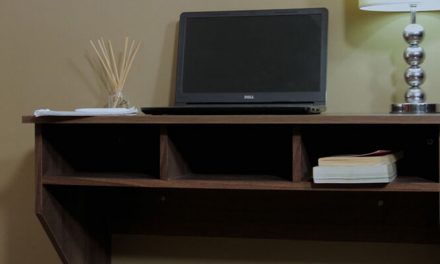
This modular storage unit will work well for everything from toys to tools – it’s so fun and colourful!
- two sheets of 18mm shutterply
- 3.5mm x 30mm screws
- Woodoc gel stain
- Wood filler
- Wood sealer
- Wood glue
- Cordless drill
- Speed pilot drill bit
- Sander
- Clamps
- Tape measure
- Pencil
- Paintbrush
- Sponge
- Mitre saw
Cutting List
- (1) 1100 x 321mm – BACK
- (1) 1064 x 90mm – FRONT
- (2) 350 x 285mm – INSIDE PANELSS
- (2) 350 x 285mm – OUTSIDE PANELS
- (2) 1100 x 285mm – TOP AND BOTTOMS
Step 1
Begin by cutting the wood to size according to the cutting list. (Or get Builders to cut the timber in store. You will need a mitre saw or jig saw to make the angled cuts required for this DIY.
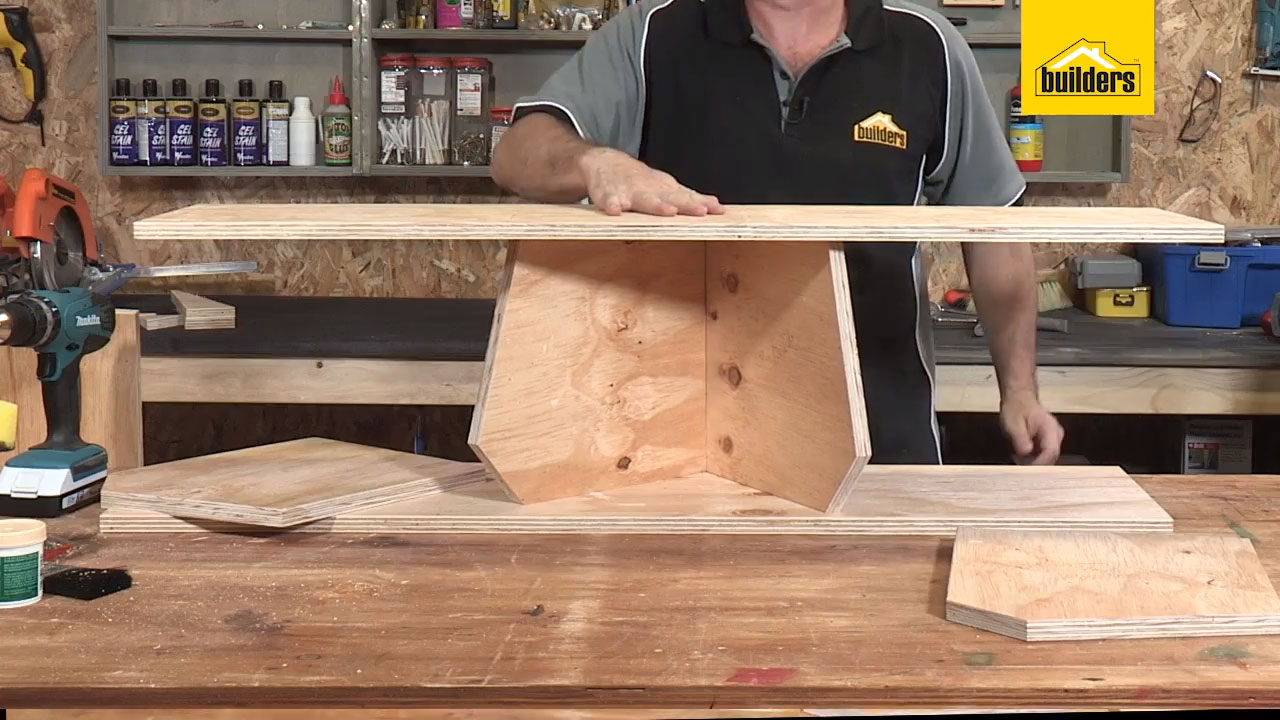
On the 350mm edge of the outer edge pieces mark 285mm on the top and bottom. Then from these marks cut the timber at 15° and 40°. These cuts will intersect each other.
On the 350mm edge of the inner panels mark out 263mm (the inner panels need to be slightly smaller). Then from these marks cut the timber at 15° and 40°, as with the above step.
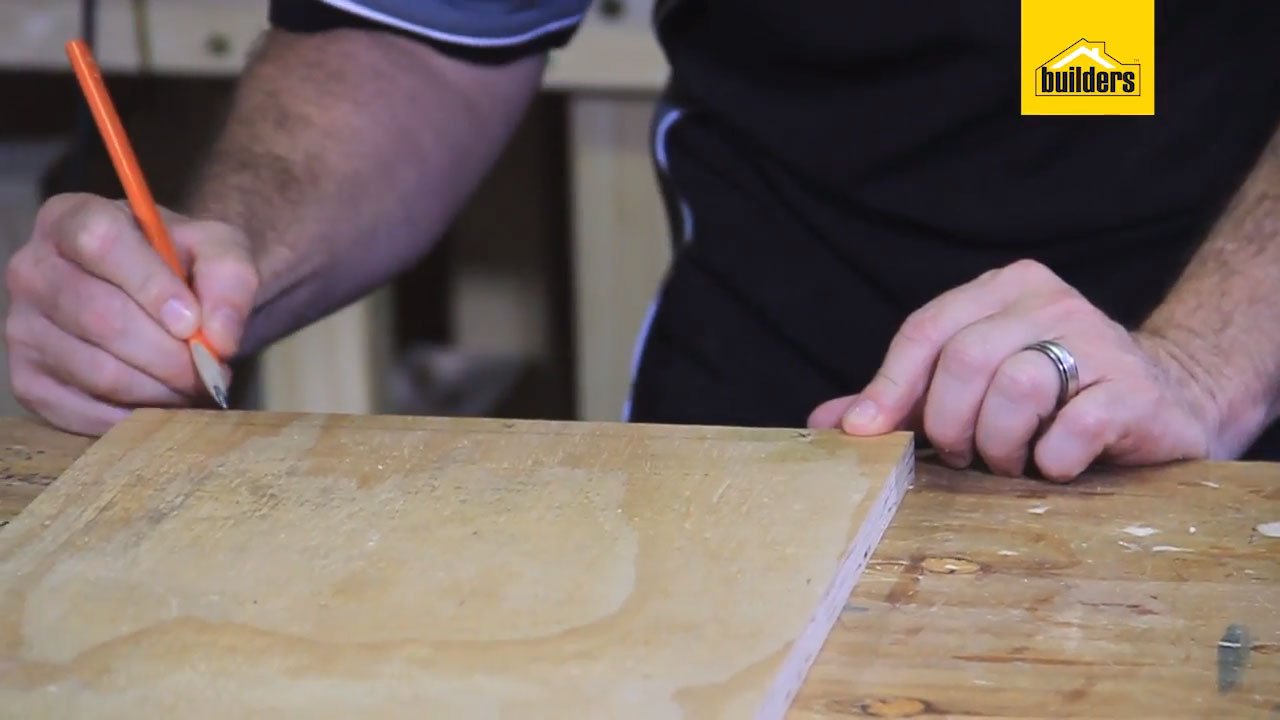
Once all four panels are cut, drill holes in the top and bottom pieces using a speed pilot drill bit. On the top and bottom pieces, mark three screw holes at each end, about 9mm in from the edge.
Step 2
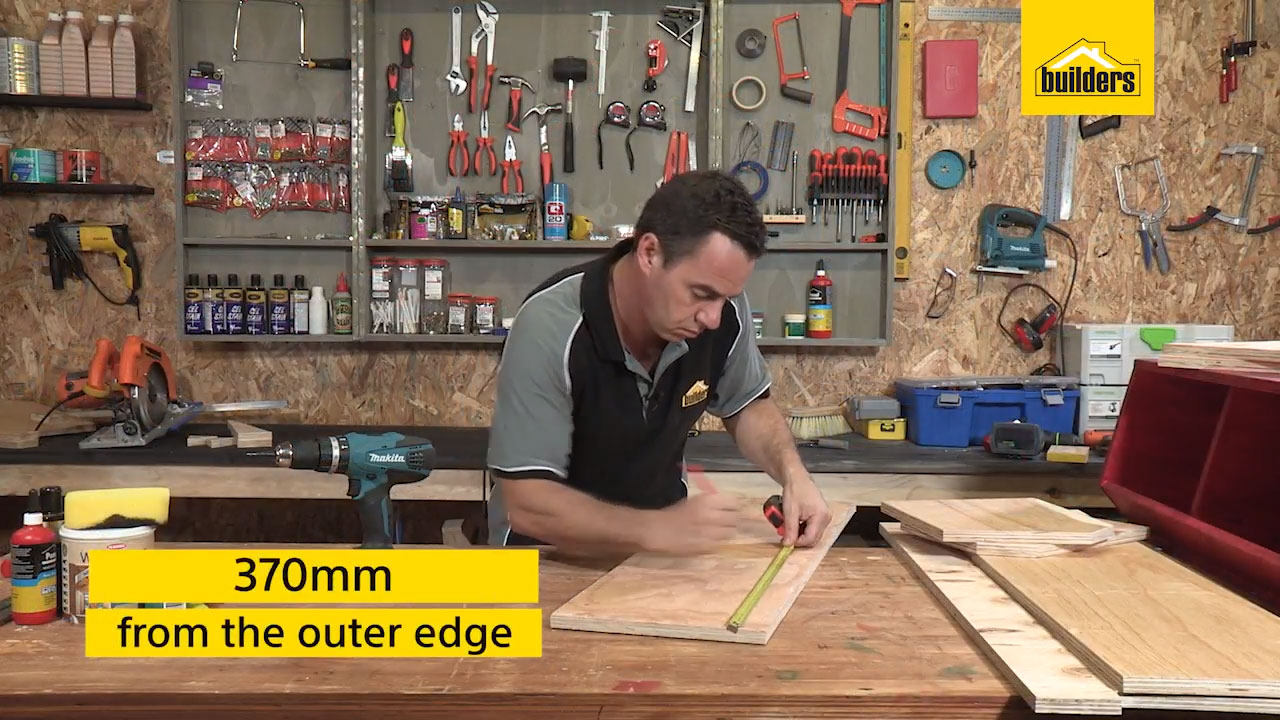
370mm from the ends of the top and bottom pieces, mark the screw holes for the centre panels.
Step 3
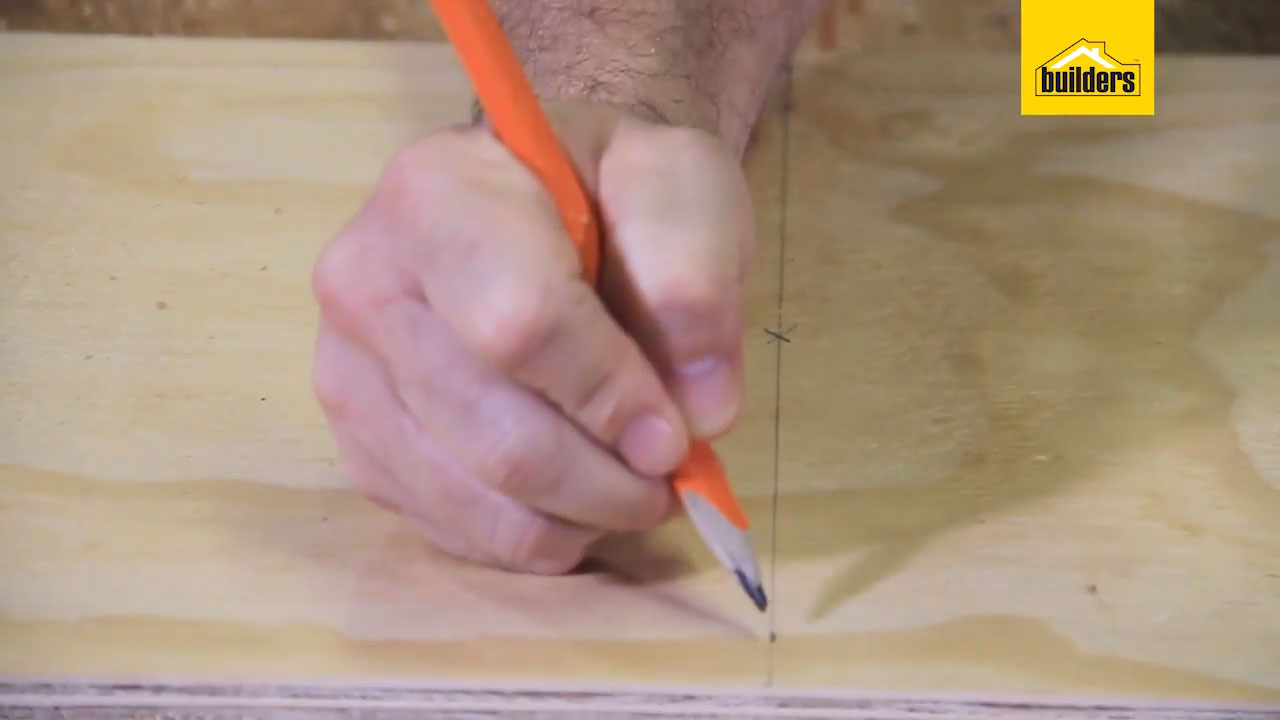
Mark the back piece as you did the top and bottom.
Step 4
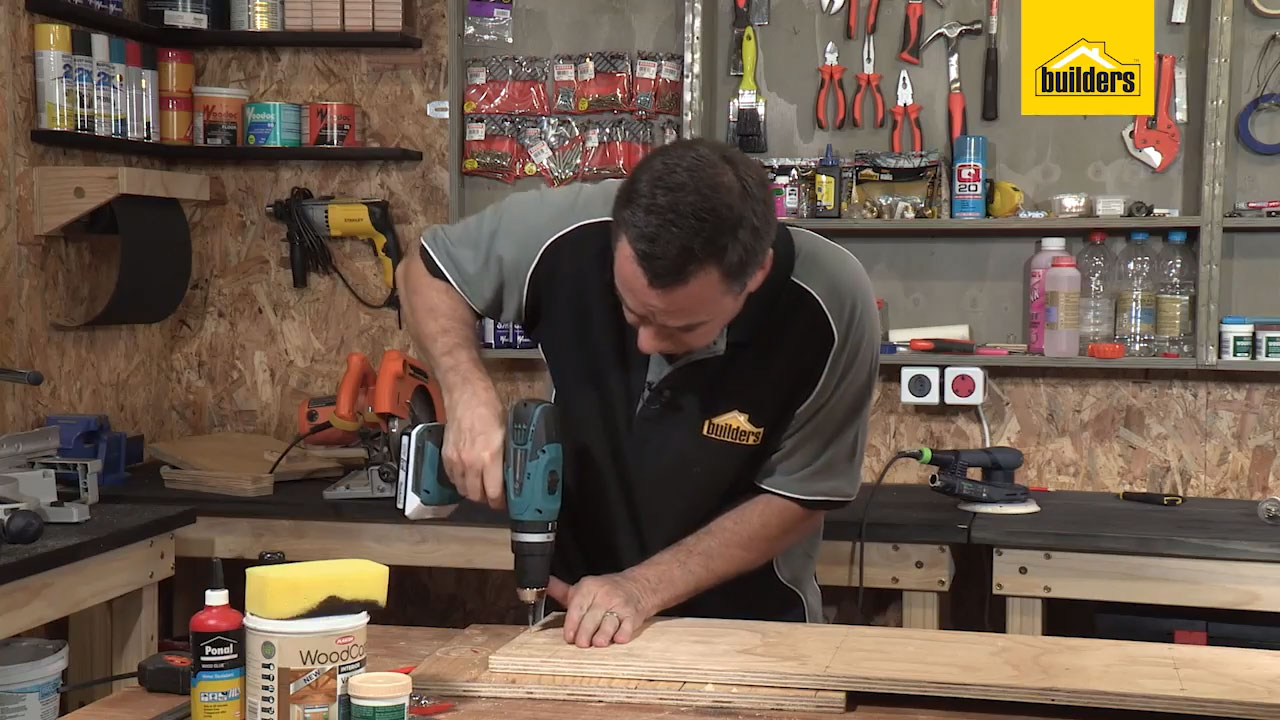
Once all screw holes are marked out, drill the holes.
Step 5
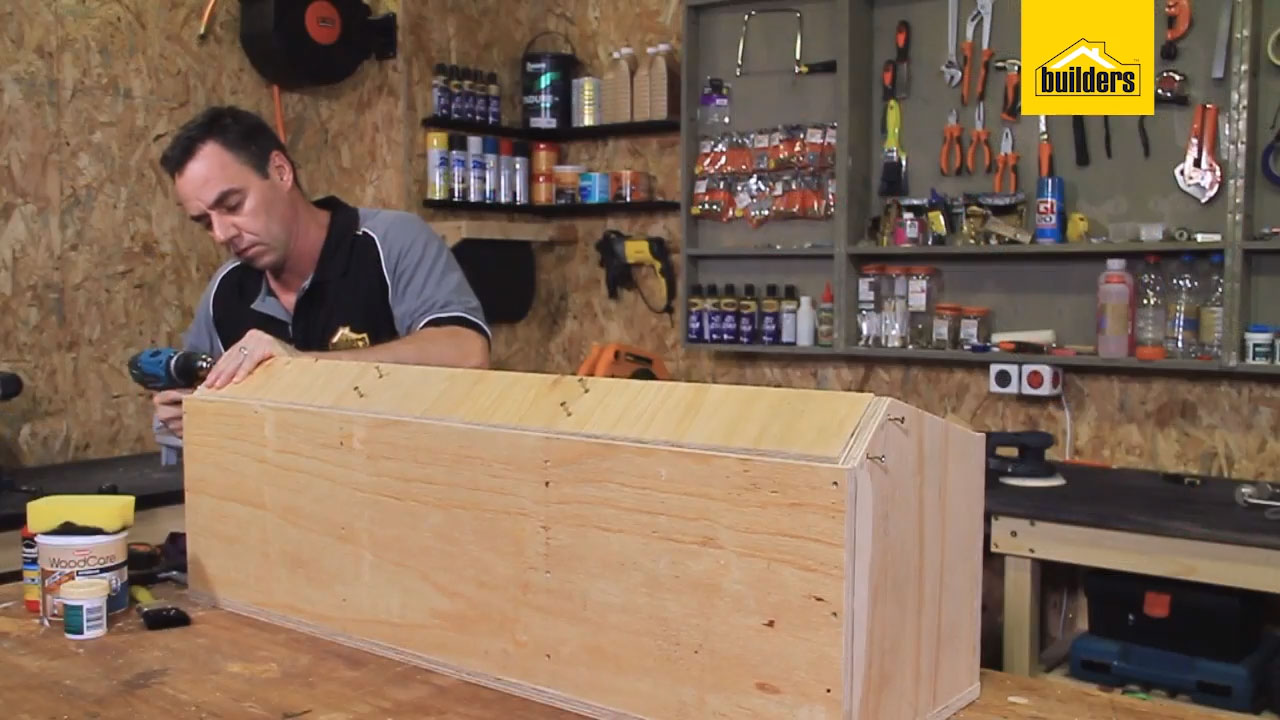
Once all the holes have been drilled and countersunk, it’s time to assemble the unit. Begin by placing the base on your work surface, making sure the countersunk holes are on the underside. Use the two inner panels to stabilise the top piece as you begin to attach the outer panels to the top of the unit.

Step 6
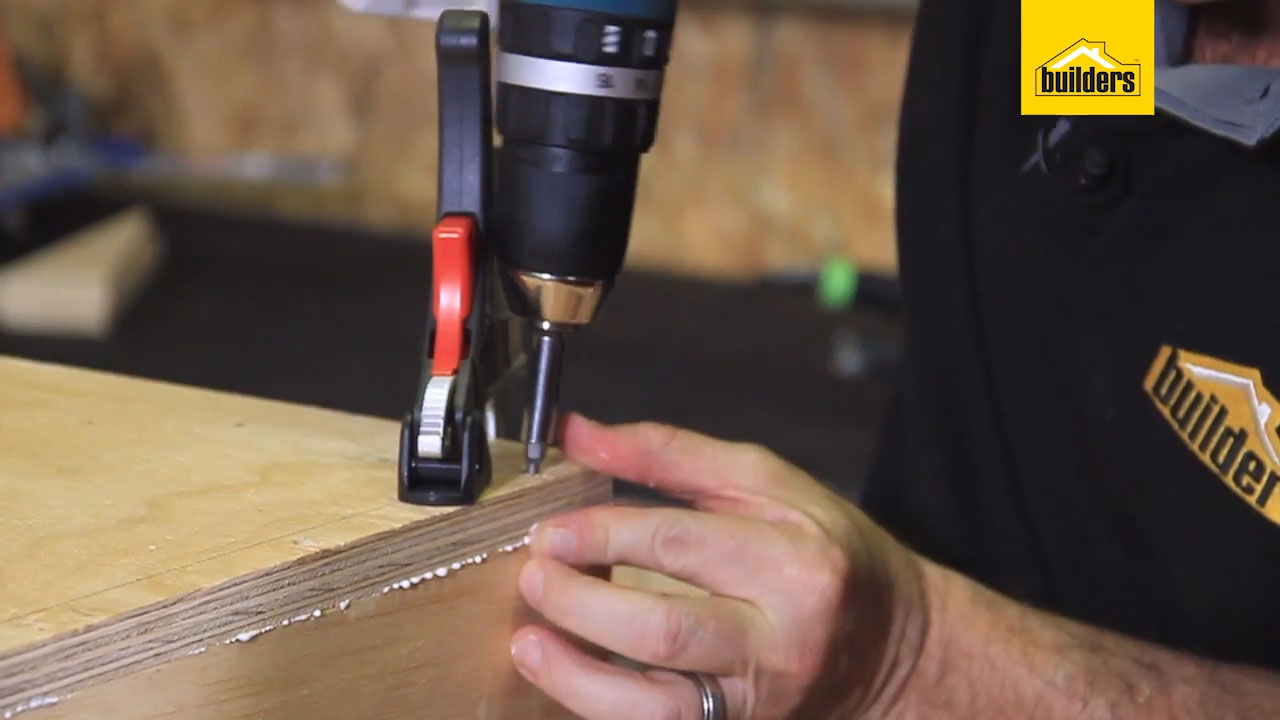
Use wood glue between the mating surfaces, then clamp the outer panel in place before screwing it to the top. Repeat this process for the second outer panel.
Step 7
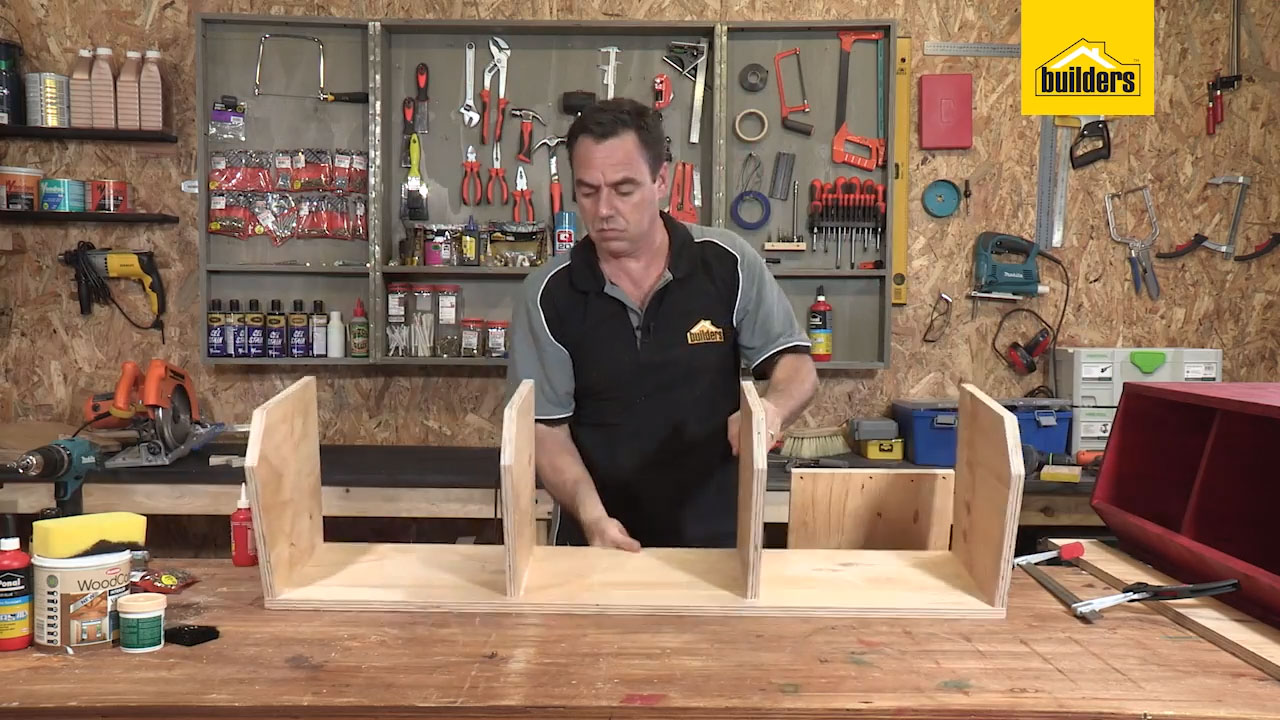
Once the outer panels are in places, repeat the process for the inner panels, lining them up with the previously marked lines 320mm from the edge of the top.
Step 8
When all panels are attached, flip the unit and repeat the process on the base piece.
Step 9
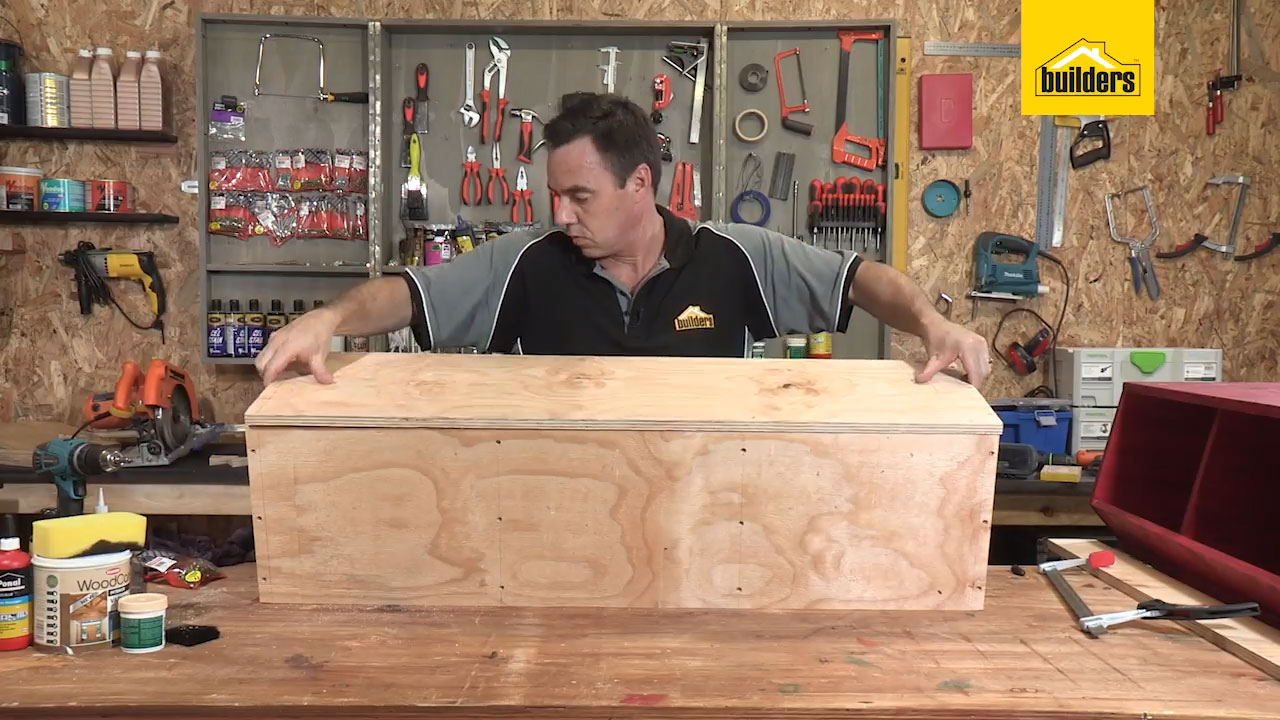
Next, roll the unit onto its side and attach the back panel using wood glue and screws.
Step 10
Finally, attach the front panel (the lip of the unit) in the same manner (wood glue and screws).
Step 11
Once the structure is complete, fill in any holes using wood filler.

Step 12
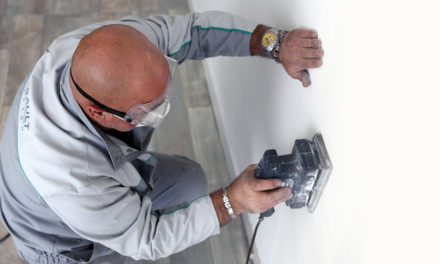
Sand the unit for a smooth finish.
Step 13
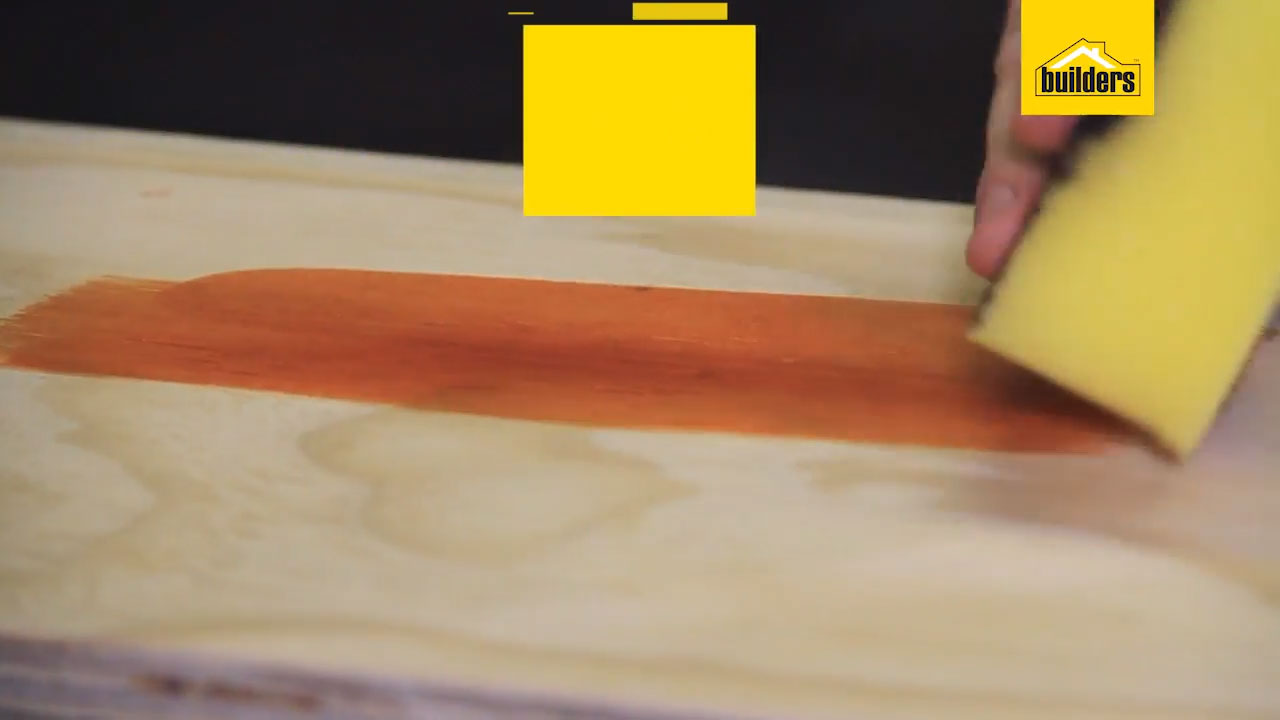
Once sanded, stain the wood then use wood sealer to seal the timber and ensure that it is protected. Once dry your unit is ready to use. Repeat the steps to create a second or third tiers, if desired.
Browse 1000’s of products available to you. Select your country to Shop Online.


