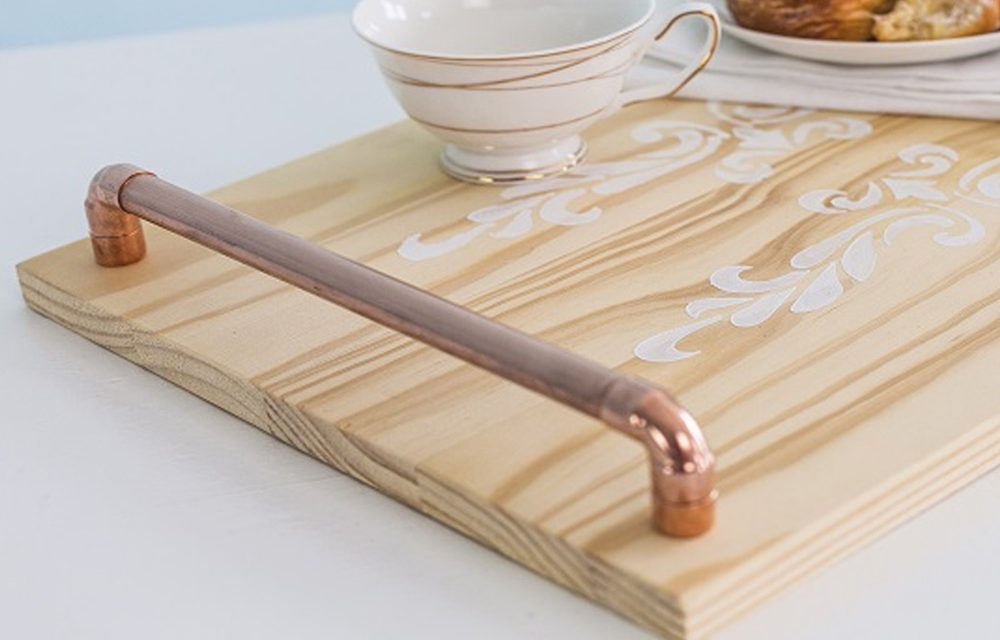
Copper and pale wood look super together. Tap into this trend by making tray handles from copper pipes.
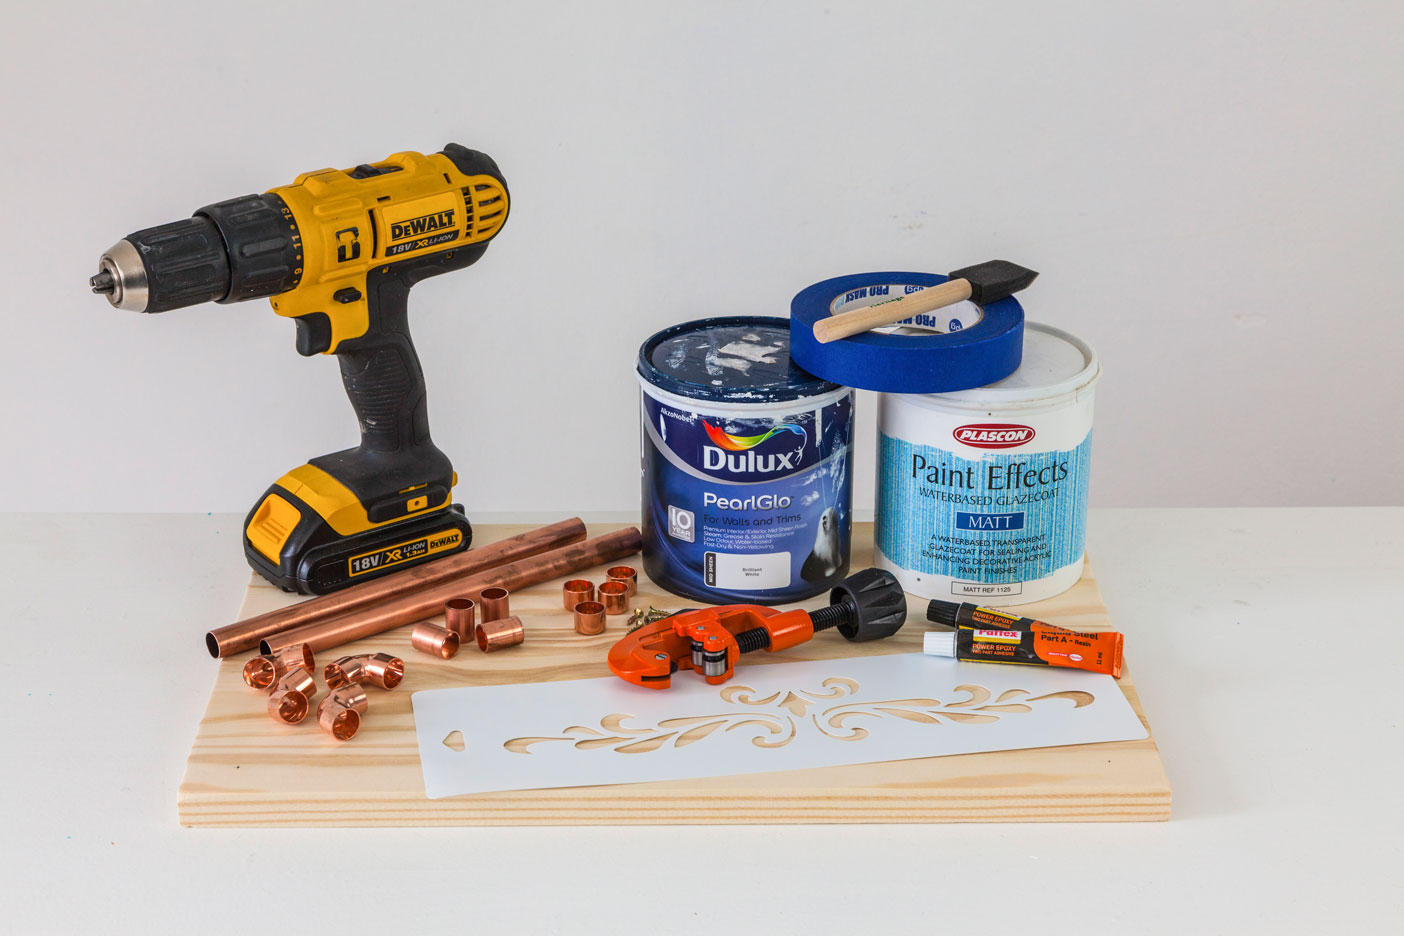
- 460 x 305 x 18mm pine shelving
- Stencil
- Repositionable spray-on glue
- Dulux Pearlglo – Brilliant White
- Sponge brush
- Plascon Paint Effects Waterbased Glazecoat – Matt
- Sponge roller and tray
- Pencil
- Tape measure
- Pipe cutter
- Four 15mm copper stop ends
- Four 15mm 90-degree copper elbow
- Four 15mm copper pipe (cut to 20mm)
- Four 15mm copper pipe (cut to 230mm)
- 3 x 16mm chipboard screws
- Drill with 3mm wood drill bit
- Large nail
- Hammer
- Screwdriver
- Pattex Liquid Steel Power Epoxy
- Latex gloves
Step 1
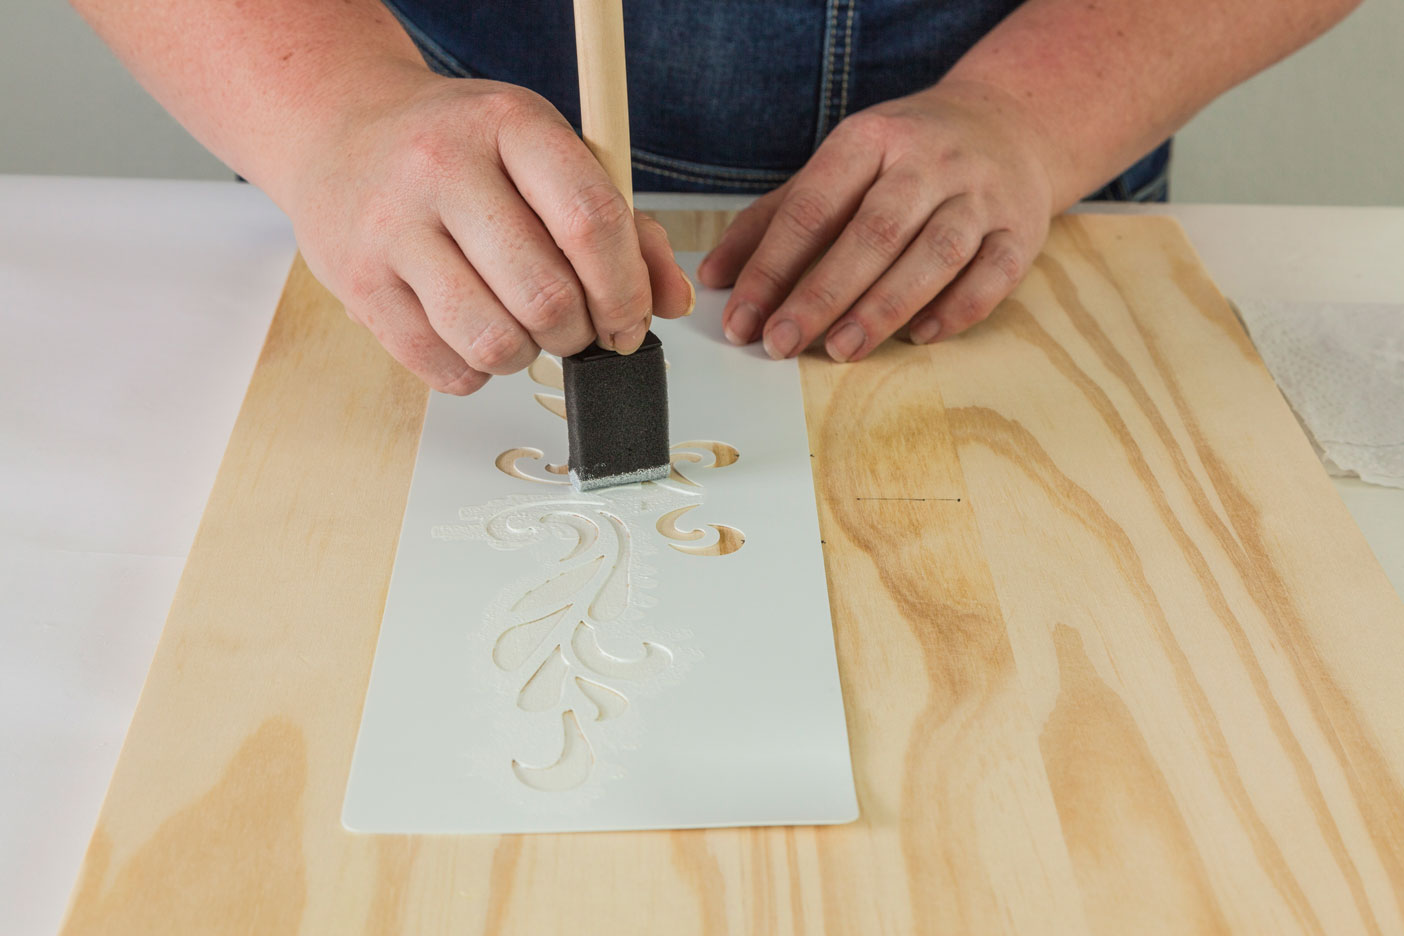
Spray glue onto the back of the stencil, wait 30 seconds and position it on the wood. Use the sponge brush to lightly dab white paint on the wood. Remove the stencil, flip it over and repeat the design on the other half of the wood. Let the paint dry completely.
Top Tip: When stenciling with a sponge brush, daub in thin layers until you get a solid colour to prevent the paint from bleeding under the stencil.
Step 2
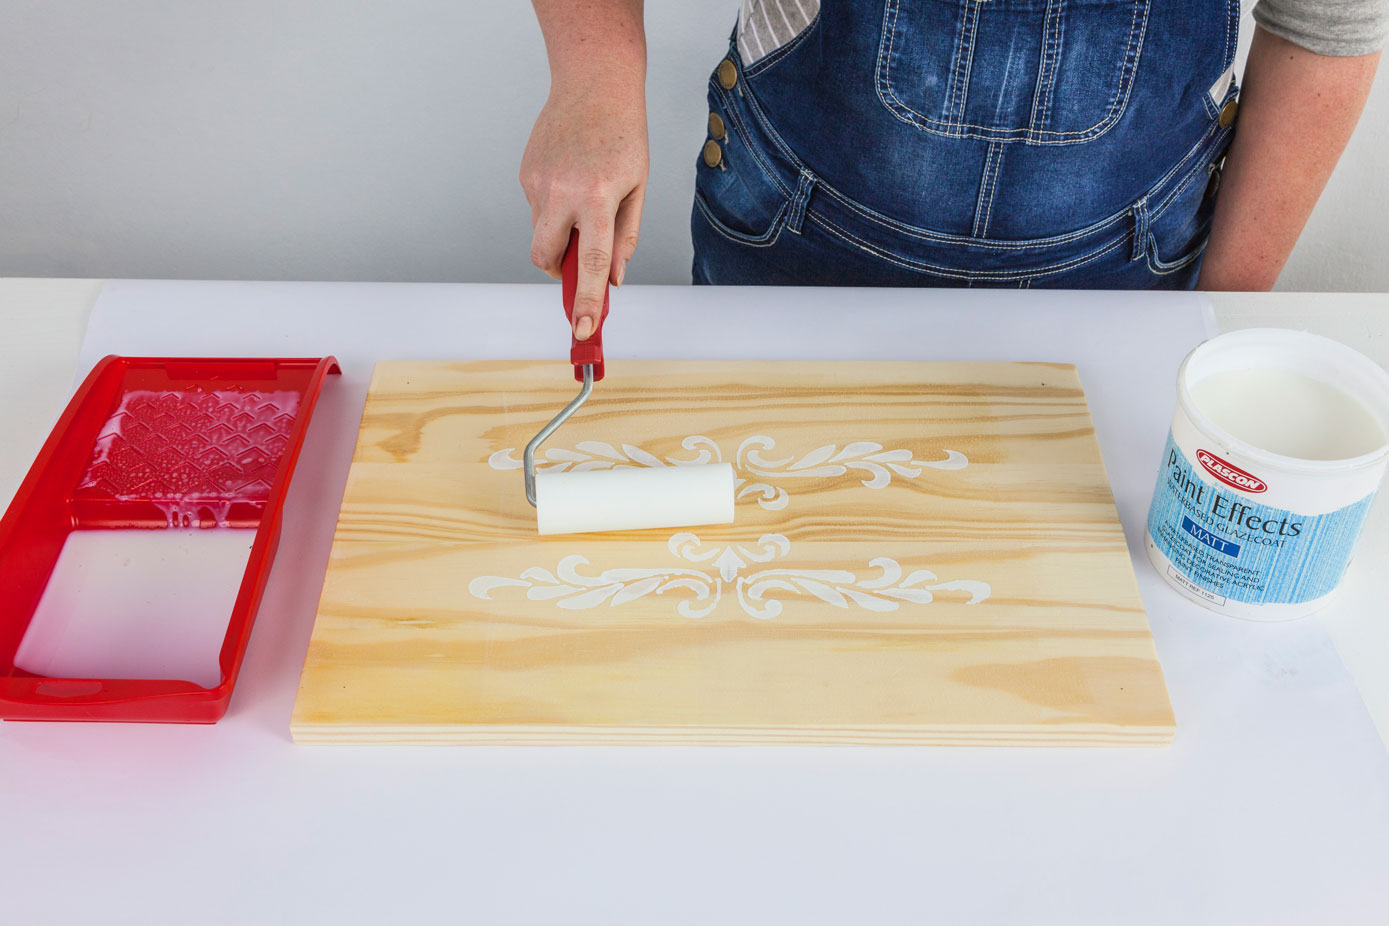
Seal the wood with two coats of Plascon Glazecoat using a sponge roller.
Step 3
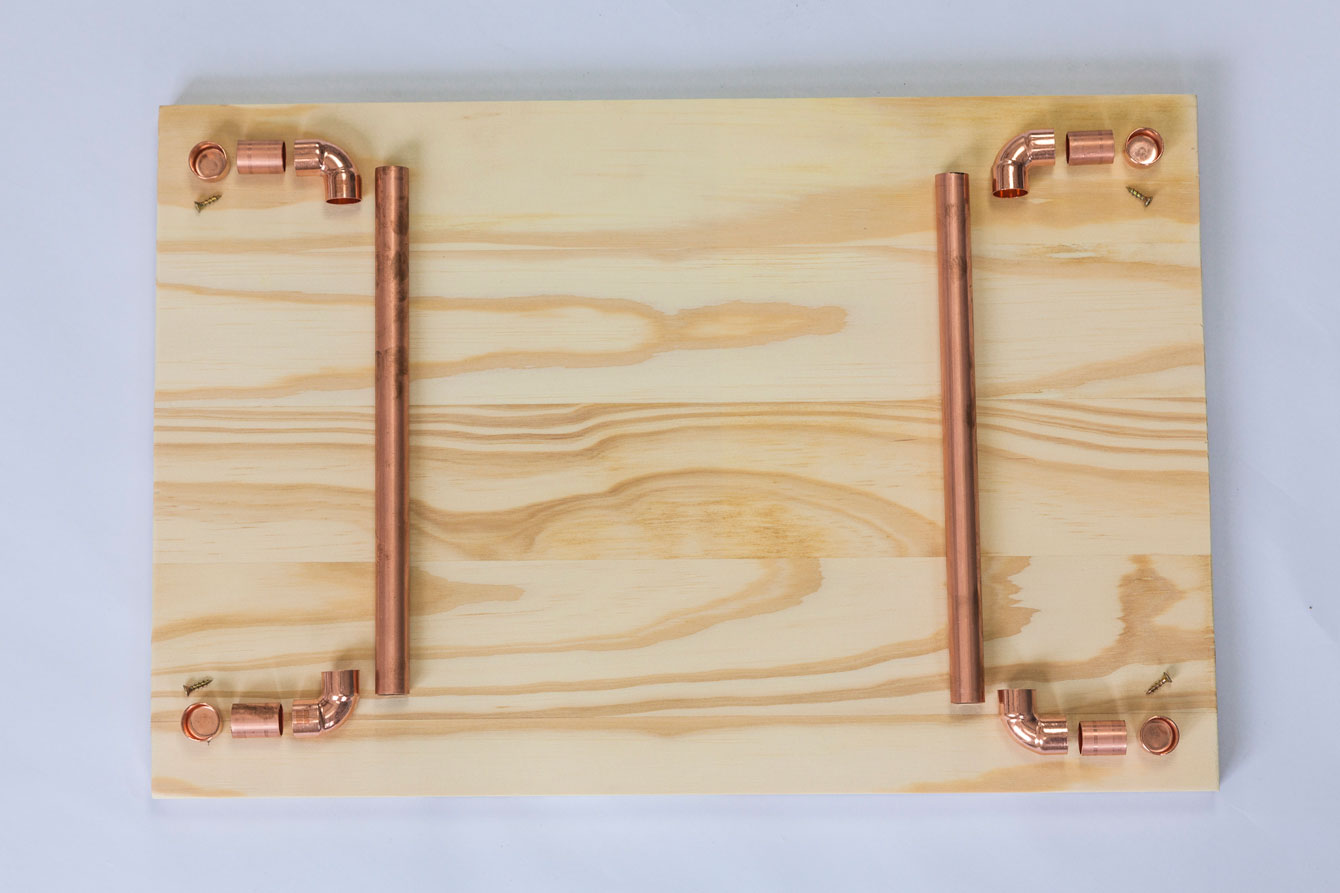
Use a pipe cutter to cut the 15mm copper pipe to length.
Step 4
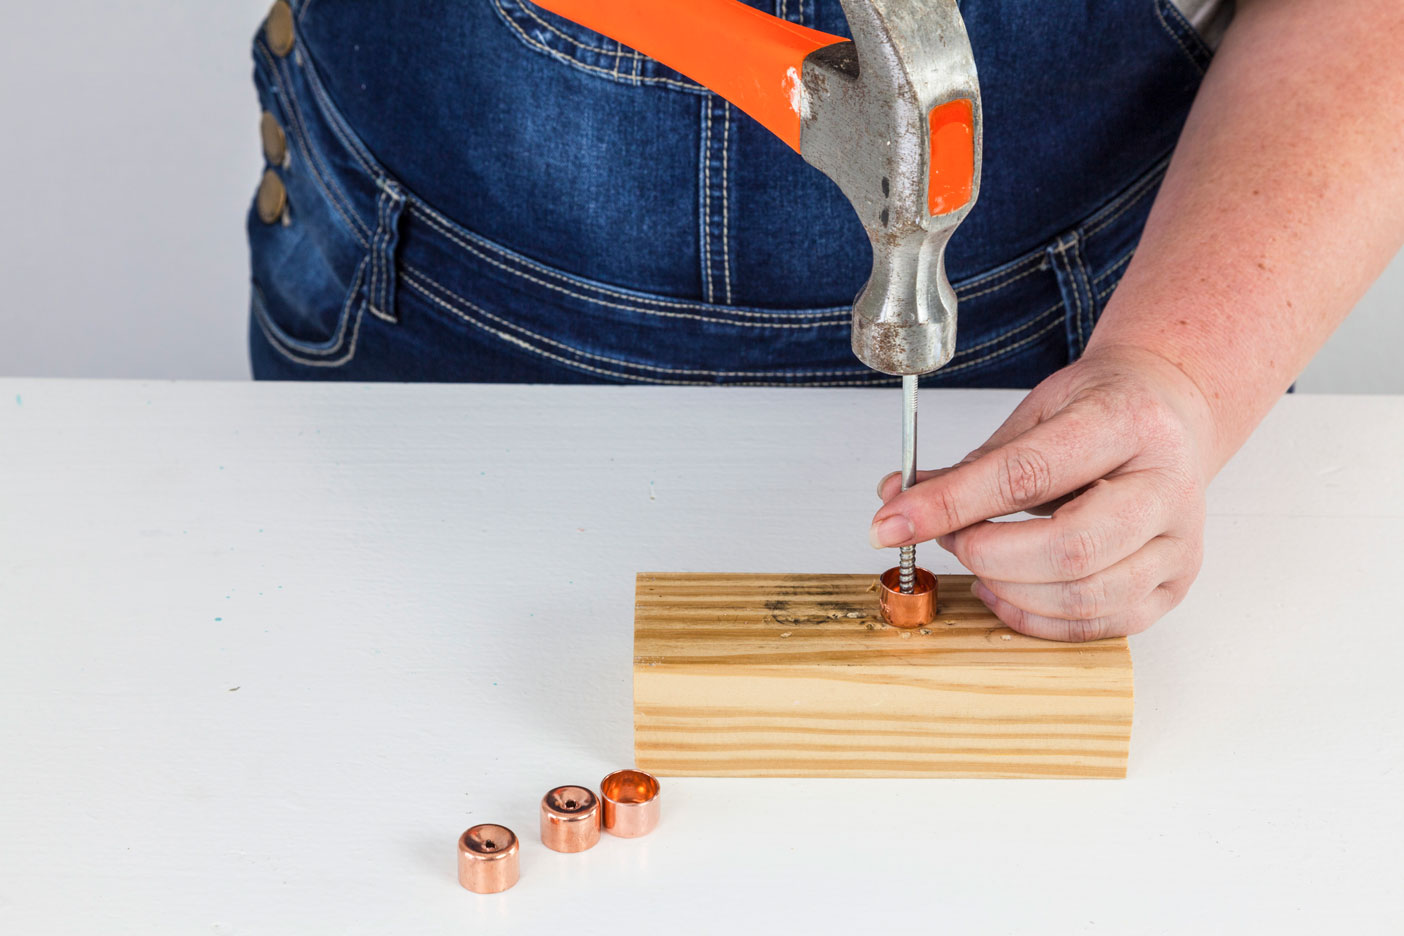
Make a hole in the center of each copper stop end by hammering a steel nail into it.
Step 5
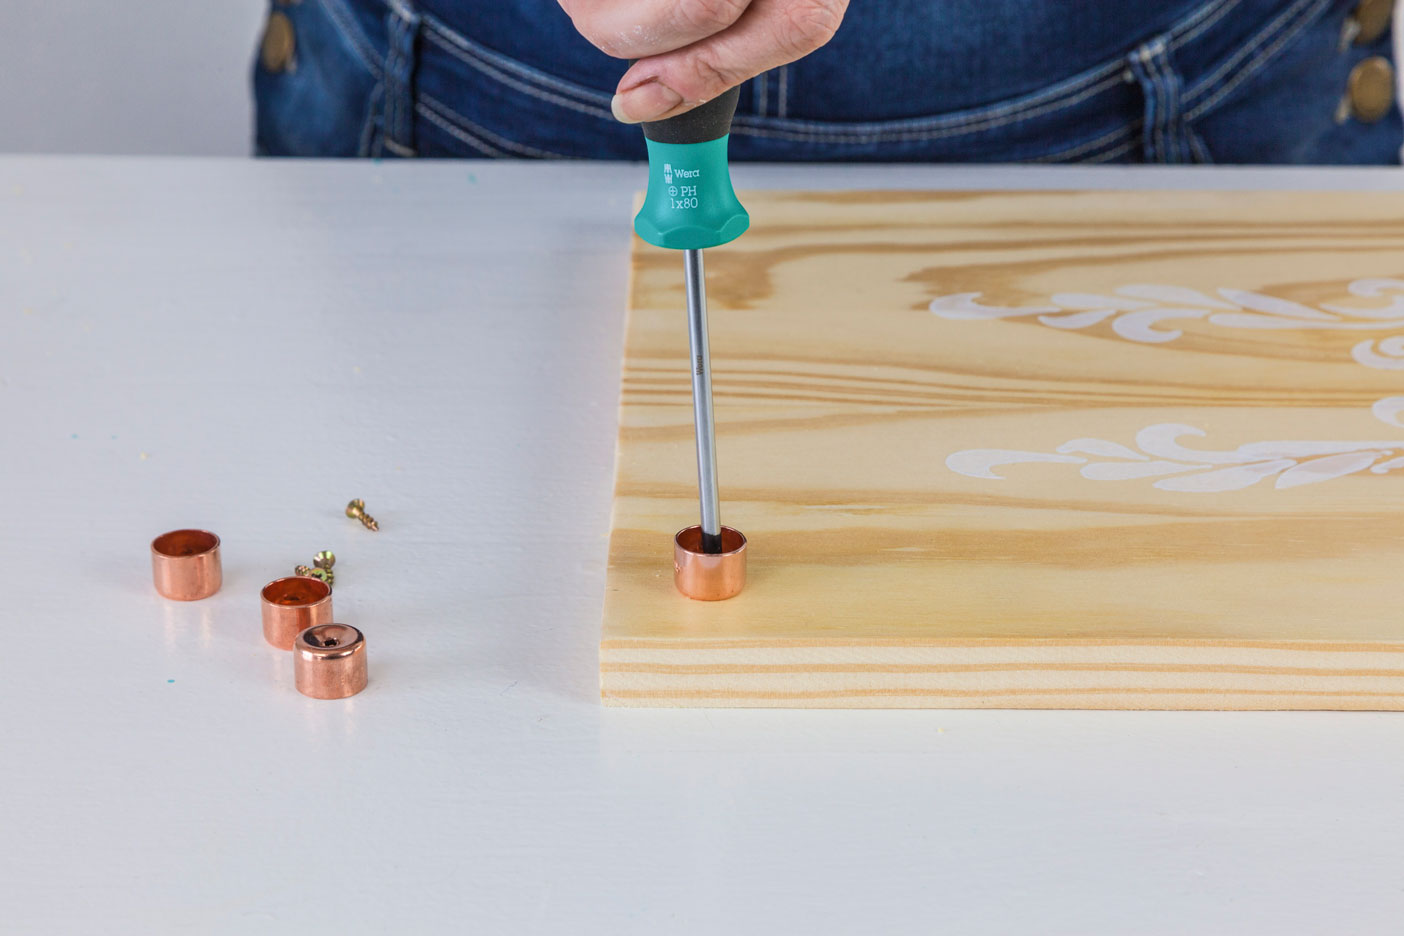
Mark the position of the handles 20mm from the corners of each side and 260mm apart. Drill pilot holes for each. Screw all four stop ends onto the wood with the chipboard screws.
Step 6
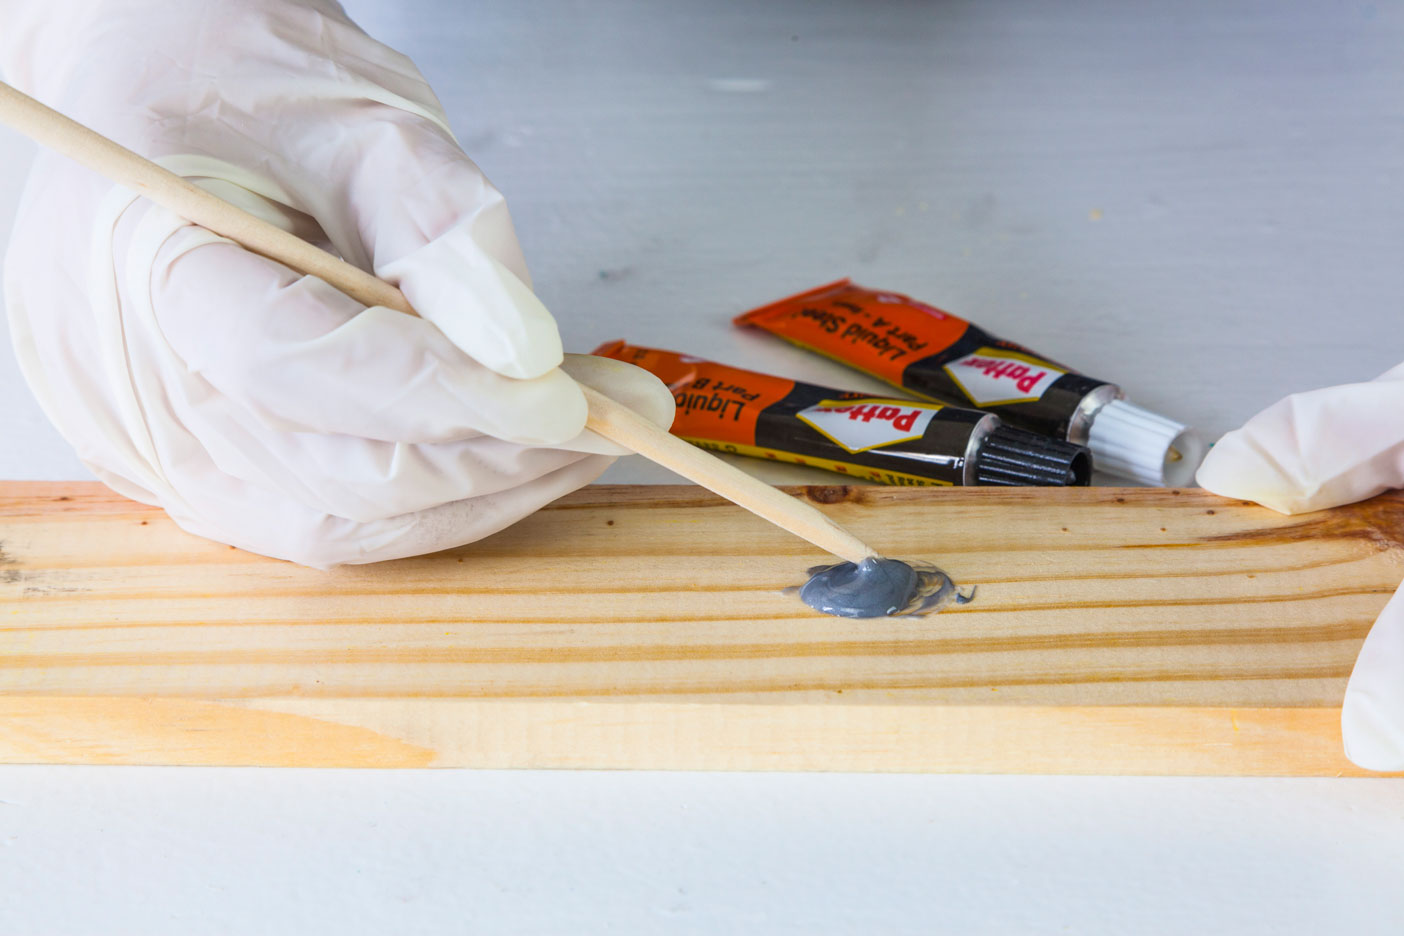
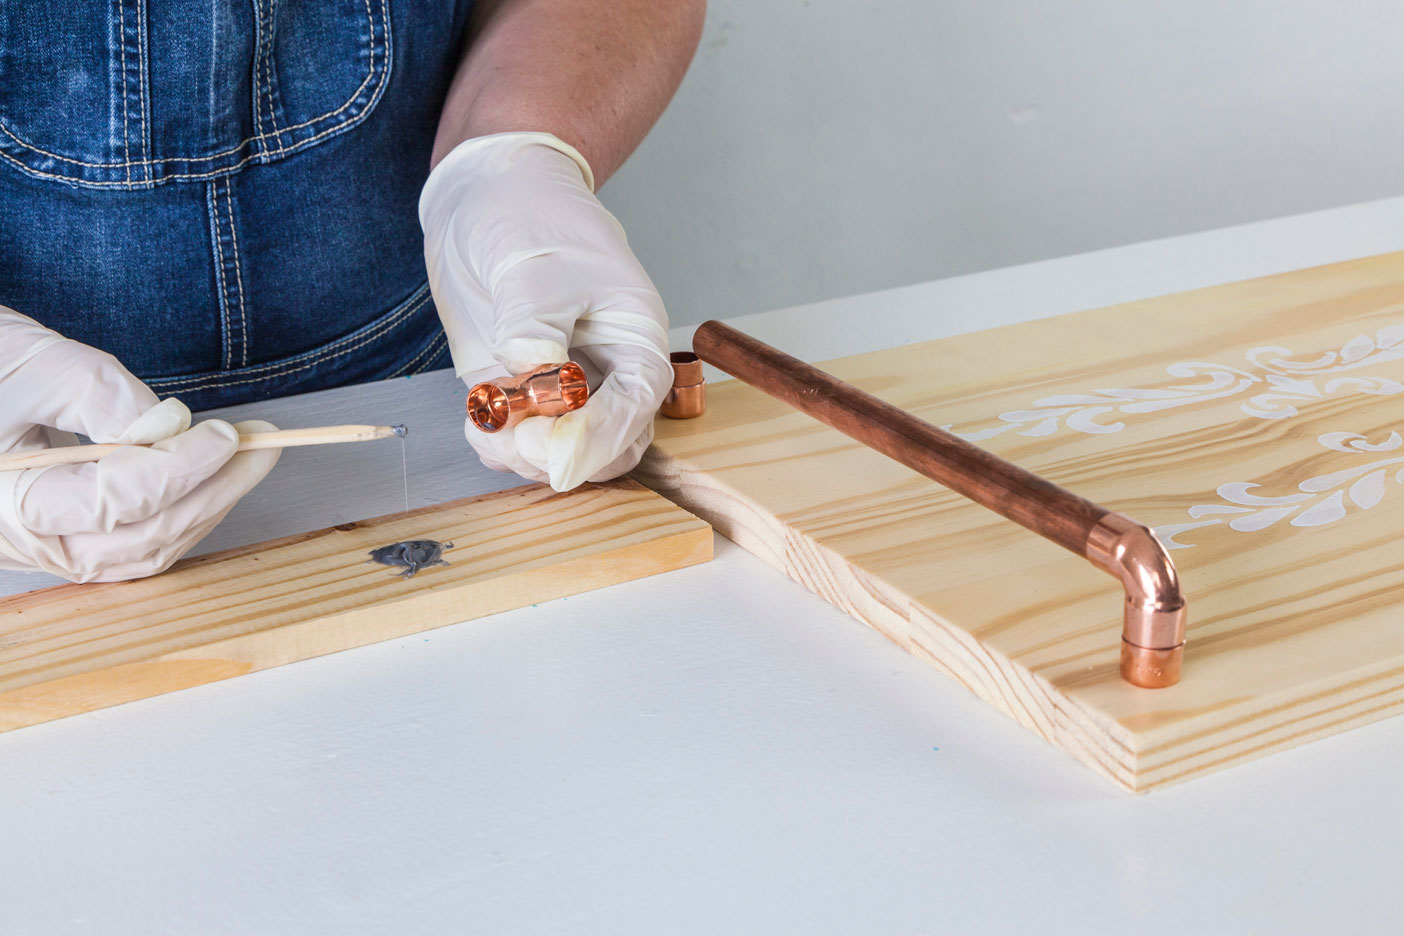
Mix the epoxy according to the instructions on the packaging. Keep a damp cloth handy in case you mess – wipe away immediately as it sets very quickly.
Step 7
To assemble the handle, smear glue on the inside of the stop end and insert the 20mm pipe. Smear glue on the inside of the one end of the elbow and slip it over the 20mm pipe. Repeat for the other side and insert the 230mm pipe between the elbows.

