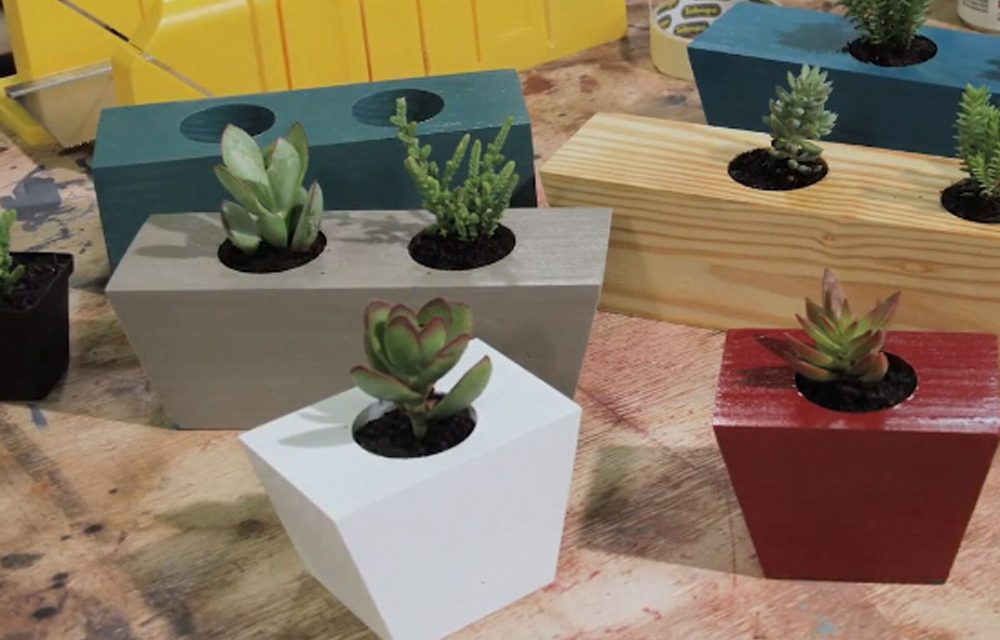
A funky planter that is an ideal way to personalise your desktop environment or windowsill.
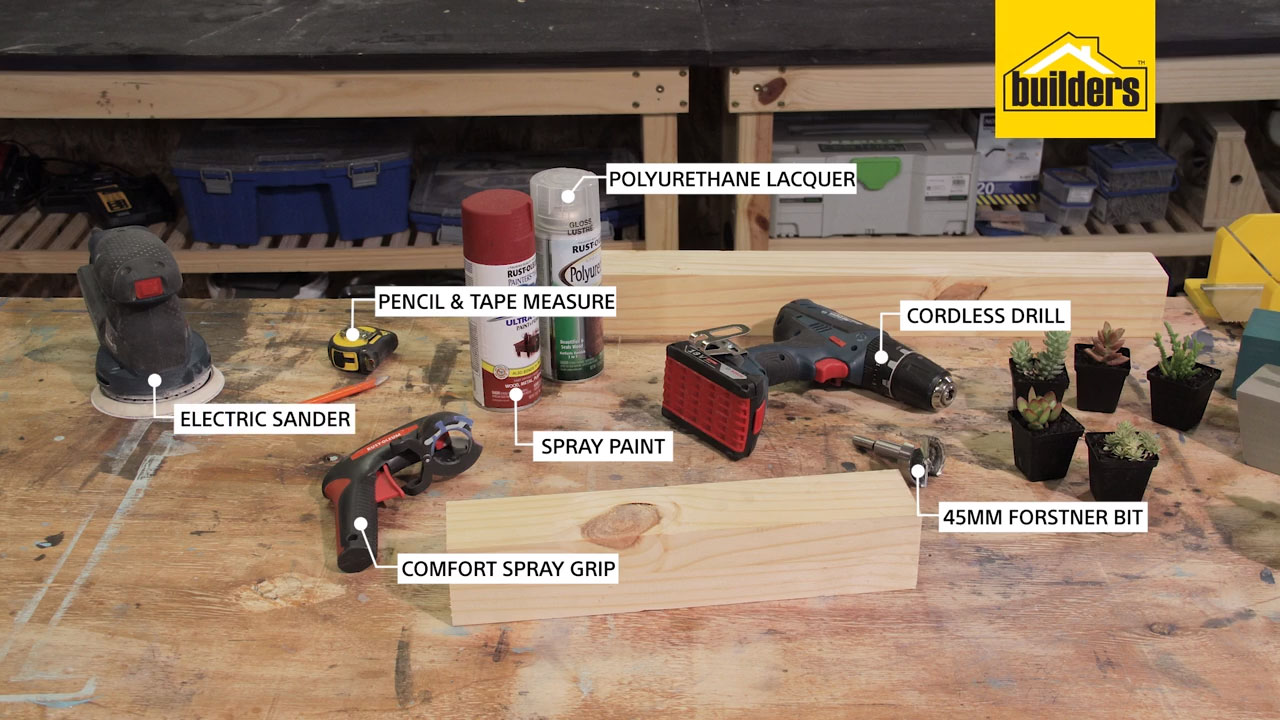
- 45mm forstner bit
- Cordless drill
- Spray paint (we used a primer and paint in one)
- Polyurethane lacquer
- Pencil
- Tape Measure
- Electric sander
- Mitre box and hand saw or mitre saw
For this DIY we created a planter that houses 3 succulents.

Step 1
Mark out points at 100mm intervals from the edge of your length. These marks will form the centre points for your 3 pot holes. You can cut the edge of the timber at a 15 degree angle to give your planter a slanted edge if you desire.
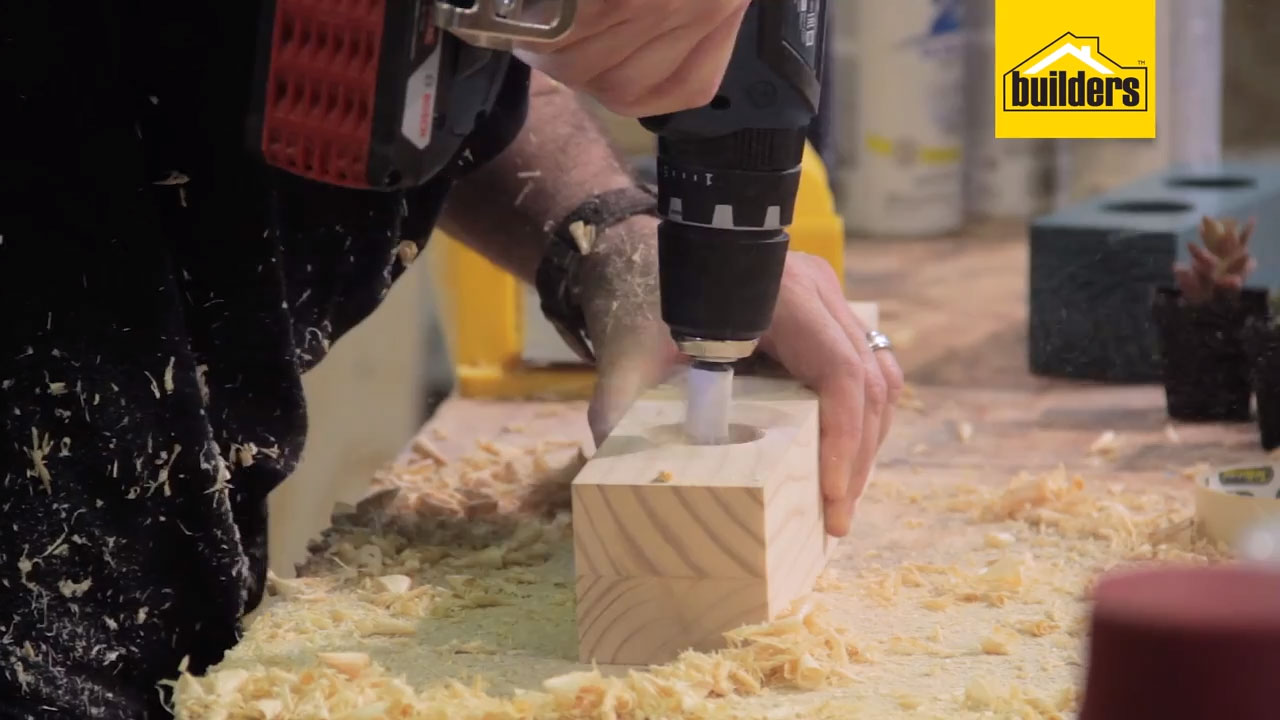
Step 2
Once your timber is cut, it’s time to drill the holes for your pots. Make use of the 45mm forstner bit and drill down approximately 35mm on each of the 100mm marks. Tip: Use masking tape of the drill bit to indicate the depth of the hole
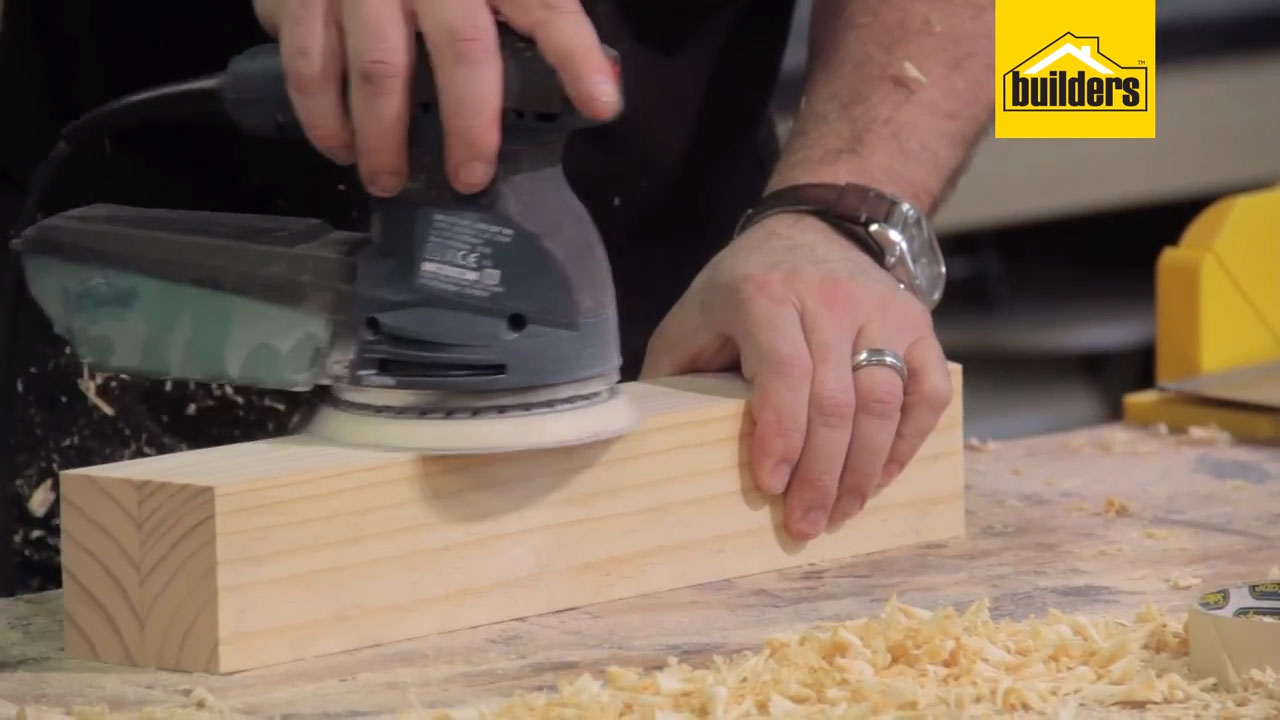
Step 3
Once holes are drilled, sand down your planter for a smooth finish.
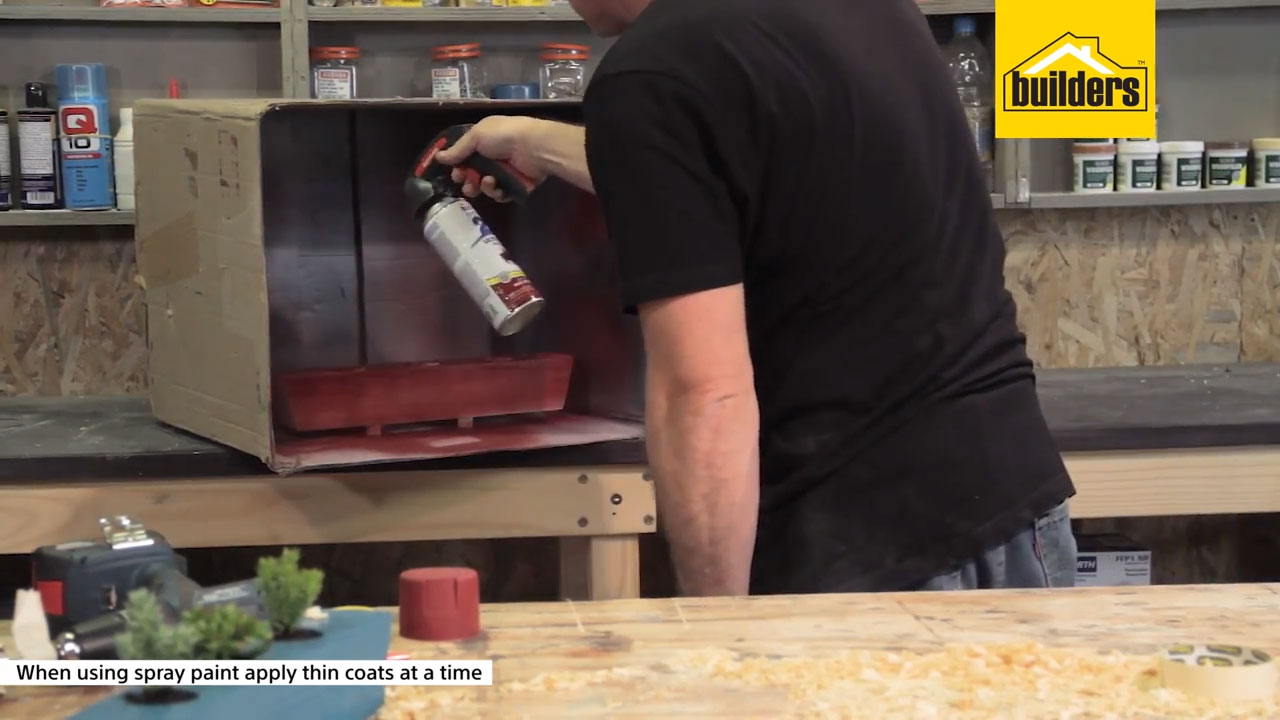
Step 4
Spray paint your planter to your desired colour and leave to dry.
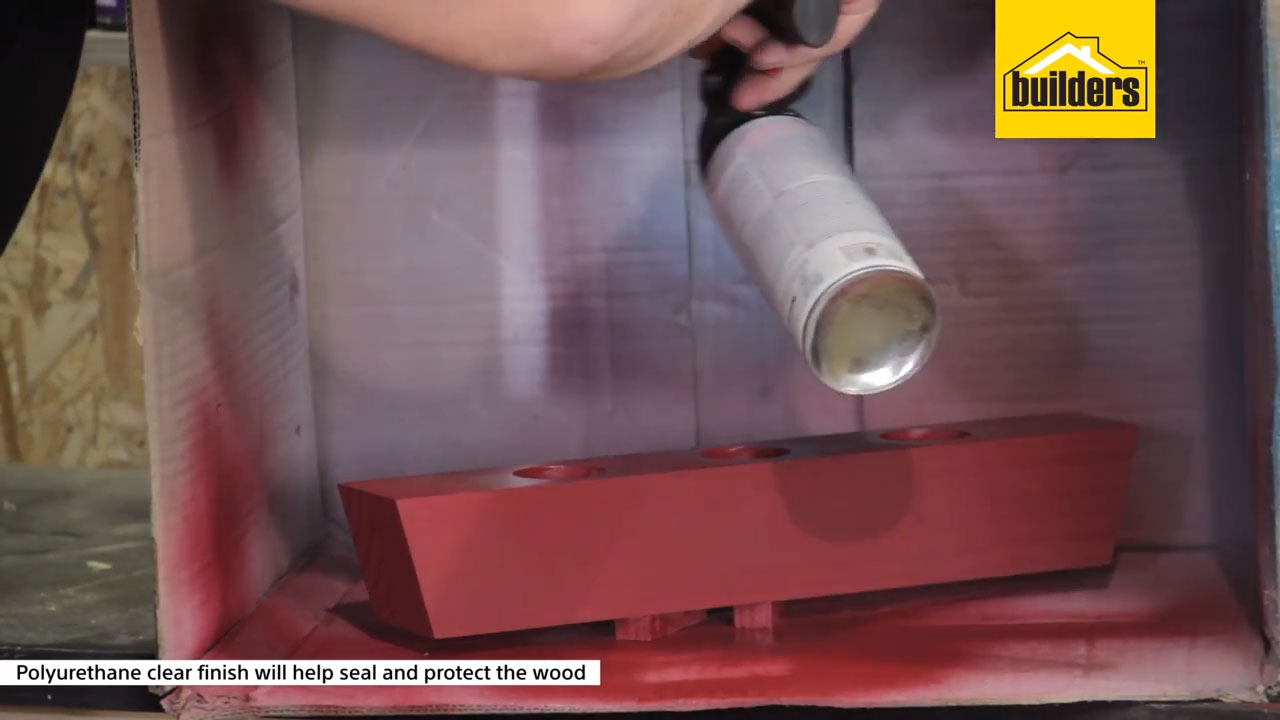
Step 5
When your planter is completely dried, you can use a polyurethane lacquer to give the timber a glossy finish or simply leave as is for a matte finish.
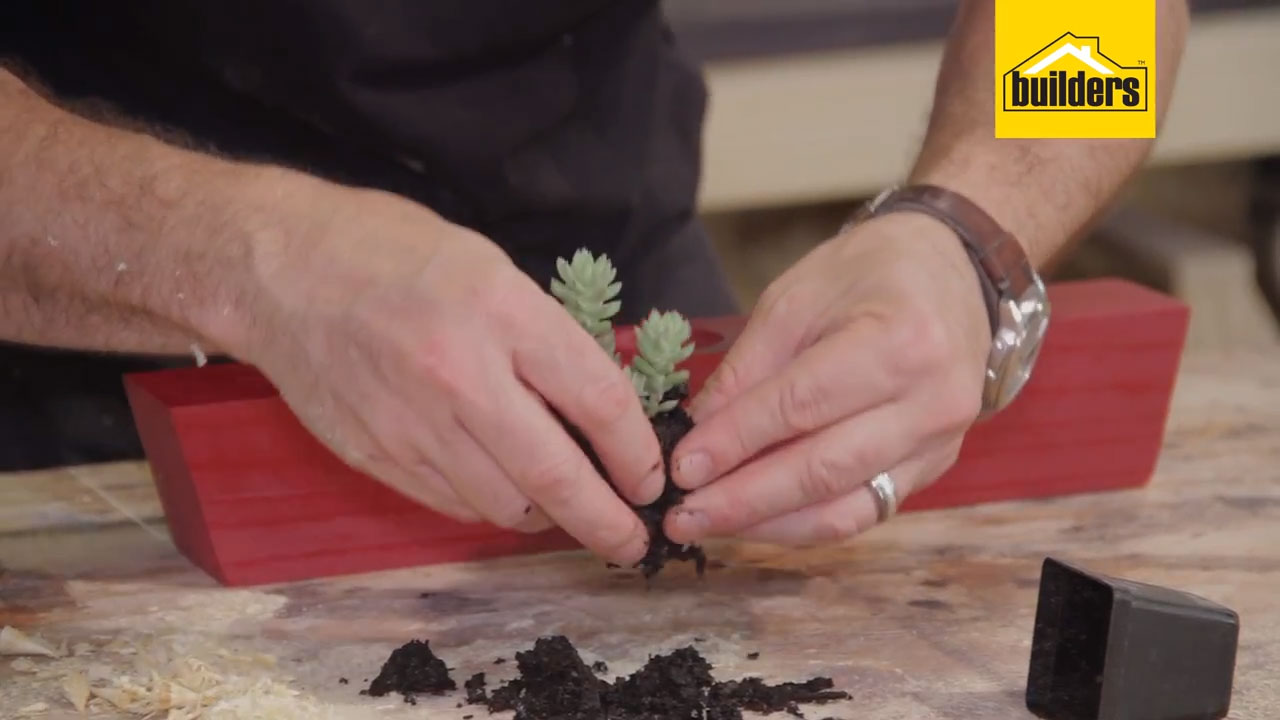
Step 6
Once your structure is complete, it is time to plant your succulents. Remove succulents from packaging. Loosening up the soil and giving the roots room to breathe.
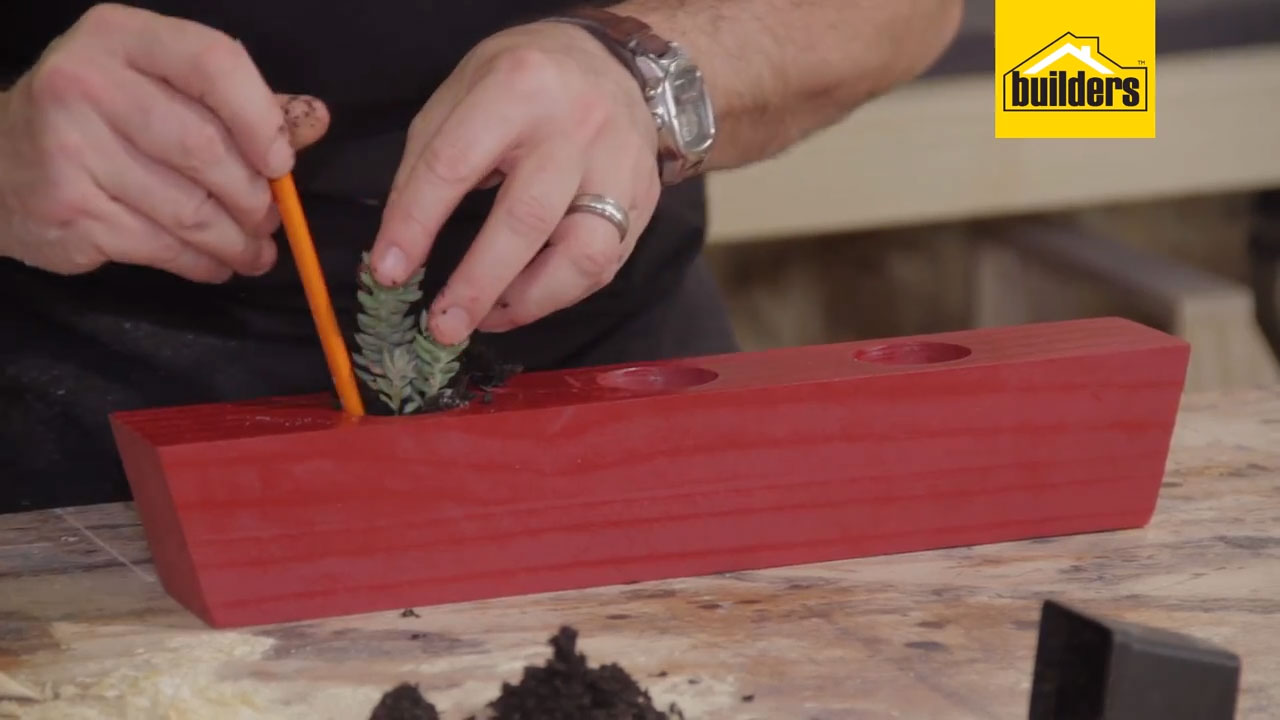
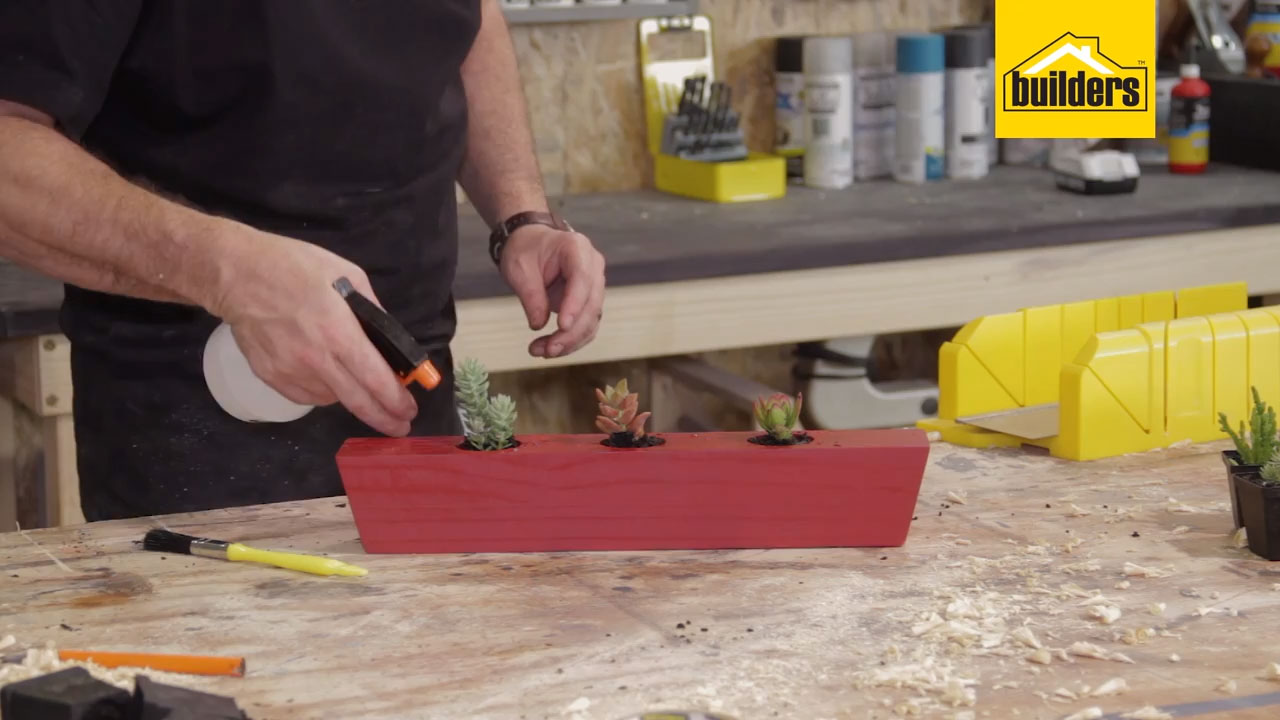
Step 7
Place the succulents into your planter using a pencil to push the soil down into the holes
Step 8
Water your succulents and then your planter is ready to be displayed!
Browse 1000’s of products available to you. Select your country to Shop Online.


