In this DIY, Andrew Donkin shows you how to sdd a rustic wooden headboard to your bed and transform any bedroom.
- Cordless drill
- Orbital sander
- Clamps
- Paintbrush
- A sheet of 12mm plywood
- 4mm x 35mm cut screws
- Wood glue
- Wood stain and sealer
Cutting List
(these measurement are for a headboard for a double bed – adjust accordingly for other bed sizes)
- (6) 1420 x 160mm
- (2) 1500 x 80mm
- (1) 1000 x 80mm
Step 1
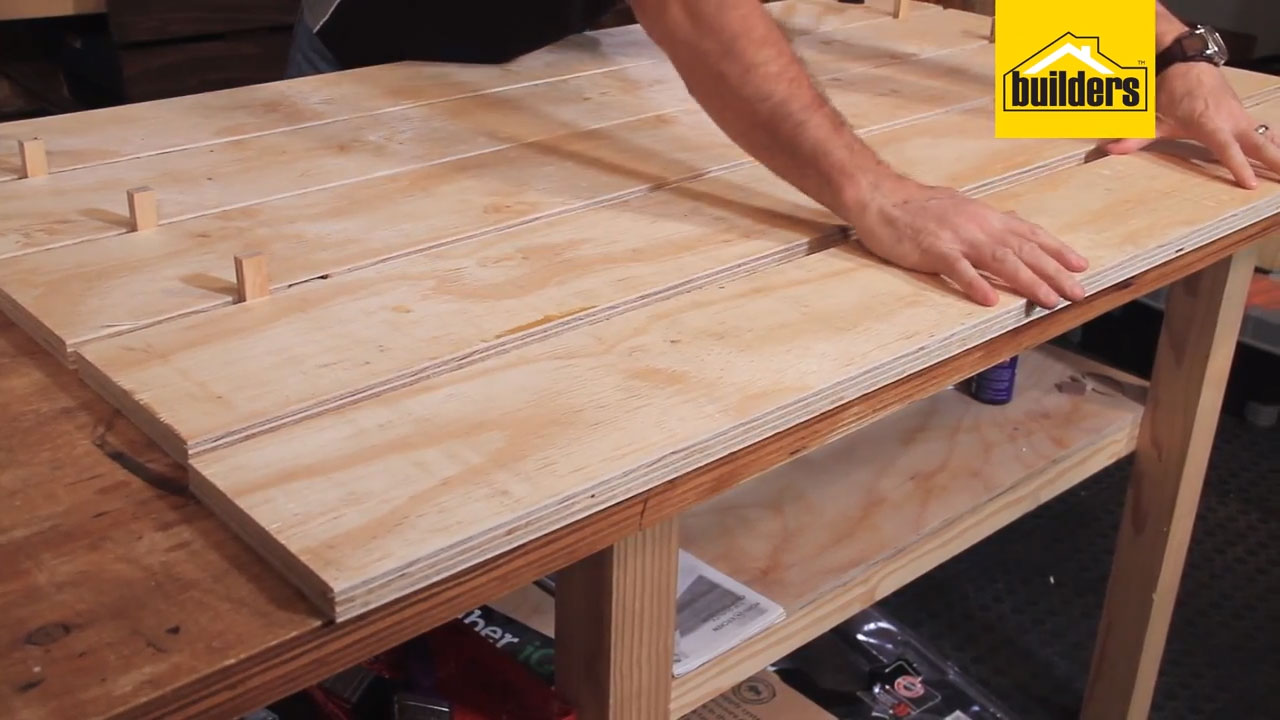
Decide which side of the wood you want to be visible and place that side of all six of the 1420mm planks face down on the work surface.
Step 2
Use a tape measure (or wood offcuts, as spacers) to create the desired space between your planks.
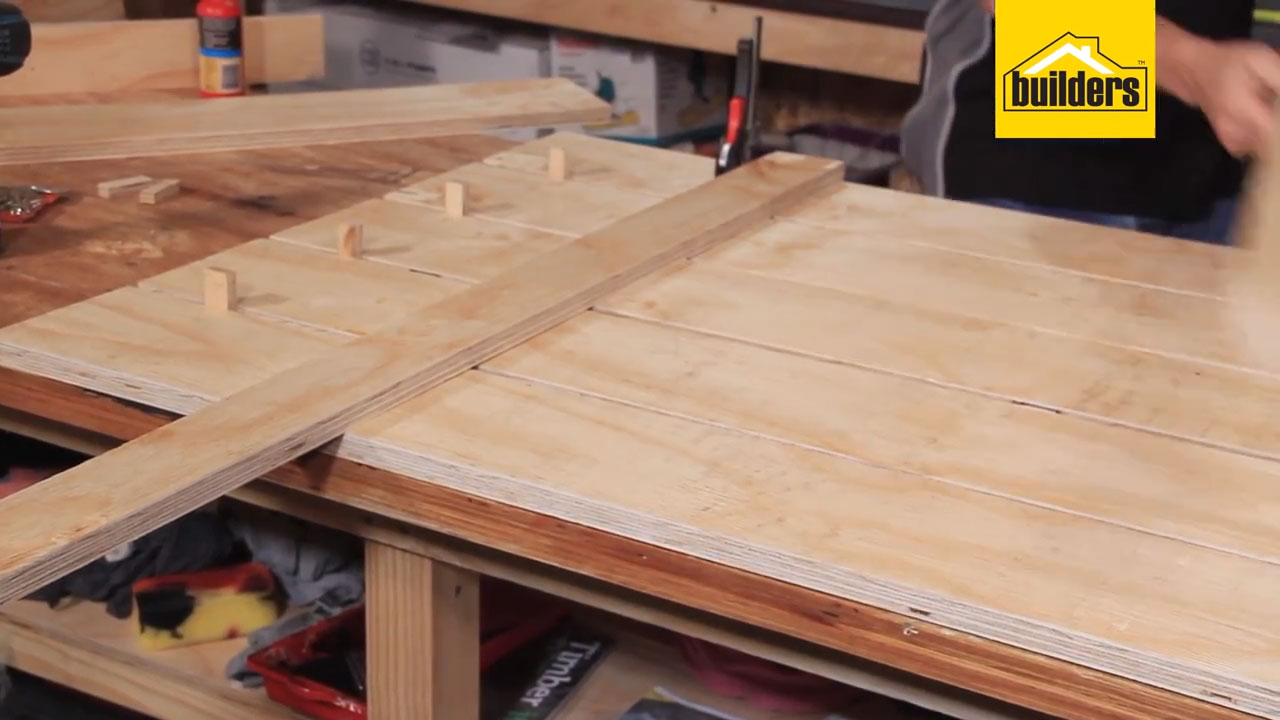
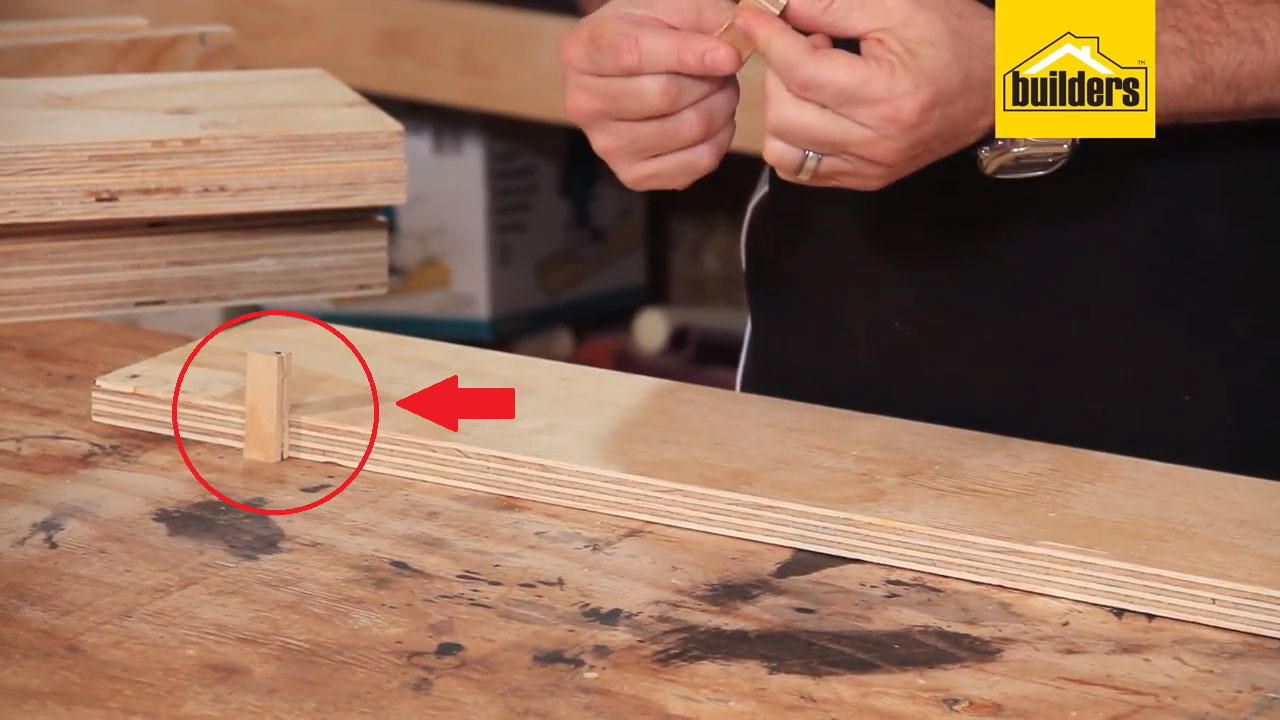
Step 3
Once you have the planks in position, use a pencil to mark out where you will be attaching the legs, approximately 200mm in from each side.
Step 4
Apply wood glue inside the markings, so that it won’t be visible on the final product.
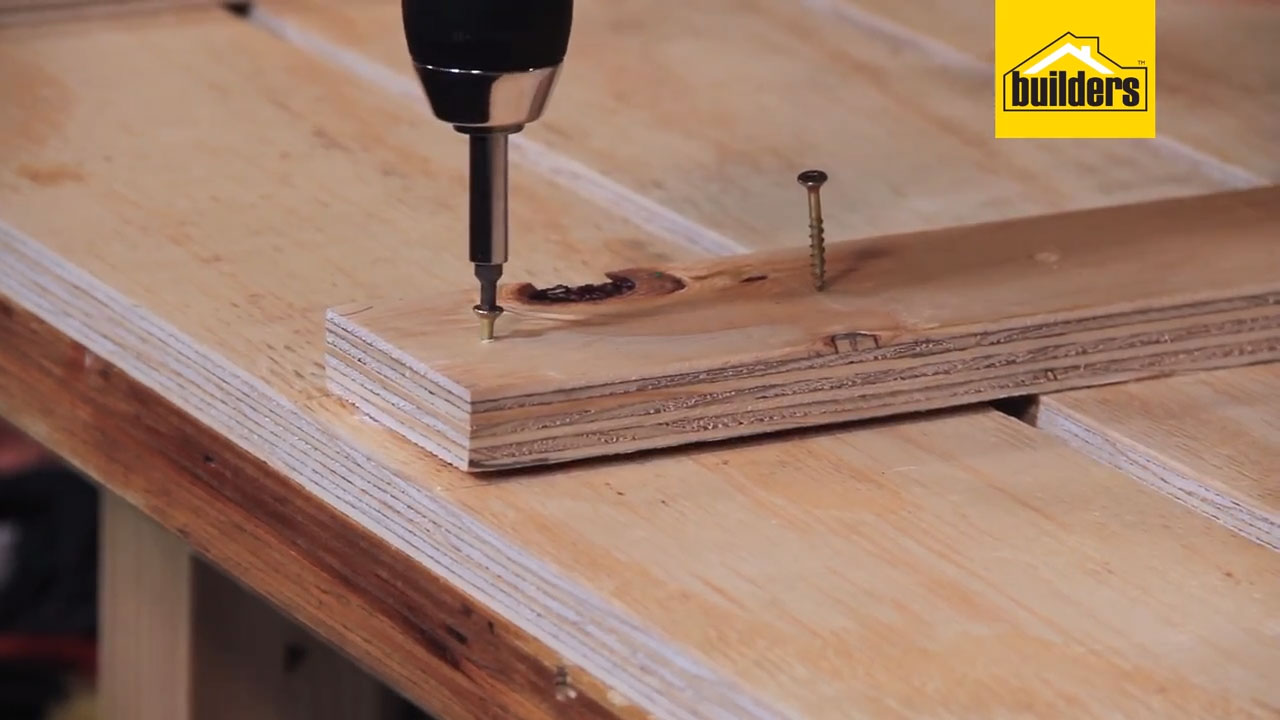
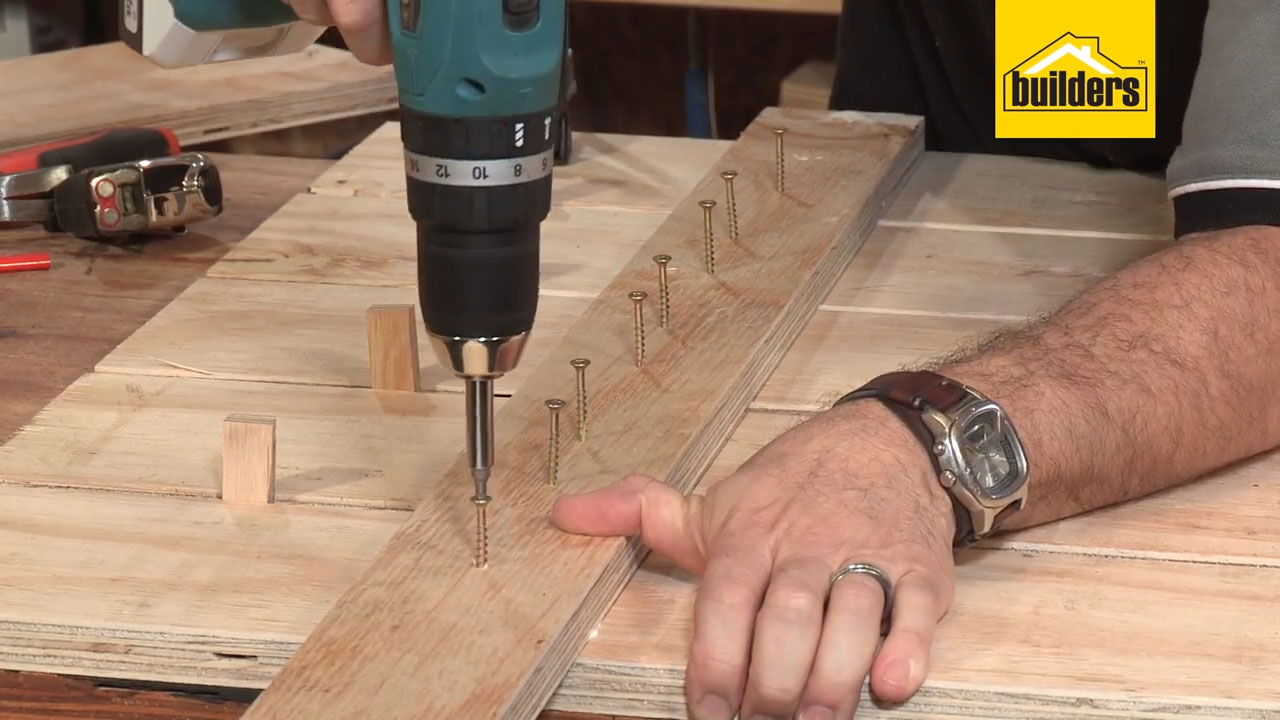
Step 5
Once the wood glue is in place, put the legs back into position and screw in a smooth-shank cut screw to ensure a secure bond and to avoid any gaps between the two surfaces. Repeat the process for the second leg.
Top Tip: Fasten the top and bottom planks to the legs first, to make the headboard more secure when attaching the middle planks.
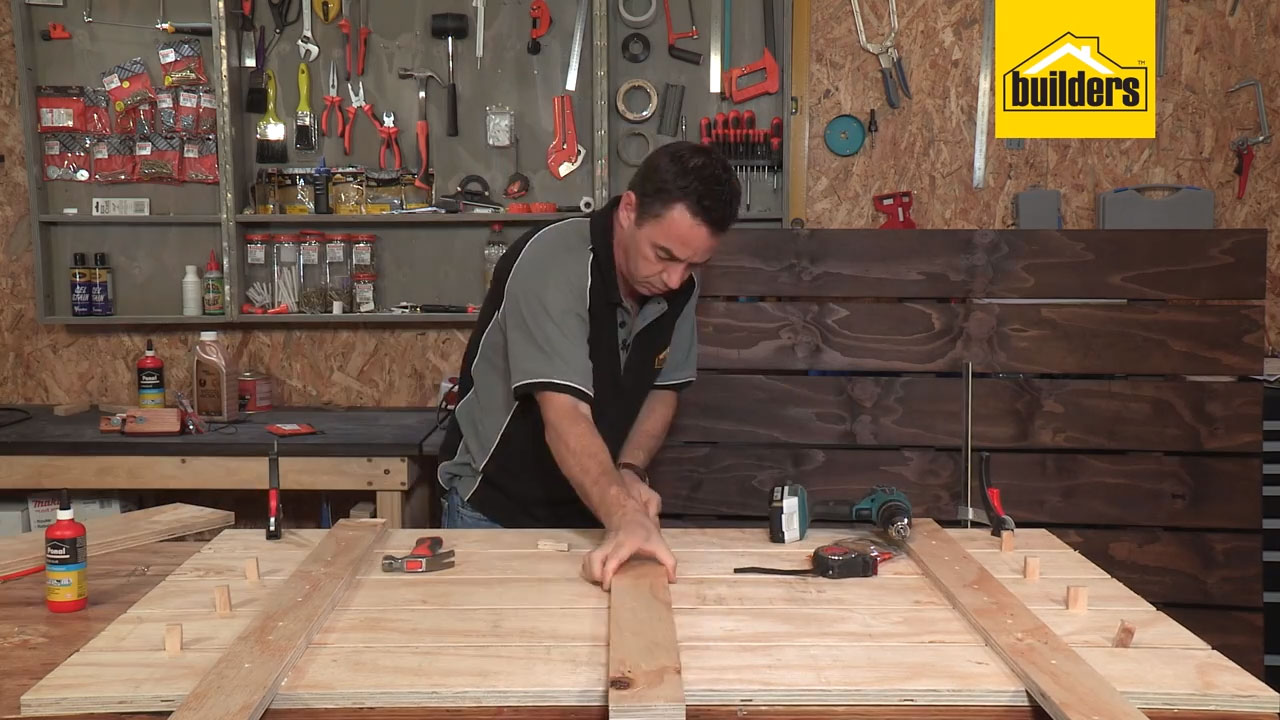
Step 6
Once both legs are attached to all six planks, attach a third plank in the middle of the headboard to make the construction sturdier and to prevent bowing.
Step 7
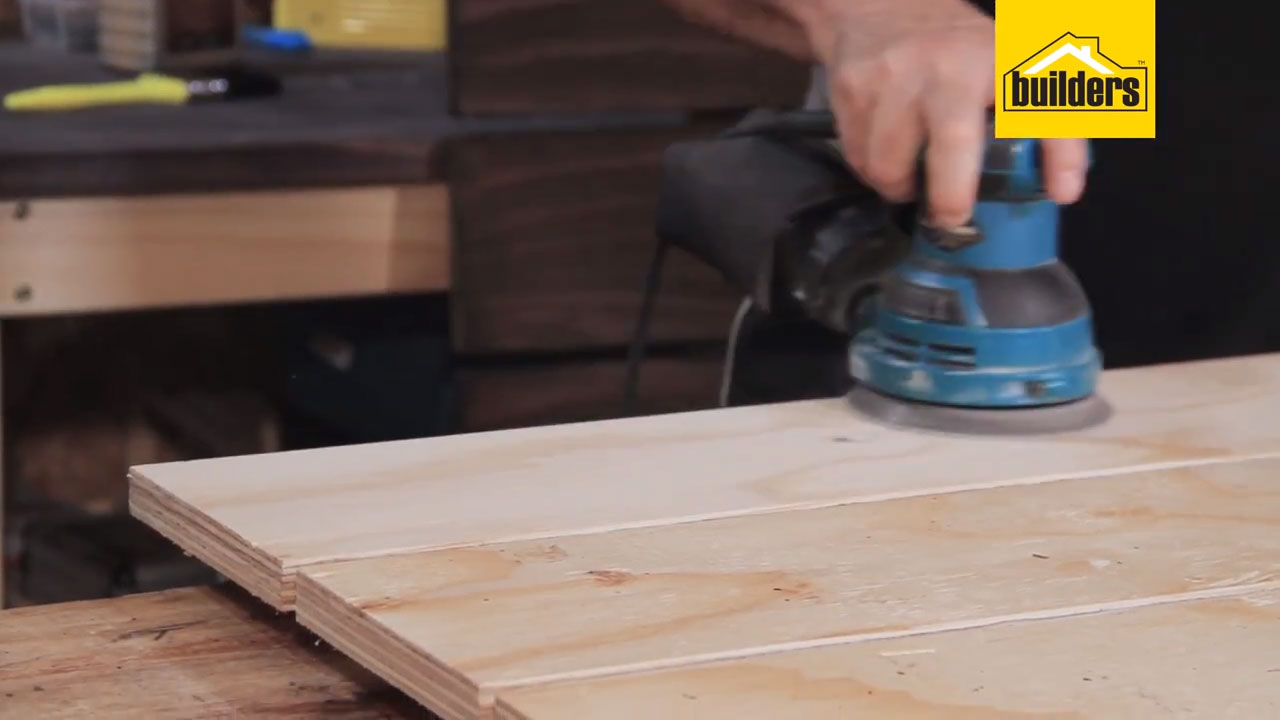
Now that the structure is complete, sand the headboard to smooth any rough edges.
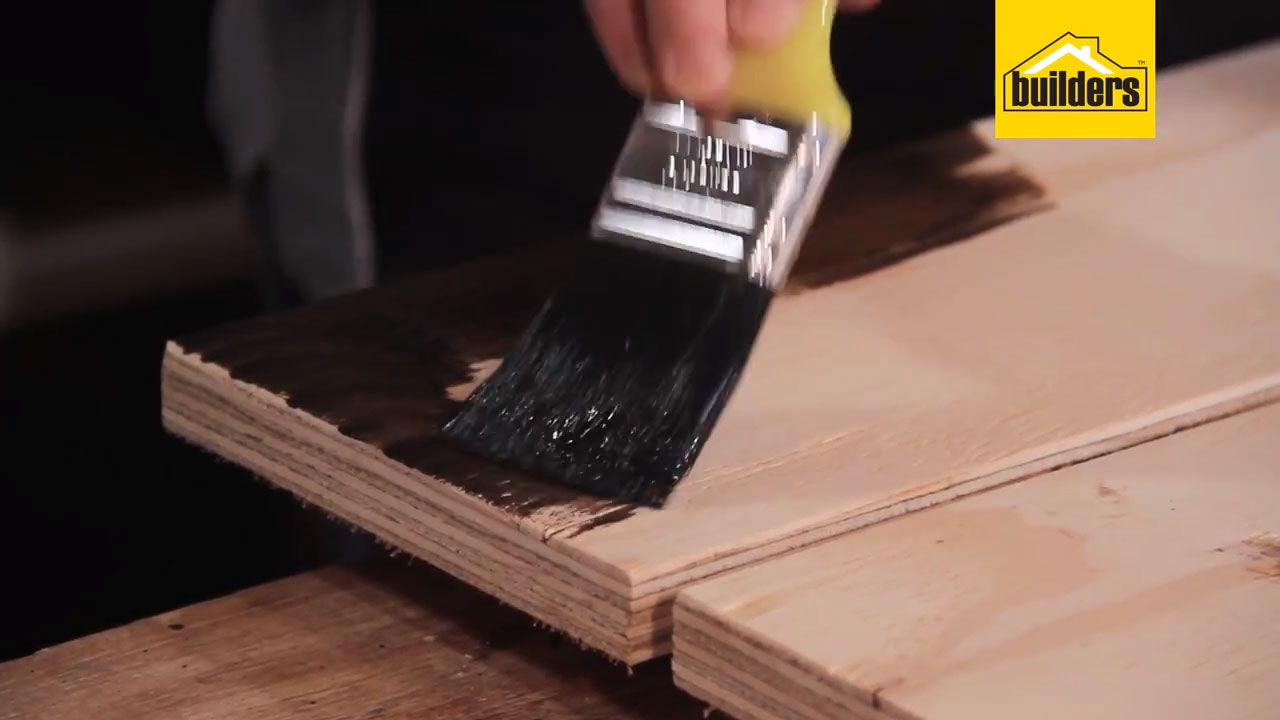
Step 8
Stain the headboard and seal it to avoid any damage to the wood. Remember to apply at least two coats of each, allowing each coat to dry in between applications.
Browse 1000’s of products available to you. Select your country to Shop Online.


