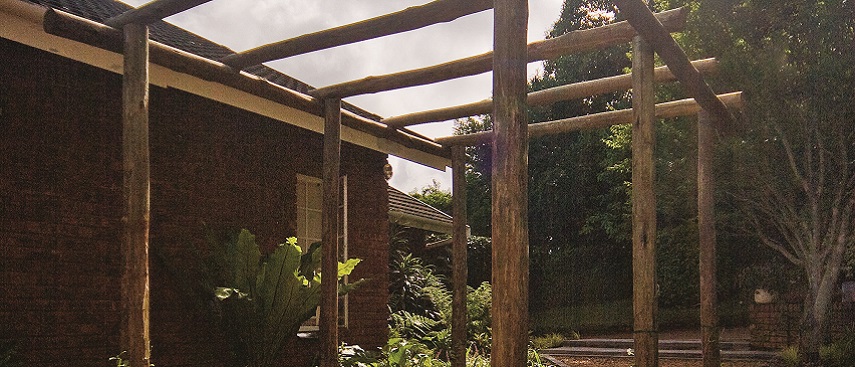
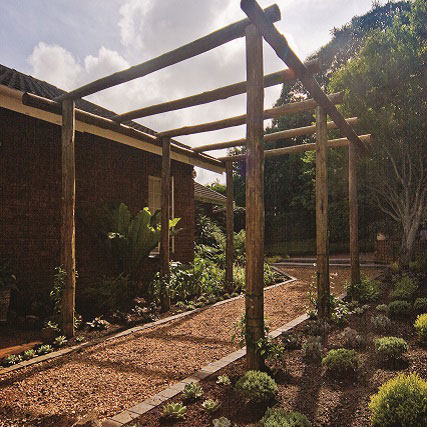
This new entrance was inspired by the beautiful walkway in the Fairholme garden. Before long the plants will be nourishing and creeping up over the pergola. After a quick trip to any of the Builders Group stores you can have one too, here’s how.
- 35 bags of fine gravel (called Duzi gravel in KZN)
- 35 bags river sand (1 cubic metre)
- 3 bags building sand (for grouting)
- 3 bags cement
- 5 bags concrete mix
- 6 x 2400 x 100–125 m CCA poles for uprights (cut from 2700)
- 2 x 3600 x 100–125 m CCA poles for side supports
- 5 x 2400 x 100–125 m CCA poles for cross beams (cut from 2700)
- 16 x 125 x 10mm coach screws
- 2 rolls of Weed-Gard
- Spade and pick
- Line, and line level
- Spirit level
- Rubber mallet
- Webco loppers
- Wooden pegs (make these from off cuts of wood)
- Nosing trowel
- Carpenter’s saw
- Tape measure
Step 1
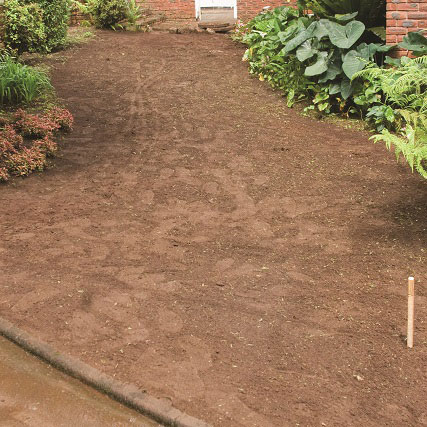
Once you have found the perfect spot for a pergola you will need to clear the area. Remove the shrubs, plants and grass and level the ground. If your area is on a slight slope (as was ours) then you will need to incorporate steps.
Step 2
Now make a trip to your local Builders Warehouse or Builders Trade Depot for the materials. With the line and level mark out a pathway 1.5 metres wide.
Step 3
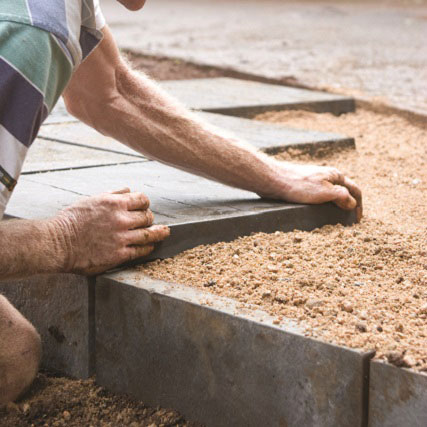
If you are putting in steps then do so at this point. Compact the area then cover with a 50 mm deep layer of river sand.
Step 4
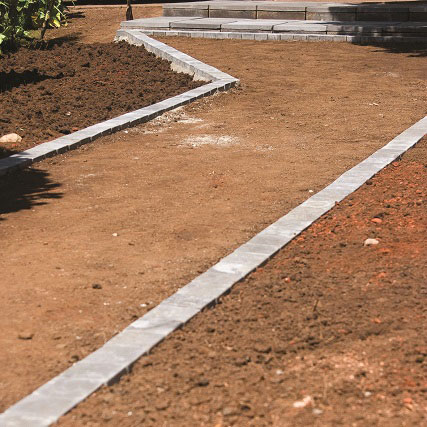
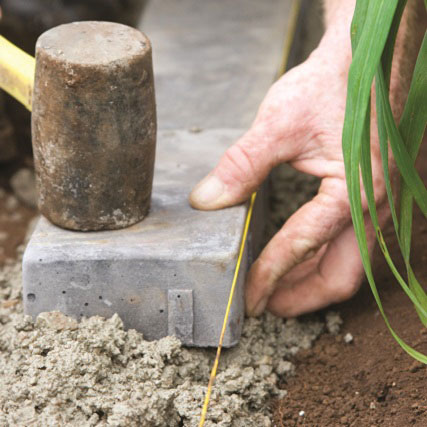
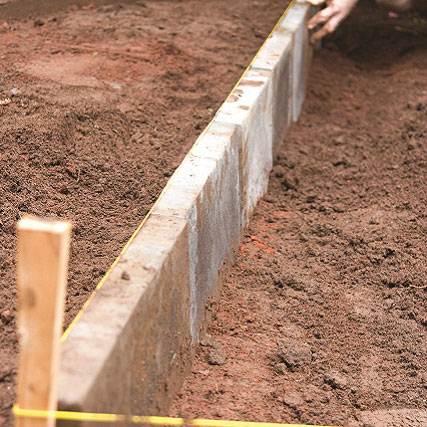
Put the half pavers upright to create the rise of your step then fill with river sand for the step. Lightly compact and level before laying the pavers; do 2 to 4 pavers at a time. To edge your pathway with Huguenot cobbles first excavate furrows (double the cobble height), along both edges of your pathway.
Step 5
Mix a ratio of 4 parts river sand to 1 part cement with a little water (porridge consistency) and use this to form the base in the furrow for the cobbles. Lay enough cement mix to accommodate 6 cobbles at a time.
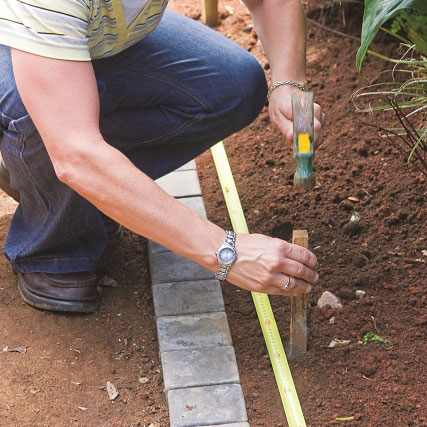
Step 6
The pergola uprights should be 2 metres apart – measure and mark where the holes are to be dug, using pegs.
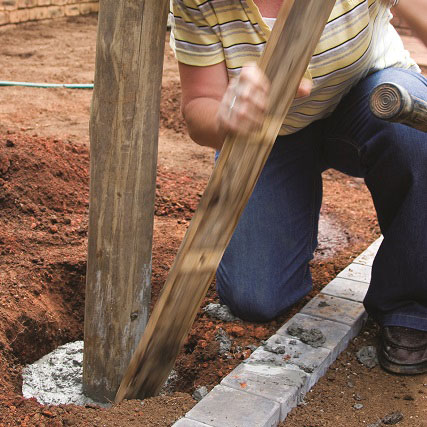
Step 7
Dig 400 mm deep holes and place the poles in position. Pour concrete mix around the poles, making sure they are straight, then allow the concrete to set overnight.

Step 8
Secure the side support poles to the uprights with coach screws.
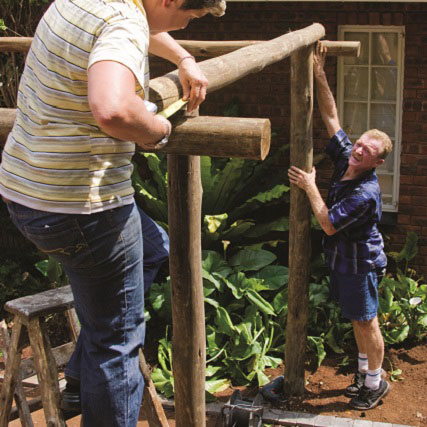
Step 9
Once the side supports are secured then rest the cross beams on them and use coach screws to fix them in place.
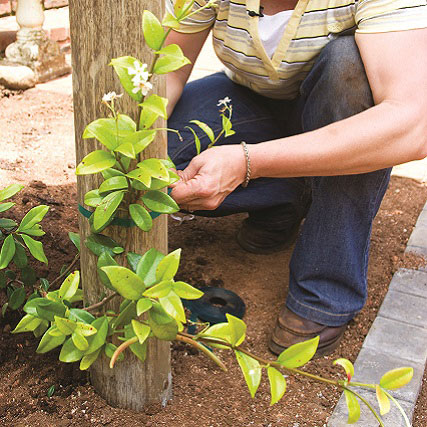
Step 10
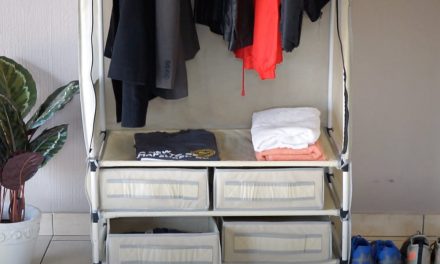
At this point you are ready to do the planting around your pergola so it’s time to visit Builders Express or Builders Warehouse for plants, compost and bone meal. Dig generous planting holes and prepare them with a mixture of compost and the soil you removed plus a good helping of bone meal. This will give the plants the best chance of success.
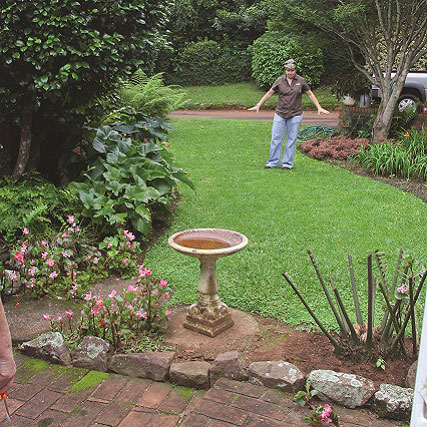
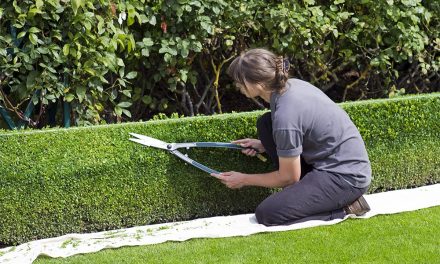
Quick DIY tip
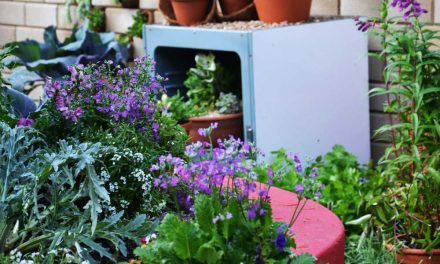
Drill pilot holes with a smaller drill bit, this should prevent your poles from splitting. Here’s what the garden looked like before adding the pergola.
Credits
Referenced from Gallo Images / www.thegardener.co.za
Browse 1000’s of products available to you. Select your country to Shop Online.


